Newbie - Slow but Sure F150 Build

bdbecker

Adventurer
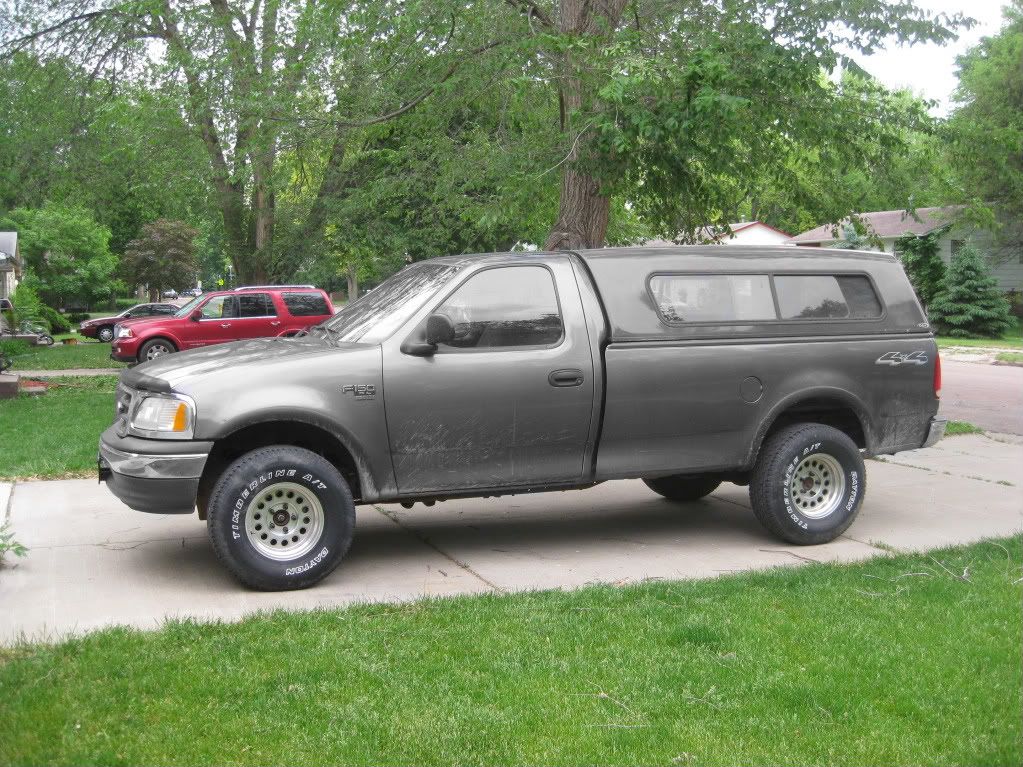
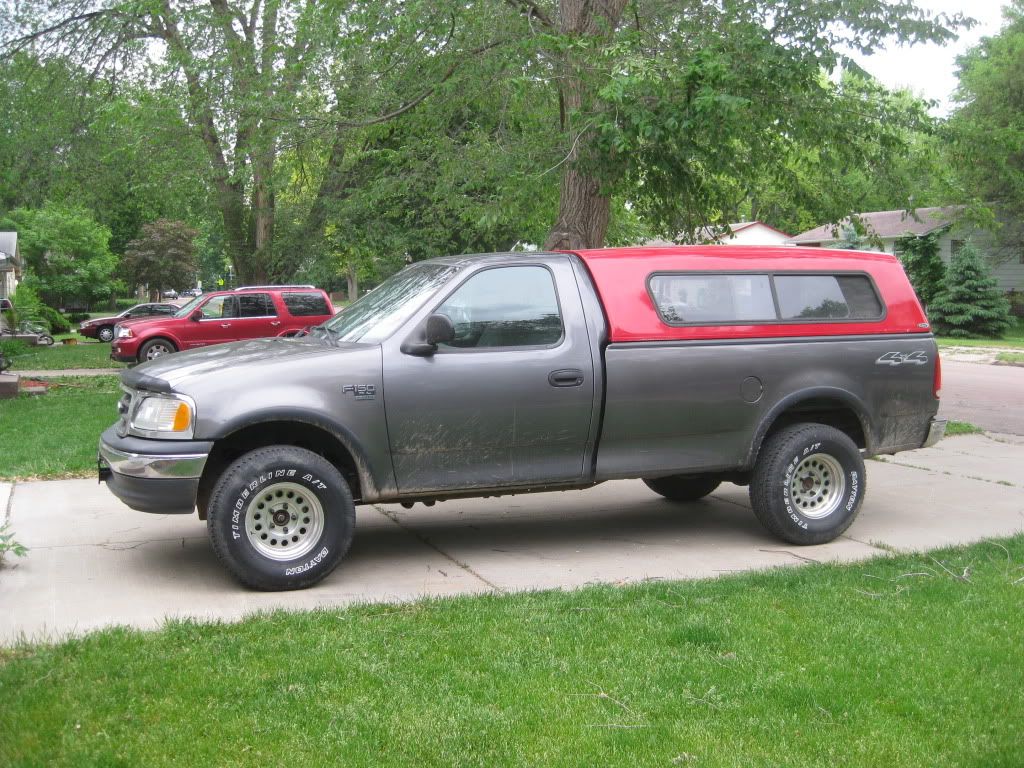
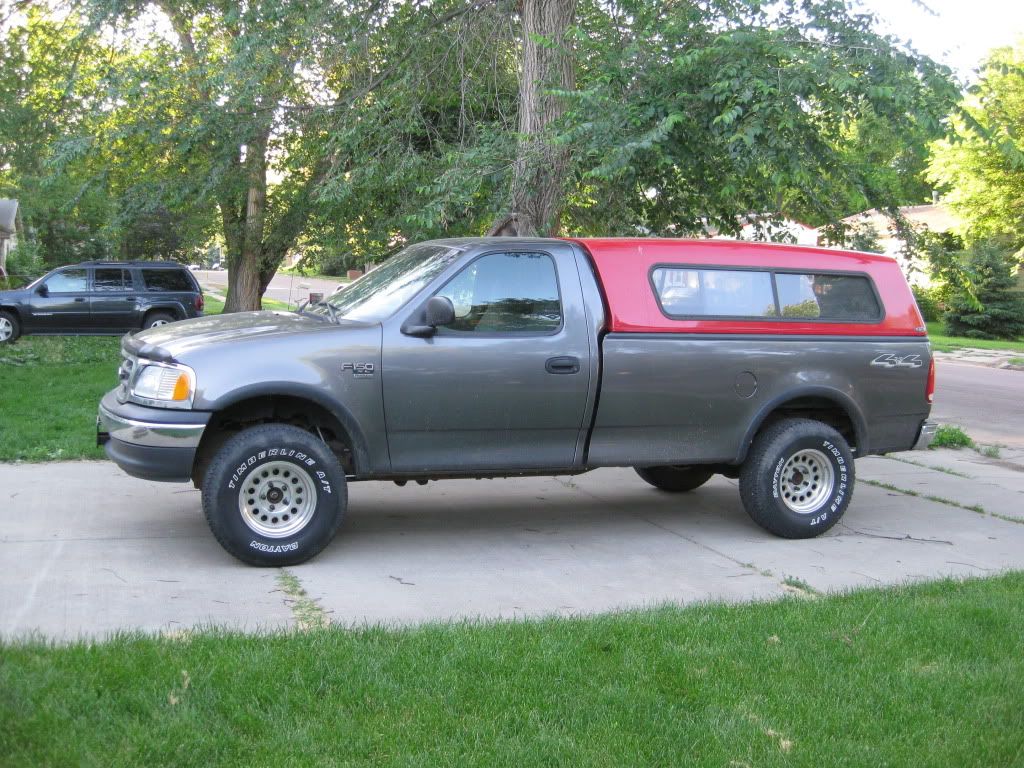
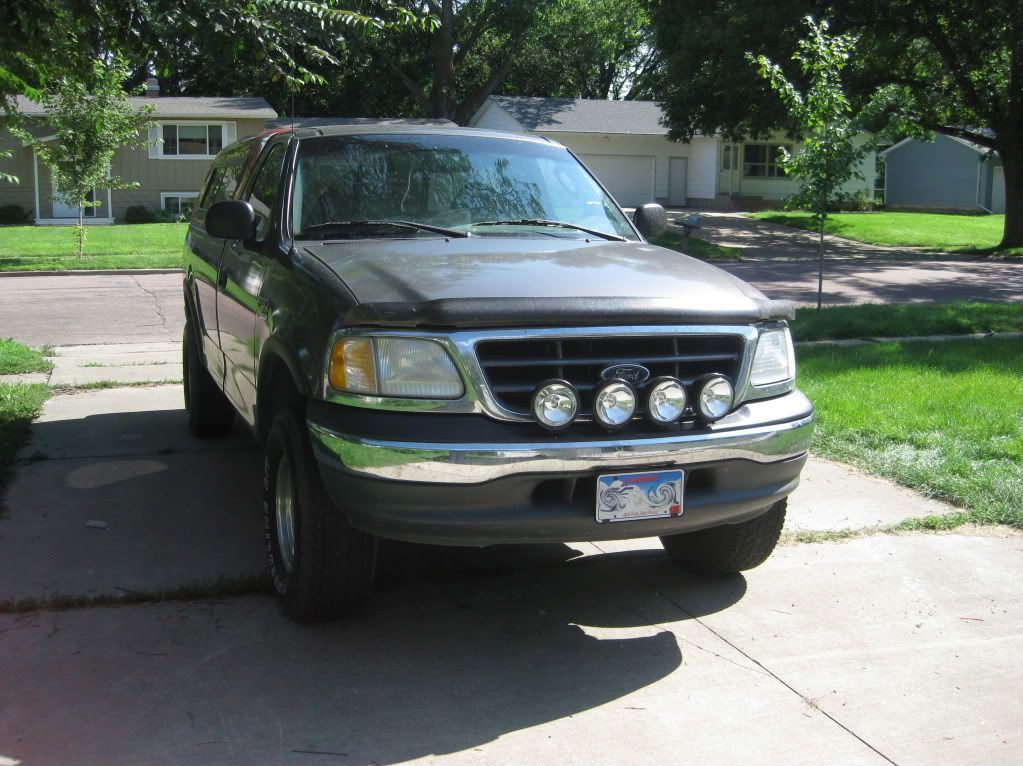
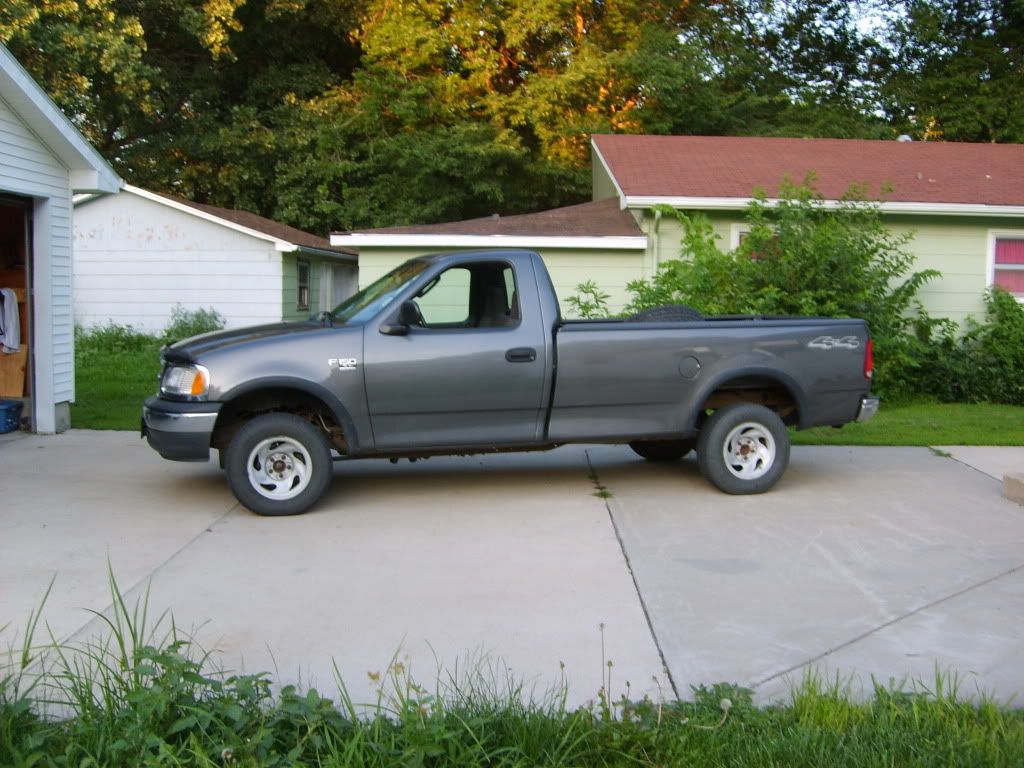
Hello everyone - a long time lurker, first time poster here! My name is Brad and I currently reside in the southeast corner of South Dakota. My ride is a no frills 2003 F150 XL, regular cab, long box, and 4.6L V8. I originally thought about making it into an off roader/mudder type truck, but soon discovered that I didn't really have the right starting point to build what I wanted without some major $$$ and modification.

No worries though, my buddy pointed me in a new direction - expo travel. The more I read about it, the more I like it. I've always been an outdoorsman, spending more nights in a tent during the summers growing up on an Iowa farm than in my own bed. Motorcycling is still an important part of my life, but I'm kind of getting to that point where I've done pretty much all there is to do on a bike, and want to try something new. Besides, I'm also the proud owner of a 4 month old Newfie/Lab mix puppy and always feel bad when I leave her home when I go riding.

Anyways, back on the topic at hand, I do understand that my F150 might not be the ideal long term starting point, but I'm new to the sport and figure working with what I have to get my feet wet is better than doing nothing at all.

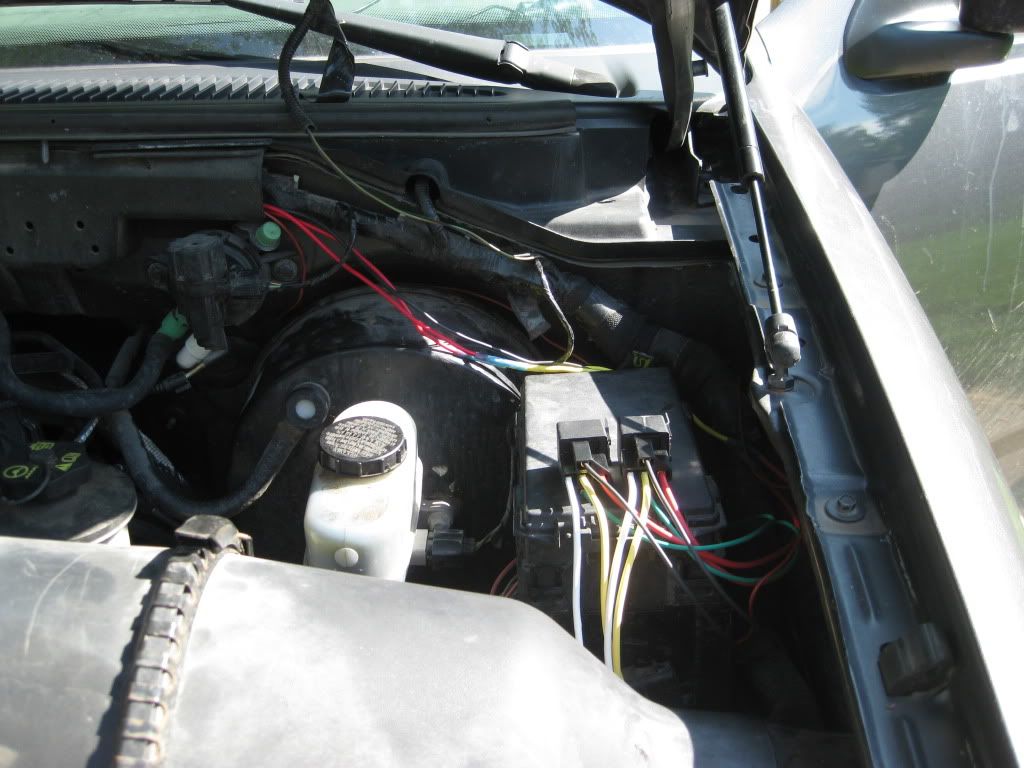
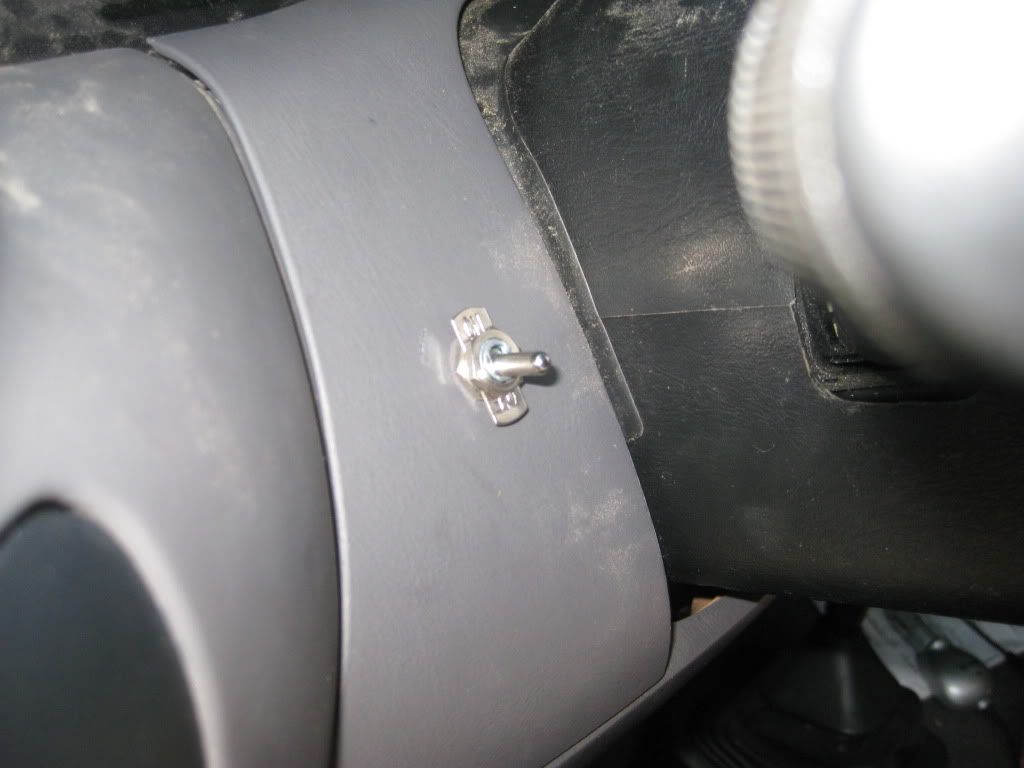
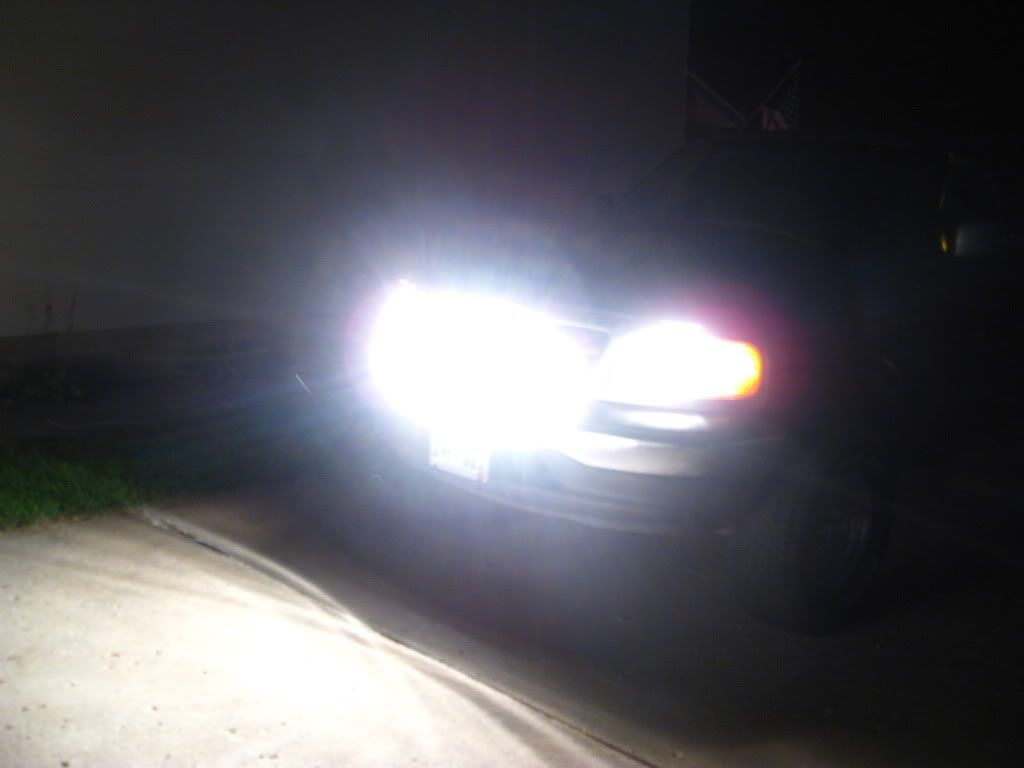
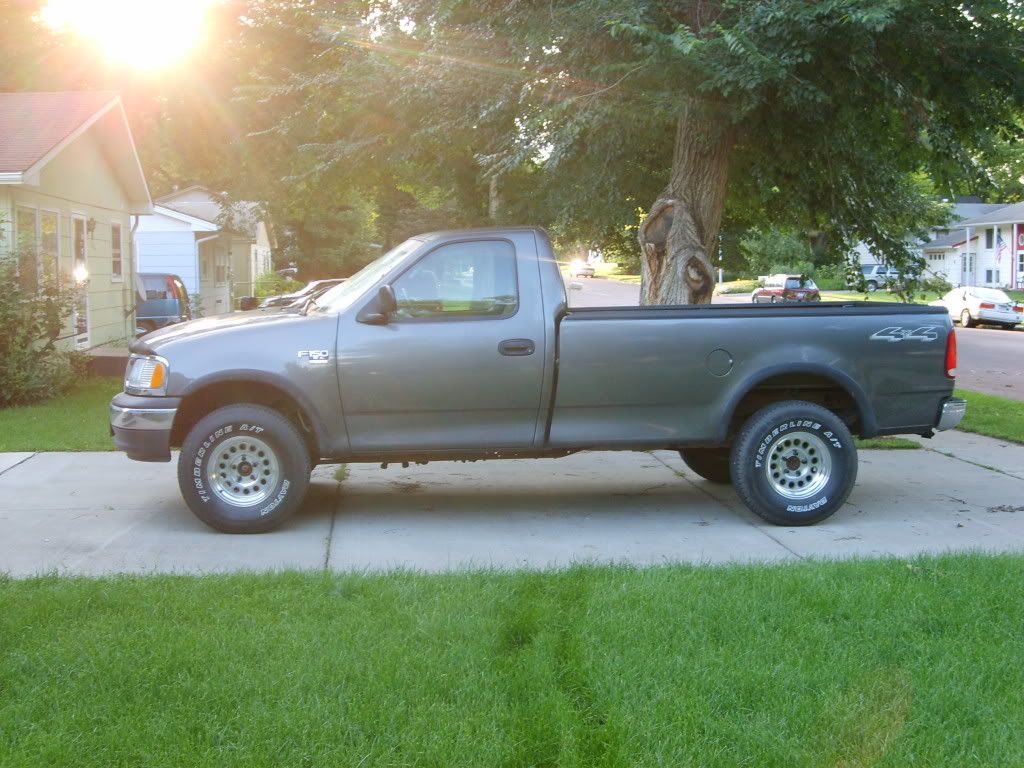
Then next couple posts is some of the progress I've made in the last few months...
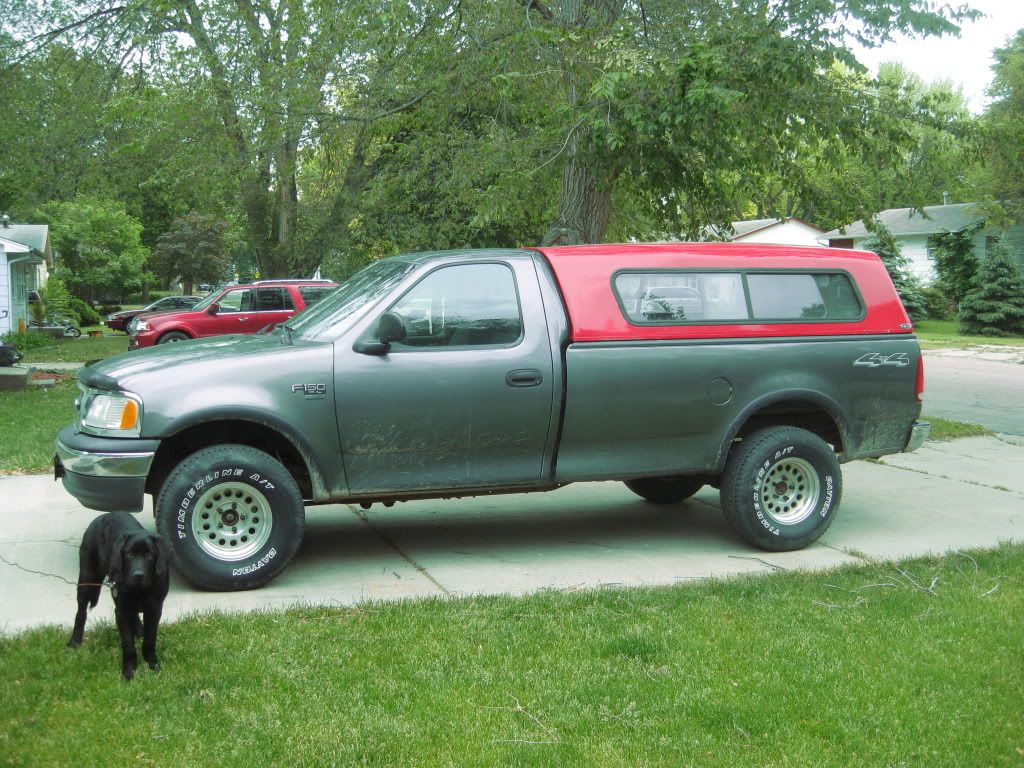
 

bdbecker

Adventurer
Wheels and Tires

As the title of this thread suggests, this will be a slow but steady build thread. Money and time are resources that I have limited quantites of (who doesn't), but I wanted a place to share my progress, so here you go...

Last fall, I decided it was time for new tires. The OEM 245's were not going to cut it, so upsizing was a must. I sourced tires in the area and online, but before pulling the trigger, I decided to check Craigslist just to see what was out there. In SD, it's often tough to find exactly what you need because there are so few people here as compared to other states, but I got lucky and found a set of 285/75R16 Dayton Timberline AT's on a set of Eagle Alloy 101 wheels for $500.

The owner wanted to put 22's on his F150, and just wanted to get rid of them. It was a fair deal as far as I was concerned - the wheels alone go for about $130 online, and the tires were about 75% when I got them. The deal got even sweeter when I sold my factory steels for $250 on CL.

I did have to get new lugnuts, the rusty chrome one's he gave me were not going to cut it - I opted for some Gorilla lug nuts in black. They ran about $80, but were well worth it IMO. No center caps came with the deal, but I really don't care. All said and done, I have about $330 wrapped up into the wheels and tires.

Here she is with the factory steel...

beforetruck.jpg


Here she is with my $330 CL specials...

truck.jpg
 

bdbecker

Adventurer
Suspension

I installed Monroe Gas Magnum shocks on the front a few weeks back - the OEM shocks were shot. I had been saving for Bilsteins, but after a rough set of train tracks froze up my passenger side, I had to get them fixed and in a hurry before driving 500 miles two days later. The local auto parts store had these in stock, and the price was right, so I threw them on. So far so good - the ride quality has increased dramatically. Next paycheck, I'll be replacing the rear ones as well. Might crank the Tbars a little to help with clearance when cornering on rough terrian.
 
Last edited:

bdbecker

Adventurer
Cap

Another Craigslist steal last night. I picked up a Unicover Safari truck cap for my truck. After a lot of searching, I finally found one in great condition for an unbeatable price of $125. My buddy said he could paint it to match for about $150. The only thing I don't like about it is that it doesn't have the sliding glass up front, but beggars can't be choosers. I'm sure if it bothers me that much, I could find a replacement piece somewhere, but I'm going to leave it alone for now.

IMG_4482.jpg


Now that I have a cap, I can start working on storage and sleeping solutions. Eventually, I'll probably be adding a roof rack. After talking to the folks at Unicover, I found out that there is a 150 pound weight limit for any racks on the roof. This means I'll probably need to fab some auxillary support structure if I ever decide to store more than my spare tire up there.
 

longjohn

Observer
Welcome,
You have come to the right place. The folks here can surely steer you in the right direction, I have seen racks that sit in the stake pocket and have an offset, so the topper is no problem...sorry no link..........you have started off right with lots of pics:).............. cute pup!!
 

nbleak21

Adventurer
Wow, what a great improvement on the tire/wheel combo for $330, and heck of a deal on that top as well!

$150 isn't a lot for a decent color matching, but if you get an afternoon off, and some sandpaper, I think the top would look pretty charcoal or flat black, too. (though heat might be an issue!)
 

wely

Observer
I like it I'm subscribing So I can Keep up. I have a 97 v6 f150. Great truck will last forever mine has over 300,000 miles. No easy life form truck either!
 

bdbecker

Adventurer
Wow, what a great improvement on the tire/wheel combo for $330, and heck of a deal on that top as well!

$150 isn't a lot for a decent color matching, but if you get an afternoon off, and some sandpaper, I think the top would look pretty charcoal or flat black, too. (though heat might be an issue!)

I thought about doing that too, but I'm already planning on doing all the sanding and taping, I figured I might as well just take the extra step to have it done right. I figure I'll never be dissapointed in a color matched cap...

I believe you could build a rack like the one on the ford halfway through this post:http://www.expeditionportal.com/forum/showthread.php?t=43512

Looks like a nice truck there.

I've been watching that thread as well. My Dad's buddy has his own construction company, I'd bet he knows where I could find a rack, if he doesn't already have one laying around somewhere. I'd like to try the internal route just to see if I could keep the lines clean on the truck, as well as make it all one unit that can be removed easily in case I need to use my truck for something else.

I forgot to mention in my first few posts, one of my objectives while doing this project is to maintain the flexiblity of my truck since it is my only four wheeled mode of transportation. I'd like to be able to haul a load of gravel or sheet rock one day, and be able to hit the road for an adventure the next. I'm thinking modular, and quick to setup/take down. This will make my build process much more complicated, but I like a challenge.
 

bdbecker

Adventurer
This thread's not dead, I've just been busy planning, prioritizing, and researching. Past lessons have taught me that poor planning is a fast way to failure. Here's a quick status update:

Inspired by Awesome Wagon's accomodations (picture below), I've been messing around in AutoCAD trying to find the right layout for storage and sleeping in the back of the truck. I've got the layout down, now I'm trying to make it modular so I can remove it easily - think sectional sofa - but I also need to find a way to keep it from moving around when the road is less than smooth, that one is stumping me a little.

bedbed.jpg


The topper will be getting the sand down this weekend, and hopefully it'll be painted shortly after. Did a little photoshop work to see what the truck might look like with a color matched topper.

IMG_4478-1.jpg


Most importantly, funds generation. I sold off a project motorcycle I've been messing around with for the last few years to free up some cash for the build. Ended up breaking even on what I had into it, so I'm happy. However, I got the money just in time to see my home PC take a dump - isn't that how it always works? Anways, I'll be sanding away my frustrations this weekend...
 

bdbecker

Adventurer
I ordered new shocks for the rear of the truck last night. I got a little excited, and decided to see what I could do about getting my truck leveled out by adjusting the torsion bars. After doing some research on an F150 forum, I found that 24" from the center of the hub to the top of the fender is pretty much the maximum distance that allows for additional clearance without compromising the ride too much, and damaging other components. So with a long cheater bar, a generous soaking of WD40, and about an hours worth of work, here's how it turned out.

Before:

IMG_4478.jpg


After:

IMG_4778.jpg


My driveway is a little sloped, but on level ground, there is still a little bit of rake towards the front, which is exactly how I want it to sit. I may have to drop her down just a little once I start putting gear in the box to avoid that "perpetual wheelie" look when going down the road.
 

bdbecker

Adventurer
Added some extra lights over the weekend (after I got done cleaning all the water out of the basement). Running four 150W lights mounted to the front bumper, two 40 amp relay boxes, and one $1 old school switch on the dash. Everything is fused, wires and relays are oversized, and all the connections are water tight so hopefully I won't have any issues down the road. Oh yeah, they also throws some serious light, or as my buddy said "It'll look like God is rolling down the trail." Now that I know they work, I'm just going to button things up a little more under the hood to make it look as clean as possible.

IMG_5137.jpg


IMG_5136.jpg


IMG_5141.jpg


IMG_5140.jpg


IMG_5146.jpg
 
Last edited:

Forum statistics

Threads
185,911
Messages
2,879,535
Members
225,497
Latest member
WonaWarrior
Top