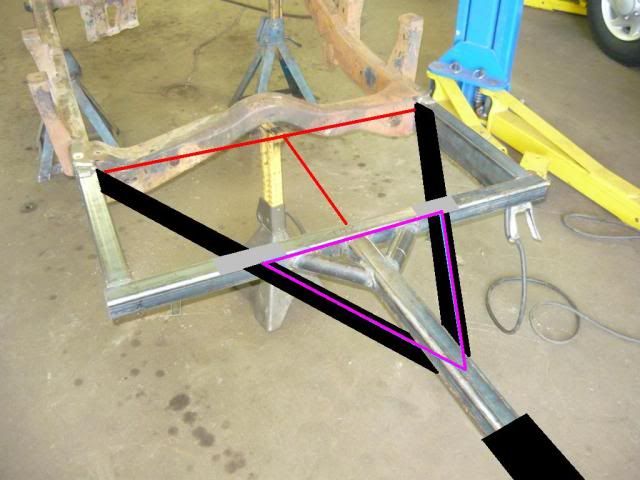
Best is when the tongue tube(s) are under the rest of the trailer frame. Cross under at the front cross member and then tie into the side rails a ways to the rear of the front cross member. That is rarely done on these light trailers (416's/M101's being the notable exception as they are done this way), but you'll likely notice that it is very rare that this is not done on heavier trailers.
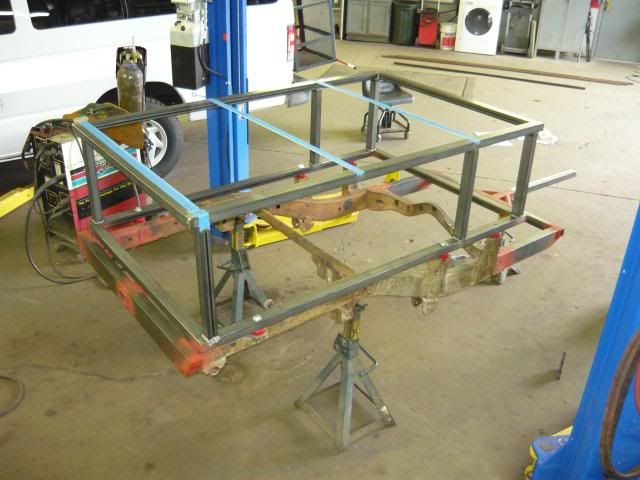
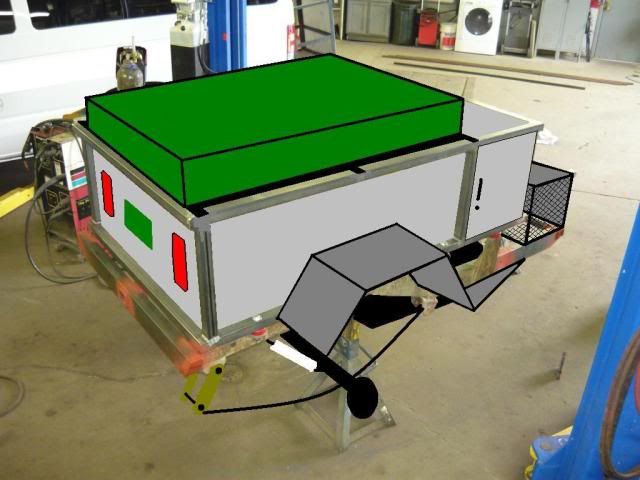
The Toyota frame tapers down at the front, below the spring mounts. Building the tongue below the frame would mean that I would need a large drop hitch, and it would drag while going over water bars, up large hills, etc. I set the tongue height specifically for my truck and to clear my spare tire carrier.
What I would suggest is replace the 'Horseshoe" cross member (you don't need the drive shaft clearance any more anyway) with a straight tube. Cut off the existing tongue and notch the front cross member for the new tongue tube. Bring the new tongue tube from your newly added cross member forwards thru the notched front cross member and cut it at the desired length.
The "Horseshoe" crossmember is what the gas tank, and gas tank skid plate mount to. The tongue and the crossmember that the tongue is welded to is 3/16", the 3/16" crossmember is reinforced with 1/4" plate. I have no plans to cut apart, with some extra bracing it should be more than strong enough.
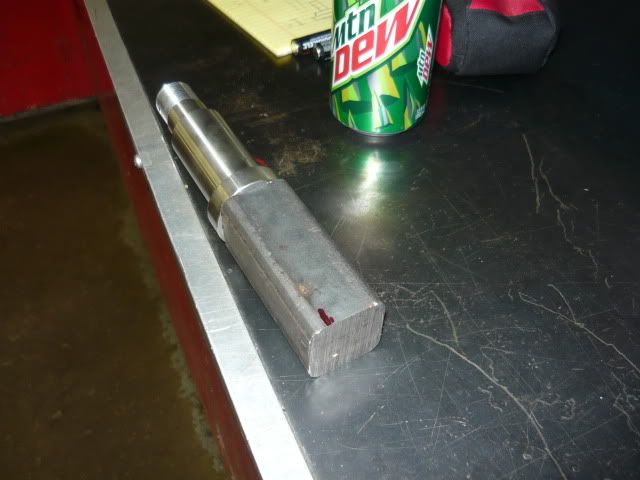
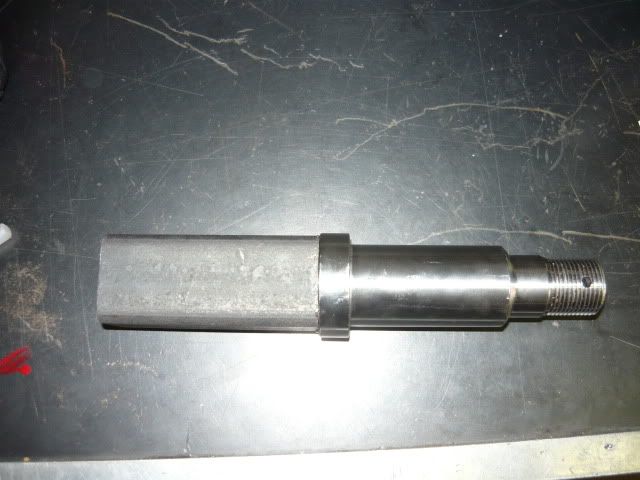
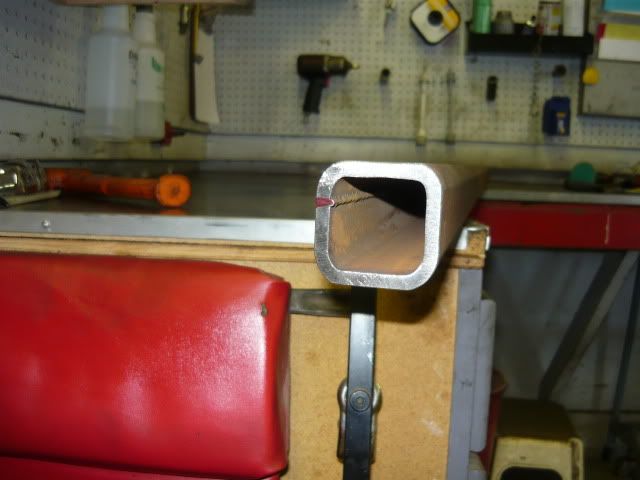
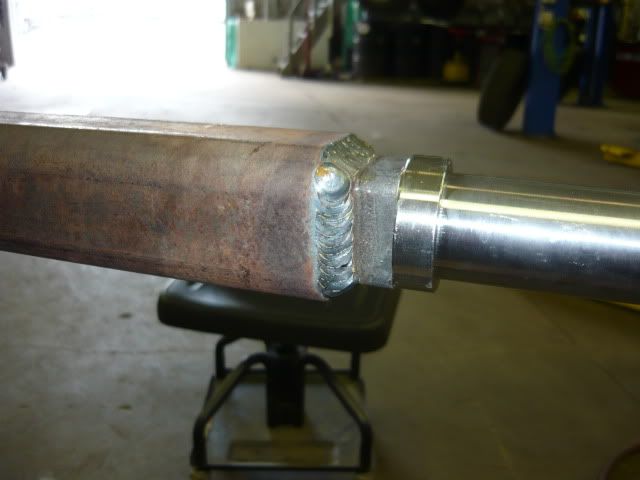
Note that some additional dimension, particularly in the vertical plane, is a good thing. If there is the budget to do so what I'd suggest is to make the new tongue tube from socket receiver tubing. That gets you more dimension in both the horizontal and the vertical planes as well as making it easy to have an extendable tongue, or simply a removable coupler so as to discourage it being 'borrowed.'
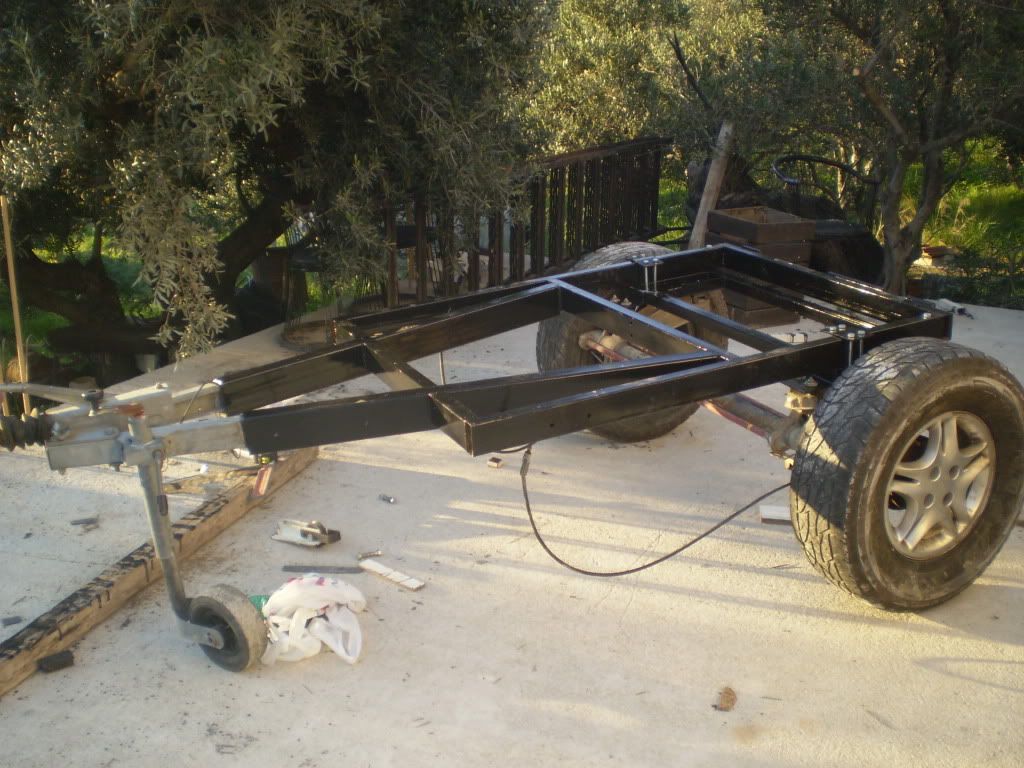
The tongue is getting a section of receiver tubing at the front of it, for both security and the option of switching couplers to a more off-road friendly version. There's reason I didn't make the whole tongue from it, weight and money.