Heifer Boy
Adventurer
Stage Eight – Floors
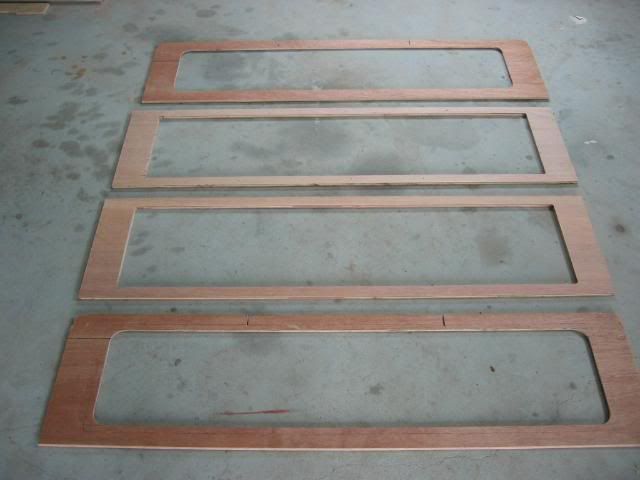
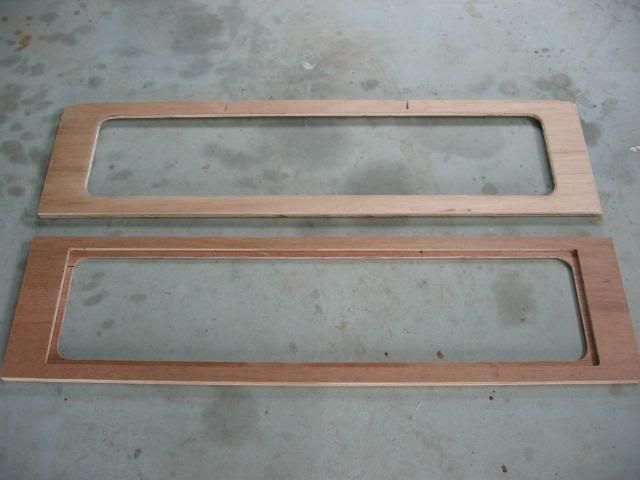
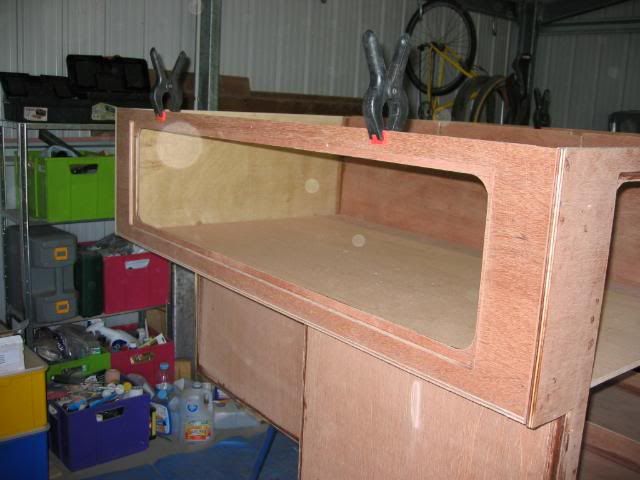
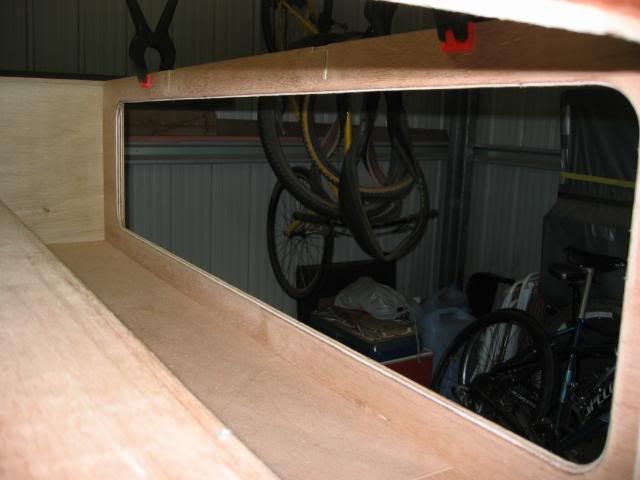
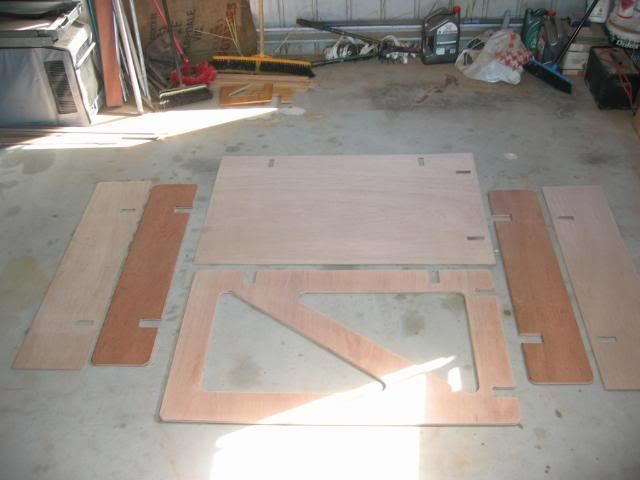
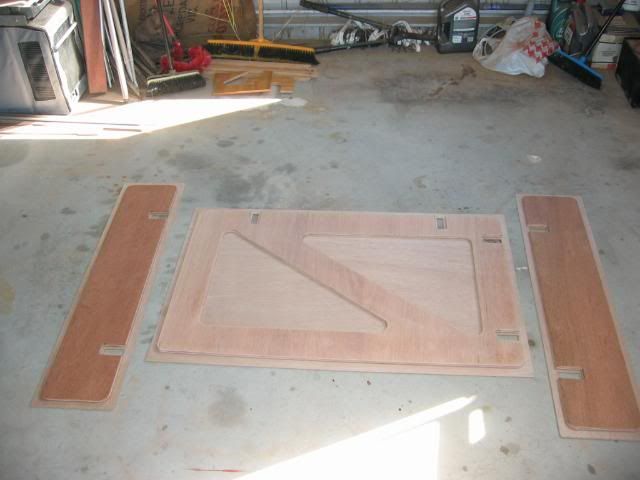
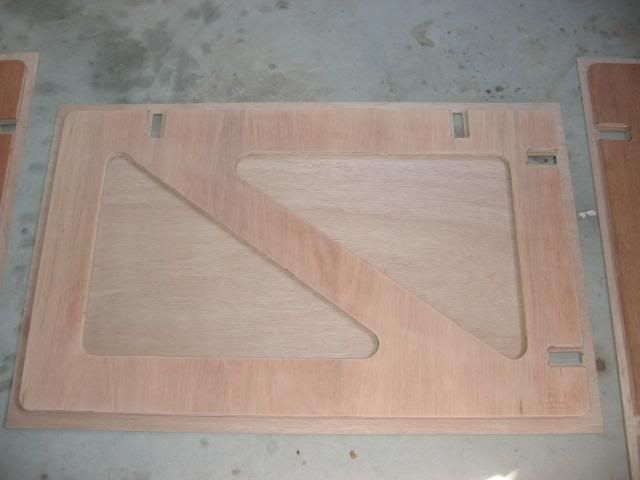
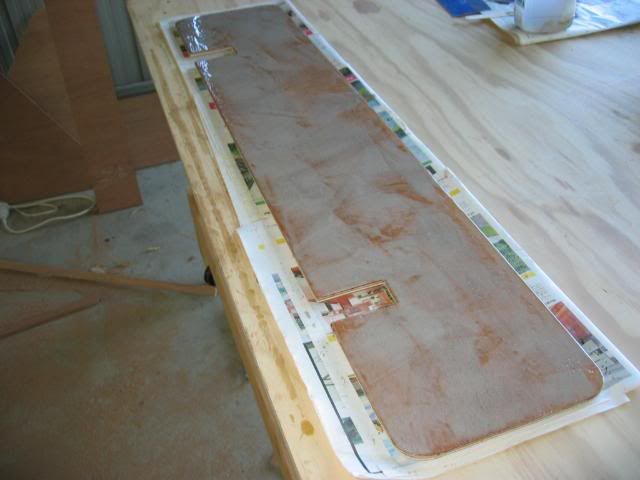
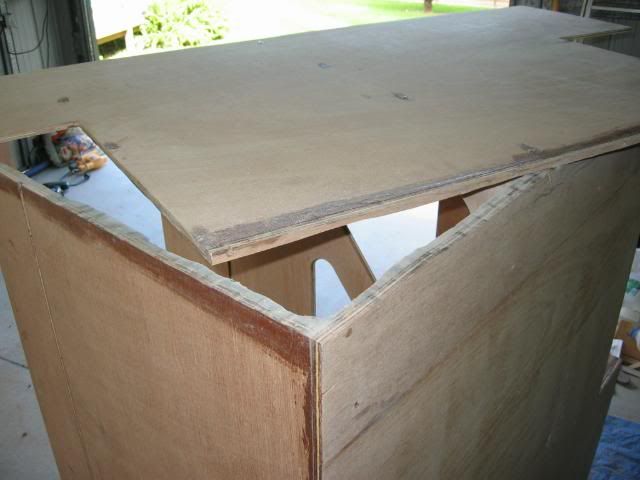
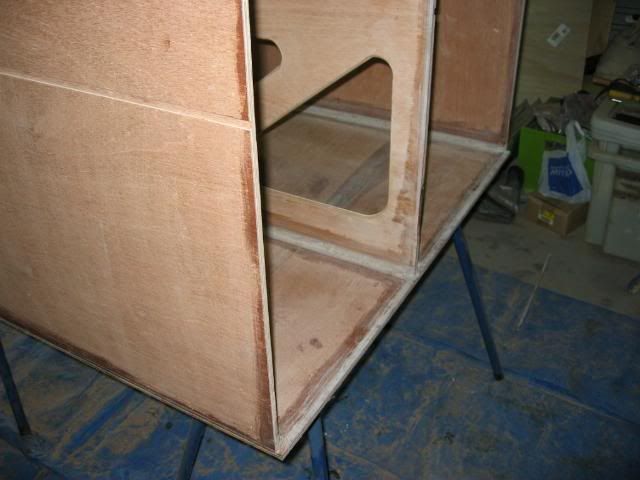
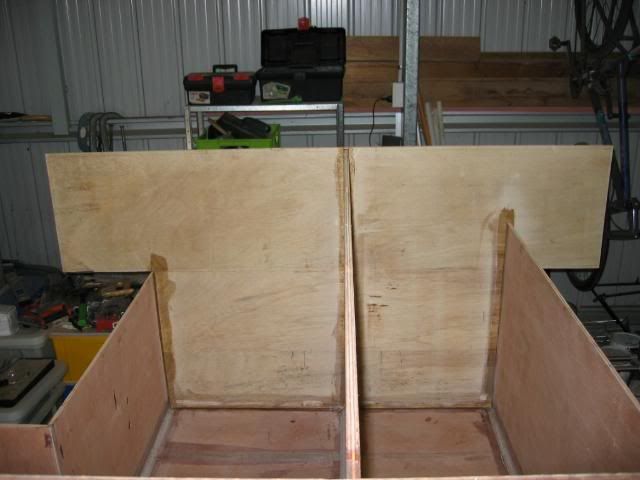
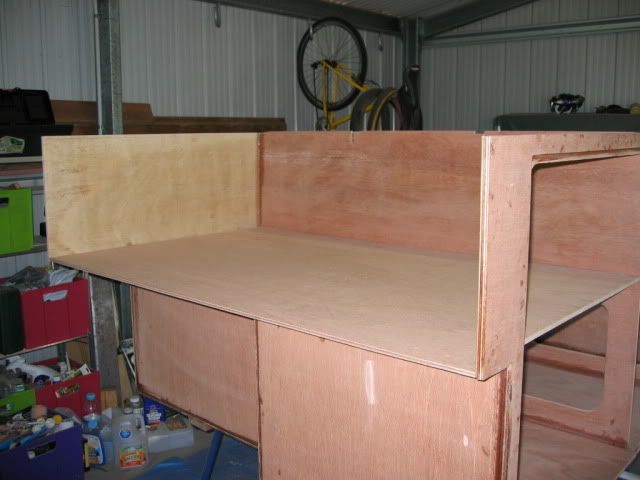
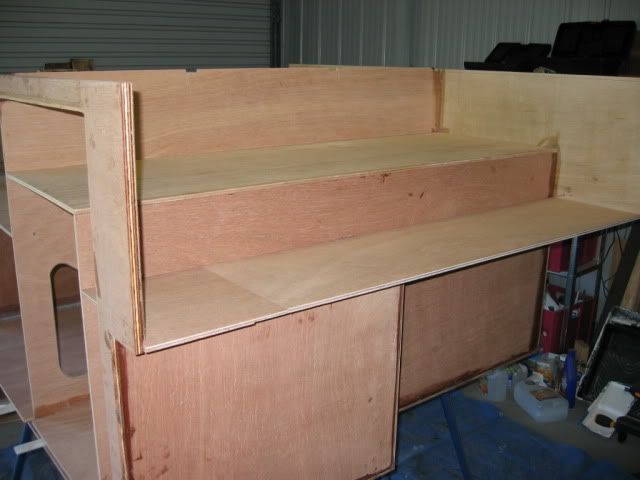
Not a whole lot done this time. I just cut and dry fitted the floors for the upper storage areas. It’s good to get this done as it really shows the size of each of the storage spaces.
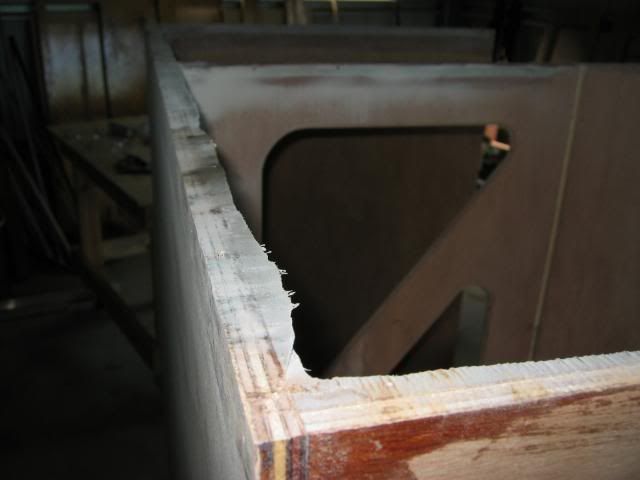
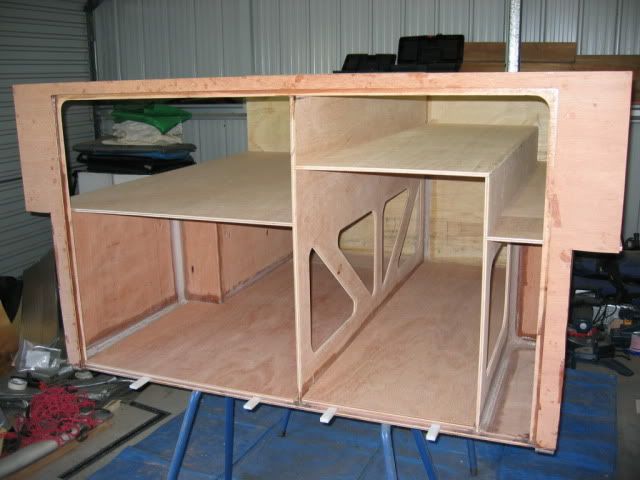
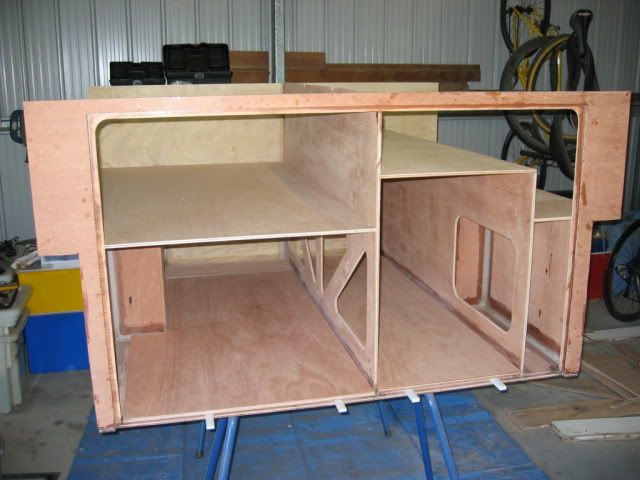
The LH side is pretty big and we will be able to get a lot of stuff in there. I’ll probably divide it up a bit to hold plastic boxes etc without them sliding around the place too much. The RH side obviously has a step in it to clear the fridge height so the space it a bit broken up. On the upper section at the back I’m going to put the second battery with fuse box and outlets in front of it. There will also be a small hatch cut into the top panel to allow access to the water jerry can to disconnect the hose when it needs to be swapped. In the photos you can see I made the lower RH section out of two pieces which are joined with another lap joint. This is because if I didn’t I would have to buy a complete sheet of 9mm ply just to make this!! With the strength of other lap joints I have made I don’t think this is going to be a problem!!
The idea is to bootline these areas but and although I would like to do that before the top goes on I think it will have to wait until we have done a couple of trips and really know how it’s going to be organised. We know what we generally take but I don’t want to have to try and rip up carpet and redesign the insides after it’s all built.
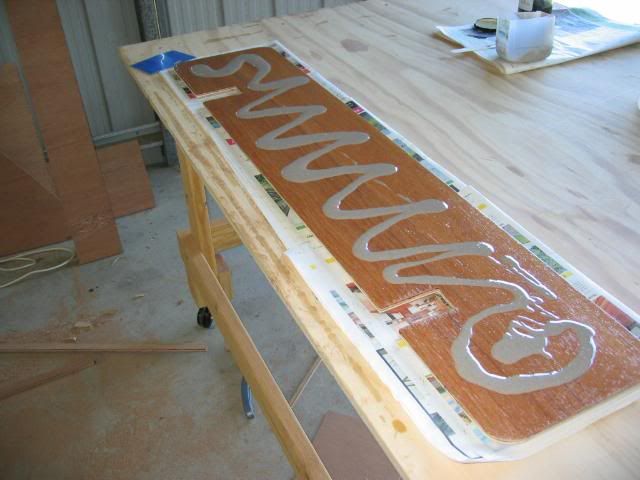
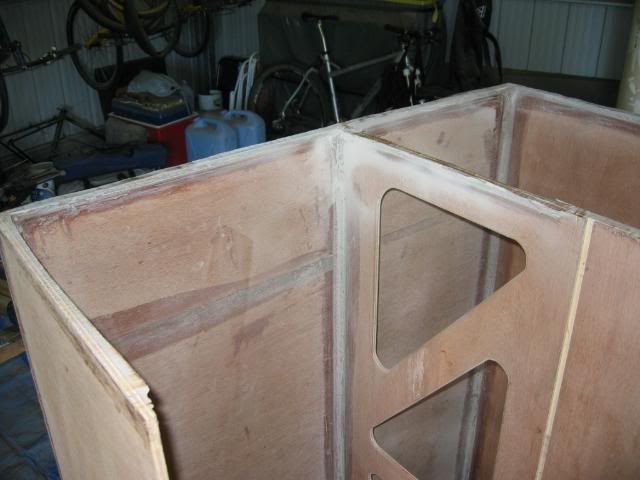
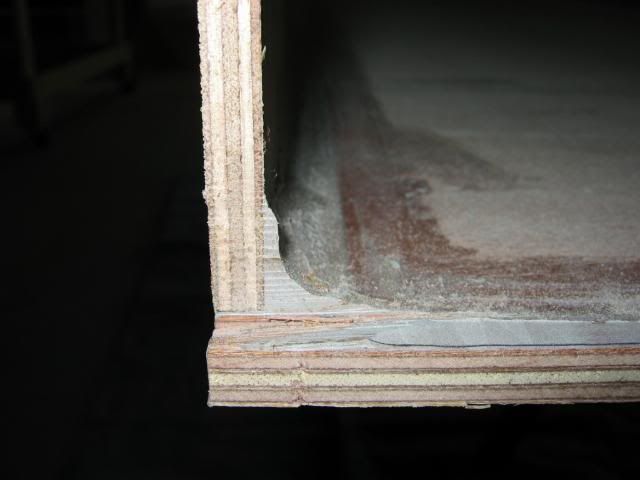
I also started making the drawer slides. These will hold all the storage boxes, the kitchen box, fridge etc. They still need a lot of work but I was able to get true dimensions off the LH one so my partner can start designing the removable kitchen box we have planned. These are made out of 12mm ply and have small extensions lap jointed to the ends to use up the offcuts and give the length I needed.
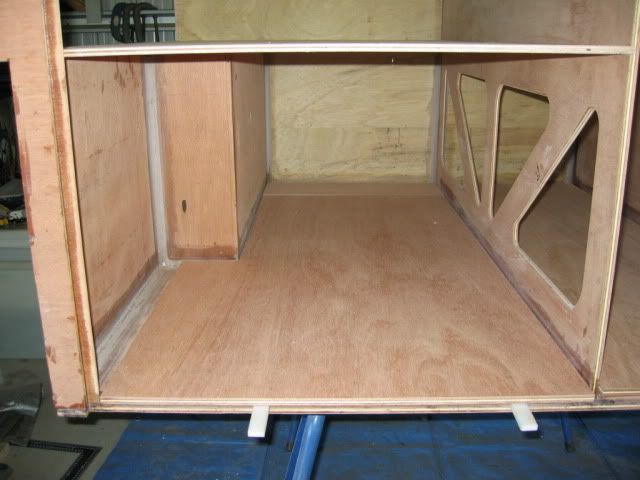
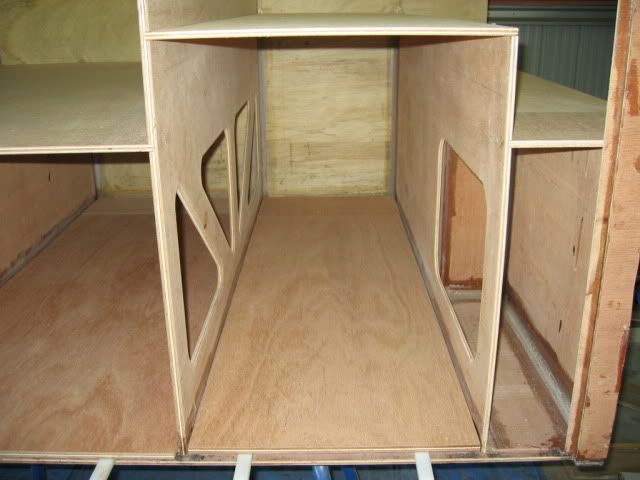
It’s a pain that the length of everything in this build is just over the 1220mm width of a full sheet so it all needs to be cut out of a full panel. It took an initial bit of patternmaking to minimise the waste so I didn’t just keep buying more plywood each time I needed a new panel cut. Well worth doing though and I check my drawings each time to make sure I cut the right panel from the right sheet.
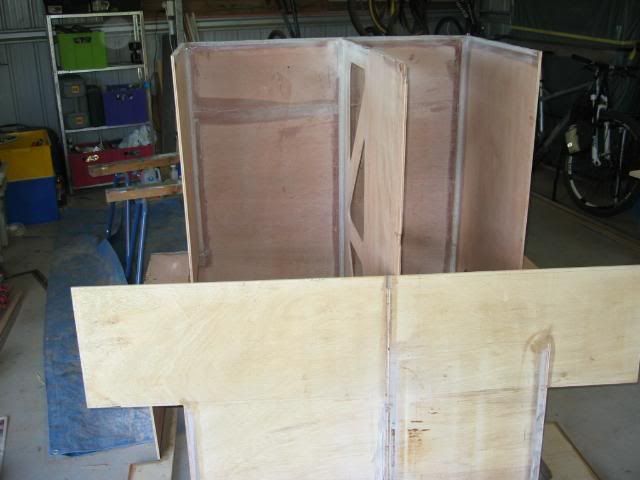
It’s really starting to look like a camper now and not just a pile of plywood panels. Yay!!! I hope everyone is enjoying the write ups and please feel free to comment. Feedback is always welcome.
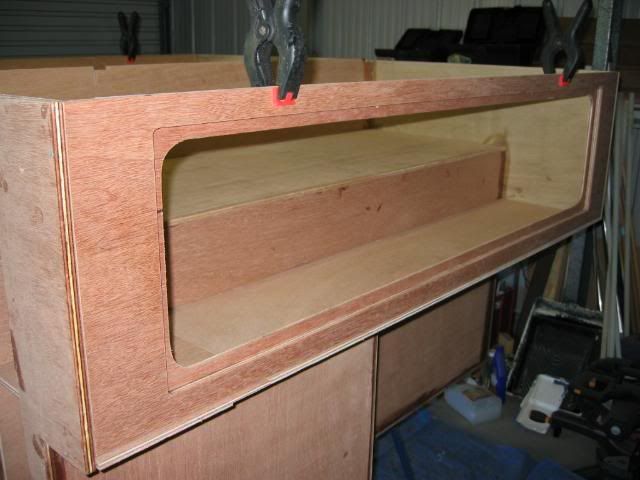
Not a whole lot done this time. I just cut and dry fitted the floors for the upper storage areas. It’s good to get this done as it really shows the size of each of the storage spaces.
The LH side is pretty big and we will be able to get a lot of stuff in there. I’ll probably divide it up a bit to hold plastic boxes etc without them sliding around the place too much. The RH side obviously has a step in it to clear the fridge height so the space it a bit broken up. On the upper section at the back I’m going to put the second battery with fuse box and outlets in front of it. There will also be a small hatch cut into the top panel to allow access to the water jerry can to disconnect the hose when it needs to be swapped. In the photos you can see I made the lower RH section out of two pieces which are joined with another lap joint. This is because if I didn’t I would have to buy a complete sheet of 9mm ply just to make this!! With the strength of other lap joints I have made I don’t think this is going to be a problem!!
The idea is to bootline these areas but and although I would like to do that before the top goes on I think it will have to wait until we have done a couple of trips and really know how it’s going to be organised. We know what we generally take but I don’t want to have to try and rip up carpet and redesign the insides after it’s all built.
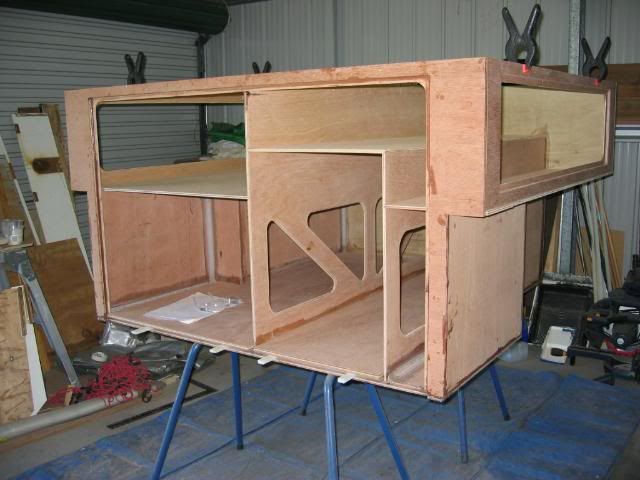
I also started making the drawer slides. These will hold all the storage boxes, the kitchen box, fridge etc. They still need a lot of work but I was able to get true dimensions off the LH one so my partner can start designing the removable kitchen box we have planned. These are made out of 12mm ply and have small extensions lap jointed to the ends to use up the offcuts and give the length I needed.
It’s a pain that the length of everything in this build is just over the 1220mm width of a full sheet so it all needs to be cut out of a full panel. It took an initial bit of patternmaking to minimise the waste so I didn’t just keep buying more plywood each time I needed a new panel cut. Well worth doing though and I check my drawings each time to make sure I cut the right panel from the right sheet.
It’s really starting to look like a camper now and not just a pile of plywood panels. Yay!!! I hope everyone is enjoying the write ups and please feel free to comment. Feedback is always welcome.