Gear's Baja JK Thread

Gear

Explorer, Overland Certified OC0020
7 Way Trailer Harness Installed

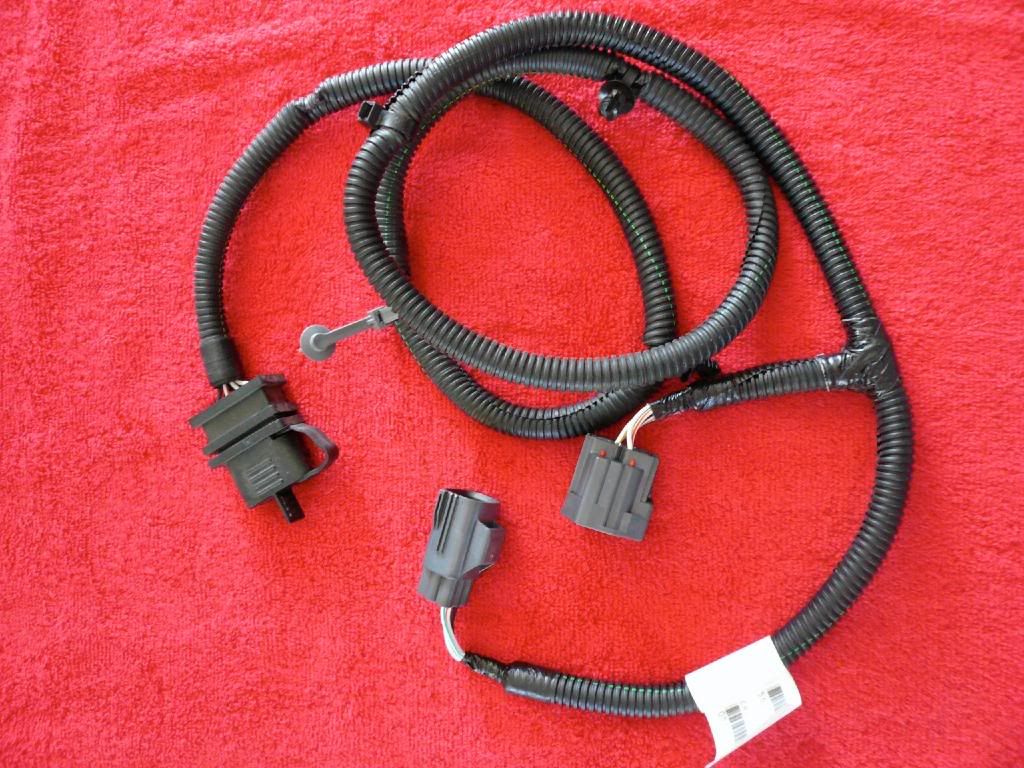
Once the Jeeperman bumper was installed I started in on the 7 way trailer harness for my Chaser #15. I went ahead and purchased the harness from the Jeep dealership and although it was expensive(just under $80.00) I think I got my moneys worth. Now that Jeep is using a CAN-BUS system the harness has relays back at the tail light complicating the harness.

P1020338.jpg

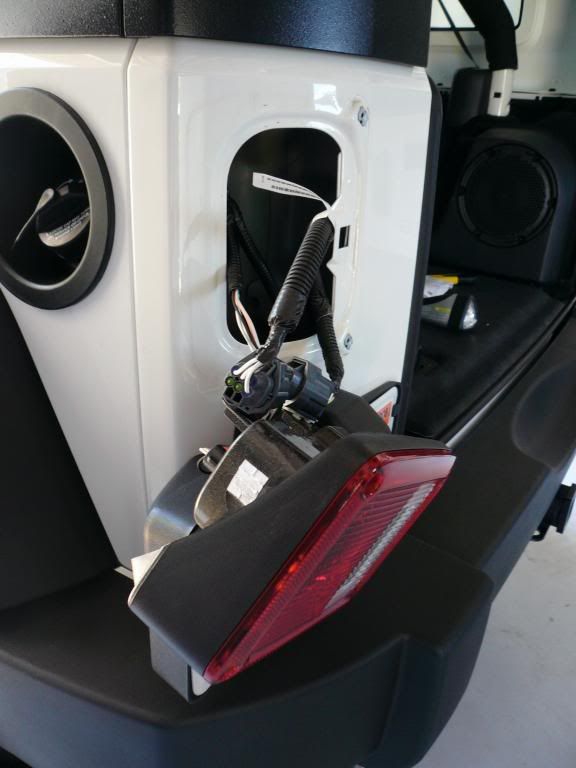
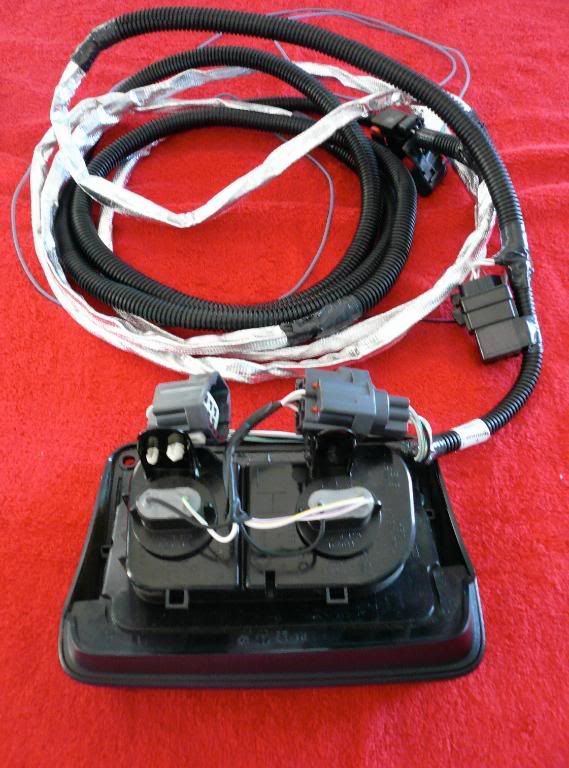
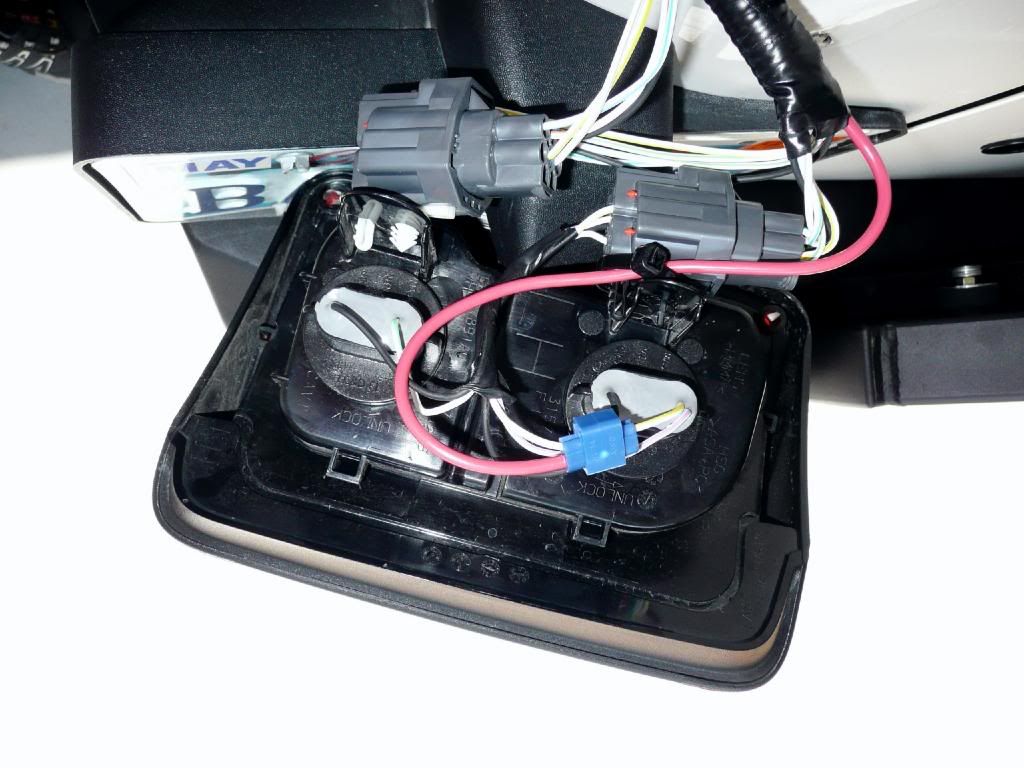
First off remove the two inner screws from the driverside tail light. This removes the whole tail light.

P1020344.jpg

Use a pair of wire cutters and snip all the zip ties holding the existing flat 4 way plug. Disconnect the plug at the light and unclip it from the bumper mount.

P1020346.jpg

This zip tie at the bottom was the most difficult to get to.

P1020353.jpg

Here is the removed flat 4 way plug.

P1020341.jpg

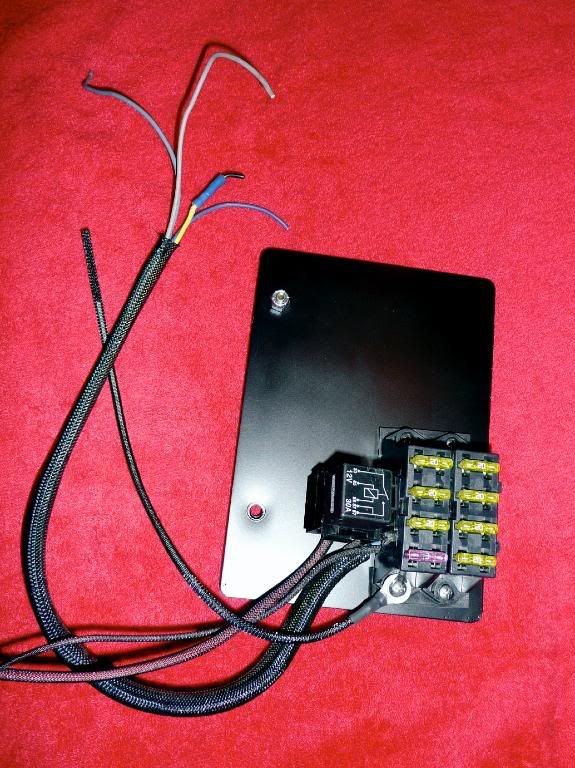
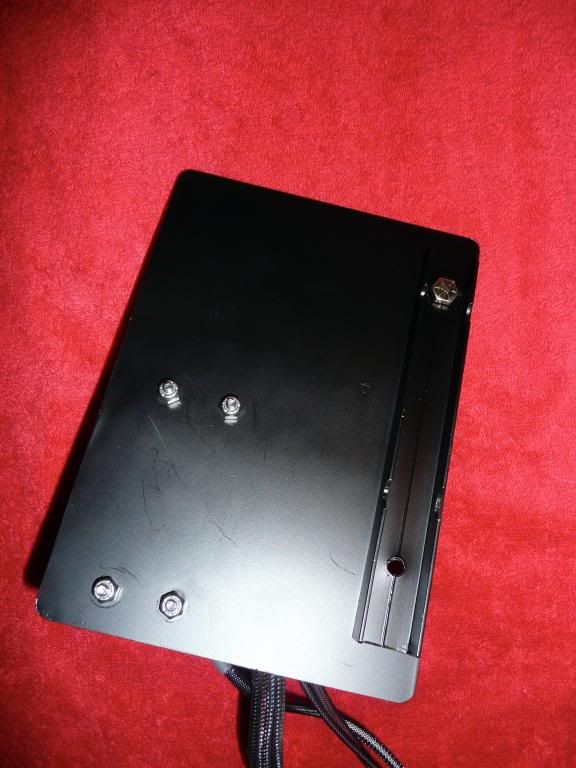
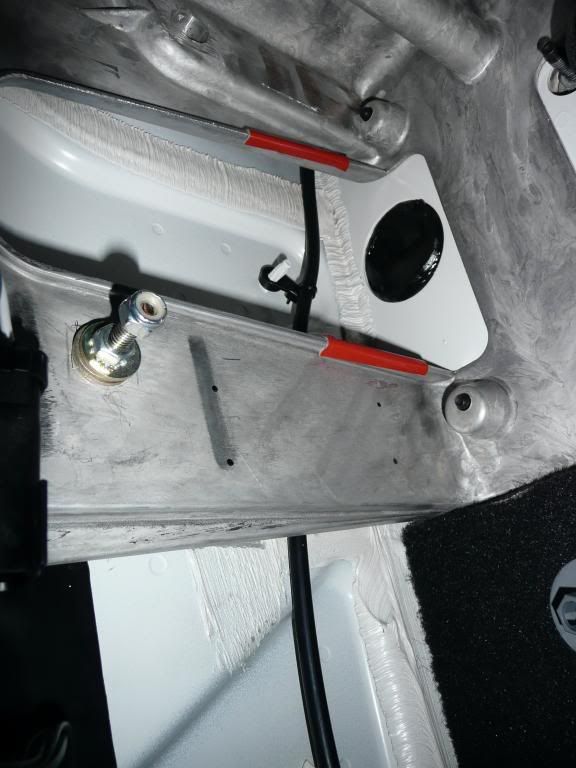
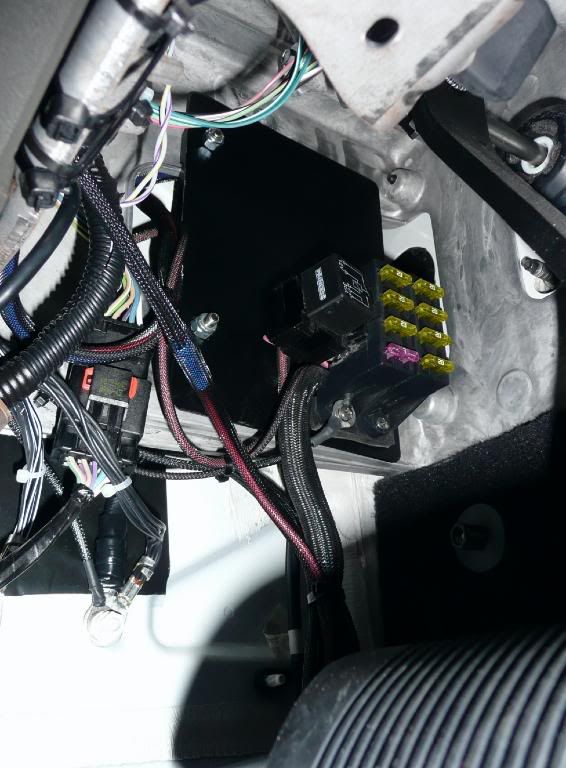
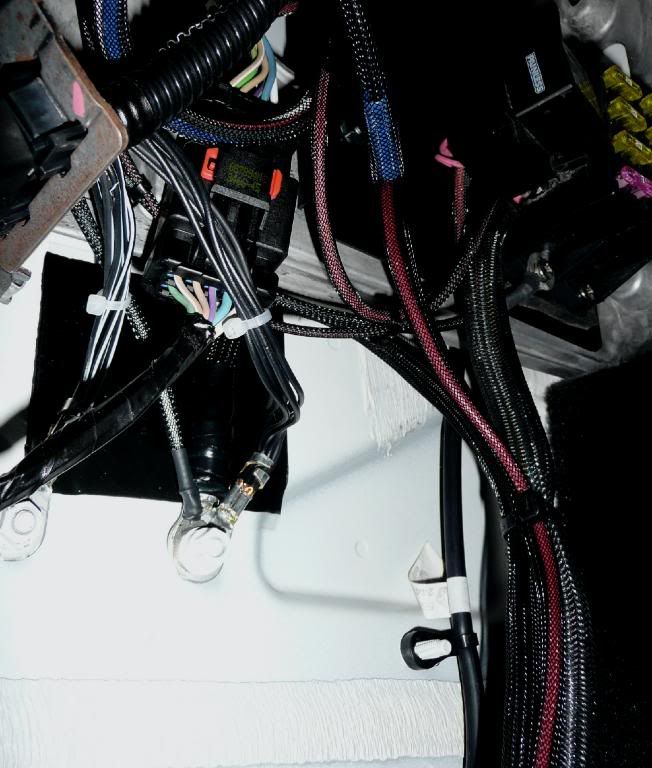
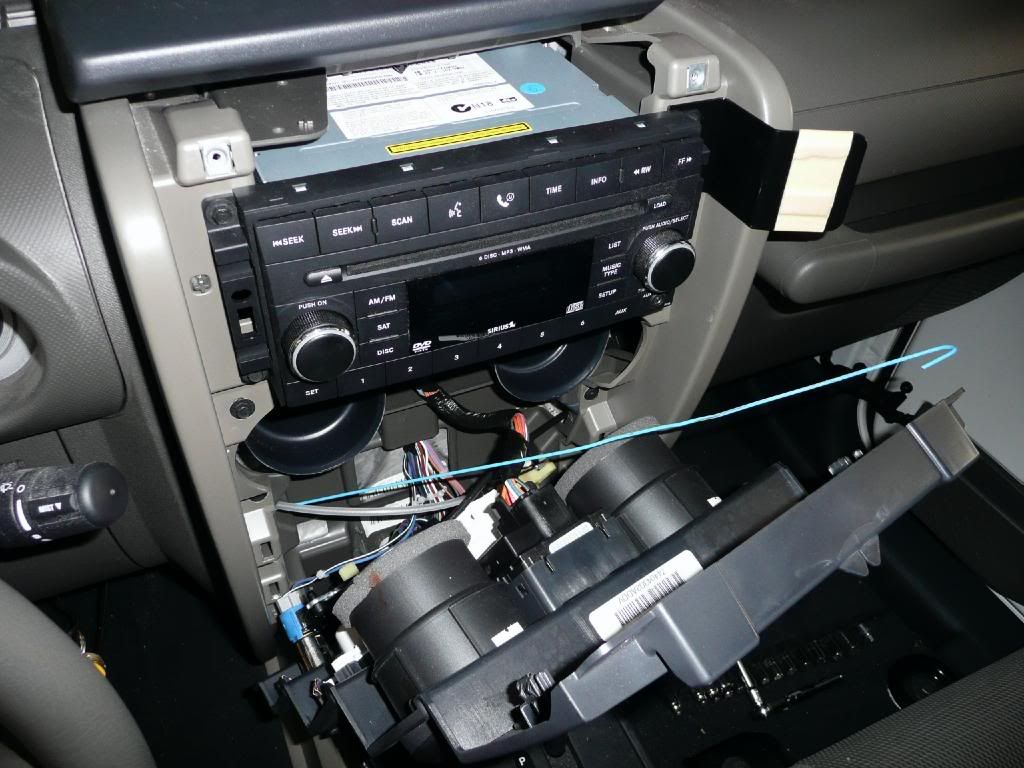
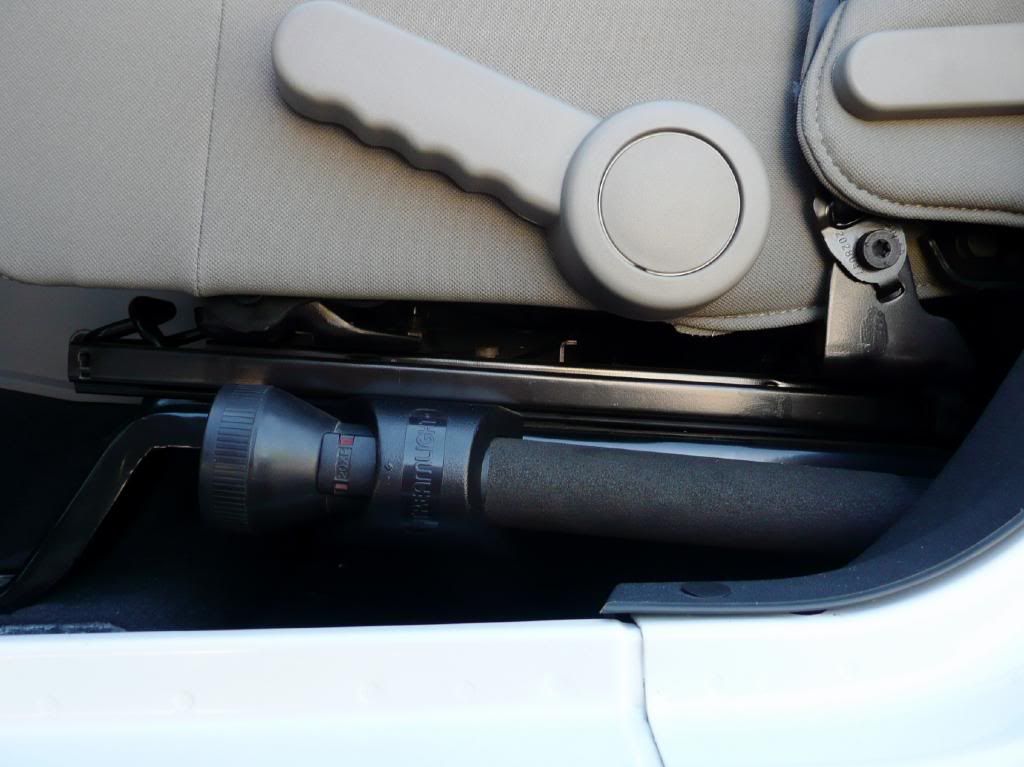
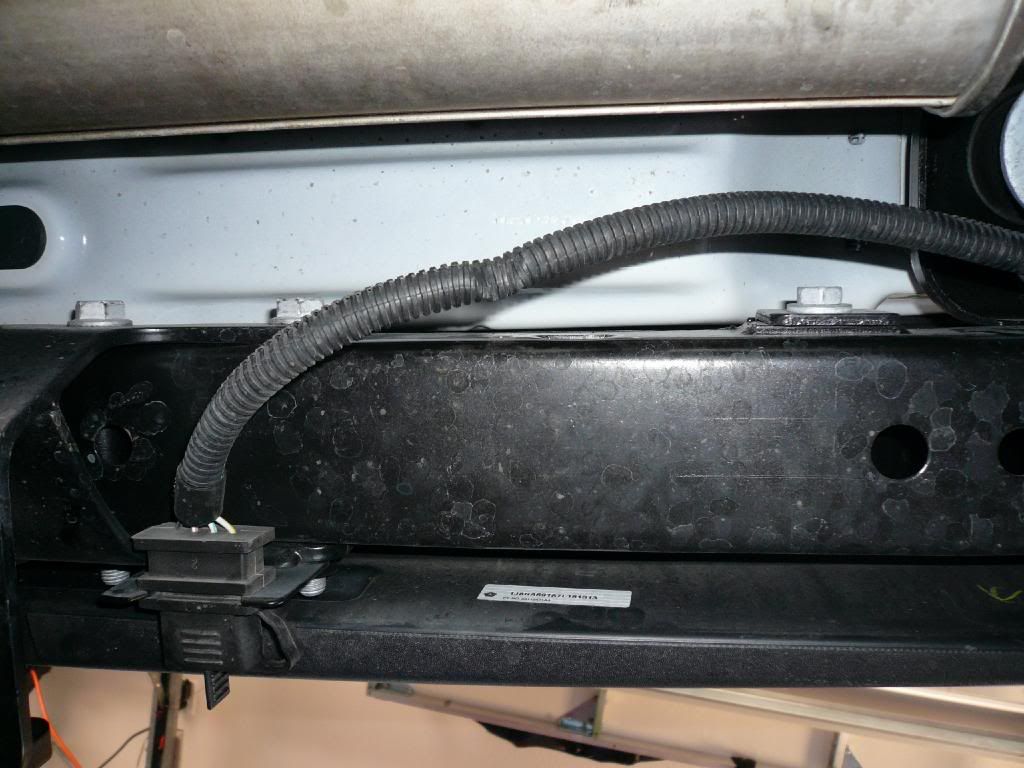
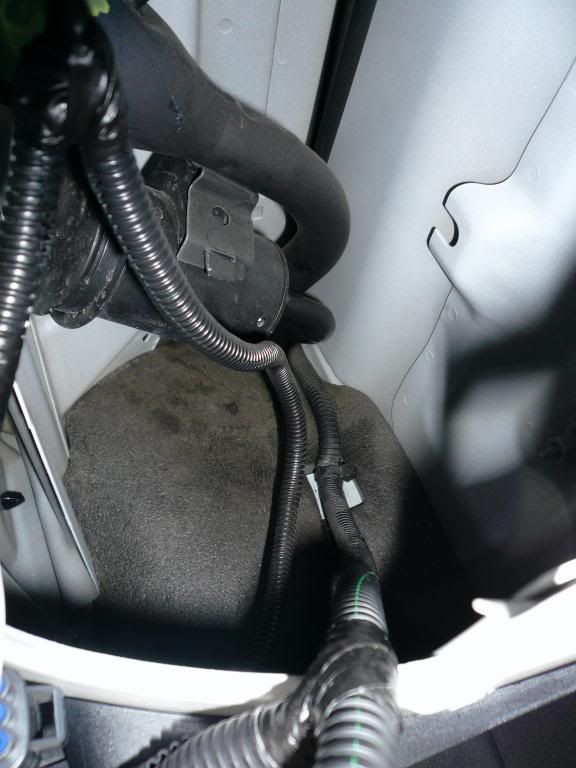
Now simple clip the new harness to the tail light and feed the wires down to the frame, across the rear cross member and up the passangerside frame rail. Connect the positive and negative wires at the battery. Feed the blue and red(see below) wires into the cab. I went thru the firewall at the same spot I used for my sPOD install. Zip tie the harness along the way.

47b7d609b3127cceba0114b3094c00000026108EatWzFu0cO

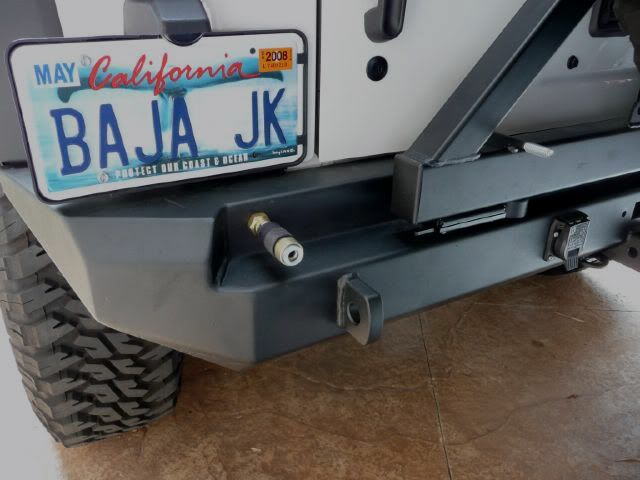
I decided to flush mount the plug into the rear bumper. Here is where I made the cut.

P1000048.jpg

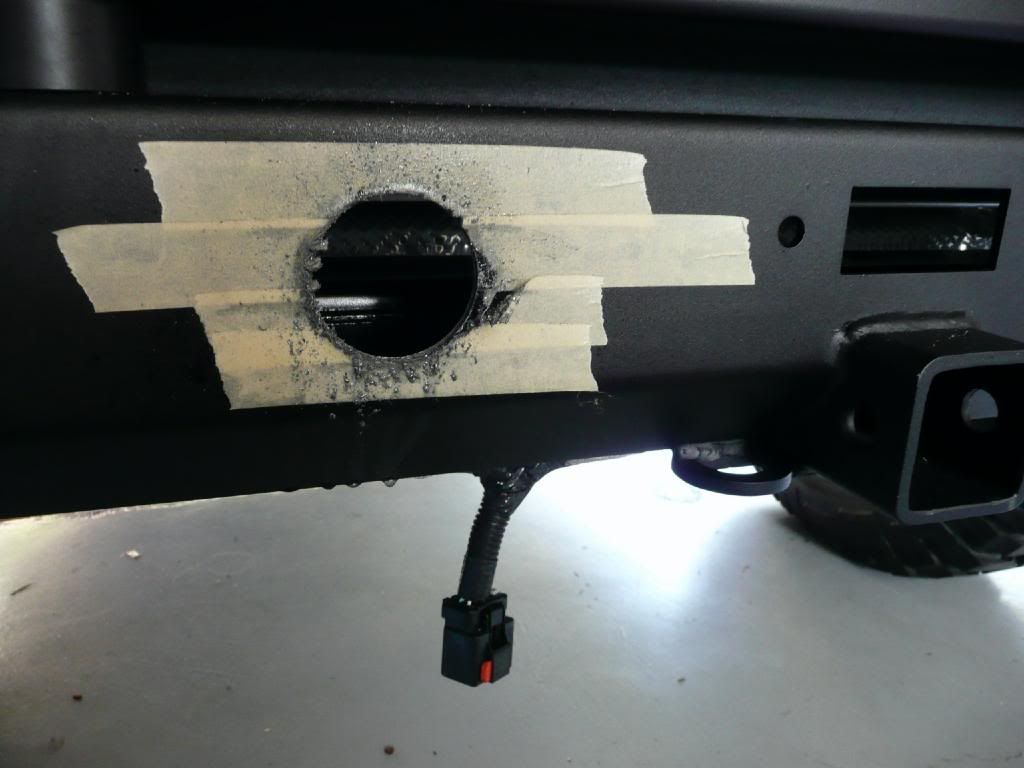
I used a 2" whole saw to drill the bumper.

P1000541.jpg

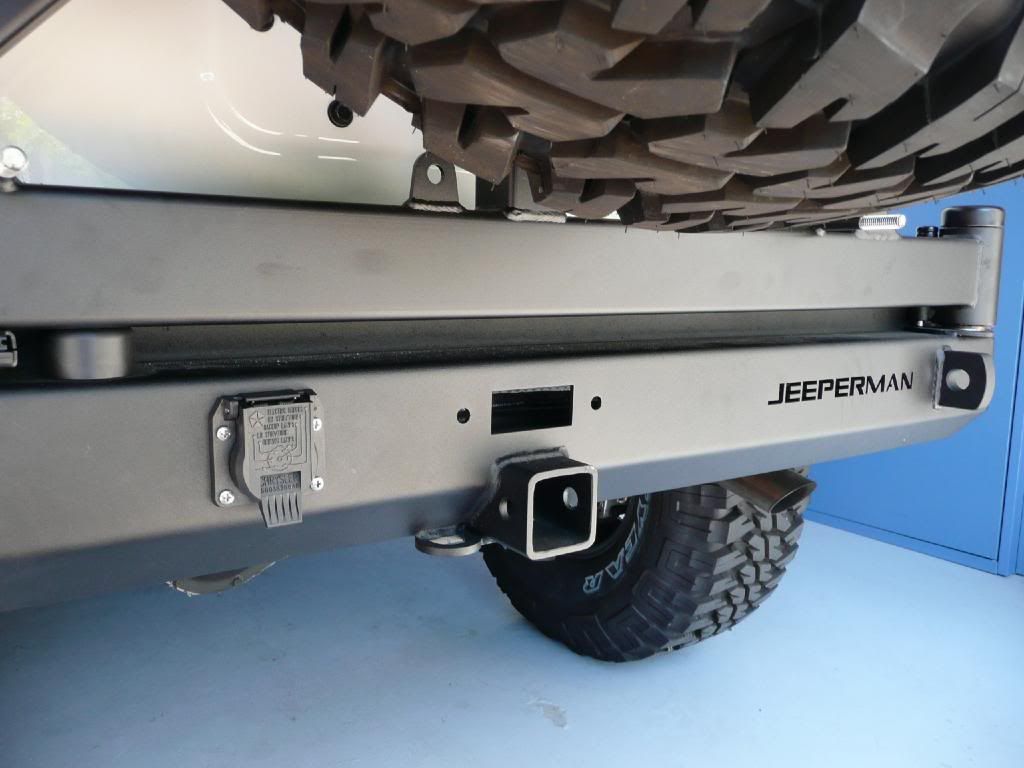
Painted the raw metal and installed the new 7 way connector.


Important -- A note about the factory wire harness. It comes with the supplied blue wire for hooking up the trailer brakes. Unfortunately there is not a wire in the harness for a brake trigger. Jeep has one under the dash for this but it does not provide enough of a load to trigger the Prodigy brake controller that I have. So with this said I had to add a red wire(brake trigger) to the harness. Not difficult but time consuming.

P1000623.jpg

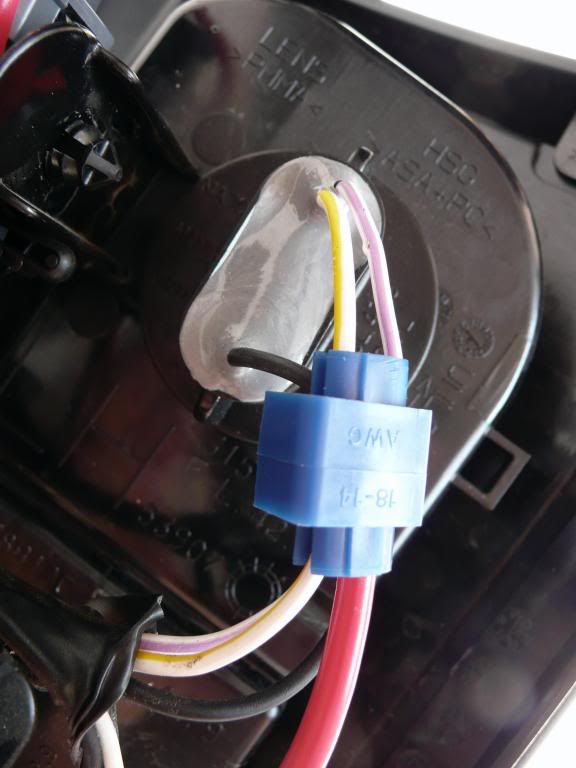
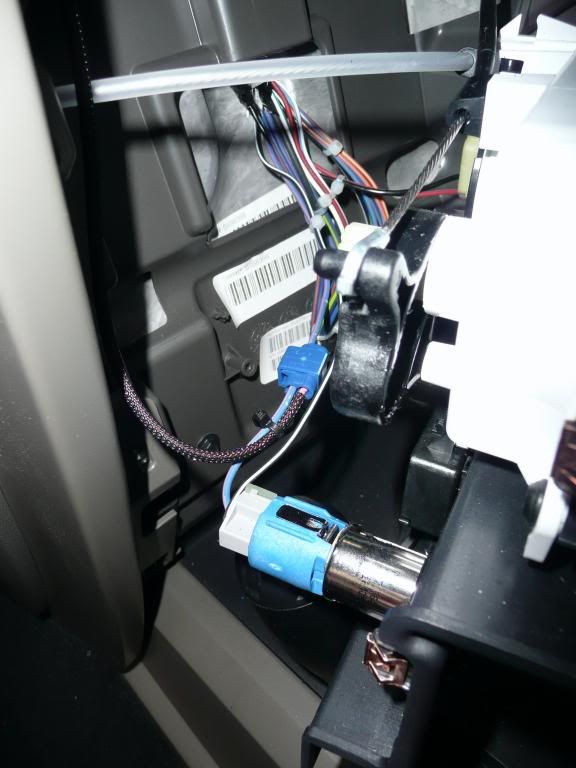
Here is the red wire(brake trigger) connected to the white/yellow wire at the tail light.

P1000626.jpg

And one more wide shot.
 
Last edited:

Gear

Explorer, Overland Certified OC0020
10# PowerTank Installed

Decided it was time to mount up my 10# PowerTank. Since I had the tank, bracket and hose fittings already I called up PowerTank and ordered there roll bar clamps and a hose for the back bumper.

P1000650.jpg

Here are the goodies

P1000657.jpg

10# tank installed with 2 roll bar clamps and bracket. Very secure.

P1000673.jpg

5 1/2' of Superflexy hose is run thru the gromet at the top of the wheel well down to the bumper.

P1000652-1.jpg

Drill another hole into the bumper and connect the hose fittings.
 
Last edited:

Gear

Explorer, Overland Certified OC0020
Painless Wire 7 fuse power center Installed

Went ahead and installed my Painless wire 7 fuse power center under the driverside dash. Pulled this from my 03 Rubicon so all I had to do was fabricate a small bracket. Used a sheet of thick steel and a piece of C channel.

P1000550.jpg

Made the sheet oversized just in case I decide to add a couple of relays.

P1000555.jpg

Here is the back side.

P1000556.jpg

The C channel gives me clearance for the nut that secures the bolt in place. This makes it so I do not need to put two wrenches underneth the dash to take it out. I notched the C channel to fit over the ridges where it will be mounted. From past experience this bracket needs to be mounted securely while still being easy to take in and out.

P1000726.jpg

Simple install the bracket and secure the one nut using one ratcheting 7/16 wrench.

P1000727.jpg

Wiring the 7 fuses. One positive wire goes to the battery positive terminal. One of the bolt holes on the plastic case has a negative ground wire. I extended a second wire to the above bolt(center). Also you will need to give what ever you are powering up a ground(negative) wire. I simple took four 16 gauge wires approxiametly 16" long and wrapped them in one plastic sleeve. This was attached to the same bolt. Now all I have to do is quickly connect the ground wire to these easily accessible wires. I left the wires long so I can pull the whole panel down to work on it if necessary.

P1000572.jpg

Now 4 of these fuses are ignition hot. So with Jeeps new CAN-BUS it is a little difficult to find an ignition hot wire. The only one I know of is the 12 volt power in the dash(left side of gear shift). Take the wire from the Painless box(very well marked) and run it under the steering column and using a coat hanger pull it up behind the 12 volt power source.

P1000581.jpg

Now connect the ignition hot to the blue/pink wire using a scotch lock.

I am now ready to install my CB, 2M, flashlight, etc.
 
Last edited:

Gear

Explorer, Overland Certified OC0020
Streamlight SL-20XP Flashlight Installed

Mounted my Streamlight SL-20XP flashlight to the driverside seat bracket.

P1000631.jpg

First off I made a small backing plate to hang the flashlight holder on.

P1000693.jpg

Next I drilled two small holes into the seat bracket(none sliding side). Mounted the flashlight and ran the positive and negative wires under the seat up to the Painless wire 7 fuse holder. Attached the two wires and I now have a rechargeable flashlight in the Jeep.
 
Last edited:

RunninRubicon

Adventurer
Gear said:
Decided it was time to mount up my 10# PowerTank. Since I had the tank, bracket and hose fittings already I called up PowerTank and ordered there roll bar clamps and a hose for the back bumper.

47b7d609b3127cceba01523188dd00000025108EatWzFu0cO

Here are the goodies

47b7d609b3127cceba0d9c6d88e500000025108EatWzFu0cO

10# tank installed with 2 roll bar clamps and bracket. Very secure.

47b7d609b3127cceba01522809f400000025108EatWzFu0cO

5 1/2' of Superflexy hose is run thru the gromet at the top of the wheel well down to the bumper.

47b7d609b3127cceba01522388cf00000026108EatWzFu0cO

Drill another hole into the bumper and connect the hose fittings.

I truely like this idea. I still use a hose and have to open-up the back window when the vinyl window is dusty and hard to unzip. This is a much smarter idea having it plumped into the rear bumper. This will cut down on abuse my zippers take at the end of the trail when I'm ready to head home and blow off the dust....not carry it home! I am sure others will as well.
 

Gear

Explorer, Overland Certified OC0020
Roof Rack build - Pipe bending

Spent 6 hours this morning bending pipe for the roof rack. Just thought I would share some photographs.

47b7d722b3127ccebafc929bd95500000025108EatWzFu0cO

Rear will be bolted to the Jeeperman bumper. The front will be welded to a second set of A pilar brackets that I purchased.

47b7d722b3127ccebafc928c587200000026108EatWzFu0cO

Nothing like bending 14' of 1 1/2" pipe.

47b7d722b3127ccebafc93e999bf00000026108EatWzFu0cO

Side shot of the Baja JK. That's Joe on the left.

47b7d722b3127ccebafc93ca18ac00000025108EatWzFu0cO

Rear compound bend.

Many Thanks to Joe at Joehauler.com. He is the one working the machines.
 

Mlachica

TheRAMadaINN on Instagram
Oh man, mighty fine job Justin! Everything is coming together so nicely. Can't wait to see the next update...
 

Gray Matter

New member
Hey Justin:

Long time no see. The new Rubicon is looking great. I was wondering whether you were going to bring the Jeep back to Hunter to have a new rack made or procure one in Calif. Looking forward to the finished product.

Brian L.
 

Gear

Explorer, Overland Certified OC0020
Hello Brian
Good to see you found the Portal. Here is your friendly :wavey:. Now how about posting up some photographs of your Jeeps. Yes, John at Hunter Off-road does some nice work. I just needed to have it done a lot closer to home.
 

Gear

Explorer, Overland Certified OC0020
Here are two more shots with the side bars welded up. We are working on the cross members as we speak.

47b7d732b3127ccebbc9d6c3e15b00000026108EatWzFu0cO


47b7d732b3127ccebbc9d6c8606000000025108EatWzFu0cO
 

Forum statistics

Threads
185,883
Messages
2,879,383
Members
225,497
Latest member
WonaWarrior
Top