Gear's Baja JK Thread

Gear

Explorer, Overland Certified OC0020
Well it has been two months since I brought the new JK home(May 14, 2007) and it is now time to start the transformation-- Baja JK

P1010566.jpg

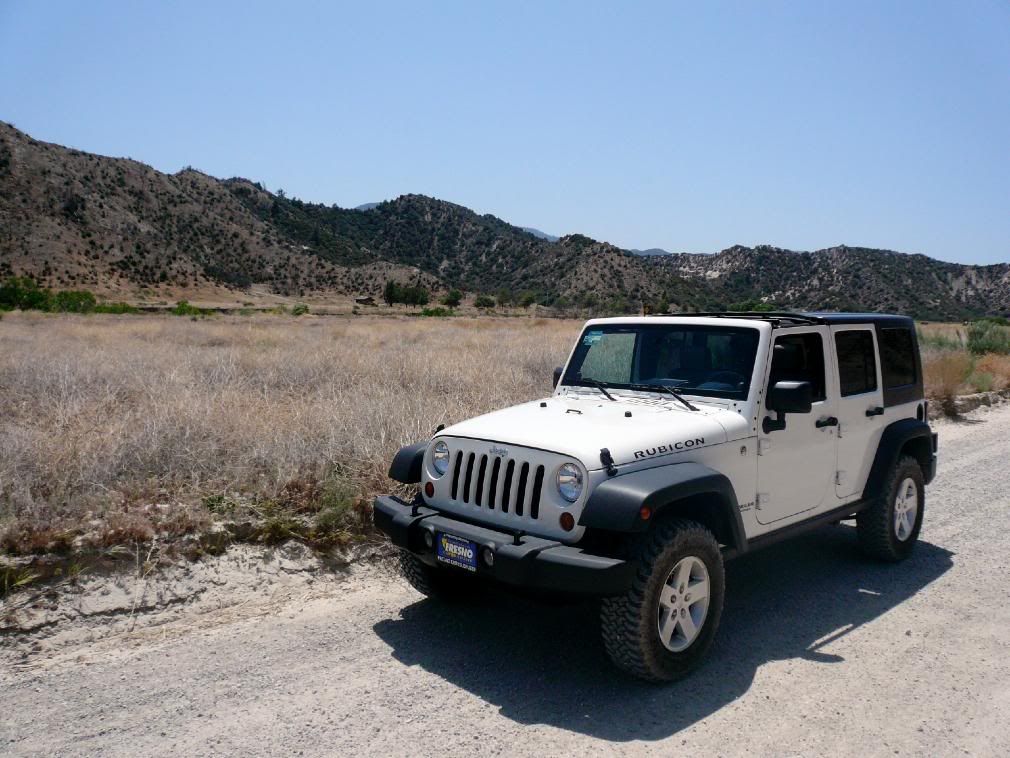
Here is the Baja JK at Gorman OHV park a couple of hours after purchase.

Lets skip ahead - I hate looking at stock vehicle photographs. Here it is today!

P1020177.jpg

So far I have added the following to the Baja JK -

Shrockworks front bumper with grill hoop, winch mount, and skid plate.
Warn 9.5Ti winch with synthetic line
Baja Designs Sol Tek HID driving lights
HID headlights
sPOD and Source - 6 switch panel and relay source.
Optima yellow top battery.
Side marker lights changed to turn signals mod.
AEV Bridger 16" wheels
Goodyear MTR 315/75/16
Removed the Jeep badges.


Here is what is on order for the Baja JK -

Jeeperman rear bumper with swingout tire carrier
Nth Degree Mobility's 4+ lift kit
Custom built roof rack
Paint those AEV Bridgers Black:yikes:
 
Last edited:

cshontz

Supporting Sponsor
I love it, Justin. I was just messing with the "build your own" feature on Jeep's web site, and ended up with an ExPo white Rubimited just like yours.
 

Gear

Explorer, Overland Certified OC0020
Yes, it is a great Jeep and a family wagon to boot. Love the fact that I can take the freedom top off of the front two seats and leave the kids covered in the back with the rear portion of the hard top. I have a lot more photographs of the installs and will post as time permits.

Calamaridog wrote-
You going to paint the wheels or powdercoat them?
I am just going to rattle can them flat black at first and see if I like the look if not I will add some semi gloss. As long as I do not scratch up the clear coat to much the flat black primer should be fine.
 

Gear

Explorer, Overland Certified OC0020
Here is the HID headlight install-

47b7d932b3127cce87032819aac700000045108EatWzFu0cO

I 3M adhesived the ballast to the bottom of the cowl.

47b7d932b3127cce87030a00aacf00000036108EatWzFu0cO

Here they are all wired up.

47b7d932b3127cce87030accaa0300000036108EatWzFu0cO

The wires from the ballast making there way to the relay.

47b7d932b3127cce87030ad0aa1f00000035108EatWzFu0cO

I placed the relay to the right of the battery. You can trace the red positive lead back to the relay from the battery in the photograph.

47b7d932b3127cce87030afcaa3300000045108EatWzFu0cO

Here is the driverside light hooked up. Inside you can see the silver box(ignitor) has been 3M adhesived to the Jeep frame.

47b7d932b3127cce87032823aafd00000036108EatWzFu0cO

Headlights low beam before HID.

47b7d901b3127cce879e014e7aae00000026108EatWzFu0cO

Headlights low beam after HID.

47b7d901b3127cce879e0113fbc300000026108EatWzFu0cO

One more on the road(low beam). Let there be light. :victory:
 

Grim Reaper

Expedition Leader
Jeep is going ot get me yet! I really like the new JK. Its a size I can live with and that multi part hard top fits my needs quite well!!
I like that front bumper. Looks very clean and looks part of the vehicle instead of something just bolted on where it sort of fit.

I haven't talked my Buddy into letting me drive his yet. Actually I am worried I would like it enough to go get one on Mom's employee discount. LOL Now if it could handle our Airstream...
 

jeffryscott

2006 Rally Course Champion: Expedition Trophy
Looks great ... I too really like the JK. Being able to take the top off is a big plus, I have missed that on every vehicle I've owned since my trusty little Samurai of old.
 

Gear

Explorer, Overland Certified OC0020
LUISJG wrote
stock on 35'

Yes, I know kind of scarry. Your comment made my laugh. Hopefully Nth Degree comes thru with there lift kit on time. Should be released any day now.
 

Gear

Explorer, Overland Certified OC0020
sPOD and Source Installed

Baja JK has the first customer installed sPOD and Source and I could not be more pleased with this product. This is worth every penny. This is my third Jeep build and this product has turned the difficult decisions of were to put all the relays and switches into one easy answer, sPOD and the Source. I have photographed the install and below you can see for yourself how easy it is to install.

47b7d932b3127cce87036f6d6b3800000036108EatWzFu0cO

A quick photograph of the Source which includes 6 relays and 6 fuse locations. Simple add your positive and negative wires for any switch to work aux. lights, CB, 2M, Engle refrigerator, etc.

47b7d932b3127cce87036f596b0c00000046108EatWzFu0cO

The sPOD with 6 illuminated rocker switches. I chose all red but other colors are available.

47b7d932b3127cce87036f016b5400000046108EatWzFu0cO

The Source attaches to the computer using two existing 8mm bolts. Then simply attach the Pos. & Neg. leads to the battery.

47b7d932b3127cce8703717a6b2000000046108EatWzFu0cO

Here is the access hole thru the firewall. Either disconnect the rear windshield washer hose and drill a larger whole for the sPOD wire or simple cut a slit.

47b7d939b3127cce87f3d9a687e900000046108EatWzFu0cO

The sPOD bracket is installed behind the stock footmans loop. Drill out the rivets and screw in the supplied screws.

47b7d932b3127cce87036fe16bb400000046108EatWzFu0cO

Simply run the wire bundle down the A pilar thru the firewall and attach the termals as marked. Simple as that.

47b7d932b3127cce87036fb4ead100000046108EatWzFu0cO

Finished sPOD!

You can find this product at www.4x4spod.com
 
Last edited:

RunninRubicon

Adventurer
Nice Job

I like your front bumper. It manages to keep the wench out of the air flow to he radiator. I live in the SW desert and it's a challenge to keep things cool as you would like.
 

Forum statistics

Threads
185,827
Messages
2,878,618
Members
225,393
Latest member
jgrillz94
Top