Stroverlander
Adventurer
Thanks, that's my semi-annual detailing so I wouldn't worry about it being dirty at least you're getting some use out of yours!
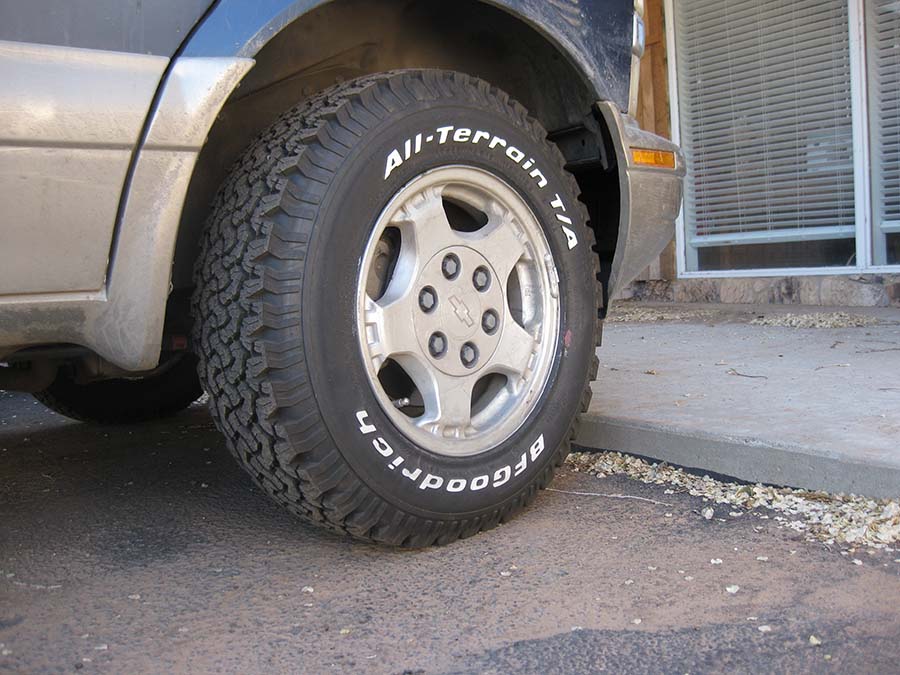
Arlon, sorry to hear about your tire troubles, those BFG T/A KOs are nice tires. I emailed a local guy on CL about a set in 265/70-16 (D load rating, 30.7" OD), supposedly with only 3000 miles on them. Appreciate your input on the size/weight as well. Let's see some photos of the new rubber!
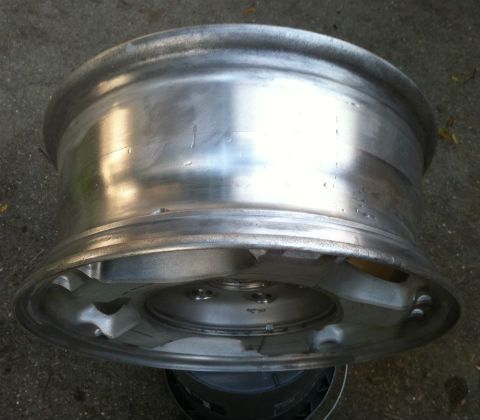
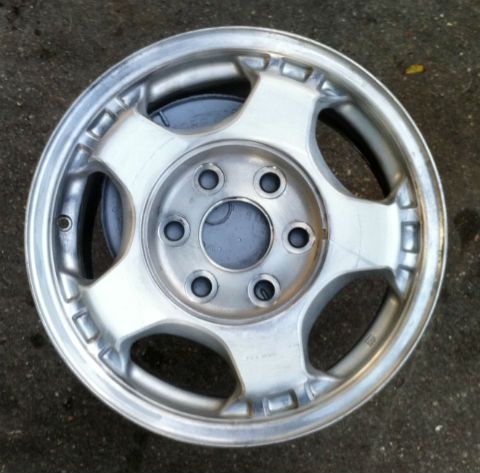
Out with the new and in with the old.. Or something like that.
Stroverlander is looking goooood! My parent's had an Astro for years that got passed on to my little sister who drove it forever. I was just talking to my Dad yesterday remembering all the vehicles we have had over the years. He still thinks the Astro was the most reliable and best overall buy.
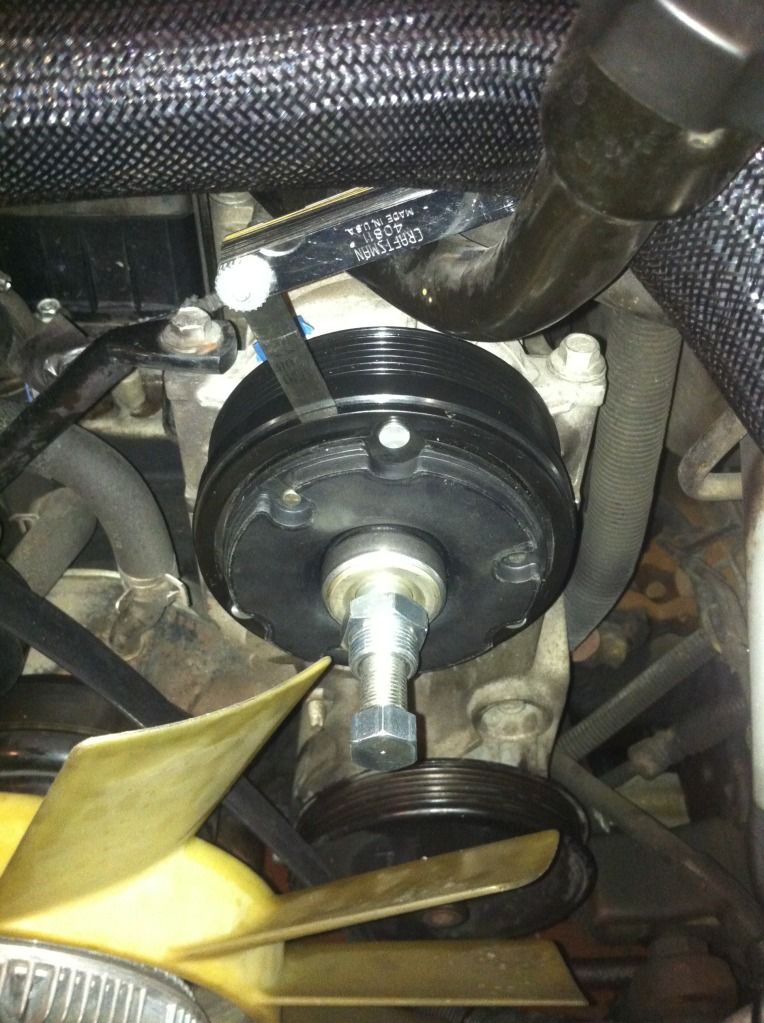
Did you check the weep hole behind the water pump? Do you smell coolant inside the cabin or just in the engine compartment? Radiator cap could be leaking as well. Sometimes, if the previous owner did not use the correct coolant, there can be a lot of corrosion which leads to little leaks all over the system. Just be patient and check each component. Don't forget the heater core.
Again, nice job!
Brad

My GF's Jeep has the same type of radiator. Not the best design is it? I replaced her entire cooling system because of the corrosion from improper coolant. Sounds like you are more than on top of things though!
 eepwall:
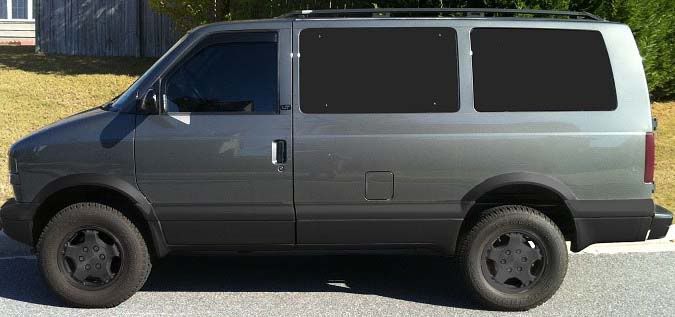
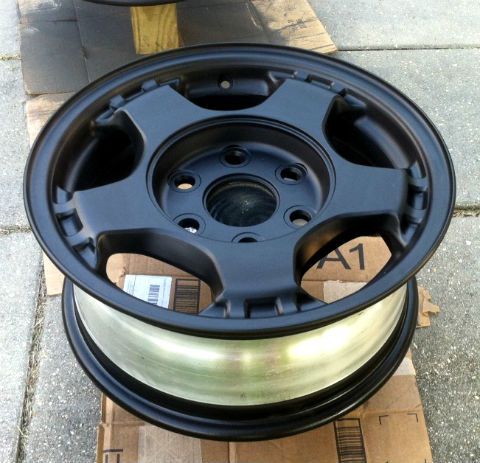
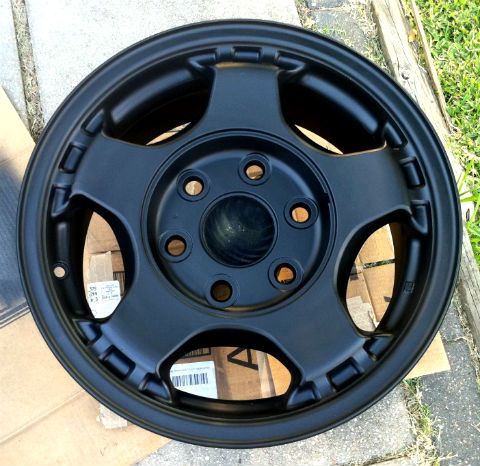
Railvan Brian photoshopped my wheels and plastic facia in black. At times I've wanted to do it, but can't committ and have too many other things to do anyway.:ylsmoke: