Take each rack apart and discard the center post that plugs into the receiver hitch, then bolt the two sides of each back together.
Cut the two pieces of 2" flat iron to 38 1/2 length
Cut the two peices of 1" angle iron to 31 3/4 length
Butt the two racks together and clamp. Mine were not perfectly straight, so I needed about 8 clamps.
Line up the angle iron on the bottom outside rails (centered) and mark where you will drill the 5/16 inch holes.
Mark the rack where the angle iron lays and mark the iron itself "left" and "right" for each side and "front" and "back" so that you know where to place it after drilling.
This is where it is nice to have a drill press (I have a cheap one from harbor freight- cost just over $100)-Drill the holes in the angle iron.
Place the angle iron back on the rack, clamp tightly and use handheld drill for drilling holes in the rack using the holes in the angle iron as a guide. The rack is much easier to drill through than the angle iron, hence the drillpress.
Secure the angle iron to the rack with bolts and repeat on the other side or, do them at the same time if you have enough clamps.
Next, take measurements on the existing montero roof rails. Measure carefully from inside to inside. The rear is 33 1/2 and the front is a bit wider- so the rails(2" flat iron) on the rack will not be exactly parallel.
Take the same measurements on the rack, centered and clamp the 2" iron to the rack. Take a sharpie and draw lines on the rack on each side of the 2" iron so that you know where to put them back on. Mark the iron as "top right" and "top left" (also mark "front and back")
Mark where you will drill the holes- mark them as far outside as you can on the iron beacause you don't want the bolts pressing against the montero roof rails. (The rails are not flat on top and that space will allow room for the bolts to protrude downward without scratching or denting the rails)
Drill holes in 2" iron with the drillpress.
Place 2" iron back onto your roof rack, clamp, and using the holes as a guide drill holes into the rack and fasten with bolts
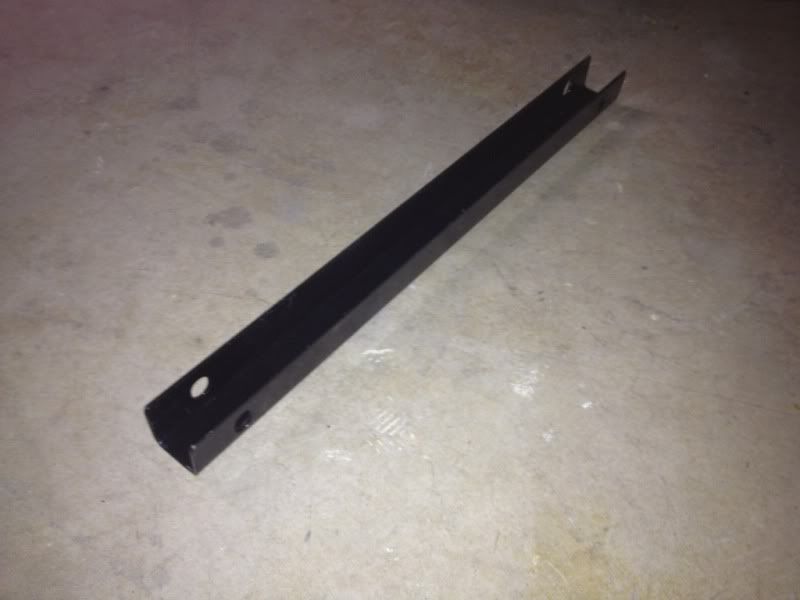
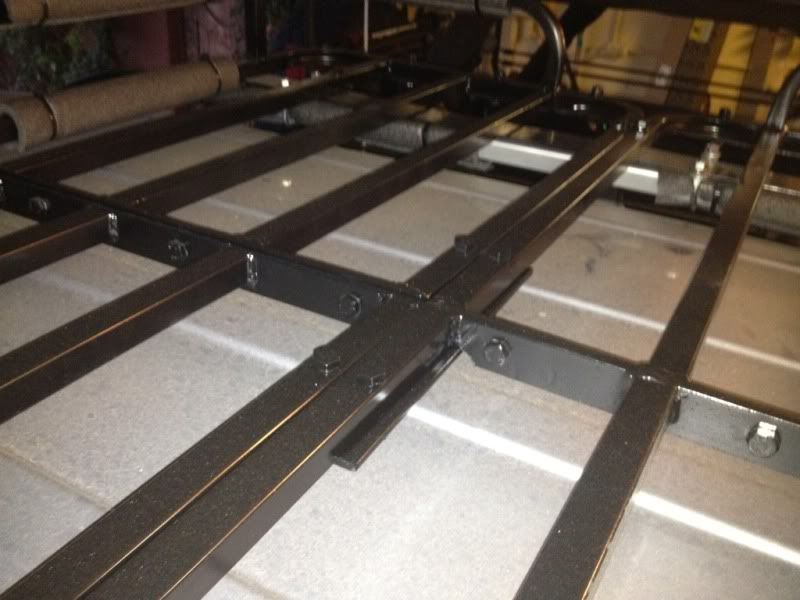
Place the two channel rails that came with the rack (pictured in the next post and labled "C-rail") on the front and rear of the rack. Drill two holes and bolt across the gap on the top. Here is a picture of that part:
Last, take a piece of the remaining 2" iron and place across the bottom of the dead center of the rack and mark it for 4 bolt holes to be drilled. (As you can see, you will need the grinder to grind down the center in order to get this flat)
Use drill press to drill holes in 2" iron.
Lay iron on bottom of rack, clamp, and use holes to drill through rack, then fasten with bolts.
Grind off sharp edges and spraypaint the whole thing and let dry
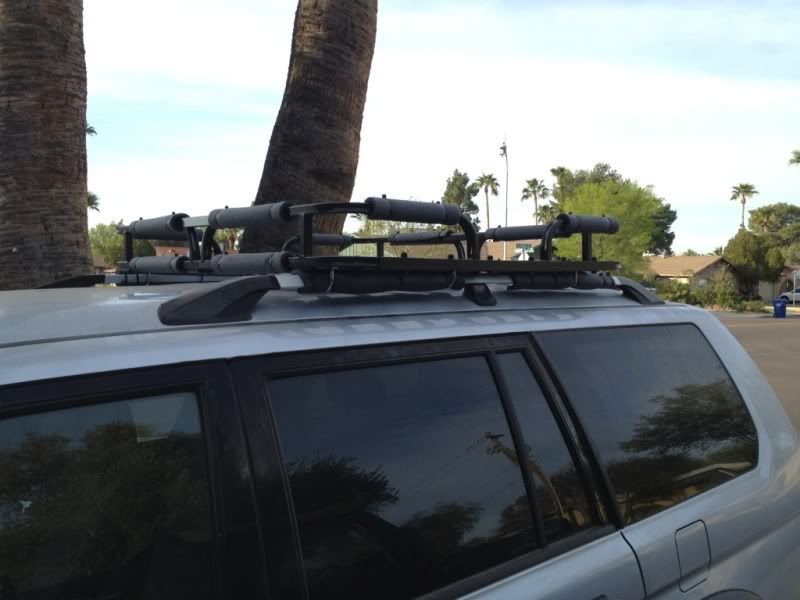
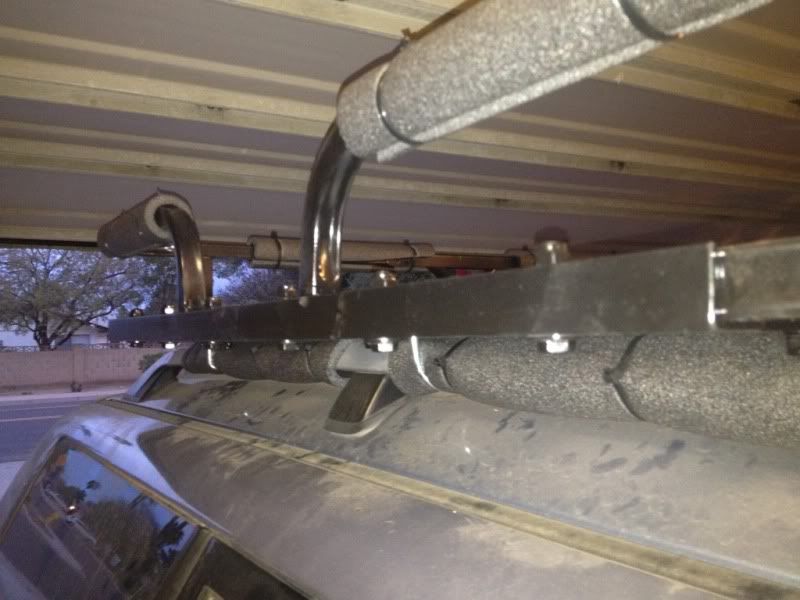
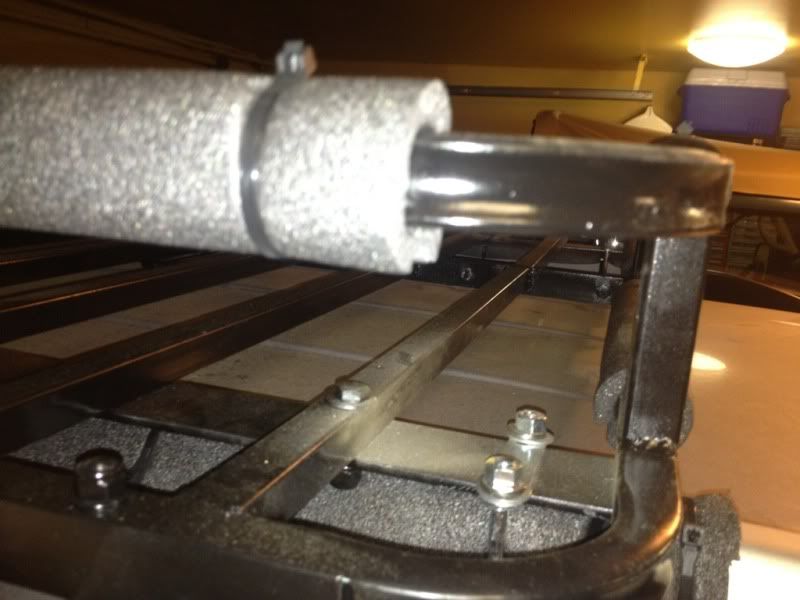
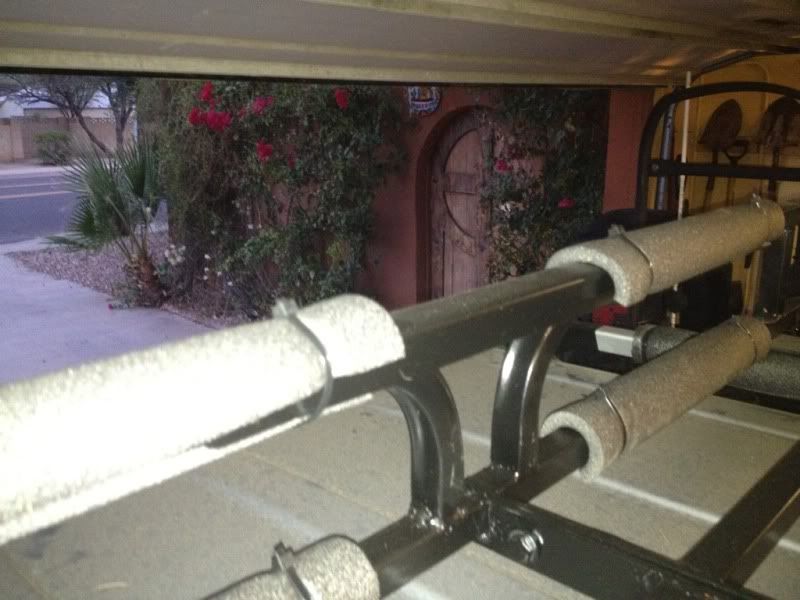
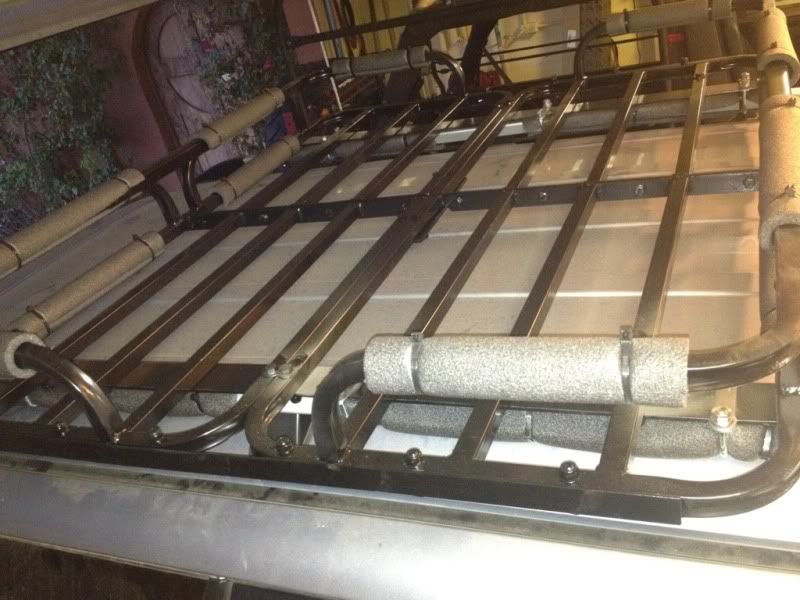
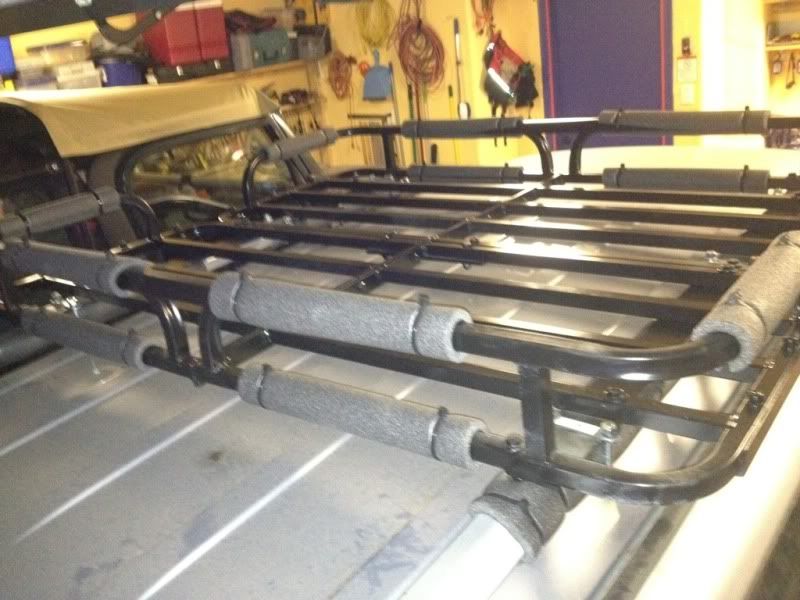
Cut 1" pipe insulation to fit over montero roof rails and zip tie. (Or you could use whatever you like- you just need some type of rubber in between so that you do not scratch the montero factory roof rails)
Connect rack to roof with 6 Ubolts.
Once tightened, use dremel tool with a thin cutting wheel to cut the ends off the Ubolts so that cargo does not get snagged on them.
If you like, purchase 3/4 pipe insulation, as I did, to zip tie onto the rack in order to keep cargo from clanking around and for a more secure fit.


")
