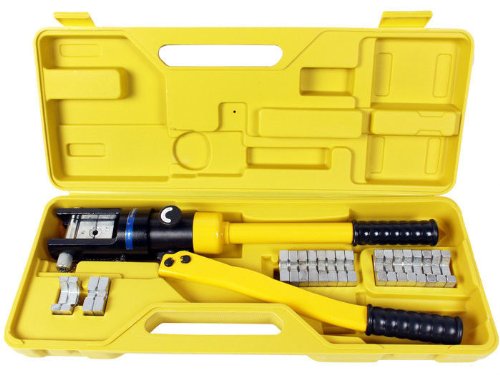
This is the crimper I bought from Amazon. I haven't used it yet, so I can't say anything about how well it works.
https://www.amazon.com/Hydraulic-Ba...rect=true&ref_=pe_847900_188958560_em_1p_4_ti
It too has a series on numbers on the dies which made no since to me, but I did find the following info from comments people made about the product. Again, I have not verified any of this yet, but maybe it will help someone to figure it out.
The dies are numbered from 16 to 300.
16 is 1/4" by 7/32".
25 is 5/16" by 1/4".
35 is 3/8" by 5/16".
50 is 7/16" by 3/8".
70 is 1/2" by 7/16".
95 is 5/8" by 1/2".
120 is 11/16" by 9/16".
150 is 13/16" by 11/16".
185 is 7/8" by 3/4".
240 is 1" by 13/16".
300 is 1 1/16" by 15/16".
Short chart:
16.00mm2 (6AWG)
25.00mm2 (4AWG)
35.00mm2 (2AWG)
50.00mm2 (1AWG)
70.00mm2 (2/OD)
95.00mm2 (3/OD)
120.00mm2 (4/OD)
150.00mm2 (250MCM)
185.00mm2 (300MCM)
240.00mm2 (450MCM)
300.00mm2 (550MCM)
Apparently, they stand for the approximate sectional area of the cable with (plus) proper connector. So for example:
6 AWG cable has a cross sectional area of 13.3 mm2 and with connector you use the die marked 16
4 AWG cable has a cross sectional area of 21.1 mm2 and with connector you use the die marked 25
2 AWG cable has a cross sectional area of 33.6 mm2 and with connector you use the die marked 35
1 AWG cable has a cross sectional area of 42.4 mm2 and with connector you use the die marked 50
1/0 AWG cable has a cross sectional area of 53.5 mm2 and with connector you use the die marked 70
2/0 AWG cable has a cross sectional area of 67.4 mm2 and with connector you use the die marked 70 also
3/0 AWG cable has a cross sectional area of 85.0 mm2 and with connector you use the die marked 90
4/0 AWG cable has a cross sectional area of 107 mm2 and with connector you use the die marked 120
") )
)