Post up your drawer/storage system

Grouper

Observer
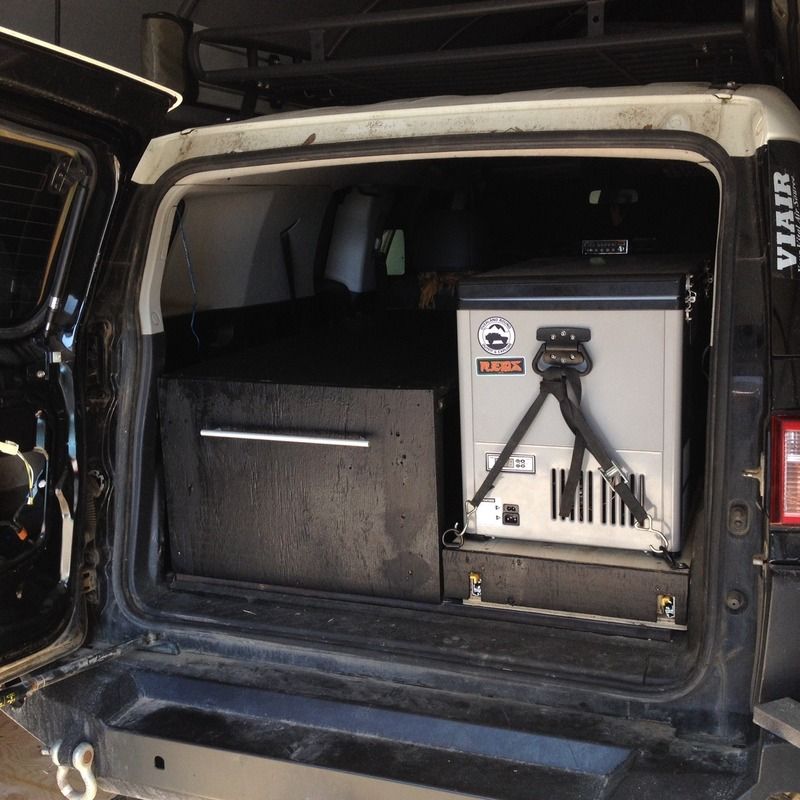
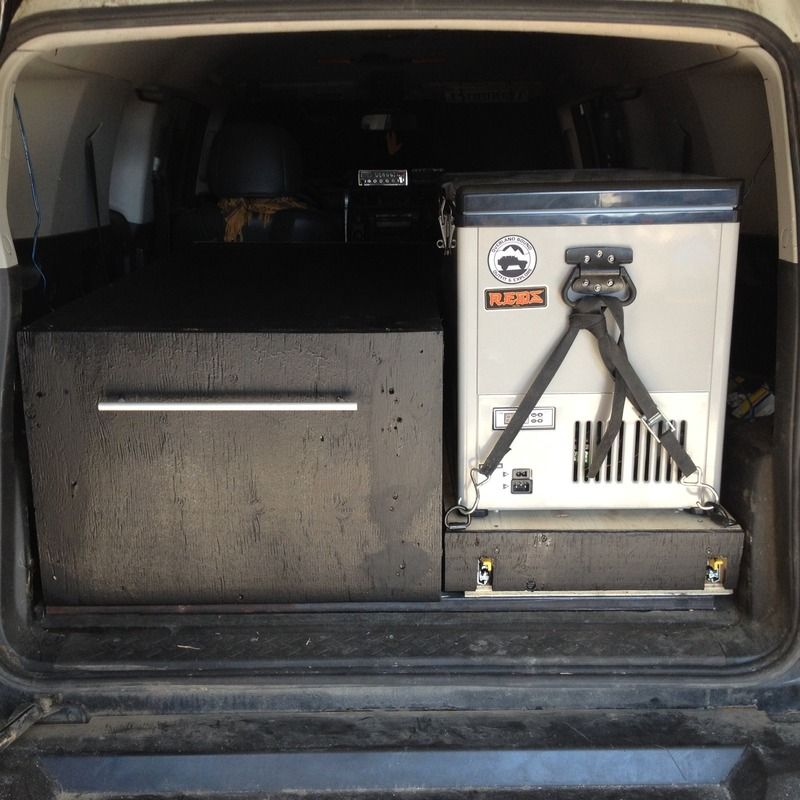
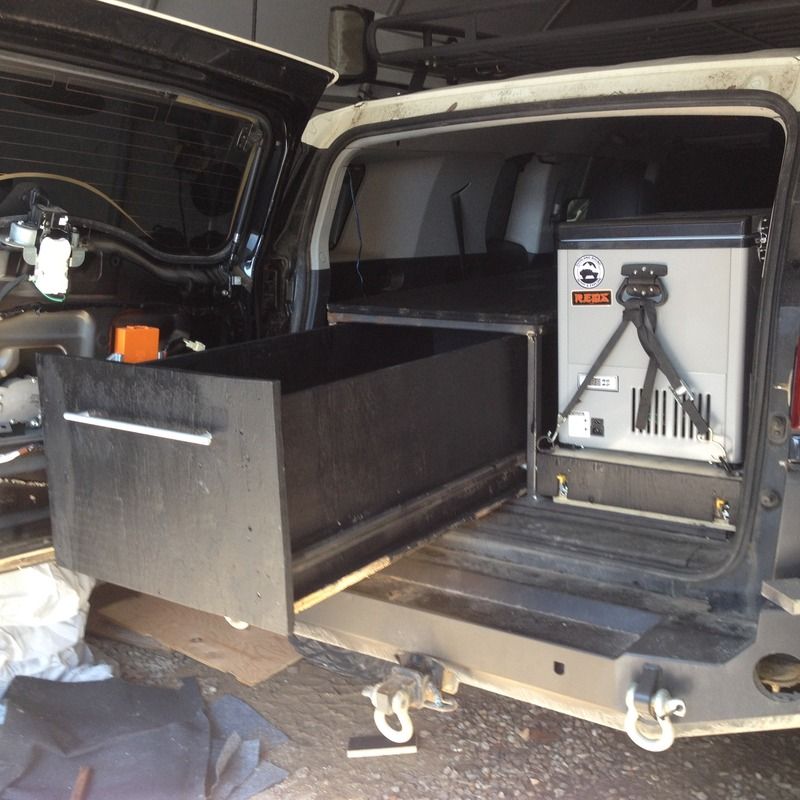
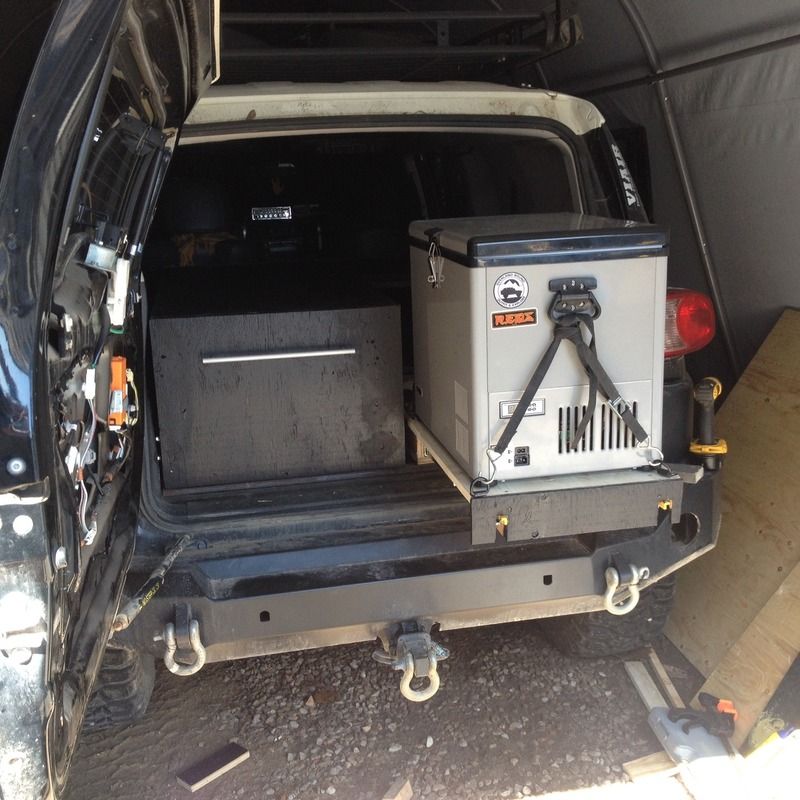
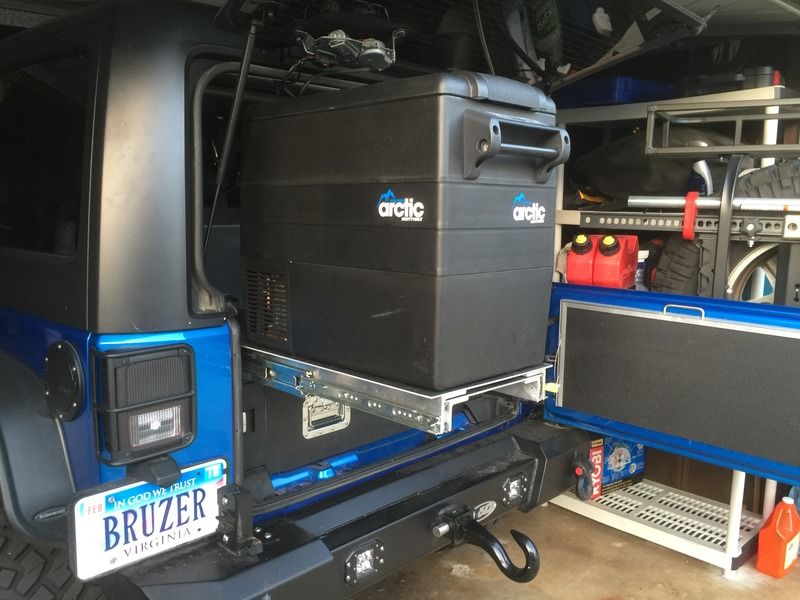
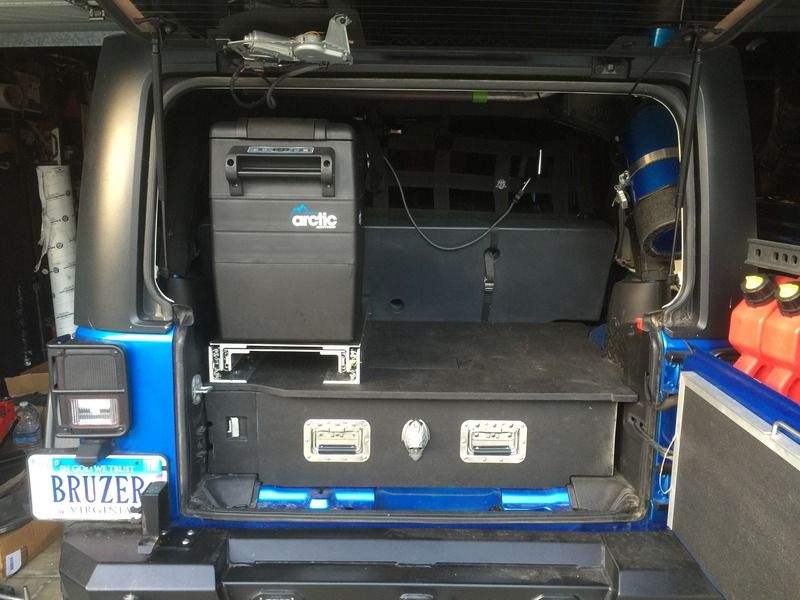
It was a matter of circumstance. The bottom drawer was originally constructed for someone else's rig. I scooped it up from him and pieced everything together. The beauty of it is both the top and dual drawer bottom set up were built based off of the same design so the whole setup matches except for the lock on one of the paddle latches. It's very rare that things work out so well so I am extremely pleased with the whole thing. It did require a major hatchet job to the rear door panel but I'm having a custom aluminum one fabricated to solve that issue.
 

4x4junkie

Explorer
A few of these systems have a cook station integrated right into it. I'm curious for those that do this how it works out? Does the vehicle smell like what you cook and have you had problems with animals getting into the vehicle because of the food smell. I know my in-laws RV stinks like garlic when they cook in it. I'd also be worried in Grizzly back country of an unwanted guest stopping over.

I haven't noticed any lingering odors in mine... I don't go into grizzly bear country much but other than a mouse getting in a couple times I've had no issues with critters either.
Something I always do though is keep the pot or pan covered while cooking (especially when cooking foods that spatter such as bacon). This not only makes cleanup easier, but nearly eliminates the buildup of grease residue around the area.
 

Chris Boyd

Explorer
A few of these systems have a cook station integrated right into it. I'm curious for those that do this how it works out? Does the vehicle smell like what you cook and have you had problems with animals getting into the vehicle because of the food smell. I know my in-laws RV stinks like garlic when they cook in it. I'd also be worried in Grizzly back country of an unwanted guest stopping over.

No issues on smells, wildlife or heat. Just clean it after use. I've cooked a Dutch Oven full of chili and spilled all over the place and still no issues. The partner steel stainless cleans up really nice.

ImageUploadedByTapatalk1458650283.420362.jpg
 

cerutti

Observer
Pulled everything out yesterday to sand and paint. Reinstalled today!
Sooo close to being done.


image_zpsowaszsmh.jpeg

image_zpsw4dxdx27.jpeg

image_zpsvxldv1fo.jpeg

image_zpsqjqerdcd.jpeg
 

JCDriller

Adventurer
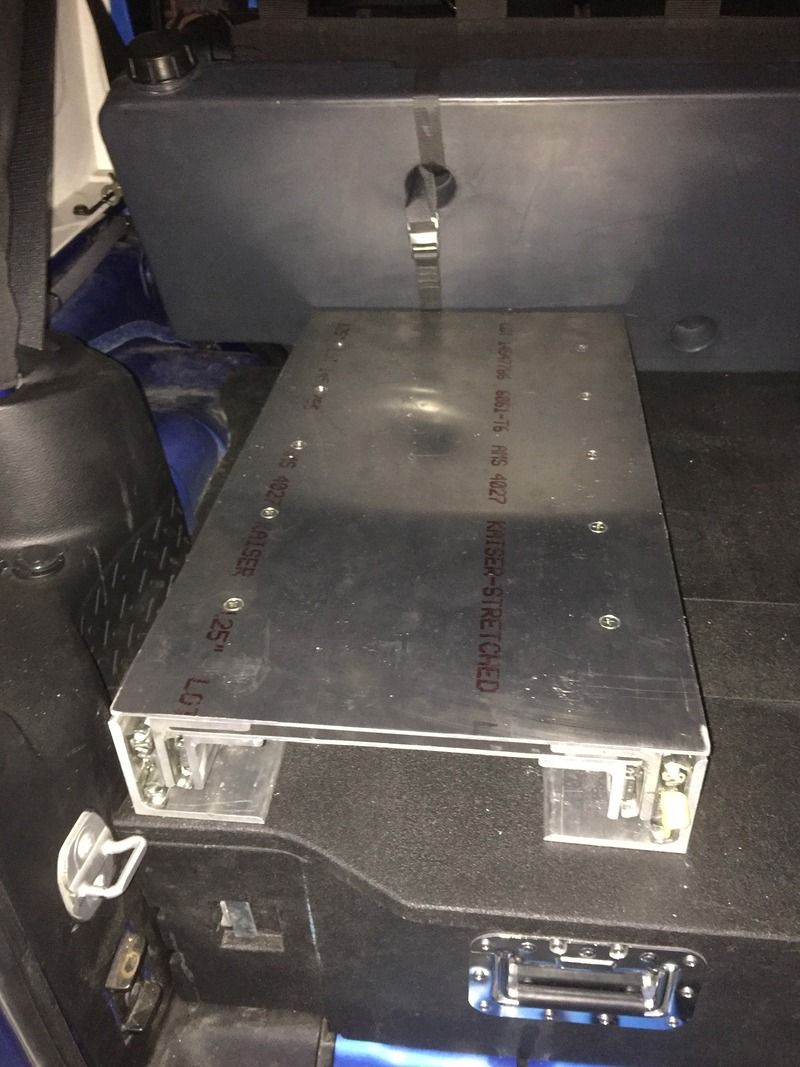
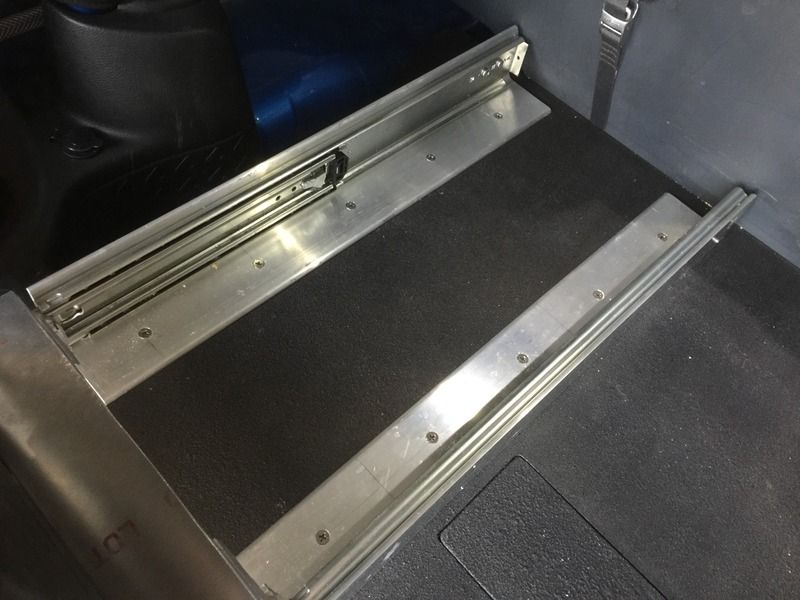
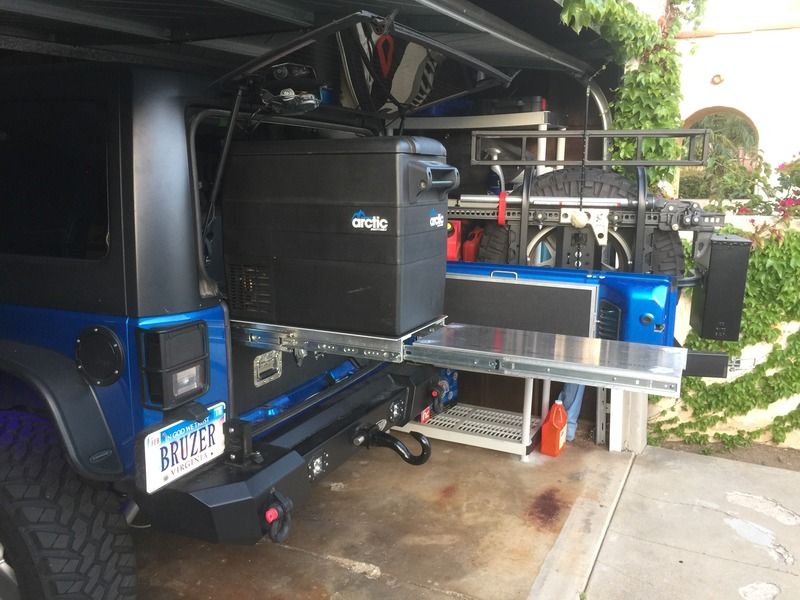
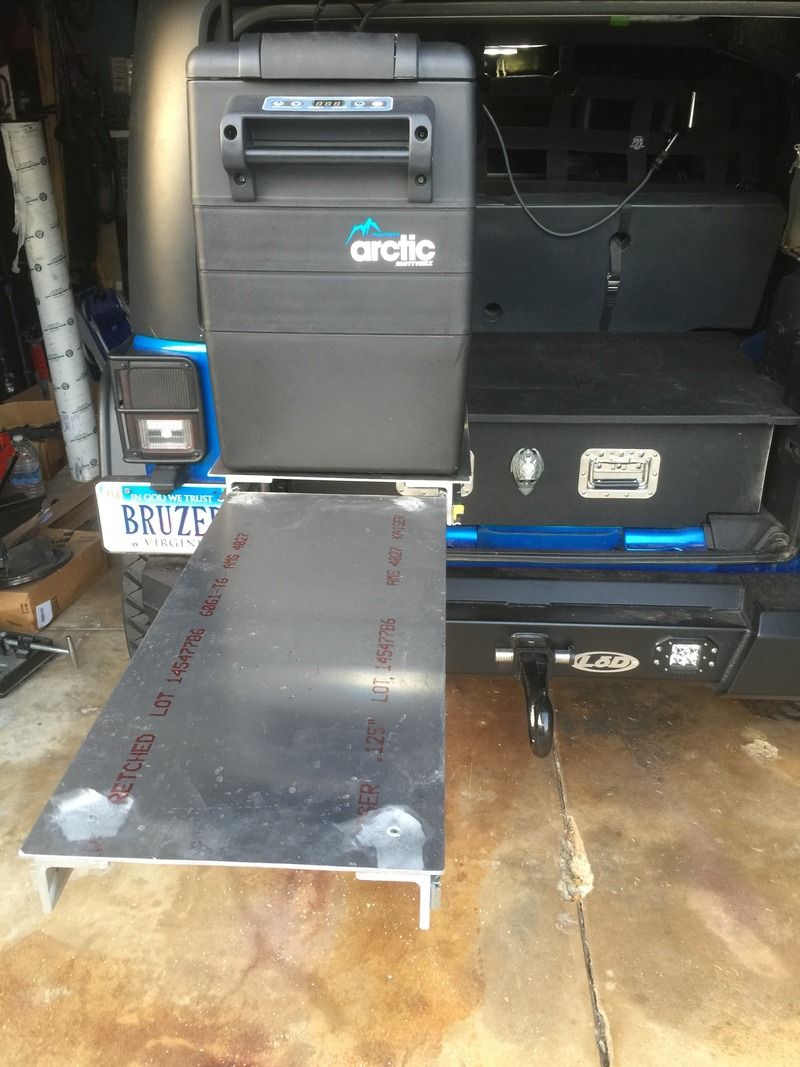
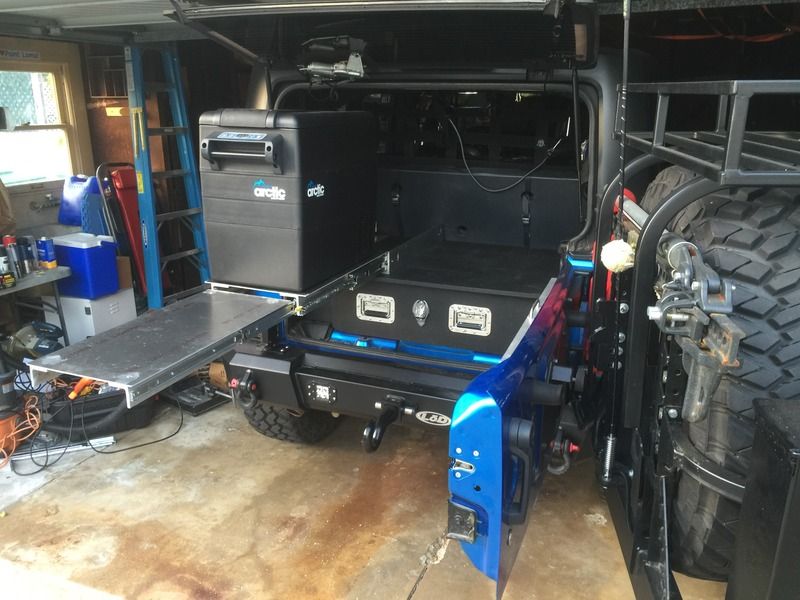
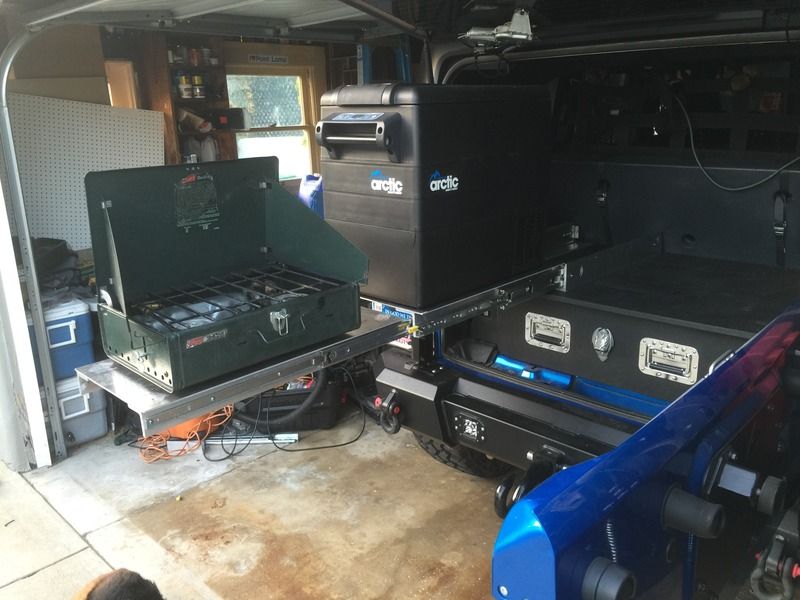
I finished my fridge slide today. Like most things this will lead to another project. I like the slider, but it's too high to be ideal. I'd imagine I'll eventually redesign my box to allow the fridge slider to be lower. This will work for now.

I do plan on building a 1/2" Birch plywood cage around the fridge so I can stack stuff against it and on it. Also will likely add a 2nd battery to the left of the fridge. I like the yeti 400, but I think I need more than 33ah.


All closed up


Anchors to box using 10 T nuts


Fridge slide top


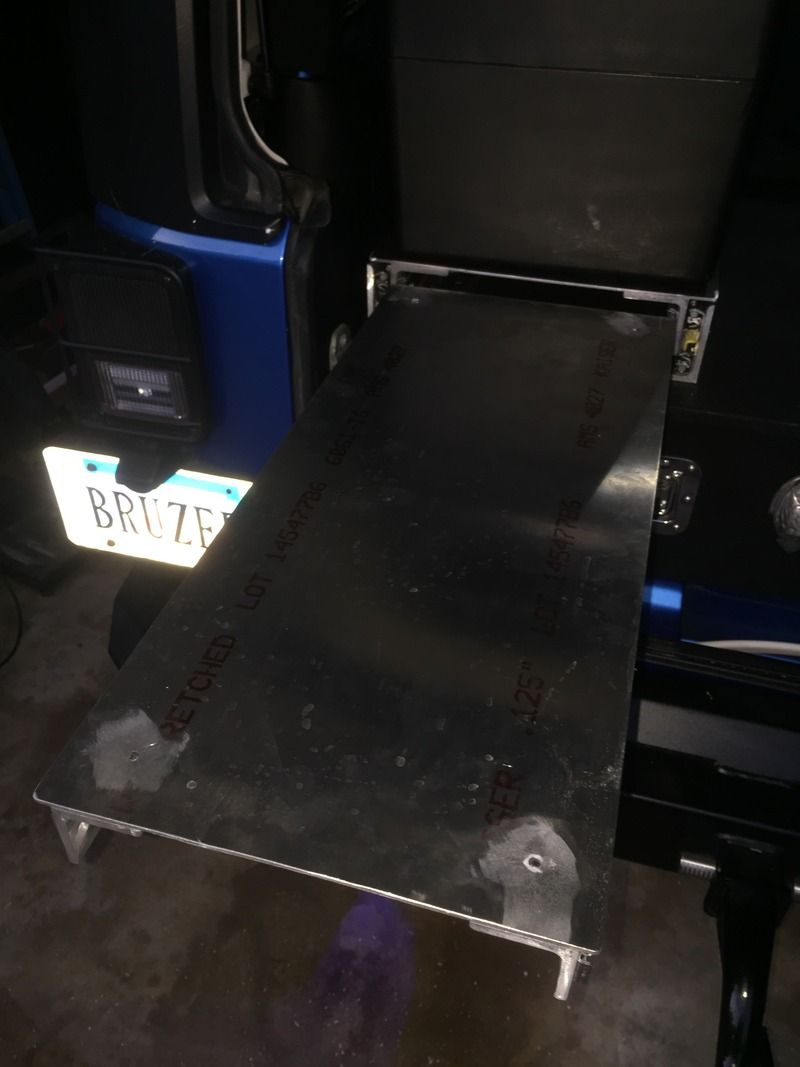
Table top (still need to polish)


Tailgate table is still usable


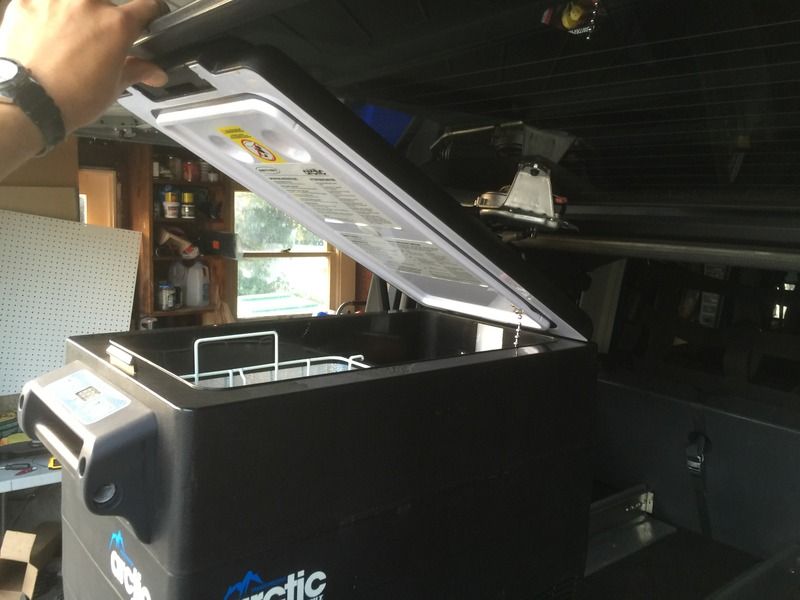
Fridge opening (biggest compromise... Still opens more than when the fridge was in the Jeep)


Had to lose the wiper motor cover to clear fridge when closing glass


Grouper

Observer
How do you get to your Powertank?

I usually just attach the air line and leave it in place when I use it, but when I have to remove it I can access it very easily with the fridge slider pulled out. It gives me a clear shot at it without the fridge in the way. That's one of the reasons I moved the Powertank from the driver side to the passenger side.

When I was test fitting everything to see how to make the configuration work, I realized that I wasn't going to be able to remove the Powertank due to the mount latching mechanism being too close to the stacked storage drawers. I moved the Powertank to the other side so alleviate any issues with access. I tried to troubleshoot accessibility to everything before moving forward with this setup. It works perfectly so far but I will add that it "just barely" works at all. There is no room left for adjustment in any direction. Also, I did have to remove the handle from the top of my Powertank to make this location work.

You can see in the picture below my original dilemma with the Powertank.


storage.JPG VS storage 1.jpg
 
Last edited:

Chris Boyd

Explorer
No, I didn't do a build thread, because I grabbed most of my ideas from the 100 section on Mud. Plenty of well built document rigs there.

Yes, it's a pelican tool case. I got it on from a leftover work project, so it was a right time, right place kinda deal. It works pretty well for the job, but I had to remove a couple of drawers and do some mods. I probably should document that, I get a lot of questions on it.
 

jeepdreamer

Expedition Leader
No, I didn't do a build thread, because I grabbed most of my ideas from the 100 section on Mud. Plenty of well built document rigs there.

Yes, it's a pelican tool case. I got it on from a leftover work project, so it was a right time, right place kinda deal. It works pretty well for the job, but I had to remove a couple of drawers and do some mods. I probably should document that, I get a lot of questions on it.
Pics, man.... PICS!!!!.
 

TacoIII

New member
Boy am I late to the party! Just started my rear seat drawer replacement. The drawers will be roughly 20" wide, 24" deep and 12" high. Behind that I will have my house battery, inverter and solar stuff. This is how far I have gotten, I just dont know the most efficient way to build the drawers.
IMG_0154.jpgIMG_0156.jpg
 

yonah

Calling-in from west of the Rockies
I lucked out and found a full set of ARB Outback Solutions drawers with a side fit kit about an hour from my house. I'm not sure what model truck the fit kit was originally designed for, but I had to trim the side upper panels by 3cm on each outer side for a proper fit in my '12 short bed Tacoma. I peeled the carpet back on the panels (which was a chore), trimmed them on the table saw, and then reapplied the carpet with HD contact cement. The back panels were trimmed 4cm for roughly half of their length to clear the rear storage bins (where I stash my bungee cords and ratchet straps). I could have left them be, but my desire was to create a custom look and tailor the panels to the Tacoma's bed. All in all, I'm happy with the setup and it cost me 1/3 of a new drawer system shipped from ARB. Some of the plastic trim pieces need to be replaced, but it's no big deal; I'm sure ARB can supply those when the time comes. I left about ~4-5" of space between the back of the drawers and the front of the bed. Eventually as custom water tank will fill that void. These drawers are cavernous and the side storage bins are a huge plus.
-
The drawers after I purchased them and mocked and everything up:
image.jpg
-
The finished product:
image.jpg
image.jpg
image.jpg
image.jpg
 

Forum statistics

Threads
188,395
Messages
2,904,141
Members
230,274
Latest member
mbauerus1
Top