So here is my slow but sure progress.
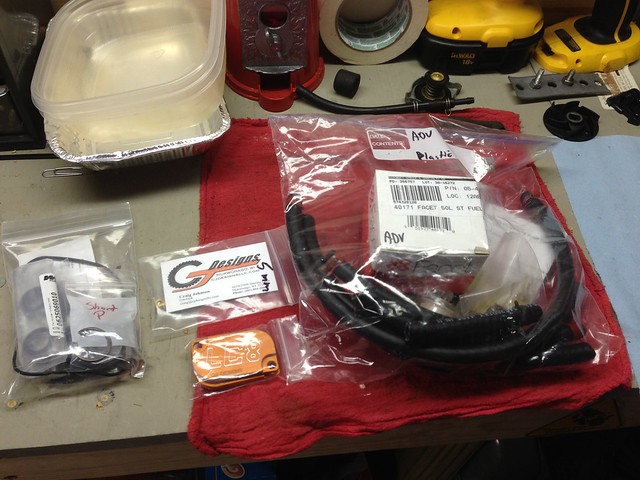
To start with, here is what I have purchased:
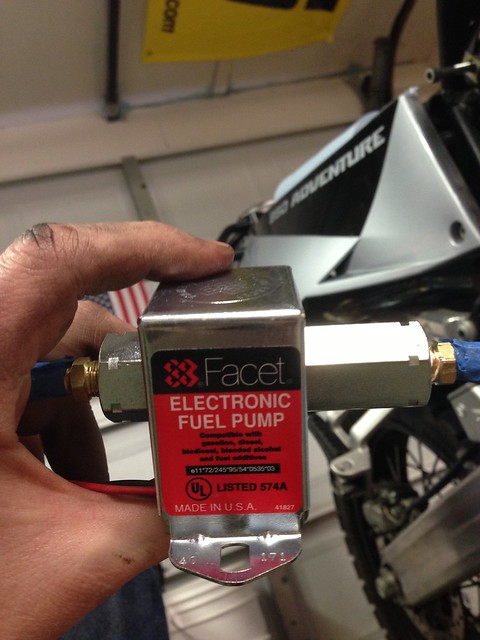
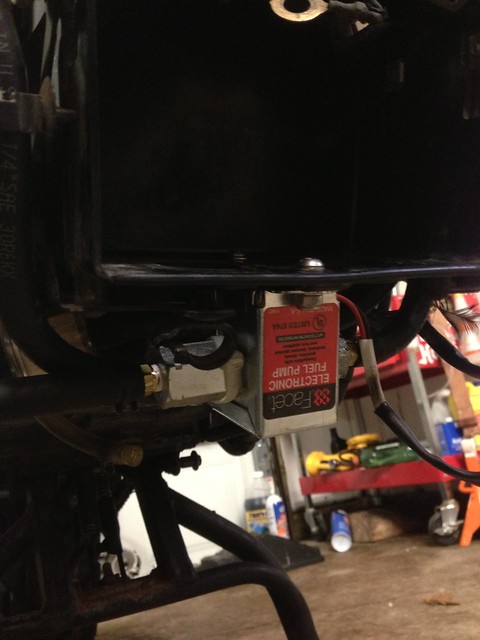
Facet fuel pump kit from CJ designs
Water pump kit from CJ designs
New KTM air filter
CJ design SAS block off plates for emission removal
.5mm oil jet
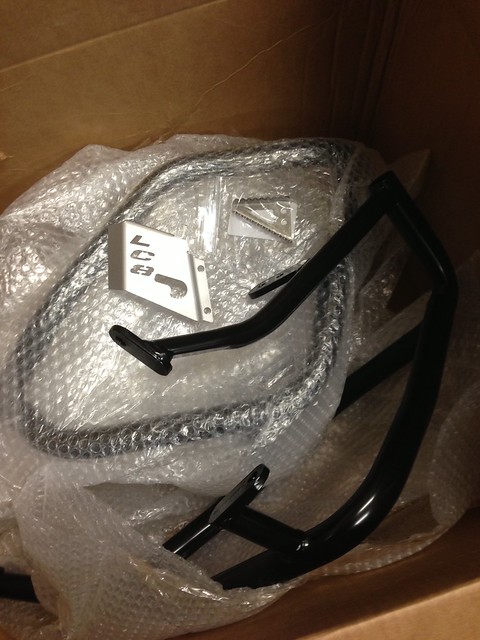
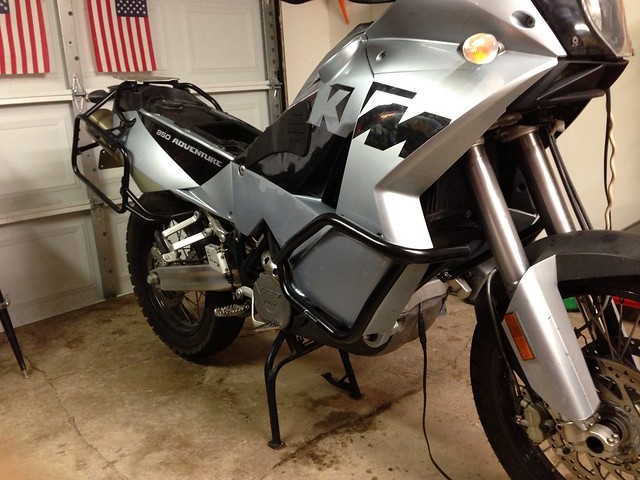
SW Motech crash bars
Rear master cyl guard
New Battery
New KTM oil filters
Amsoil 20-50 Synthetic oil
Really, I just want to make this bike what KTM wanted it to be.
 Untitled
 by
Frank Vest, on Flickr
 Untitled
 by
Frank Vest, on Flickr
So onto some pictures of progress:
First thing I did was the 'flapendectomy'. This allows the fuel tanks to vent a little better.
http://www.ktm950.info/how/Orange Garage/Fuel Tanks/Flapendectomy/flapendectomy.html
 Untitled
 by
Frank Vest, on Flickr
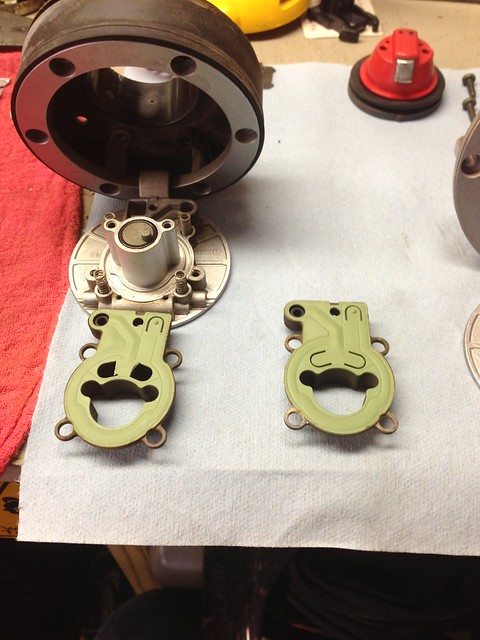
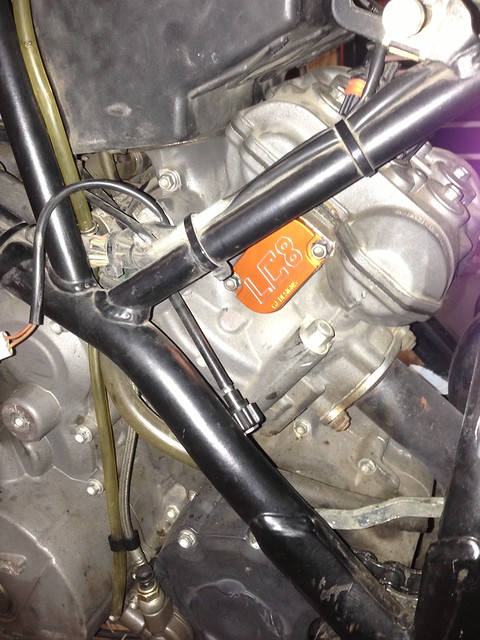
The next thing I did was remove all of the emissions stuff. CJ offered a kit for $40 that did everything (plus the cost of the block off plates)...I spent $10 at auto zone for the parts to do the removal process. The block off plates I did order from CJ, which I know will be better than any rig job I could have done.
http://www.ktm950.info/how/Orange Garage/Emissions Equipment/epc/sas_epc_removal.htm
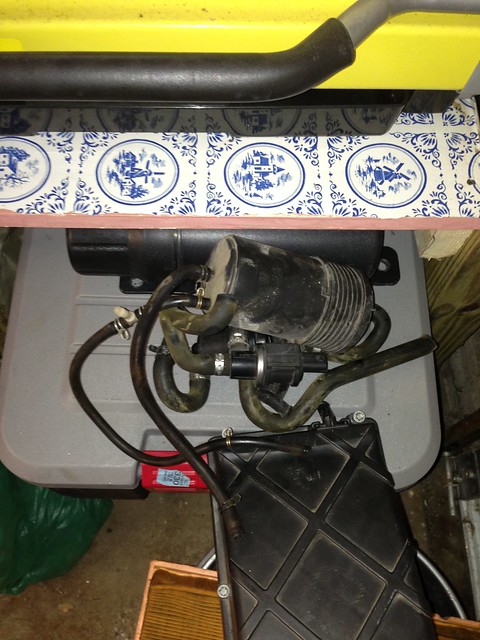
The pile of emissions stuff I removed.
 Untitled
 by
Frank Vest, on Flickr
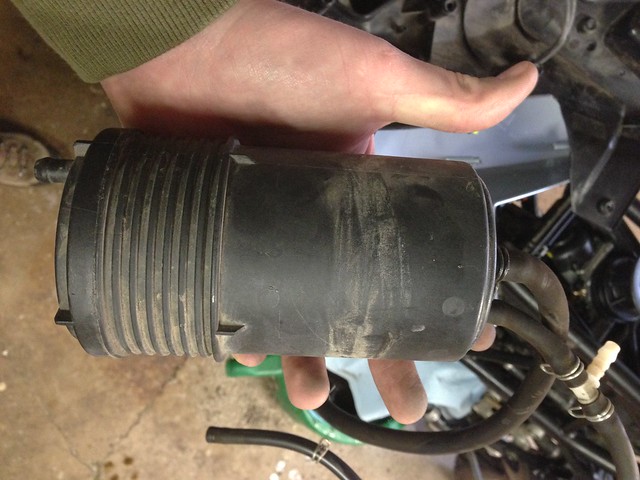
The parts I picked up from Auto Zone. I still need a plug for the lid of the air box.
 Untitled
 by
Frank Vest, on Flickr
The sweet block off plates from CJ-
 Untitled
 by
Frank Vest, on Flickr
For what its worth, this charcoal canister hides behind the left front fairing and seems to have been installed knowing it would be removed. If I were to ride into Mexico where safety could get questionable, replacing this canister with a PVC pipe secret compartment would be on my list of things to do.
 Untitled
 by
Frank Vest, on Flickr
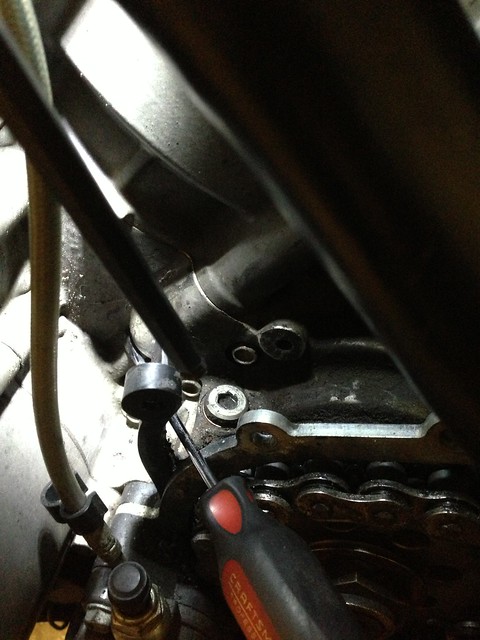
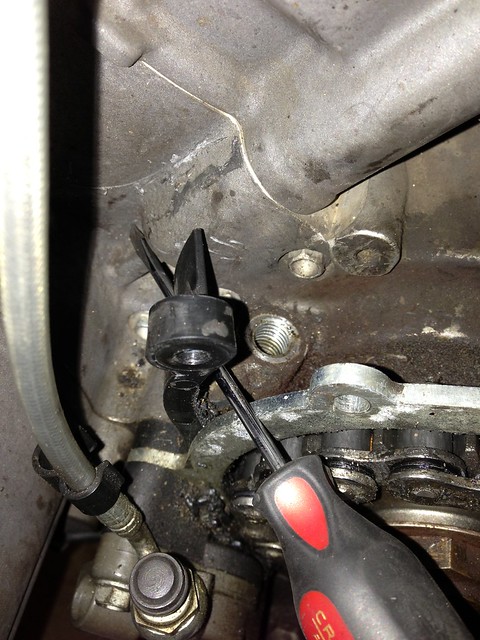
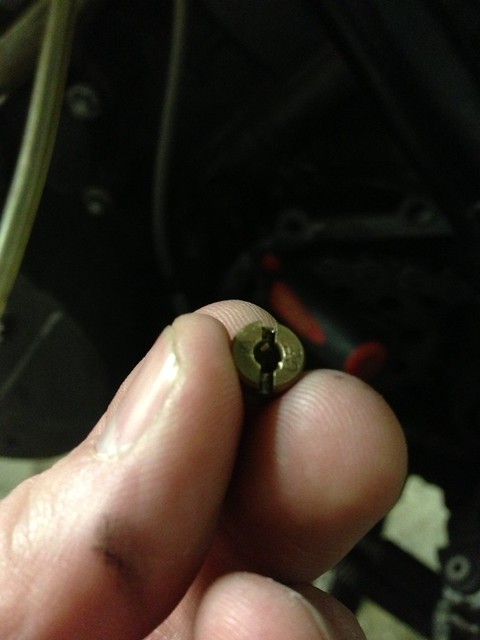
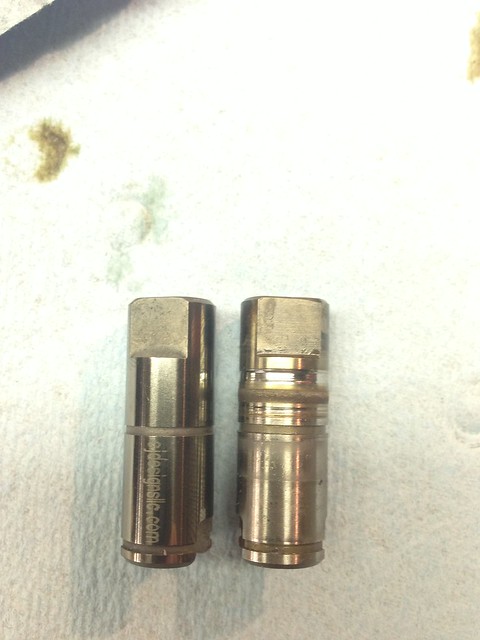
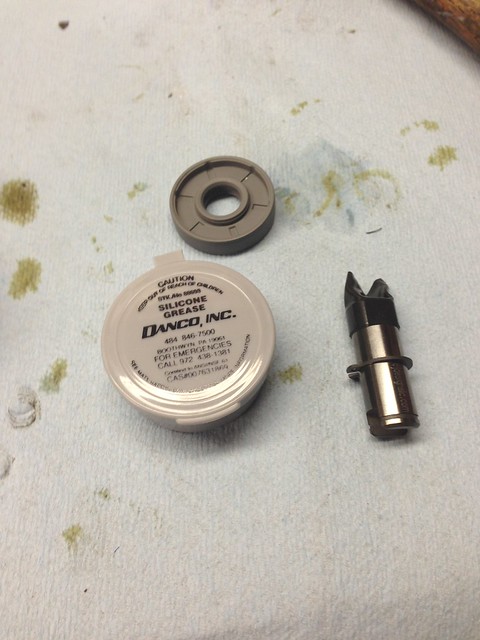
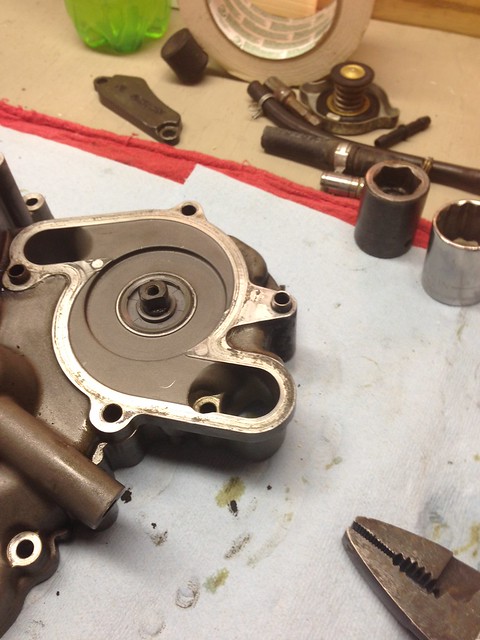
Next up was changing the clutch oil jet which CJ recommended to me when I spoke with him. He said going a little larger does two things: 1) gets more oil to the clutch and 2) doesn't clog up quite as easy. He also said that for some reason, cleaning this gets over-looked by many riders. It has a service interval of 10,000 miles, I believe. The guys who seem to clean them, leave them in and poke a guitar string through them just before changing the oil on the bike.
http://www.cjdesignsllc.com/products/clutch-oil-jet/
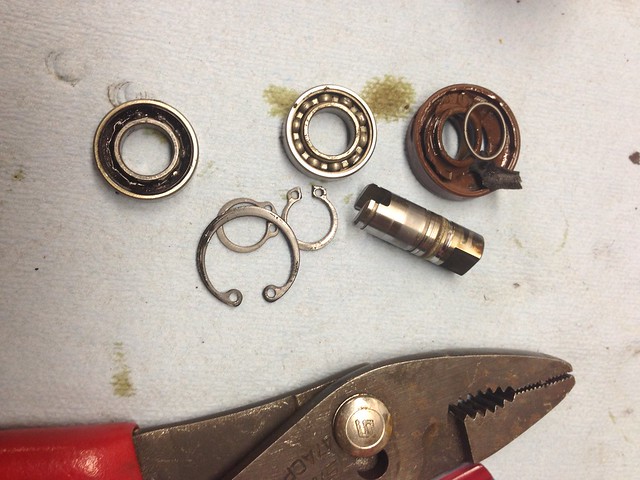
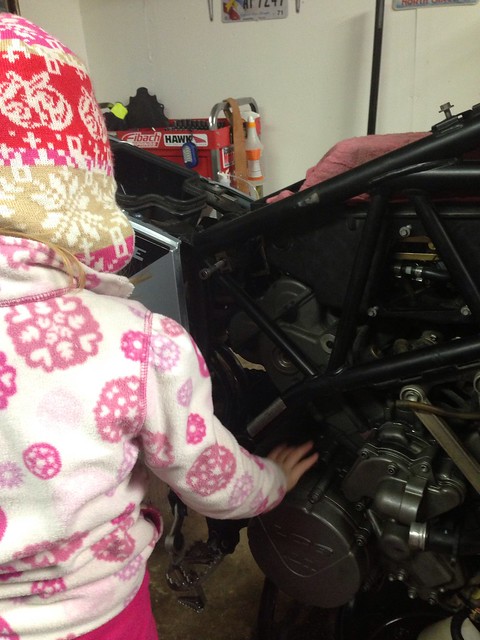
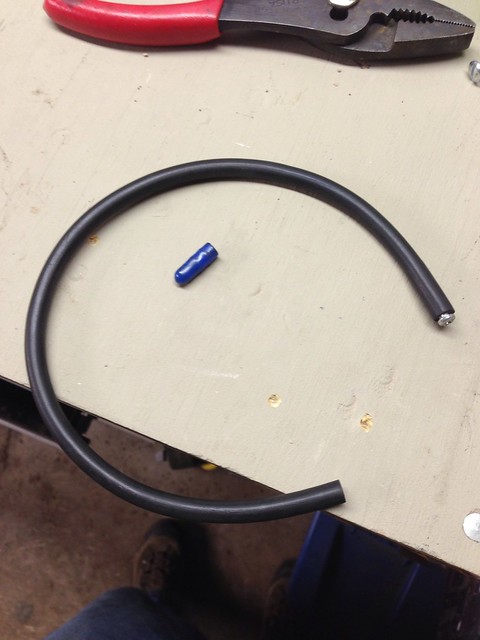
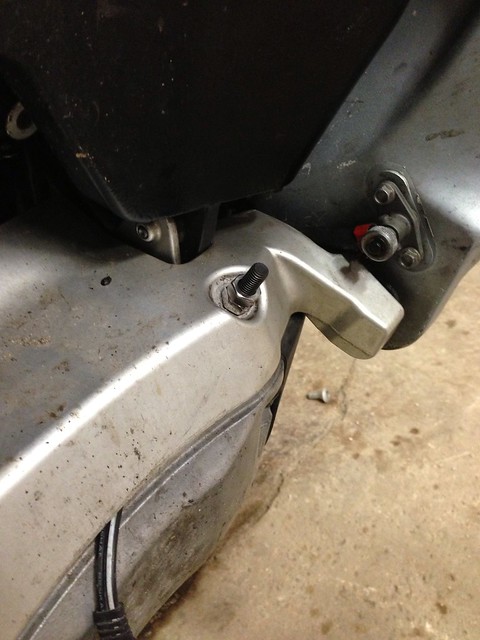
This jet was a major PITA to remove.
It hides behind the front sprocket cover, under this little guard, and of course it's capped. The guard is pretty stiff and takes a little bit of strength to move back, and then remove the plug. Once you remove the plug, you have to get a screw driver down in the hole to where the jet is located. It really didn't take much to get the jet loose but once its loose, good luck getting it out. There are many methods to getting it out: suction via a shop vac, tweezers, match sticks, super glue to a match stick to pull out and any other way you can think of to pull out a jet that finds its home about an inch down in a hole that is behind a frame rail. lol...it will definitely make you curse a time or two getting it out. I was able to get it out with a q-tip. I smashed the q-tip in the hole and it pulled out. By the way, clean the areal real well before you pull the plug. I didn't think to do this until I already pulled the cap.
 Untitled
 by
Frank Vest, on Flickr
 Untitled
 by
Frank Vest, on Flickr
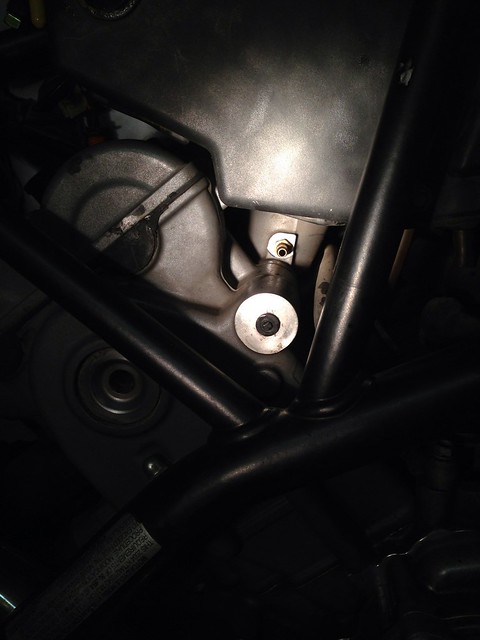
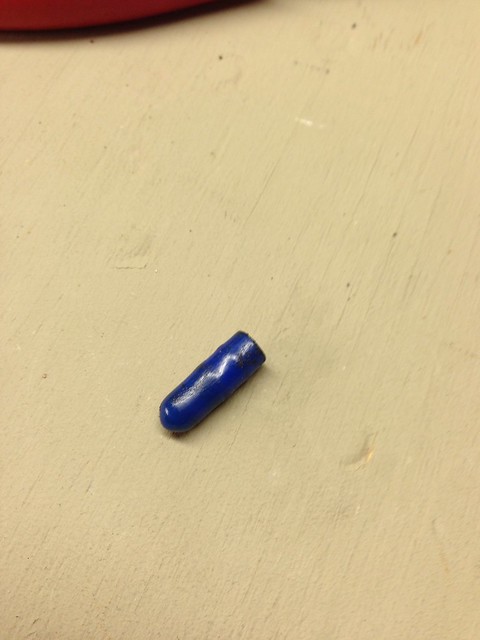
Here is the Jet
 Untitled
 by
Frank Vest, on Flickr
More info on my fuel pump install to follow in another post. I am putting together a video for that.
")