Slow but steady M416 build

01greentaco

New member
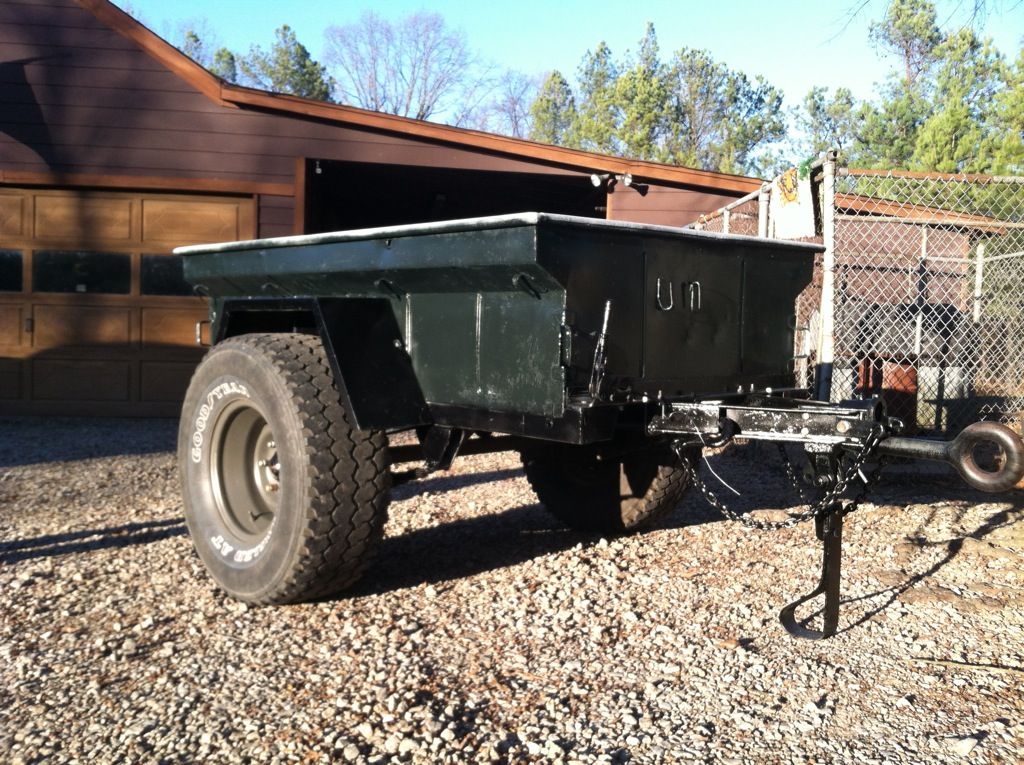
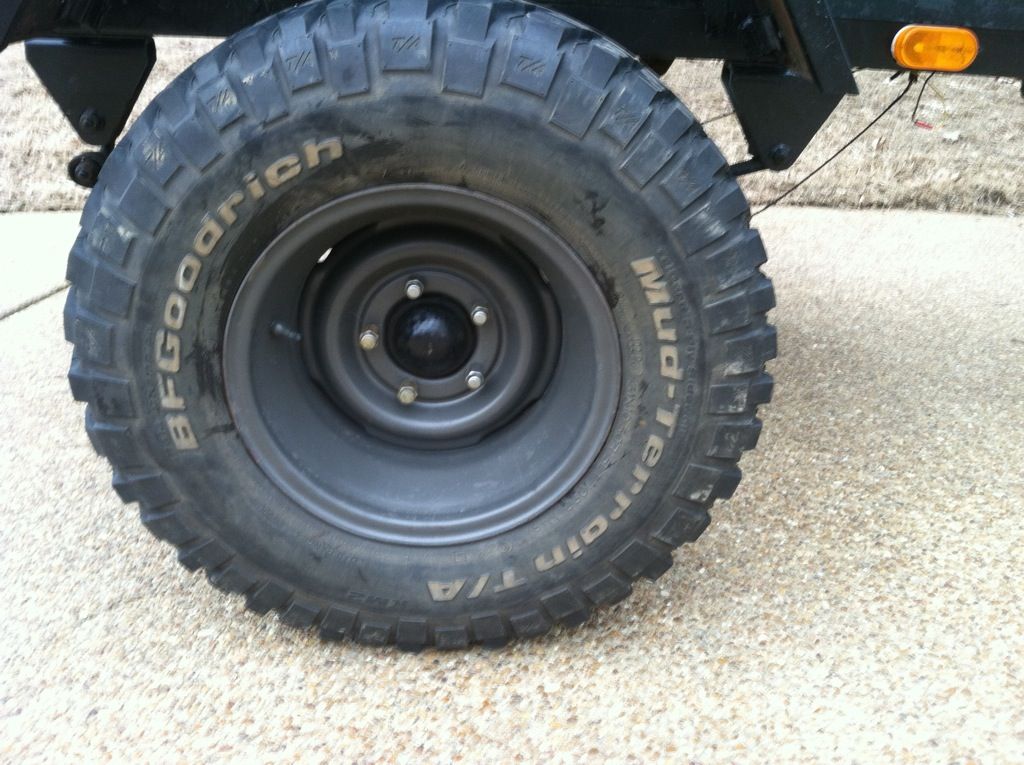
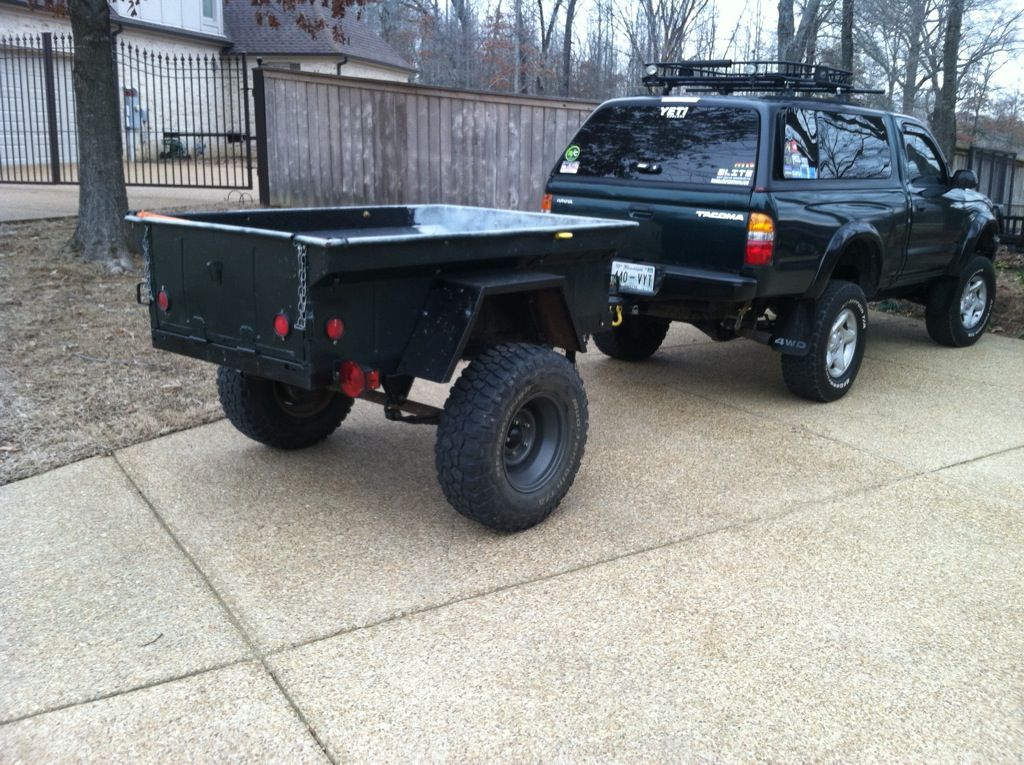
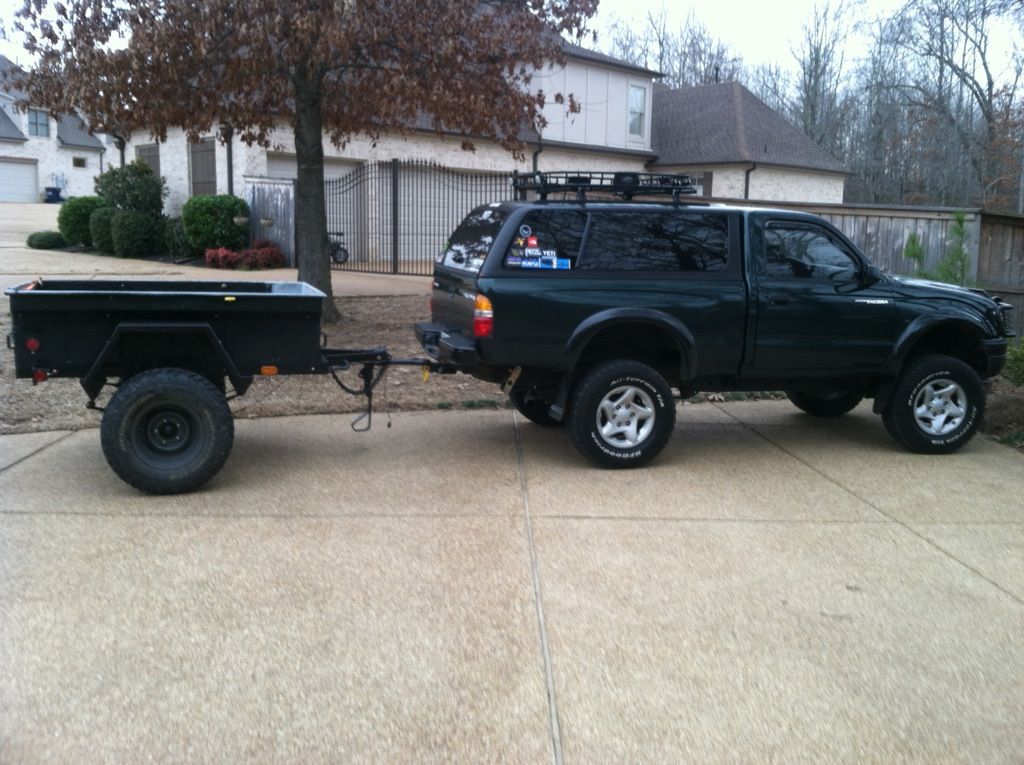
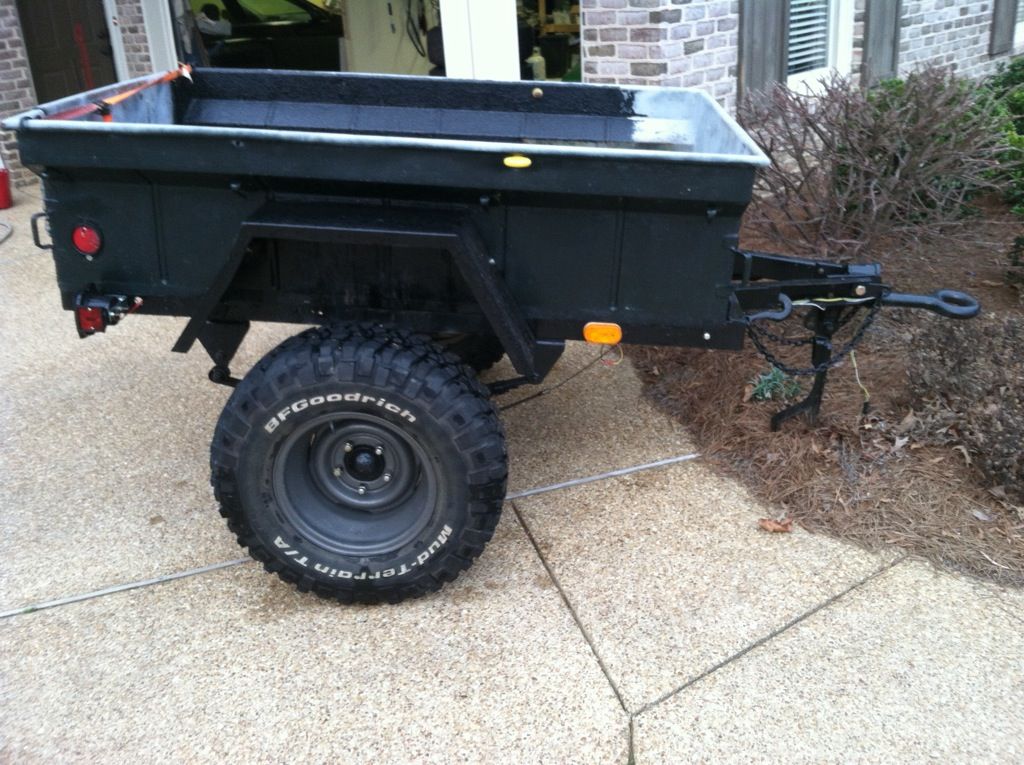
Just picked this up a few months ago for $200!! Got a lot of ideas running through my head right now. Funds are limited but main concentration is going to be on paint, limited body damage repair, tear down and rebuild of the hubs and parking break. Removal of the tub and repair the rust and reattach the rear tailgate.

End goal is to make it usable as a ExPo trailer and attach a RTT. Lots of plans and hopefully I will be able to make it as good as some of the other ones out there. Lots of inspiration from a lot of you guys!

(I copied and pasted from my build thread on TTORA so the dates are all screwy so bear with it...)

file.jpg


So I finally got a chance to do a little work on the trailer yesterday and all afternoon. A few weeks ago I tried out the sand blaster and man was it tedious! So there had to be a better alternative. I did a little research and came across this...
file-6.jpg


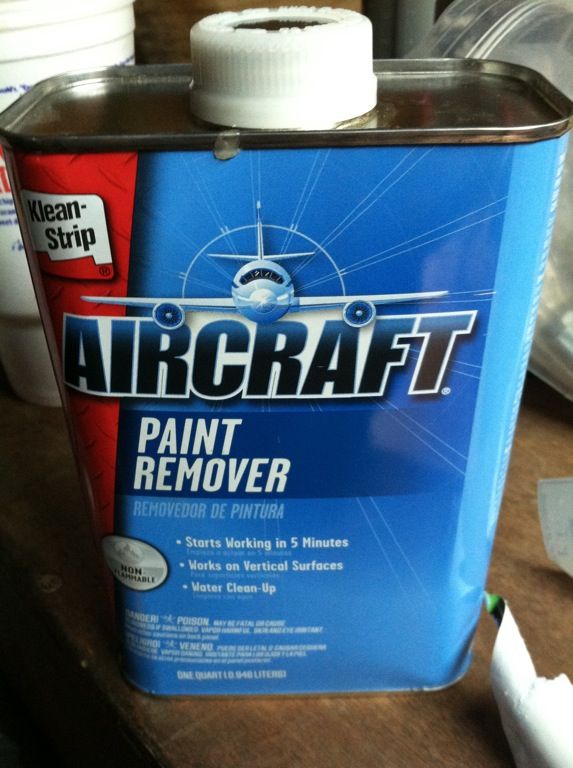
It was worth a shot so I bought a can for $11.99 and went to town on the trailer front. It says on the can to wait 5-15 minutes for results to be seen (it's very evident when it starts to work)
file-4.jpg

file-5.jpg

file-9.jpg


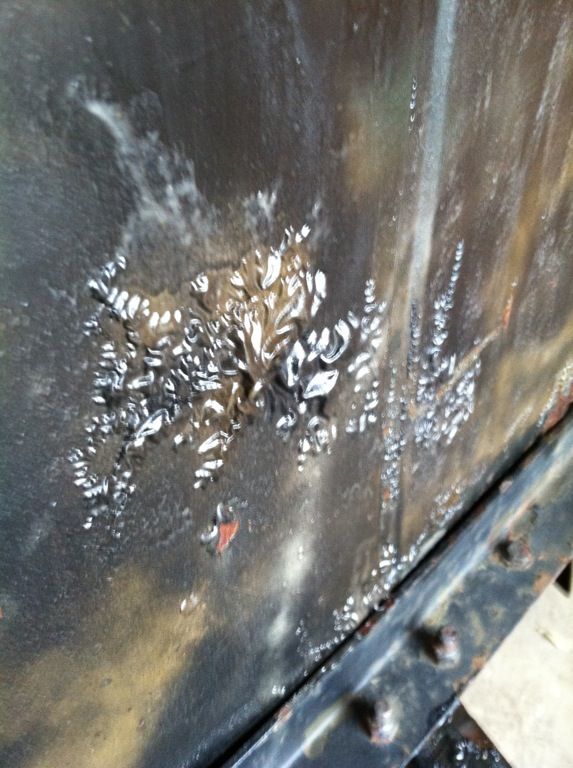
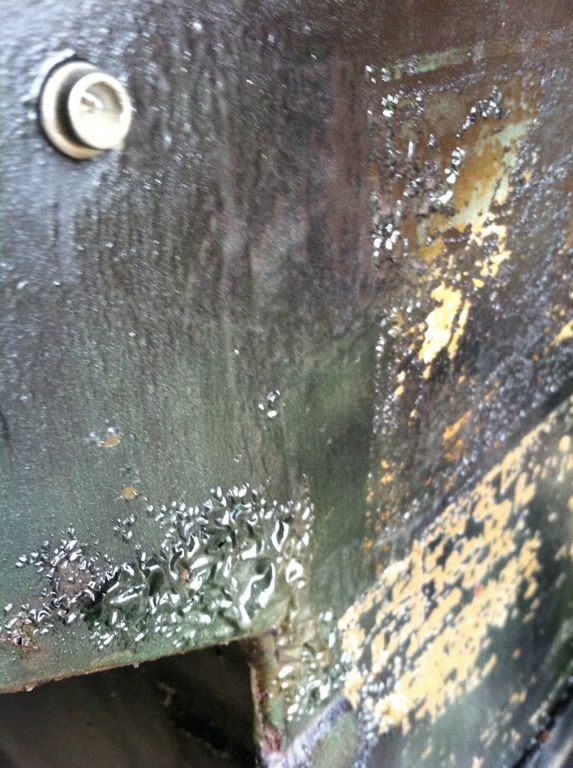
After this I used a plastic scrapper to remove the loosened paint from the panels. IT WORKED!!! I was amazed at the quality of this stuff. In the beginning I was doing very light coats but after 2 or 3 I decided to go thick and really paste it on. That resulted in just about every paint particle being removed.
file-10.jpg

file-12.jpg


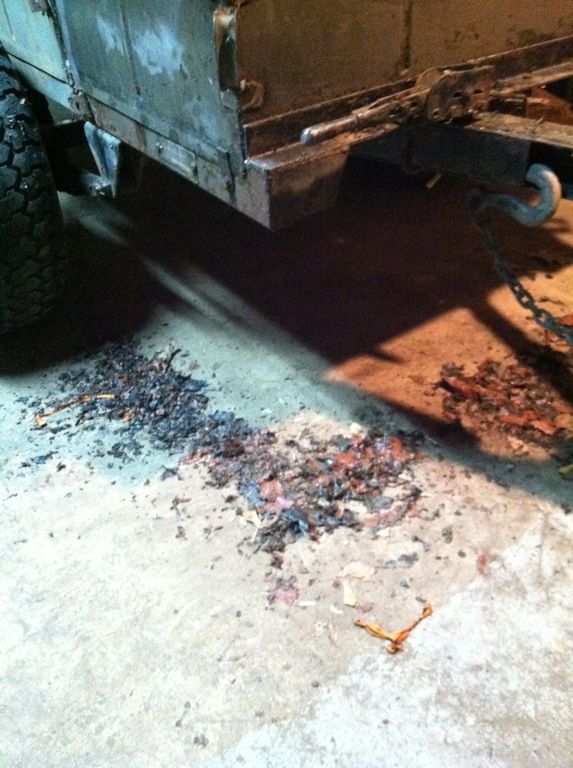
This was the paint that had been stripped from the front and a little bit on the left side of the tub.
file-13.jpg


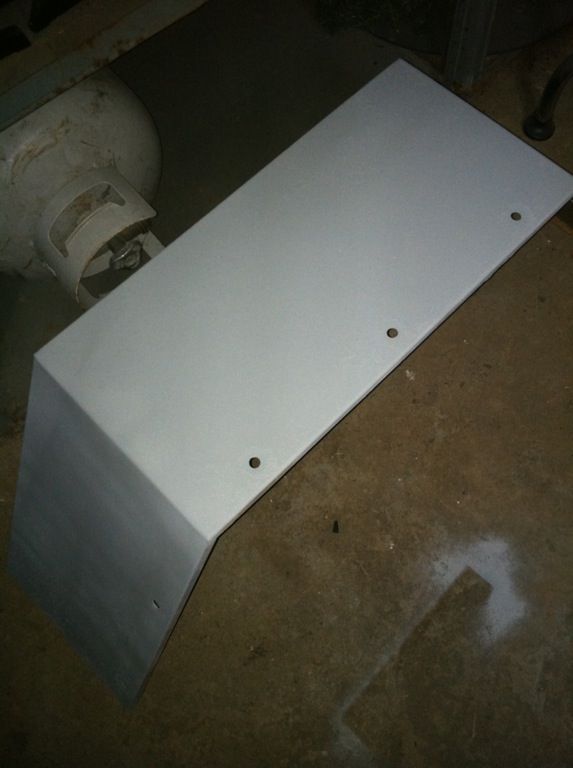
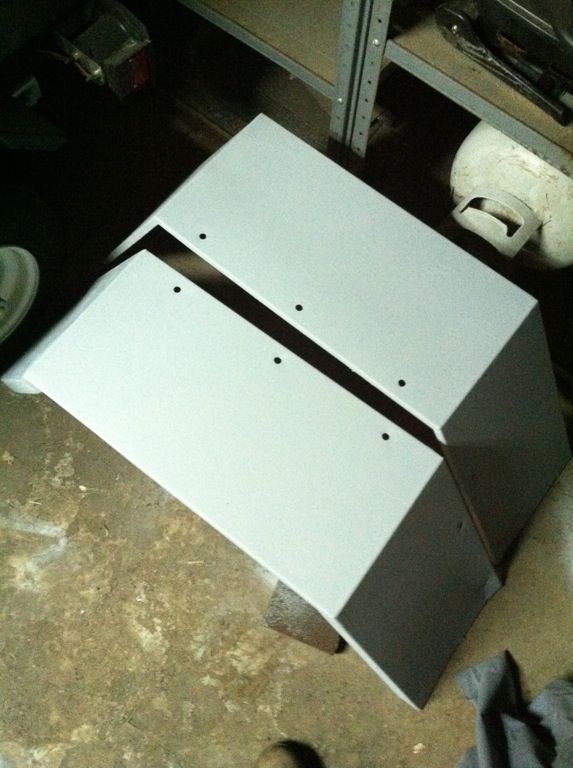
I did the fenders too and got them all primered up.
file-2.jpg

file-3.jpg


I'm slowly making progress but with school and work its hard to find time to work on the trailer plus my friend just got him a 2003 dbl cab TRD Tacoma so we've been working on making his one off for the past two weeks. Also installed a new lift on both our trucks but since all that is out of the way and work is slowing down a bit, more time should be allotted for the trailer. I'm ready with a ton of ideas in my head and am itching to make them a reality. Thanks for looking.

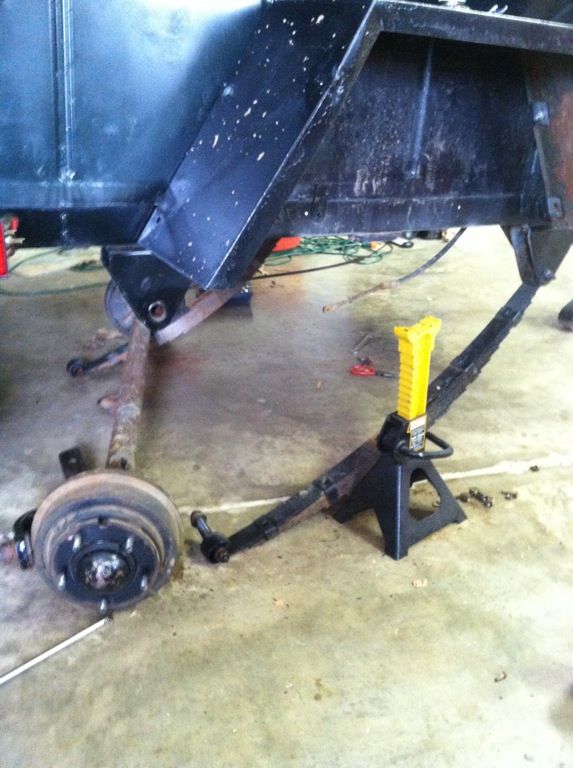
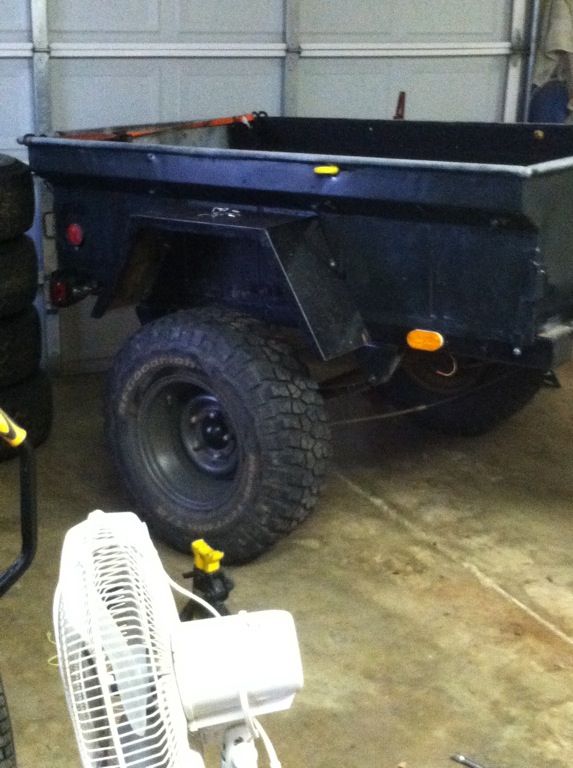
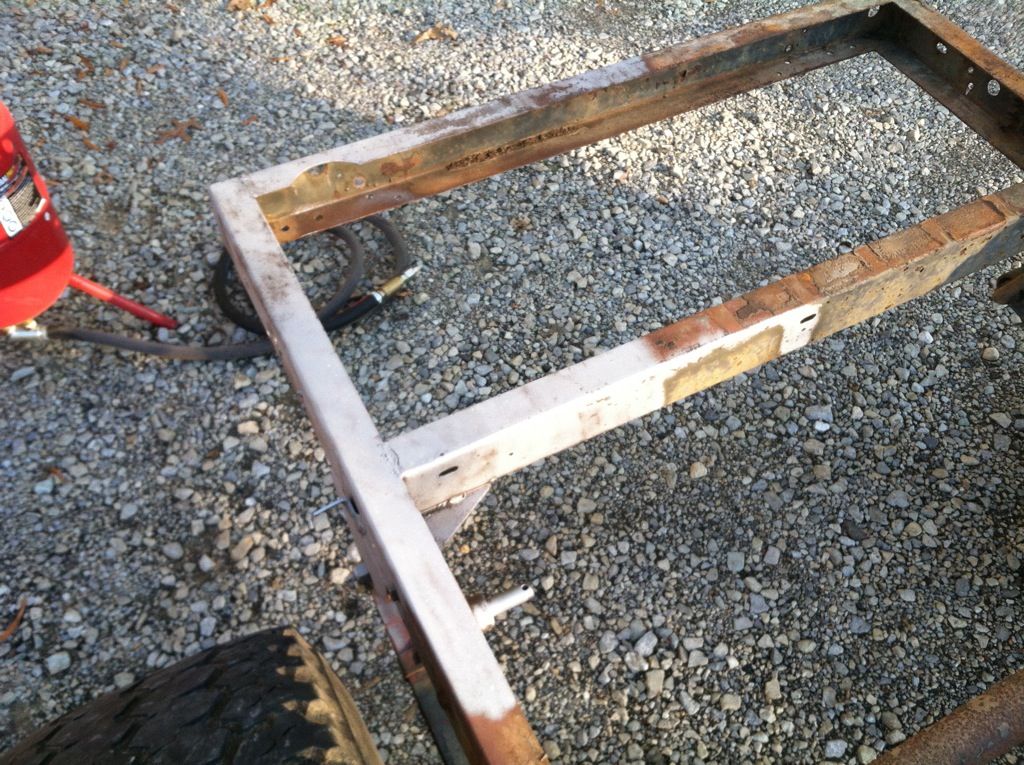
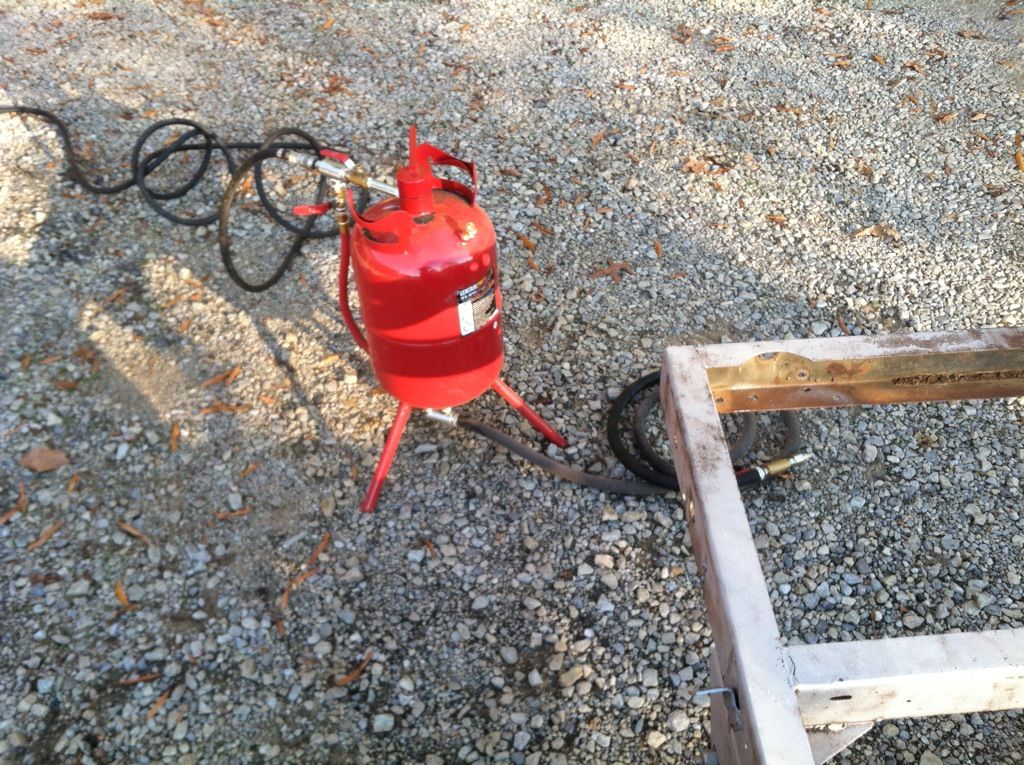
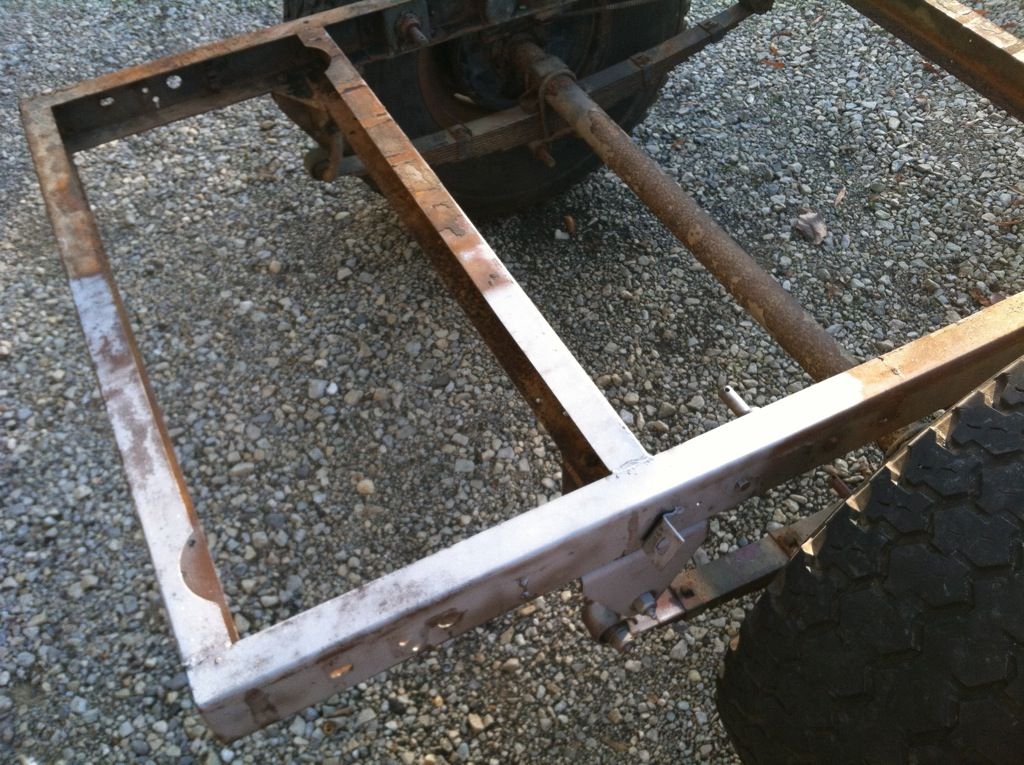
Did a little work on the trailer this weekend after I towed it home to the shop and had access to a few more tools.

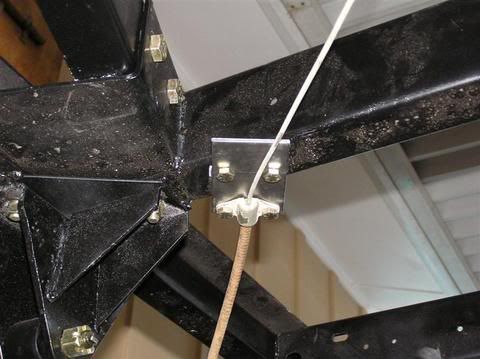
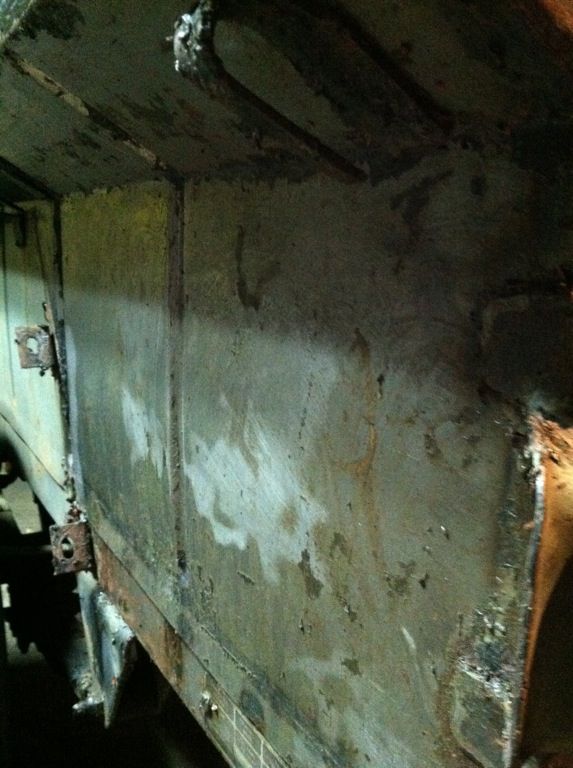
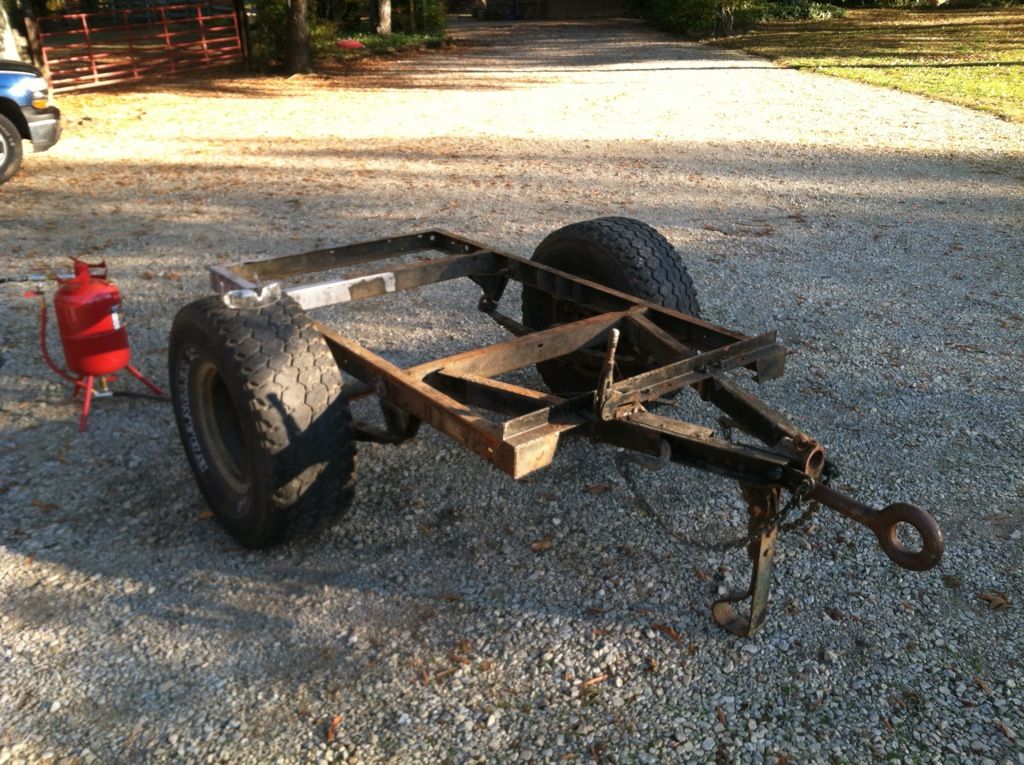
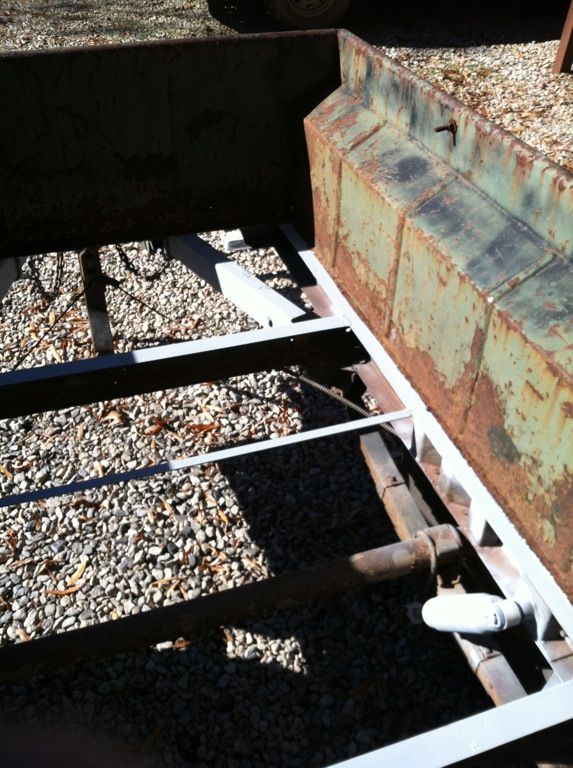
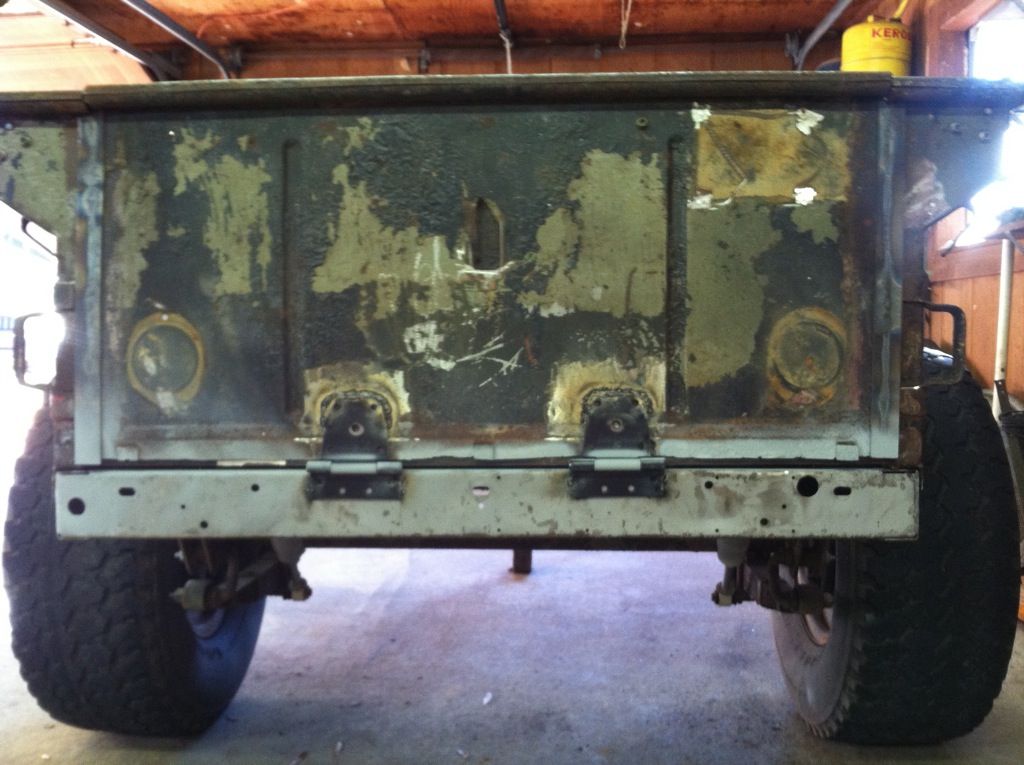
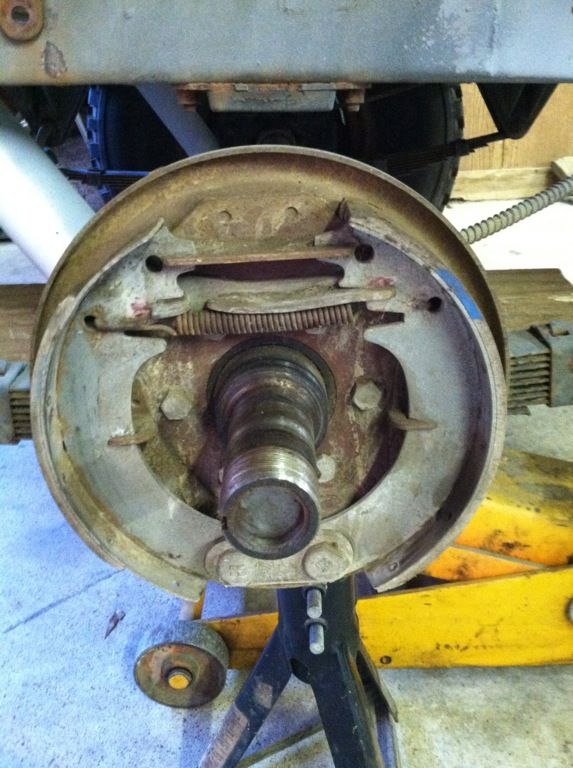
Managed to get the tub removed, partially sandblasted the frame, added new shocks and did some mock up on how the fold down tail gate is going to get done. Little by little its coming.
file-16.jpg

file-17.jpg

file-18.jpg

file-19.jpg


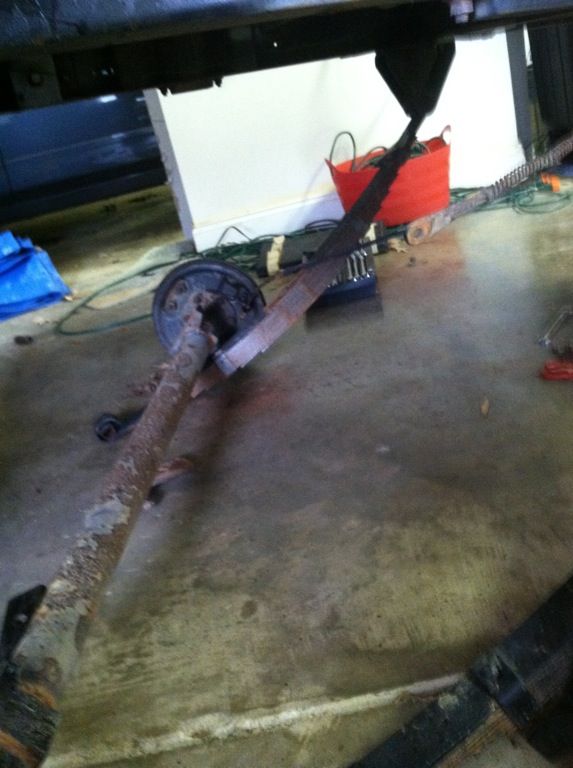
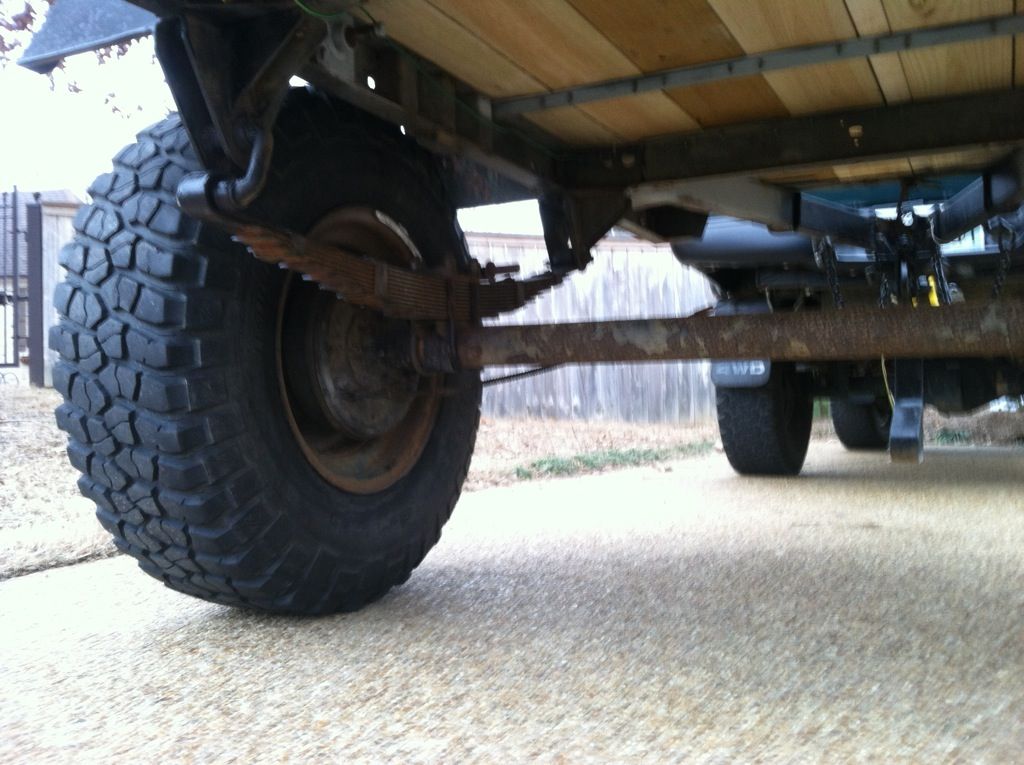
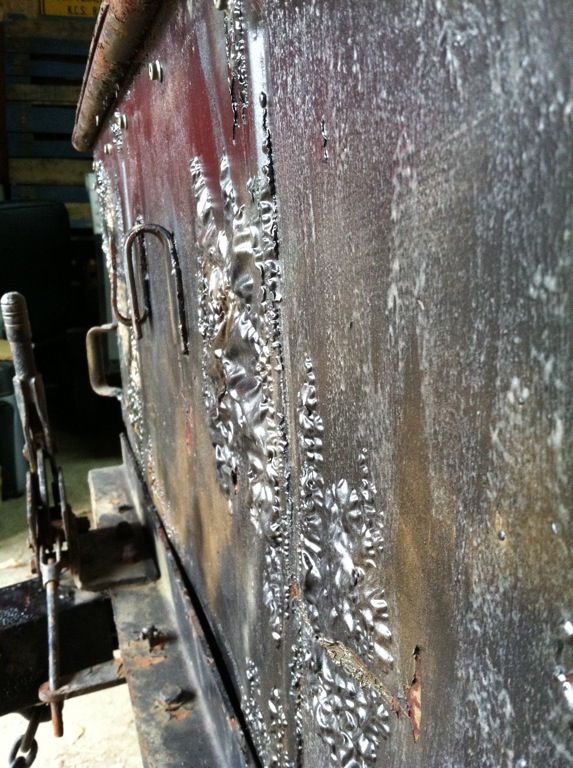
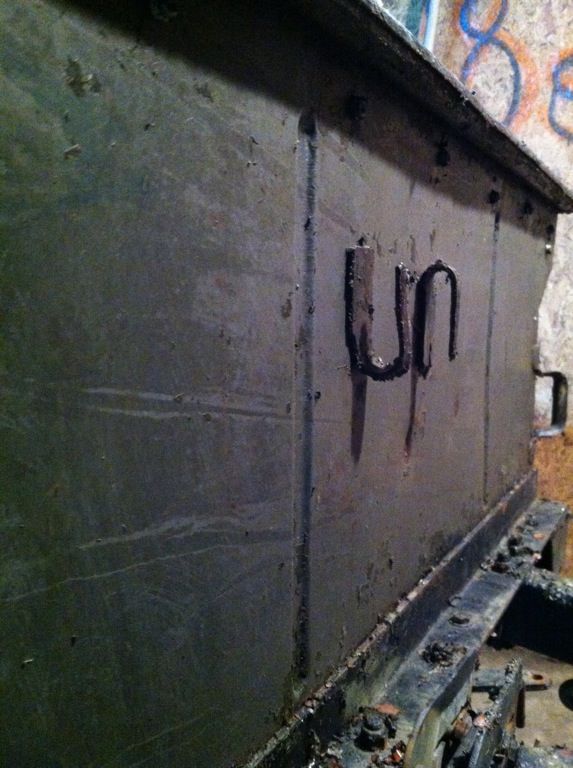
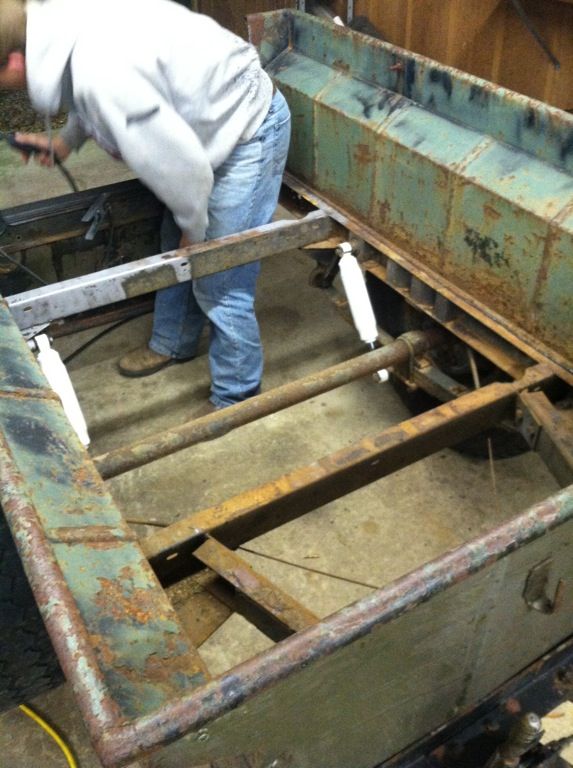
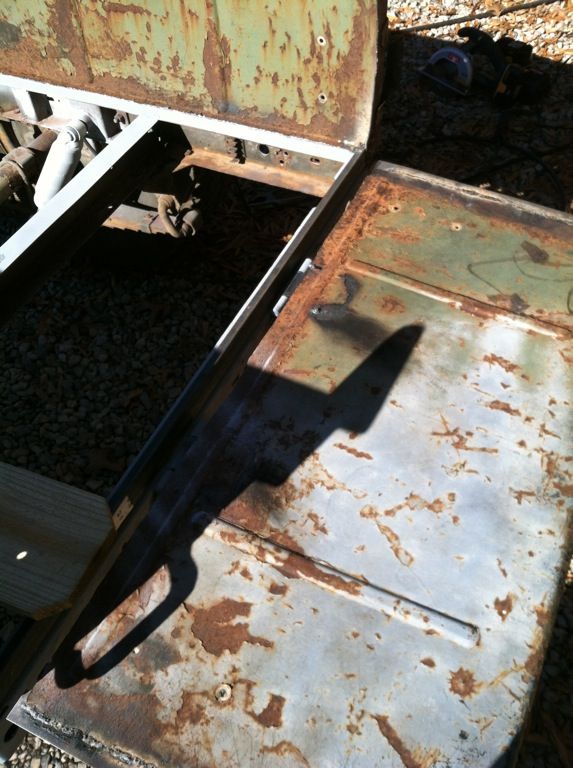
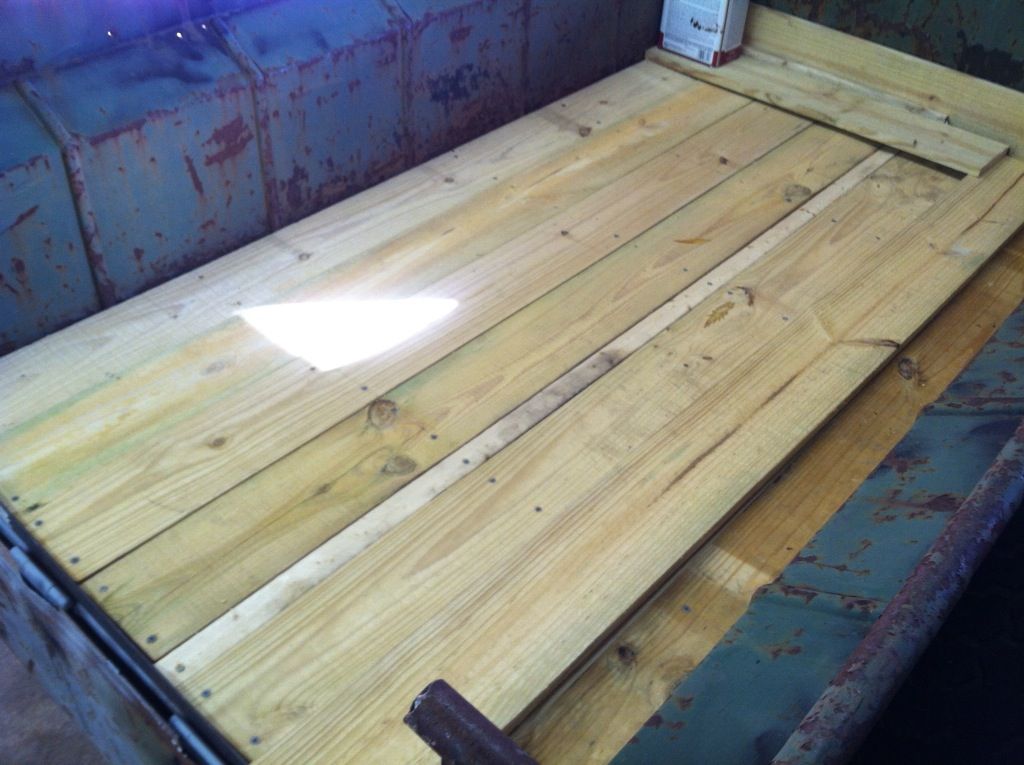
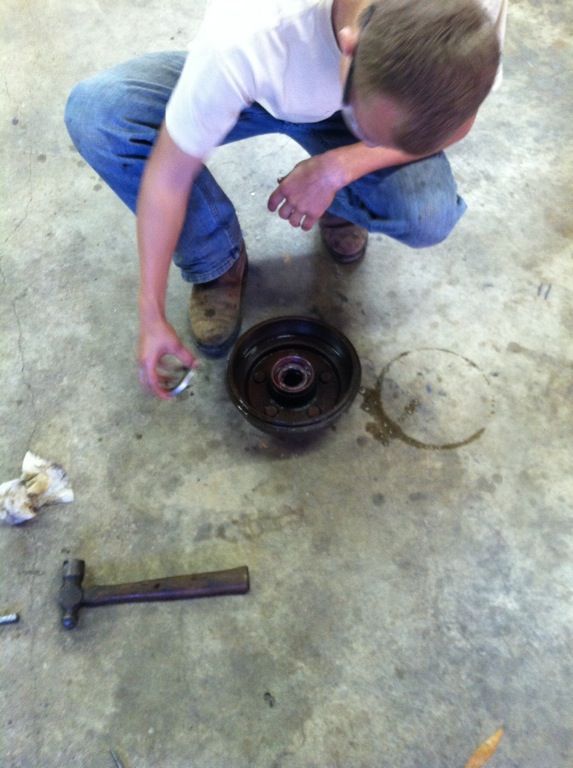
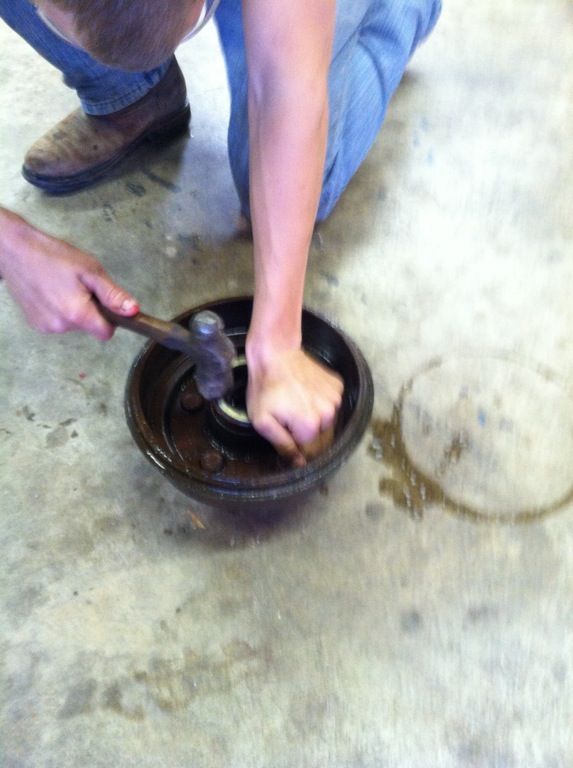
Did a little more work over thanksgiving break. Was able to weld the tailgate back on with hinges this time, do some more sand blasting on the frame, remove the rusted floor and replace it, and repack the bearings. Hopefully over Christmas I'll be able to do some final touches on prepping for paint, get it painted and use it for a little while while I figure out how I'm going to make a lid for it.

Here are some pictures:
file-23.jpg

file-27.jpg

file-28.jpg

file-30.jpg

file-29.jpg

file-31.jpg

file-32.jpg

file-33.jpg
 

01greentaco

New member
Did a pretty good amount of work, on the trailer over the past few weeks and weekends.

Managed to do more paint prep, sanding and sand blasting and man are they tedious and time consuming but in the end, (after I lost track of how many hours spent on trying to make the sheet metal perfect and all the way back to bare sheet metal, I gave up and just decided to go ahead and paint it.

I was fumbling with ideas for colors and patterns to do the trailer and of course I wanted to color match it but while purchasing the semi gloss black paint I stumbled upon a can of dark green. It was mixed in with the black cans and I sprayed a little test spot on the provided paper and was amazed at how similar it was to the factory color of my truck (Imperial Jade Mica) so I purchased the only can of Charleston Green they had and asked the nearest associate where another store was that had some more cans. Luckily it was only 20 miles away. I went there and got three cans and started prepping, priming and painting. Here are the end results. I am thrilled with the end result and how similar the color of the trailer is to the truck (it's not exact but pretty darn close)

I also relocated the hand brake so I can later add a tongue box for all my secondary wiring, switches, batteries, water, heaters, propane and other etc.

file-16.jpg


More pictures to come. Only one I have on my phone currently.

FINALLY got around to doing some work on this thing!

Sprung for some new rubber and decided to tackle the SPOA lift. Got the tires mounted this morning and did the SPOA in a matter of about 1.5 hours. (rusty and seized up bolts were the thing of the hour) Oh well, that's behind me and the trailer sits under the leafs now.

file_zps35b05e36.jpg

file_zps76e1a939.jpg

file_zps41dbe5a1.jpg


Hadn't cleaned up the tires at this point but you get the idea...

file_zpsb3bef3ed.jpg


Still need to extend and reroute the parking brake lines. Got too frustrated with all the seized bolts and just said I'll tackle it another day. The important thing is the axle it under the leafs, the brakes still work (just need to modify the assembly some) and the new tires are on!!

file_zpsb85c798b.jpg

file_zps5b37f1d8.jpg

file_zps8dc47ad1.jpg

file_zps919e10f1.jpg
 

01greentaco

New member
subd, im building my M416 on a budget build now as well.

Yeah, I've been following yours as well. Seeing you do the SPOA lift last week made me want to tackle it this weekend. I've been working on mine since about September or October. Just been really slow with funds and time as limited as they are.
 

RRDirtyHarry

Observer
you managed to paint your a lot faster than me. still haven't got to that part yet. but im not aloud to work on mine where im staying for now. lol my uncle says that the driveway isn't an auto shop. so I work on it wherever I can.
 

01greentaco

New member
you managed to paint your a lot faster than me. still haven't got to that part yet. but im not aloud to work on mine where im staying for now. lol my uncle says that the driveway isn't an auto shop. so I work on it wherever I can.

Well I actually painted it back in December. Fortunately I found a pretty much perfect color match to the truck, so I have to sandblast it again, primer, and paint the whole thing again. This of course is all when I get a second of free time which looks like it will be a while since my attention is now being focused back onto my truck and the new bumper with swing out tiers carrier.
 

NMC_EXP

Explorer
Yeah, I've been following yours as well. Seeing you do the SPOA lift last week made me want to tackle it this weekend. I've been working on mine since about September or October. Just been really slow with funds and time as limited as they are.

There are two sockets for the lunette ring shaft. If your objective is to raise the height of the lunette ring to match the truck and the lunette is in the lower socket, you can gain maybe 3" by moving the lunette to the upper socket and leave the springs alone..

Regards

Jim
 

RRDirtyHarry

Observer
There are two sockets for the lunette ring shaft. If your objective is to raise the height of the lunette ring to match the truck and the lunette is in the lower socket, you can gain maybe 3" by moving the lunette to the upper socket and leave the springs alone..

Regards

Jim

I had to do the spoa lift because my truck has a 6 inch lift, and I added 33s on the trailer so it put it almost perfect.
 

01greentaco

New member
There are two sockets for the lunette ring shaft. If your objective is to raise the height of the lunette ring to match the truck and the lunette is in the lower socket, you can gain maybe 3" by moving the lunette to the upper socket and leave the springs alone..

Regards

Jim


I am in the process of making a rear bumper in which I am making the new receiver on the bumper the proper height for the lunette. I am basing it off of the lunette being in the lower position. Thanks though!
 

DonBeasley

Adventurer
I looked at those pictures and based on your description and the pictures, I'm still not sure exactly what you're talking about.

Let me see if I can explain it. It is simple once you try it. When the axle is sitting in the original position, the spring pad is on the bottom and the brake lever is on top and facing the front of the trailer. To do a springover just move the axle under the spring with hubs still on the same side. Do not flip axle end to end. Now with axle in exact same position but sitting under the spring, twist axle tube so spring pad is up and where spring will rest. It is ready to bolt to spring.

When you do this, the brake mechanism is now on bottom and action is facing the rear. You want it back on top and with mechanism facing the front as it was originally. Take off the hub so you can see the brake shoes. You will notice that the brakes, actuating lever, and all other parts are attached to the back plate and the plate is bolted to axle hub with 6 bolts. Take off the 6 bolts and rotate the whole assembly 180 degrees. The plate will line up with the holes and you can bolt it back on. Now the braking mechanism is on top and you are ready to hook it up.

So a recap. Drop one end of each spring, pull axle and put under spring in same position as original. Grap tube and with a twist of wrist change pad from bottom to top. Pull hub and take off 6 bolts. Rotate plate 180 and rebolt. You now have a spring over and brakes in working position with no drooping cable. Only mod is extending location of cable bracket as shown in pictures.

Hope this helps. If not drop me a note.

Great builds. I have been watching both builds. Always learn something from all of you creative guys out there.

bracketpicture.jpg
 
Last edited:

01greentaco

New member
Let me see if I can explain it. It is simple once you try it. When the axle is sitting in the original position, the spring pad is on the bottom and the brake lever is on top and facing the front of the trailer. To do a springover just move the axle under the spring with hubs still on the same side. Do not flip axle end to end. Now with axle in exact same position but sitting under the spring, twist axle tube so spring pad is up and where spring will rest. It is ready to bolt to spring.

When you do this, the brake mechanism is now on bottom and action is facing the rear. You want it back on top and with mechanism facing the front as it was originally. Take off the hub so you can see the brake shoes. You will notice that the brakes, actuating lever, and all other parts are attached to the back plate and the plate is bolted to axle hub with 6 bolts. Take off the 6 bolts and rotate the whole assembly 180 degrees. The plate will line up with the holes and you can bolt it back on. Now the braking mechanism is on top and you are ready to hook it up.

So a recap. Drop one end of each spring, pull axle and put under spring in same position as original. Grap tube and with a twist of wrist change pad from bottom to top. Pull hub and take off 6 bolts. Rotate plate 180 and rebolt. You now have a spring over and brakes in working position with no drooping cable. Only mod is extending location of cable bracket as shown in pictures.

Hope this helps. If not drop me a note.

Great builds. I have been watching both builds. Always learn something from all of you creative guys out there.

bracketpicture.jpg

Ahhh. Makes perfect sense now. Thank!
 

Forum statistics

Threads
185,832
Messages
2,878,694
Members
225,393
Latest member
jgrillz94
Top