TEJASYOTA
Adventurer
Well, after many many years of using the ProCOMP's 8 Quartz lamps, it was time to upgrade.
The ProCOMPs were starting to have surface rust and the relay was acting funky and the rubber gaskets for the lights were starting to show their age (rotting).
I have been thinking of getting new lights for the past few months.
While surfing Expedition Portal, I saw a post from Sierra Expeditions, for special prices on LightFORCE and FREE SHIPPING!!!
Now the choice between the 140, 170 and 240 versions and then HID or normal!?!?!?
Then there was the newer 210 versions.
Now you may be wondering what the hell does the numbers mean?
The numbers are millimeter distances (ie the diameter) of the lights.
As for durability - well, I will let their website inform you of their durability.
http://www.lightforce.com/us/index
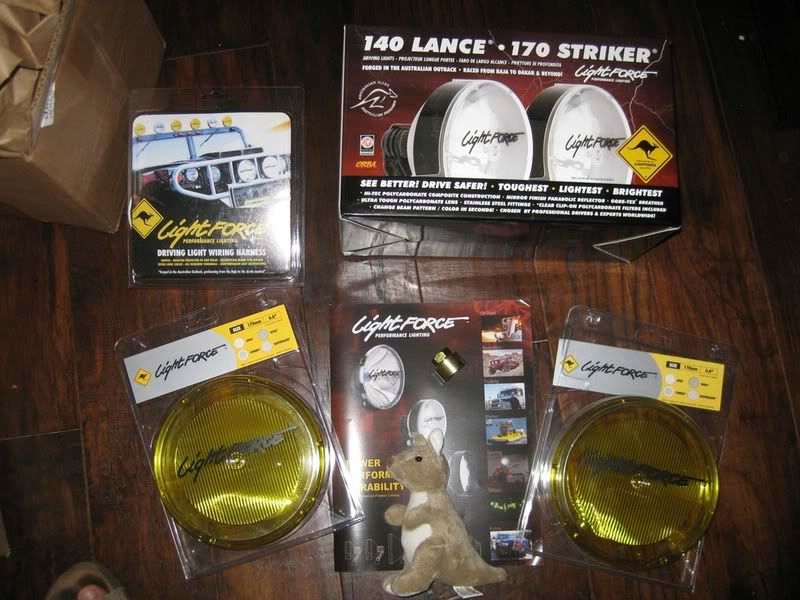
Now to what I picked - it was all based on price.
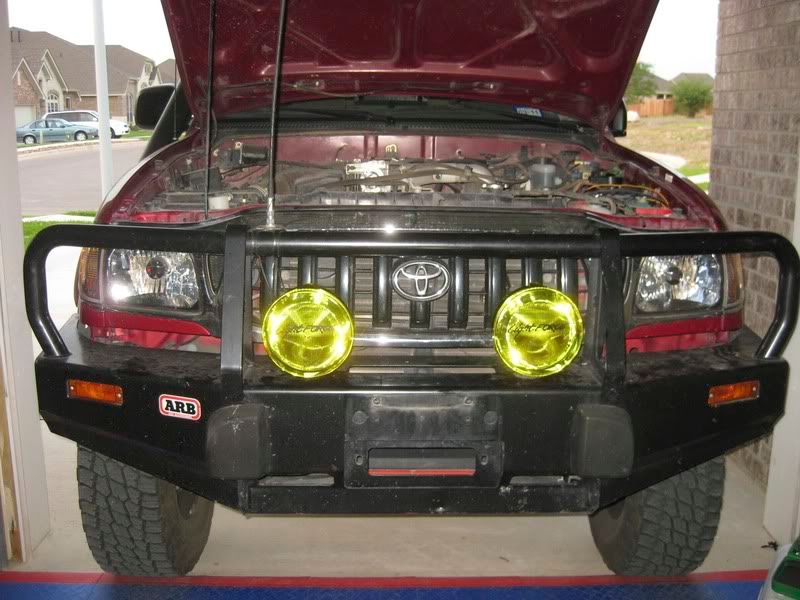
I picked the 170 HIDs with the Yellow COMBO Filters, wire harness and the security nut. Also included was a Keith.
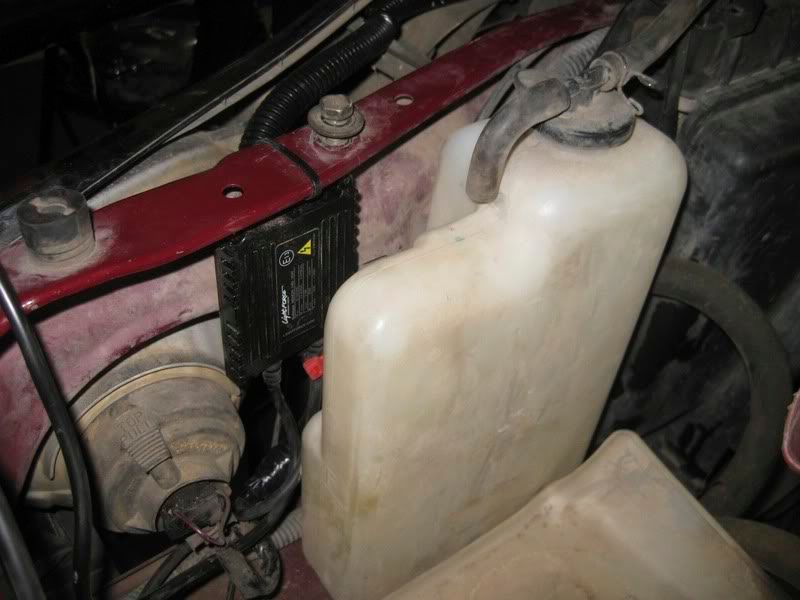
After gutting out the old electrical stuff, I sat and pondered on where to place the external Ballasts and other items required for HID.
Well out came the drill and a few holes & zip ties later in the grill.
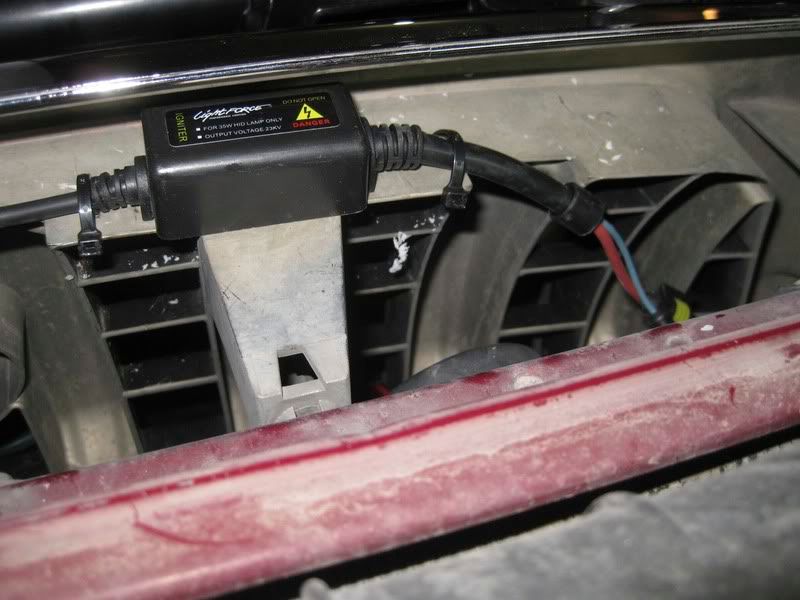
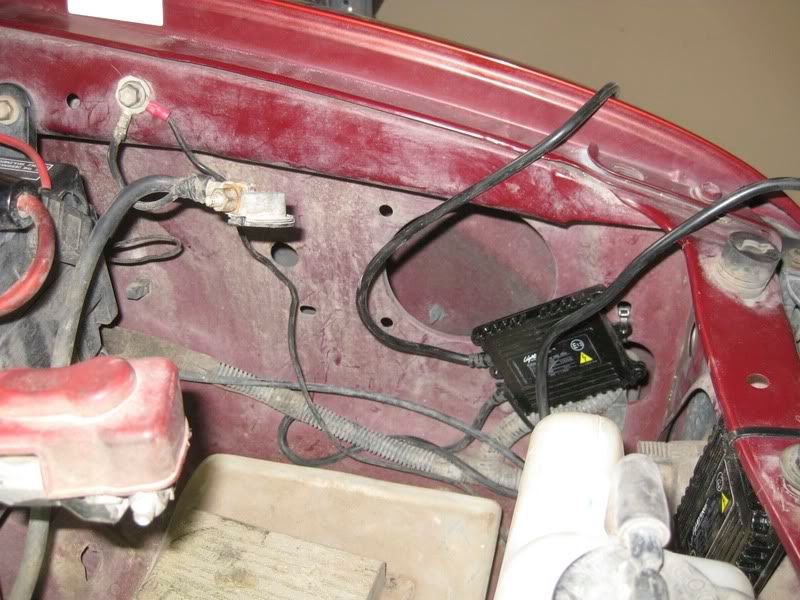
The ballasts were mounted behind the left side headlamp & fender.
I will not bore you with the basic wiring instructions or photos, LightFORCE's instructions is very easy to follow with a pictorial too.
The only item I will talk about is the tapping into the HIGH BEAM's activation wire.
After searching posts and the FSM, I found a few posts that helped identify the Highbeam wire for my Tacoma.
TTORA-DRL and highbeams
YOTA Tech-High Beam Question
4Crawler-Headlights wiring
Now to the mounting of the 170s to my ARB.
I can say, it is a PIA to tighten those security nuts - not much clearance to wrestle with a wrench and security socket that does not have the 3/8 or 1/2 inch drive adaptor. The only thing you can use is a ratchet or open end wrench.
But the end result is worth it.
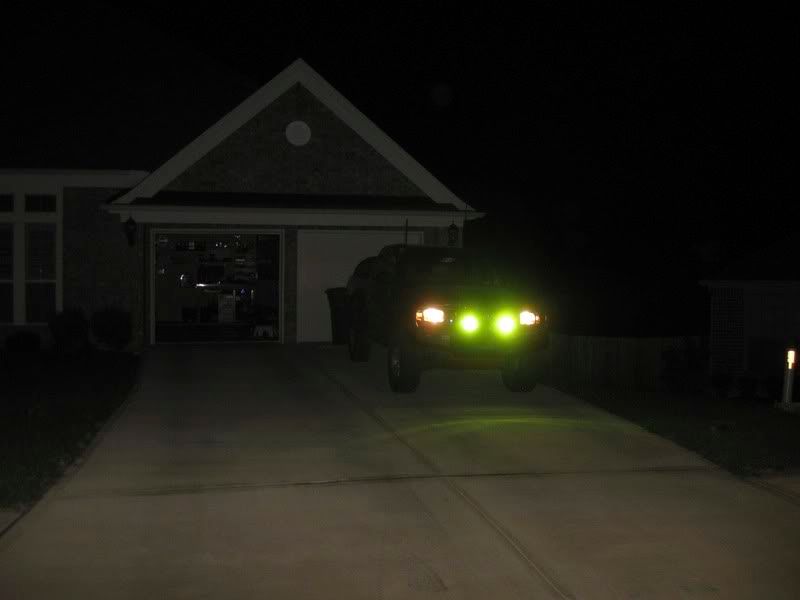
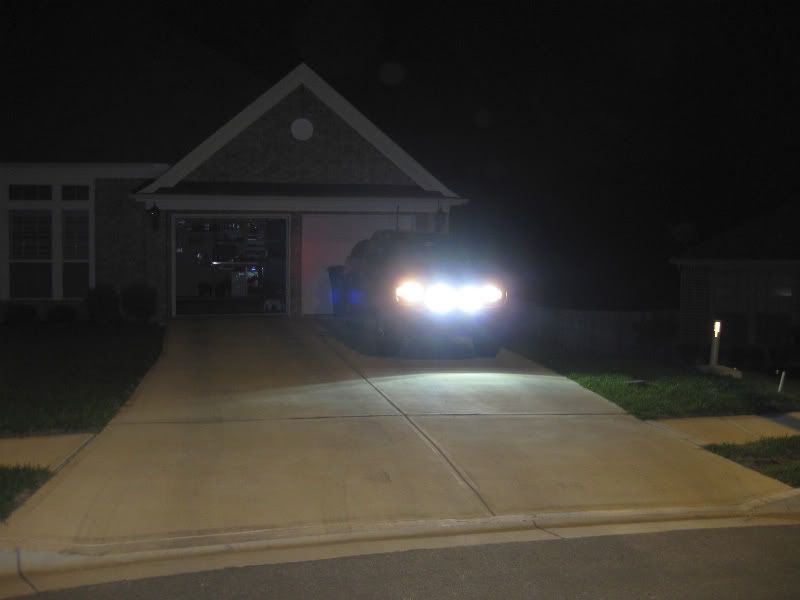
let me applogize for the photos, had trouble setting up the camera to take decent night shots.
Night photo is with the YELLOW COMBO Filters.
Night photo is with NO FILTERs.
The alignment was fairly straight forward.
I aimed my truck towards the garage door and used the seams of the door as a guide.
I then took it off to an undeveloped section of our neighborhood to see how it look on the trail.
Overall - I am very pleased on the install and the amount of light it puts out.
Now I have a pair of old ProCOMPS with surface rust.
I think I will wirewheel the rust off and rattlecan them black.
Then use then as backup / aux lights which will be mounted on my bed bar.
That will be a future project.")
Thanks to Will at Sierra Expeditions, for having a sale at the perfect time!
:wings:
The ProCOMPs were starting to have surface rust and the relay was acting funky and the rubber gaskets for the lights were starting to show their age (rotting).
I have been thinking of getting new lights for the past few months.
While surfing Expedition Portal, I saw a post from Sierra Expeditions, for special prices on LightFORCE and FREE SHIPPING!!!
Now the choice between the 140, 170 and 240 versions and then HID or normal!?!?!?
Then there was the newer 210 versions.
Now you may be wondering what the hell does the numbers mean?
The numbers are millimeter distances (ie the diameter) of the lights.
As for durability - well, I will let their website inform you of their durability.
http://www.lightforce.com/us/index
Now to what I picked - it was all based on price.
I picked the 170 HIDs with the Yellow COMBO Filters, wire harness and the security nut. Also included was a Keith.
After gutting out the old electrical stuff, I sat and pondered on where to place the external Ballasts and other items required for HID.
Well out came the drill and a few holes & zip ties later in the grill.
The ballasts were mounted behind the left side headlamp & fender.
I will not bore you with the basic wiring instructions or photos, LightFORCE's instructions is very easy to follow with a pictorial too.
The only item I will talk about is the tapping into the HIGH BEAM's activation wire.
After searching posts and the FSM, I found a few posts that helped identify the Highbeam wire for my Tacoma.
TTORA-DRL and highbeams
YOTA Tech-High Beam Question
4Crawler-Headlights wiring
Now to the mounting of the 170s to my ARB.
I can say, it is a PIA to tighten those security nuts - not much clearance to wrestle with a wrench and security socket that does not have the 3/8 or 1/2 inch drive adaptor. The only thing you can use is a ratchet or open end wrench.
But the end result is worth it.
let me applogize for the photos, had trouble setting up the camera to take decent night shots.
Night photo is with the YELLOW COMBO Filters.
Night photo is with NO FILTERs.
The alignment was fairly straight forward.
I aimed my truck towards the garage door and used the seams of the door as a guide.
I then took it off to an undeveloped section of our neighborhood to see how it look on the trail.
Overall - I am very pleased on the install and the amount of light it puts out.
Now I have a pair of old ProCOMPS with surface rust.
I think I will wirewheel the rust off and rattlecan them black.
Then use then as backup / aux lights which will be mounted on my bed bar.
That will be a future project.
Thanks to Will at Sierra Expeditions, for having a sale at the perfect time!
:wings: