Rbertalotto
Explorer
This isn't quite an expedition trailer project....But I guess it depends on one definition of "Expedition"....
I shoot a sport call "Cowboy Action Shooting".....Grown folks dress up in 1800 period correct clothing and using 1800 firearms or reproductions compete in timed matches for speed and accuracy. There are matches all over the country and this fall I'm heading south with all my stuff and my Truck Camper and going to attend as many matches on the weekends and a few big regional shoots. In this sport you use a heck of a lot of ammunition and reloading your own ammunition is simply the best way to keep expenses in check.
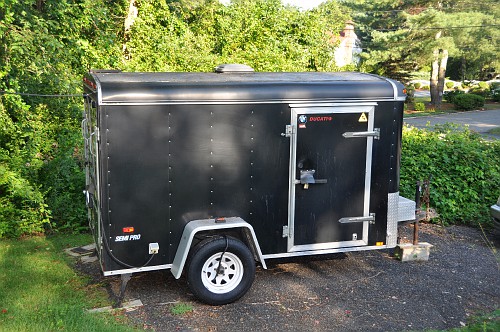
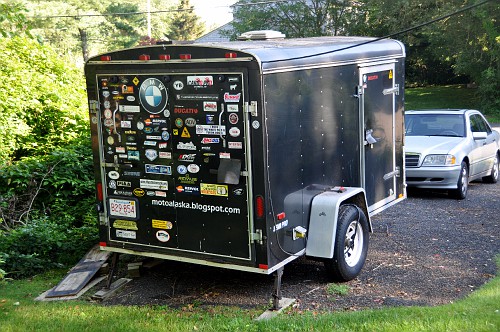
I have a 6 X 10 motorcycle trailer that has been all over the country and Canada. Hauling bikes, moving kids, buying machine tools. It's on its second set of hubs it has so many miles on it.
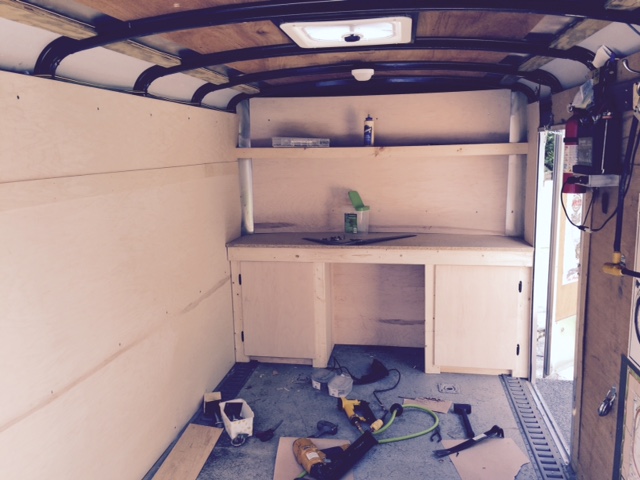
Before I bought a pickup truck and a truck camper, it was my moto-camper. I had it set up with heat, a bed a fan and a place to store the MC.
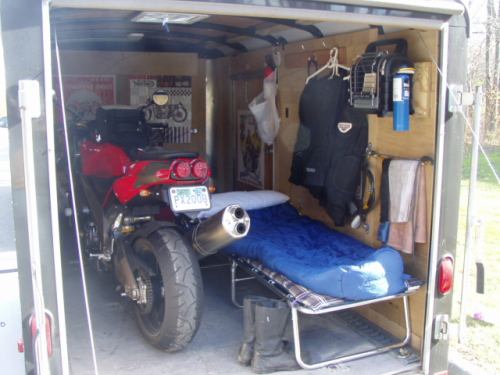
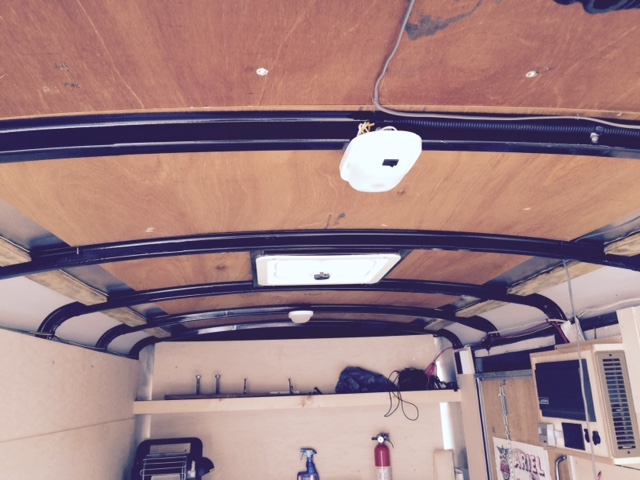
The interior was really beat up and it had no insulation which made it very cold in the cooler months and an oven in the summer.
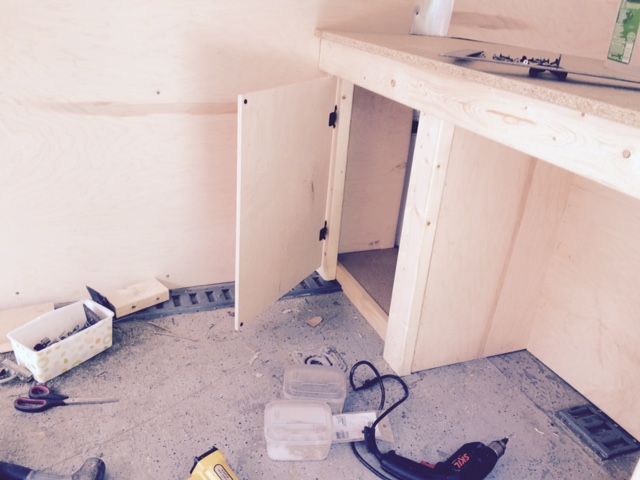
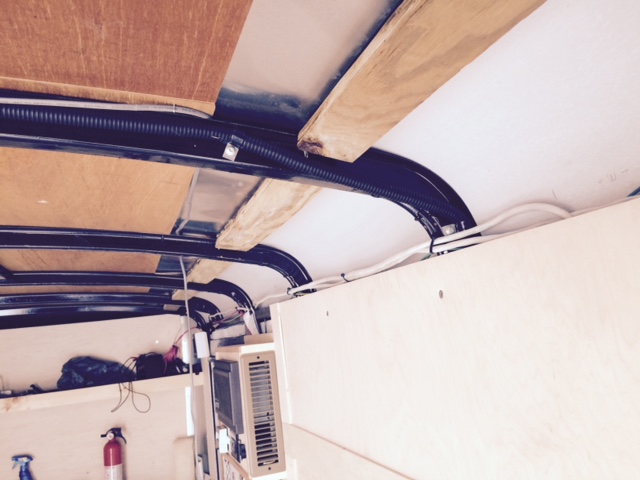
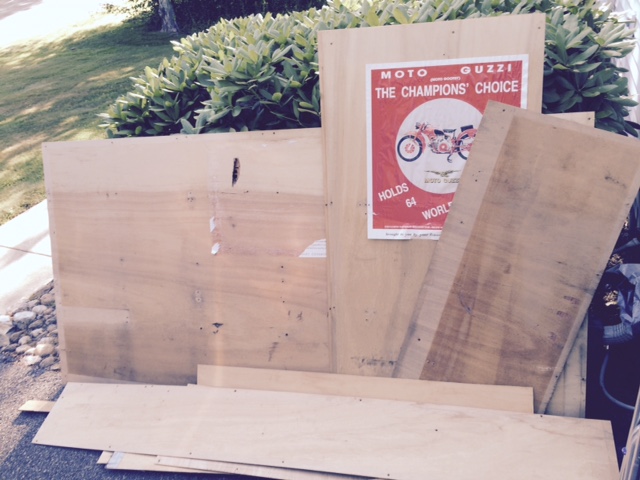
First order of business was to strip out all the interior 1/8" paneling
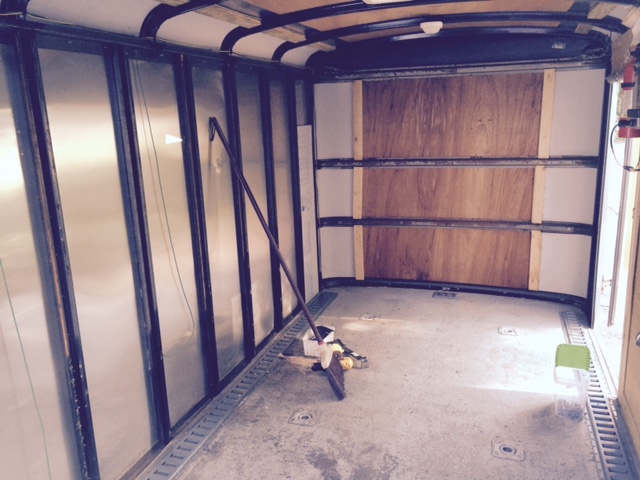
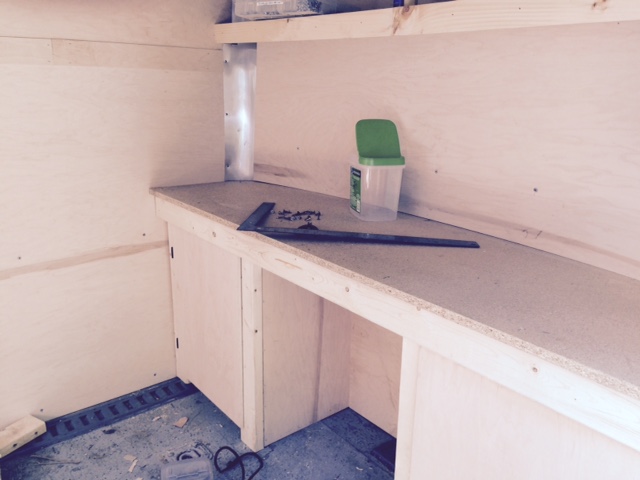
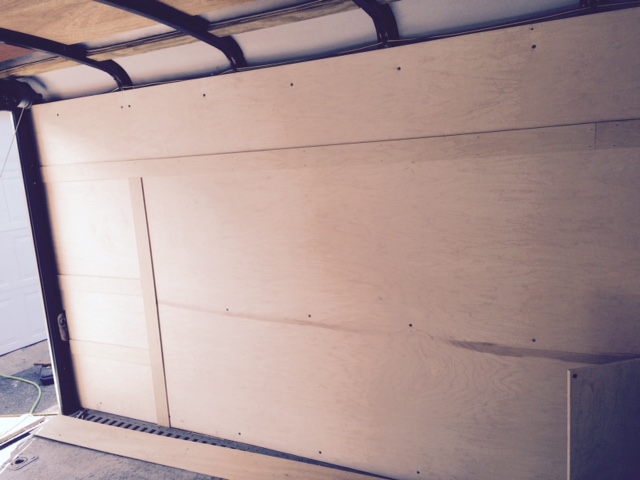
With that done I bought foil faced, 3/4" rigid Styrofoam insulation Lowes and started installing it.
This was extremely easy as this trailer has vertical U Shaped braces that the rigid foam was cut to size, scored, and then snapped into place..Easy!
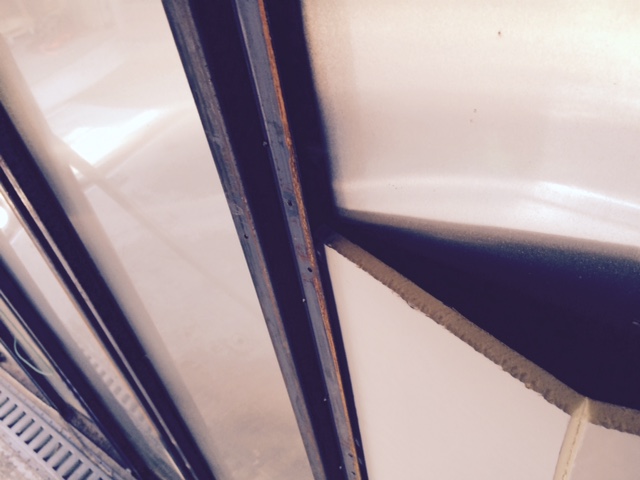
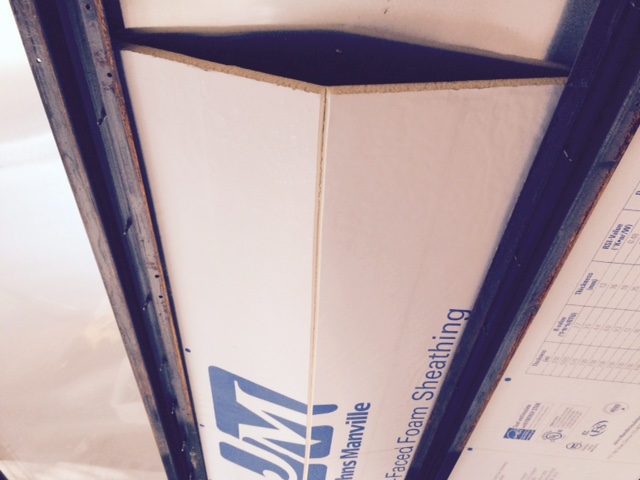
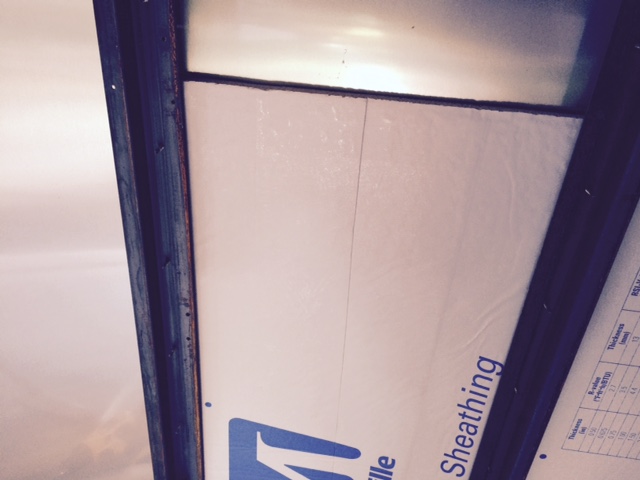
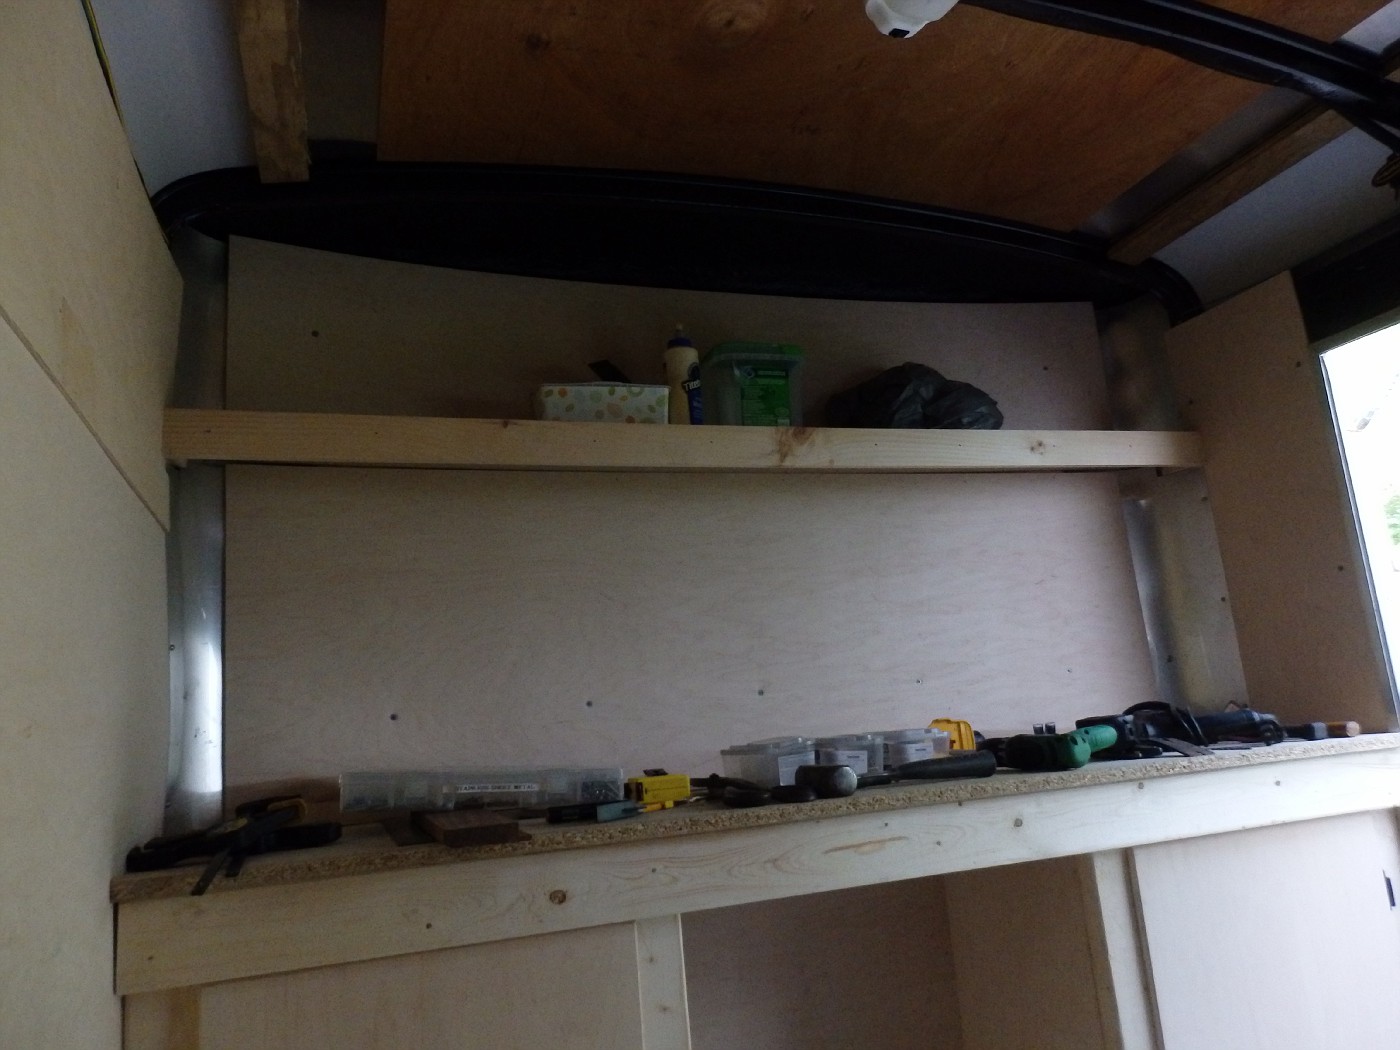
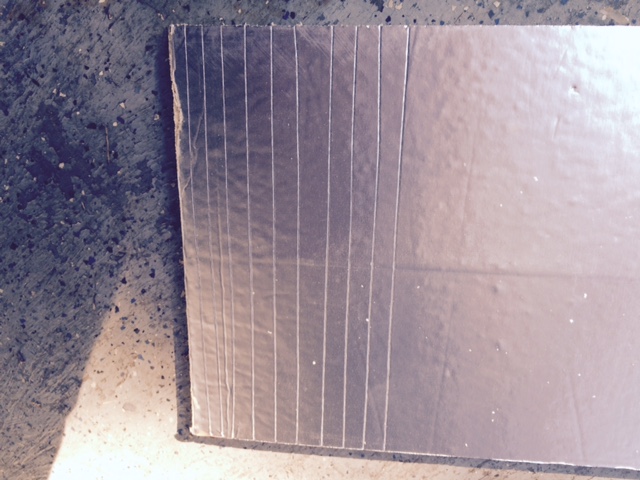
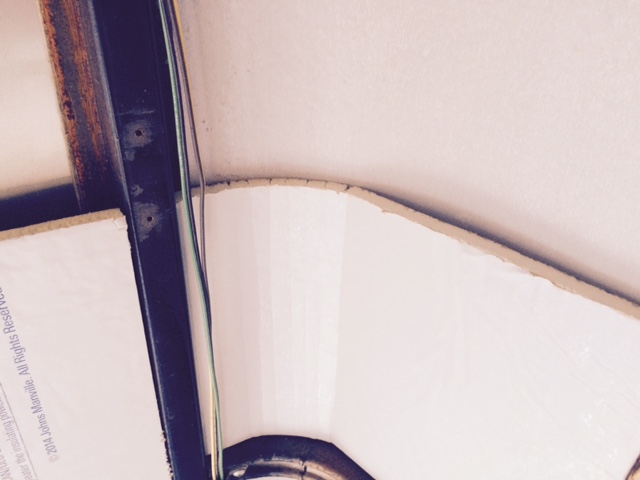
The front rounded corners were a bit more of a challenge, but using an old boat-building method to bend wood, it worked out great....
Lots of scores and then bend to shape...

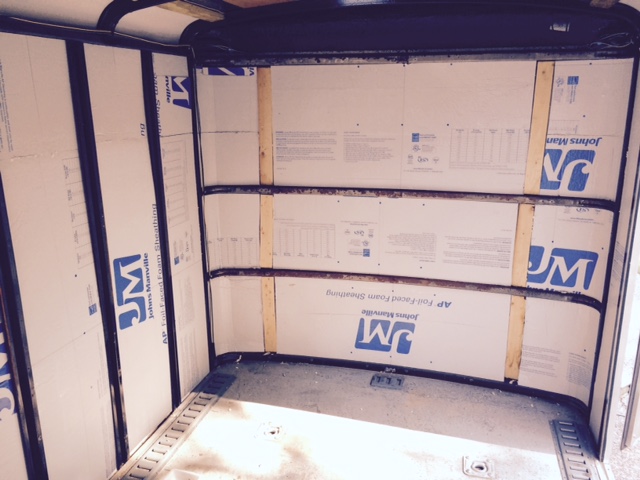

The insulation phase is done! Except for the ceiling which will be tackled later...
More to follow
I shoot a sport call "Cowboy Action Shooting".....Grown folks dress up in 1800 period correct clothing and using 1800 firearms or reproductions compete in timed matches for speed and accuracy. There are matches all over the country and this fall I'm heading south with all my stuff and my Truck Camper and going to attend as many matches on the weekends and a few big regional shoots. In this sport you use a heck of a lot of ammunition and reloading your own ammunition is simply the best way to keep expenses in check.
I have a 6 X 10 motorcycle trailer that has been all over the country and Canada. Hauling bikes, moving kids, buying machine tools. It's on its second set of hubs it has so many miles on it.
Before I bought a pickup truck and a truck camper, it was my moto-camper. I had it set up with heat, a bed a fan and a place to store the MC.
The interior was really beat up and it had no insulation which made it very cold in the cooler months and an oven in the summer.
First order of business was to strip out all the interior 1/8" paneling
With that done I bought foil faced, 3/4" rigid Styrofoam insulation Lowes and started installing it.
This was extremely easy as this trailer has vertical U Shaped braces that the rigid foam was cut to size, scored, and then snapped into place..Easy!
The front rounded corners were a bit more of a challenge, but using an old boat-building method to bend wood, it worked out great....
Lots of scores and then bend to shape...
The insulation phase is done! Except for the ceiling which will be tackled later...
More to follow