My first Expo Build

SilverBullet

Explorer
Well, as they say, let the games begin! :wings:

Not my first build, btu my first build doccumented on Expo.

So a little background... a couple years ago, I bought an OME kit from the a website which does not advertise part numbers, just "Medium Duty" and "Heavy Duty" lift kits. I don't recall the name, but I am not into slandering a company, so I am not going to look it up either, sorry. Let's just say, after about 3 years of use, the kit has settled to less than 1" of lift. :(
So I learned my lesson; do more research, and do it right the first time, not cheap and then do it again. I am not saying the OME is not a good kit, but I did not get what I wanted, so it was not right for me.

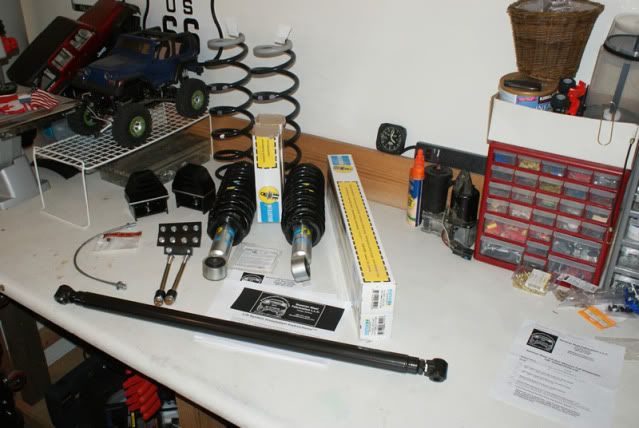
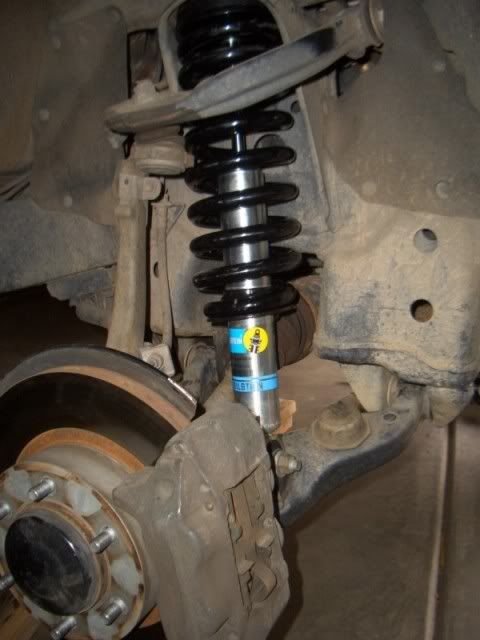
Yesterday, Rex and I drove down to Steve's (Sonoran Steel) shop to pick up my 1.2 lift kit. I was extremely impressed with the quality of work Steve does and he is a great guy. Truly a pleasure meeting him and I look forward to using his kit.

So now I have the parts from Steve and I am ready to go. Anyone want to have a shop session next weekend? I have to wait to install due to my LASIK surgery and son's birthday party this weekend, so I have to just listen to the calls from the garage... "if you build it, it will be fun" :Wow1:

I will post pictures as soon as I can, but had to help at home with 2 sick kids and such before I cold spend more time on this. Kristi is a great woman, but even she needs a little help some times.

The Plan:
This weekend:
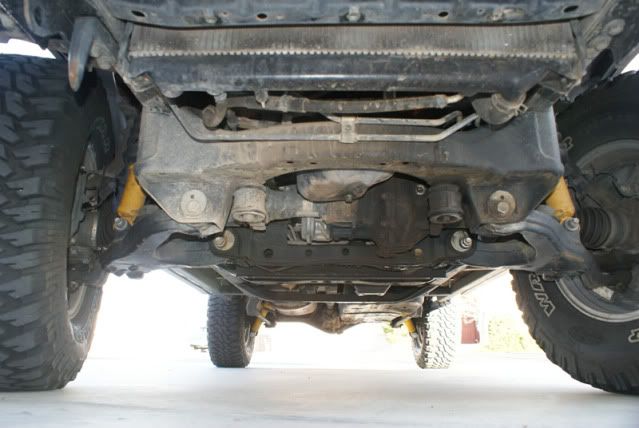
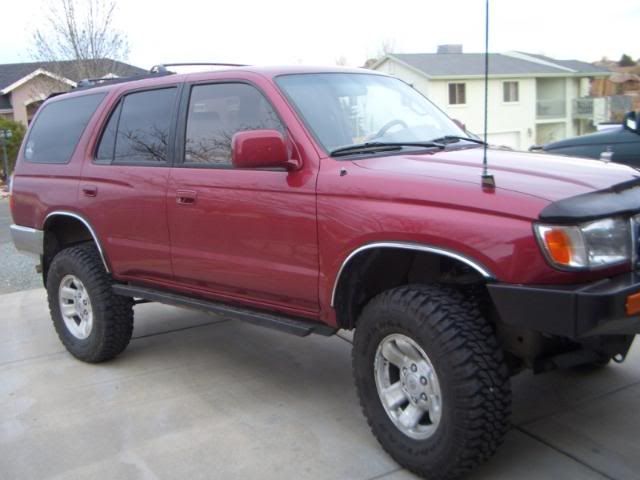
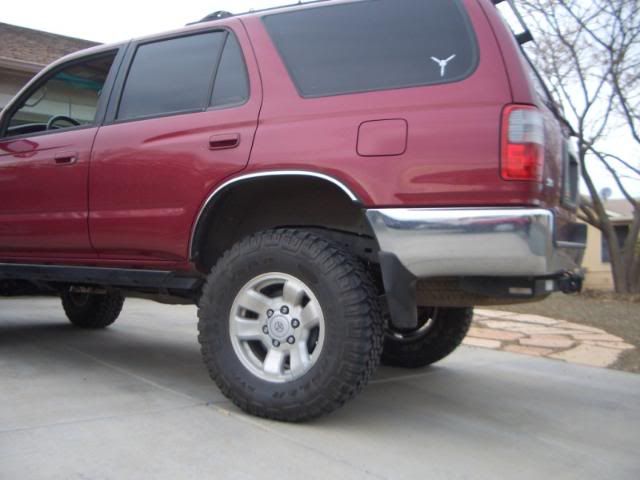
- Measure the starting height from fenderwells to the ground and to the tires.
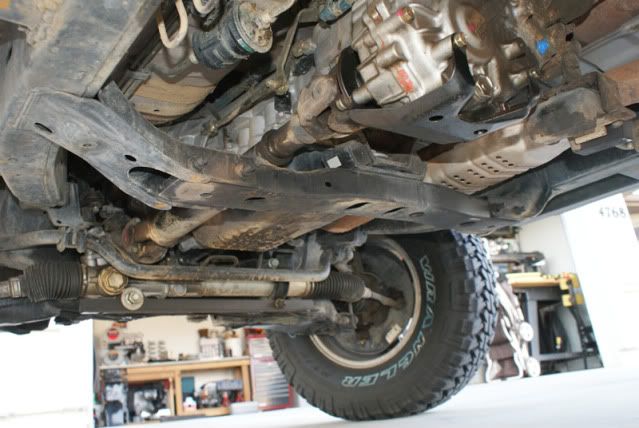
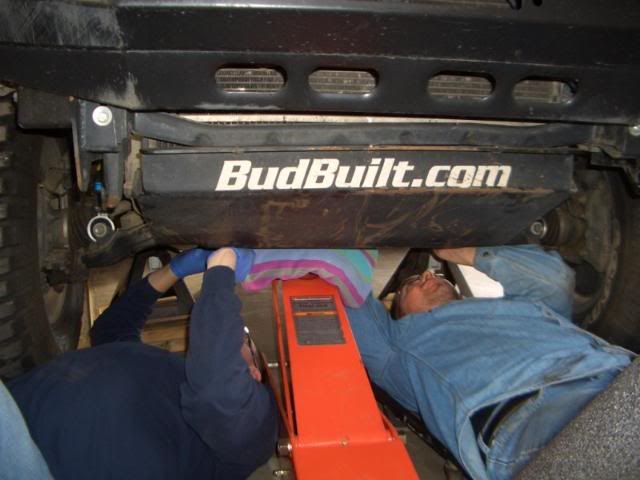
- Remove Bud Built skids front and center
- Paint the Trac bar.

Next weekend (2/26-27)
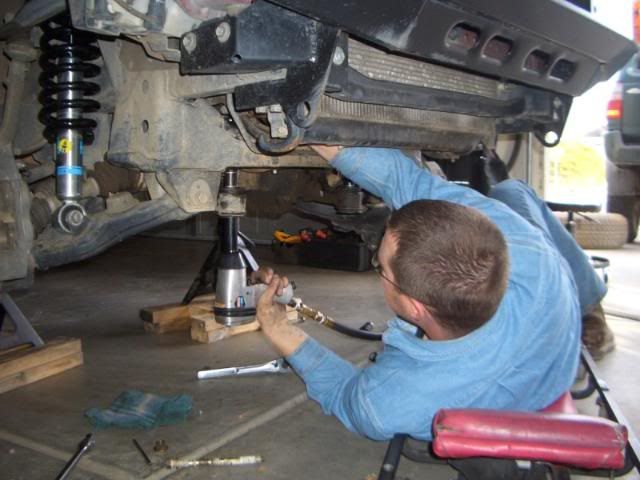
- Install the lift per insturctions from Steve (start around 0900)
- Measure new heights to compare
- Test run locally Saturday morning-early afternoon (hopefully)

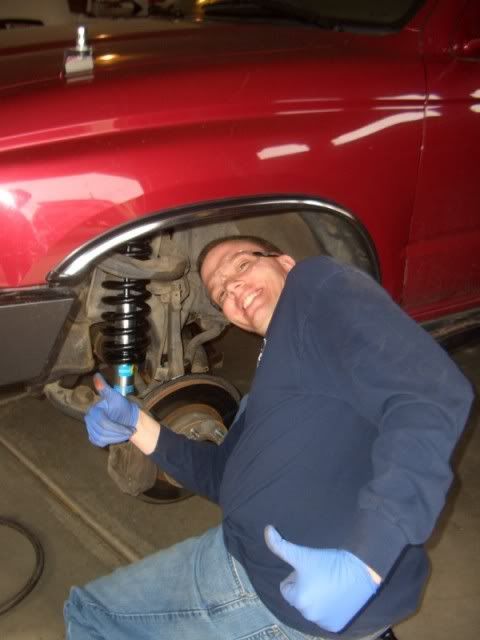
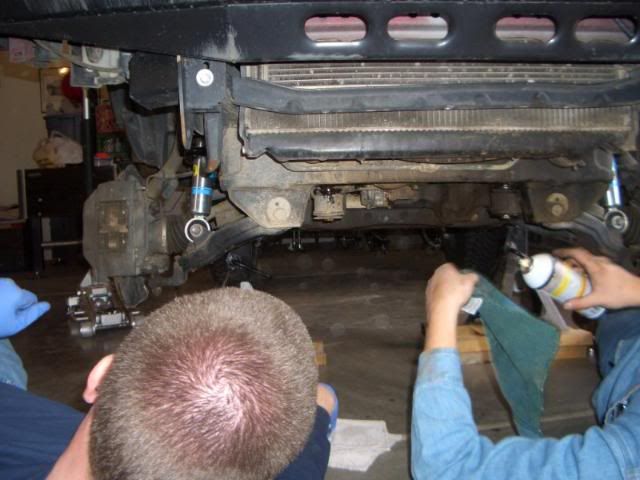
Hopefully this will only take 1 day to install, but I have a short appointment at 2:30 Friday, so I will have a short interruption (like 45 minutes) that may set me back a little. If anyone is local and can help, it would be appreciated. I will buy lunch on the build day if needed. I always can use another set of hands to get things done quicker.

Anyone want to buy an OME kit cheap?
 

crawler#976

Expedition Leader
Good luck on the install!

Indeed, Steve does nice work. I've known and wheeled with Steve for many, many years.

Make sure you plan for a front end alignment shortly after the install, preferably before hitting the trail or highway. IMO, Jim's Alignment and Brake is the best in town.
 

SilverBullet

Explorer
Good luck on the install!
Make sure you plan for a front end alignment shortly after the install, preferably before hitting the trail or highway. IMO, Jim's Alignment and Brake is the best in town.

Yeah, I was thinking of usin gNorhtern AZ 4x4 in PV or go down to Jim... just have to find out prices and availability.
 

LTFJC

Observer
Congrats on the new lift! take some before and after pics and posty them up!!!!!!!! lots of pic!!!!!!!
 

SilverBullet

Explorer
Well between surgery and the flu, I did not get this week's goals done, so now after work I have a few tasks during the week to be ready to build. Pics still to come.
 

SilverBullet

Explorer
Prep work done

Well, the prep work is done... Here are a few pictures as it sits now, ready to install.
DSC01361.jpg

DSC01360.jpg

DSC01362.jpg

DSC01363.jpg


The skid plates are removed. I found what I think is a small leak in the transfer case, so that gets added to the repair list and hopefully done soon. I miss my steam cleaner, it would have made such an improvement to the work areas...
DSC01366.jpg

DSC01365.jpg

DSC01364.jpg


The measurements on level ground with all wheels straight are as follows:
Fender Height Right Front: 36 3/4" Left Front: 36 1/4"
Fender Height Right Rear: 36 1/2" Left Rear: 36"

Rock Rail Outer height at B Pillar: Passenger Side: 18 3/4" Drivers Side: 18 5/8"

Bottom of Hitch: 18"
Bumper at Winch opening: 27 1/2"

The parts are all laid out and I did not have to paint the pan hard, it was powder coated. :wings:
DSC01359.jpg


A couple guys are coming over to build Friday, so this should all be done soon.


***MODS, please move this to the 4Runner forum, I guess I put it in the wrong place. Thanks.
 

BajaRunner

Bandito
Looking nice!

Sonoran Steel is powdercoating the panhards now? Id double check. I thought he used the hammered finish spray paint.... doesn't really matter as it rarely, if ever touches anything except moving air. I ended up painting mine with POR-15.
 

SilverBullet

Explorer
Looking nice!

Sonoran Steel is powdercoating the panhards now? Id double check. I thought he used the hammered finish spray paint.... doesn't really matter as it rarely, if ever touches anything except moving air. I ended up painting mine with POR-15.

Maybe that is it, wither way, I did not have to do it. All the brackets are painted the sam eway, so it must be hammered paint.

AlexJet said:
Looking forward to see the pictures...
Thanks, I tend to take more pictures when I have help, so hopefully there will be plenty. Tommorrow morning it all happens and 2 guys are helping me.
 

SilverBullet

Explorer
Install

Lift install.

Well, the lift is now in and here is a brief write up as to how it went. Rex and Clark showed up Friday morning to help me get the install done. Thanks guys, I was glad to have the help. Rex was here around 9:30 and and he served as my photographer since he was a bit under the weather a couple days before and not feeling up to 100% yet.
Before you give me a hard time for the blue latex gloves, I have cuts all over my hands from wood working and a Foosball table I am rebuilding, so I had to cover them to keep the gunk and chemicals out of the cuts. I have the benefit of a 3-car garage, so with the cars out, I pulled across to keep us out of the wind and able to keep in some heat. I love the working indoors.

Now on to the build.

Rear lift install
The rear lift was where we started. After picking up the lift kit from Steve at Sonoran Steel and talking to him about some tips to make things easier, we decided to start the rear since this would be the hardest with the top mounted shocks gifted to 4Runner owners from Toyota.
Here is the underside jacked up and ready to work on.
DSC01367.jpg


The spare tire was also removed, which gave me ample room to sit and work under the truck. I started with the rear brake line bracket. A simple job, remove one, install it on the new supplied bracket, and then reinstall in place.
DSC01368.jpg

DSC01369.jpg

DSC01370.jpg


Next was the removal of the old OME shocks and springs. I want to sell these (see for sale ad in another section of the board) so using a pliers to grip them was not possible. We removed the bottom bolts on the shocks and had to use a little force to pry them off.
DSC01371.jpg

DSC01377.jpg


Overall, these were coming off easy. So easy in fact, we were done before Rex grabbed the camera. With only a little effort, I was able to break them free and turn them out by hand. Apparently the old top bolts were no longer tight.

To get the springs out, the instructions advised to remove the anti-sway bar bolts to allow more travel.
DSC01372.jpg


We later had to remove the entire bar to change the brackets to the new supplied ones and cut the bushings to clear the new bolts.
DSC01373.jpg

DSC01374.jpg

DSC01375.jpg
 

SilverBullet

Explorer
Install 2

While we were removing and preparing the anti-sway bar, the coils also were removed from teh truck and set on the bench to compare to the new ones. Lift... what lift?
DSC01376.jpg


We also removed the old bump stops since Sonoran Steel provides new ones to be used.
DSC01378.jpg


The old trac bar came off to allow full droop of the rear axle and because it too would be replaced.

The final piece of dissasembly to be done was to change the brake line for the new braided line supplied in the kit. Mental note, the nuts on brake line don't turn, so do the bottom first and then the top with the line tightener. Otherwise you will have to do it over twice, ask me how I know.
DSC01382.jpg


One everything was off the truck that needed to be, we began the re-installation of the rear suspension parts. First was the shocks. Due to the top mount bolt, it was a bit of a hassle to get the top nut on and tight. Thanks to Steve at Sonoran Steel, he told me a small tip. If you use a hex adapter for a ratcheting socket set in the top bolt hole (has a hex hole in it), you can hold the lock nut with a wrench, and turn the bolt and shock at one time to bring the shock into the nut and tight. We tried to use the air tools too, but the area was too tight. So we took turns working in the tight space and got the two shocks installed.
DSC01379.jpg

DSC01381.jpg

DSC01380.jpg

CIMG6918.jpg


After those were in, the springs came next. With the axle trac bar disconnected, these went in fairly easily with a little weight on the wheel to push the axle down.
CIMG6920.jpg


Finally, the anti-sway bar was installed with the new brackets. These kicked out butts. We could not get all 4 bolts to line up for our lives. We even stripped one out by cross threading it, so a quick trip to the hardware store was all it took to have a new bolt and nut to go in the now ruined hole. We drilled it, used a little lock tight red, and we were back in business.
CIMG6919.jpg
 

SilverBullet

Explorer
Install

While we Rex & I were at the hardware store, Clark got the new trac bar in place so all we had to do was push the axle over a bit with a strap, and tighten it all down.
CIMG6921.jpg


Here it is sitting on the ground.
CIMG6922.jpg
 

SilverBullet

Explorer
Install

Front lift install.

The front was even easier. we were all fed from our pizza lunch, and this was knocked out quick. The front was lifted up and placed on stands. We removed the front shock bolts on the bottom, them the upper strut bolts.
CIMG6924.jpg

CIMG6923.jpg


It was a simple removal, here i sa comparison of the old vs. the new. Much beefier.
CIMG6925.jpg


I paid the extra to have Steve assemble the struts (well worth every penny) and so the new struts went right in in place of the old ones. A little weight on the caliper (or a jack on the inner fender trick, we used it, it works), and a little lock tight, we were in business.
CIMG6928.jpg

CIMG6926.jpg

CIMG6927.jpg


Now for the diff drop. I had never done one of these, but Clark and Rex both had. While I was checking instructions, they about had it done... easy job once we got the bolts to give up the fight. Those stock bolts were JB Crud covered so bad that even PB Blaster had a hard time, but we still won.
CIMG6929.jpg

CIMG6930.jpg

CIMG6931.jpg


The skid plates went back on, we bled the rear brakes, and we were done in time for a 6:00 dinner. Good thing too, it was date night for Kristi and I.
CIMG6932.jpg
 

SilverBullet

Explorer
Here is the finished pictures...
CIMG6933.jpg

CIMG6934.jpg

CIMG6935.jpg


CIMG6936.jpg


Finished measurements:
The measurements on level ground with all wheels straight are as follows:
Fender Height Right Front: 37 1/2" Left Front: 36 3/4" (about 1/2" total front over the OME kit I had)
Fender Height Right Rear: 39 1/4" Left Rear: 38 3/4" (about 3" total front over the OME kit I had)

Rock Rail Outer height at B Pillar: Passenger Side: 20 3/4" Drivers Side: 20 3/8"

Bottom of Hitch: 21 5/8"
Bumper at Winch opening: 27 1/2"


And a recap...
BEFORE:
DSC01363.jpg


AFTER:
CIMG6934.jpg


I am very pleased, and I still got to enjoy my date night without the kids.
 

Rexsname

Explorer
:smiley_drive:I'm glad I could at least take some pictures for you. I had no stregnth to do much of anything else. Have you had a chance to do a test drive yet? :smiley_drive:


REX
 

Forum statistics

Threads
189,114
Messages
2,913,116
Members
231,761
Latest member
stone23
Top