papasmurf
Navy Vet
A little history and plans/ideas I had which directs my build.
Im a bit of a prepper as well as a avid gun enthusiast (* I own a small business dedicated towards that, Molon Labe Tactical, LLC. )
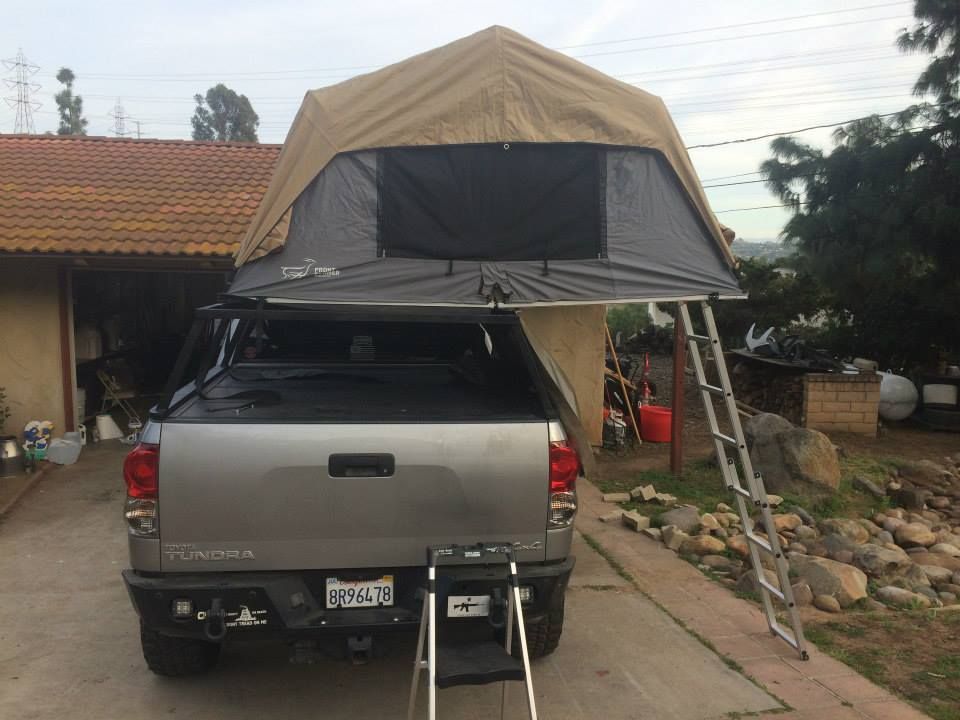
The idea behind the truck was to be as versatile and utilitarian as possible. I wanted a truck that could tow, mild rock crawl/trail run, long term expo vehicle and solid daily driver. I know that all sounds crazy but I think I have found the combo that works best for me.
So not sure where to start but here it goes.
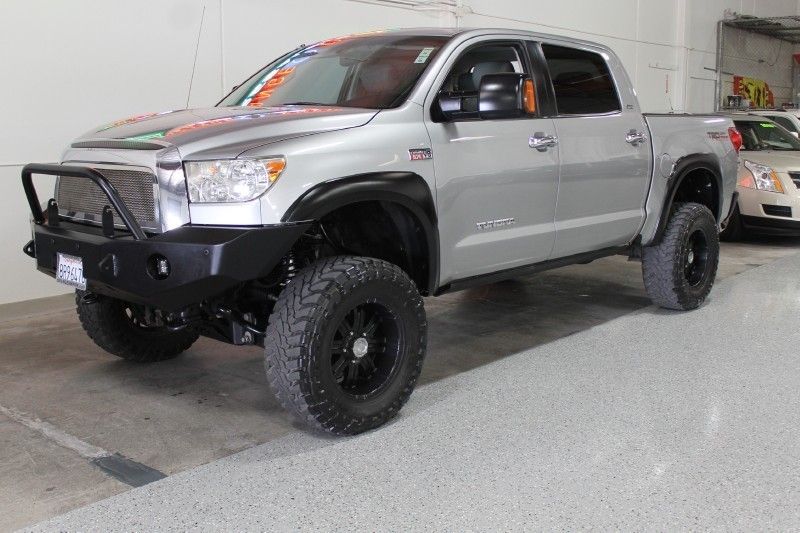
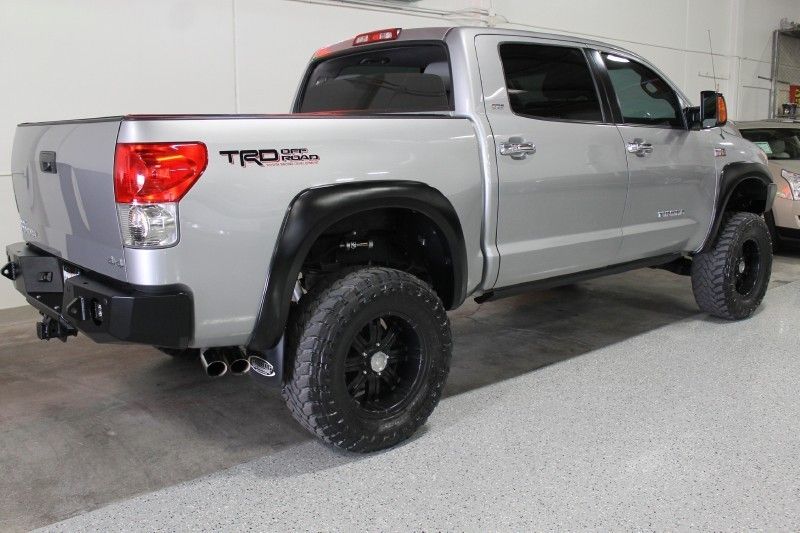
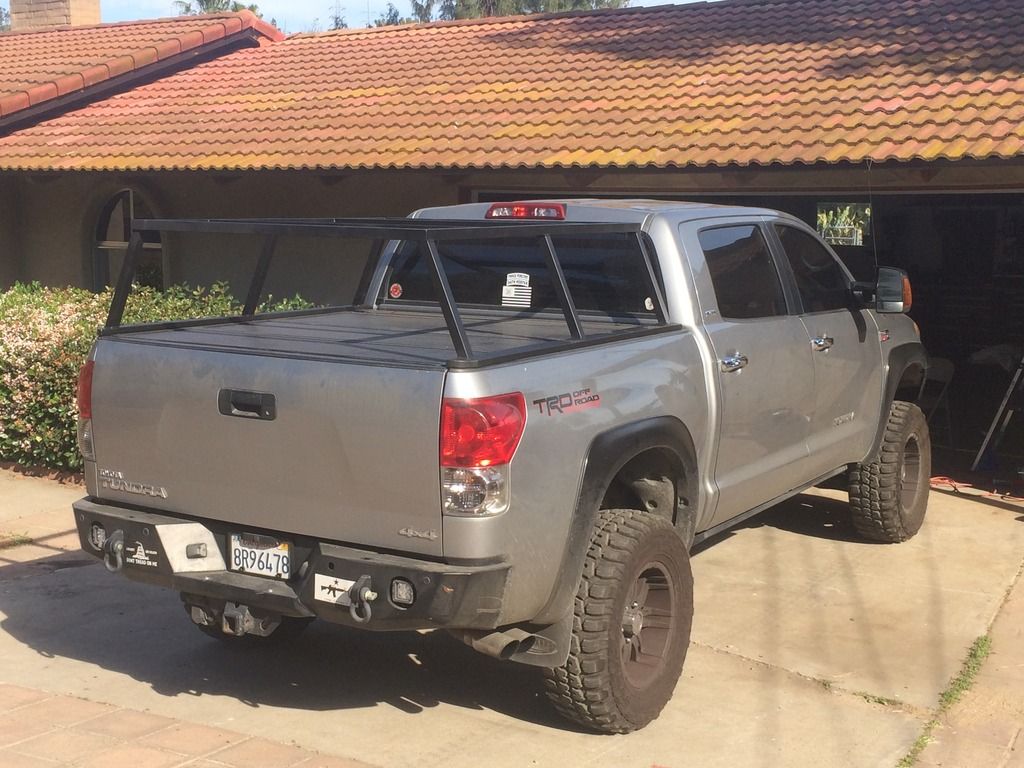
Bought my truck in late 2012... its a 2007 Crewmax 4x4 TRD Silver with gray leather interior.
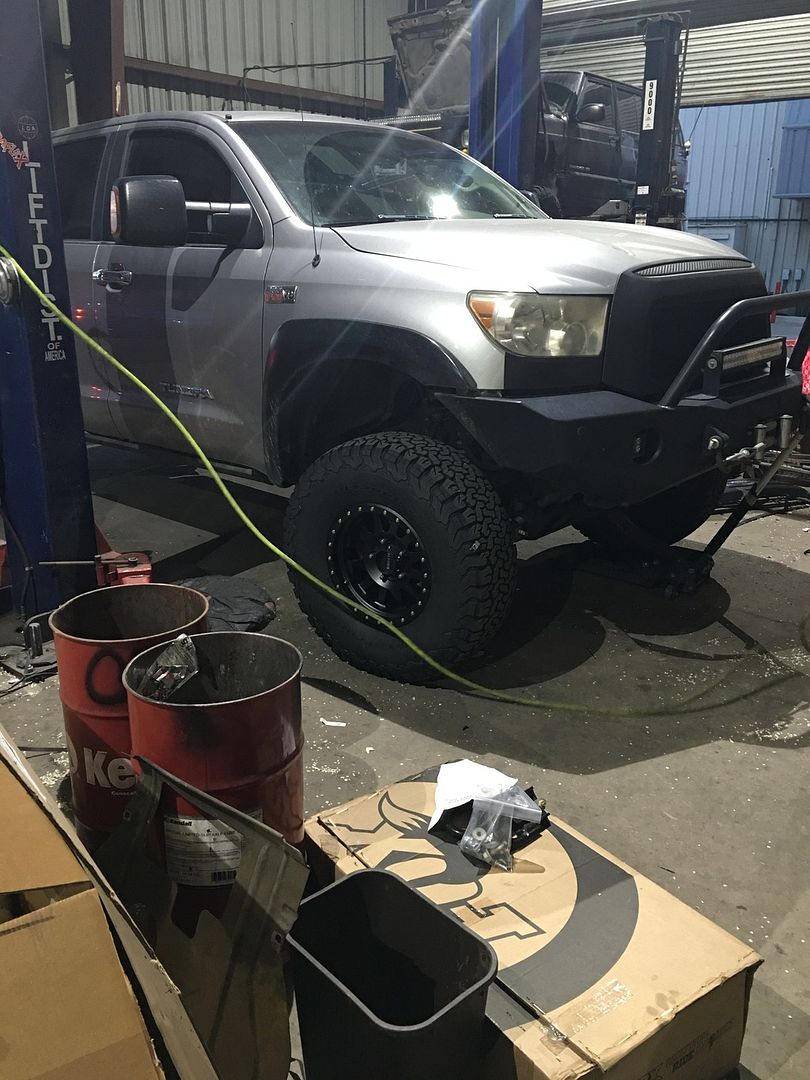
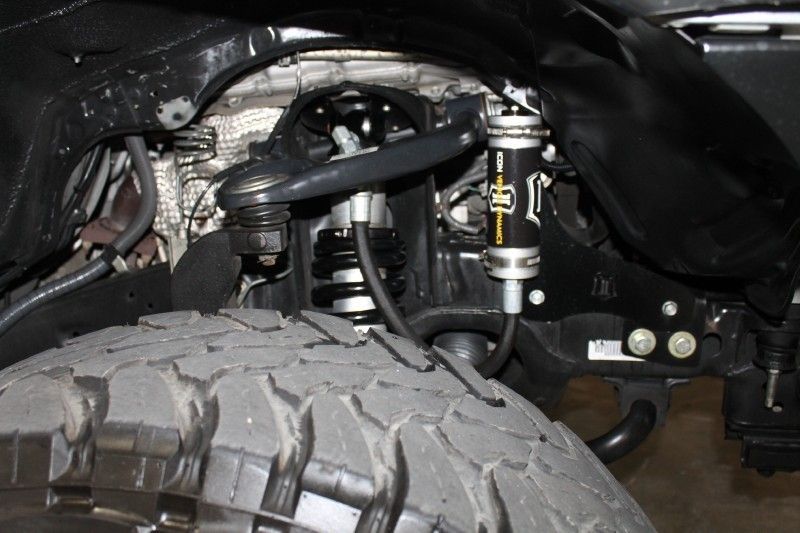
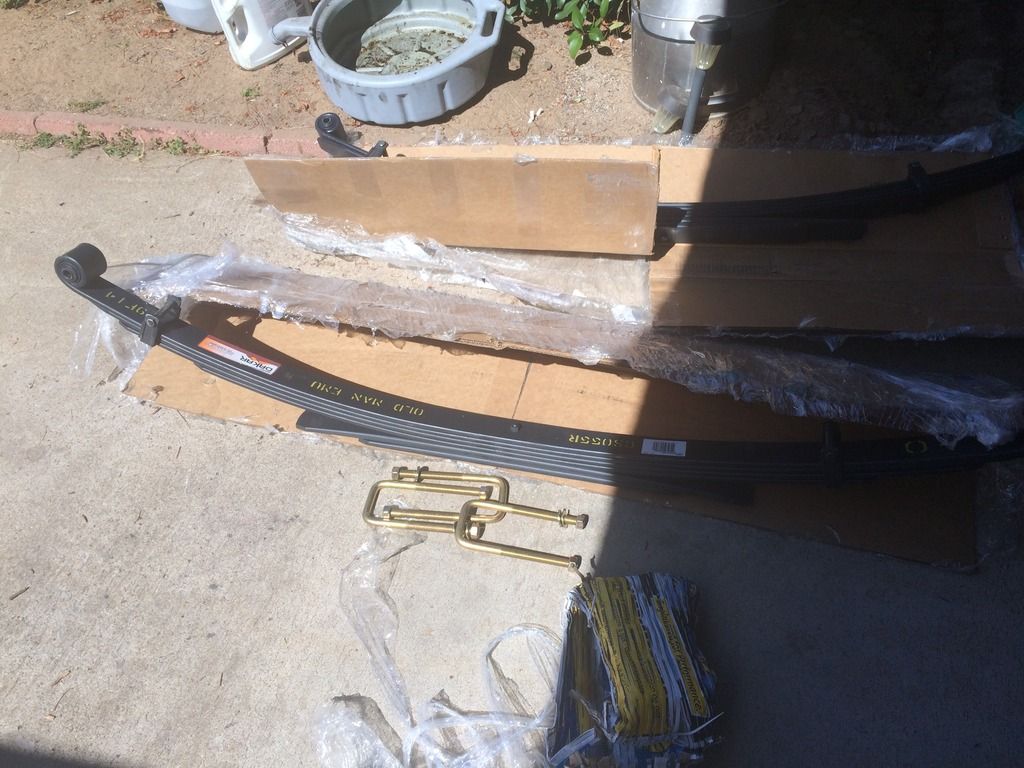
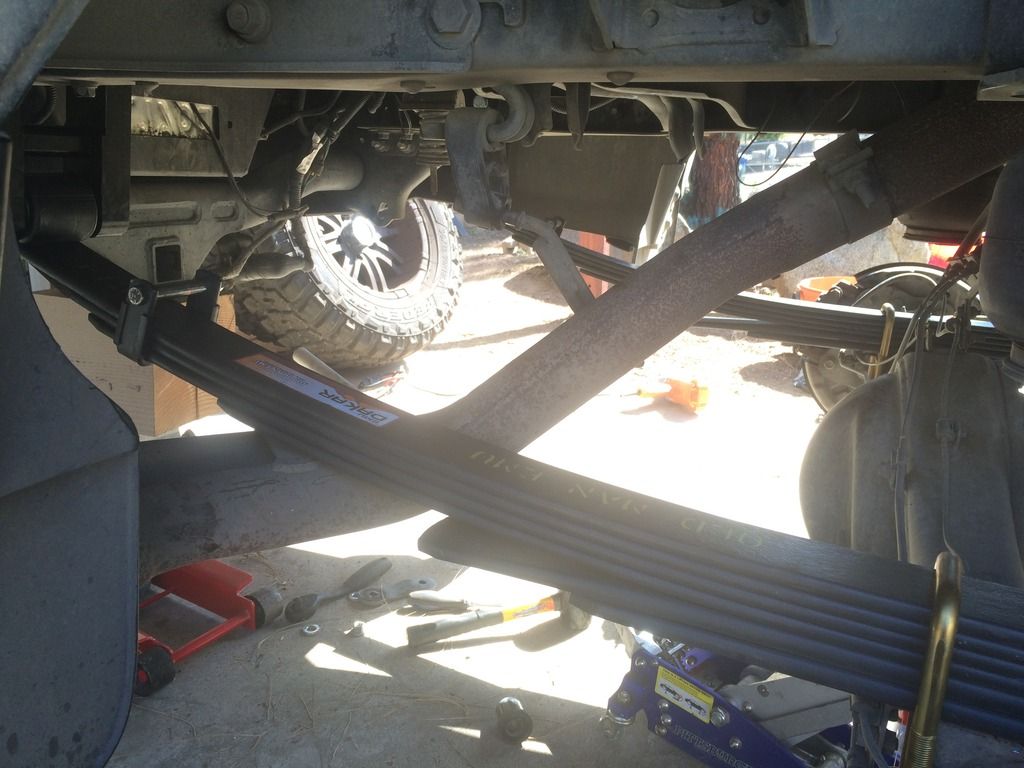
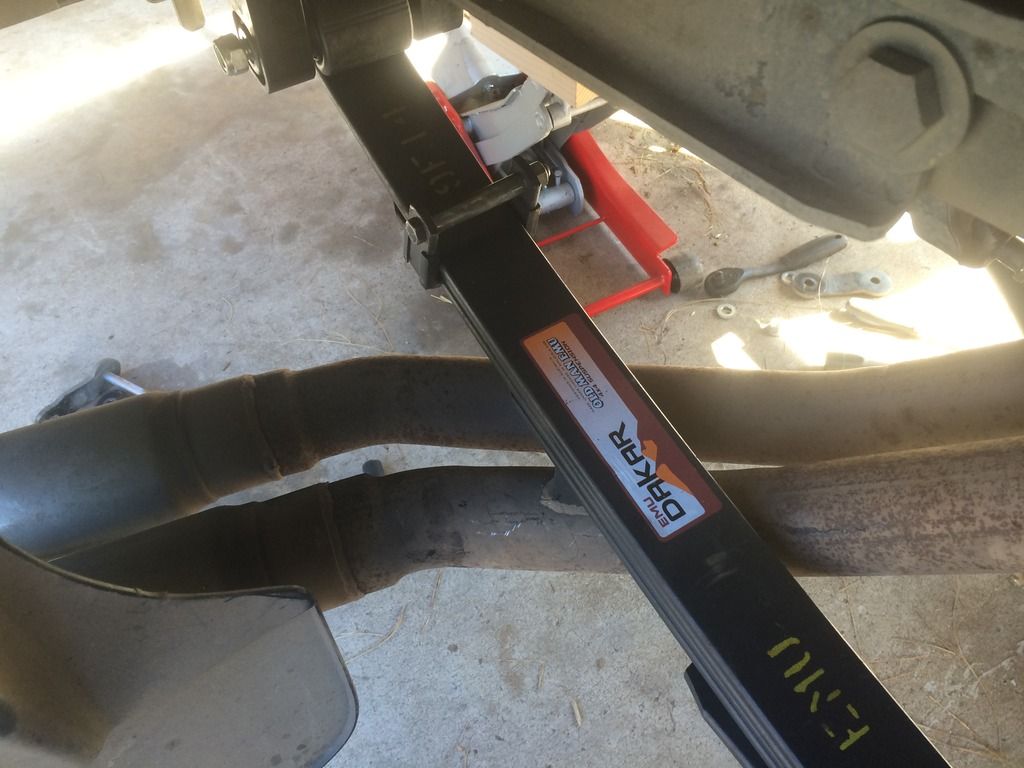
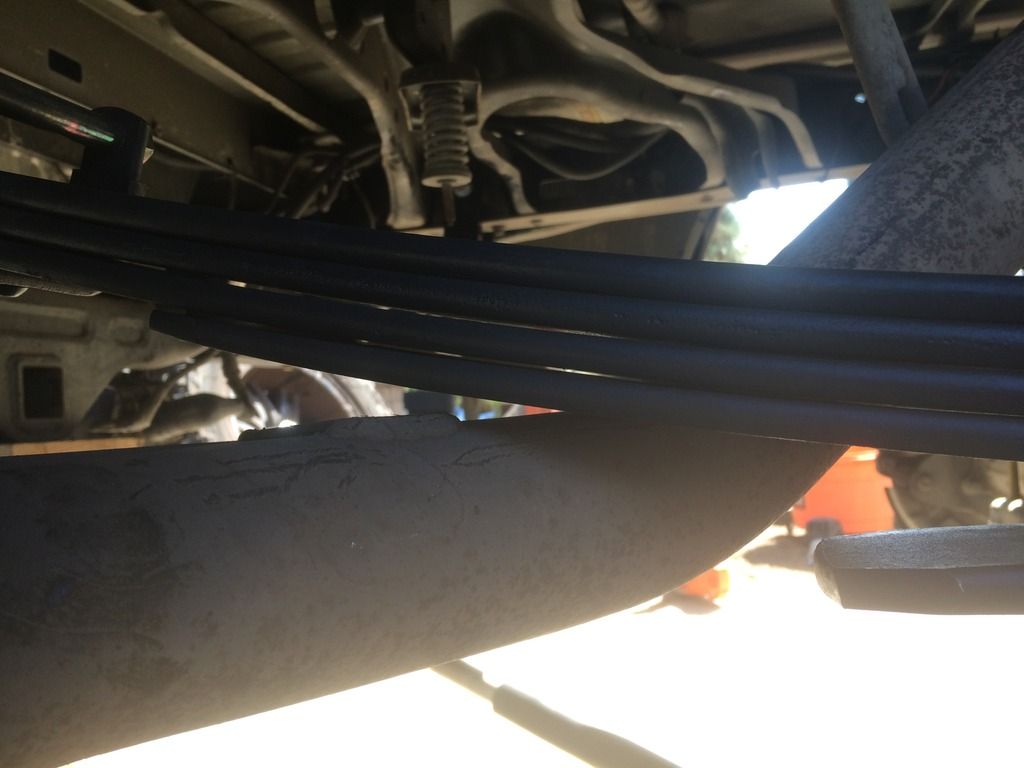
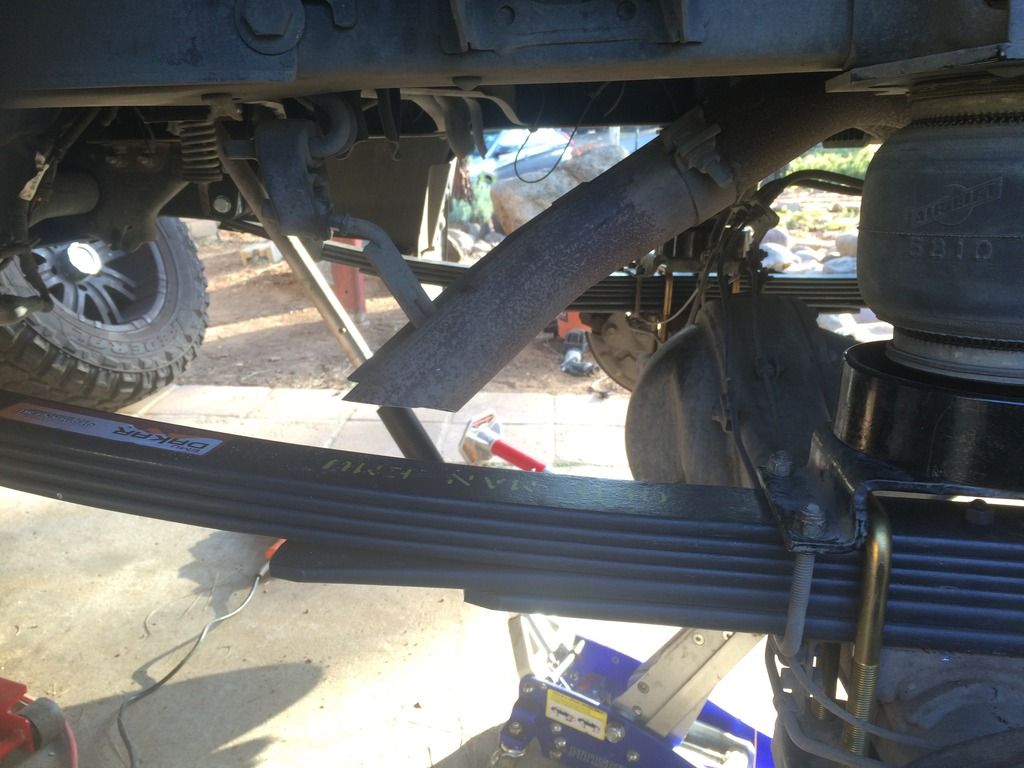
First order of business was suspension, In the plans for Expo i knew i wanted clearance so bracket lift was the way for me. I wanted the strongest out there but nothing so high i risked breaking things because of it. So I ordered the BDS 7 kit with full 2.5 Remote resi Icons for good on and off road setup.
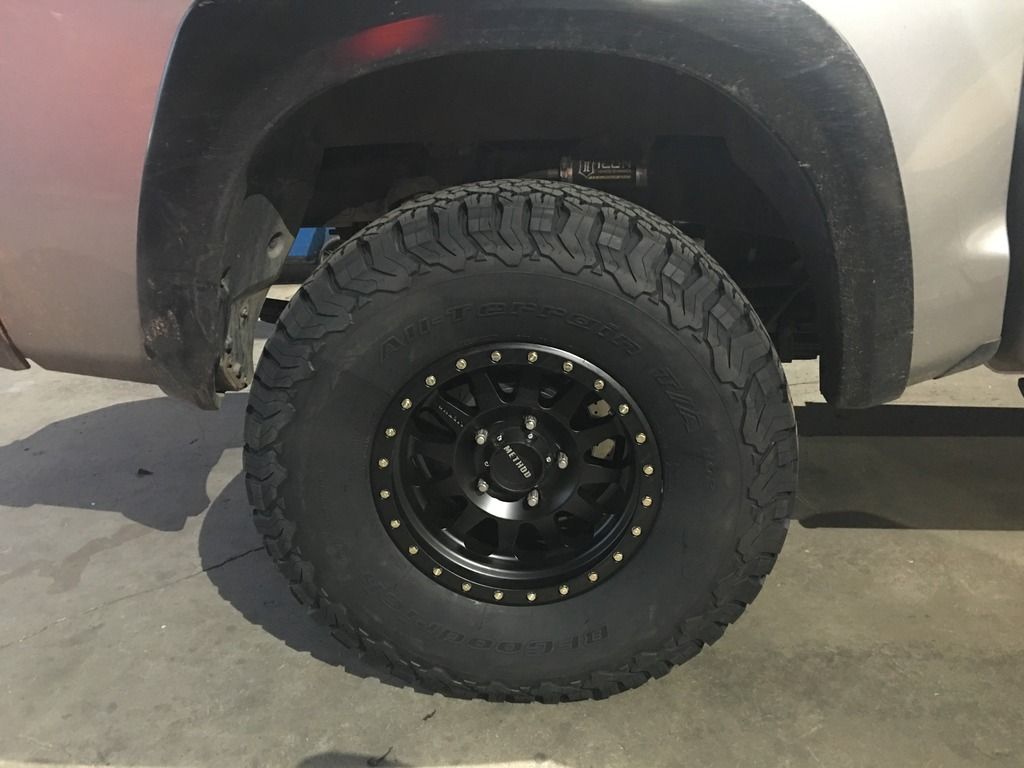
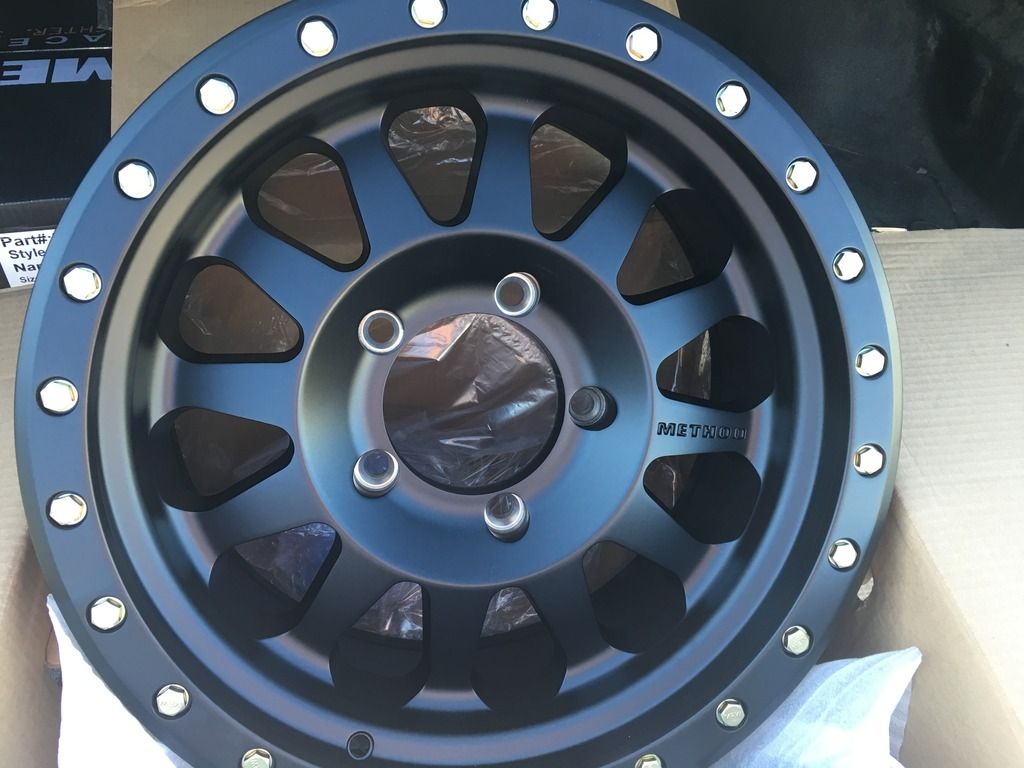
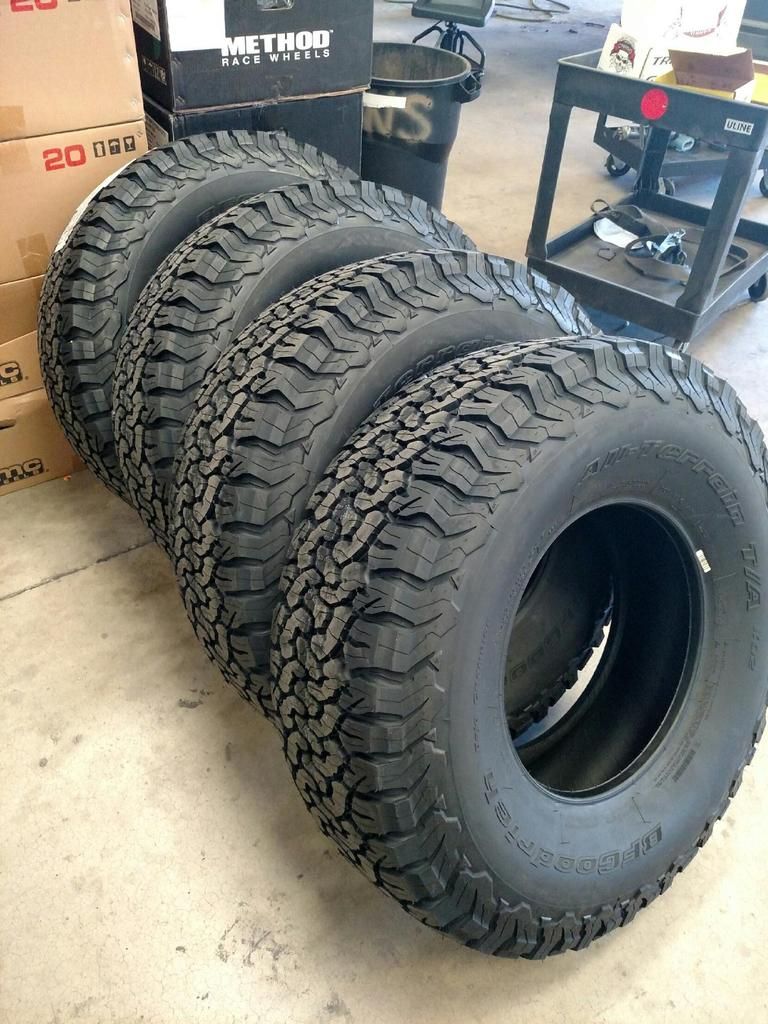
I also addressed wheels and tires. I first thought 17's w 35's but went w 18's and 35's( im now changing my mind on this set up and changing soon, i will post up details further down on this topic.)
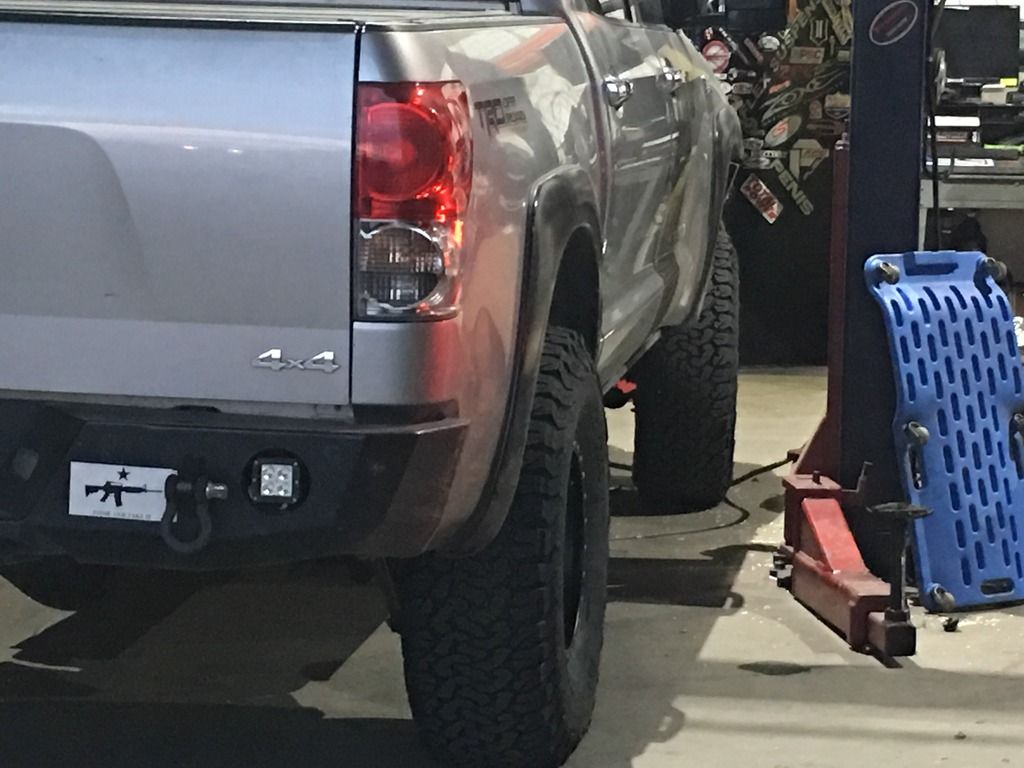
I also realized I needed body armor (front and rear bumpers)
I went with the Epxo One matching front and rear, with extra hoop for protection.
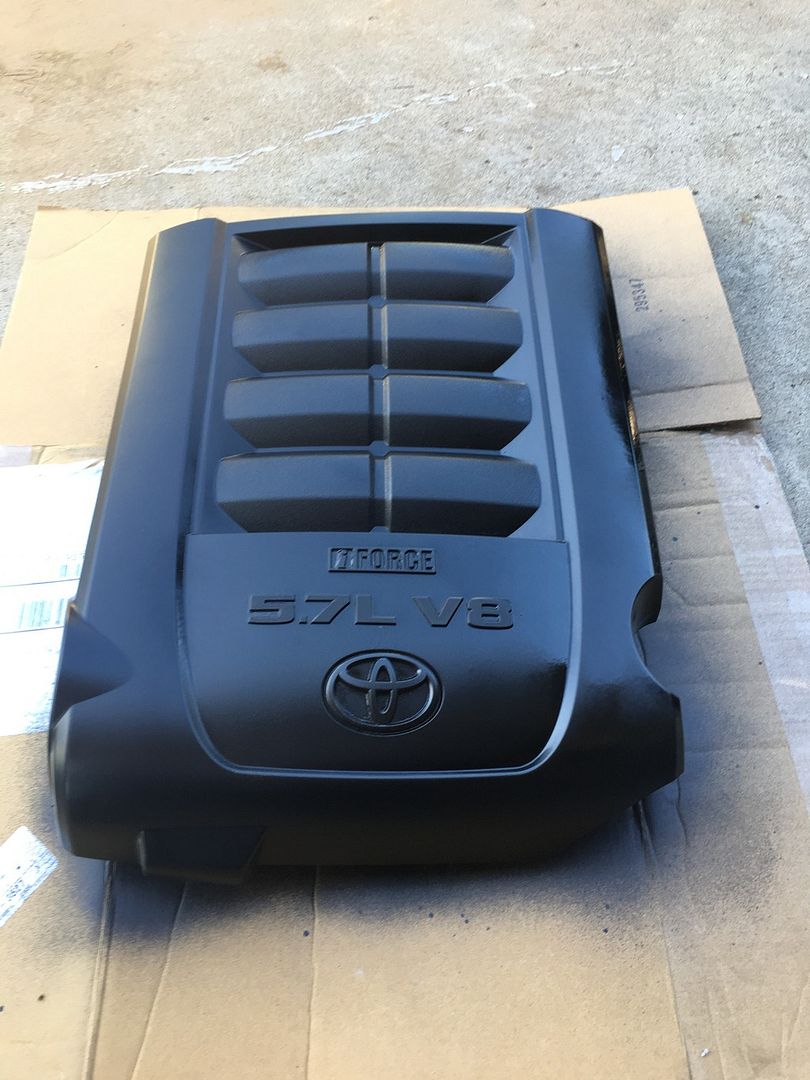
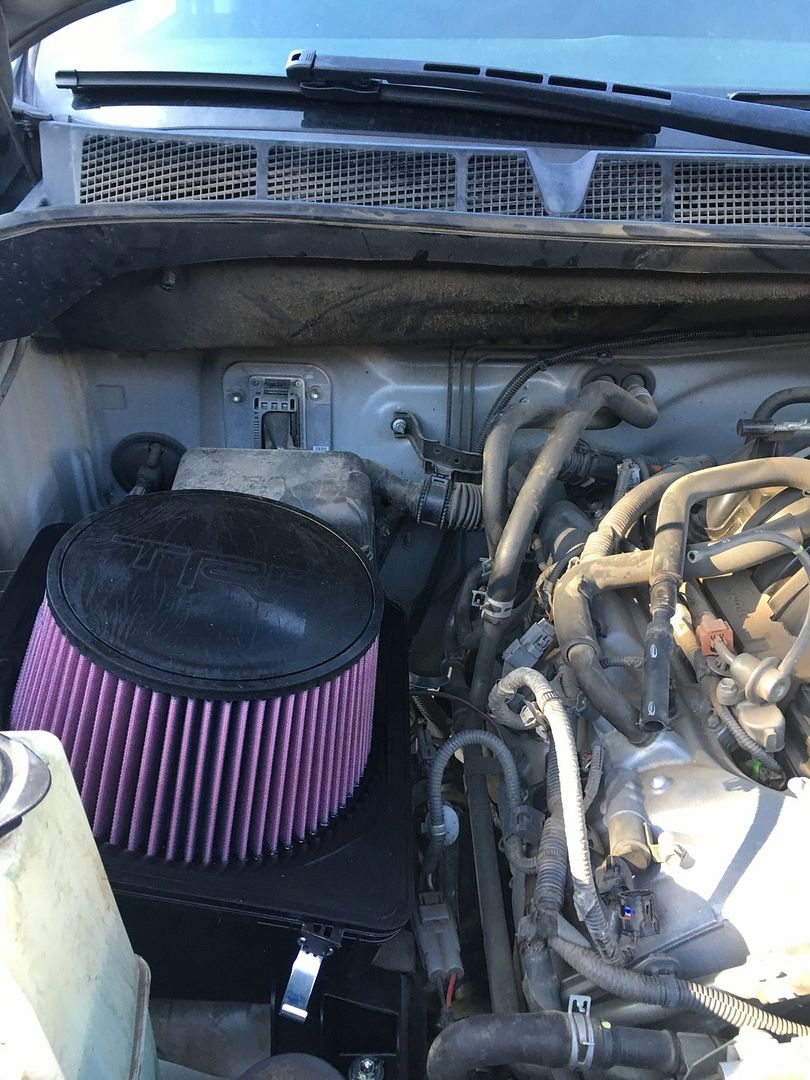
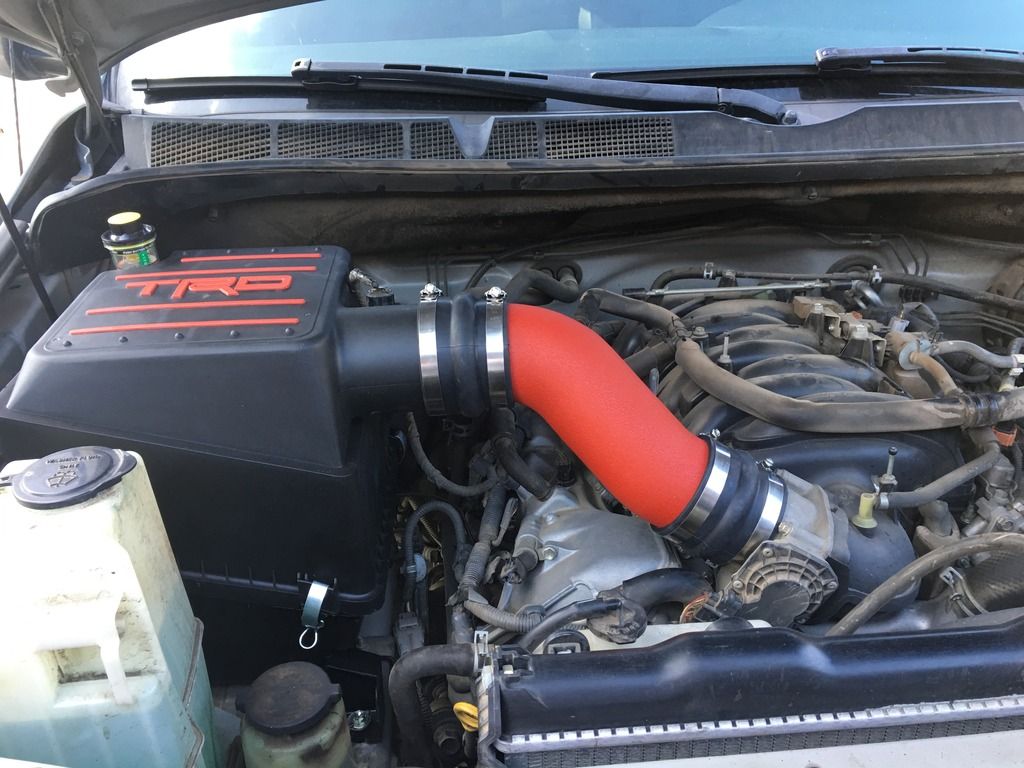
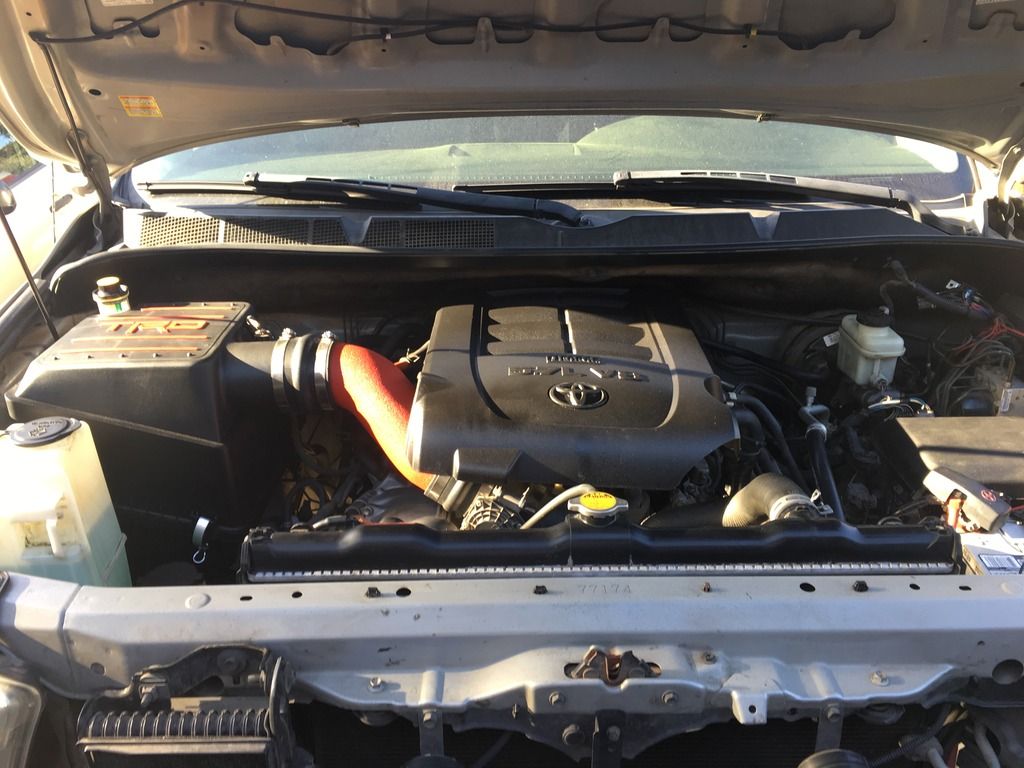
I also added a Voliant intake and magnaflow cat back exhaust.
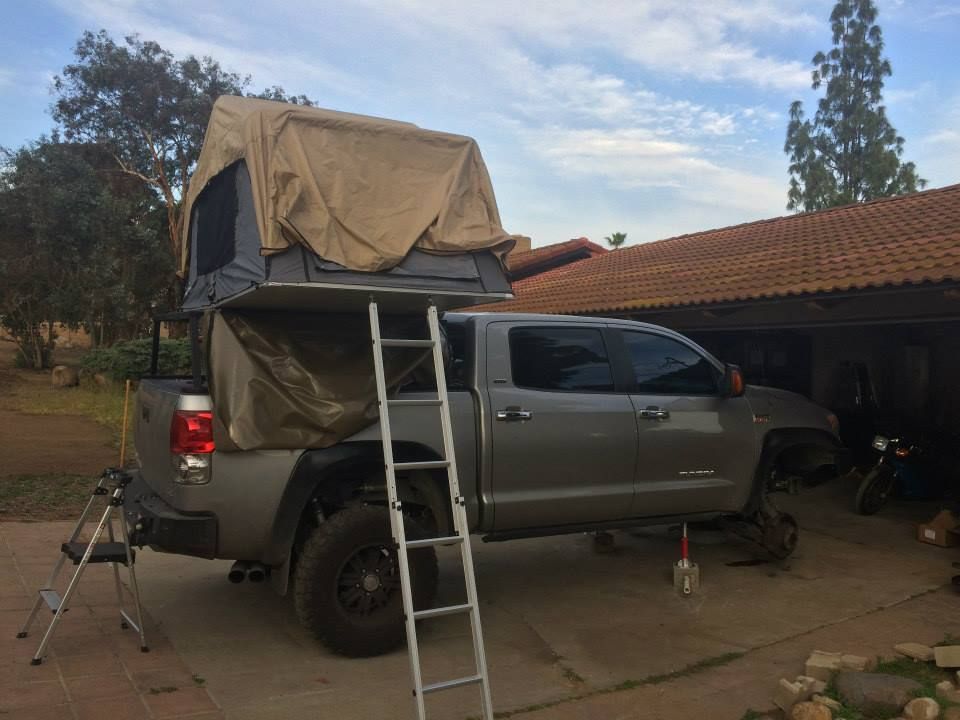
Here is the initial setup and what the truck looked like.
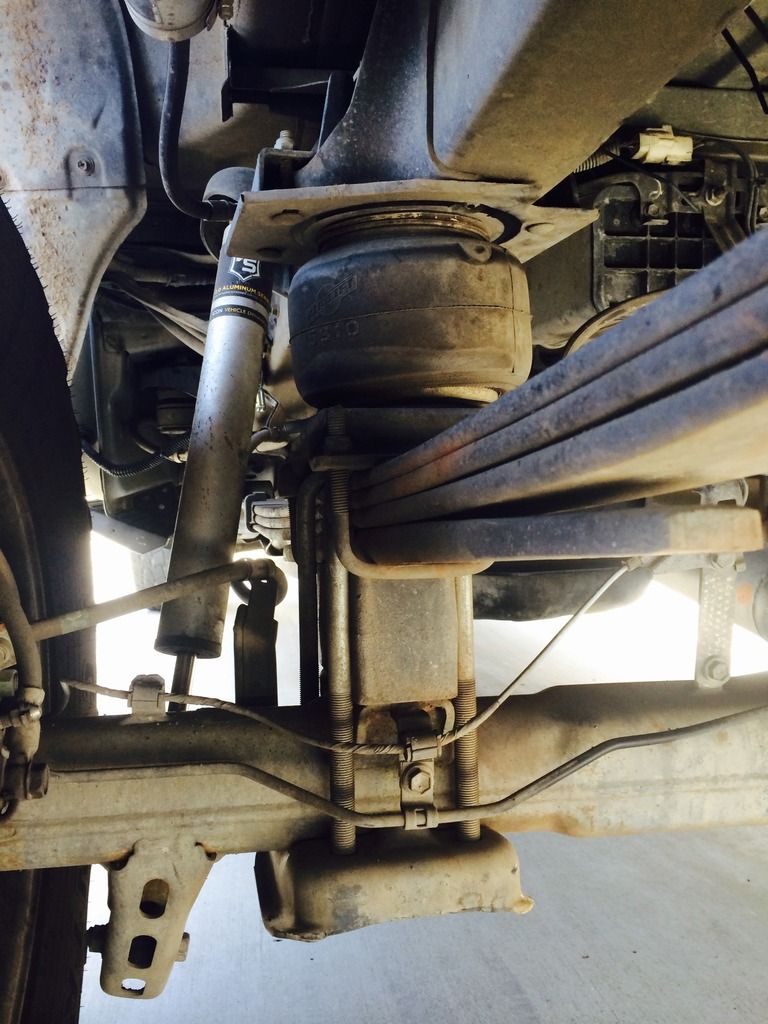
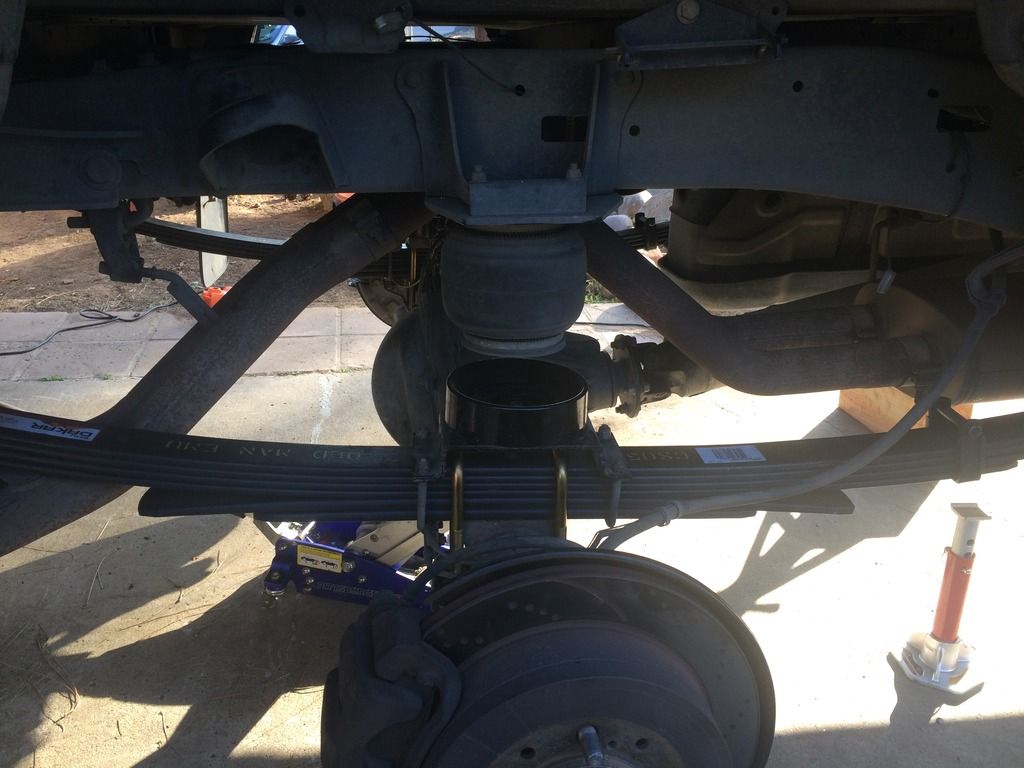
I installed Airlift air bags for when I tow and heavy loads.
Here are my cool seat covers ( i sell them btw , custom made)

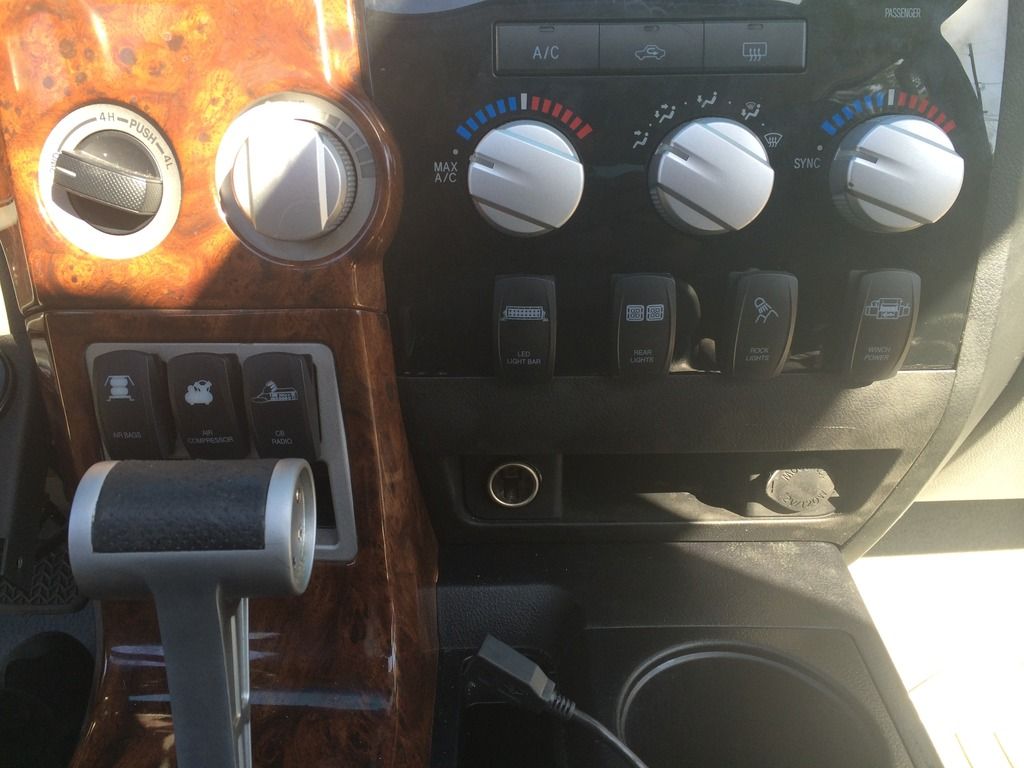
Then i decided to work on interior stuff and lighting. So i went through and installed new switches, power distro and light bar hid head lights, and a bully dog tuner
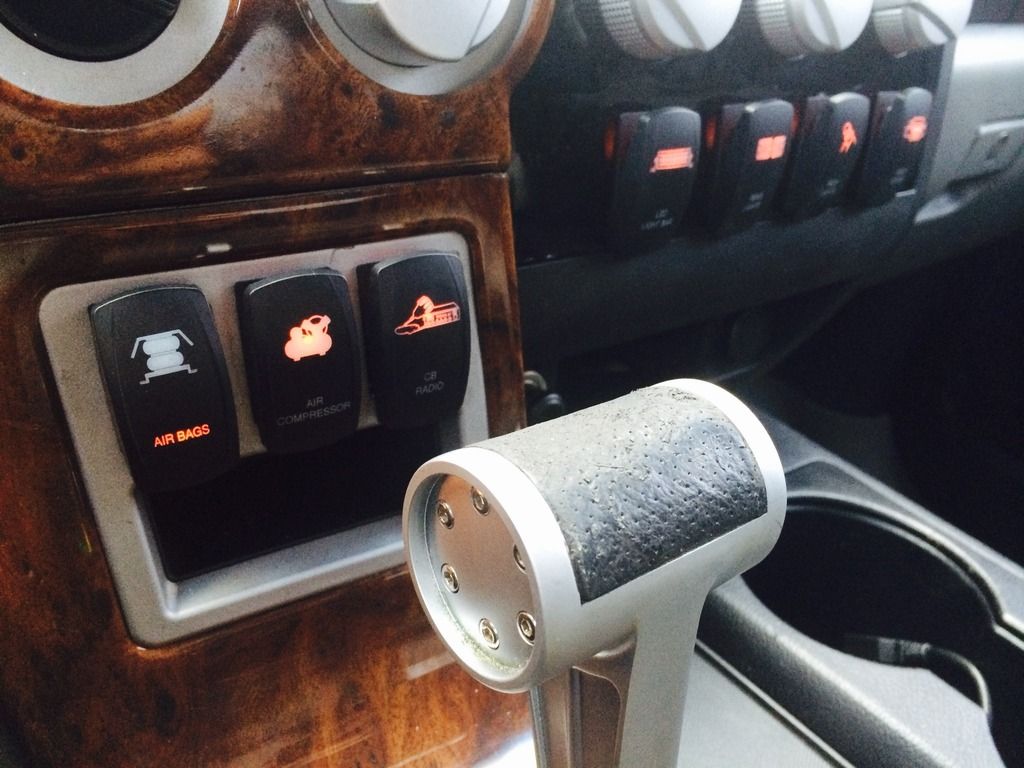
Here are some of the switches installed

the other switches
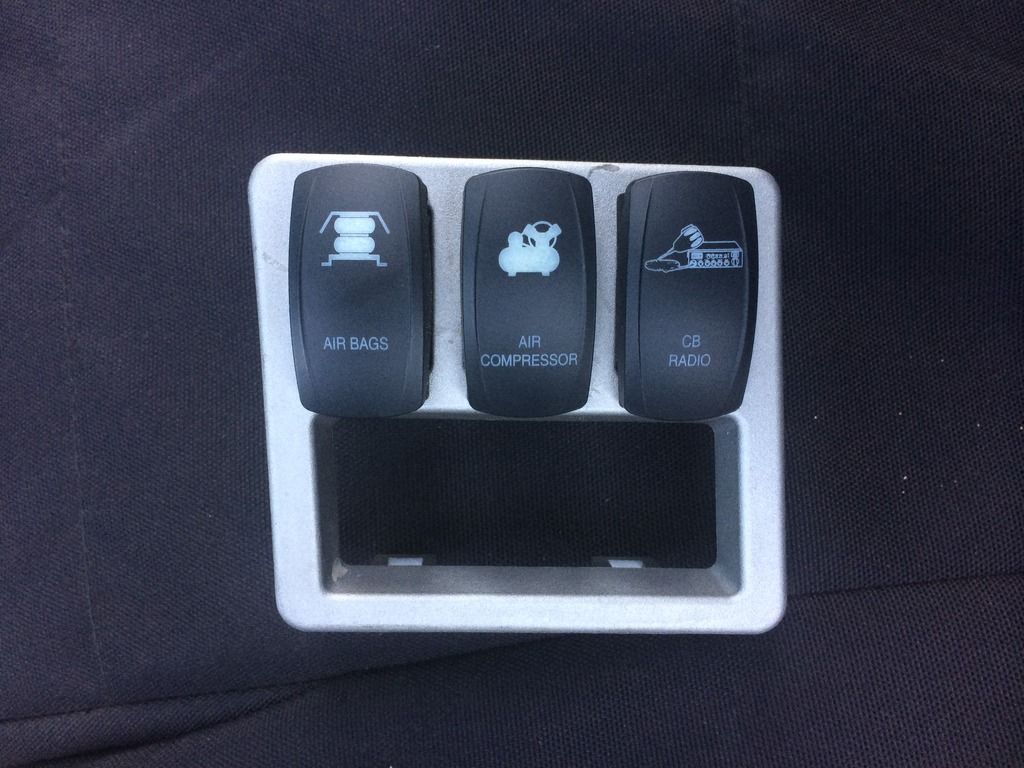
all installed
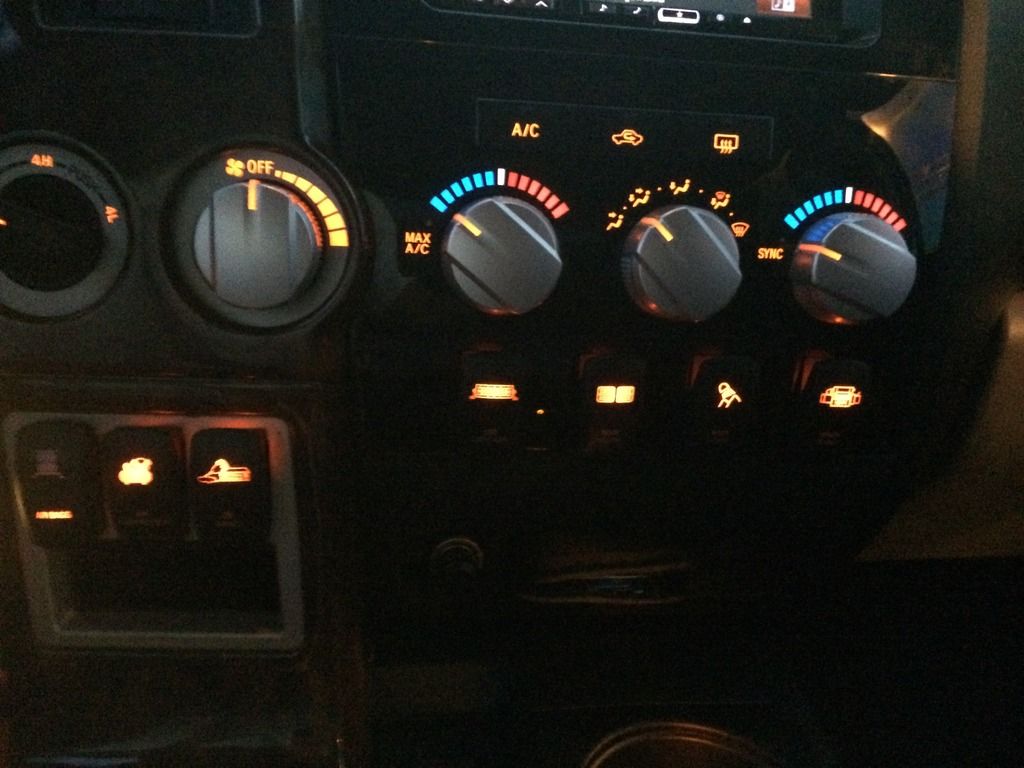
litup during the day
what they look like lit up .. the match perfect
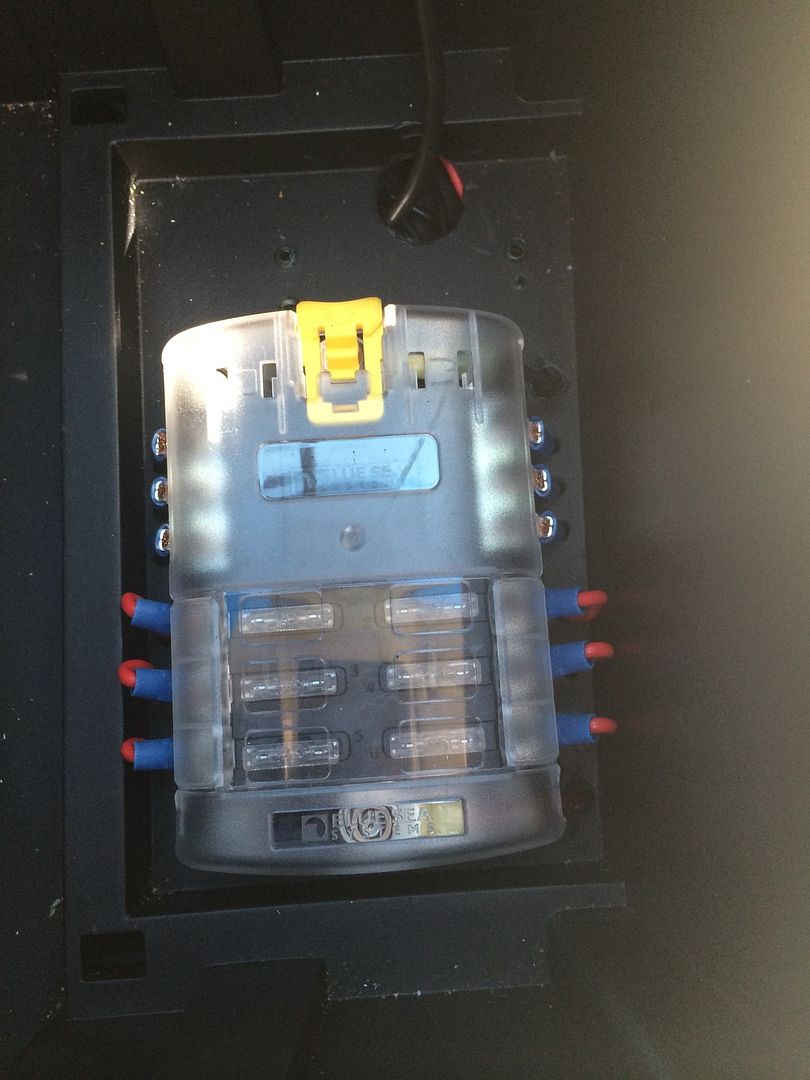
power distro block
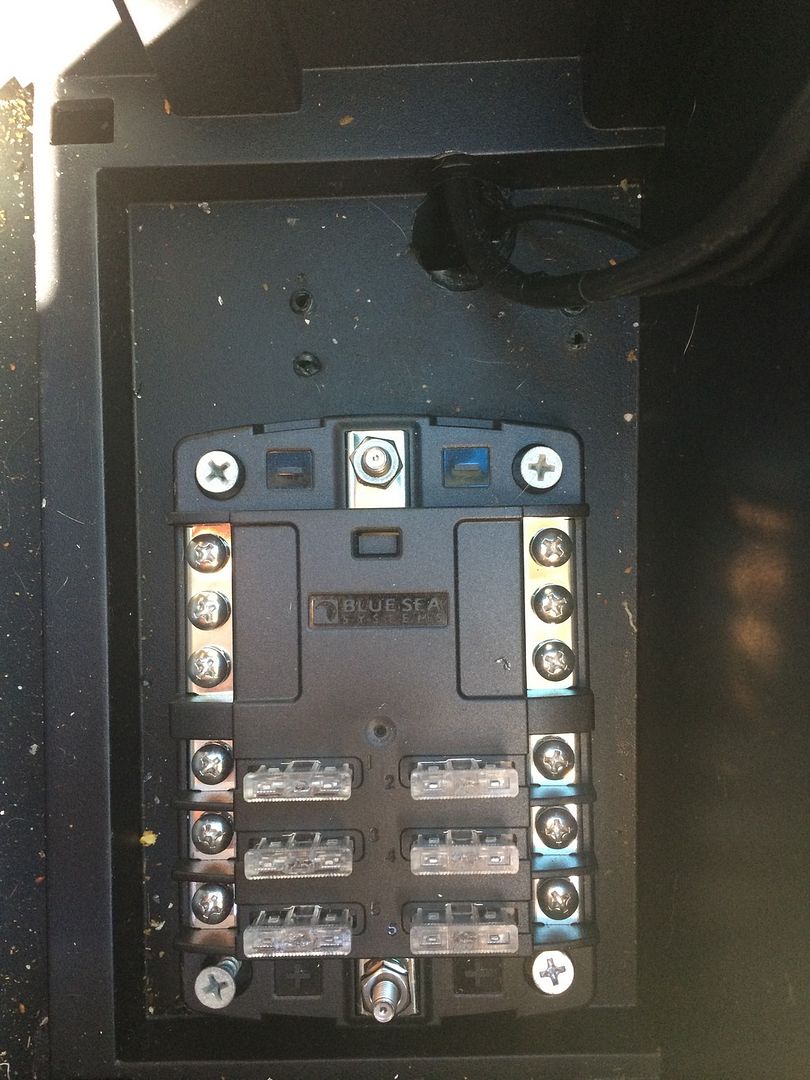
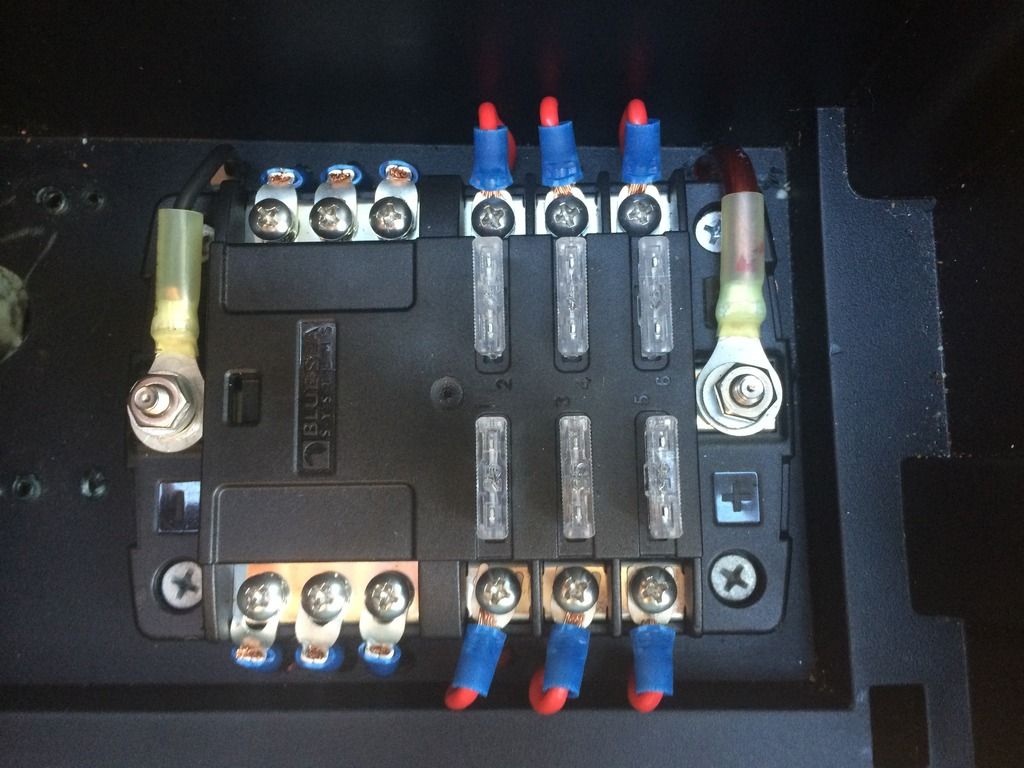
power distro block completed
all front lights on mid day

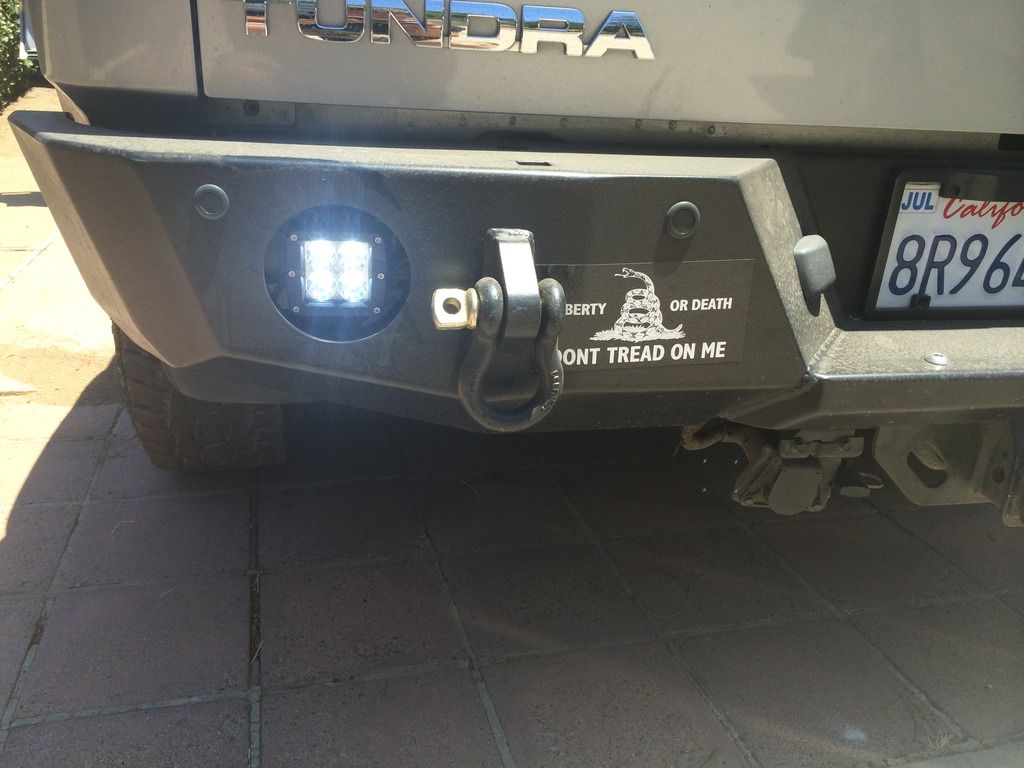
rear fog lights
hid's

front light bar

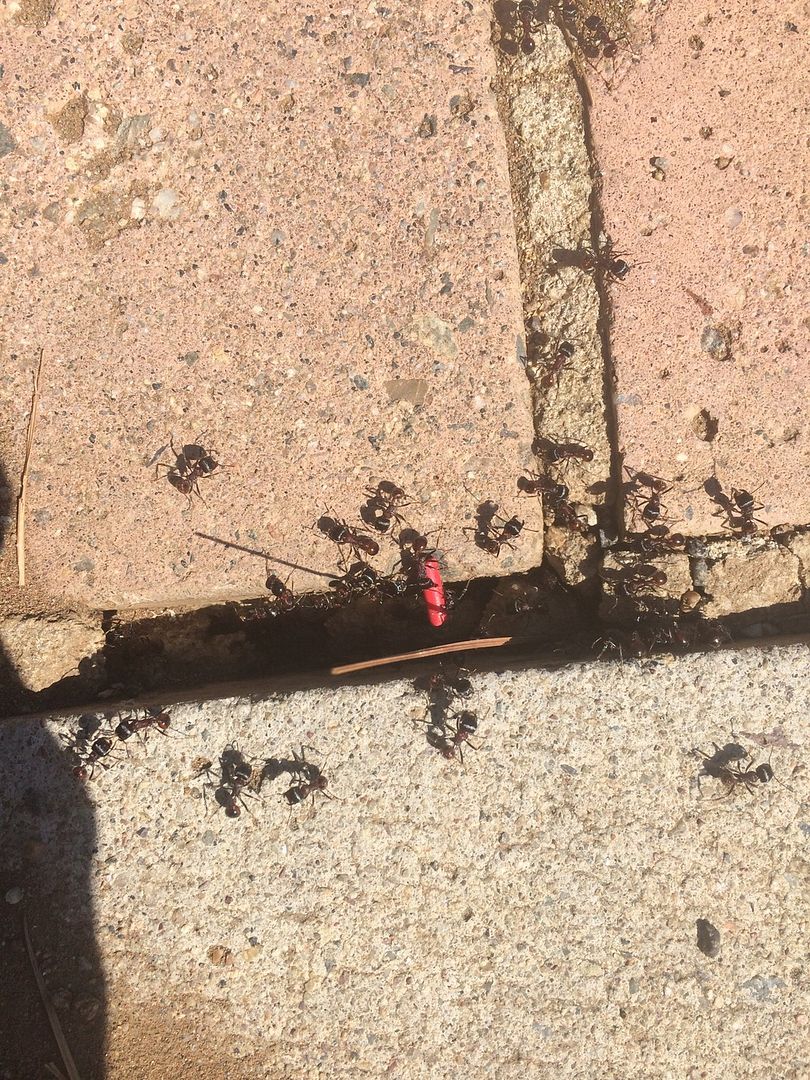
my little ant helpers...
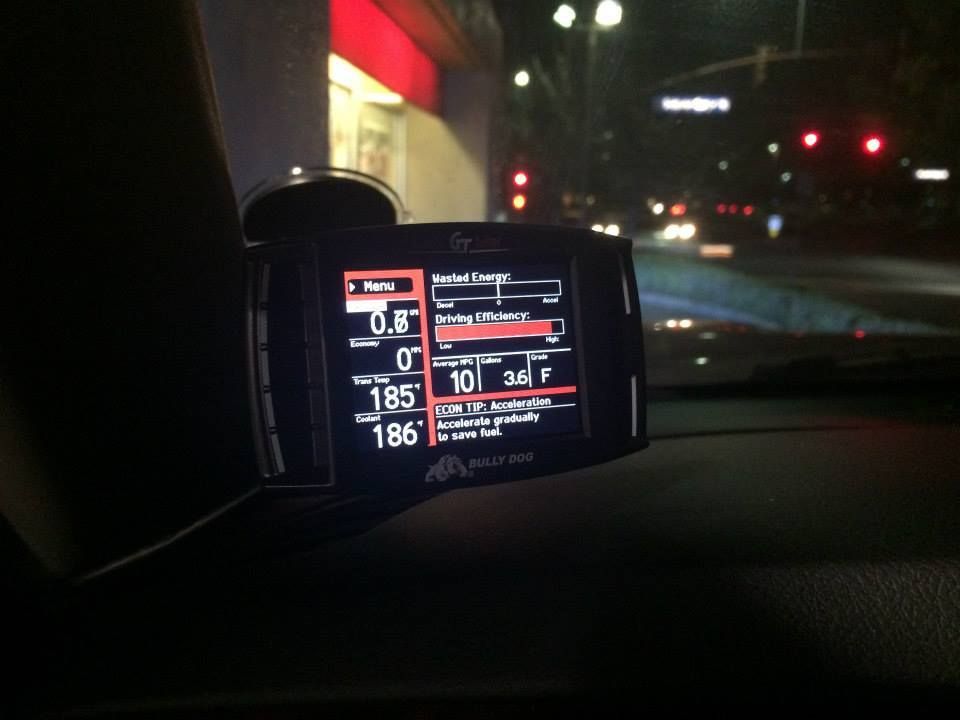
bully dog
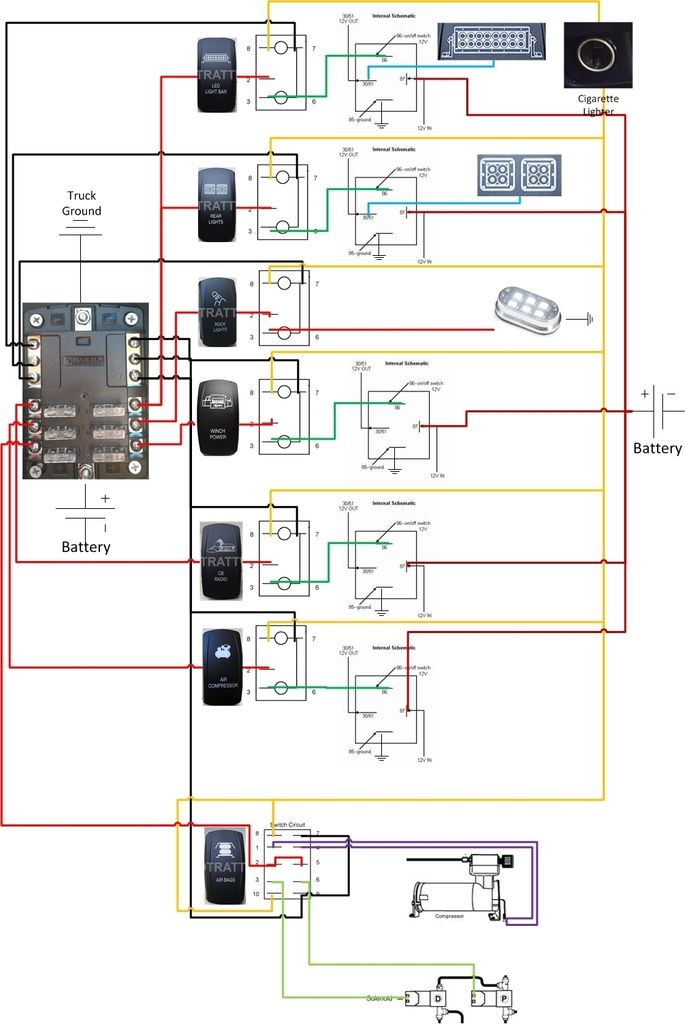
Wiring Diagram
Im a bit of a prepper as well as a avid gun enthusiast (* I own a small business dedicated towards that, Molon Labe Tactical, LLC. )
The idea behind the truck was to be as versatile and utilitarian as possible. I wanted a truck that could tow, mild rock crawl/trail run, long term expo vehicle and solid daily driver. I know that all sounds crazy but I think I have found the combo that works best for me.
So not sure where to start but here it goes.
Bought my truck in late 2012... its a 2007 Crewmax 4x4 TRD Silver with gray leather interior.
First order of business was suspension, In the plans for Expo i knew i wanted clearance so bracket lift was the way for me. I wanted the strongest out there but nothing so high i risked breaking things because of it. So I ordered the BDS 7 kit with full 2.5 Remote resi Icons for good on and off road setup.
I also addressed wheels and tires. I first thought 17's w 35's but went w 18's and 35's( im now changing my mind on this set up and changing soon, i will post up details further down on this topic.)
I also realized I needed body armor (front and rear bumpers)
I went with the Epxo One matching front and rear, with extra hoop for protection.
I also added a Voliant intake and magnaflow cat back exhaust.
Here is the initial setup and what the truck looked like.
I installed Airlift air bags for when I tow and heavy loads.
Here are my cool seat covers ( i sell them btw , custom made)
Then i decided to work on interior stuff and lighting. So i went through and installed new switches, power distro and light bar hid head lights, and a bully dog tuner
Here are some of the switches installed
the other switches
all installed
litup during the day
what they look like lit up .. the match perfect
power distro block
power distro block completed
all front lights on mid day
rear fog lights
hid's
front light bar
my little ant helpers...
bully dog
Wiring Diagram
Last edited:


")