HSKR4X4
Adventurer
REID RACING, INC. JK KNUCKLES WRITE-UP
INFORMATION
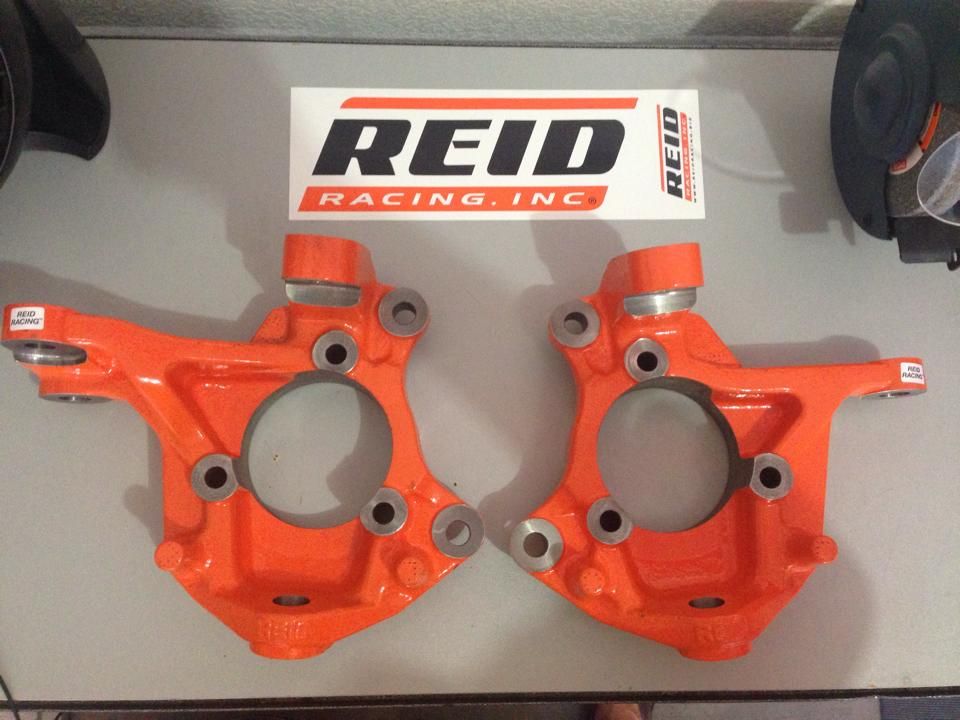
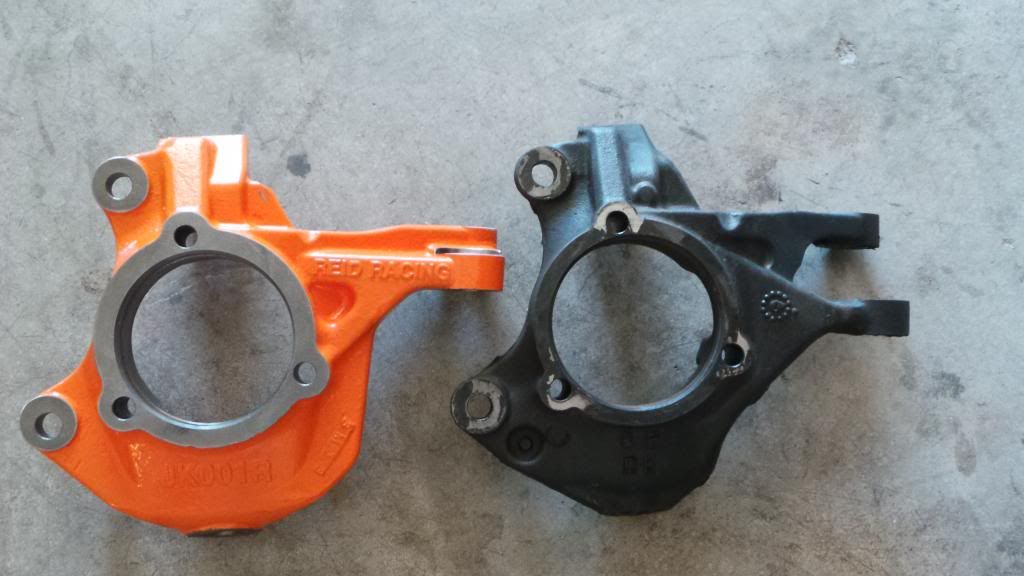
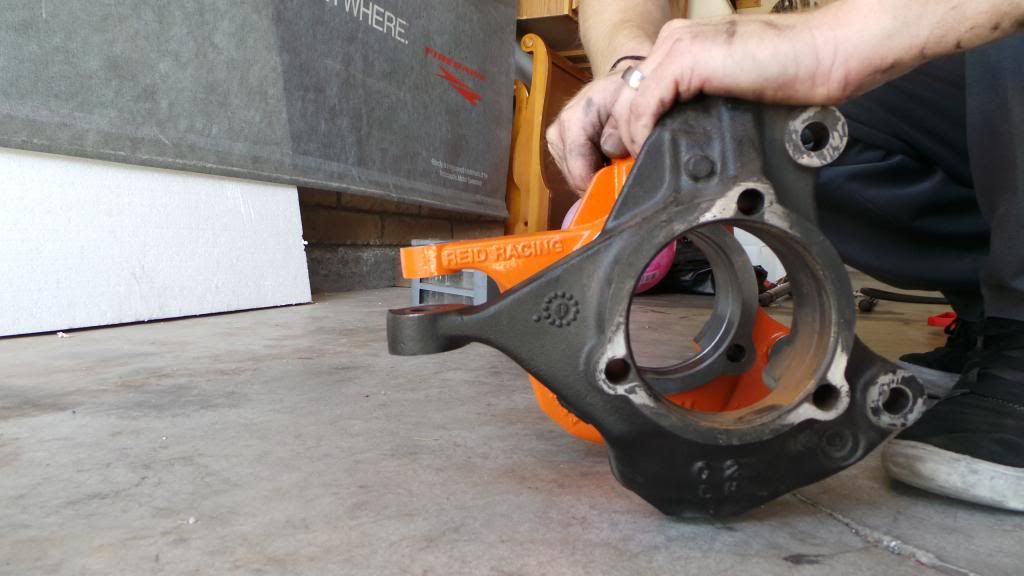
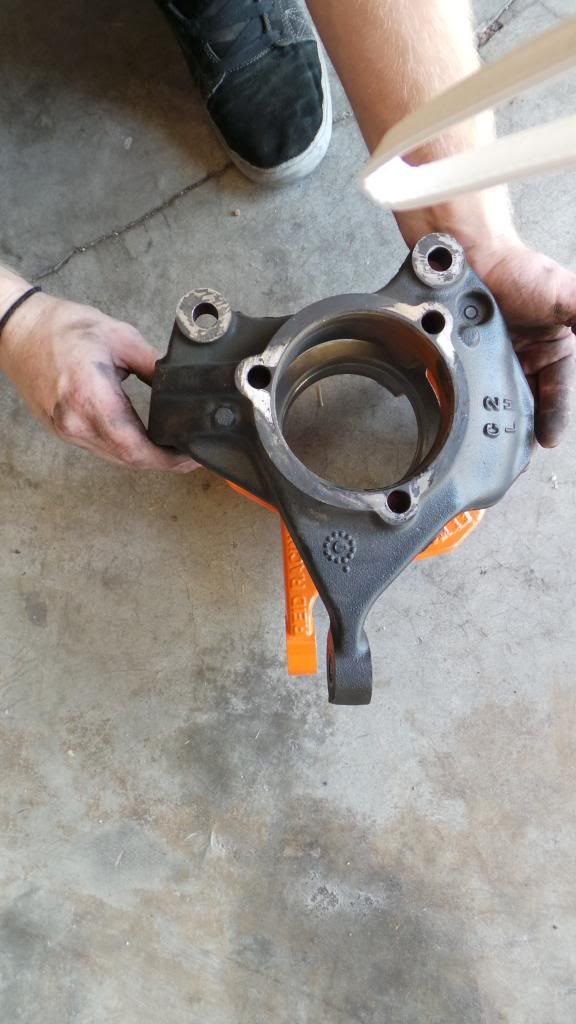
Reid Racing’s high-steer Jeep Wrangler JK (2007-present) knuckles are designed as heavy duty stock replacement knuckles. Primary improvements include raised steering linkage (1.5 inches for the tie rod, 3 inches for the drag link), dual steering stops, and increased strength overall. Installation is simplified by allowing the OEM unit bearings, brakes, U-joints, and stub shafts to be reused. Aftermarket upgrade parts such as axle shafts and steering linkage that work with the stock knuckles should in most cases be fully compatible with the Reid Racing knuckles. A 3 inch track bar bracket (included with most lift kits) is recommended to minimize bump steer. The reversed drag link taper requires a “flipped” drag link, available from many 4x4 parts companies, but please note the warning below.
The new Jeep Wrangler JK Dana 30/Rubicon 44 knuckles are heavy duty stock replacement knuckles. Raised steering linkage, dual steering stops, and increased strength are the primary improvements while installation is simplified by allowing the OEM "outers" to be reused.
• Sold individually
• JK001L (left, driver's side)
• JK001R (right, passenger's side)
• Uses stock 2007+ Jeep Wrangler JK brake rotors, calipers, stub shafts and U-joints.
• Fits JK Dana 30, JK Rubicon Dana 44, and Mopar & aftermarket JK axles.
• Easy bolt-on installation with no machining required.
• Aftermarket high strength axle shafts, U-joints/CV joints, and stub shafts can be used.
• Antilock Brakes, Traction Control, and Electronic Stability Control systems remain fully operational.
• Steering linkage is raised as high as possible while retaining clearance for OEM Jeep and most aftermarket wheels.
• Tie Rod gains 1.5 inches of clearance to minimize vulnerability to trail damage.
• Drag Link is flipped and gains 3 inches of height to perfectly correct the steering geometry for the common 3-4 inch suspension lift; minimizes additional steering correction for taller suspension lifts. Requires an aftermarket drag link, and we recommend a track bar bracket to eliminate bump steer. Works with any standard JK drag link flip kit.
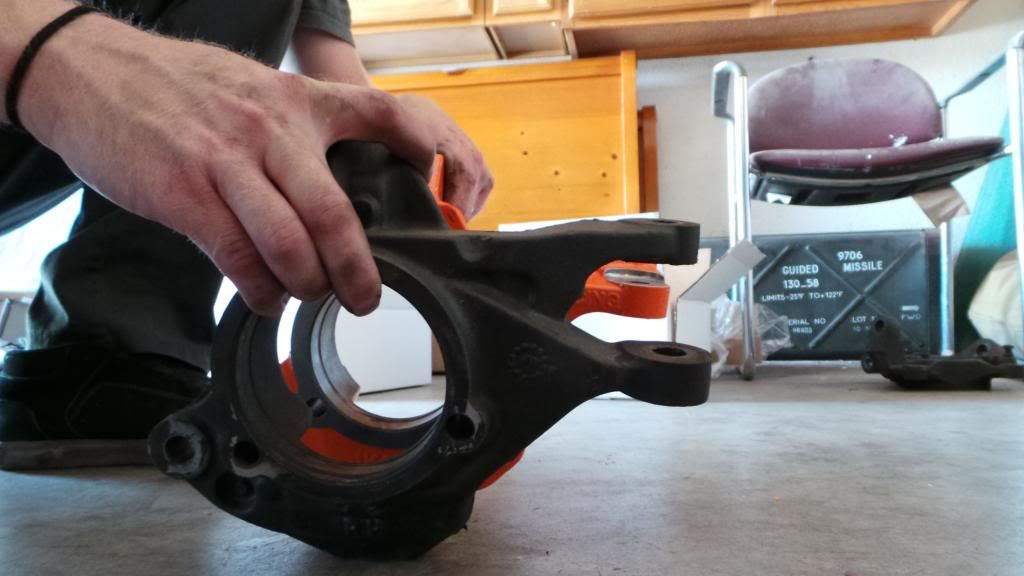
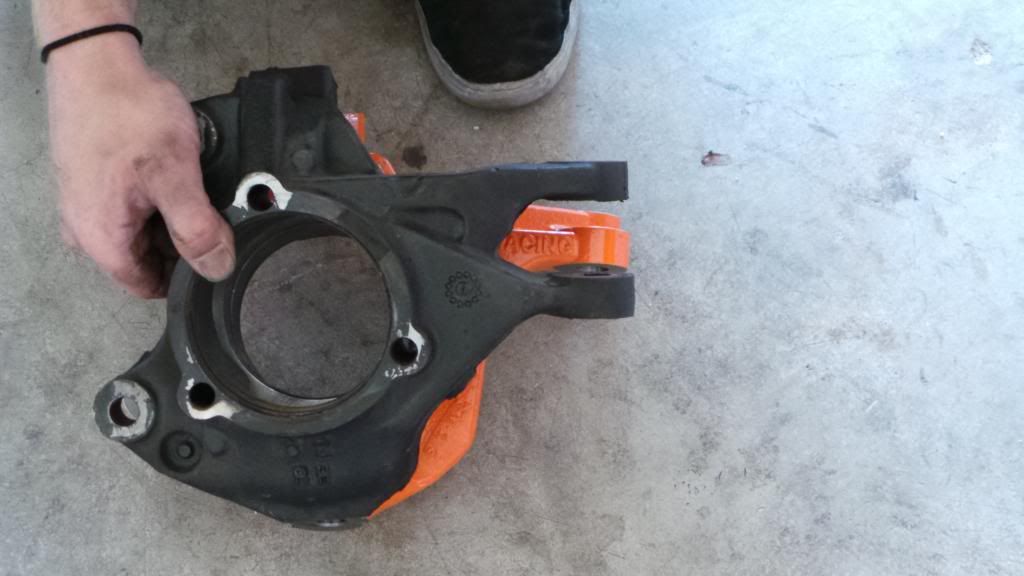
• Cast from high strength ductile iron.
• Beefed up with extra material and ribbing.
• Cast-in DUAL steering stops eliminate bent stop bolts that can cause u-joint and axle failures.
• Tapered tie rod holes fit OEM-size tie rod ends; "1-ton" tie rod ends used in some aftermarket steering linkage may require very minor modification - call for details.
• Tie rod holes can be drilled to accept 3/4" heim ends.
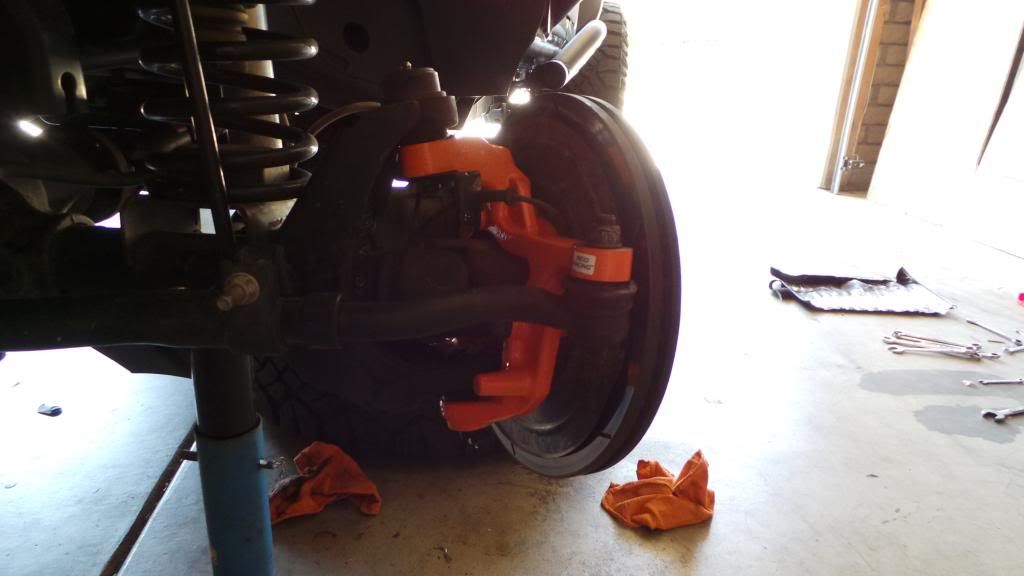
Powder coated bright orange for long lasting looks.
WARNING!!!
THE REID RACING, INC. JK STEERING KNUCKLES USE STANDARD JEEP JK SIZE TIE ROD ENDS FOR THE DRAG LINK AND TIE ROD. IT IS ABSOLUTELY CRITICAL ON REID RACING KNUCKLES THAT ALL TIE ROD ENDS (PARTICULARLY ON THE DRAG LINK) ARE THE CORRECT SIZE. THE STUD NUT MUST BOTTOM OUT ON THE STEERING ARM AND NOT ON THE THREADS SO THAT THE STUD IS WEDGED SECURELY INTO THE STEERING ARM WHEN THE NUT IS TIGHTENED. USING A TIE ROD END OF THE WRONG SIZE IS LIKELY TO RESULT IN IMPROPER SEATING OF THE TIE ROD END INTO THE KNUCKLE STEERING ARM OR A COTTER PIN THAT DOES NOT SECURE THE CASTLE NUT. EITHER INSTANCE WILL ALLOW THE TIE ROD END STUD TO BECOME LOOSE, RESULTING IN SLOPPY STEERING OR, IF LEFT UNCORRECTED LONG ENOUGH, POSSIBLE LOSS OF STEERING
STEERING STOPS
The steering stops on Reid Racing knuckles are “cast in” to prevent the common bending of the stock style adjust- able bolts. The stops are intentionally cast long so adjustments can be made by grinding the tips of the stops to fit. If you are going to grind the steering stops to increase steering angle, set the toe-in first because the toe-in setting changes the stop settings. After the knuckles are installed and the toe in is set, cycle the steering back and forth grinding small amounts of the stop until the desired degree of steering is set; the front and rear steering stops must be adjusted simultaneously and equally. Make sure to check for u-joint binding and yoke to yoke interference at full lock in both directions; if binding or contact occurs, axle breakage will happen. If a stock style adjustable steering stop is desired, the cast in stop can be cut off at the knuckle then drilled and tapped for a 3/8” bolt.
MY THOUGHTS
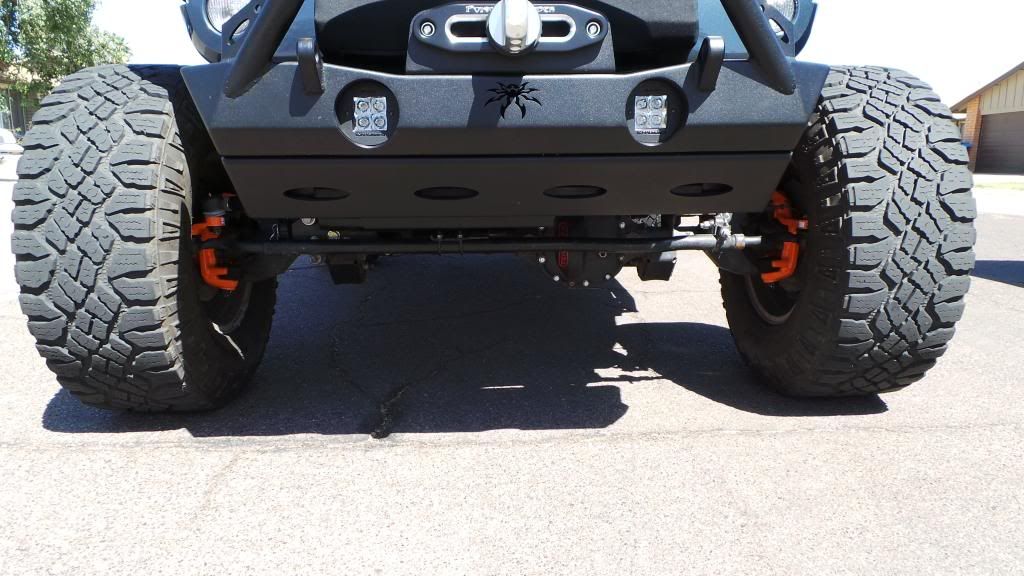
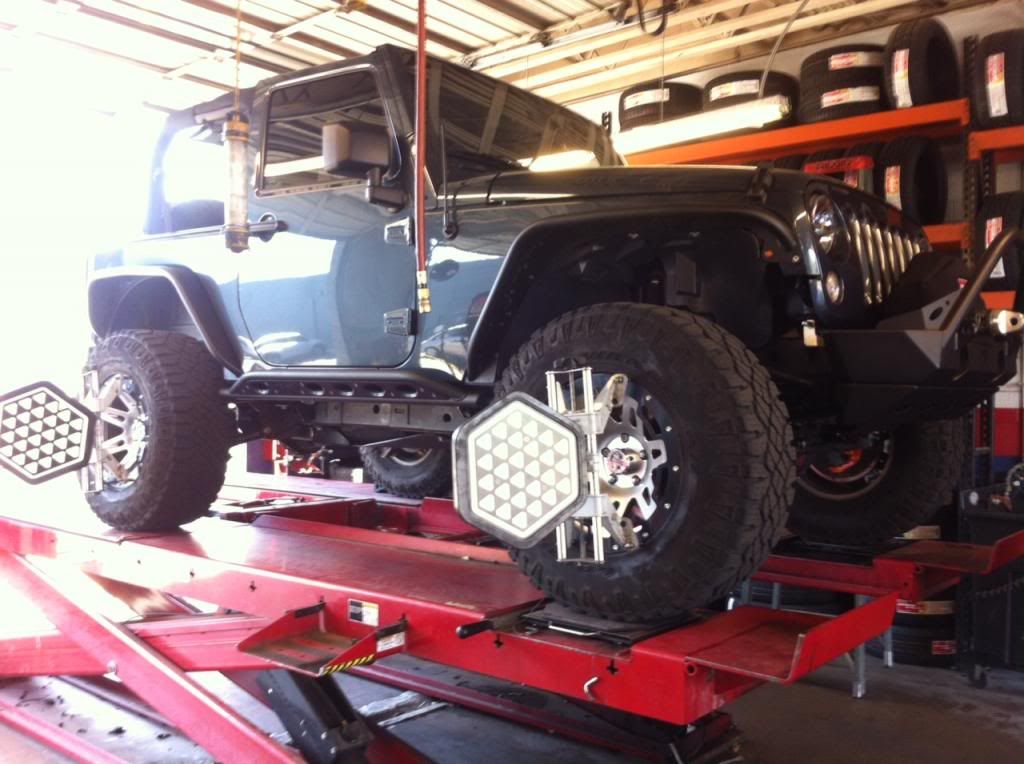
I read a lot of reviews on multiple steering systems and options that were available for the Jeep JK. After days of reading reviews and thoughts, I decided that the REID RACING, INC. Steering Knuckles were exactly what I was looking for. Before the install of the knuckles I had some bump steer, flighty at times, and never felt correct or the way I was hoping my Jeep would handle. After the install and getting everything dialed in, the results were amazing! Not only did the bump steer go away, so did the flighty feel, and now my Jeep drives like it did when it was stock (the way it should be!) I highly recommend these knuckles to those that have the same issues, or wants to correct their steering components. With the Reid knuckles raising the drag link flip 3”, my steering is now level where it should be.
Install Time & Rating
About 3 hours with a rating of EASY
I’m sure you can do it in less, but we double checked all over or steering components while working on everything, took pics, chatted on so on. There really isn’t anything hard about the install, just takes a little time
THE INSTALL
Tools Needed
(We used air tools to speed up the install time)
Floor Jack
2 Jack Stands
¾ or 19 Socket & Lug Key (if you have lug locks)
13mm Socket (12 point)
21mm Socket or Wrench
22mm Socket or Wrench
27mm Socket or Wrench
36mm Socket
Ratchet
Allen Wrench
Torque Wrench
Mini Sledge or Pry Bar
Adjustable Pliers
Side Cutter or Snips
Step 1
Pull the e-brake up/engage
Step 2
Start by lightly loosening all of you front lug nuts with ¾ or 19mm socket and lug key if you have locks

Step 3
Jack the Jeep up and put the jack stands under Jeep

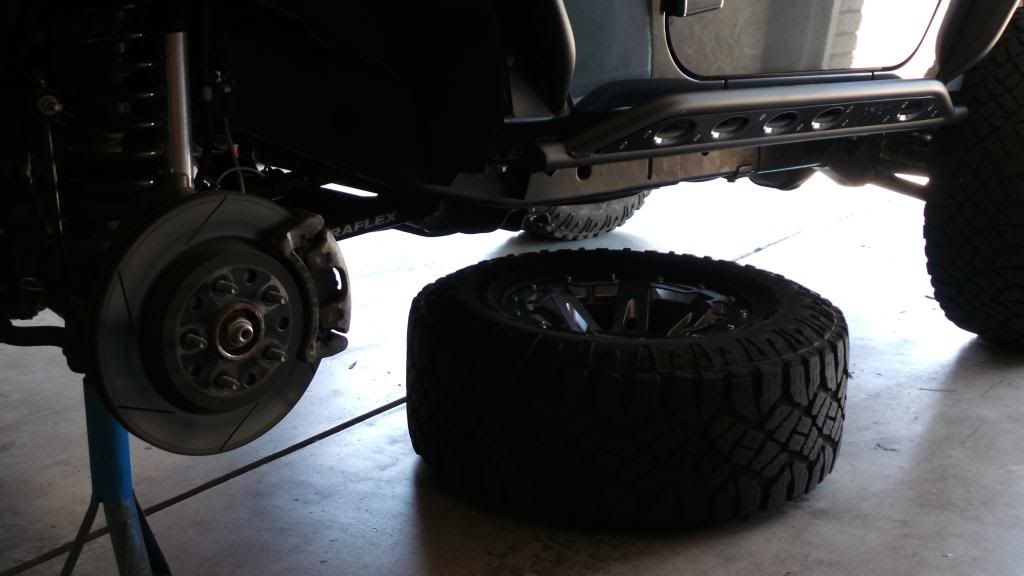
Step 4
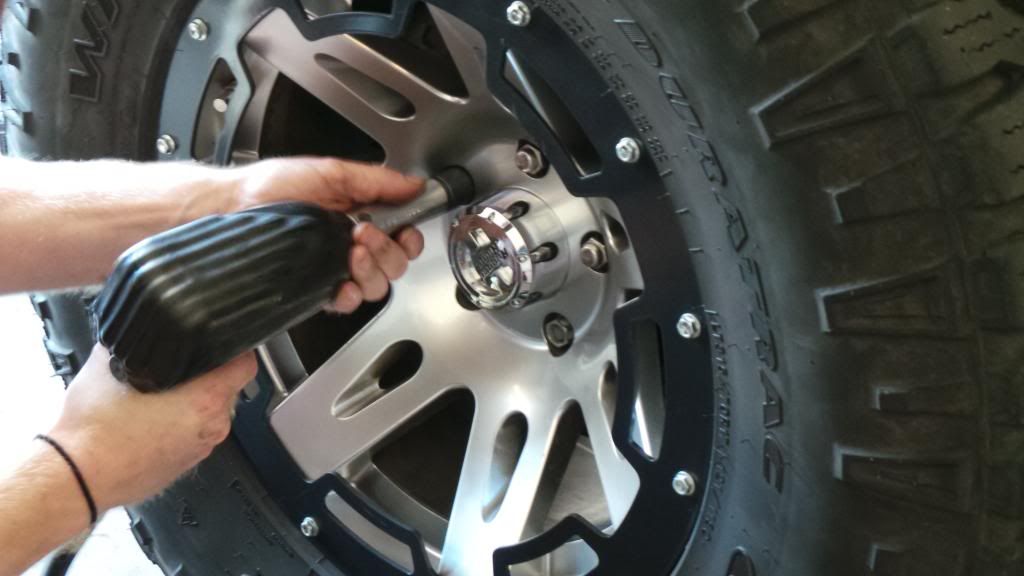
Remove all of the lug nuts from the driver side wheel, pull wheel off and lay wheel/tire underneath frame of Jeep.
Step 5
If using hand tools loosen axle nut before removing brakes. Easiest way to remove is to have someone engage foot break while you break the axle nut free
Step 6
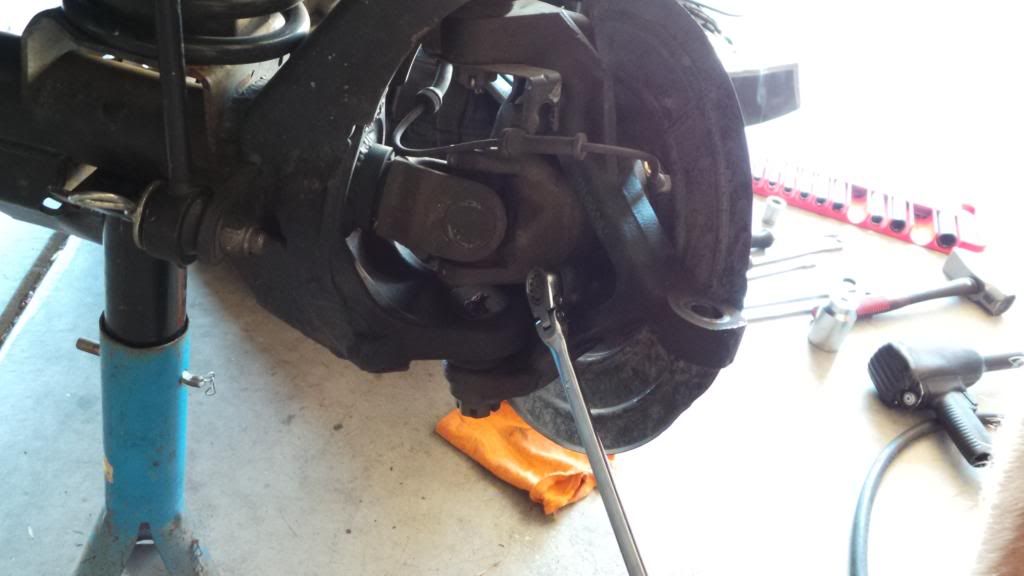
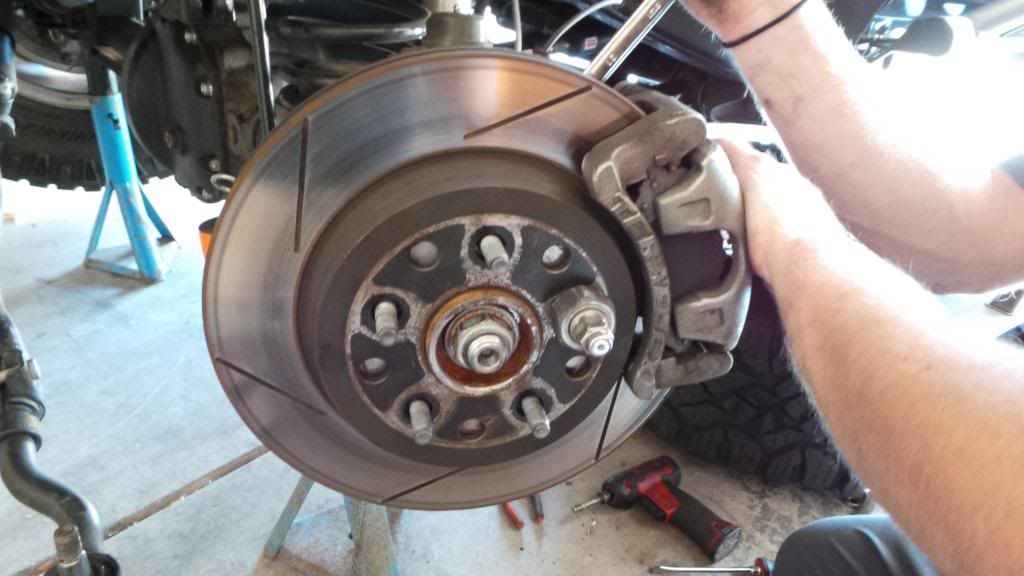
Remove the 2 caliper bolts holding brake caliper to knuckle using the 21mm wrench/socket
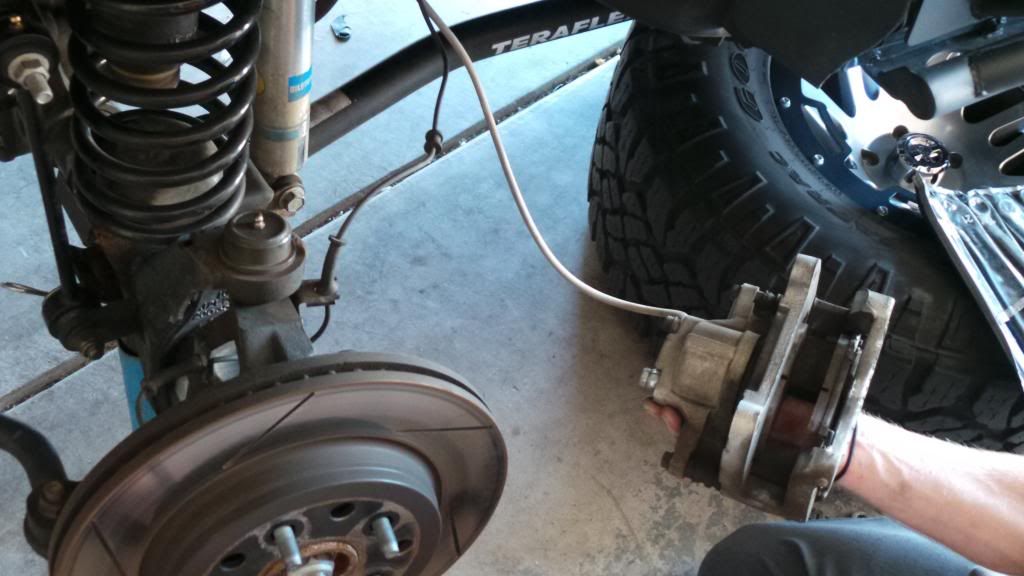
Step 7
Swing caliper out of the way and place on top of your tire. If you don’t have extended brake lines, dual zip tie out of the way. **DO NOT HANG FROM BRAKE LINE**
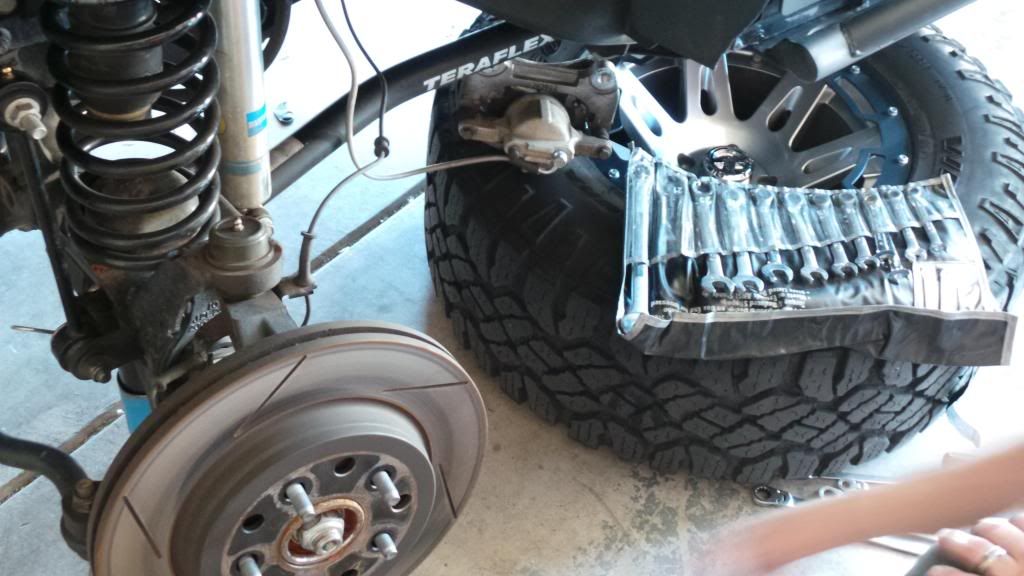
Step 8
Remove rotor and place to the side
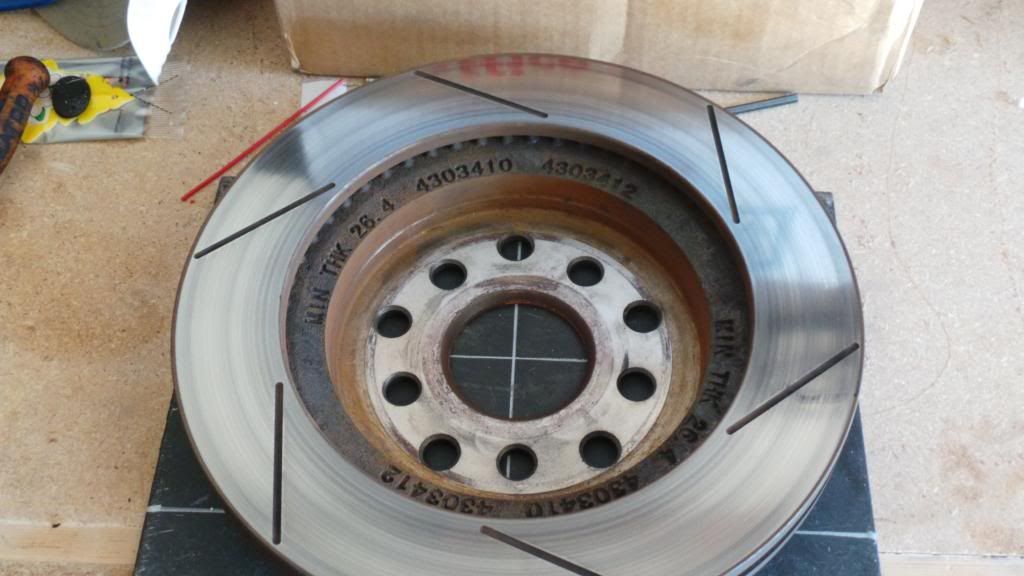
Step 9
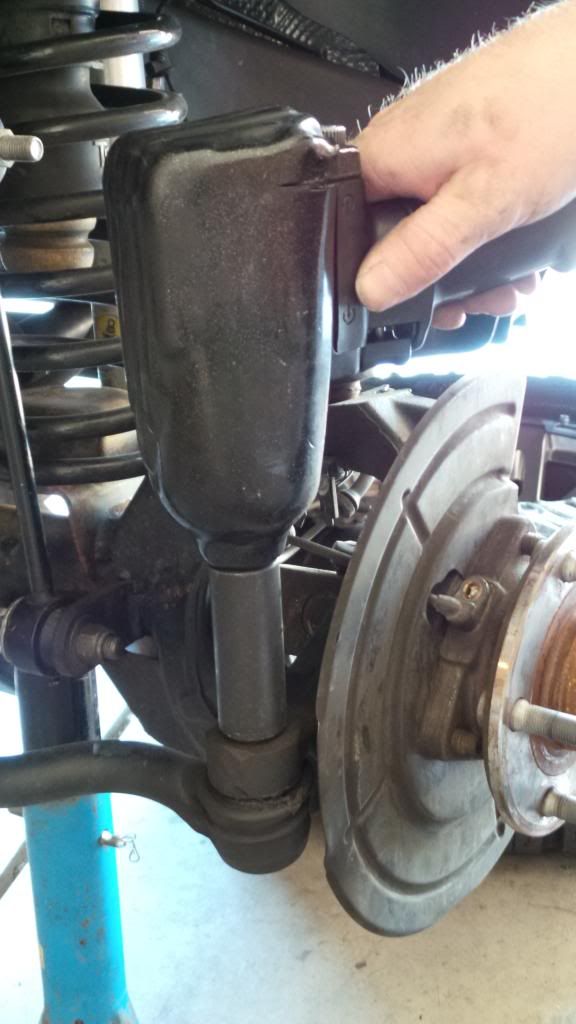
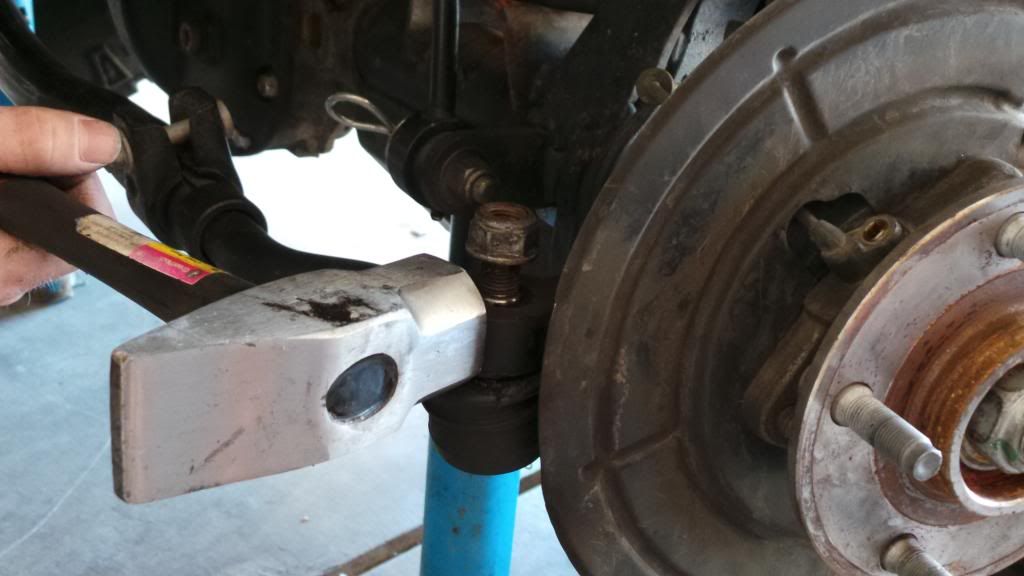
Remove the tie rod using 21mm socket/wrench
• You may need to use small sledge or pry bar to remove. Note: Make sure if you are using mallet to hit from the side not top!
Step 10
Remove your ABS sensor using 8mm allen wrench

Step 11
Remove the cables from the retaining clips

Step 12
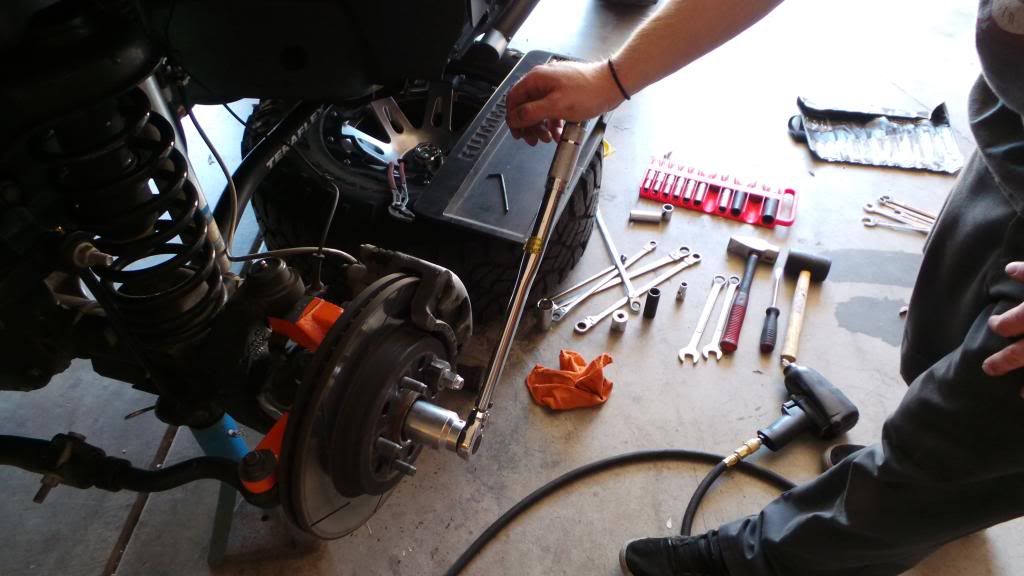
Remove center nut off axle with 36mm socket
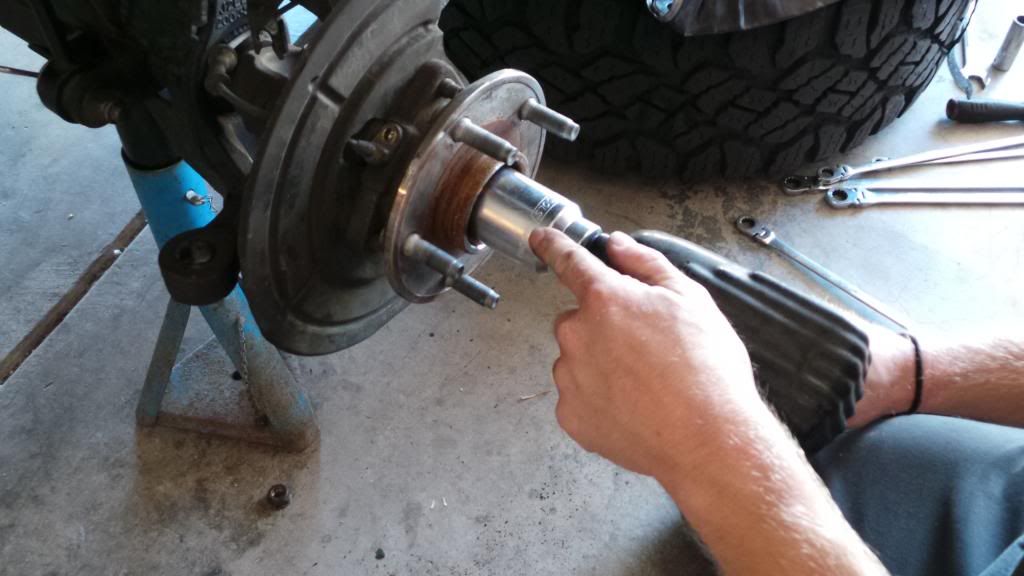
Step 13
Remove hub
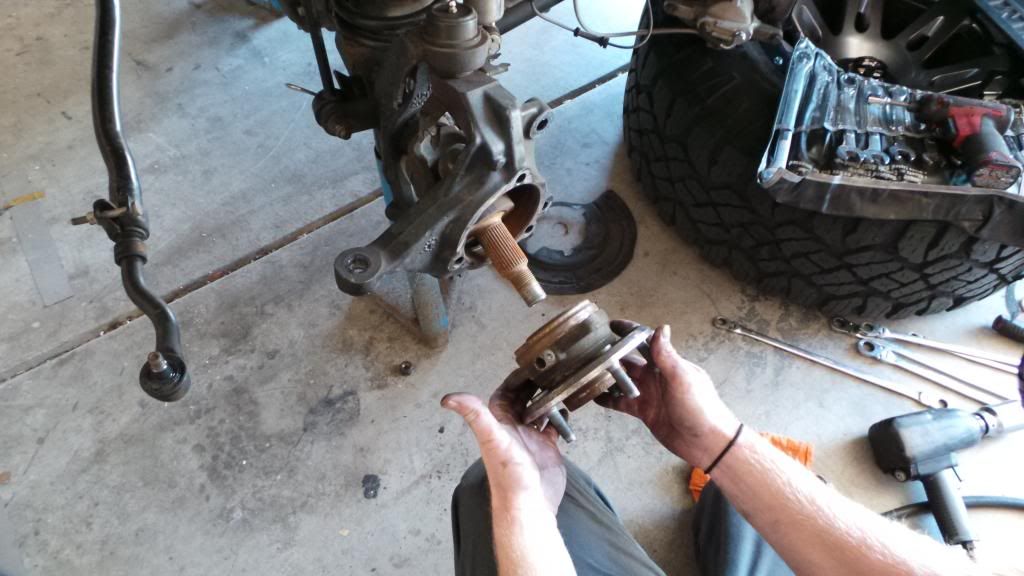
Step 14
Remove retaining clips
Step 15
Remove axle shaft from axle housing.
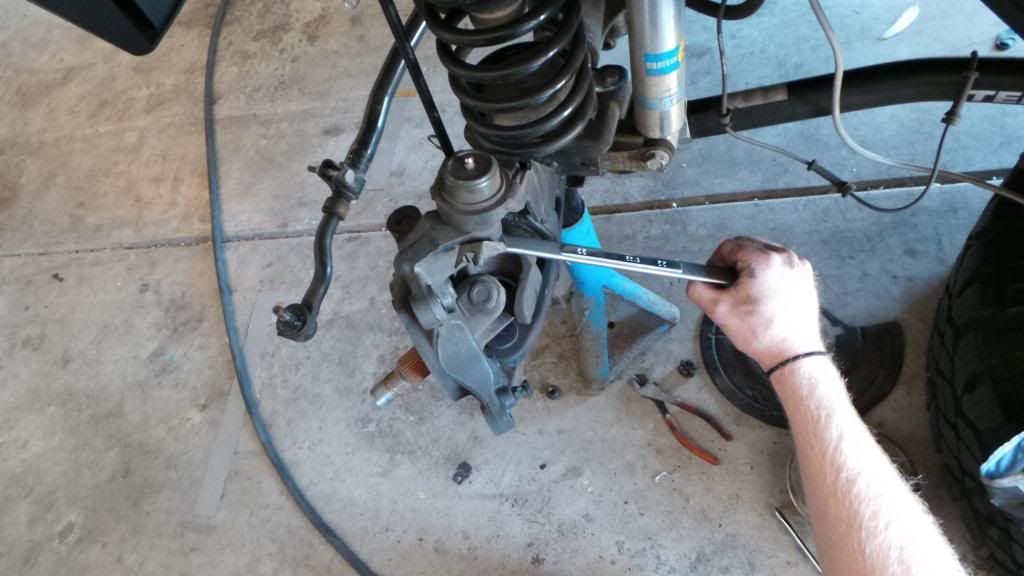
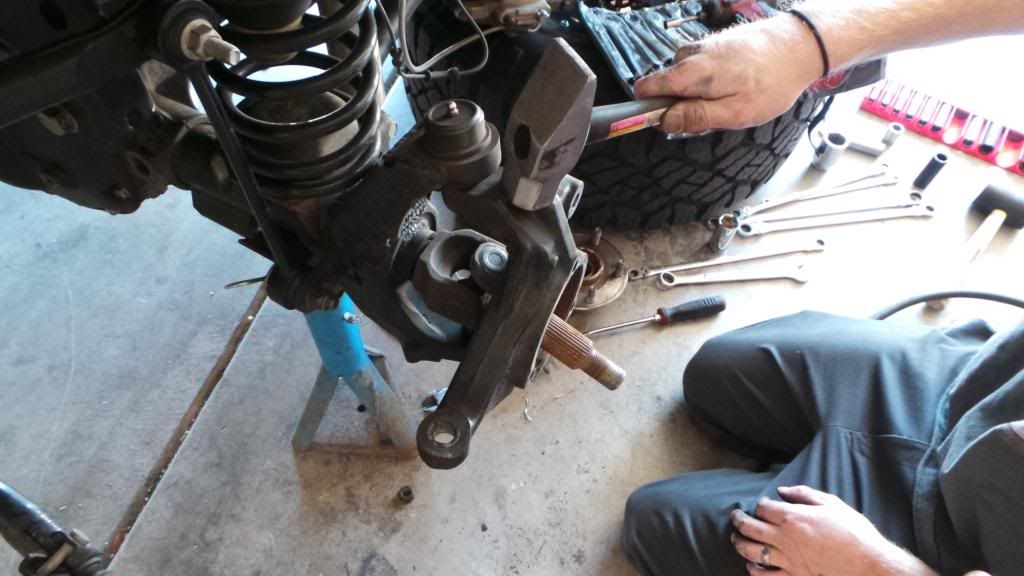
Step 16
Remove cotter keys from upper and lower castle nuts from ball joints then remove the upper castle nut be keep lower on slightly. The lower castle nut will keep the knuckle from falling to the ground when breaking free from ball joints. Now break free the knuckle and remove. Use 22mm socket/wrench for upper castle nuts and 27mm socket/wrench on lower castle nuts
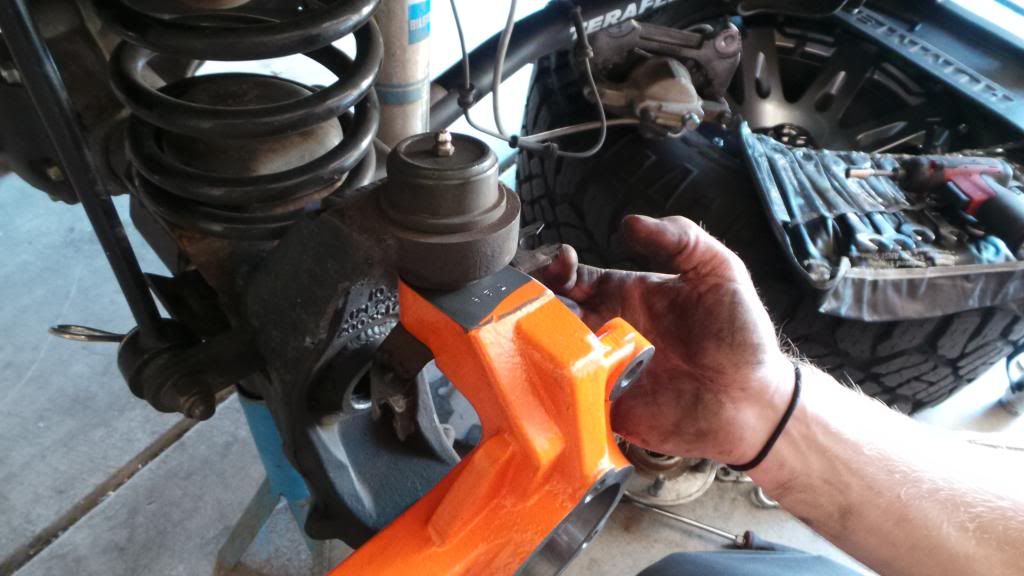
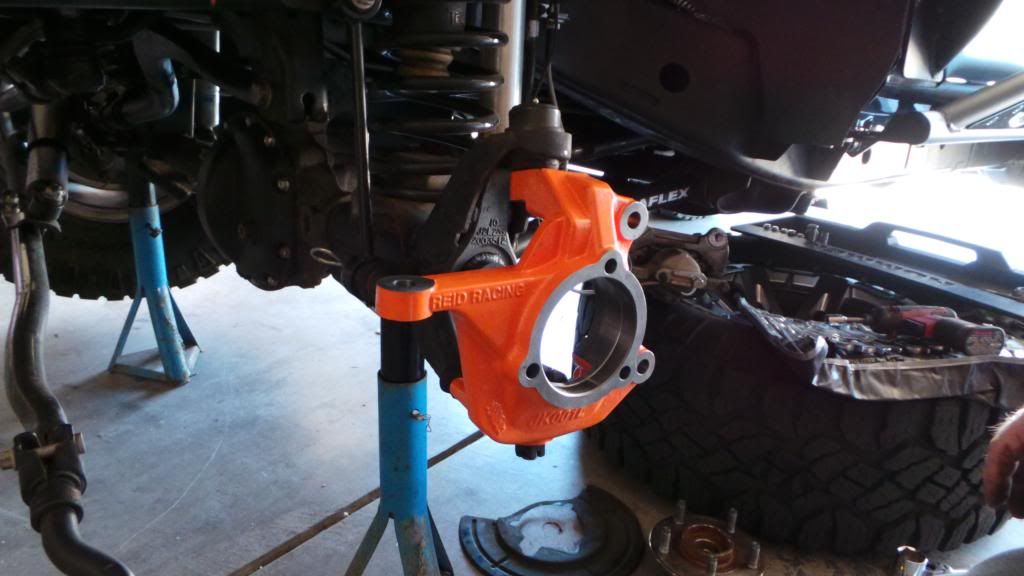
Step 17
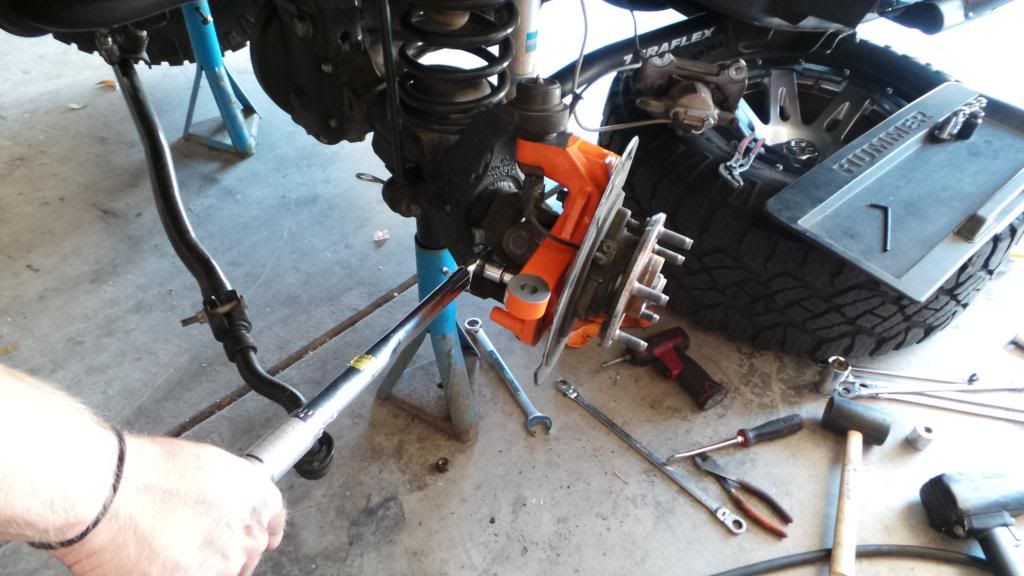
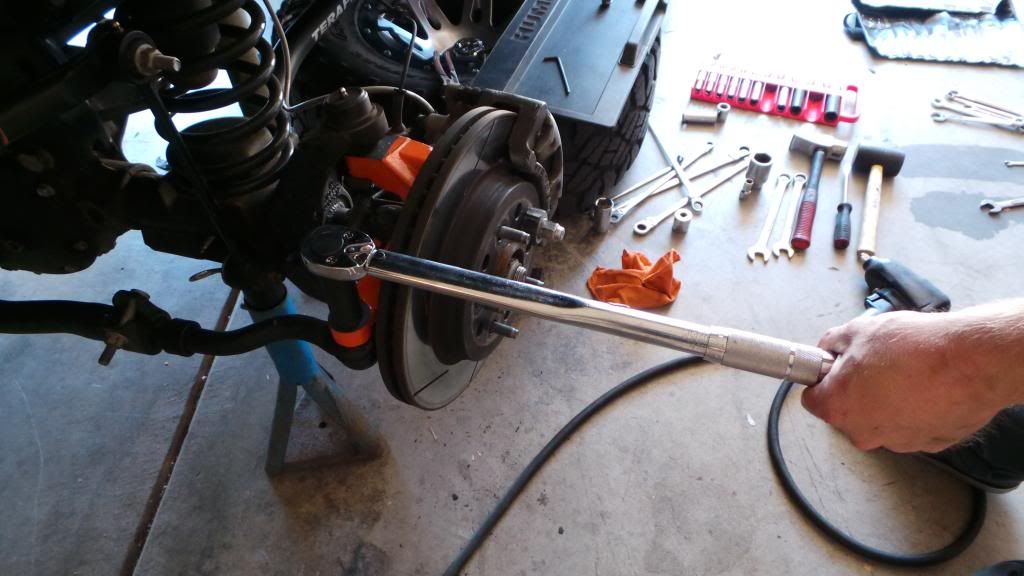
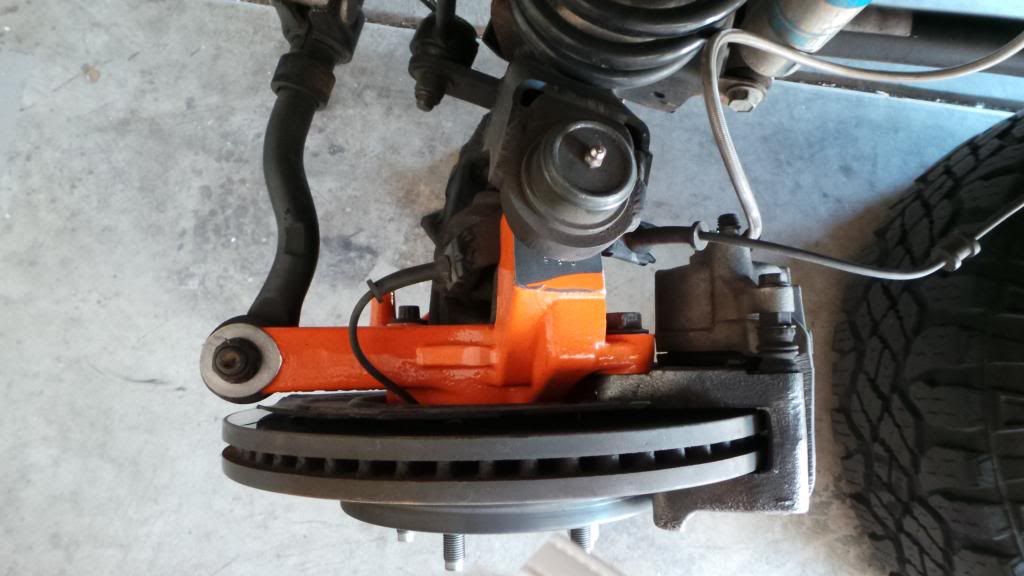
Install Reid knuckle, the retaining clips, ball joint castle nuts, then tighten. Once again using 22mm for upper castle nuts and 27mm for lower castle nuts
• Torque castle nuts to 63 Ft. Lbs
Step 18
Reinstall the cotter keys into the castle nuts. **I used new cotter keys instead of the old. If you use new, make sure to snip cotter keys to a good length.
• Don’t loosen castle nuts to install cotter pins, only tighten
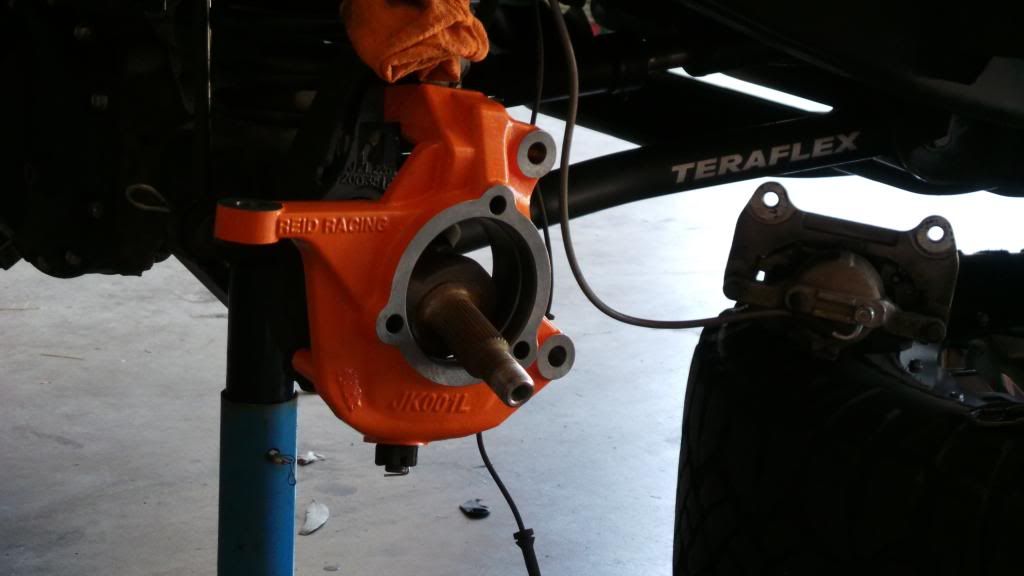
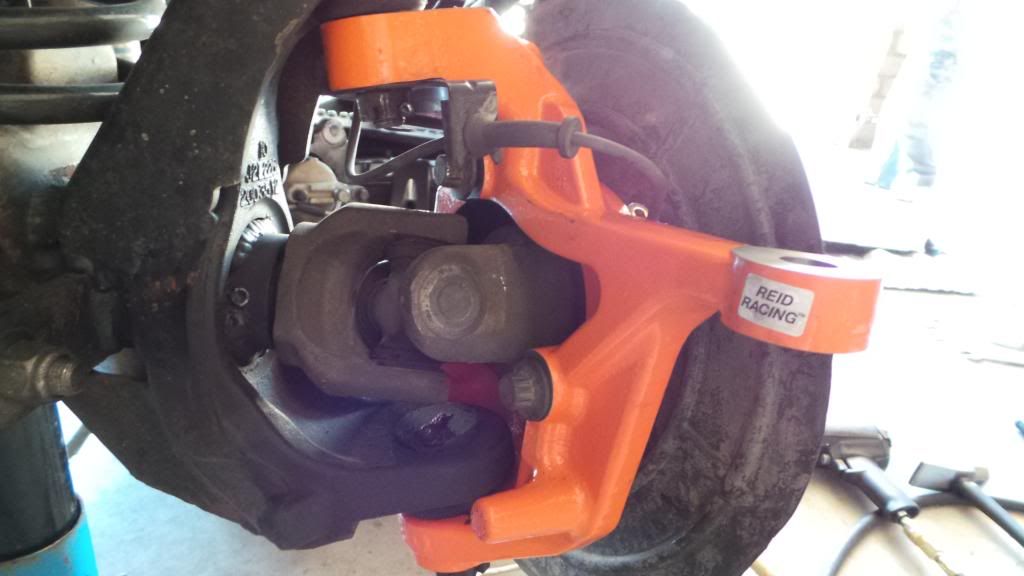
Step 19
Reinstall the axle shaft
INFORMATION
Reid Racing’s high-steer Jeep Wrangler JK (2007-present) knuckles are designed as heavy duty stock replacement knuckles. Primary improvements include raised steering linkage (1.5 inches for the tie rod, 3 inches for the drag link), dual steering stops, and increased strength overall. Installation is simplified by allowing the OEM unit bearings, brakes, U-joints, and stub shafts to be reused. Aftermarket upgrade parts such as axle shafts and steering linkage that work with the stock knuckles should in most cases be fully compatible with the Reid Racing knuckles. A 3 inch track bar bracket (included with most lift kits) is recommended to minimize bump steer. The reversed drag link taper requires a “flipped” drag link, available from many 4x4 parts companies, but please note the warning below.
The new Jeep Wrangler JK Dana 30/Rubicon 44 knuckles are heavy duty stock replacement knuckles. Raised steering linkage, dual steering stops, and increased strength are the primary improvements while installation is simplified by allowing the OEM "outers" to be reused.
• Sold individually
• JK001L (left, driver's side)
• JK001R (right, passenger's side)
• Uses stock 2007+ Jeep Wrangler JK brake rotors, calipers, stub shafts and U-joints.
• Fits JK Dana 30, JK Rubicon Dana 44, and Mopar & aftermarket JK axles.
• Easy bolt-on installation with no machining required.
• Aftermarket high strength axle shafts, U-joints/CV joints, and stub shafts can be used.
• Antilock Brakes, Traction Control, and Electronic Stability Control systems remain fully operational.
• Steering linkage is raised as high as possible while retaining clearance for OEM Jeep and most aftermarket wheels.
• Tie Rod gains 1.5 inches of clearance to minimize vulnerability to trail damage.
• Drag Link is flipped and gains 3 inches of height to perfectly correct the steering geometry for the common 3-4 inch suspension lift; minimizes additional steering correction for taller suspension lifts. Requires an aftermarket drag link, and we recommend a track bar bracket to eliminate bump steer. Works with any standard JK drag link flip kit.
• Cast from high strength ductile iron.
• Beefed up with extra material and ribbing.
• Cast-in DUAL steering stops eliminate bent stop bolts that can cause u-joint and axle failures.
• Tapered tie rod holes fit OEM-size tie rod ends; "1-ton" tie rod ends used in some aftermarket steering linkage may require very minor modification - call for details.
• Tie rod holes can be drilled to accept 3/4" heim ends.
Powder coated bright orange for long lasting looks.
WARNING!!!
THE REID RACING, INC. JK STEERING KNUCKLES USE STANDARD JEEP JK SIZE TIE ROD ENDS FOR THE DRAG LINK AND TIE ROD. IT IS ABSOLUTELY CRITICAL ON REID RACING KNUCKLES THAT ALL TIE ROD ENDS (PARTICULARLY ON THE DRAG LINK) ARE THE CORRECT SIZE. THE STUD NUT MUST BOTTOM OUT ON THE STEERING ARM AND NOT ON THE THREADS SO THAT THE STUD IS WEDGED SECURELY INTO THE STEERING ARM WHEN THE NUT IS TIGHTENED. USING A TIE ROD END OF THE WRONG SIZE IS LIKELY TO RESULT IN IMPROPER SEATING OF THE TIE ROD END INTO THE KNUCKLE STEERING ARM OR A COTTER PIN THAT DOES NOT SECURE THE CASTLE NUT. EITHER INSTANCE WILL ALLOW THE TIE ROD END STUD TO BECOME LOOSE, RESULTING IN SLOPPY STEERING OR, IF LEFT UNCORRECTED LONG ENOUGH, POSSIBLE LOSS OF STEERING
STEERING STOPS
The steering stops on Reid Racing knuckles are “cast in” to prevent the common bending of the stock style adjust- able bolts. The stops are intentionally cast long so adjustments can be made by grinding the tips of the stops to fit. If you are going to grind the steering stops to increase steering angle, set the toe-in first because the toe-in setting changes the stop settings. After the knuckles are installed and the toe in is set, cycle the steering back and forth grinding small amounts of the stop until the desired degree of steering is set; the front and rear steering stops must be adjusted simultaneously and equally. Make sure to check for u-joint binding and yoke to yoke interference at full lock in both directions; if binding or contact occurs, axle breakage will happen. If a stock style adjustable steering stop is desired, the cast in stop can be cut off at the knuckle then drilled and tapped for a 3/8” bolt.
MY THOUGHTS
I read a lot of reviews on multiple steering systems and options that were available for the Jeep JK. After days of reading reviews and thoughts, I decided that the REID RACING, INC. Steering Knuckles were exactly what I was looking for. Before the install of the knuckles I had some bump steer, flighty at times, and never felt correct or the way I was hoping my Jeep would handle. After the install and getting everything dialed in, the results were amazing! Not only did the bump steer go away, so did the flighty feel, and now my Jeep drives like it did when it was stock (the way it should be!) I highly recommend these knuckles to those that have the same issues, or wants to correct their steering components. With the Reid knuckles raising the drag link flip 3”, my steering is now level where it should be.
Install Time & Rating
About 3 hours with a rating of EASY
I’m sure you can do it in less, but we double checked all over or steering components while working on everything, took pics, chatted on so on. There really isn’t anything hard about the install, just takes a little time
THE INSTALL
Tools Needed
(We used air tools to speed up the install time)
Floor Jack
2 Jack Stands
¾ or 19 Socket & Lug Key (if you have lug locks)
13mm Socket (12 point)
21mm Socket or Wrench
22mm Socket or Wrench
27mm Socket or Wrench
36mm Socket
Ratchet
Allen Wrench
Torque Wrench
Mini Sledge or Pry Bar
Adjustable Pliers
Side Cutter or Snips
Step 1
Pull the e-brake up/engage
Step 2
Start by lightly loosening all of you front lug nuts with ¾ or 19mm socket and lug key if you have locks
Step 3
Jack the Jeep up and put the jack stands under Jeep
Step 4
Remove all of the lug nuts from the driver side wheel, pull wheel off and lay wheel/tire underneath frame of Jeep.
Step 5
If using hand tools loosen axle nut before removing brakes. Easiest way to remove is to have someone engage foot break while you break the axle nut free
Step 6
Remove the 2 caliper bolts holding brake caliper to knuckle using the 21mm wrench/socket
Step 7
Swing caliper out of the way and place on top of your tire. If you don’t have extended brake lines, dual zip tie out of the way. **DO NOT HANG FROM BRAKE LINE**
Step 8
Remove rotor and place to the side
Step 9
Remove the tie rod using 21mm socket/wrench
• You may need to use small sledge or pry bar to remove. Note: Make sure if you are using mallet to hit from the side not top!
Step 10
Remove your ABS sensor using 8mm allen wrench
Step 11
Remove the cables from the retaining clips
Step 12
Remove center nut off axle with 36mm socket
Step 13
Remove hub
Step 14
Remove retaining clips
Step 15
Remove axle shaft from axle housing.
Step 16
Remove cotter keys from upper and lower castle nuts from ball joints then remove the upper castle nut be keep lower on slightly. The lower castle nut will keep the knuckle from falling to the ground when breaking free from ball joints. Now break free the knuckle and remove. Use 22mm socket/wrench for upper castle nuts and 27mm socket/wrench on lower castle nuts
Step 17
Install Reid knuckle, the retaining clips, ball joint castle nuts, then tighten. Once again using 22mm for upper castle nuts and 27mm for lower castle nuts
• Torque castle nuts to 63 Ft. Lbs
Step 18
Reinstall the cotter keys into the castle nuts. **I used new cotter keys instead of the old. If you use new, make sure to snip cotter keys to a good length.
• Don’t loosen castle nuts to install cotter pins, only tighten
Step 19
Reinstall the axle shaft
")

