You are using an out of date browser. It may not display this or other websites correctly.
You should upgrade or use an alternative browser.
You should upgrade or use an alternative browser.
Show me your rack!!!!
- Thread starter MoGas
- Start date
MoGas
Central Scrutinizer
Oh why? You may ask.
I had a bro give me a ConFerr 40x60 rack. No floor, no mounts. It is a bolt together and with my mad welding skillz, I can make it as long as I care to or maybe make a couple different sized sides to be more versatile.
For mounting, I have 4 Yakima load bars to figure out how to mount the rack to for now.
As always, I am open to ideas.
Dave
HenryJ
Expedition Leader
Coleman Safari Rack
Powder-coated Steel Frame Basket
Costco Price $75 - Dimensions: 44" x 39" x 6.5" Standard shipping via UPS Ground is included in the quoted price.
Installation.PDF
The mounts work great with my OEM Bravada rack. It is a slightly textured satin finish. The bars appear to be about the thickness of conduit. The bars are tack welded, not welded all around.
I think it is plenty sturdy for a light weight basket. I would not be afraid to stack it with stuff to be tied down.

Powder-coated Steel Frame Basket
Costco Price $75 - Dimensions: 44" x 39" x 6.5" Standard shipping via UPS Ground is included in the quoted price.
Sportrack basketchet said:I have the exact rack. its made by www.sportrack.com they rebrand them for Coleman, Canadian tire etc.
Its a pretty good rack. It bolts together in two pieces which I thought would be weak but its been pretty good. They make an extension kit for it that lengthens it out.
for $75 its pretty good deal.
Installation.PDF
The mounts work great with my OEM Bravada rack. It is a slightly textured satin finish. The bars appear to be about the thickness of conduit. The bars are tack welded, not welded all around.
I think it is plenty sturdy for a light weight basket. I would not be afraid to stack it with stuff to be tied down.
MoGas
Central Scrutinizer
Fergie said:Homebrew:
.75" .065 wall square tube.
1/8" mounting tabs with Grade 8 hardware
4 Yakima 1A mount per side, with SKS lock
74"x52" with 4" sides
.75" Expanded metal flooring


I like how you didn't use the load bars. A much tighter fit. Great Idea.
Fergie
Expedition Leader
MoGas said:I like how you didn't use the load bars. A much tighter fit. Great Idea.
Thank you.
One of my deisgn criteria was to have a rack that was very close to the roof, minimizing wind resistance and all that stuff.
From the gutters, I think the rack only sat 9" to the top of the side rails.
The expanded metal was a pain, both cutting and welding, but the ease of tie down points, and the ability to walk on the thing was awesome.
viatierra
Explorer


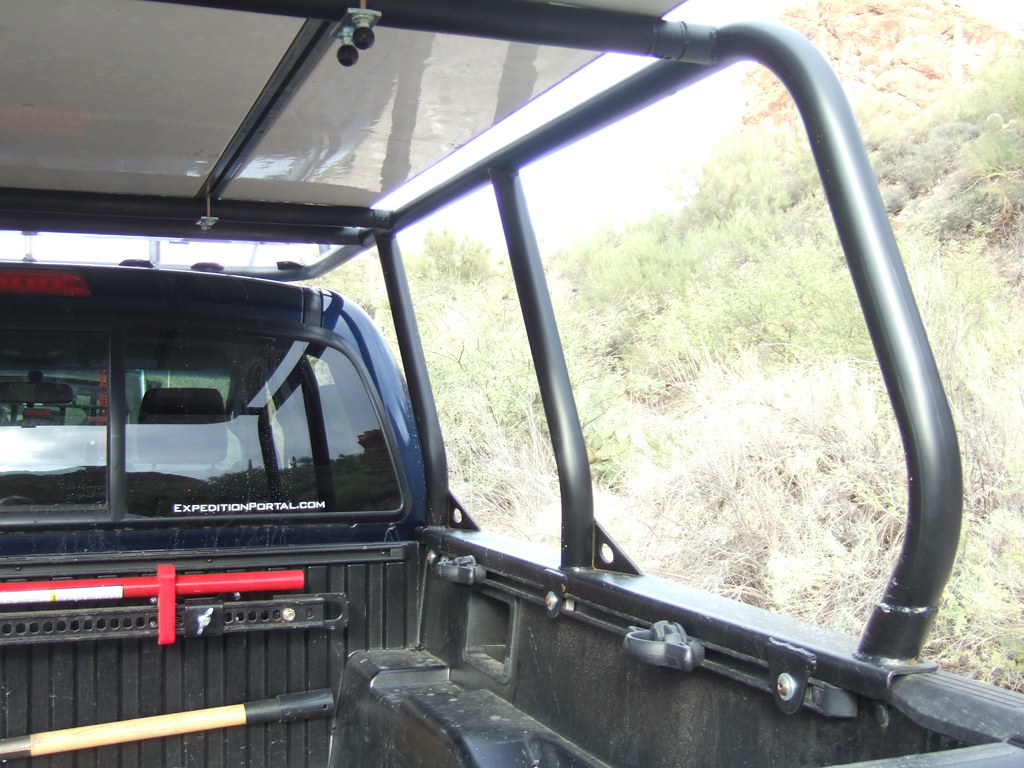
I wanted to have a few curves instead of a box so it would match the style of new Tacoma's. My fabricator, John Hunter did that and more! I stole several ideas from others on the board. The basic idea of mounting a Maggiolina like this came from DesertDude's Tacoma.
Then TacoDoc's platform got me thinking about adding a front piece to create a place for lights and anteneas.
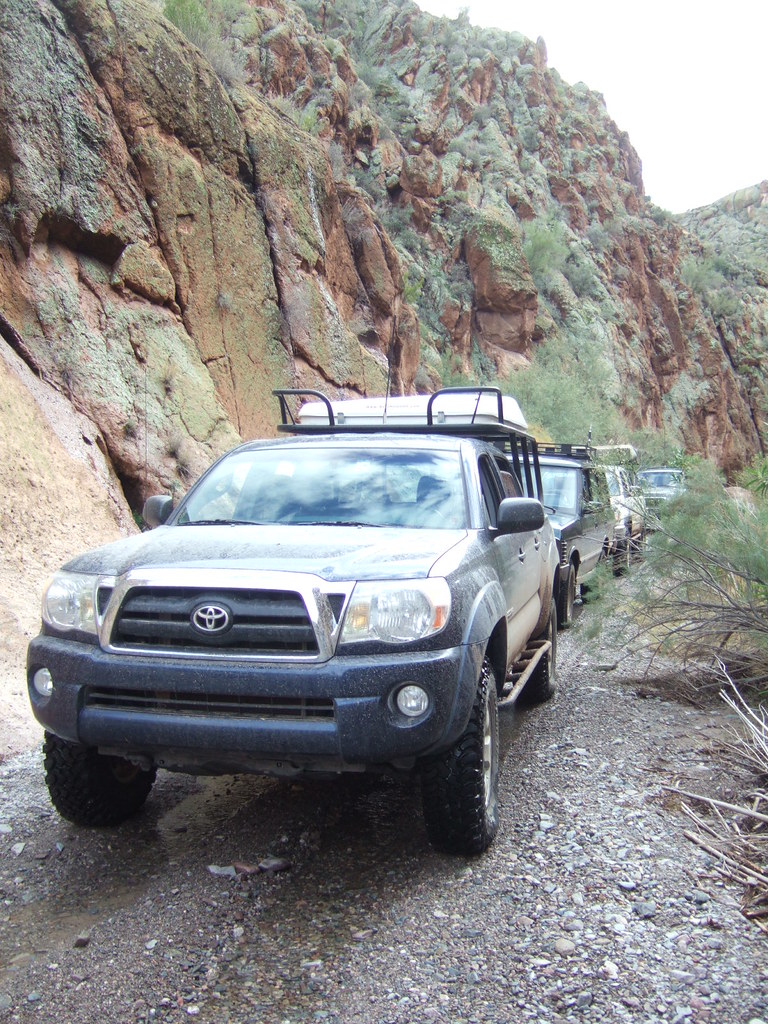
Flyingwil's older rack incorporated removable crossbars for easy tent removal and increased utility of the truck bed.

To make that feature even cleaner, Hunter used these babies. Haven't tried them out yet, but they are pretty trick. They fit together like puzzle pieces and secure with 2 allen bolts.

All the the angles match various lines in the truck. Little aluminum blocks were milled and threaded to fit in the stock tie-down rail for mounting. The tie-downs are still usable and adjustable.

For additional rigidity, gussets were added that can function as additional tie-downs. All in all, I think it looks great and is uber-functional!

The Tacoma is pretty tall now, but the rack and tent only weight around 200 lbs. Any changes in performance while rock crawling, highway acceleration and street cornering are barely detectable. :ylsmoke:
Last edited:
ntsqd
Heretic Car Camper

I've no up close pics handy, but could take some if necessary.
What I did for the rack on my old Sub was to use unplated hinges. One side screwed directly thru the roof to the under-roof structure of the Sub. The other half welded to stand-offs that were in turn welded to the under side of the rack frame. The pins were replaced with 5/16" bolts to allow easy removal and some flex.
Another view:

dieselcruiserhead
16 Years on ExPo. Whoa!!
Here are some of my racks.
http://www.expeditionportal.com/forum/showthread.php?t=5890
I really liked how he removed the top half of the yakima clamps and bolted direct. You can see how I used u-bolts to keep it attached to the yakima bars. The second one shows how I tried to make it aero drynamic by not having front and rear bars. This second rack did not affect mileage or daily driving at all, which I think is a huge bonus. The next one I will use aluminum strips 3" wide or so I figure with a 1" gap or so between each strip, going horizonally. The steel coorigated floors are heavy if you build them strong enough to take a load. They also only last so long before weight bows them out if you use the rack regularly and have heavy loads (feet for example) in small areas of the rack for certain time periods. It will be noticably more expensive with aluminum though...
Hope it helps!
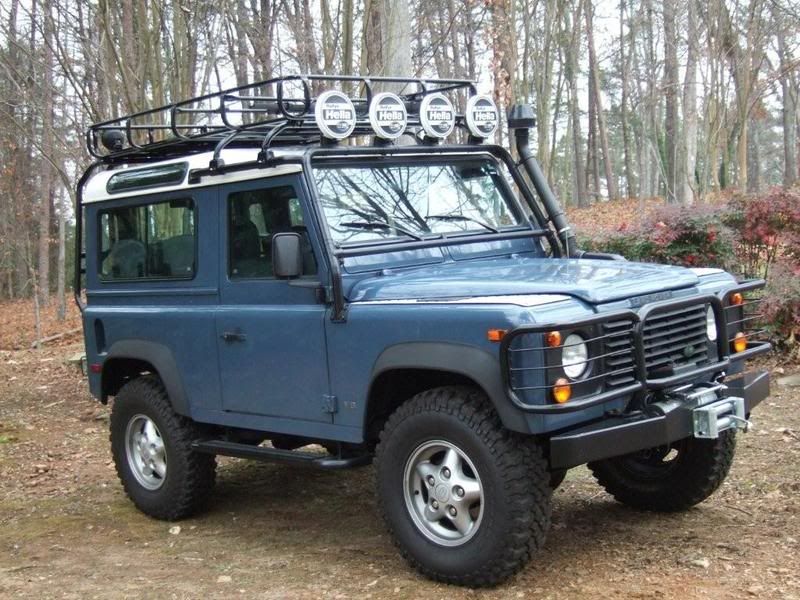
Defender90
Observer
D90 Rack