SilverBullet
Explorer
Well, I finally got my winch installed. I did not take too many pictures, but here is a brief write up and some shots I managed to take (I always forget when I am working).
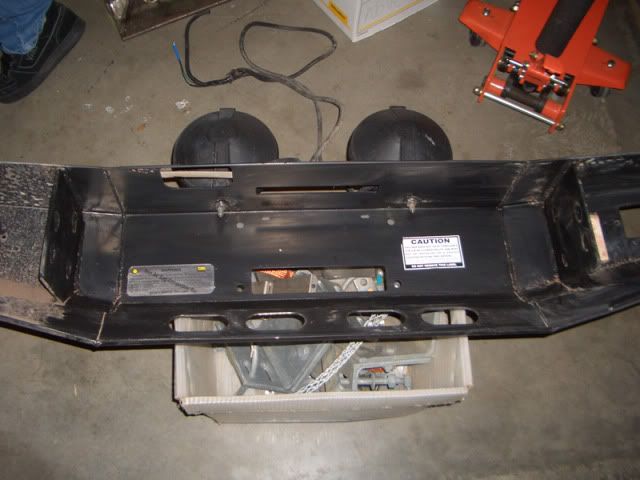
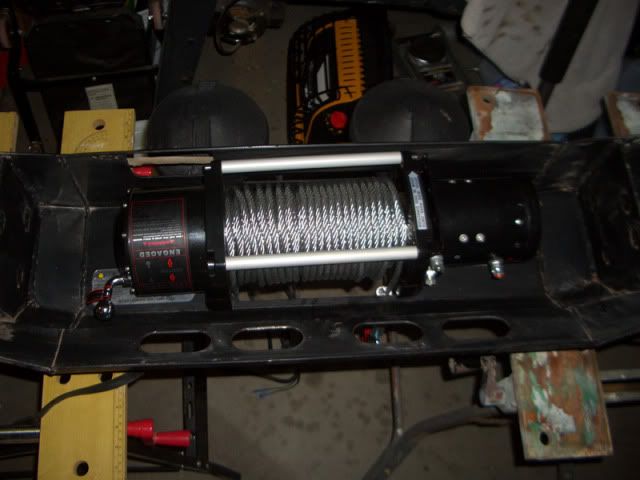
Step 1 was to remove the bumper and prepare the winch for install. First off, I removed the bumper and installed some connectors in my lights so the entire unit could be removed and worked on separate from the truck.
I also wanted to clock the winch (turn the clutch handle) so I could access it from the top hole already in the bumper. There are detailed instructions for this online, just type clock XRC8 into Google and you will get plenty, so here is my brief description.
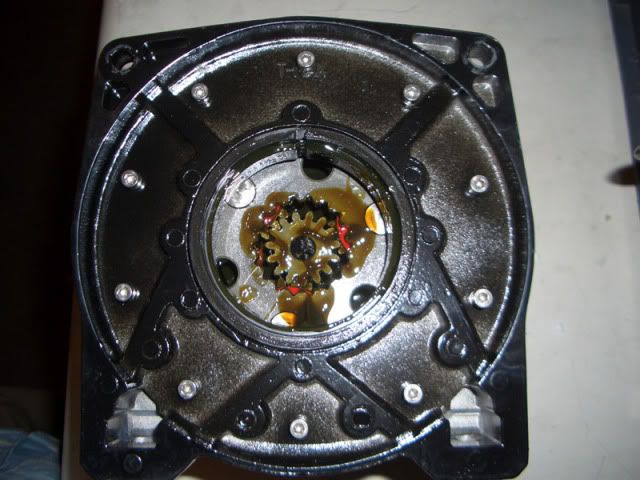
So the first thing you have to do is mark the way you want to rotate the clutch. Since you are working inside the unit, this helps keep your mind straight.

Next, separate the clutch assembly from the winch by removing the 2 large chrome Allen-head screws in the top bars. Once that is done, you simple slide the clutch assembly off the shaft and you are ready to go.

Notice the stamp, I guess brand sharing is common still in this industry.

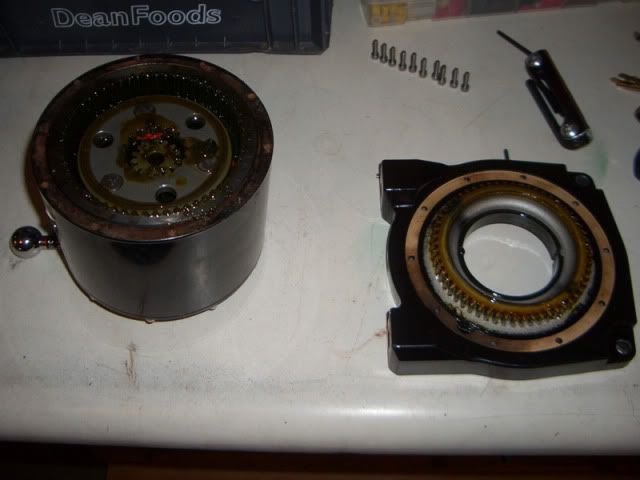
Next, we remove the 10 Allen-head screws from the inside of the clutch assembly.
Once all the screws are removed, take the housing mount off; do not spin it, you could damage the seal.
Line up your new direction, and re-install all 10 screws. It is important to make sure each screw is threaded before you tighten any of them.
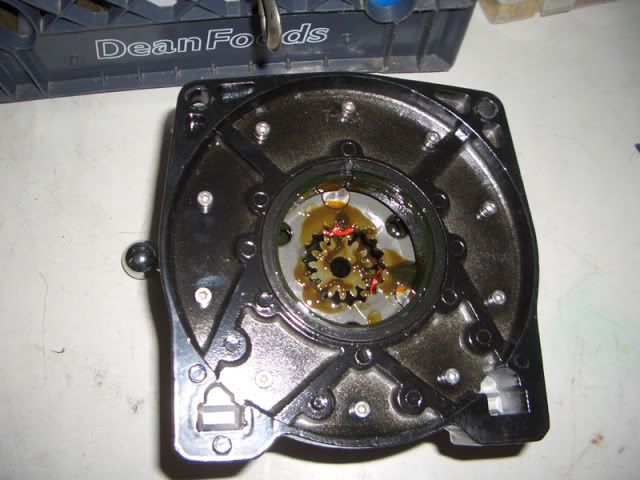
Finally, carefully set the clutch assembly back on the shaft of the winch and set into place. DO NOT FORCE THIS. If you have to, a small turn of the drum will help get it to drop back on completely. Re-attach the chrome Allen head screws and you are done, that simple.
NOTE: I found out later that the hole in a TJM bumper is designed for Warn style winches where the clutch comes out of the housing, not off the end. That said, I had to clock the whole thing back to original and find what angle worked best for me. The 10 evenly spaced screws allow you lots of options, and I found the one I think will work best, about 45 degrees back and down, for easy access reaching under the bumper.
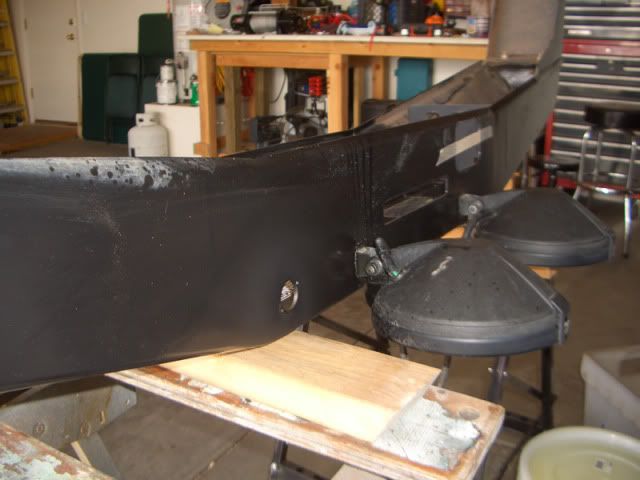
My next step was to use a 1" hole saw and cut a hole to relocate the remote plug into the top of the bumper. The solenoid box was easy to remove, then get the plug off of it and move with no modifications or wire extensions. A little touch up paint, and we were ready to install.
After we got all the wires connected, and then mounted the winch in the bumper, we then mounted the bumper back onto the truck. We were able to fit everything together and tighten it all. The solenoid is attached to the wince with the provided bracket over the motor. Here is a final install shot, after we unwound the new cable and winched my friend's truck (thanks Rex) back up the hill to create tension on the cable.

Thanks to Rex for the assistance, this thing is heavy all together.
Step 1 was to remove the bumper and prepare the winch for install. First off, I removed the bumper and installed some connectors in my lights so the entire unit could be removed and worked on separate from the truck.
I also wanted to clock the winch (turn the clutch handle) so I could access it from the top hole already in the bumper. There are detailed instructions for this online, just type clock XRC8 into Google and you will get plenty, so here is my brief description.
So the first thing you have to do is mark the way you want to rotate the clutch. Since you are working inside the unit, this helps keep your mind straight.
Next, separate the clutch assembly from the winch by removing the 2 large chrome Allen-head screws in the top bars. Once that is done, you simple slide the clutch assembly off the shaft and you are ready to go.
Notice the stamp, I guess brand sharing is common still in this industry.
Next, we remove the 10 Allen-head screws from the inside of the clutch assembly.
Once all the screws are removed, take the housing mount off; do not spin it, you could damage the seal.
Line up your new direction, and re-install all 10 screws. It is important to make sure each screw is threaded before you tighten any of them.
Finally, carefully set the clutch assembly back on the shaft of the winch and set into place. DO NOT FORCE THIS. If you have to, a small turn of the drum will help get it to drop back on completely. Re-attach the chrome Allen head screws and you are done, that simple.
NOTE: I found out later that the hole in a TJM bumper is designed for Warn style winches where the clutch comes out of the housing, not off the end. That said, I had to clock the whole thing back to original and find what angle worked best for me. The 10 evenly spaced screws allow you lots of options, and I found the one I think will work best, about 45 degrees back and down, for easy access reaching under the bumper.
My next step was to use a 1" hole saw and cut a hole to relocate the remote plug into the top of the bumper. The solenoid box was easy to remove, then get the plug off of it and move with no modifications or wire extensions. A little touch up paint, and we were ready to install.
After we got all the wires connected, and then mounted the winch in the bumper, we then mounted the bumper back onto the truck. We were able to fit everything together and tighten it all. The solenoid is attached to the wince with the provided bracket over the motor. Here is a final install shot, after we unwound the new cable and winched my friend's truck (thanks Rex) back up the hill to create tension on the cable.
Thanks to Rex for the assistance, this thing is heavy all together.