wikid
Adventurer
After a few changes in direction about doing some major mods to my FJ , then deciding to change the motor and s/c , then a few other ideas, After the new TT came out in the Cement color. I toyed with the idea of getting a new one. Then, one came in and I decided to look at it.
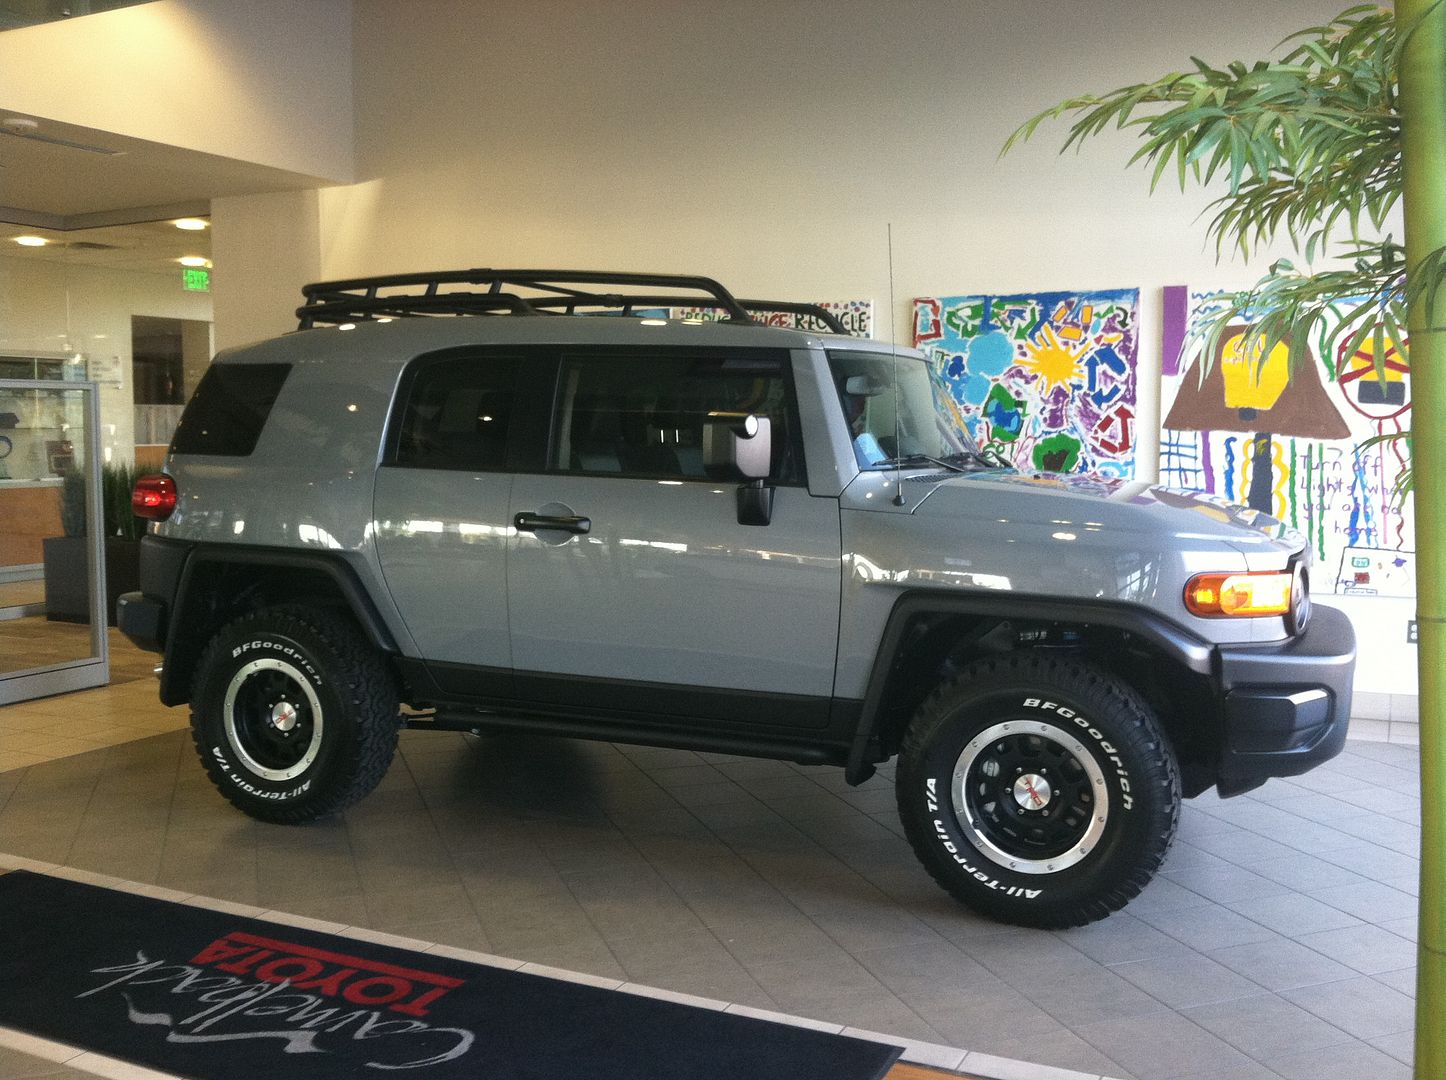
12/12/12, I went down and signed the papers .
Here's where the build begins.
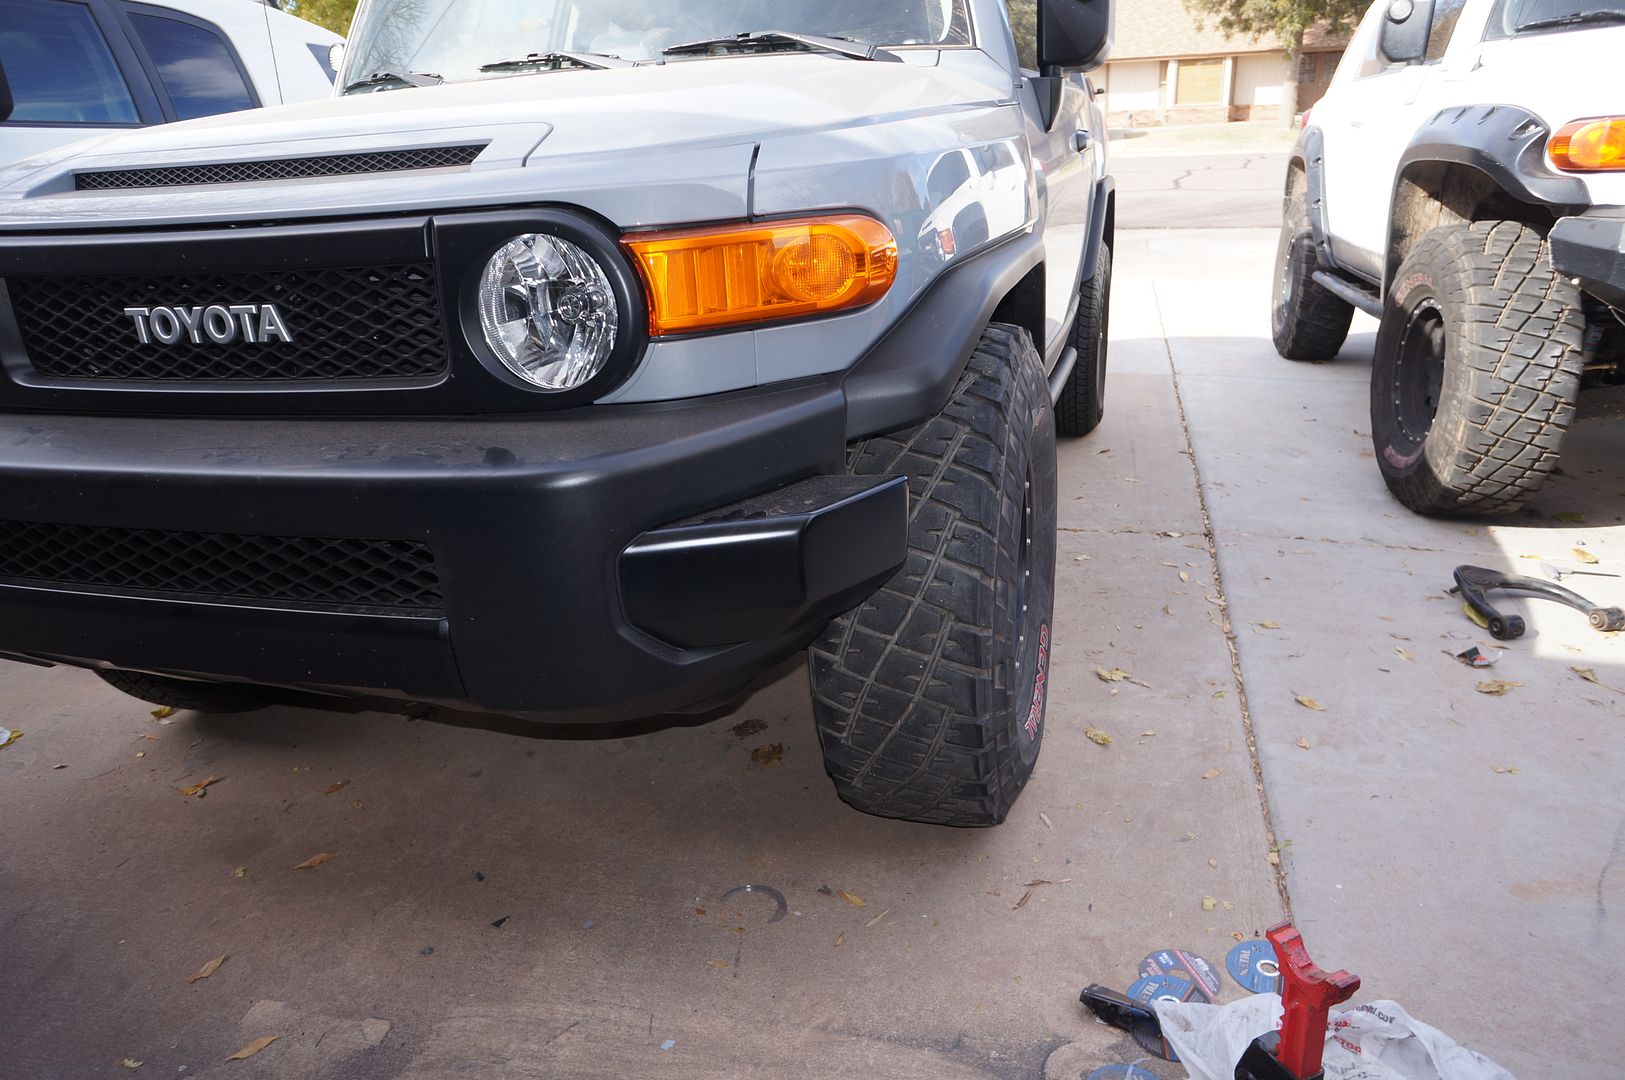
2013 Cement TT. Notable mods that are new to me are, Crawl Control and Rear View Camera
"The Rock"
It seems like I rack my brain trying come up with a a name and the meaning behind it. This time it was simple, FJess, thought it looked like a rock . Thank you Jess.
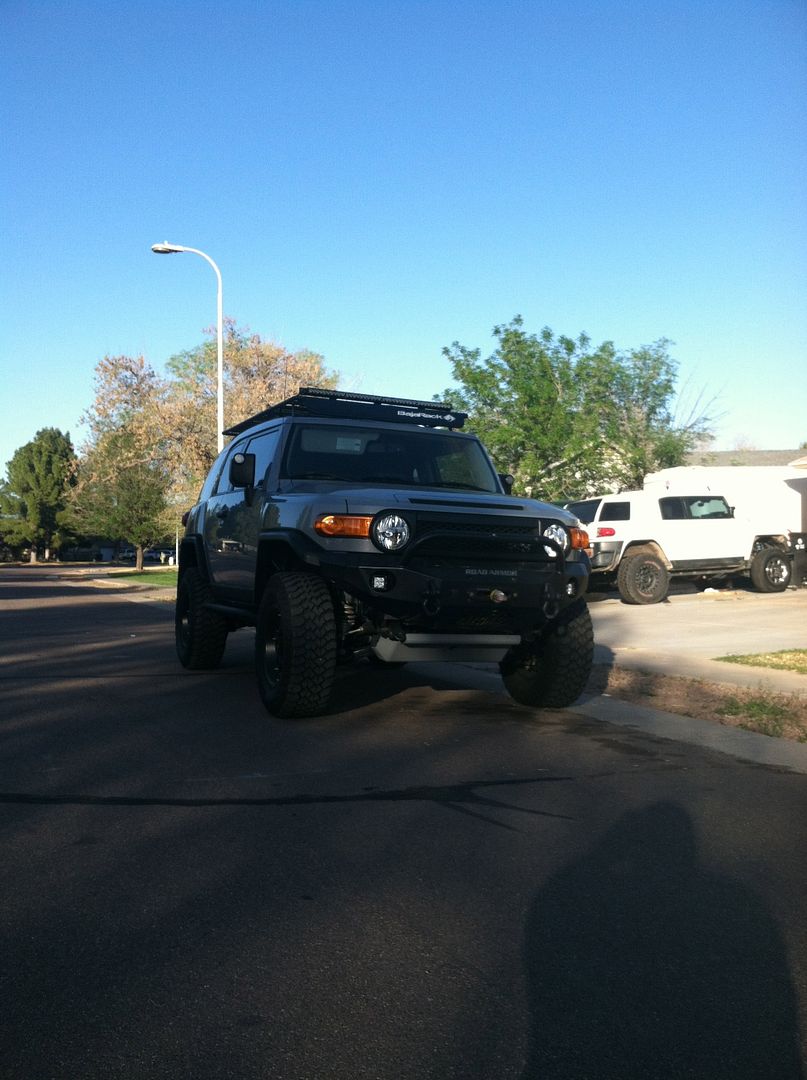
Current pic, as of 9/23/13
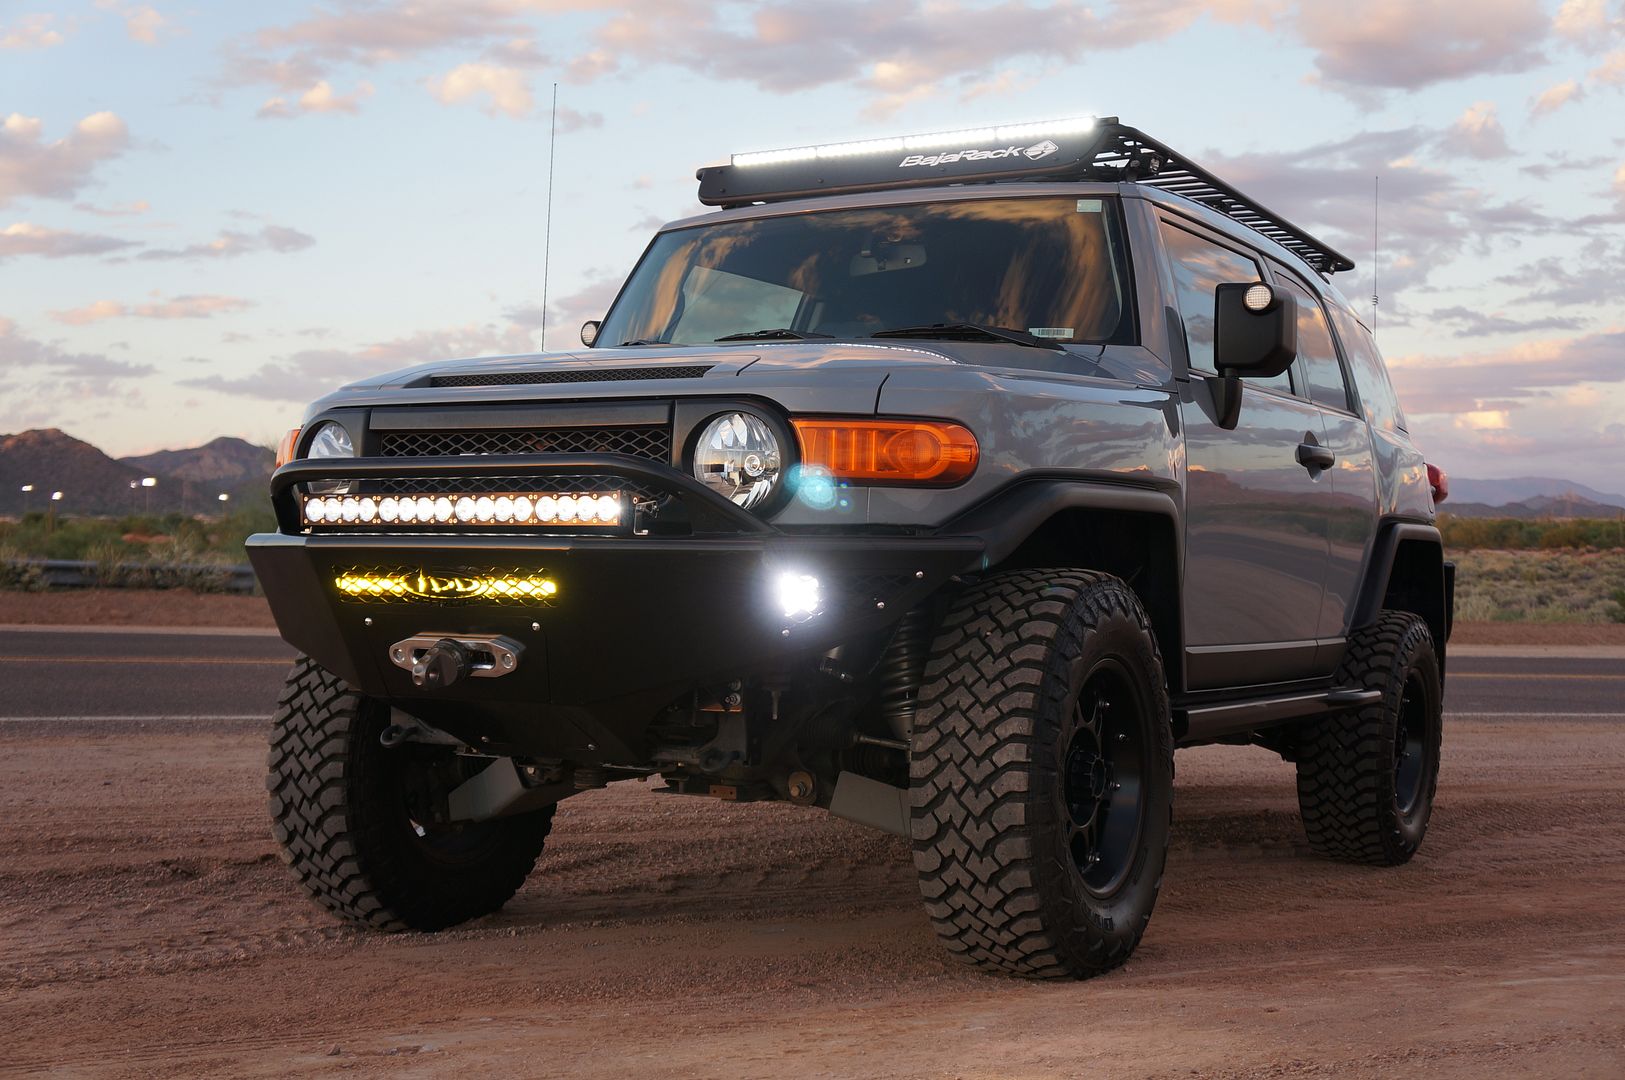
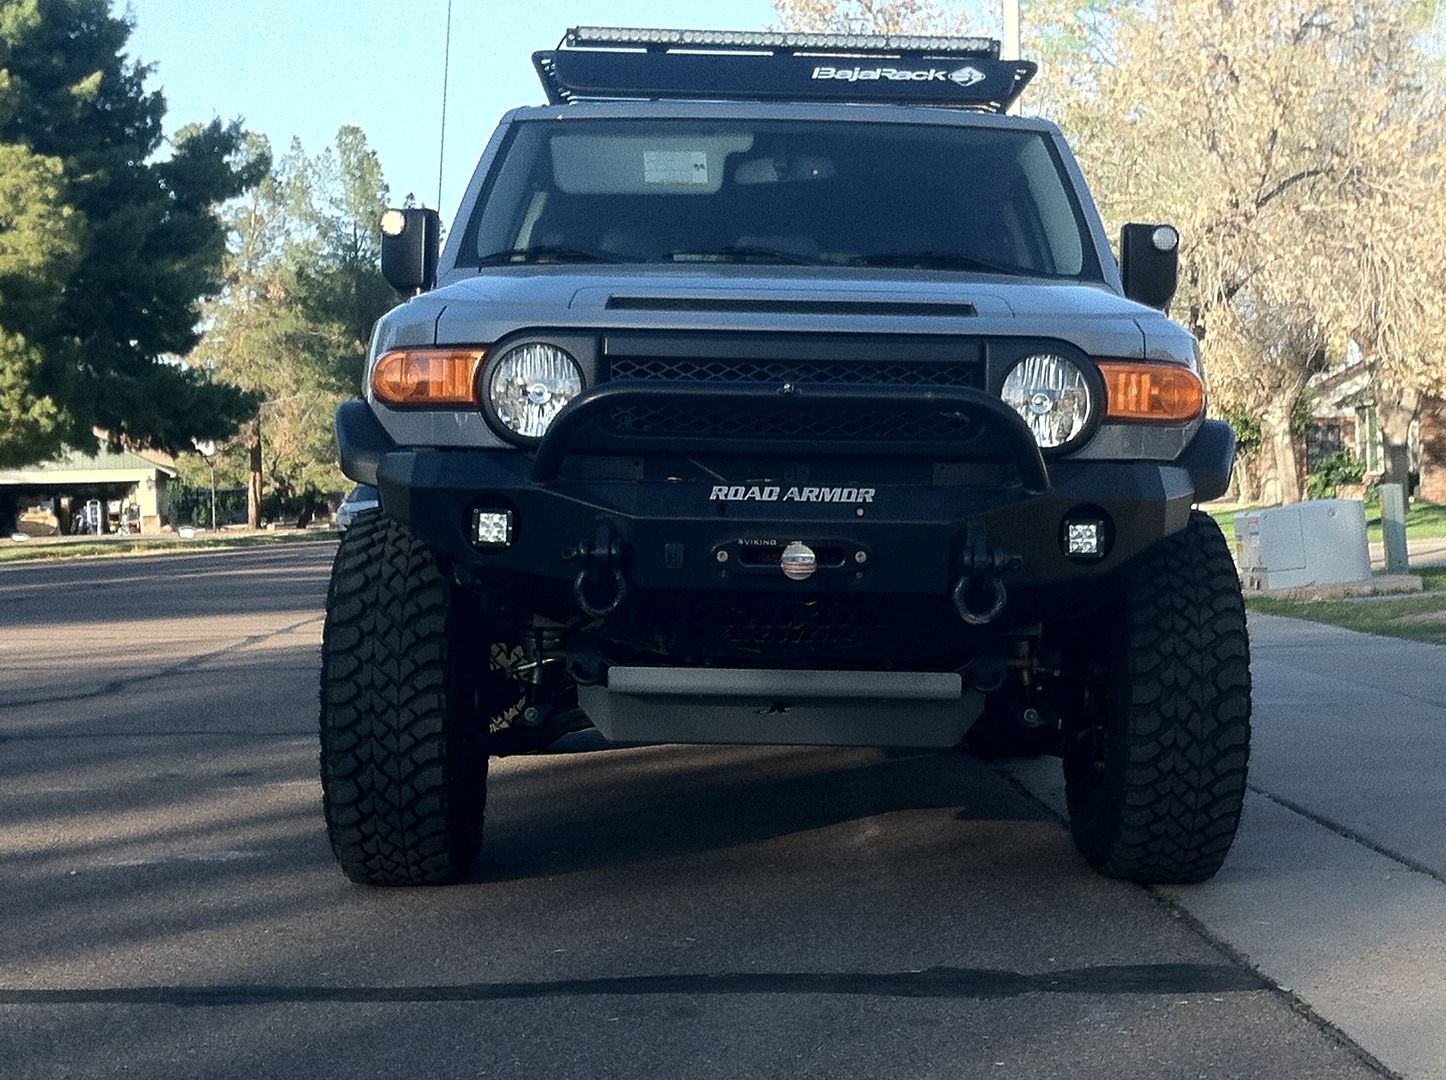
Updated picture November 3rd 2013, the night before leaving for SEMA

Featured at
Overland Expo May 2013 Flagstaff AZ
SEMA , November 2013 Las Vegas NV
Mods list
Factory
2013 TT
Crawl Control
A-trac
Locker
Rear View Camera
All the TT Garnishes
Suspension
http://www.fjcruiserforums.com/forums/icon-vehicle-dynamics/208929-rock-goes-icon.html
Icon Stage 6 with CDC
Icon S2 remotes with CDC
Icon rear bump stops
BMC http://www.fjcruiserforums.com/foru...-tech/159378-body-mount-chop.html#post2376386
Armor
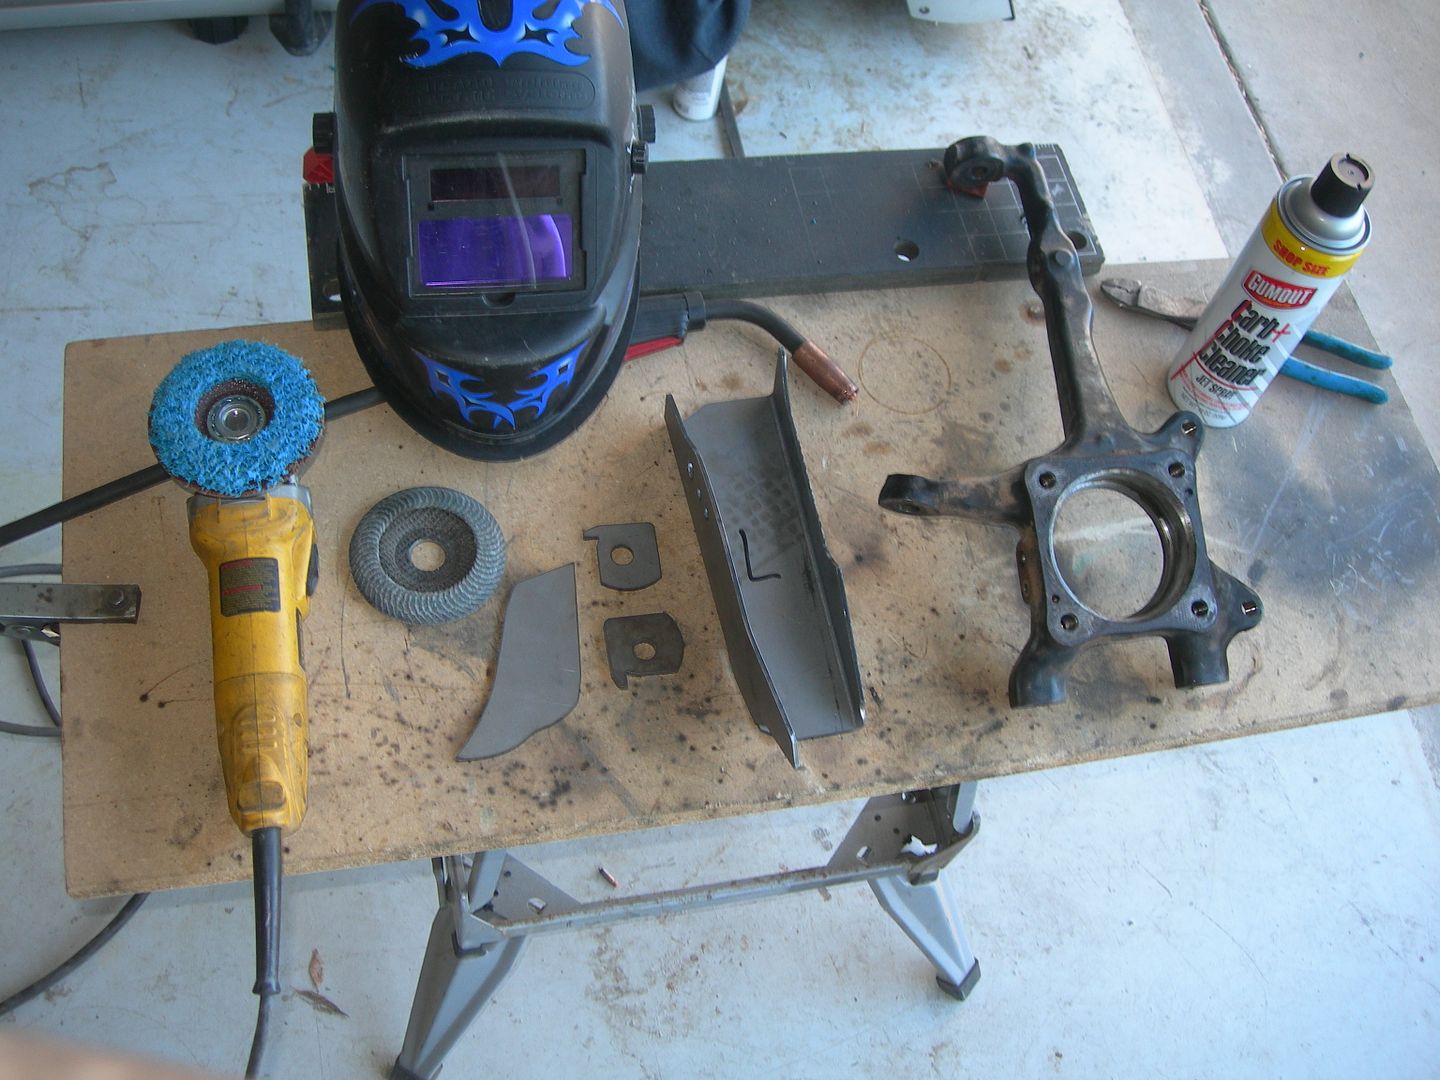
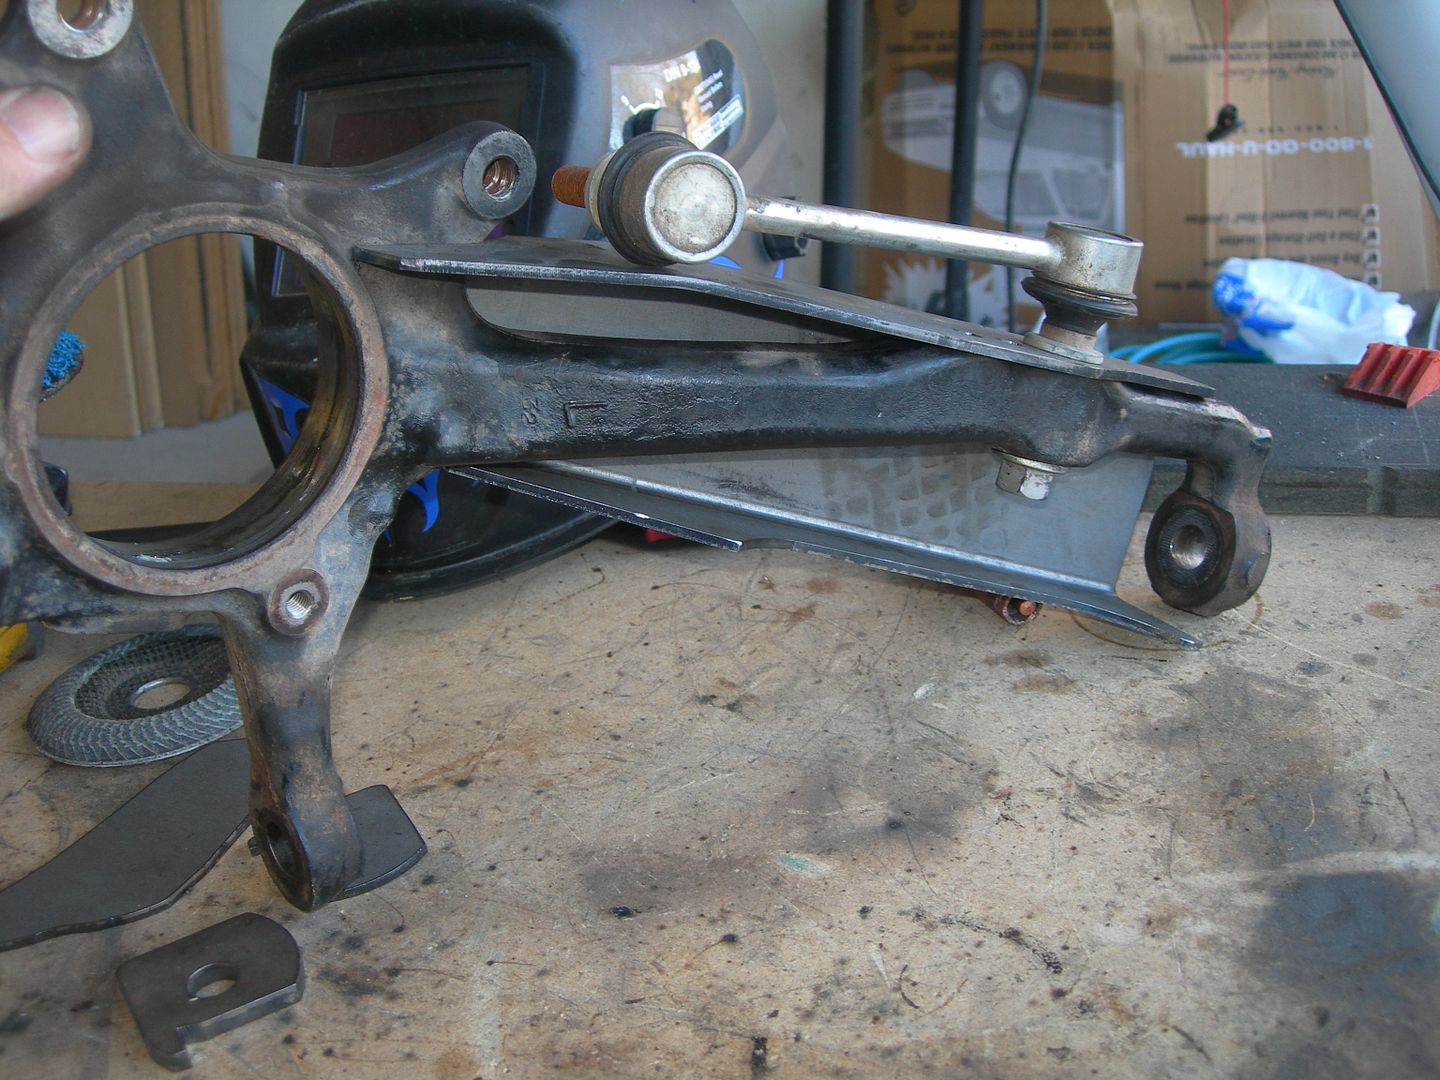
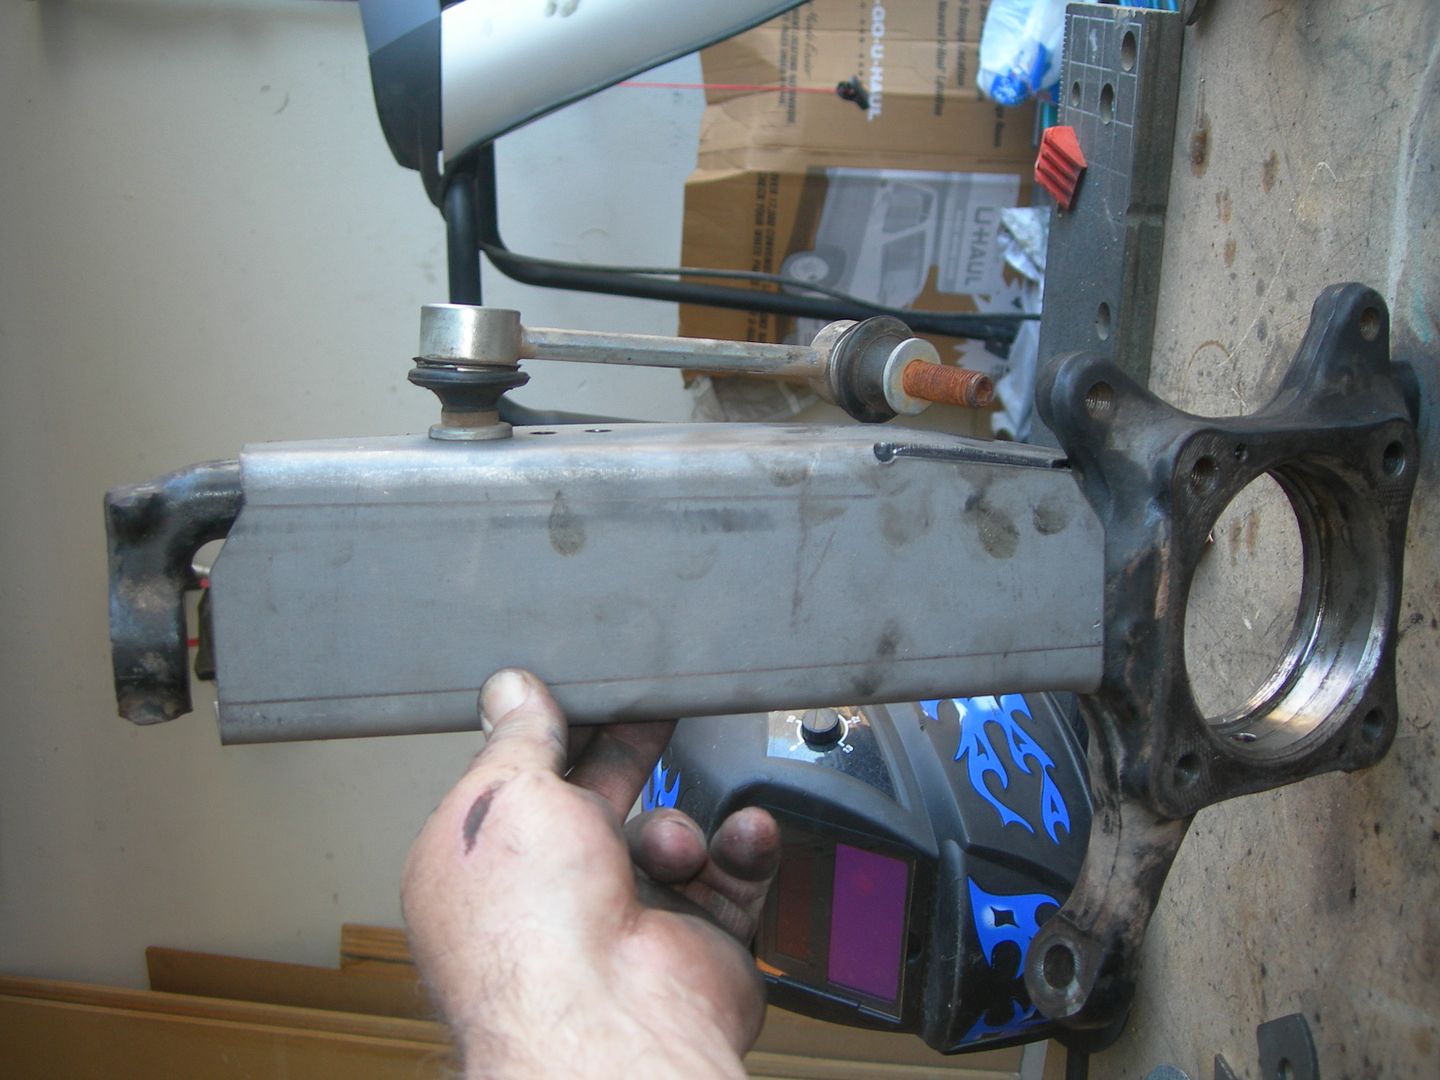
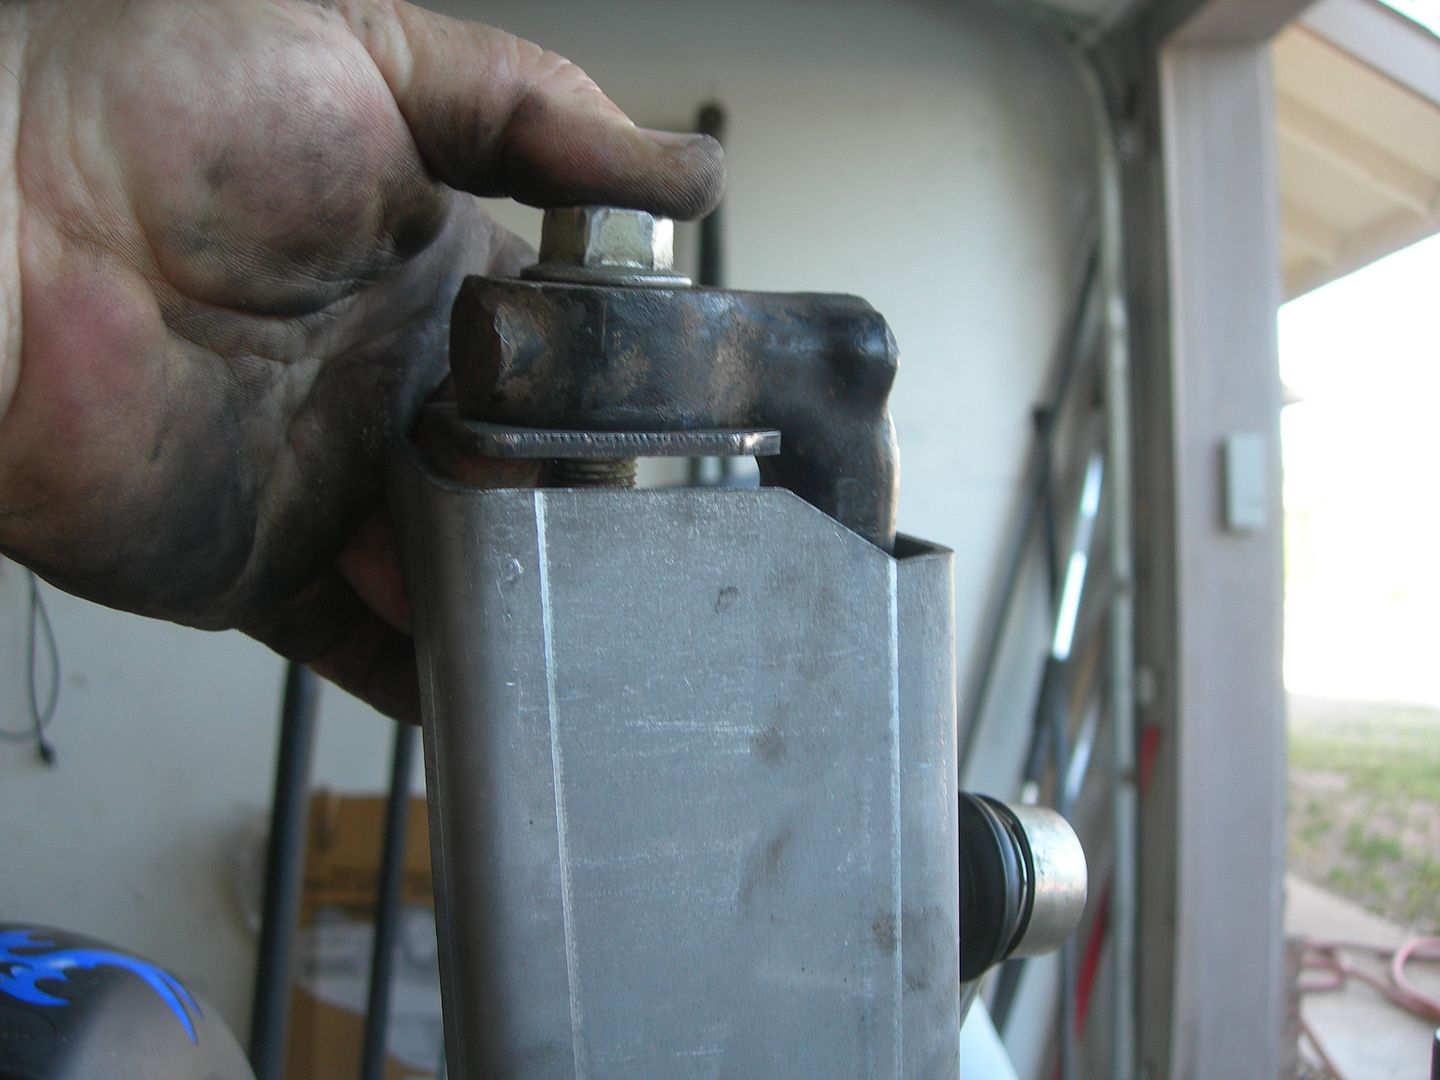
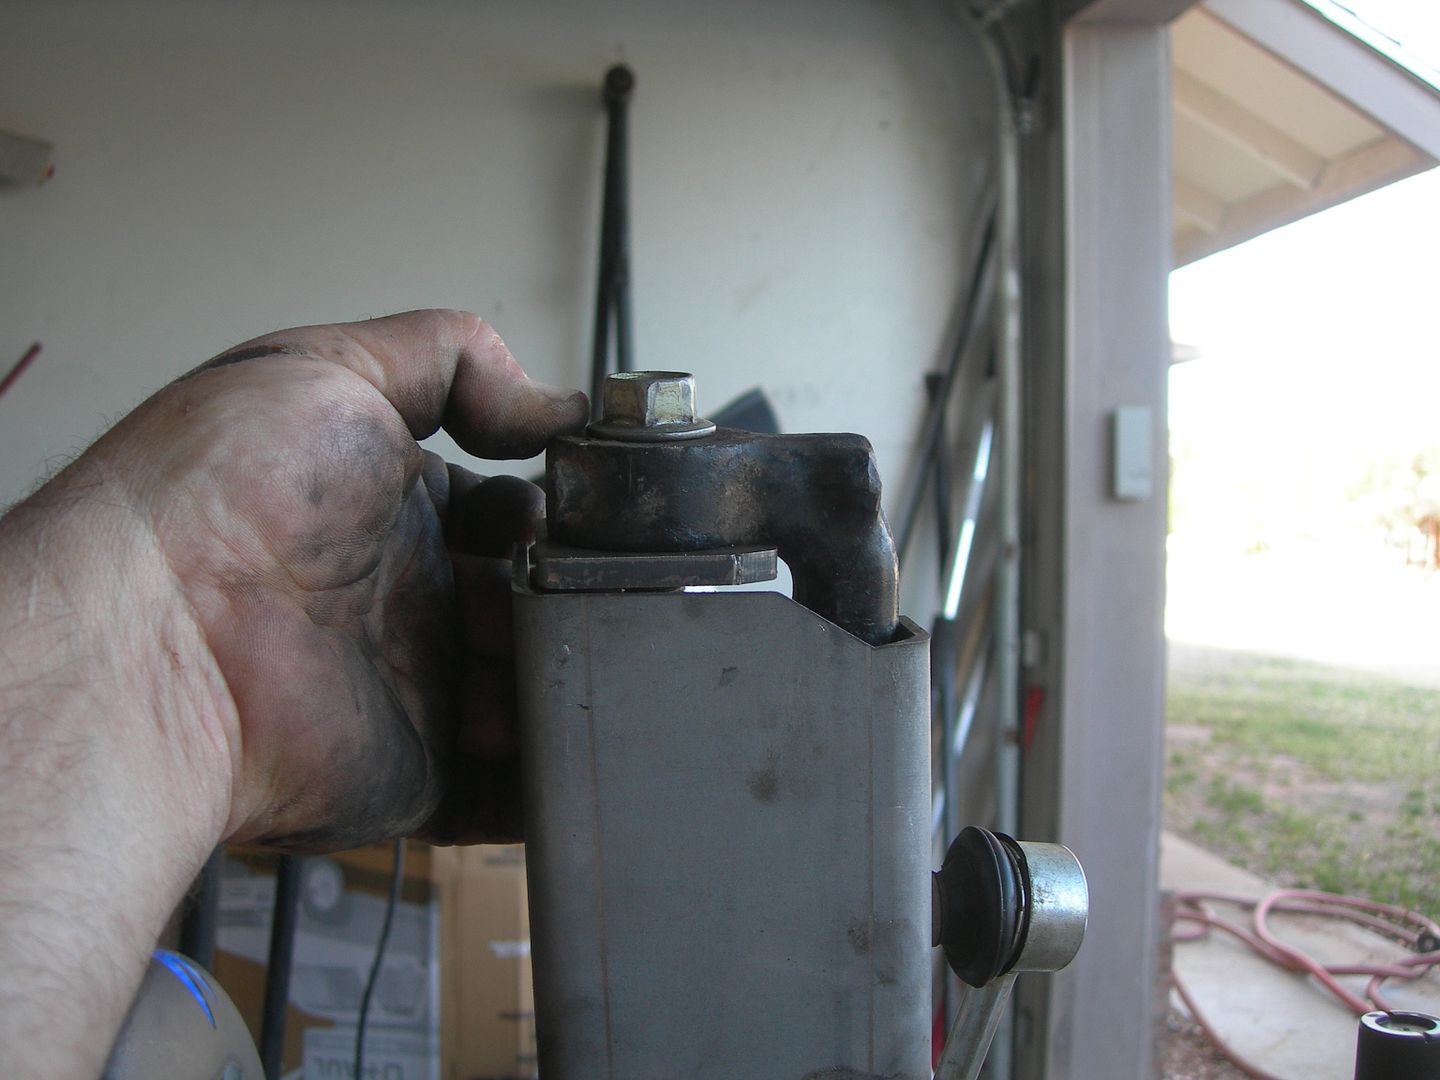
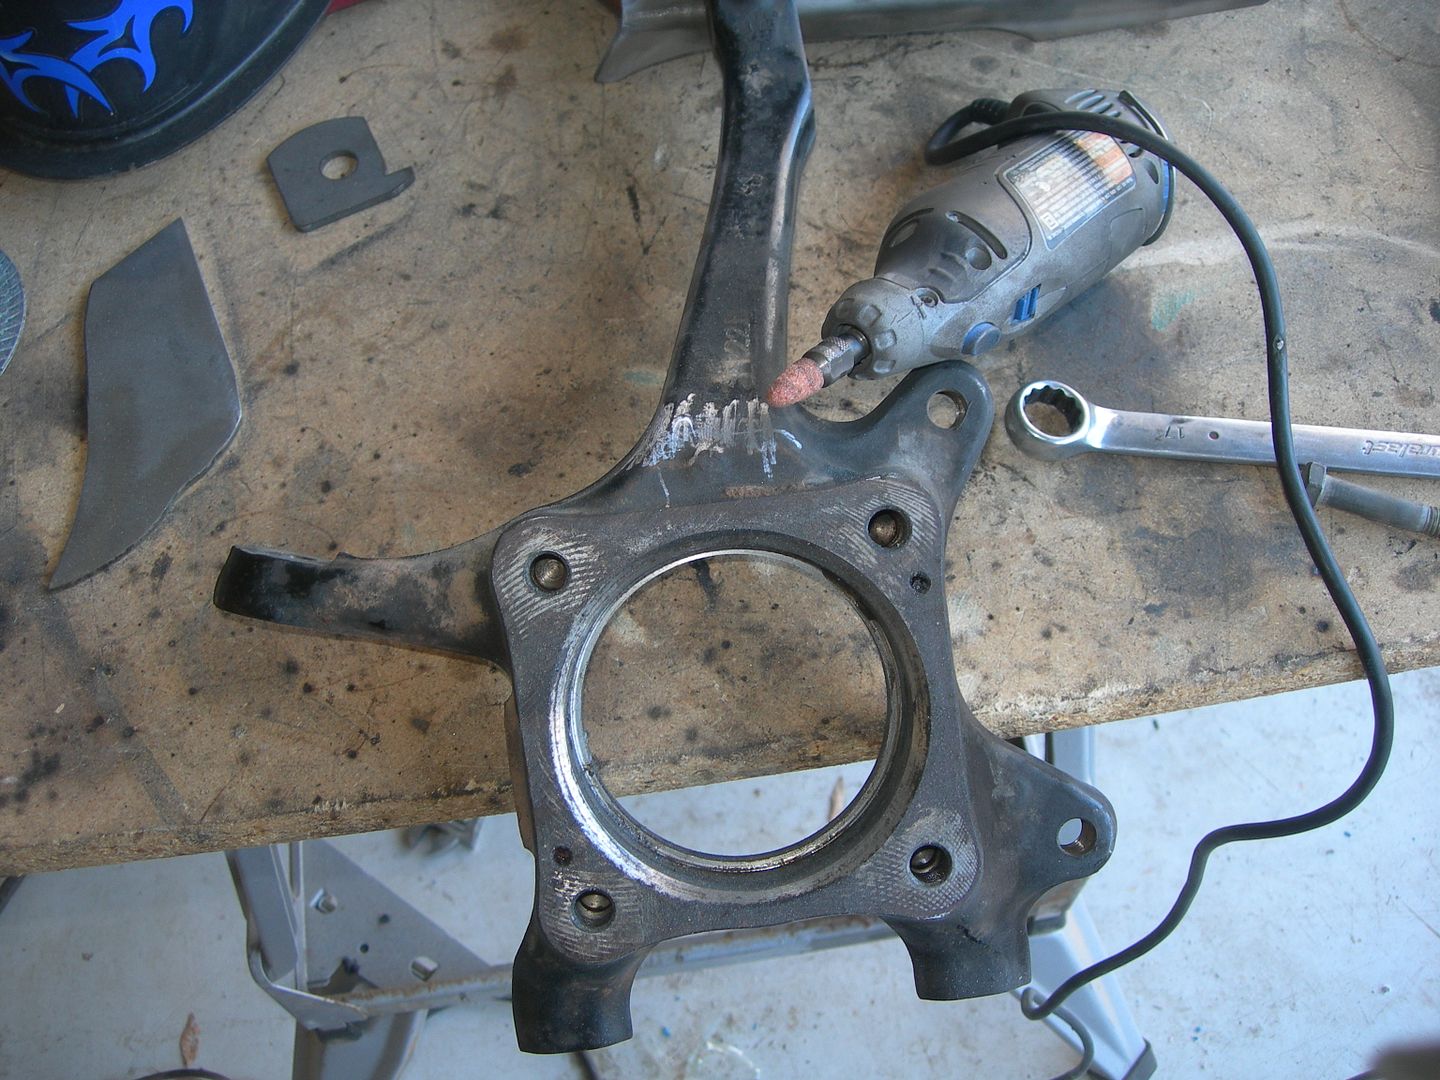
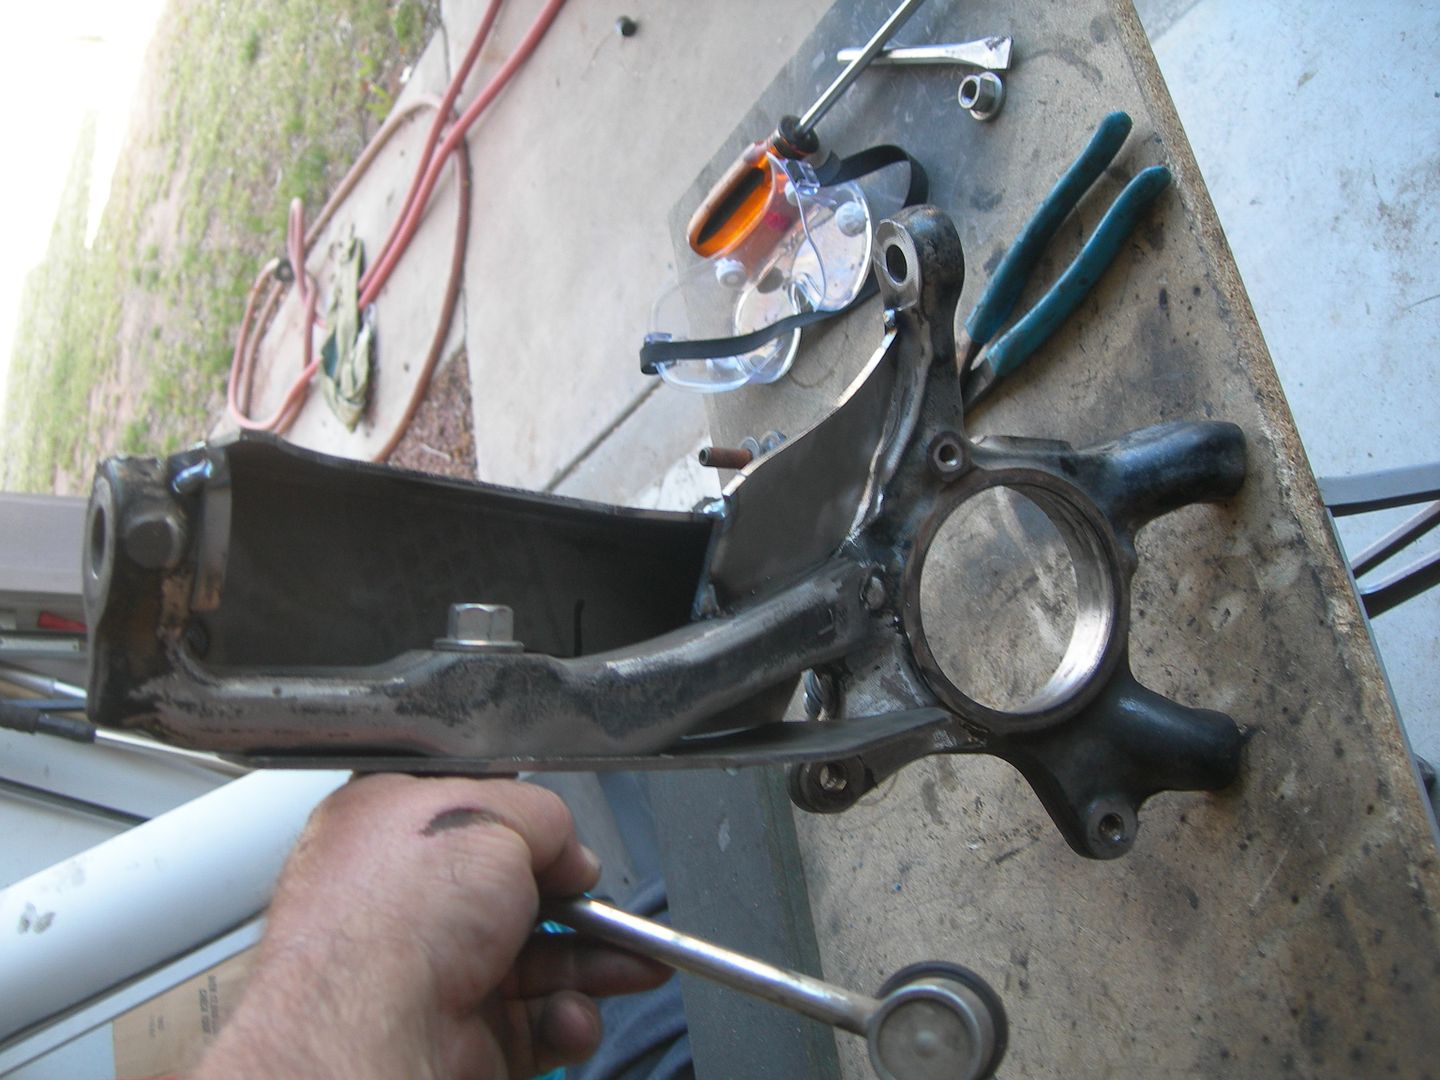
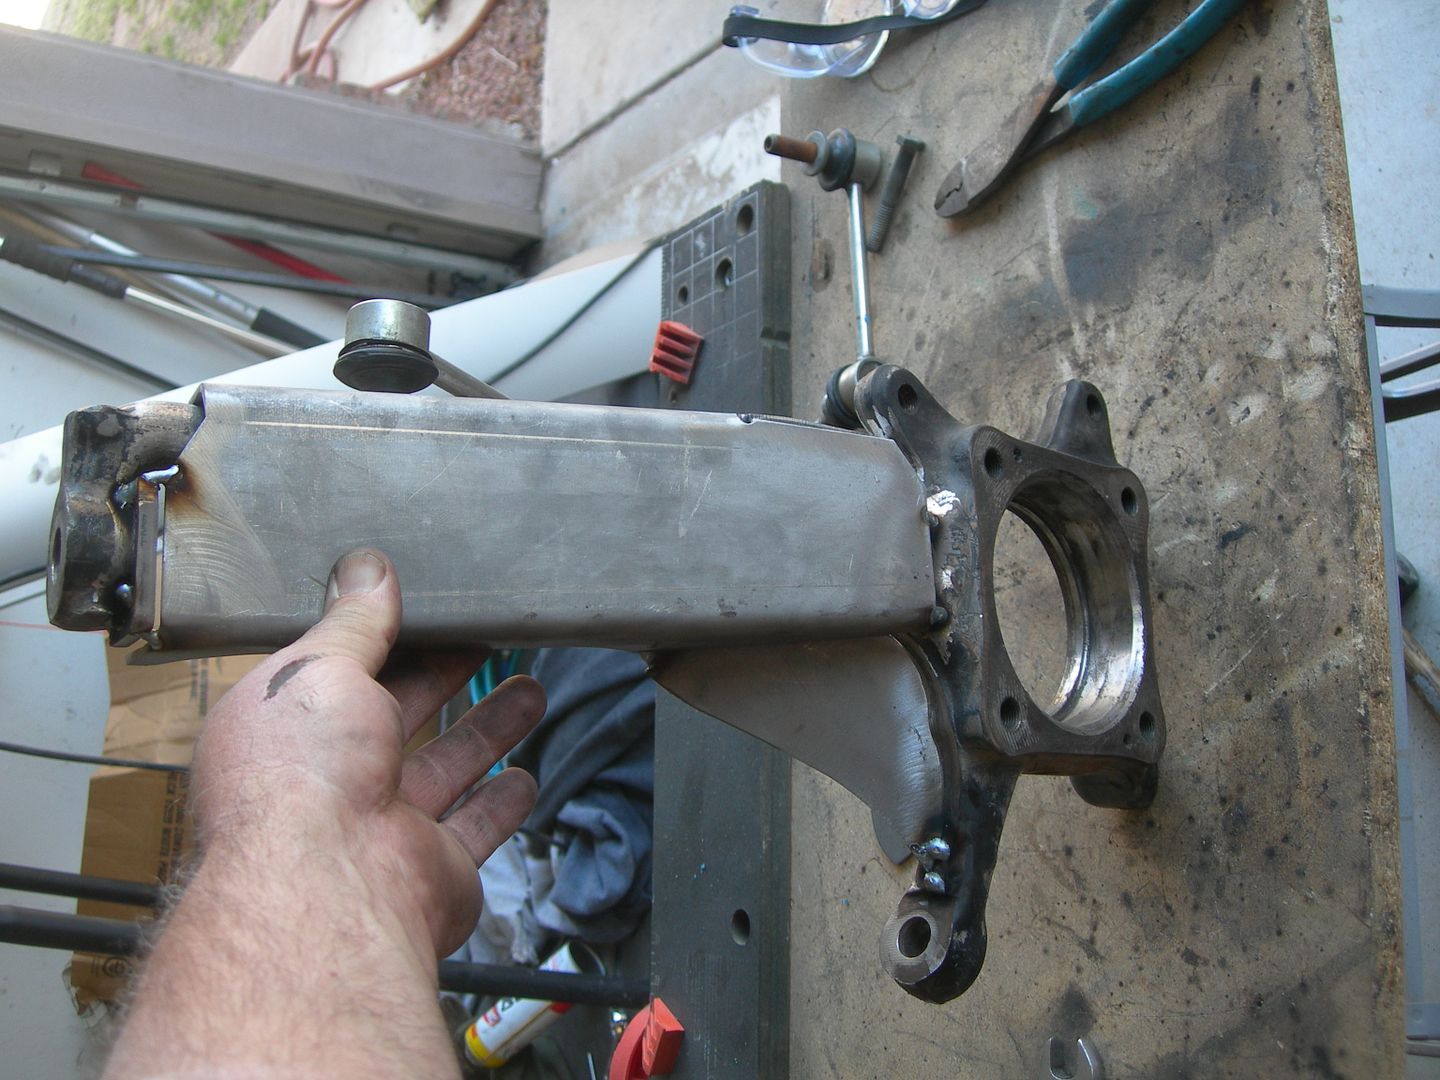
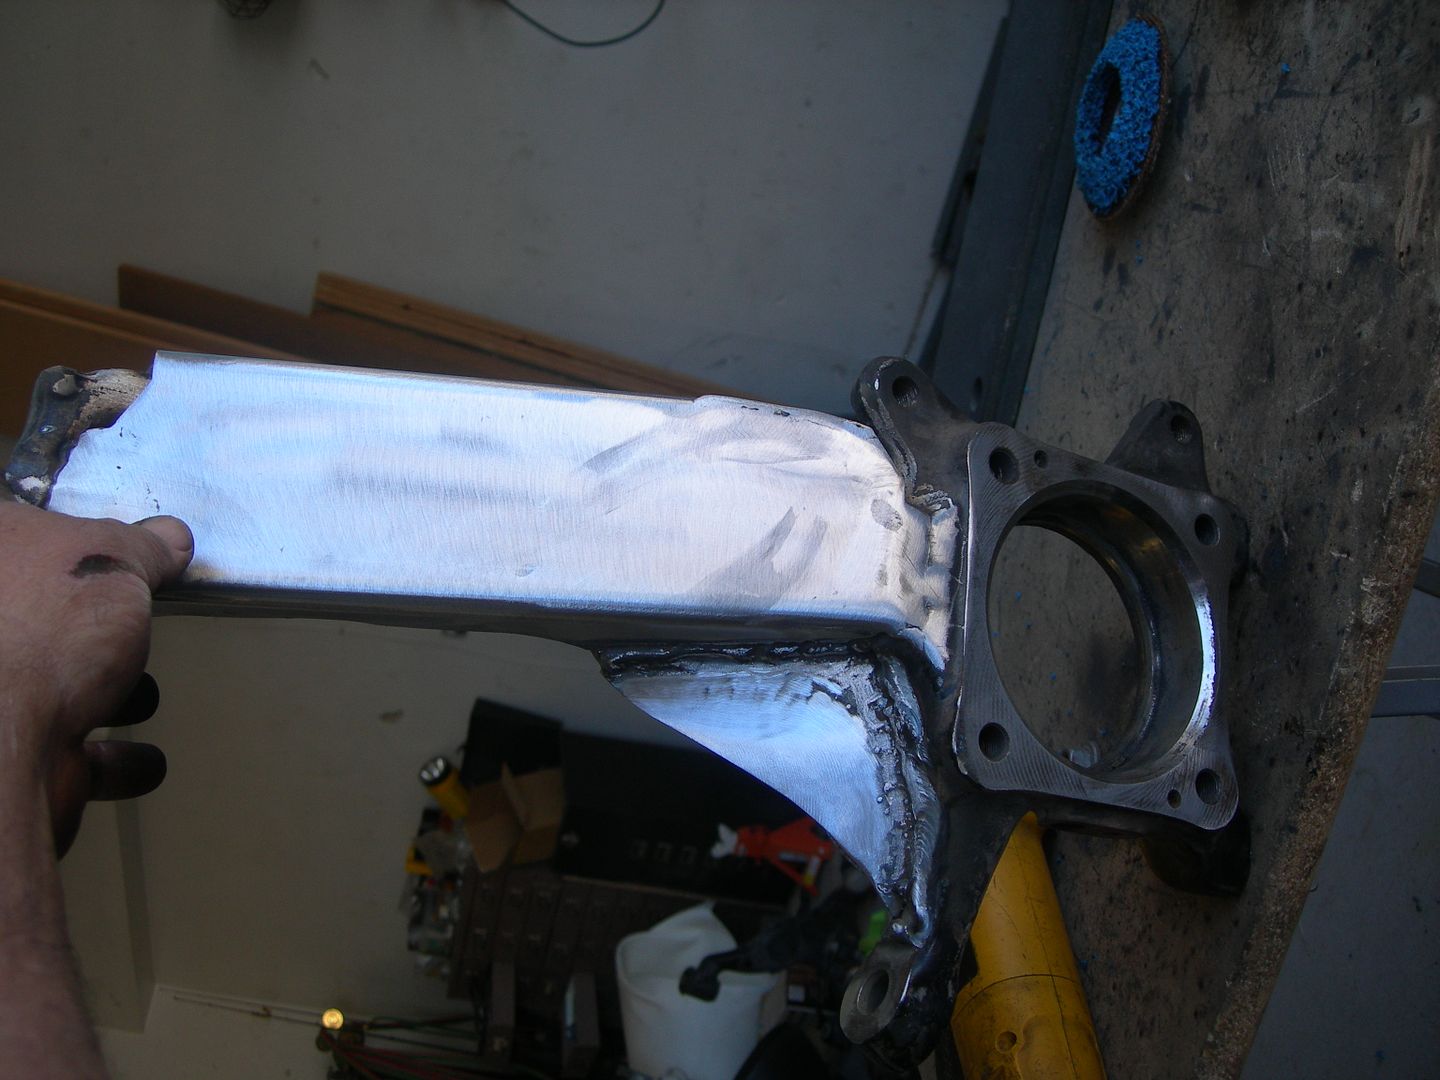
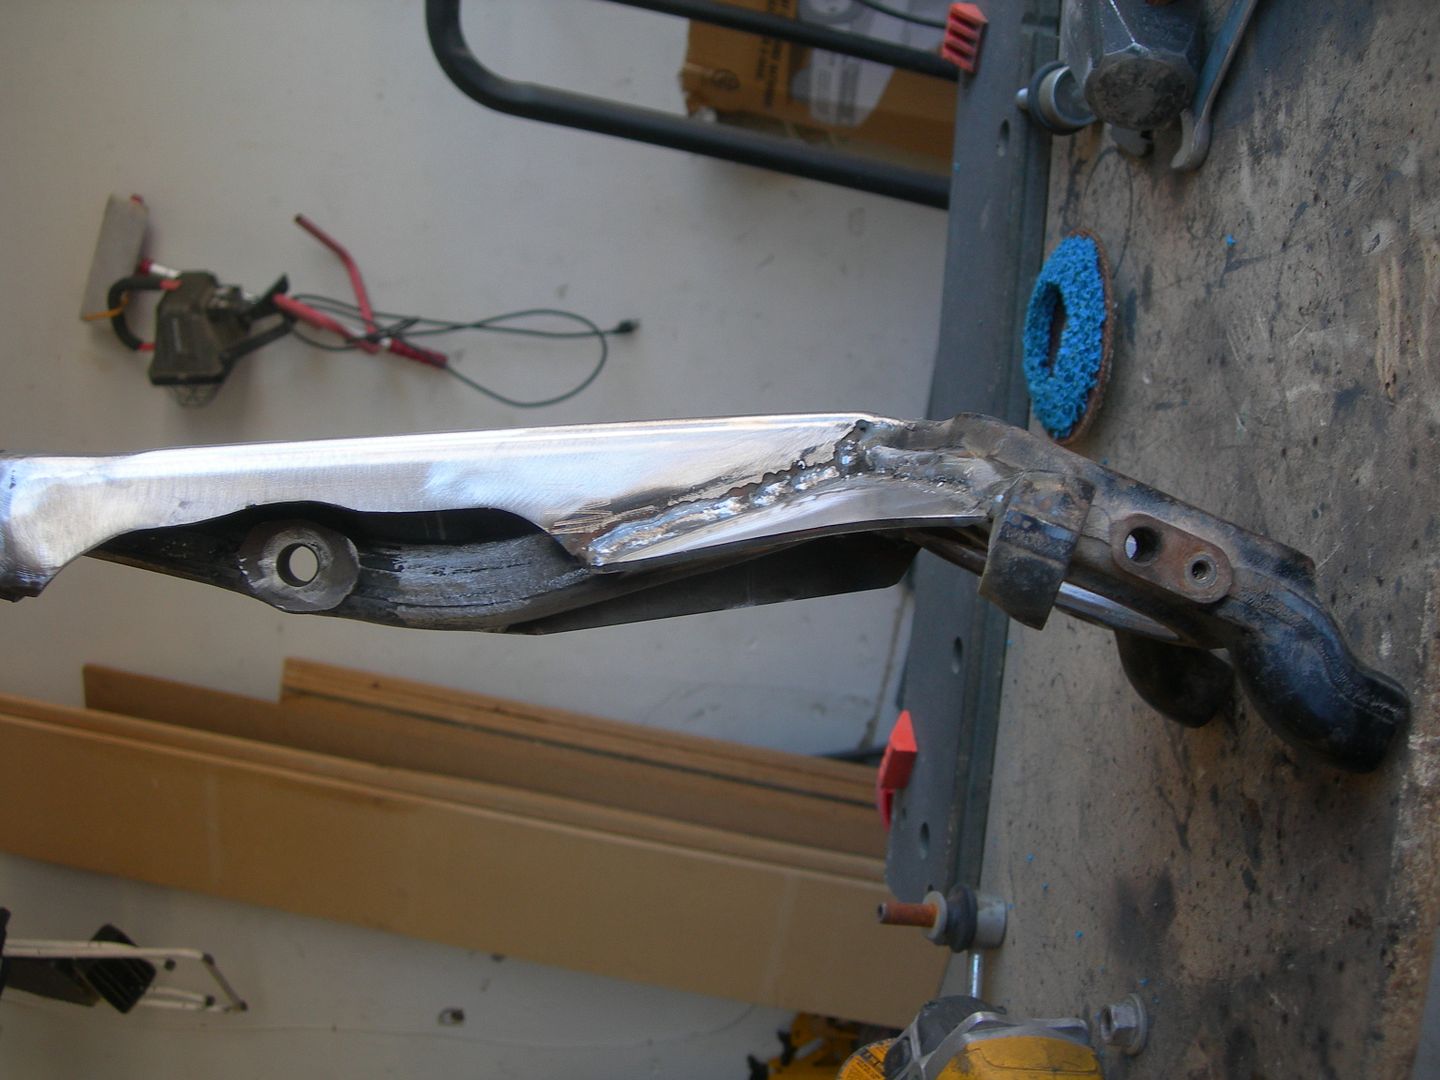
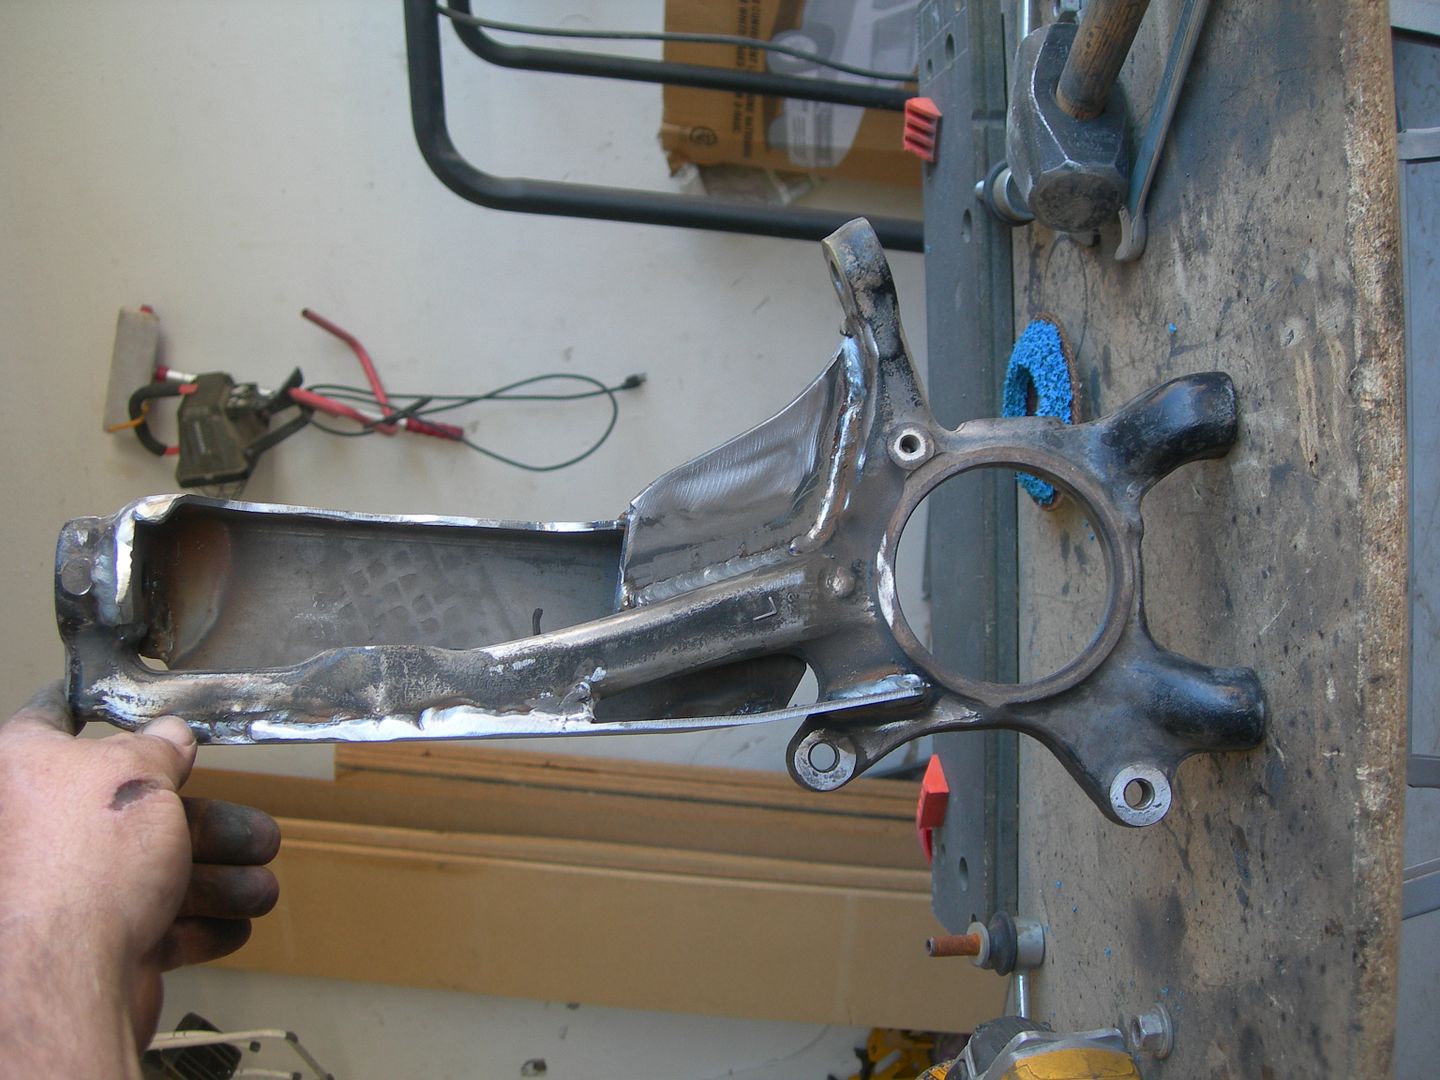
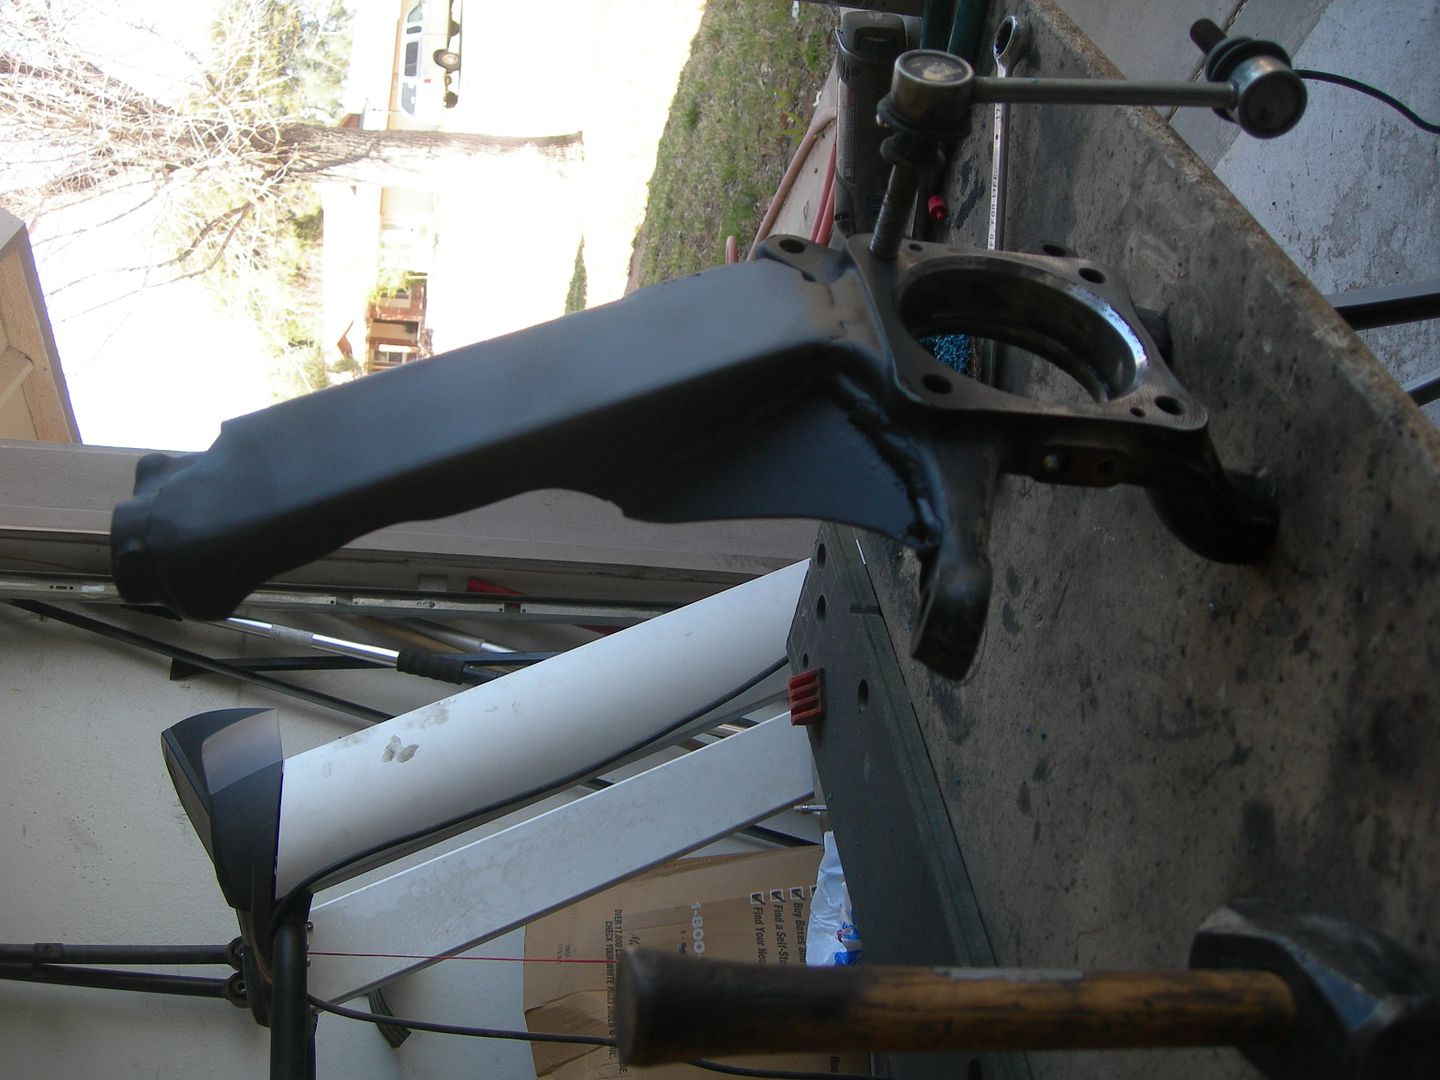
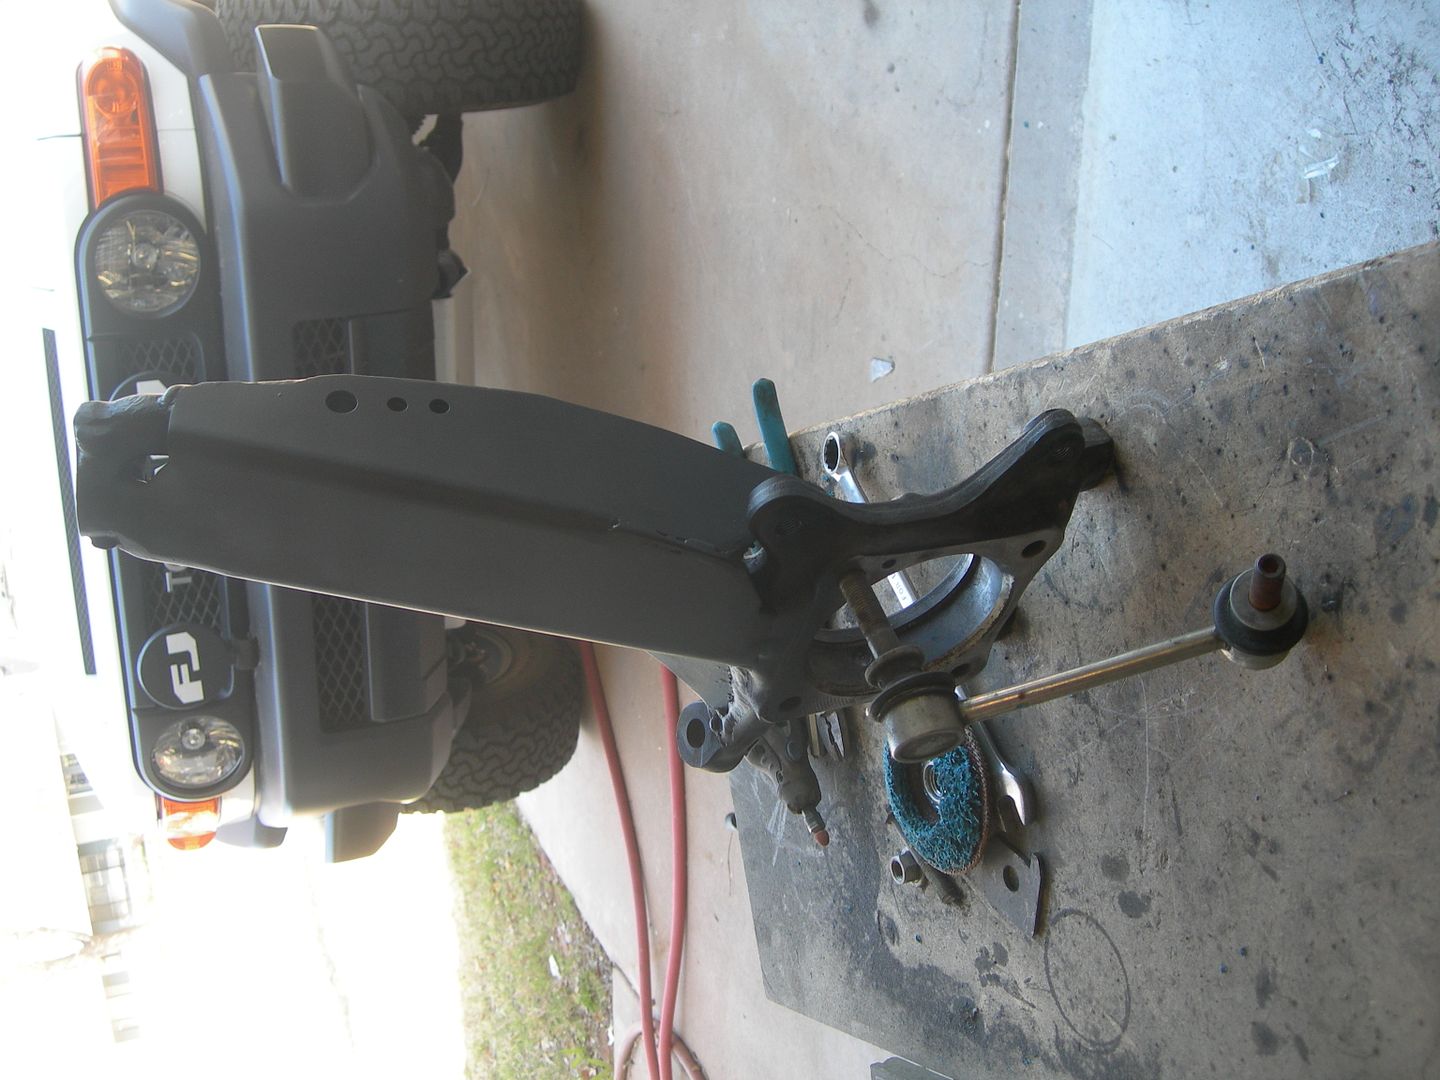
Total Chaos Spindle gussets/with swaybar http://www.fjcruiserforums.com/foru...sset-install-swaybar-version.html#post2400930
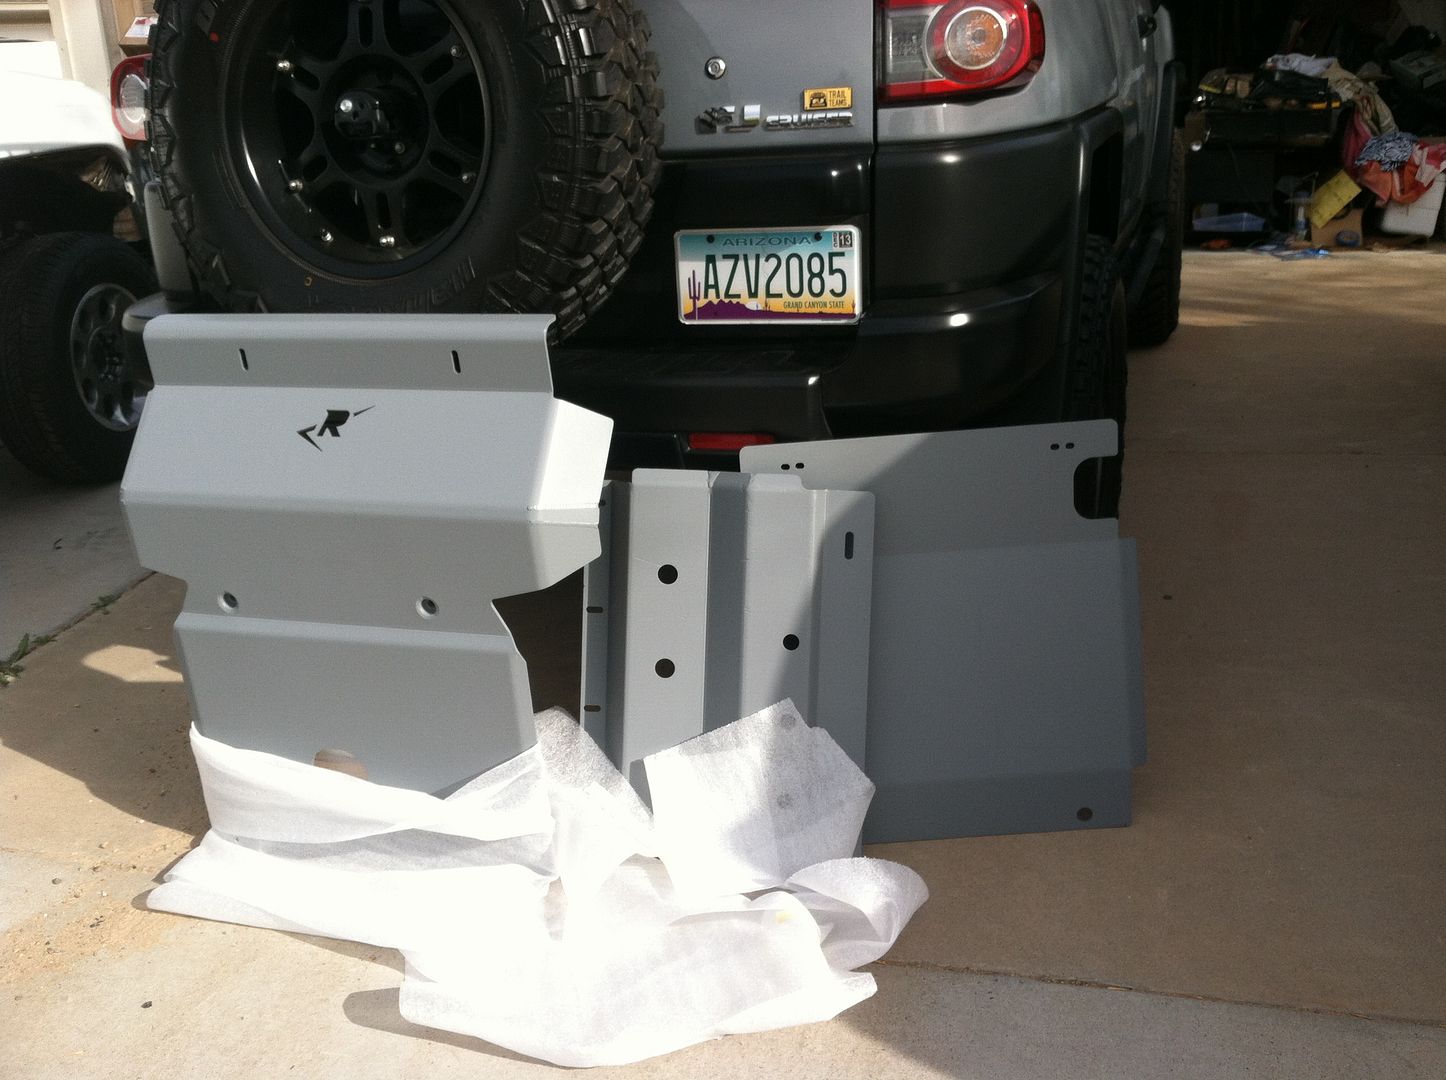
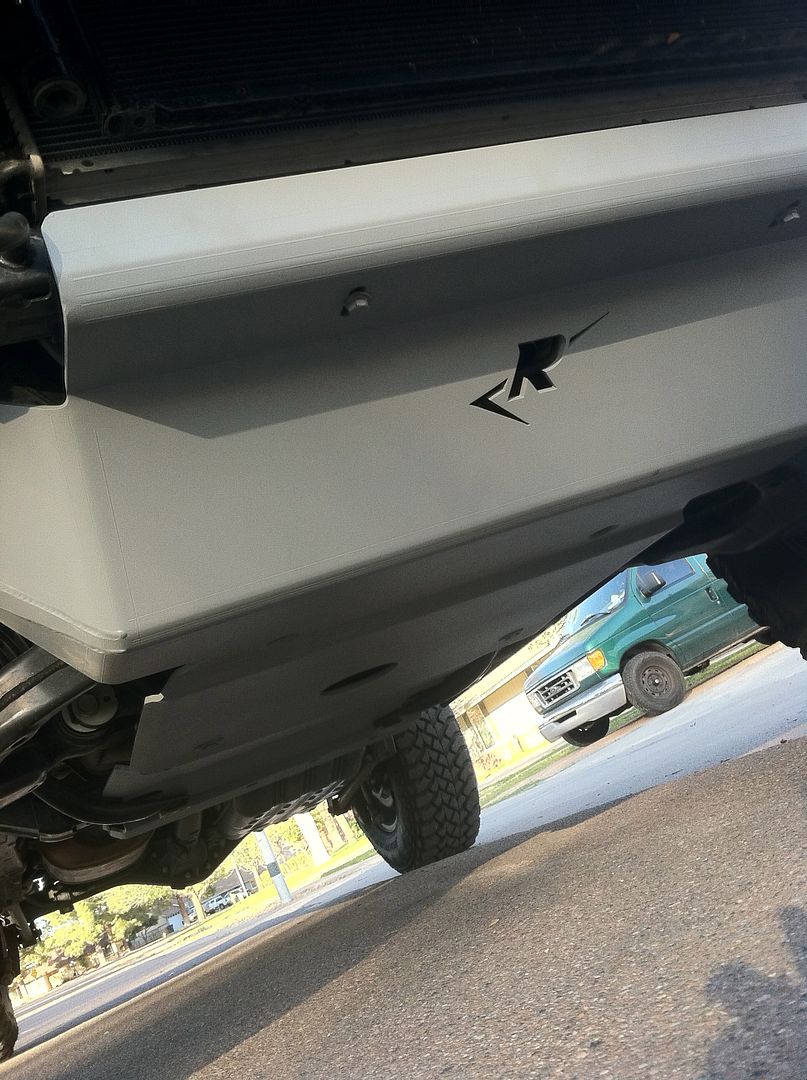
Ricochet Full skid plates http://www.fjcruiserforums.com/forums/ricochet-offroad/162270-ricochet-porn.html
Icon LCA skid for S2 System
Demello X Wing Sliders
Demello Rally Front Bumper
Demello 3 piece rear bumper
Boztec Dif Armor
Redline Landcruiser link skids
Superwinch 12.500 Talon
Synthetic Winch line, Factor 55 thimble and hitch adapter
Wheels
Stock TRD (SOLD)
Method 17x8.5 Split Six Matte Black
Method 17x8.5 NV's (Second set)
Tires
Stock a/t's (SOLD)
Hankook 285/70/17 RT-03 M/T
General Grabber 35/12.50.17 (Second set)
Brakes
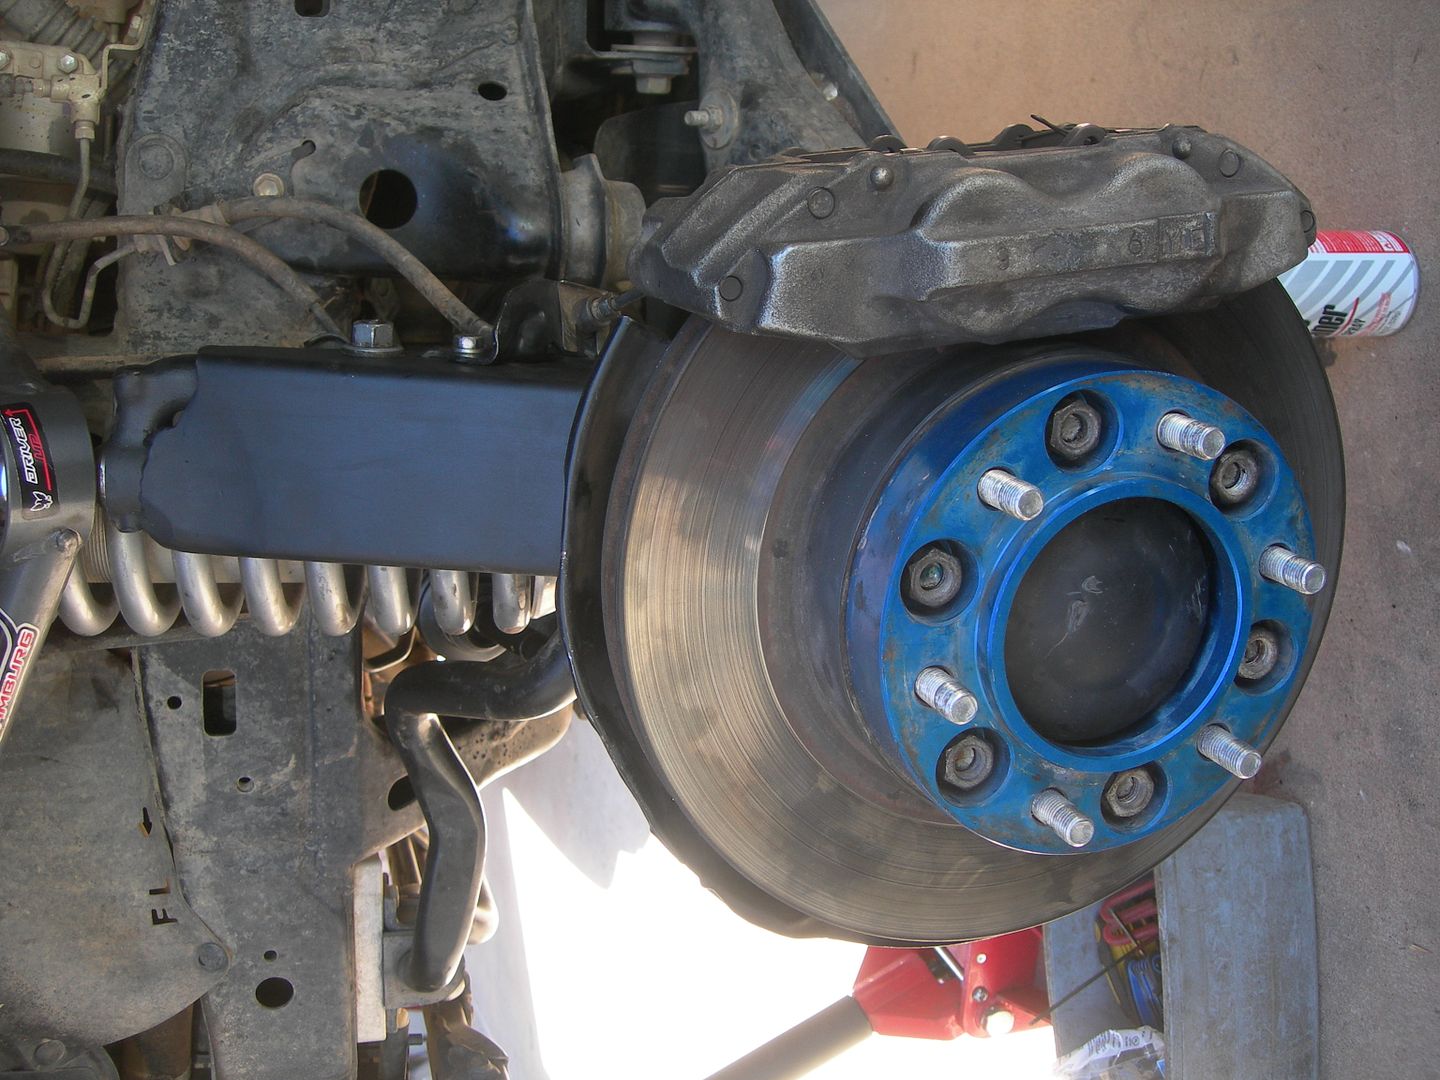
TRD Big Brake Kit
Electronics
Odyssey PC 2150 battery
Kenwood 9990HD Head Unit
Alpine PDX V9-5 channel amp
Infinity Kappa 60.11cs component speakers
Focal CVX Coaxials
JL Audio 12" Stealth box
Kenwood 710 Dual band Ham
Boztec Antenna mount
I-Pad Retina for navigation
Ram Mounts
ExtremeAir Magnum Air Compressor, 2 gallon tank, Extreme Outback Products http://www.fjcruiserforums.com/forums/4x4-off-road-tech/235201-extremeaire-compressor-install.html
Engel 45
portable cb, somewhere
Scan Gauge II
S-Pod/ Dirty Parts Switch panel http://www.fjcruiserforums.com/forums/member-build-ups/158490-rock-26.html
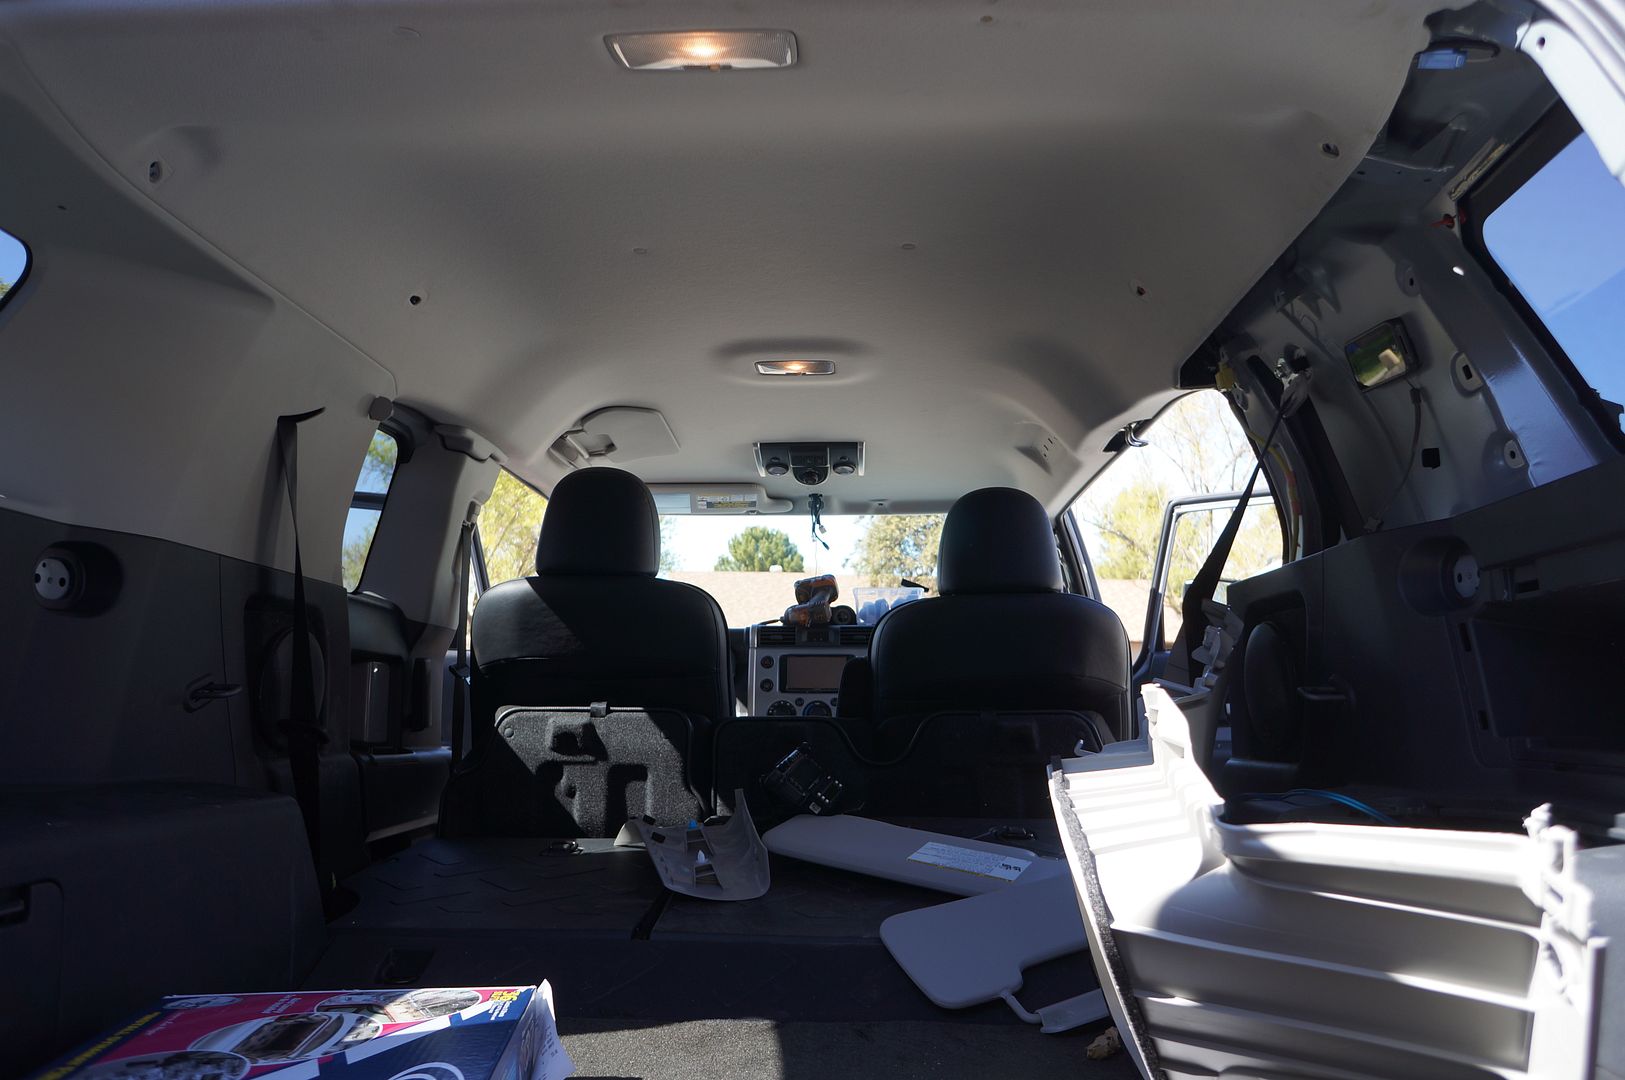
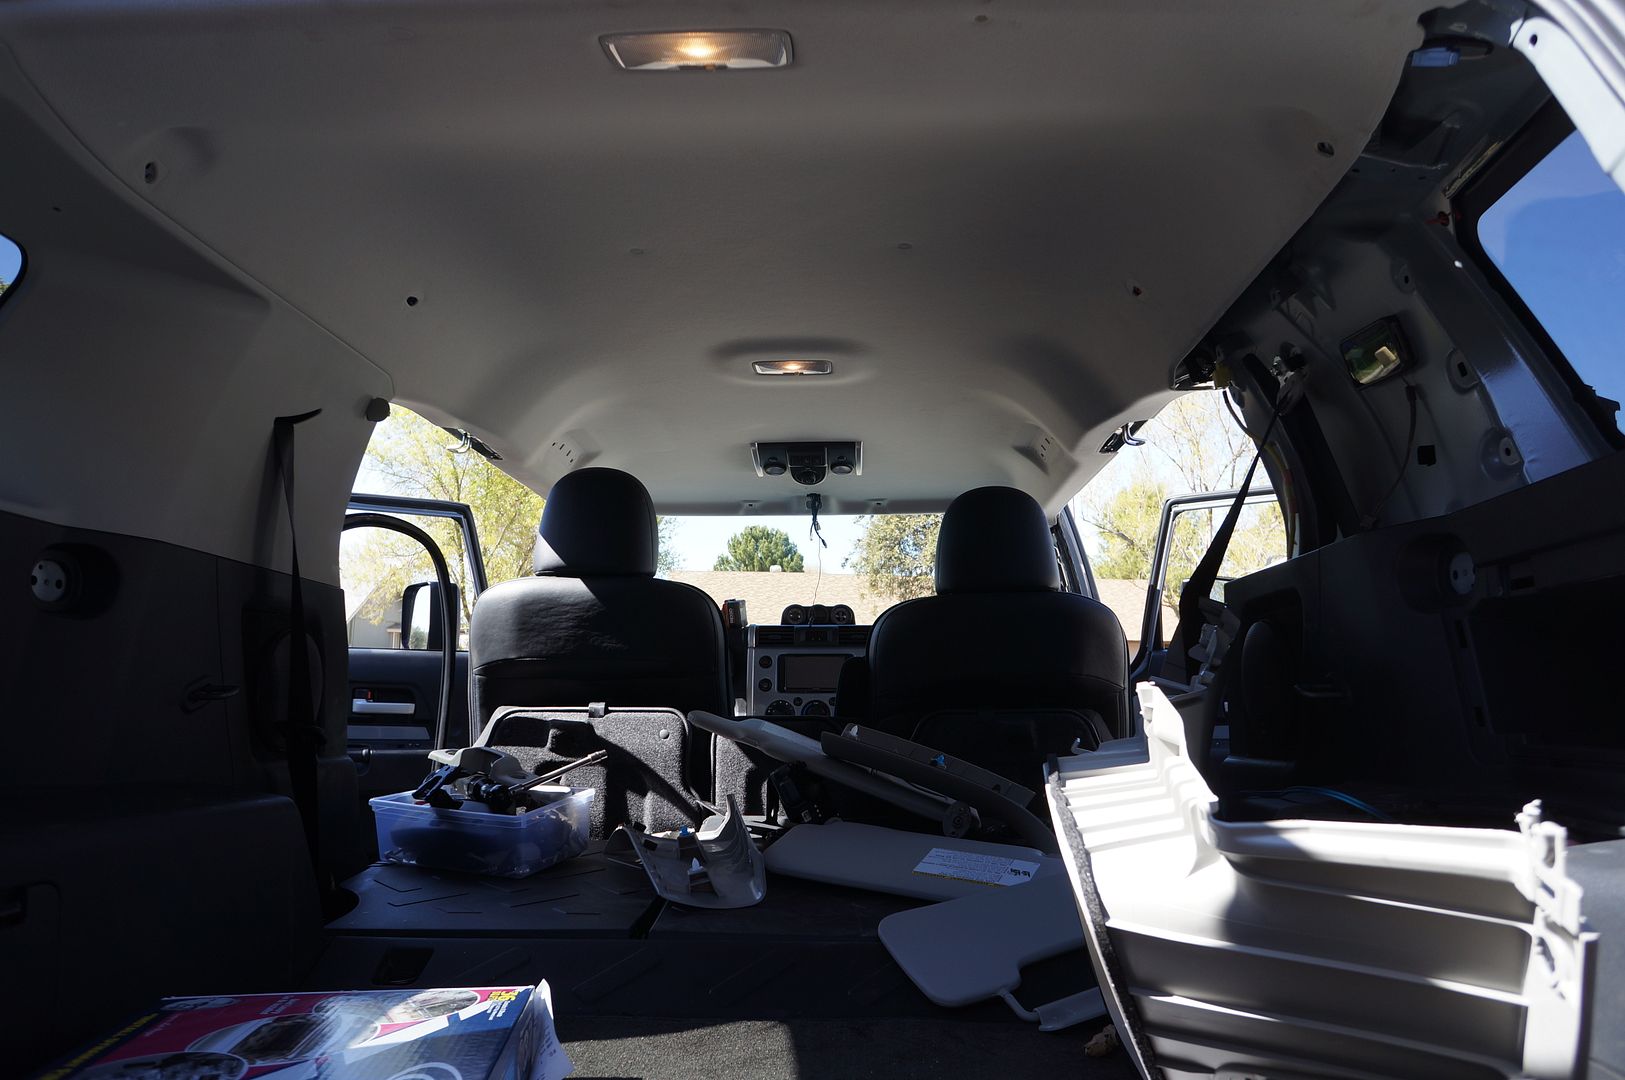
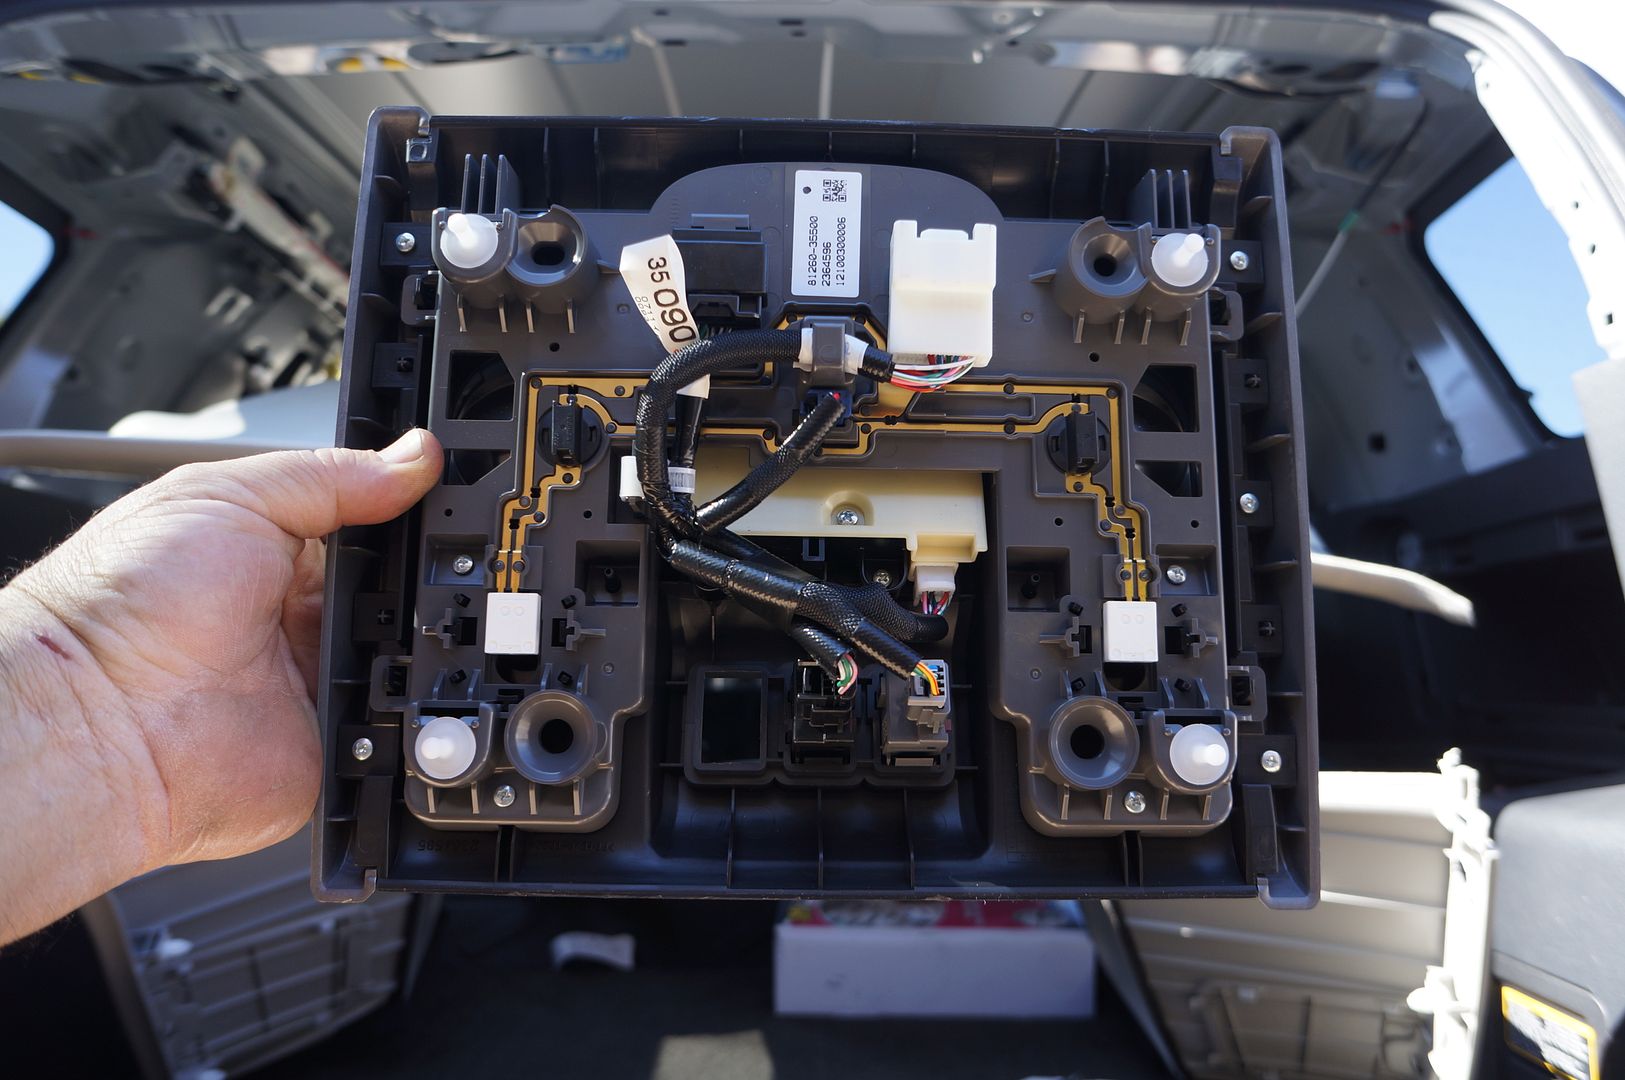
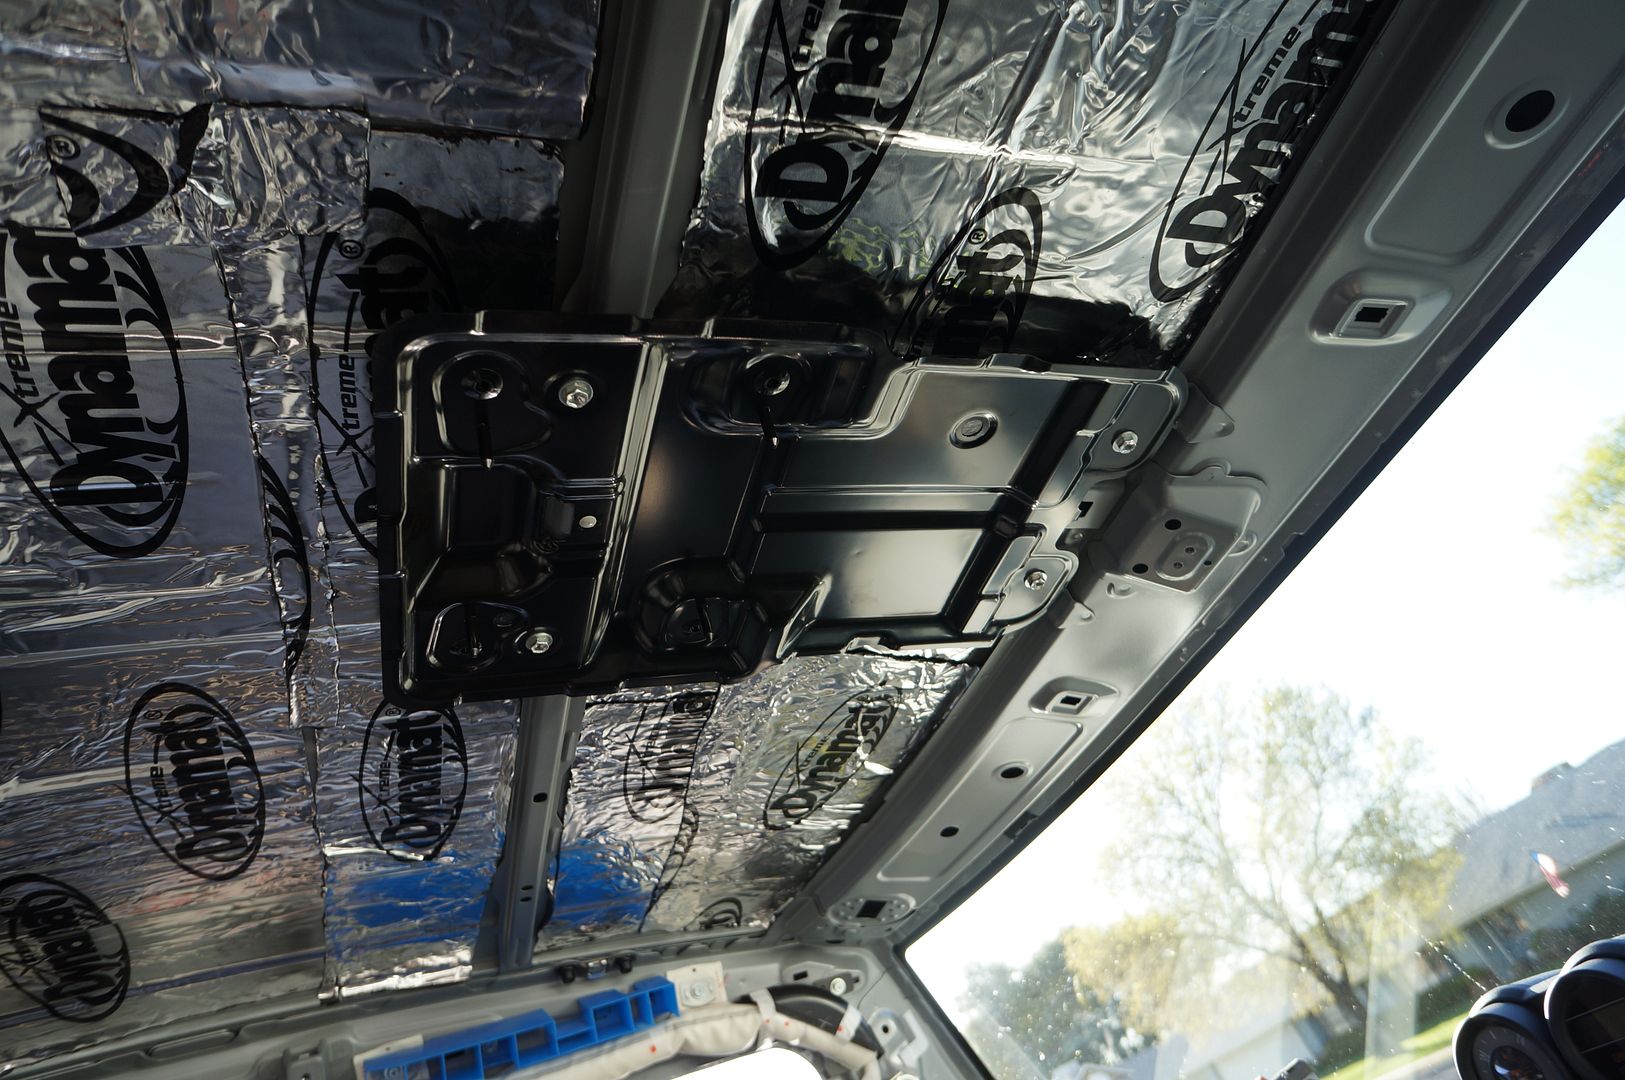
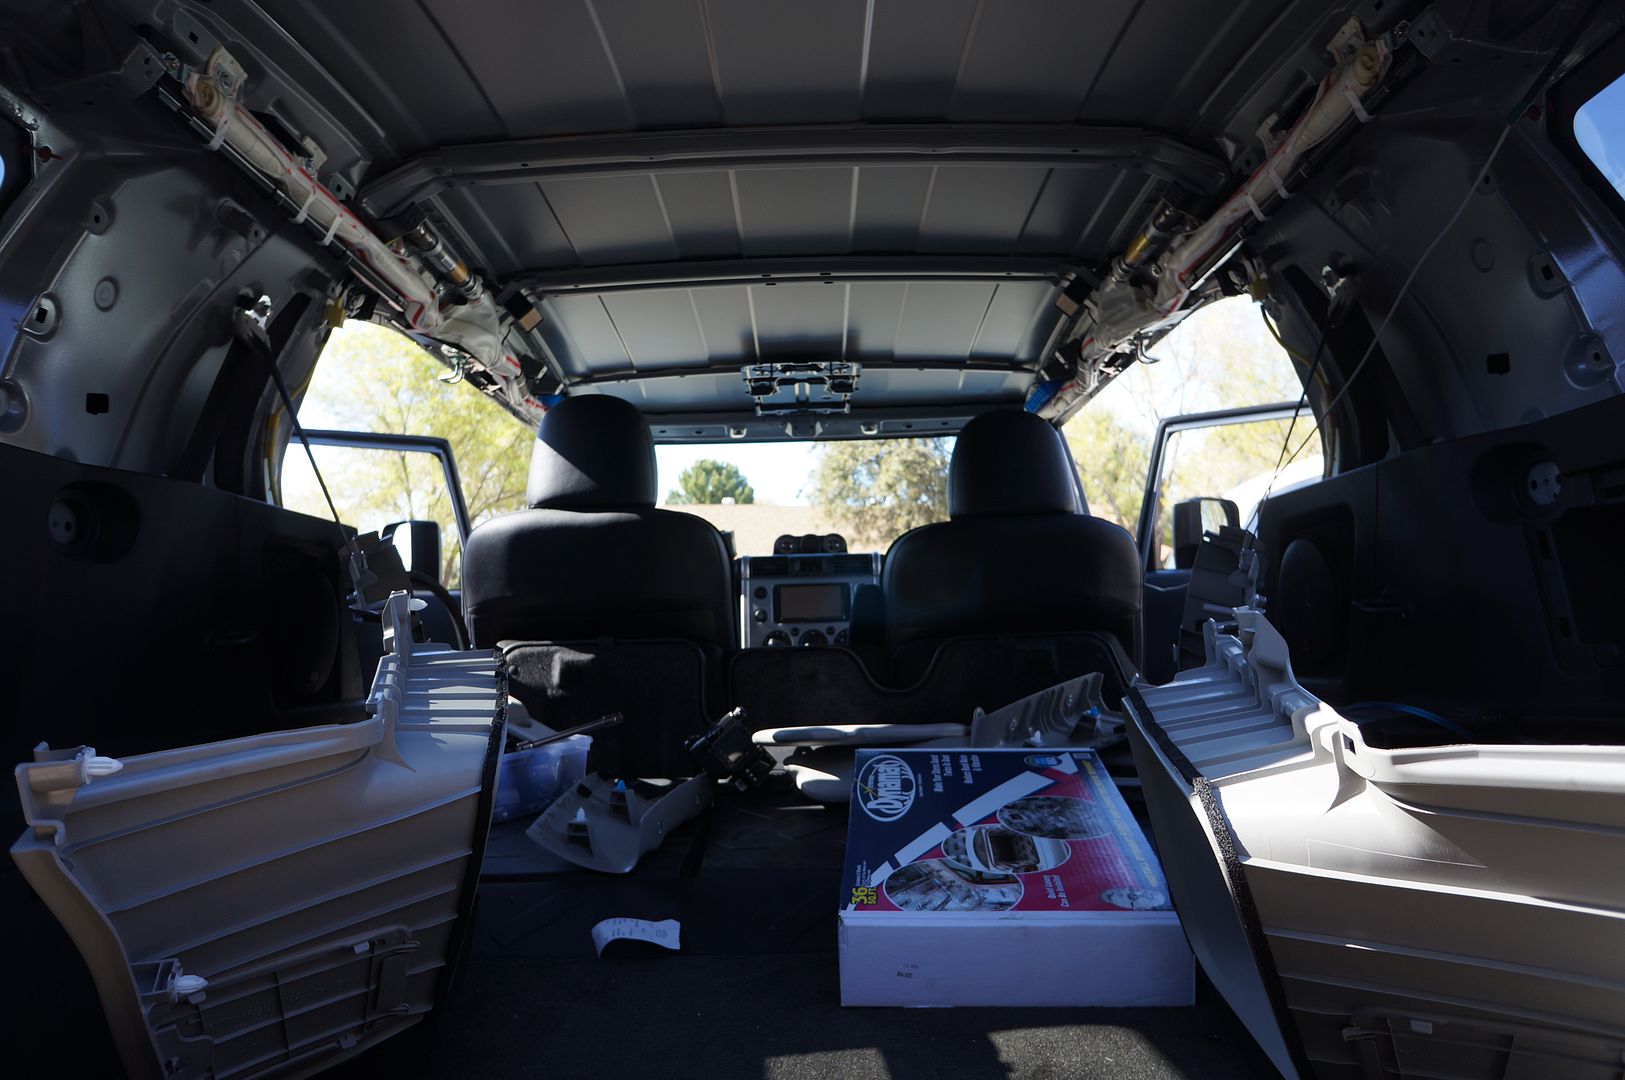
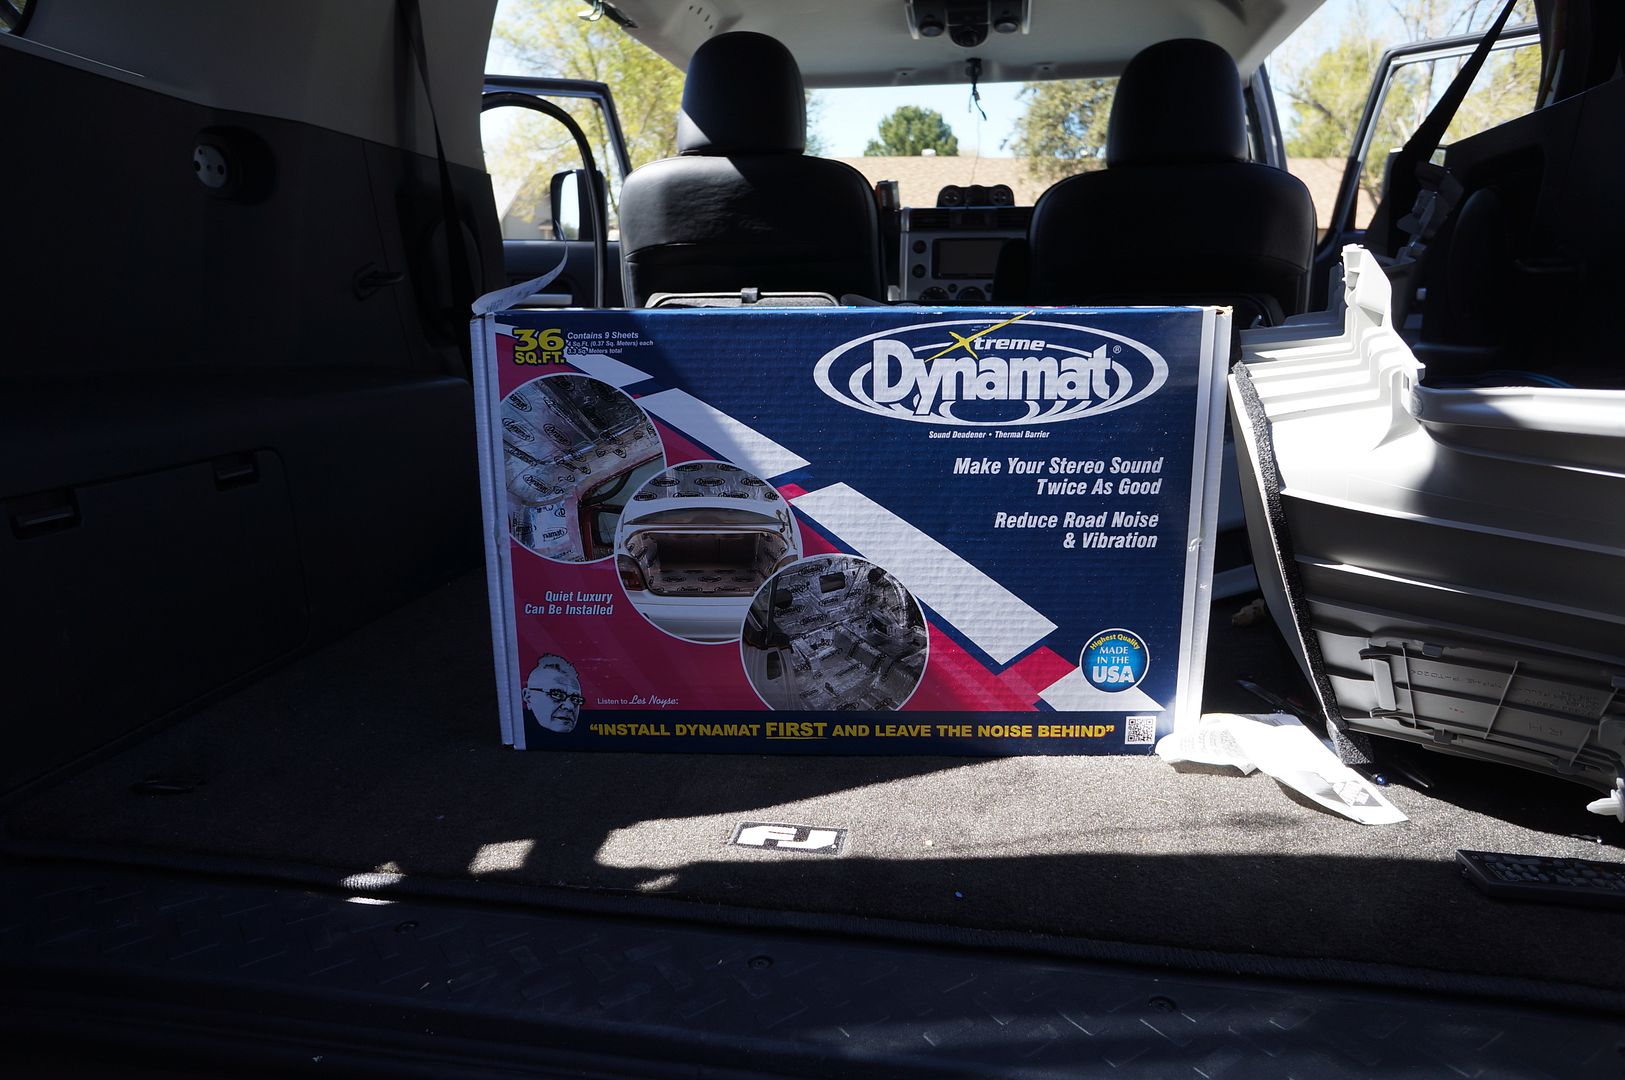
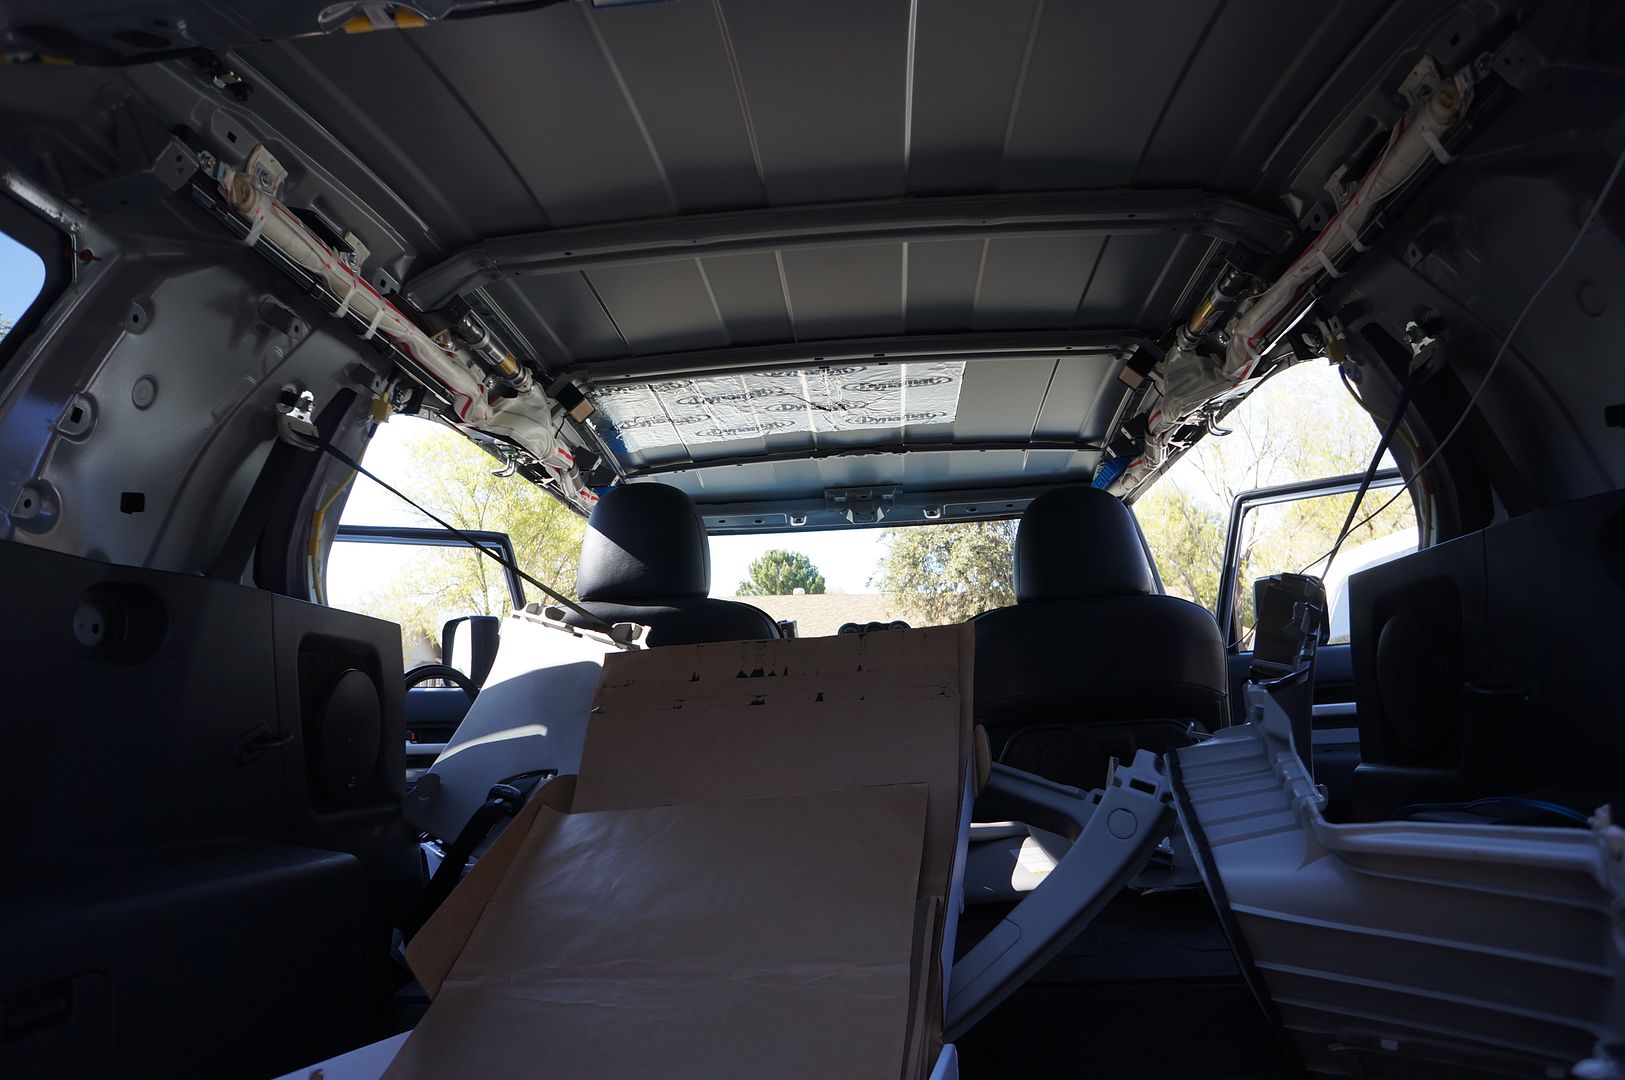
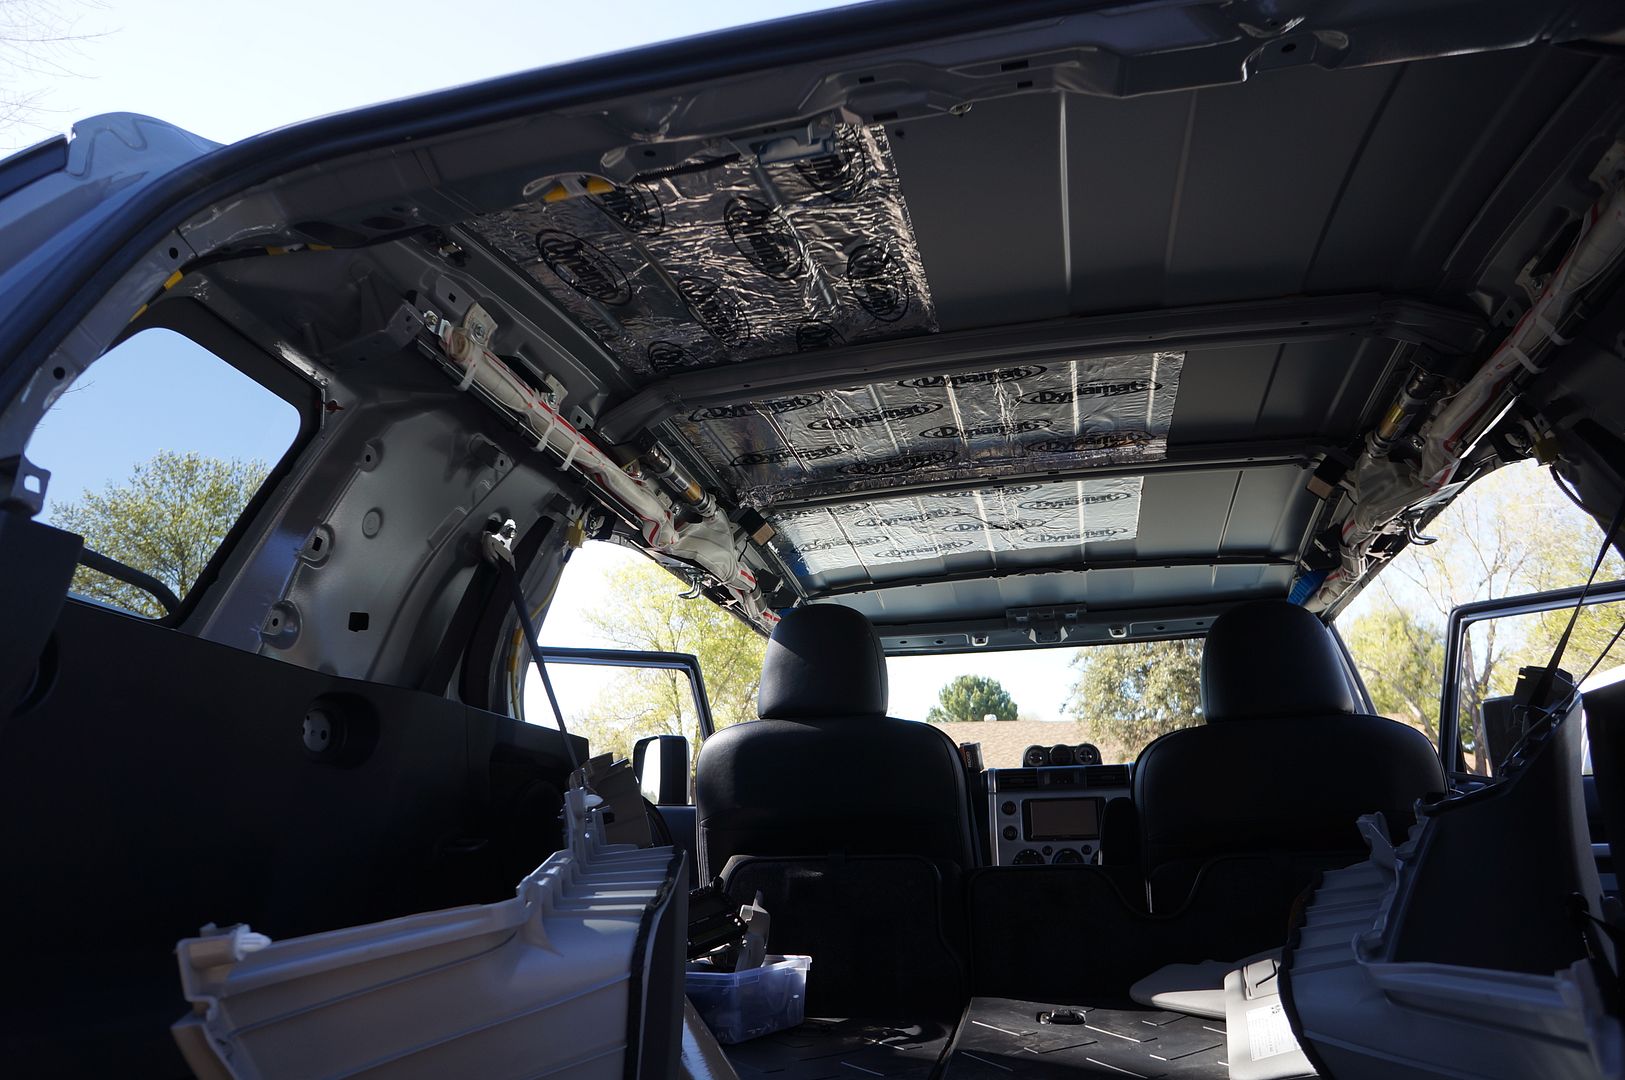
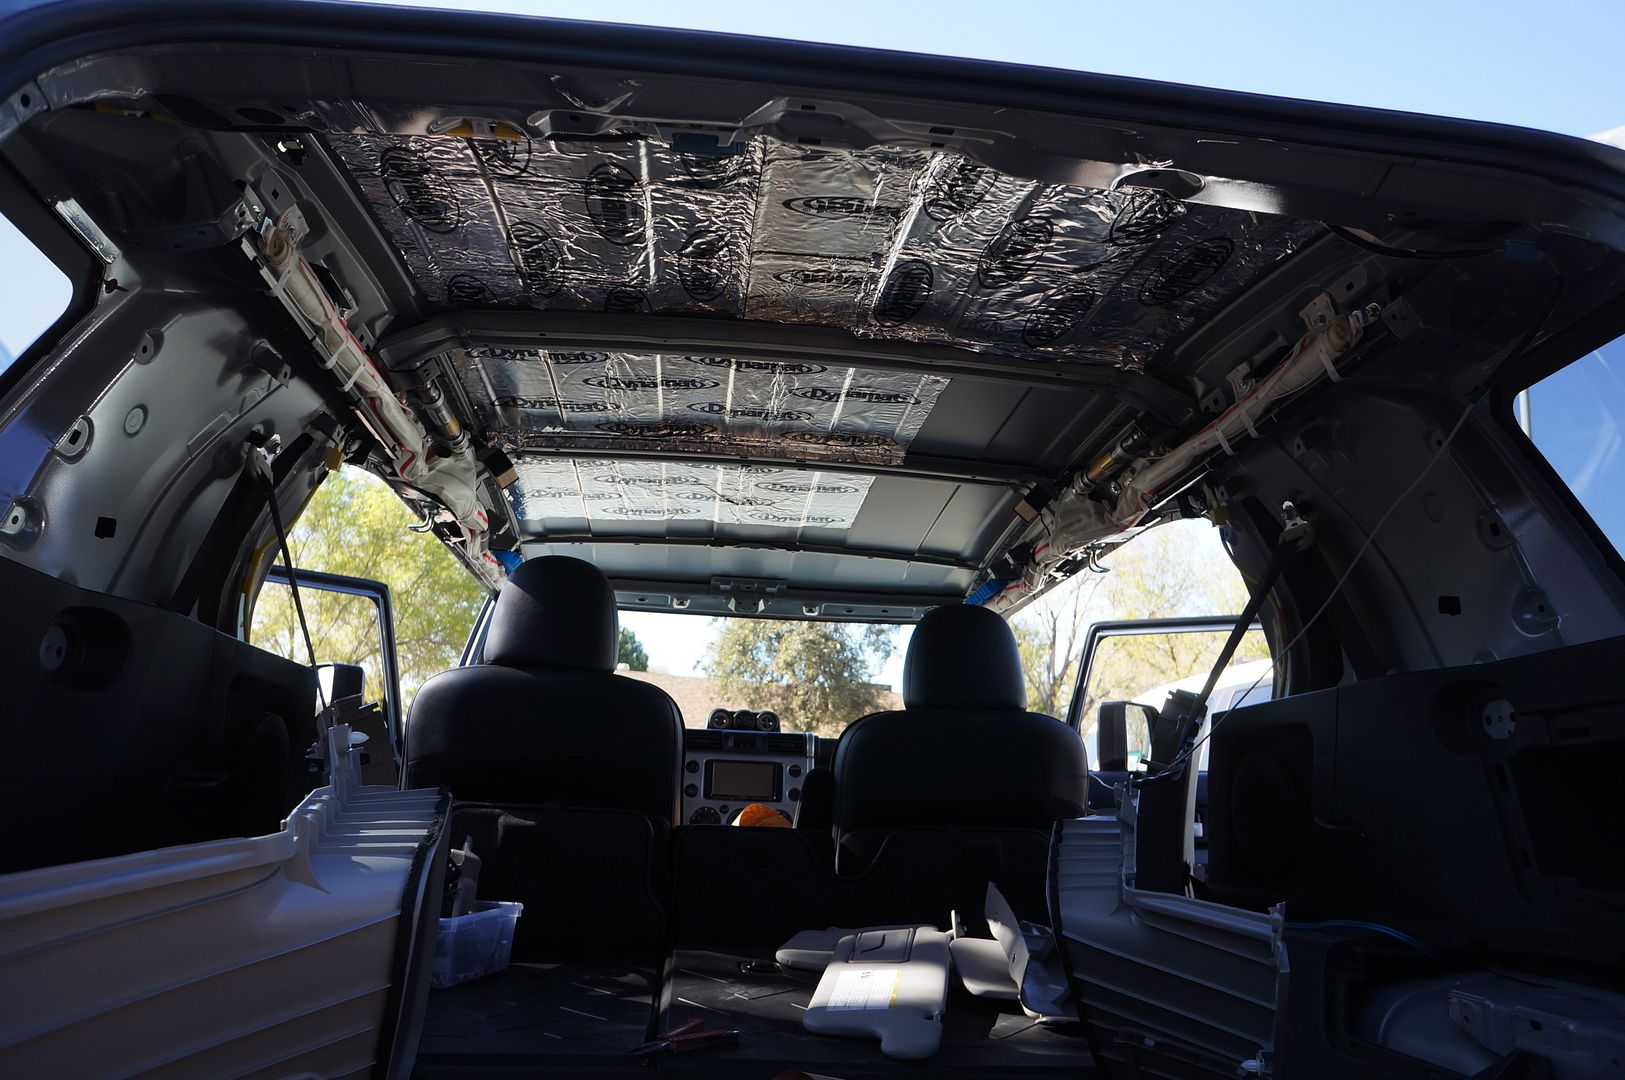
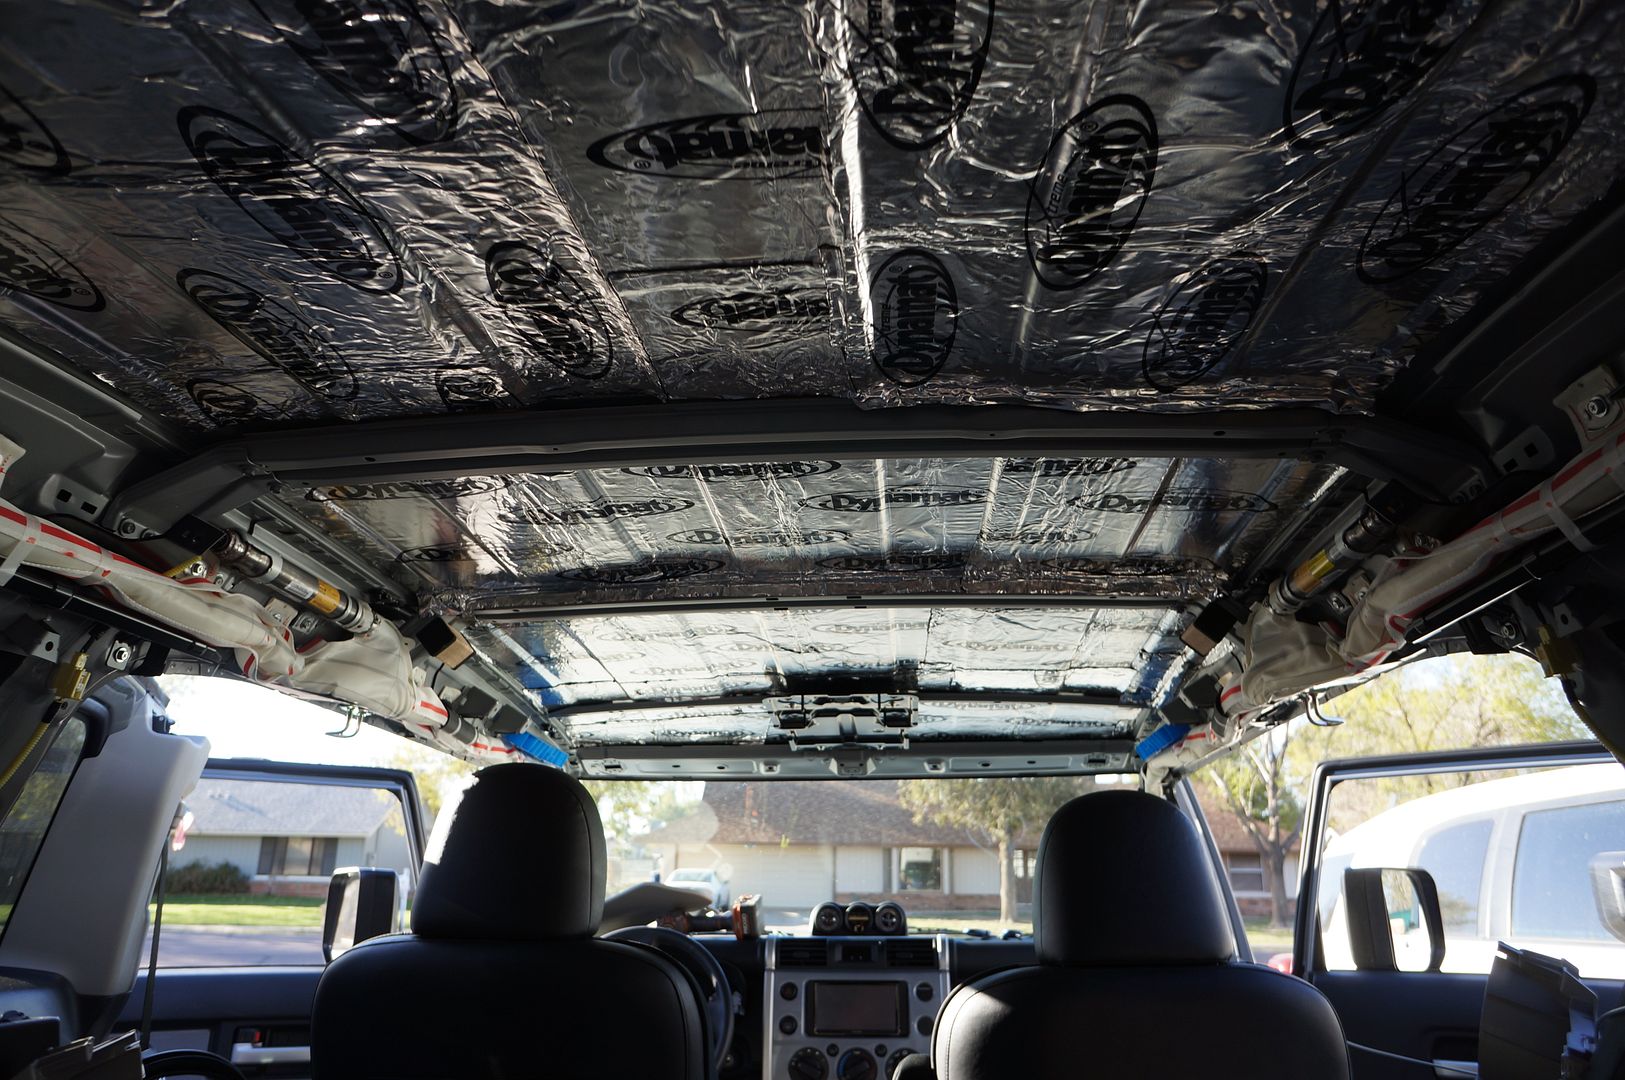
Dynamat Extreme and insulation of ceiling (post 153)http://www.fjcruiserforums.com/forums/member-build-ups/158490-rock-16.html#post2424781
Katzkin Leather seats
Performance
Airaid CAI http://www.fjcruiserforums.com/forums/engine-performance/149635-airaid-cold-air-intake-review.html
Magnaflow SS Cat Back
Lighting
Baja Racks Utility Rack
Spylight Articulating Light Bar Actuator
Baja Designs 40 " Stealth Bar
Baja Designs Squadron XL's on the bumper (4)
Baja Designs 20" ONX amber (inside bumper)
Baja Designs 20" Stealth Bar (amber) rear facing
Baja Designs S2"s 3x3 per side
Baja Designs 3x3 Squadrons in front bumper
Other Stuff
Husky Liners
Coming soon
New and improved camera system
12/12/12, I went down and signed the papers .
Here's where the build begins.
2013 Cement TT. Notable mods that are new to me are, Crawl Control and Rear View Camera
"The Rock"
It seems like I rack my brain trying come up with a a name and the meaning behind it. This time it was simple, FJess, thought it looked like a rock . Thank you Jess.
Current pic, as of 9/23/13

Updated picture November 3rd 2013, the night before leaving for SEMA

Featured at
Overland Expo May 2013 Flagstaff AZ
SEMA , November 2013 Las Vegas NV
Mods list
Factory
2013 TT
Crawl Control
A-trac
Locker
Rear View Camera
All the TT Garnishes
Suspension
http://www.fjcruiserforums.com/forums/icon-vehicle-dynamics/208929-rock-goes-icon.html
Icon Stage 6 with CDC
Icon S2 remotes with CDC
Icon rear bump stops
BMC http://www.fjcruiserforums.com/foru...-tech/159378-body-mount-chop.html#post2376386
Armor
Total Chaos Spindle gussets/with swaybar http://www.fjcruiserforums.com/foru...sset-install-swaybar-version.html#post2400930
Ricochet Full skid plates http://www.fjcruiserforums.com/forums/ricochet-offroad/162270-ricochet-porn.html
Icon LCA skid for S2 System
Demello X Wing Sliders
Demello Rally Front Bumper
Demello 3 piece rear bumper
Boztec Dif Armor
Redline Landcruiser link skids
Superwinch 12.500 Talon
Synthetic Winch line, Factor 55 thimble and hitch adapter
Wheels
Stock TRD (SOLD)
Method 17x8.5 Split Six Matte Black
Method 17x8.5 NV's (Second set)
Tires
Stock a/t's (SOLD)
Hankook 285/70/17 RT-03 M/T
General Grabber 35/12.50.17 (Second set)
Brakes
TRD Big Brake Kit
Electronics
Odyssey PC 2150 battery
Kenwood 9990HD Head Unit
Alpine PDX V9-5 channel amp
Infinity Kappa 60.11cs component speakers
Focal CVX Coaxials
JL Audio 12" Stealth box
Kenwood 710 Dual band Ham
Boztec Antenna mount
I-Pad Retina for navigation
Ram Mounts
ExtremeAir Magnum Air Compressor, 2 gallon tank, Extreme Outback Products http://www.fjcruiserforums.com/forums/4x4-off-road-tech/235201-extremeaire-compressor-install.html
Engel 45
portable cb, somewhere
Scan Gauge II
S-Pod/ Dirty Parts Switch panel http://www.fjcruiserforums.com/forums/member-build-ups/158490-rock-26.html
Dynamat Extreme and insulation of ceiling (post 153)http://www.fjcruiserforums.com/forums/member-build-ups/158490-rock-16.html#post2424781
Katzkin Leather seats
Performance
Airaid CAI http://www.fjcruiserforums.com/forums/engine-performance/149635-airaid-cold-air-intake-review.html
Magnaflow SS Cat Back
Lighting
Baja Racks Utility Rack
Spylight Articulating Light Bar Actuator
Baja Designs 40 " Stealth Bar
Baja Designs Squadron XL's on the bumper (4)
Baja Designs 20" ONX amber (inside bumper)
Baja Designs 20" Stealth Bar (amber) rear facing
Baja Designs S2"s 3x3 per side
Baja Designs 3x3 Squadrons in front bumper
Other Stuff
Husky Liners
Coming soon
New and improved camera system
")