barlowrs
Explorer
Well it is time to tackle communications, and what better to reach out and touch someone than a FT-8800?
The following are the parts I am using:
Yaesu FT-8800R
Yaesu YSK-8900 (Remote mounting kit)
Diamond NR770HB Antenna
Cheap HRO $12.00 external speaker
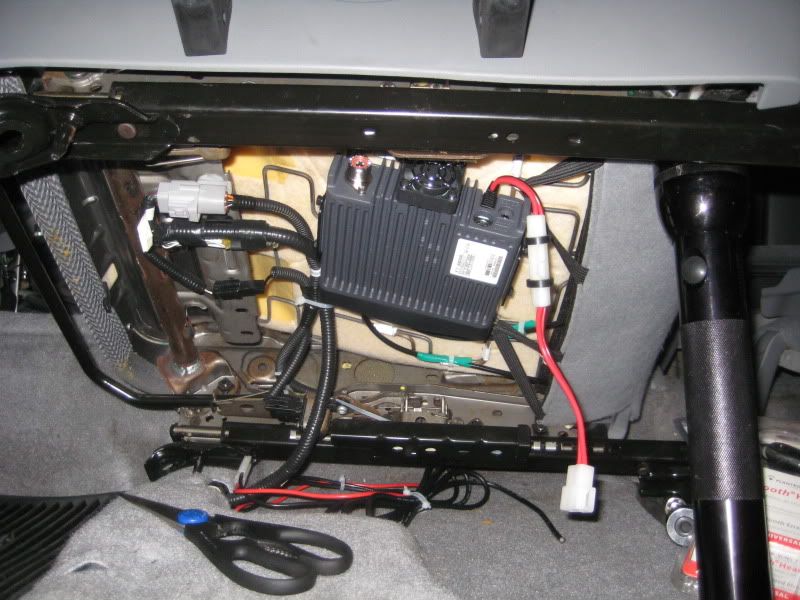
The location I chose to install the radio is underneath the driver’s seat. This was the easiest part of my install, so I will not get into much detail on this. Just run the wires, mount it and you’re good to go.
The head unit was a bit more difficult. First of all, I want to give credit to Wil for the idea on this install. Because I like having things look as stock as I can and clean as I can, I decided to recess the head unit into the headliner.
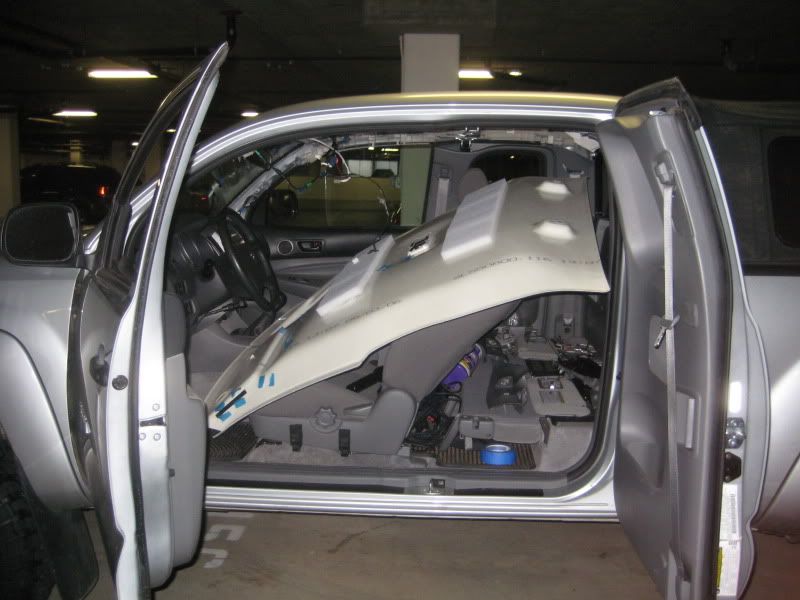
To do this, I first had to remove the headliner (meaning I had to take out practically every piece of plastic from the truck!)
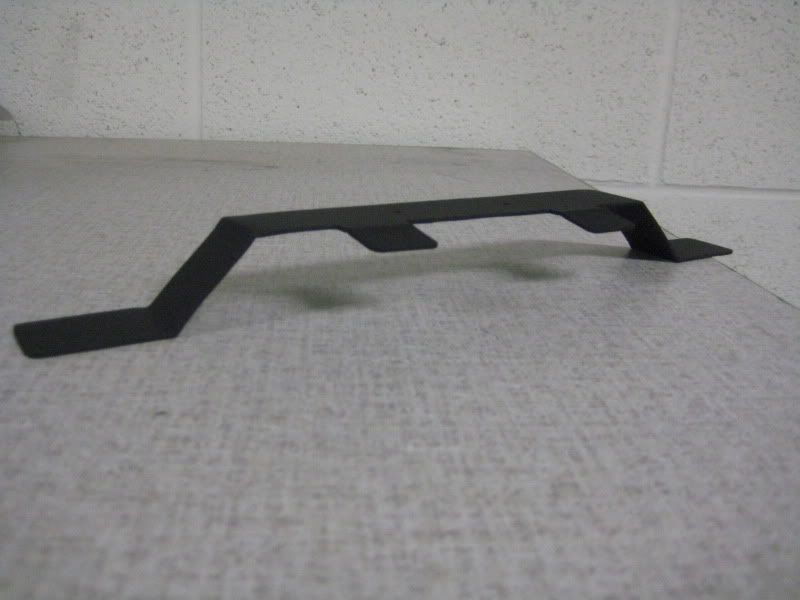
In order to secure the head unit, I made a bracket out of some 18 gage stainless steel. This bracket spans the hole I will cut and has tabs that match the angle of the ceiling of my truck. This SHOULD secure the radio (I hope).
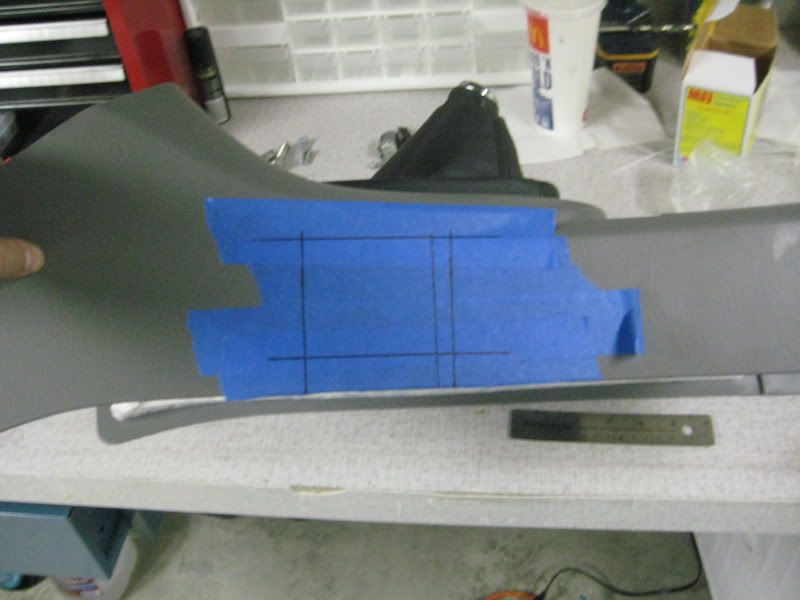
Next was to cut a the hole….MEASURE FOUR TIMES CUT ONCE
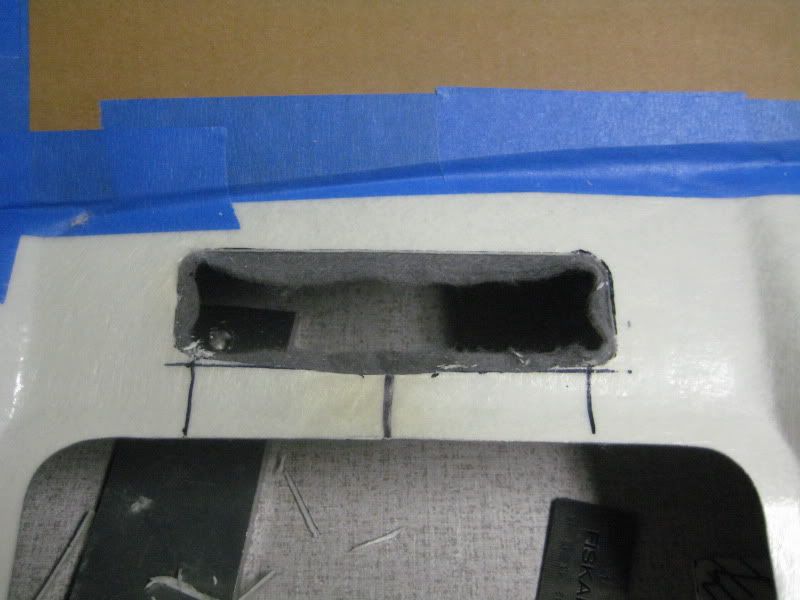
…..we have reached the point of no return.
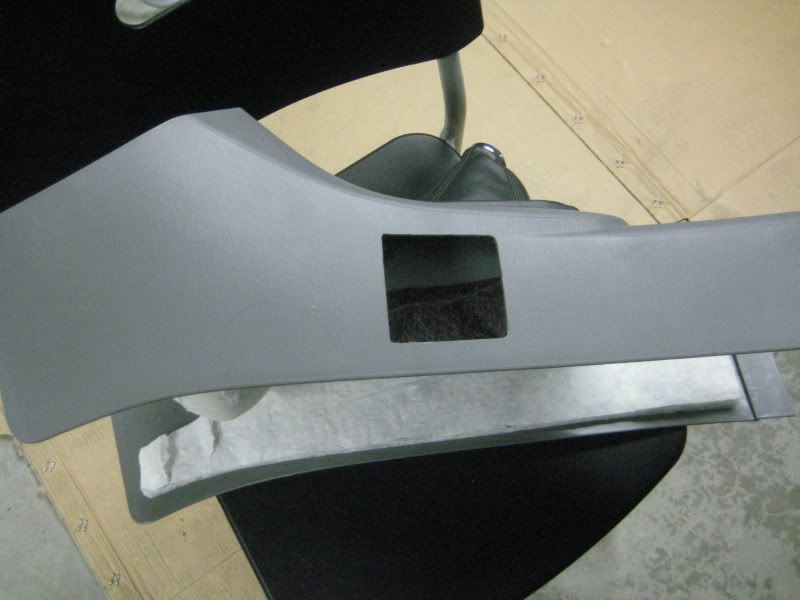
I cut the hole slightly small, and then used a very high temp heat gun to heat up the headliner and mold it up. Then I used spray adhesive and rolled the grey lining around so you wouldn’t see the white crap on top.
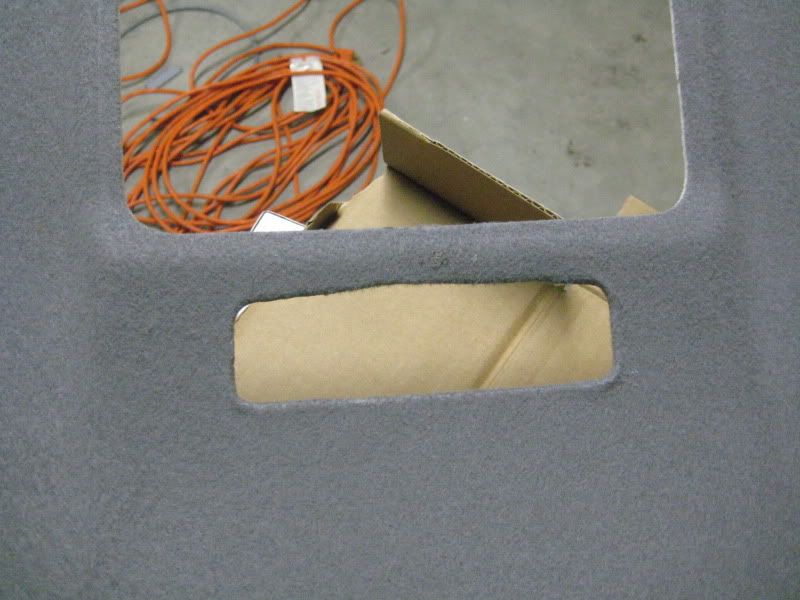
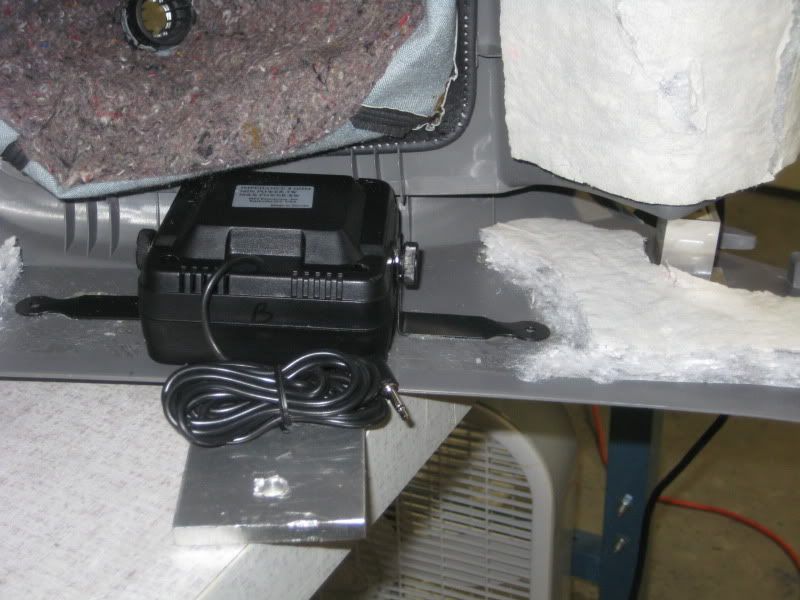
I then used some 2 part epoxy to glue the bracket to the headliner and then fibreglasses over it just to be safe (the bracket is also sandwiched between the roof of the cab and headliner when installed, so it shouldn’t go anywhere)
And here is with all the wires routed.

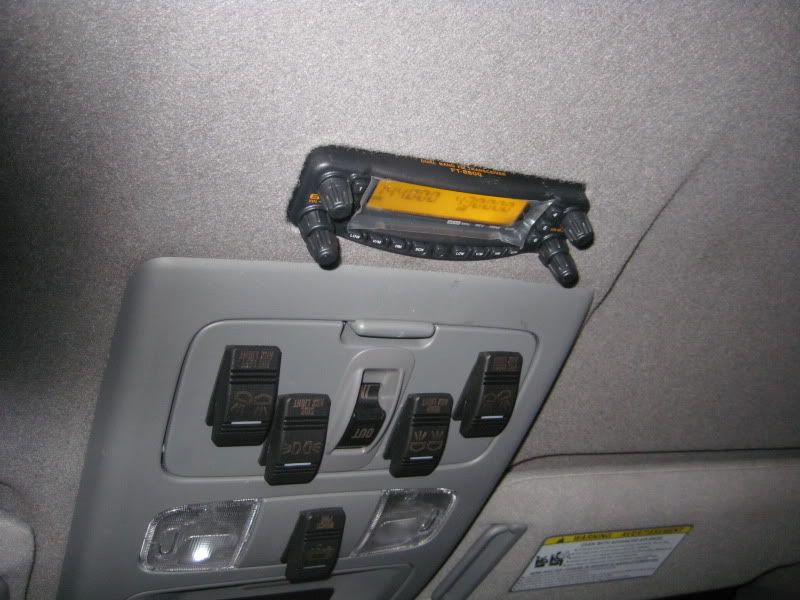
You will notice that there are two wires coming from it, and the remote kit only has one. This is because I also wanted to relocate the hand control. I did not want to have it dangling from my roof, so one wire is from the radio to the head unit, and the other is from the head unit to the hand control.
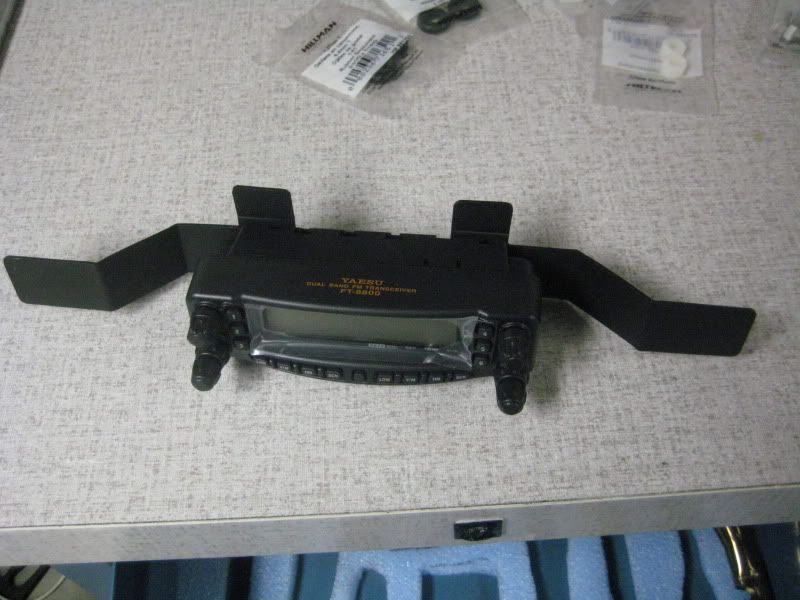
And here is the head unit when everything is put back together:
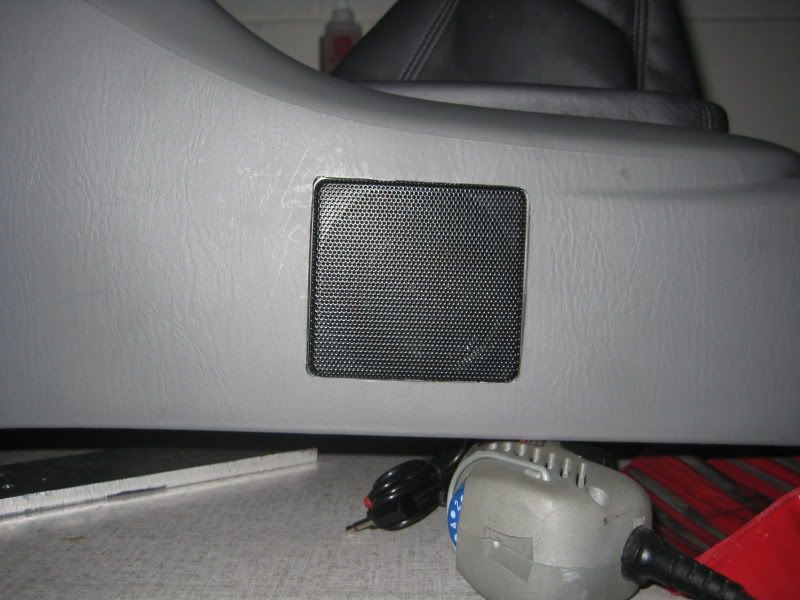
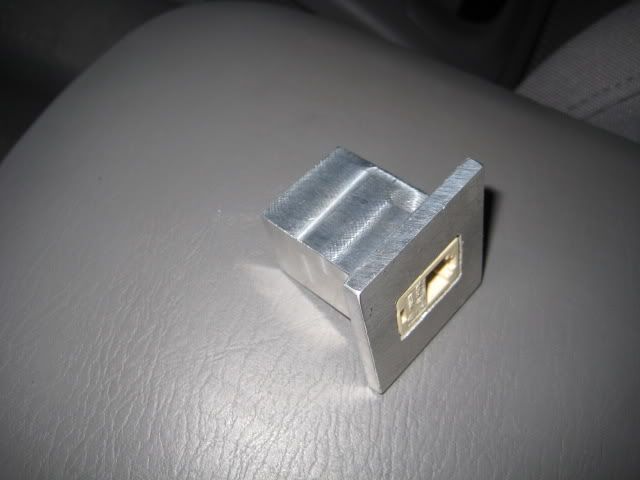
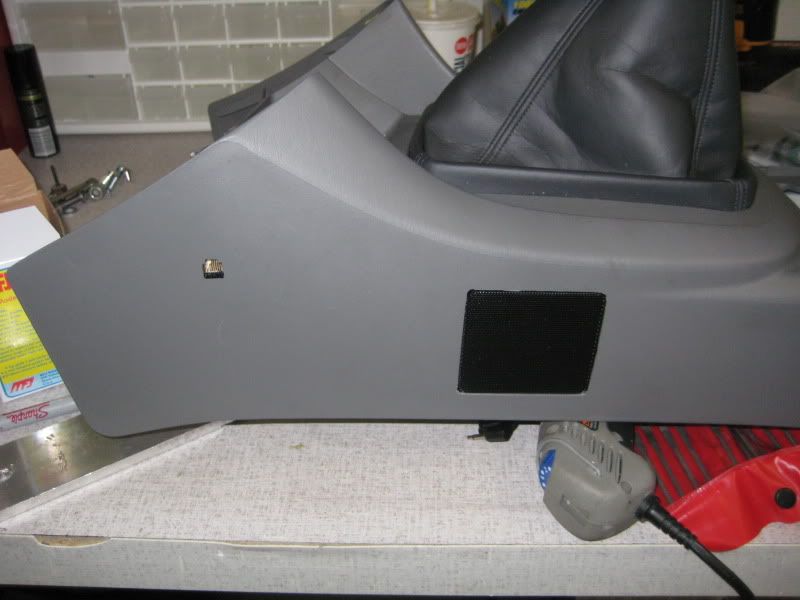
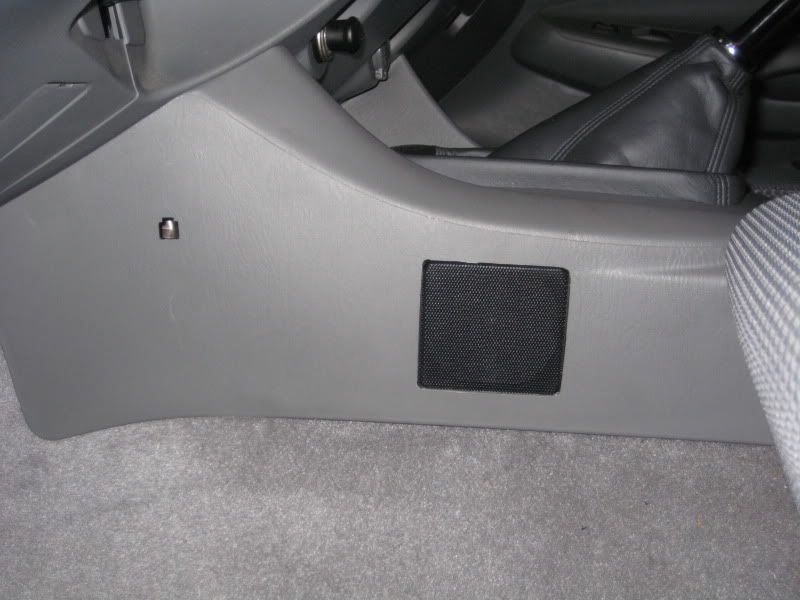
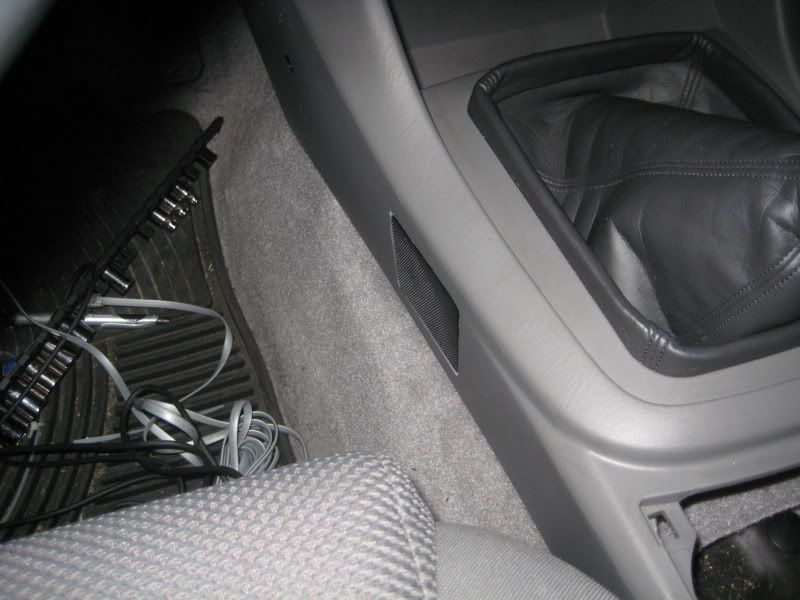
Next up, installing the hand control and external speaker
The following are the parts I am using:
Yaesu FT-8800R
Yaesu YSK-8900 (Remote mounting kit)
Diamond NR770HB Antenna
Cheap HRO $12.00 external speaker
The location I chose to install the radio is underneath the driver’s seat. This was the easiest part of my install, so I will not get into much detail on this. Just run the wires, mount it and you’re good to go.
The head unit was a bit more difficult. First of all, I want to give credit to Wil for the idea on this install. Because I like having things look as stock as I can and clean as I can, I decided to recess the head unit into the headliner.
To do this, I first had to remove the headliner (meaning I had to take out practically every piece of plastic from the truck!)
In order to secure the head unit, I made a bracket out of some 18 gage stainless steel. This bracket spans the hole I will cut and has tabs that match the angle of the ceiling of my truck. This SHOULD secure the radio (I hope).
Next was to cut a the hole….MEASURE FOUR TIMES CUT ONCE
…..we have reached the point of no return.
I cut the hole slightly small, and then used a very high temp heat gun to heat up the headliner and mold it up. Then I used spray adhesive and rolled the grey lining around so you wouldn’t see the white crap on top.
I then used some 2 part epoxy to glue the bracket to the headliner and then fibreglasses over it just to be safe (the bracket is also sandwiched between the roof of the cab and headliner when installed, so it shouldn’t go anywhere)
And here is with all the wires routed.
You will notice that there are two wires coming from it, and the remote kit only has one. This is because I also wanted to relocate the hand control. I did not want to have it dangling from my roof, so one wire is from the radio to the head unit, and the other is from the head unit to the hand control.
And here is the head unit when everything is put back together:
Next up, installing the hand control and external speaker

")