Longrange308
Adventurer
I didn’t really take photos of the install of anything, I was too busy trying to get it done before a dinner appointment that I had. Sorry. It’s all pretty straight forward though. A multimeter is all you really need, beyond wire connectors (or solder if your anal like me) and some heat-shrink wrap.
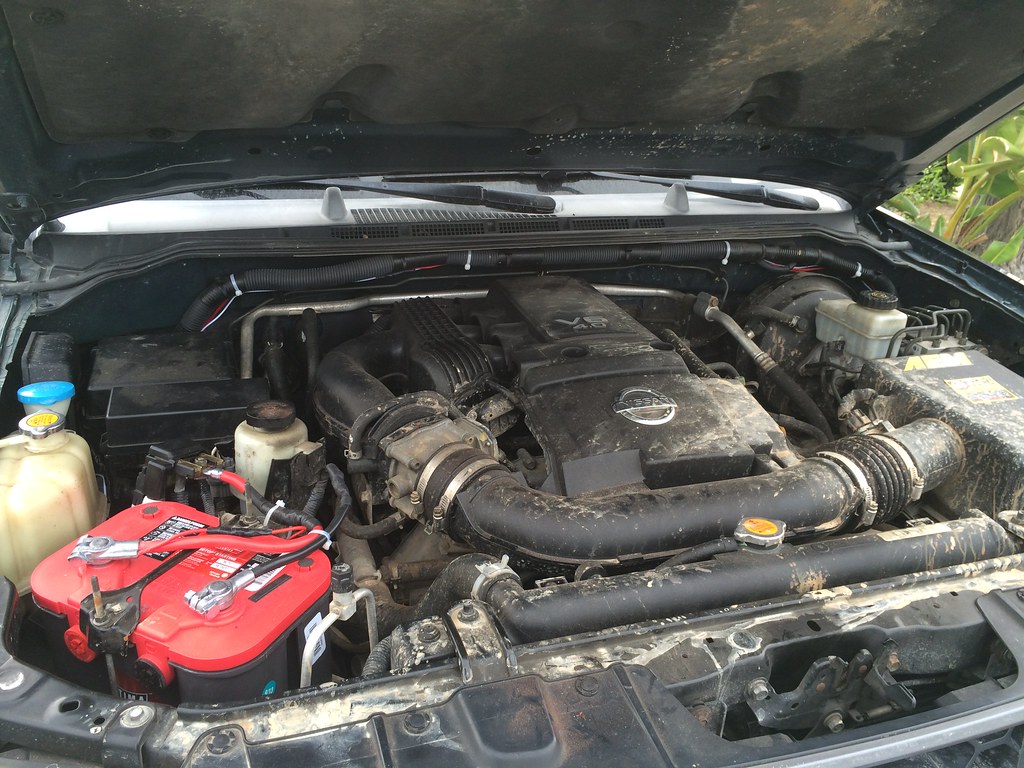
Well, I did a bunch (for me) of wiring the other day on the X. First thing I did (and I know I might catch some flak for it) is convert the battery leads to something that is a bit more universal. I have a couple of these batteries (brand new, on battery tenders) laying around from old projects and ones still in the works. I also wanted a bit more flexibility for swapping in different batteries given whatever need. All connections are braised together and protected with heat shrink tubing. The connections are tight and safe, and the old positive lead is secured and unable to jostle around.

Then I wired up a switch for my new light bars. I mounted a relay right near the battery (used a bolt from the fuse box) and ran a ground wire to an existing ground right next to the battery tray.

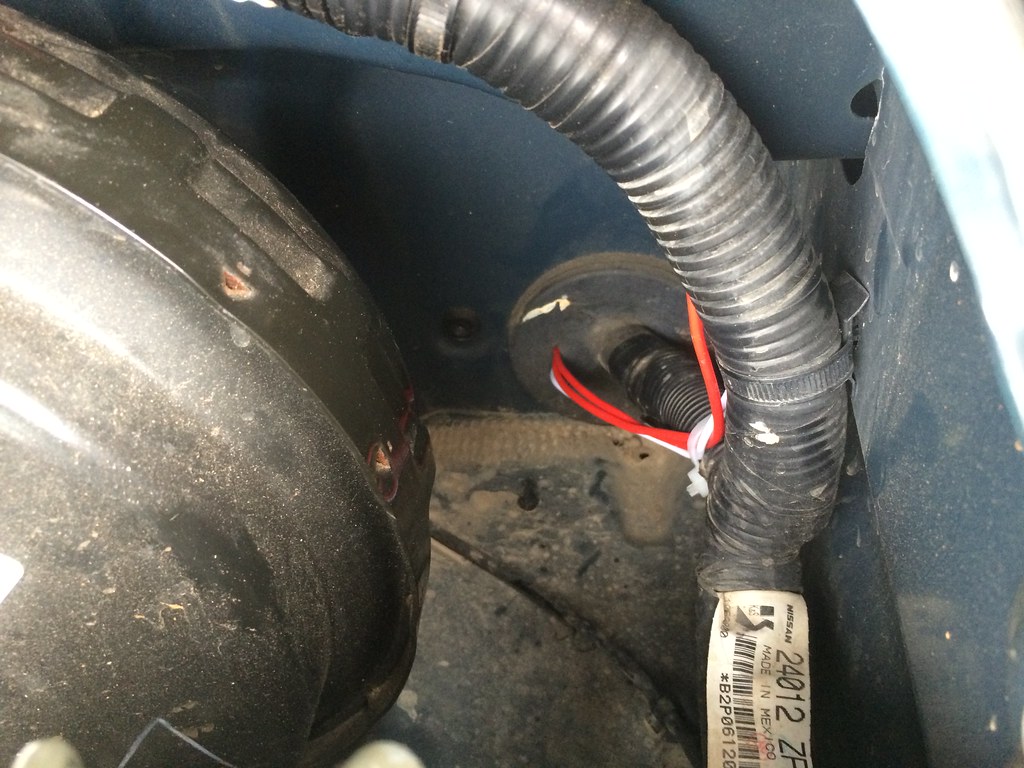
I then ran the switch lead and light power wires behind the existing loom in the engine compartment and through the existing grommet (poked a small slit to slide the wires through)
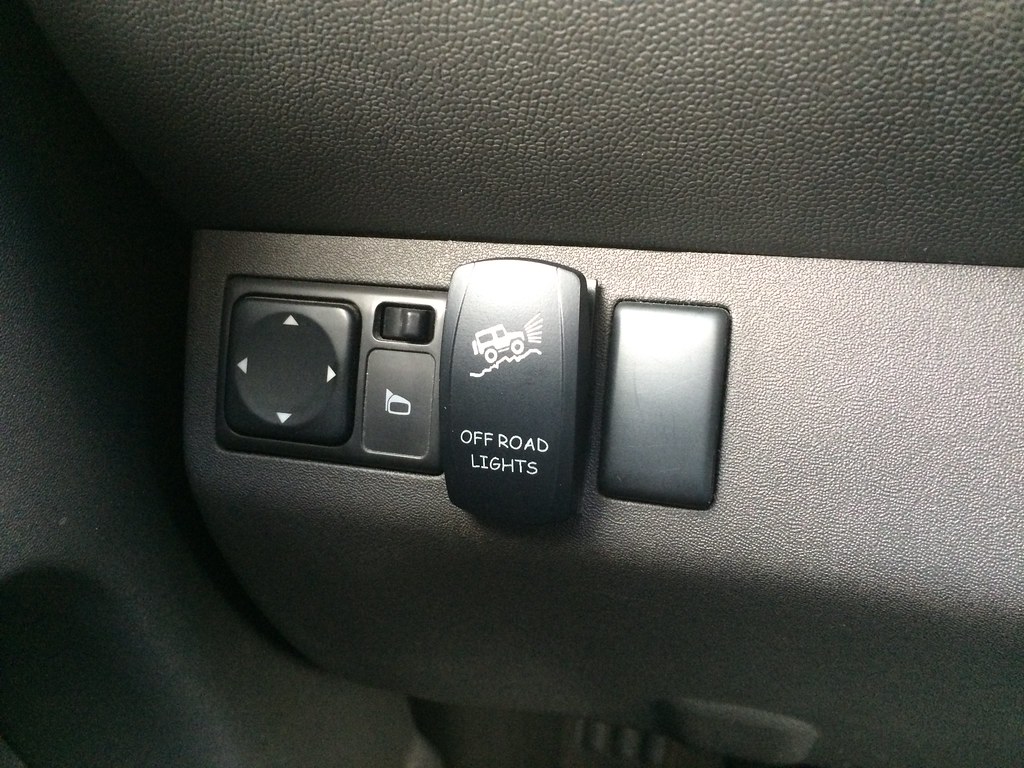
The Switch
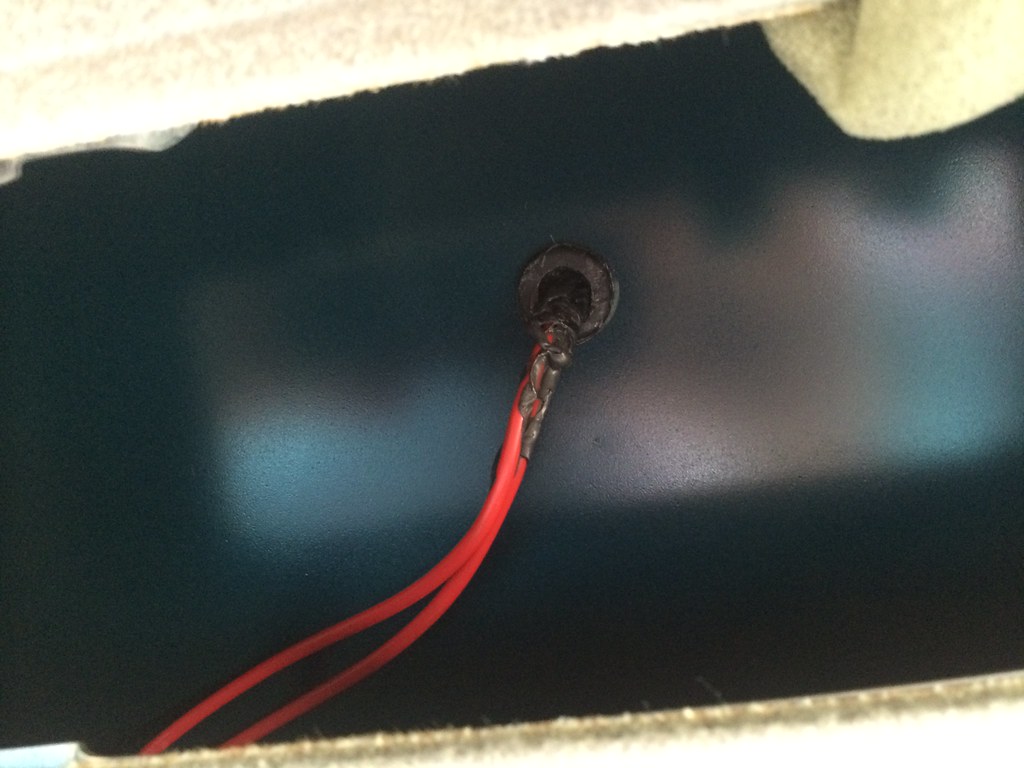
I then ran the wires up the A-Pillars and through a ½” hole I drilled in the roof. I used a 3/8th grommet and some RTV to seal it up.
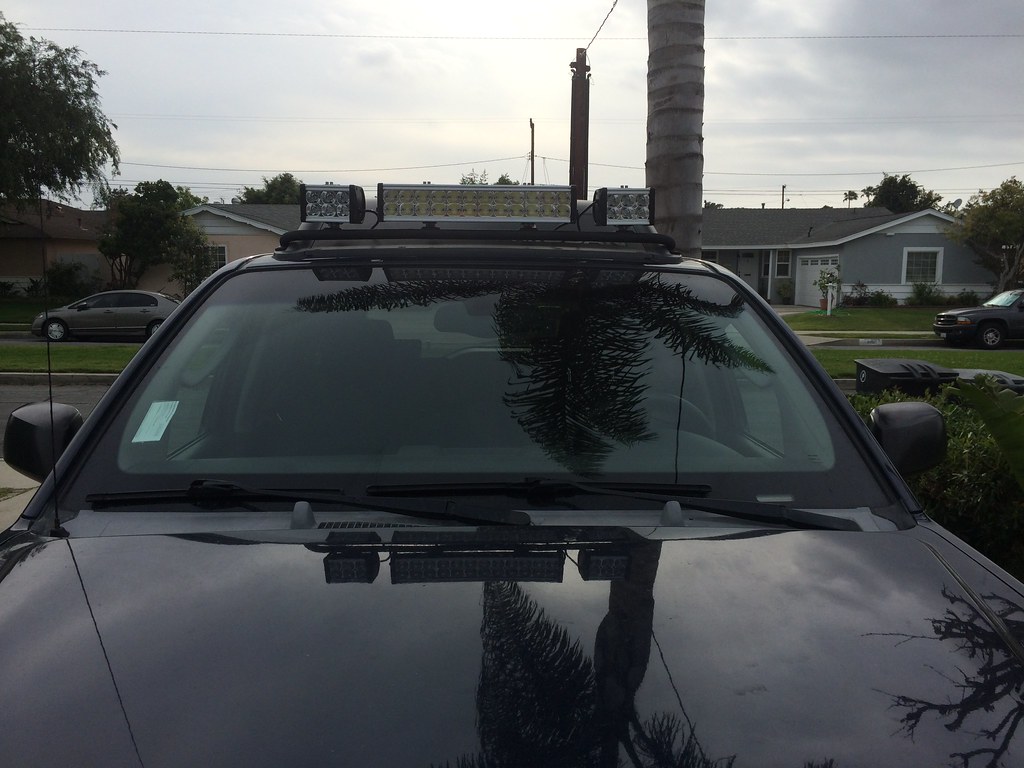
The end result, 1 20” LED bar and 2 6” bars (TuffLED brand chinese bars, but decent quality and good customer service. Seriously affordable on Amazon as well) angled slightly outwards, mounted on an Xoskel lo-pro light bar..
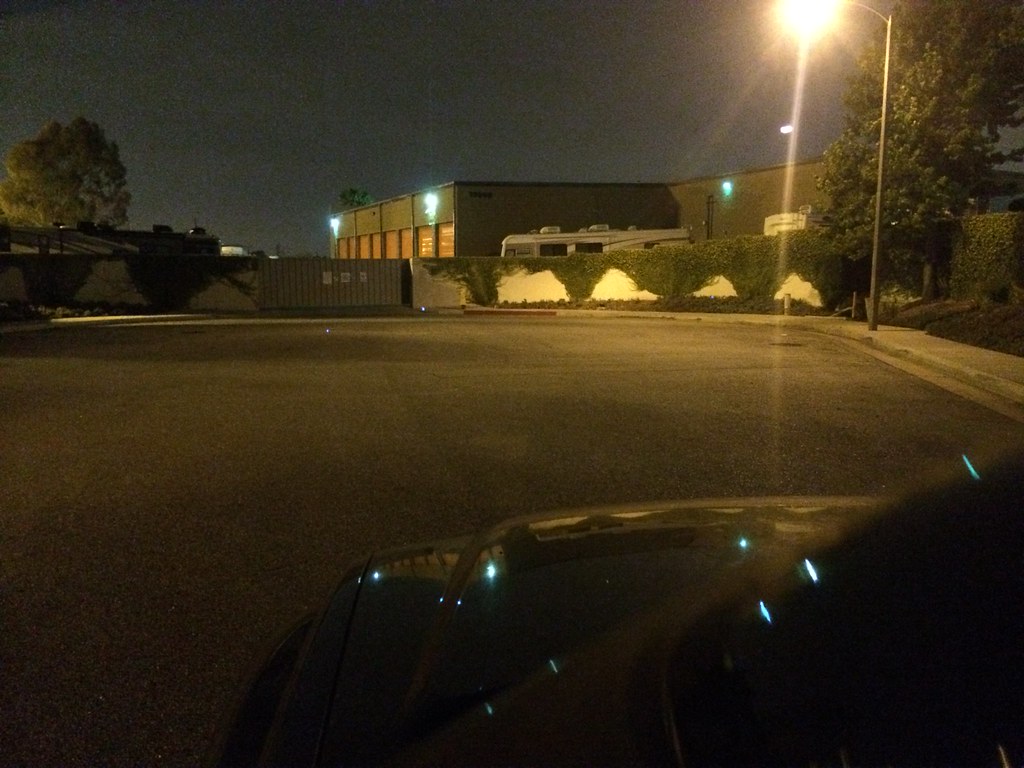
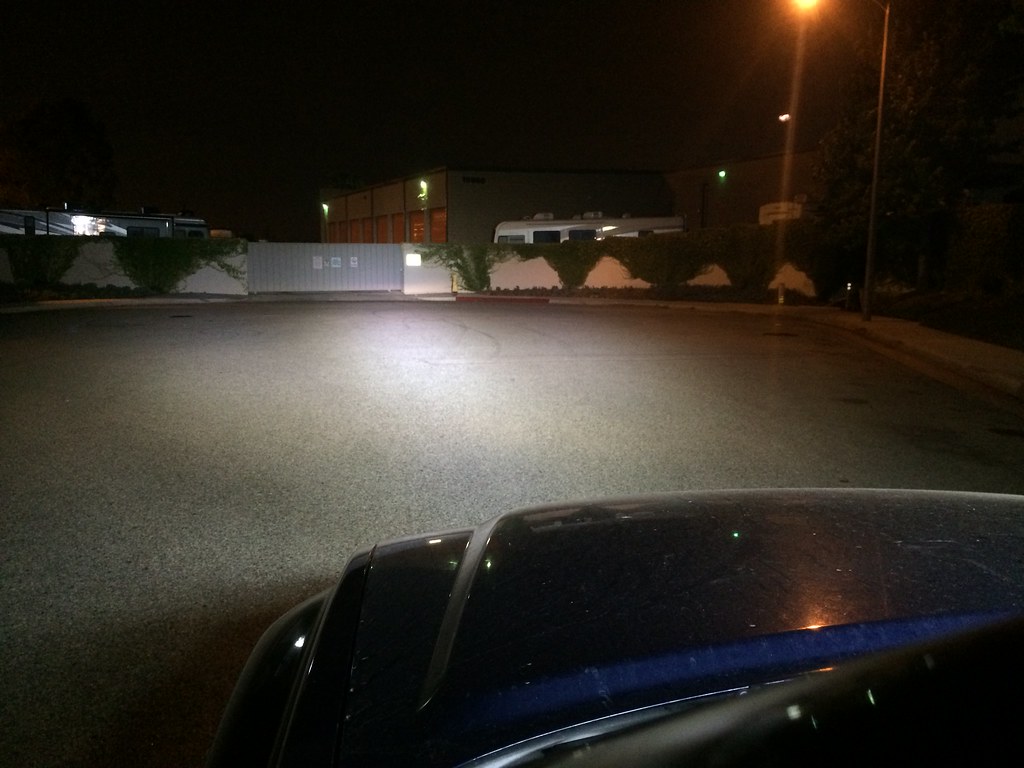
No-Lights
Off-Road Lights
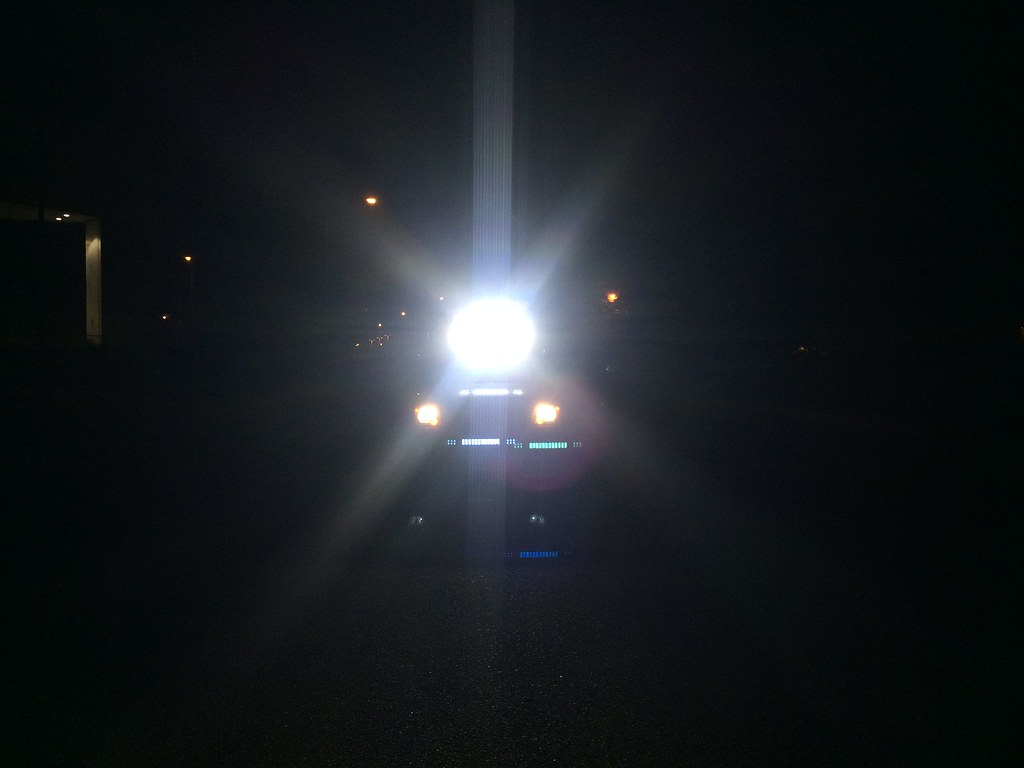
Now I really can’t wait to get out on the trail and put them to work.
Well, I did a bunch (for me) of wiring the other day on the X. First thing I did (and I know I might catch some flak for it) is convert the battery leads to something that is a bit more universal. I have a couple of these batteries (brand new, on battery tenders) laying around from old projects and ones still in the works. I also wanted a bit more flexibility for swapping in different batteries given whatever need. All connections are braised together and protected with heat shrink tubing. The connections are tight and safe, and the old positive lead is secured and unable to jostle around.
Then I wired up a switch for my new light bars. I mounted a relay right near the battery (used a bolt from the fuse box) and ran a ground wire to an existing ground right next to the battery tray.
I then ran the switch lead and light power wires behind the existing loom in the engine compartment and through the existing grommet (poked a small slit to slide the wires through)
The Switch
I then ran the wires up the A-Pillars and through a ½” hole I drilled in the roof. I used a 3/8th grommet and some RTV to seal it up.
The end result, 1 20” LED bar and 2 6” bars (TuffLED brand chinese bars, but decent quality and good customer service. Seriously affordable on Amazon as well) angled slightly outwards, mounted on an Xoskel lo-pro light bar..
No-Lights
Off-Road Lights
Now I really can’t wait to get out on the trail and put them to work.
Last edited: