barlowrs
Explorer
Time to wire up the lights. As you all know, I always try to make everything look as stock as possible so obviously, using a stock switch was a given. Unfortunately, I have never like the stock Tacoma fog light switch, as it does not illuminate when the lights are on like the FJ auxiliary and off-road switches do. (Not that I need a notification when the lights are on, they are brighter than heck!)
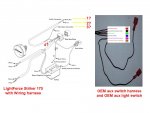
SO, I decided to run a FJ Auxiliary Light switch. I also picked up the harness, though if you do not want to do that, you could solder onto the pins. The harness just makes it easier, and I can unplug it when I need to tear the dash apart. The part numbers are as follows:
FJ Auxiliary Light Switch: PT297-35070-AS
Auxiliary Switch Harness: PT297-35070-SH
The relay and all the rest of the wiring harness came with the light force lights.
First things first, here is the diagram I drew up of how to install them:
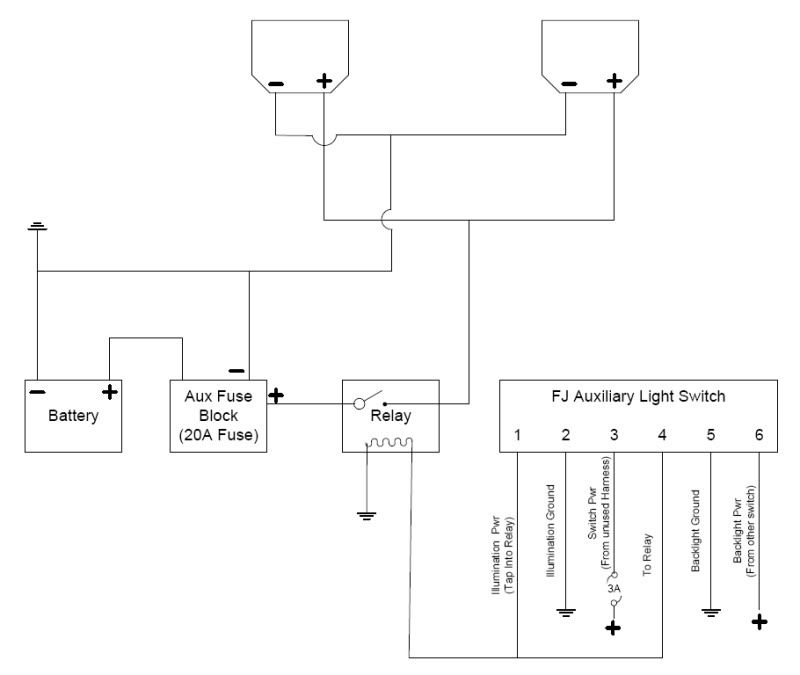
I found an unused wiring harness behind all my switches (my truck doesn’t have a lot of options, but it is all pre wired in the harness, so there are several unused harnesses back there. Using a multi meter, I figured out which wire was the constant 12V, which I used for the switch power, and then I figured out which one was 12V when the light switch was on. I used this for illumination power. Because I know I will never use this harness, I simply cut the wires from the original plug and soldered them to my Aux switch harness.
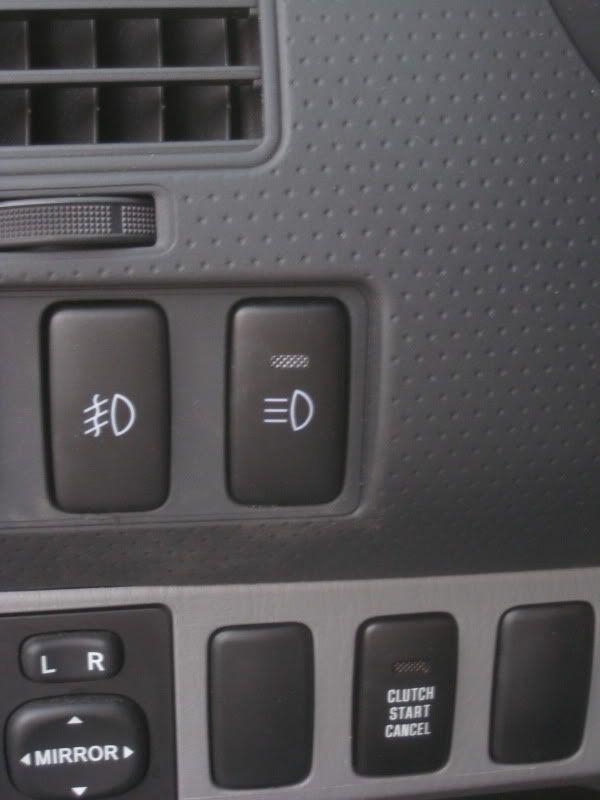
Here is the switch all mounted up:
Next up I mounted the relay in one of the relay mounting spots I made on my aux fuse block:

All that was left was to route the wires. The lightforce harness gave me MORE than enough wire to get through the firewall and into my switch. Then out the front to the lights.
I used some shielding and heat shrink tubing to protect the wires and wired up a set of weatherpack connectors for some protection.
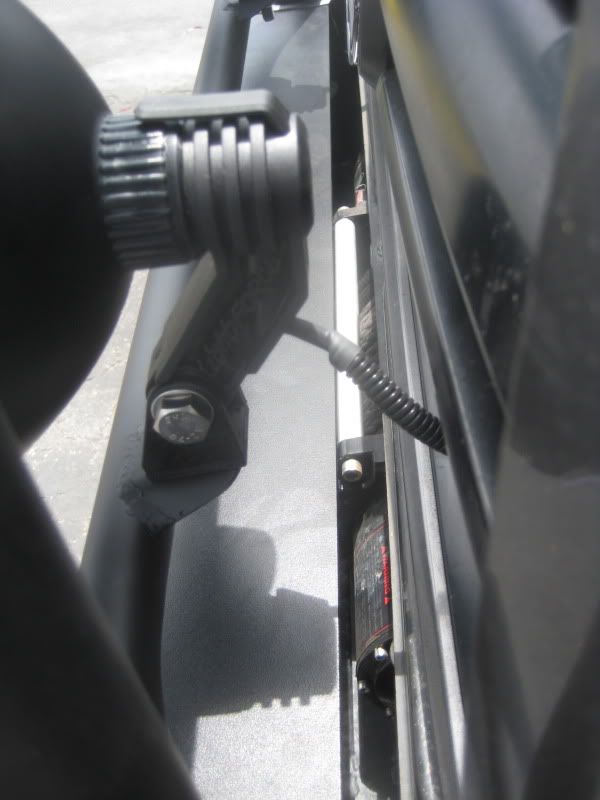
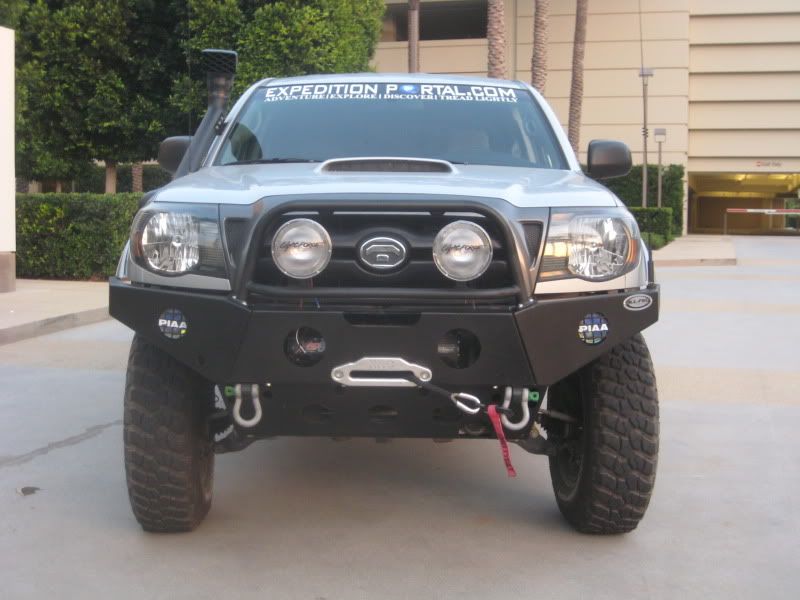
And here they are mounted out front.
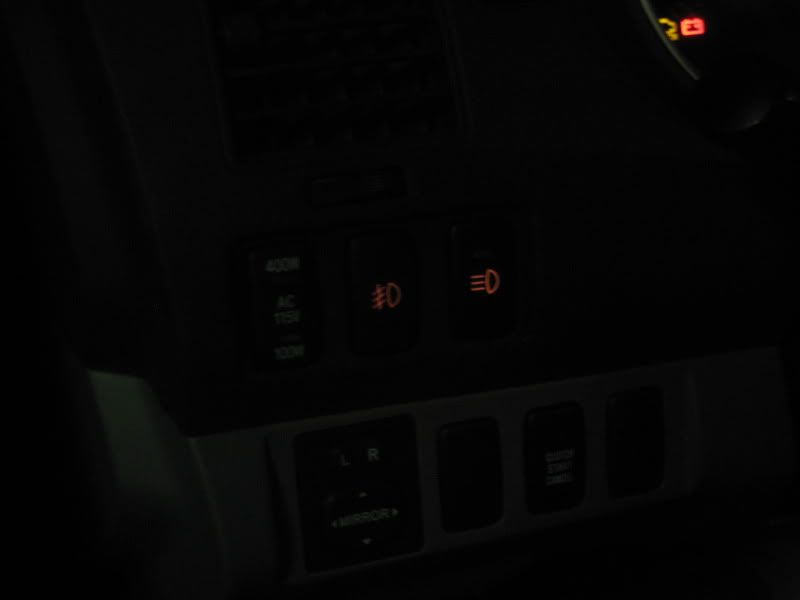
Here is a shot with the switch backlight:
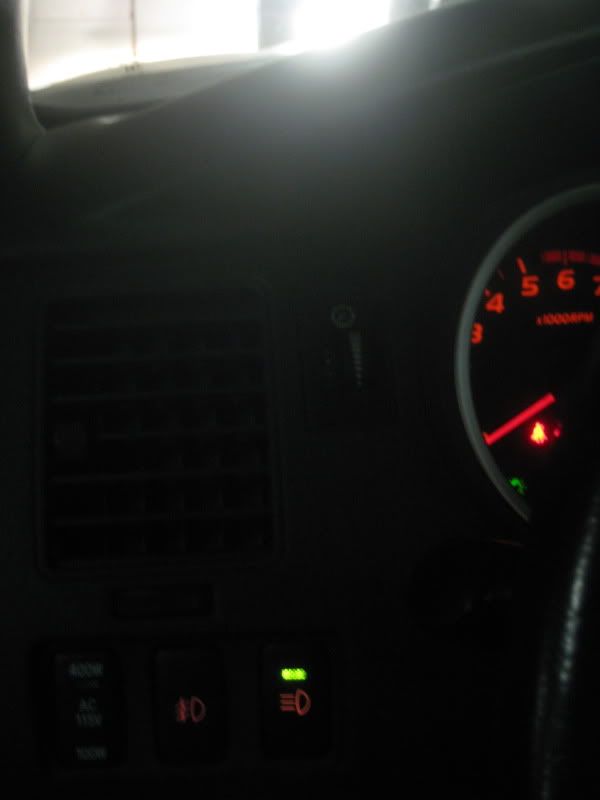
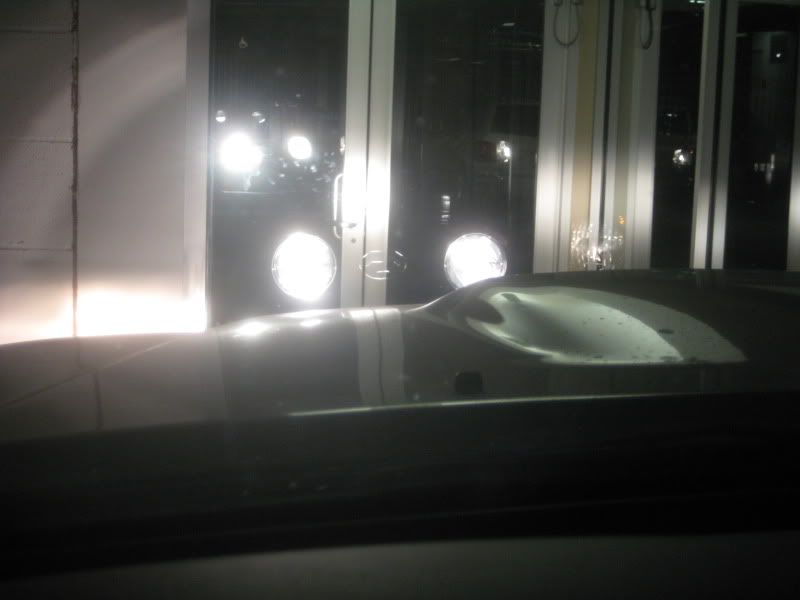
Here is a shot of the lights on (see the little green LED indication on the switch as well). Sorry, this is in my structure; I don’t have any good outside shots yet.
SO, I decided to run a FJ Auxiliary Light switch. I also picked up the harness, though if you do not want to do that, you could solder onto the pins. The harness just makes it easier, and I can unplug it when I need to tear the dash apart. The part numbers are as follows:
FJ Auxiliary Light Switch: PT297-35070-AS
Auxiliary Switch Harness: PT297-35070-SH
The relay and all the rest of the wiring harness came with the light force lights.
First things first, here is the diagram I drew up of how to install them:

I found an unused wiring harness behind all my switches (my truck doesn’t have a lot of options, but it is all pre wired in the harness, so there are several unused harnesses back there. Using a multi meter, I figured out which wire was the constant 12V, which I used for the switch power, and then I figured out which one was 12V when the light switch was on. I used this for illumination power. Because I know I will never use this harness, I simply cut the wires from the original plug and soldered them to my Aux switch harness.
Here is the switch all mounted up:

Next up I mounted the relay in one of the relay mounting spots I made on my aux fuse block:

All that was left was to route the wires. The lightforce harness gave me MORE than enough wire to get through the firewall and into my switch. Then out the front to the lights.
I used some shielding and heat shrink tubing to protect the wires and wired up a set of weatherpack connectors for some protection.

And here they are mounted out front.

Here is a shot with the switch backlight:

Here is a shot of the lights on (see the little green LED indication on the switch as well). Sorry, this is in my structure; I don’t have any good outside shots yet.


