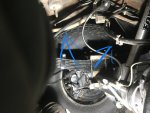
Followed the example above with a minor twist.
I used the metal cable end retainer piece that came on the driver side sterling cable to connect to the forward van cable.
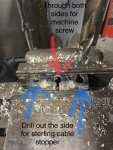
I then took my original van cable end retainer and drilled the two rear cable holes out a bit to accept the sterling cable ends which had stoppers that were slightly larger than the original cables. Then I drilled out the forward side of the same bracket and on through the rear side so that a #10 machine screw could be inserted from the direction the sterling cables enter. The machine screw then goes through the rear side of the forward cable retainer piece and bridges the gap between the two retainer pieces.
Add a washer, lock washer, and nut (I chose against a nylock nut so that I could start ghe nut by hand) to the forward end of the machine screw and tighten until your cables have the desired tension. On my van, that length happened to occur when the two retainer pieces touched. I hope this is a very lucky coincidence! Use as long a machine screw as you can so that it can all be together and still be easily manipulated to get the cables ends out and in again if you need to make any future adjustments.
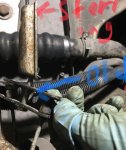
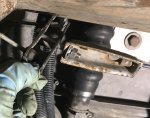
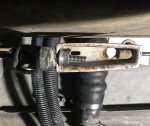
Ah geez just take a look at the pics haha.
I just did it last night with the van off the ground so I’ll report back on how well it works but the pedal felt like it was getting tight.
See also the photos of how I routed the cables. I’m a little worried the passenger side doesn’t have quite enough slack with the 6” lift but we’ll see. Driver side comes inward under the leaf spring and then up to the brake line mount after doing a small bend for droop. Passenger side has a bracket that mounts on top of the diff and then goes up to the brakeline mount with the speedo sensor wire.


