Justgosurfin
Active member
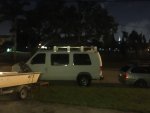
We (I) am still not totally comfortable with a particular name yet and there’s lots more compiling of photos and info to add in here, but I just wanted to start a thread to keep my stuff in one place and share a little about my 6bt, 5 speed 4wd build. I can’t take credit for the engine swap so I can’t offer a whole lot of info on making it all fit, but I have rebuilt a couple Cummins so I’m familiar with the motor and am happy to do my best to answer any query.
I’ve always wanted a lifted van since seeing them on the beach in the outer banks during vacations as a kid. Maybe it was smell of candy but I just always thought they looked like a ton of practical fun. Fast forward 20 some years and I finally found something resembling my dream van and thank god someone already did the grunt work of installing the Cummins which I’ve grown to love from boating and friends’ dodge trucks. The reliable, efficient power is unmatched in my mind and the extra space the inline 6 allows under the hood is a huge plus.
Motor is a 1990 dodge with a VE injection pump and an intercooler from a 93. I’ve turned up the fuel pump a bit and might do more and go to a HE351 turbo down the line. For now though it’s enough and gets the job done without being a slow poke.
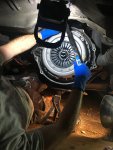
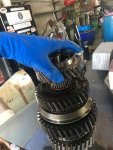
Trans is a 1997 dodge nv4500 that I rebuilt and swapped in a 4wd mainshaft and tail housing. I had never opened a tranny before (sober) and honestly found it not too bad of a job with a good manual from Quad King 4x4. This all happened much sooner than expected due to the infamous 5th gear nut issue. Most loosen and back off but in my case the shaft stripped all the teeth out of the gear 4 mile from home after a 1000 mile drive back to south Florida from my folks in VA. The saving grace is that the other 4 gears are still usable when this happens.
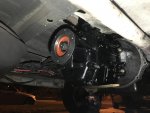
Tcase is a 2007 Ford nv271 that I also rebuilt in order to swap in the correct spline count input shaft (29) to match the dodge trans. Again much easier than I built it up to be in my head. I tend to freak out about each step, do a ton of research and then realize it was never so bad in the first place (sorry Chris for the never ending questions). Good lock ring pliers and a dodge factory manual made the task much more attainable. New Venture also made the 271 for dodges but pretty much everyone agreed the fixed flange output of the ford style is preferable over the dodge’s slip, hence the Ford rebuild rather than just going with a dodge.
Although it was a lot more work and time to do the rebuilds I’m happy as I now have a pretty new drive train.
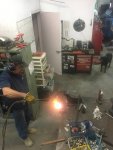
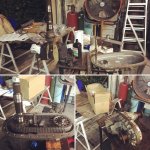
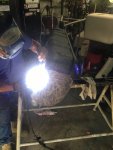
I also dropped and shortened my fuel tank when I did the drivetrain and had a metal working friend weld a cap on. I could NOT do this whole thing without the help of Bobby at Superior Ship Services in Fort Lauderdale. If you ever need custom stainless or aluminum work in south Florida, he’s your guy.
I had a rear shaft made by Justin at Pro Shaft (also in Fort Lauderdale) to go to my Dana 60 rear for now but it will be modified when the ujoint kit and sterling go under. I just needed to get the van back on the road after a few months of sitting. And needed it for picking up the axles etc.
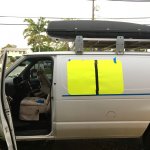
So far the only other work I’ve done to it is add three windows from a conversion van that another_mike spotted near us in west palm. Install was a bit scary making the first cut but the big trick was measuring the donor van cuts. I measured heigh above the outside creased waist line and distance aft of the door frames. That gave me a baseline for where to place the templates I made of poster board by placing the poster board over the backside of the window and scoring it with a screw driver shaft along the inner window mounting frame. Cut it out, tape it to the van, trace, hold breath, cut out van wall with a grinder. I hear an air nibler is the best tool for that but I didn’t have one and making a mess was ok since the interior is still cargoish.
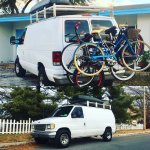
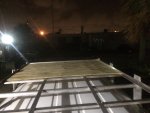
The rack I made using 4 crossbars that are sold as ladder racks. I then used a ton of aluminum angle to make the frame and finished it with 3/4” plywood on top. I’d like to do some sort of perforated decking eventually but we needed it done quick for a music festival last October. I mean hanging out on the roof is why you build a rack after all right?
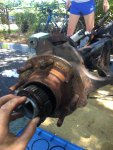
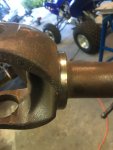
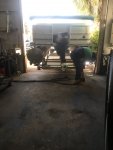
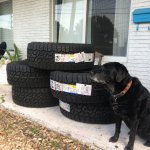
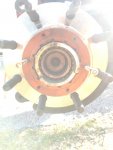
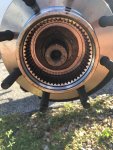
Just picked up my Dana 60 front and Sterling rear yesterday. Found a great deal on the front at a salvage yard and found the rear on Craigslist from a guy that rebuilt it for his truck and then got a different vehicle. I had to do about a 9 hour loop around southern Florida but I think I saved a good chunk of change. Going with 3.73 and 35” tires which keeps me pretty close to current rpms.
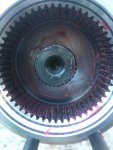
I think that covers most of my saga since last summer. Next up is rebuilding the front axle and installing additional sound deadening products (cld tiles, closed cell foam and mlv for the firewall, front doors and floor. Cld and thinsulate for the remainder)
Thanks for reading. You guys are all such a wealth of knowledge and I’m greatly appreciative of all the help I’ve already received from this forum!
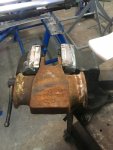
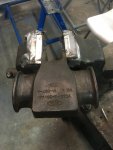
More to come as I finally get started on the ujoint install. Pretty excited about this part.
John
Attachments
-
 1EEA5189-4D66-4EA6-B33D-C8B87E7FDA58.jpeg1.4 MB · Views: 83
 -
 20ACB6DB-012A-46C4-8A5E-6C7B8E5A4D39.jpeg1.3 MB · Views: 85
 -
 26C9F502-117D-4314-AE56-86637E9BAB25.jpeg1.4 MB · Views: 81
 -
 4C6F4E45-D631-4042-A5EC-F4222677EE2E.jpeg1.3 MB · Views: 78
 -
 18E6F0C3-8719-4F30-B213-063E6E5BB95E.jpeg1.2 MB · Views: 83
 -
 8D611A88-BC4B-4FEE-B6F0-F14FE82F3875.jpeg1.7 MB · Views: 81
 -
 62D8460F-6EB7-42B5-B8C1-71880CD91DD8.jpeg1.5 MB · Views: 83
 -
 AF5003C1-A1B4-4DE7-BE87-B3F3CE54DF2F.jpeg1.8 MB · Views: 82
 -
 598D85DA-E448-4652-892D-31C58A46436E.jpeg1.1 MB · Views: 83
 -
 FC7B1F8D-548D-45DF-BEAC-41891BE8238C.jpeg1.5 MB · Views: 73
Last edited:

