PaulJensen
Custom Builder
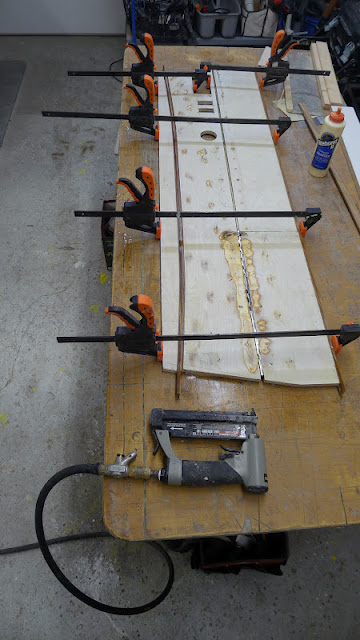
...the little blocks you have added to the front are actually morticed in...Is it as simple as router and chisel?
Close...Router jig and a file...
...the little blocks you have added to the front are actually morticed in...Is it as simple as router and chisel?


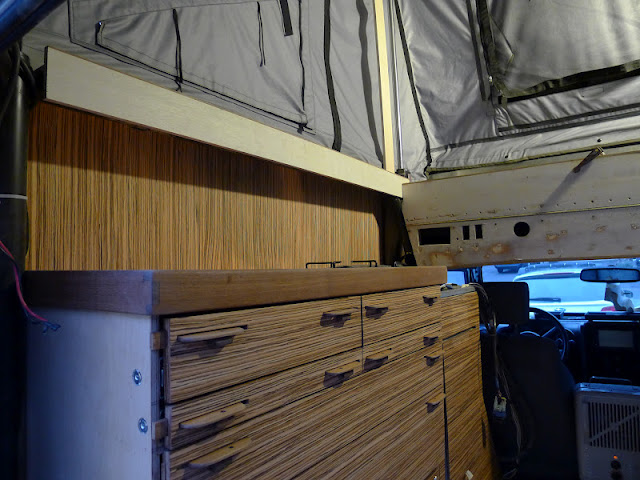
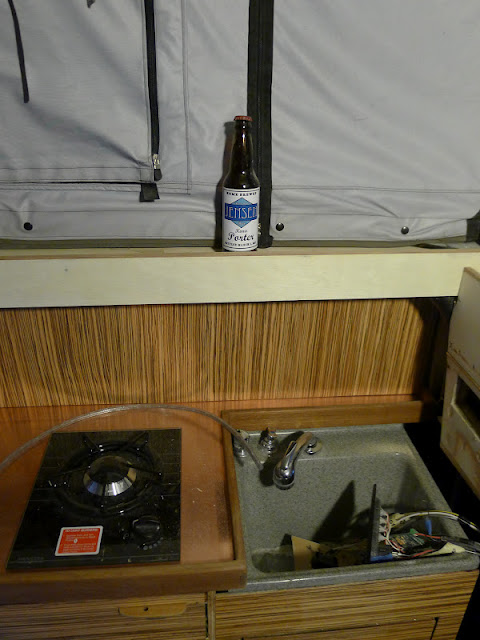

Beautiful work Paul. Was there any consideration given to replacing the sink with a metal basin. The speckled plastic is not a good match with the lovely copper and zebra wood.
There must be an optimum response to this comment, but damned if I know what it is.If Mike isn't deep into five digits for this project, Paul is getting cheated. Just sayin'.
There must be an optimum response to this comment, but damned if I know what it is.


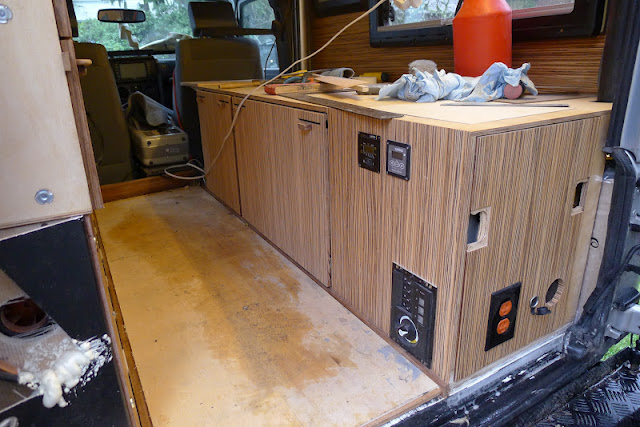
Seems a bunch of weight was pulled out also- could be a washI wonder what the before and after weight of the vehicle will be. Just curious if all the wood and fiberglass resin will make for a big handling / performance difference. :smiley_drive:
Paul- Great work! Let me know if you'd be interested in teaming up on another project.
Mike- When do we get to see the finished product? This year's OvEx might be a great venue for an unveiling
I wonder what the before and after weight of the vehicle will be. Just curious if all the wood and fiberglass resin will make for a big handling / performance difference.