FJ60 E-ROD Swap - SRMINT - Stoffregen Motorsports

A LC9 truck accessory drive was purchased and installed for mock up.


Then measurements were taken, the truck centerline was mapped out on the floor of the shop and adjustments were made to get it lined up.


With the new accessory drive installed, we ran into our first problem. And it wasn't a small one.


I knew when we ordered the LC9 accessory drive that there would be interference with the alternator bracket, but ICT billet makes a relocated idler bracket to fix this. Others have done this and that was the plan. But the throttle body contacting the water pump outlet was not something we knew about or could work around. I found out the hard way that the throttle bodies are different and only the old style fly by wire throttle body will work with the truck drive. Needing to come up with a solution, I figured there were four options:

- Move the water outlet - this would make the water pump irreplaceable in an emergency, so big no.
- Raise the intake manifold with spacers and space the throttle body out from the intake. Remember this engine came with specific guidelines to make it emissions compliant, so use of these spacers was not an option while still being emissions compliant.
- Use a truck intake, but for the same reasons listed above, couldn't do that.
- Bite the bullet and completely redesign the install layout and purchase a Corvette accessory drive. This was the right answer, ad though it cost me $1500, I was happy to have an option. Anyone need a brand new LC9 accessory drive?
 
Our new drive was on order, so this was a good time to work on something else.

Let's build an axle.

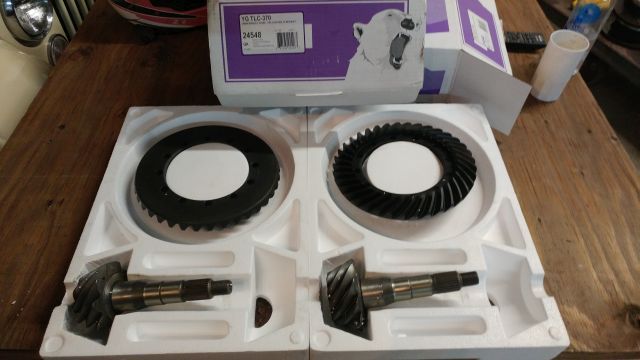
3.70 gears are as high as you can go in the LC 9.5 diffs, and I've used them in the past (Olive Oil build). Randy's is the only supplier for these gears.


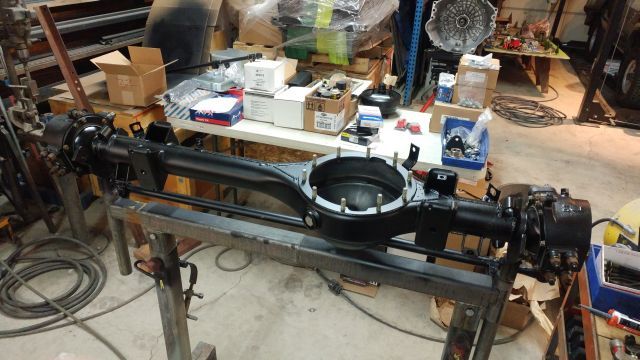
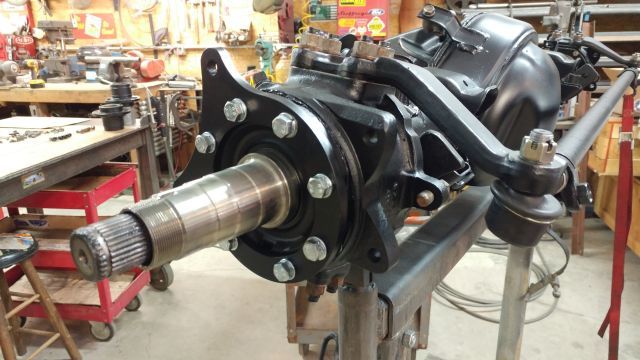
Axle housing all cleaned up and restored with as many new parts as possible, which is basically everything.


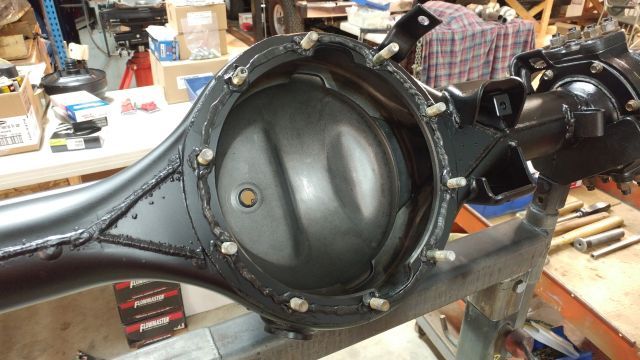
I use a thick bead of "the Right Stuff" RTV when installing diffs. Gaskets leak, this stuff doesn't.


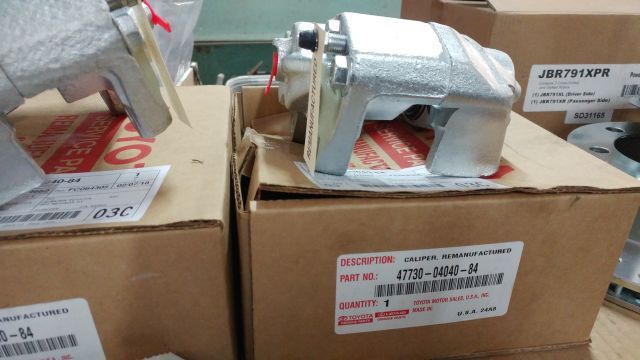
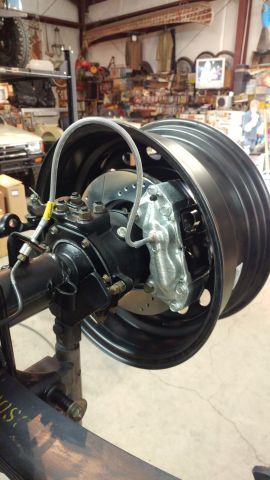
I mentioned brake upgrades earlier. While the original type brakes are adequate, there aren't many ways in which they can be made better. You can install better rotors and pads, but the one major flaw in the design is that the rotors are held captive by the wheel hub. To replace the rotor means disassembly of the hubs and pressing out studs. I hate that. Luckily I came across an upgrade a few years back that I have been pushing like mad. Front Range Off Road makes a Tacoma brake kit for these solid axles. They allow the use of beefier Tacoma calipers, and slip on Tacoma rotors. They also widen the axle by 1.5" per side (3" total). That last attribute is not as sound as it seems, as it screws with wheel scrub ("The scrub radius is the distance in front view between the king pin axis and the center of the contact patch of the wheel, where both would theoretically touch the road.") Less scrub is better for many reasons. This truck already had spacers on it to allow for the heavy offset of the custom wheels, so the added width did not hurt us at all. Basically we were just removing the wheel spacers.

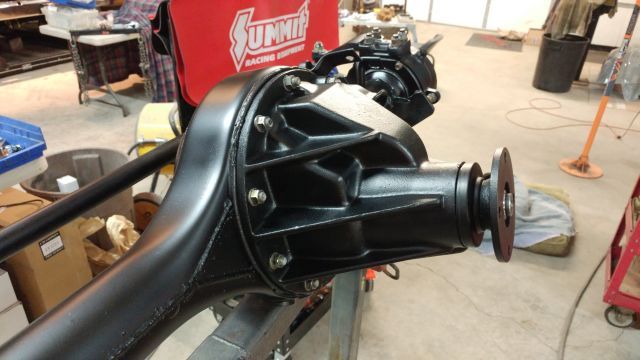
Anyway, here's the rest of the axle assembly, again, using as many new parts as possible.


And some longer wheel studs for the added thickness from the new rotors.


Here are the Front Range Off Road brake adapter plates. I paint everything that will see the elements.

 
Some of our hardware was pretty beat, with rust and corrosion. Buying OEM Toyota parts is not always a cheap endeavor, especially when it comes to items like nuts and bolts. With some web searching, I came across a few different companies that sell OEM type hardware, but the company that offered the most originality was Overland Metric. The stuff is not cheap, so I started with a small order.

Here are the locking hubs going on with the new Overland Metric bolts.


One axle completed.


The brake hoses are from Specter Off Road.

 
Last edited:
Other new parts are incredibly expensive. A new OEM brake booster (if even available) costs over $1500. A new power steering box is over $1800. Solution? Rebuild them instead.
The brake booster is one commonly overlooked are of the brakes, and a larger booster helps the brake power, and not just a little. FJ80 boosters are almost a direct fit, so I sent out the core to be rebuilt by Power Brake Sales in Sacramento. The total cost of a rebuild is less than $200.


Red Head Steering Gears is my go-to shop for all things steering box related. The cost of this rebuild was less than $500.


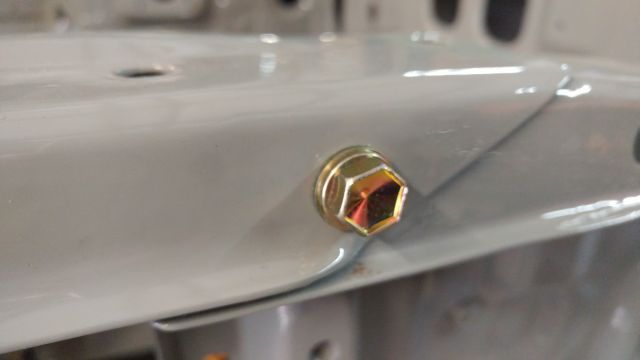
Here is another of the fasteners by Overland Metric. Beautiful stuff. (I geek out on the details...)

 
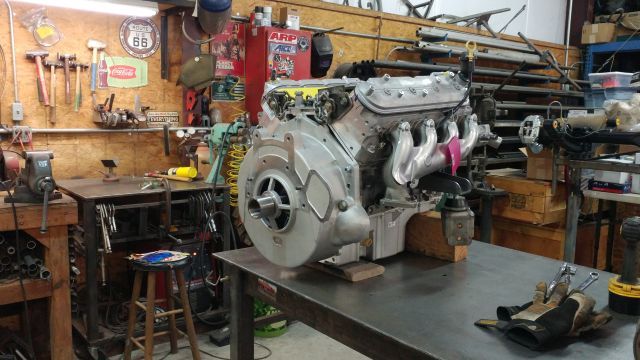
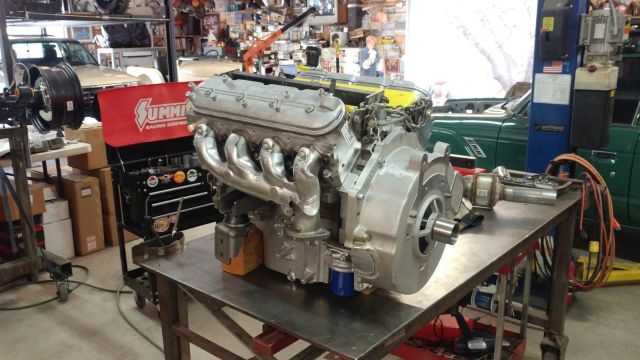
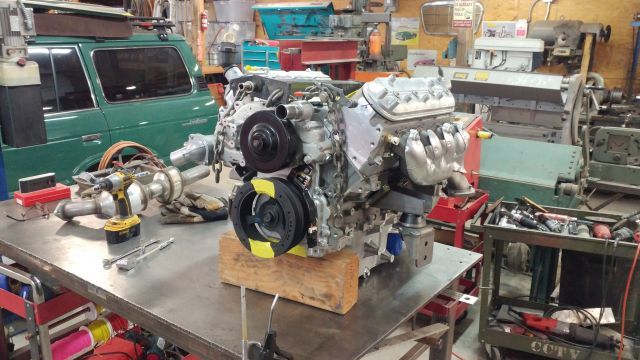
Engine mock up resumed, time to start on the exhaust.

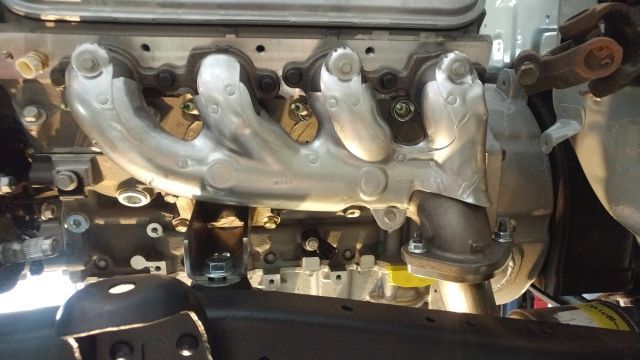
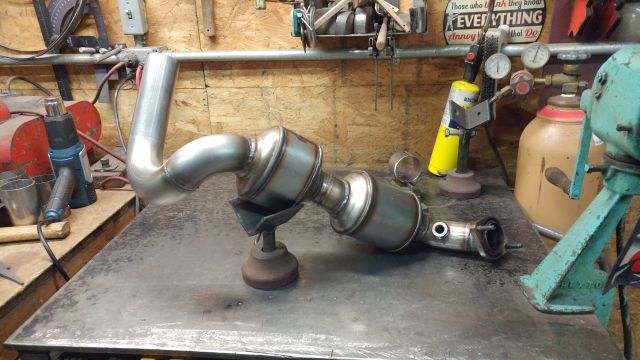
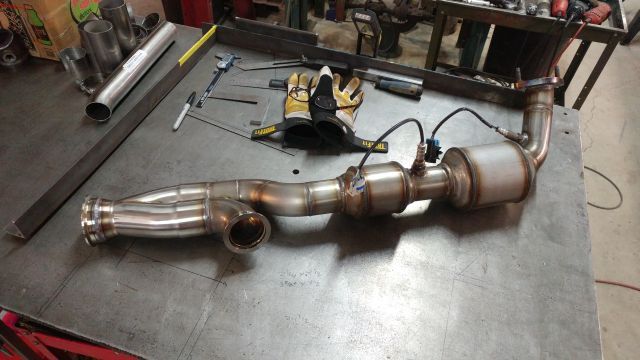
For those of you who don't know, the GM E-ROD engine is an emissions compliant engine for any vehicle pre-OBDII. That's huge. But there is one area that scared the crap out of me: the fitment of the catalytic converters. I knew it was possible, as I had seen one or two online (though their attention to detail wasn't great), so throwing caution to the wind, I grabbed the GM supplied head pipes out of the box and and started the process.

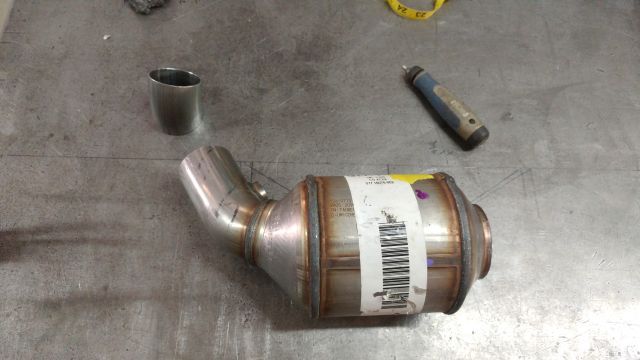
I had heard many rumors about people having trouble with their E-ROD cats, namely the changes in placement of them. If the ref doesn't like where you put them, he can just fail you on the spot. Not wanting to fall into this hole, I read and re-read the install guidelines and found that GM offers measurements for their placement. The first cat is supposed to be 16" to 20" from the closest exhaust port face on the head, the front O2 sensor is supposed to be within 4" of the front cat honeycomb. The guidelines made no mention of the rear cats or the rear O2 sensors, so instead of daring to be different, I wanted those to be as close to the stock layout as possible. There was no way the head pipes would fit in their stock configuration, so I jumped in and started chopping them up.

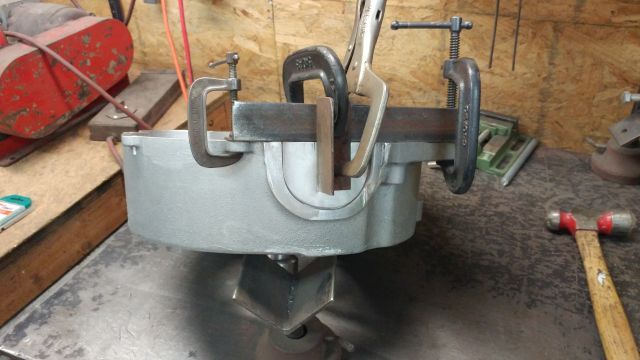
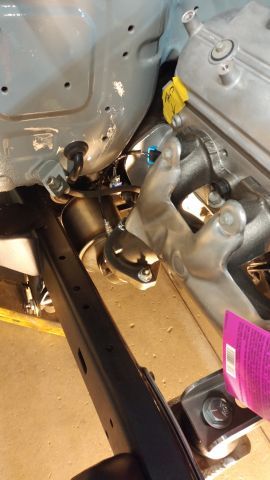
The first hurdle was the interference between the driver side front cat and the bellhousing. For some reason, Marks makes their bellhousing with an extra starter pocket on the driver side. This had to be removed.


Back to the exhaust.

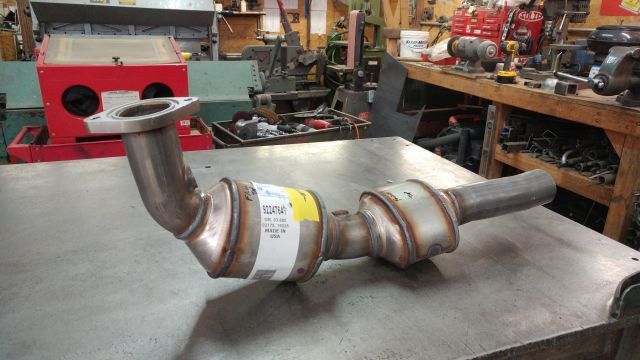
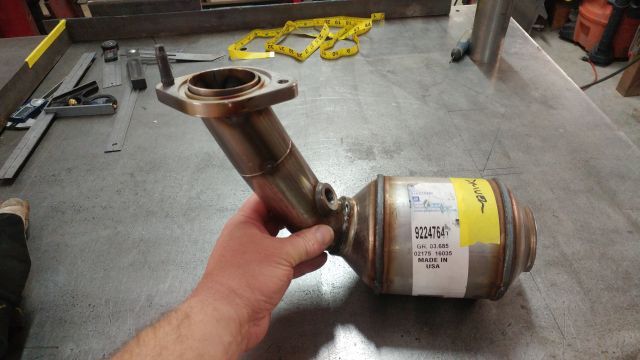
Here's the OEM head pipe straight out of the box. Let's try to keep it as original as possible.


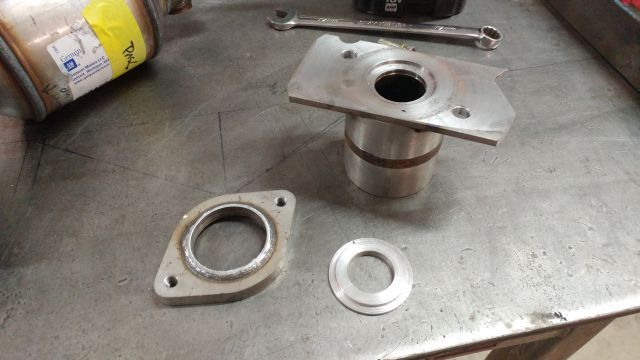
The first thing to do was cut off the flanges and clean them up for use again.


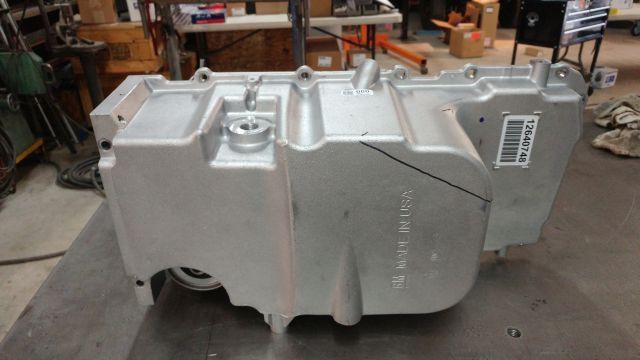
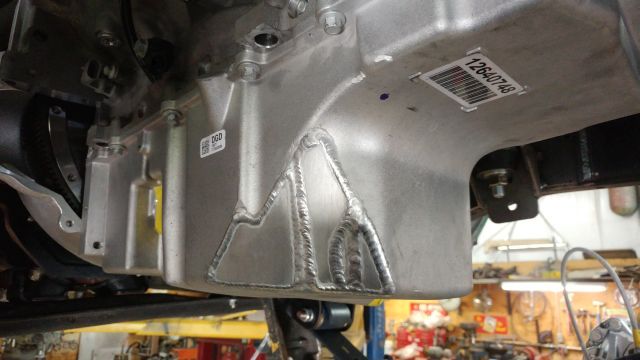
The original build plan included a steel oil pan from Pacific Fab, but the last one I used interfered with the flange on the front diff, so even though we purchased one for this job as well, I wanted to try a mock-up with the OEM GM LS3 pan.

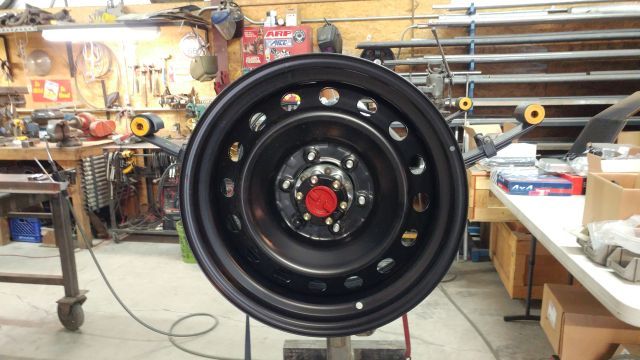
First, a mock-up with the axle was done to verify this. I used an OEM FJ Crusier wheel for fun, to test the scrub and see how they fit inside the fender.

Apparently this wheel is much cheaper in Canada than it is here. My dealer charged me nearly $160 for this wheel.


But they look great on the truck, and the fit was beautiful.

 
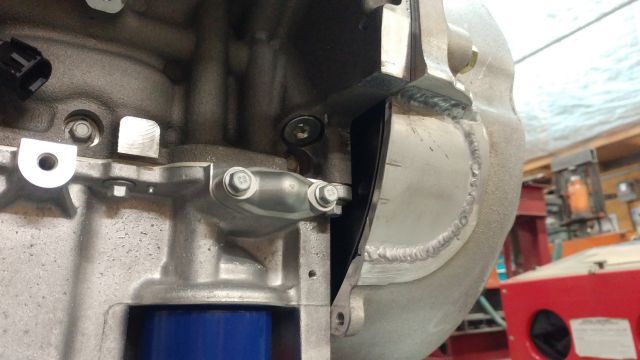
Yep, the oil pan hit, but I figured I'd modify it and see how it works.


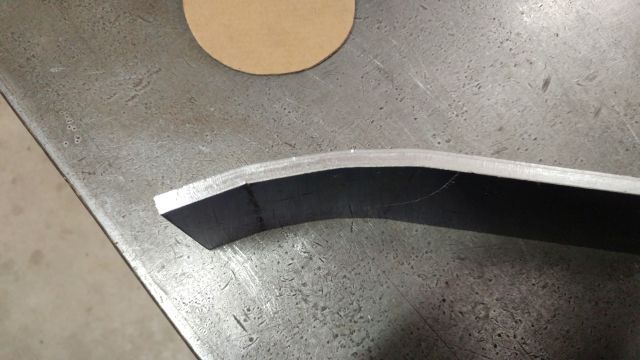
Instead of making one large patch and having to weld in the tight nooks of the pan interior, I decided that three individual patches would be the best way to plug this hole. I am by no means a master of TIG welding, but I can get the job done.


Once again, back to the exhaust. Building these trucks is a circular affair, with attention going where it makes sense at any given time. So if it seems like these project jump around, they do. Ask our friend Brennan Metcalf about his LX45 project and he'll tell you the same thing.


Mock it up with the front driveshaft.


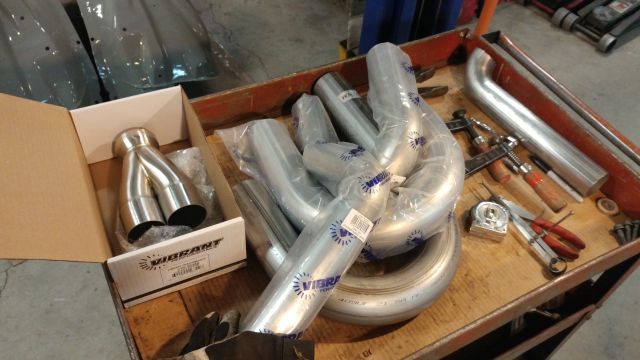
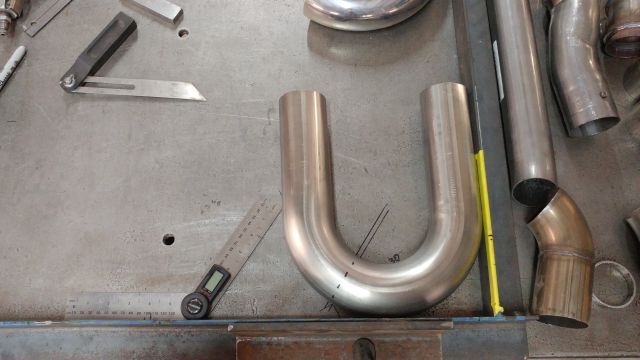
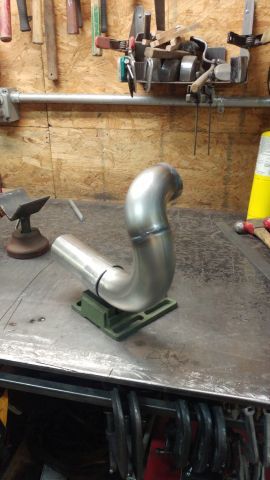
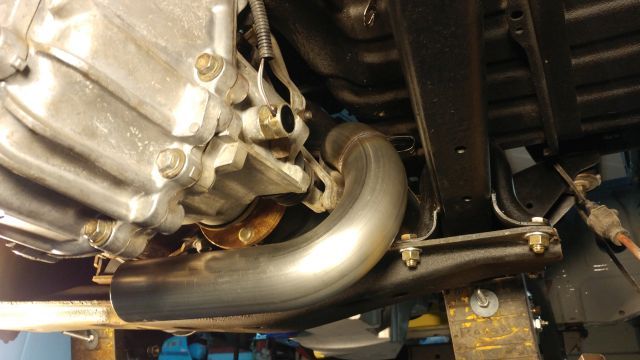
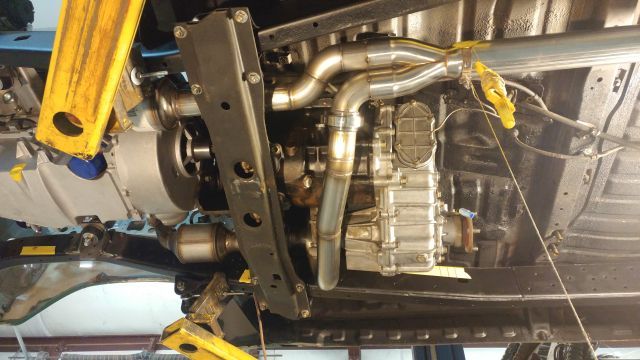
After fitting the front half of the pipe, I had to figure out how to make the turn around the transfer case. The tightest radius bend was purchased for this job. I almost bought a 2.5" stainless donut, but the cost was almost $200 for one single piece. Luckily, I found a 90 degree bend with the same radius for about $40.

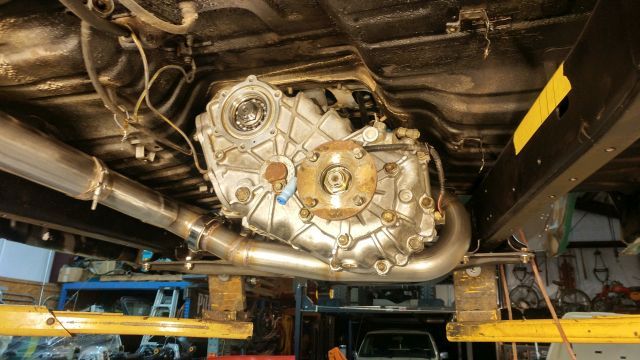
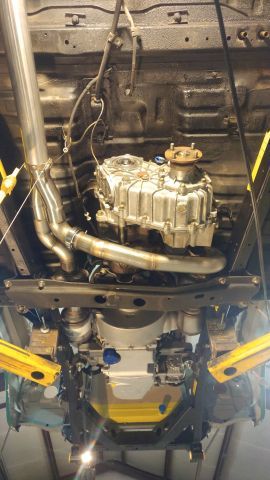
Here's how I got around the t-case.


Connecting the two sides to make a single exhaust is one of my favorite parts of the job. I don't know why, but it is. Maybe it's a closure thing...


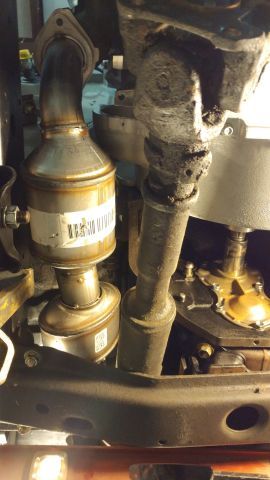
These aren't the best pics, but they give you an idea of how tight it really is.


I'm definitely going to have to make all new fuel, brake and rear heater lines for this truck. The passenger side cats take up all that space.
 

marshal

Burrito Enthusiast
holy balls that exhaust work is nuts. I can't wait to see more! your threads are always the best
 

Forum statistics

Threads
186,206
Messages
2,883,368
Members
226,050
Latest member
Breezy78
Top