You are using an out of date browser. It may not display this or other websites correctly.
You should upgrade or use an alternative browser.
You should upgrade or use an alternative browser.
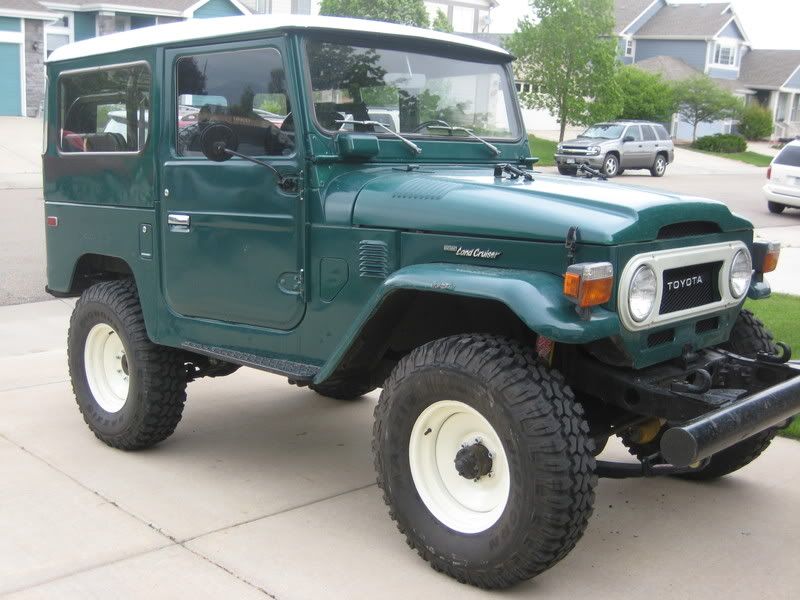
Turtle Tractor - my new FJ40
- Thread starter Jacket
- Start date


Box Rocket
Well-known member
Very cool 40. I've missed mine ever since I sold it 5 years ago. Your's looks to be really pretty solid for its age and even better with the things you've done to it. Good work. Definitely a twinge of jealously from across the rockies looking at that.

Jacket
2008 Expedition Trophy Champion
It was really easy, and it the first time I did a brake master cylinder swap, so my times might be a bit longer just because I took my time and was deliberately deliberate... Just unbolt the two hard line fittings, pull the two elec. sensors from the bottom, and 4 bolts to remove the old BMC. Its a tight fit to access the lower inside bolt. I removed the air cleaner and used a long ratchet extension to get in there. Maybe 30 minutes total.
I bought an el cheapo bench bleeding kit, and it only had one proper metric fitting for my MC, so my bench bleed took a while and really didn't work all that well. Maybe 30-60 minutes.
Clean up the old brake booster and inspect for any damage or wear. Mine looked fine, and was working fine prior to the job. Some folks use this as an opportunity to upgrade their booster as well, but that's optional. Bolt the new BMC onto the brake booster, noting where any brackets or other parts were previously. Reattach the sensors and the two hard lines. You'll probably lose and spill brake fluid at this point, so make sure you've got rags for protection and cleanup.
After that bleed the lines and you're done. My wife was my assistant, and did the pumping while I watched the screws and got the old fluid out of the system. 30 - 60 minutes.
A few other pointers:
- spray all bolts, fittings and the bleeder screws with PB blaster at least a couple times leading up to the job
- clean the hardlines before removing them. You don't want dirt and grime getting into the system.
- brake fluid is nasty stuff, so take care not to spill, splatter or drip on anything with paint on it. Use tons of rags.
- they have rebuild kits out there as well, but for me it was a no brainer to just go ahead and get a new unit. Brakes are an area I try not to skimp on..
HTH.
Jacket
2008 Expedition Trophy Champion
Progress on new sill replacement
The new channel wings didn't line up perfectly, and I had to grind a bit off the passenger side and do some creative tacking to get everything to line up as good as possible.
For the new fender pieces, I traced the existing cutout section onto a piece of paper, then traced that onto cardboard, and then finally onto the sheet metal. I got pretty close with the cuts, but tried to error on the side of too big whenever necessary. I added some holes in the center of each piece to weld the new sections to the CCOT channel.
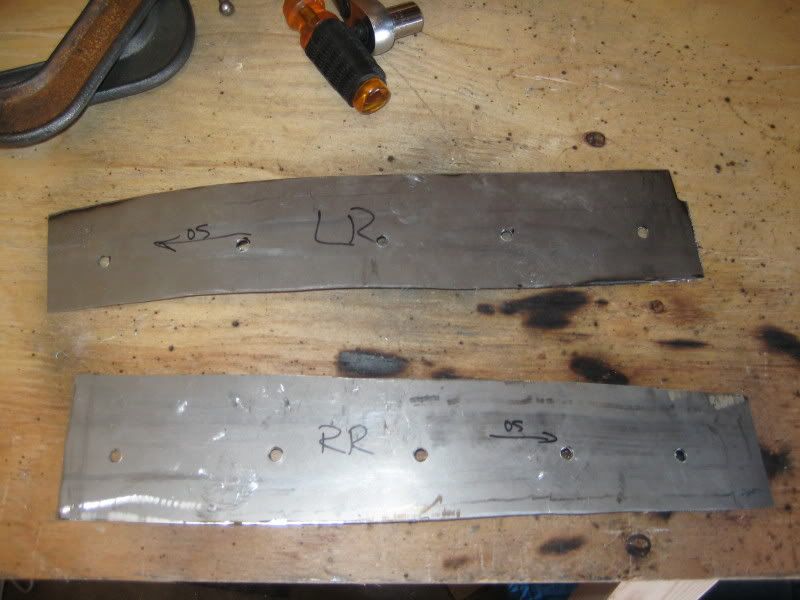
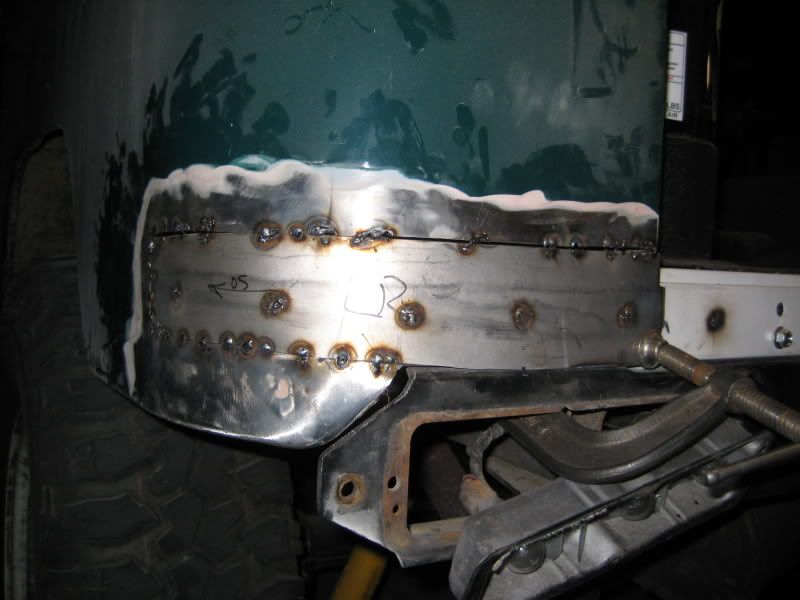
The 16g bends pretty easily with some clamps, and I tried to start at one end and work my way to the other. To try and control the heat and warping, I just did a series of tacks all along the seam, starting with 2" (or more) gaps, then filling in the spaces. I drilled holes in the custom pieces, and tried rosette welds through to the channel wings.
Driver's side in the middle of tacking it in. I had a bit of trouble getting good welds without burning through.
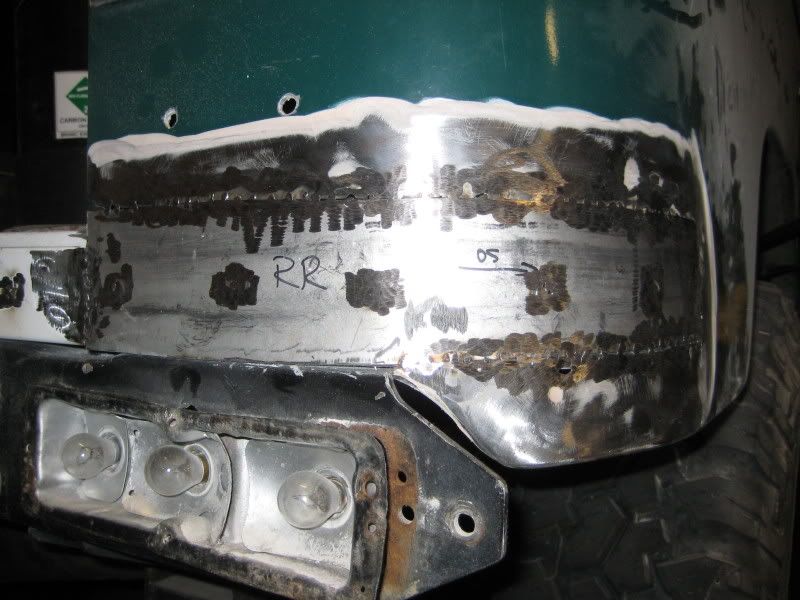
Passenger side tacked in. Welding got better on this side.

And welds ground down
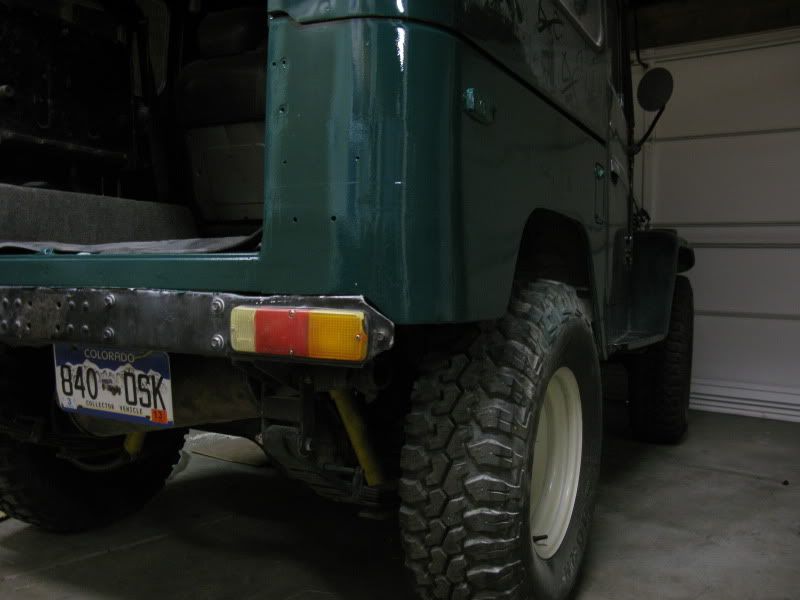
So far I'm happy with how things are coming together, especially for a first-time welder. Next up I'm going to fill in the remaining holes with Duraglass and/or seam sealer, then cover it with some filler to smooth everything out.
The new channel wings didn't line up perfectly, and I had to grind a bit off the passenger side and do some creative tacking to get everything to line up as good as possible.
For the new fender pieces, I traced the existing cutout section onto a piece of paper, then traced that onto cardboard, and then finally onto the sheet metal. I got pretty close with the cuts, but tried to error on the side of too big whenever necessary. I added some holes in the center of each piece to weld the new sections to the CCOT channel.
The 16g bends pretty easily with some clamps, and I tried to start at one end and work my way to the other. To try and control the heat and warping, I just did a series of tacks all along the seam, starting with 2" (or more) gaps, then filling in the spaces. I drilled holes in the custom pieces, and tried rosette welds through to the channel wings.
Driver's side in the middle of tacking it in. I had a bit of trouble getting good welds without burning through.
Passenger side tacked in. Welding got better on this side.
And welds ground down
So far I'm happy with how things are coming together, especially for a first-time welder. Next up I'm going to fill in the remaining holes with Duraglass and/or seam sealer, then cover it with some filler to smooth everything out.

ntsqd
Heretic Car Camper
I haven't had much interest in a 40, until this picture. :drool:
Think my GF would notice one more added to the stable of 8?
Yah, probably huh......
Forum statistics
Members online
- plumber mike
- NEVERENOUGHAZ
- wackyhacky76CO
- Hobo Maximus
- ThundahBeagle
- Rileyrw
- explore_more
- Tfar90
- Blackthorn_Toranaga
- CobraChicken
- where_the_heffalump_roams
- mark5280
- jperson
- claymond
- Neversatisfied
- cmccune65
- Kashio
- jsumma
- threerivers
- Pierre D
- Inspired Adventurist
- parabolD
- Bikersmurf
- Savagenut
- frankwhite
- NCSKI
- tacollie
- tjalward
- Outono
- 57Cessna172
- Ferjablito
- matttahoe53
- DesertIslands
- OregonGX
- mbuckner
- 406to417
- COpathy
- Skinhyfish
- sovereign
- Dr Shafty
- Sean Rock
Total: 621 (members: 44, guests: 577)