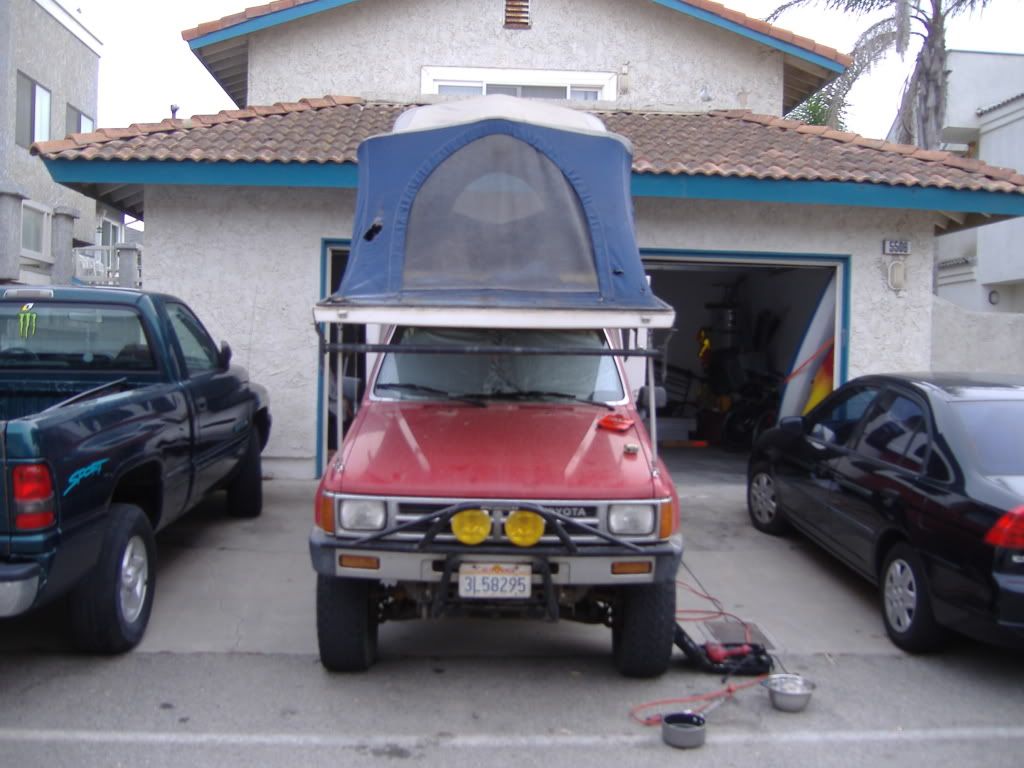
$150 Flip Pac Build (sort of)

red87

Adventurer
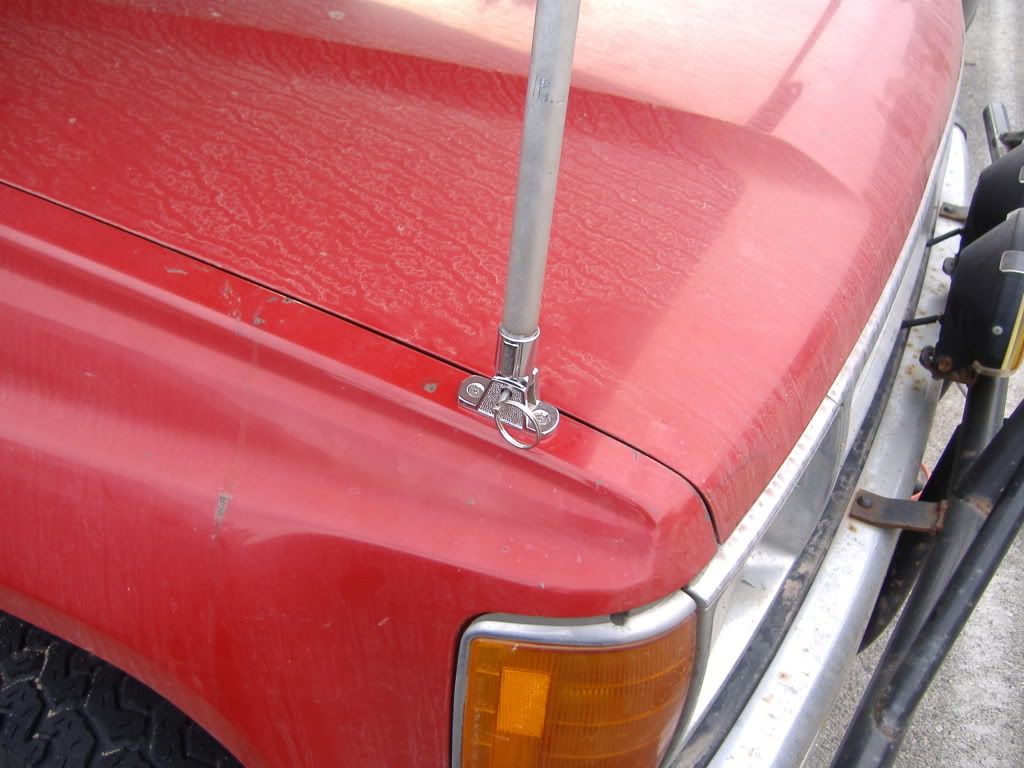
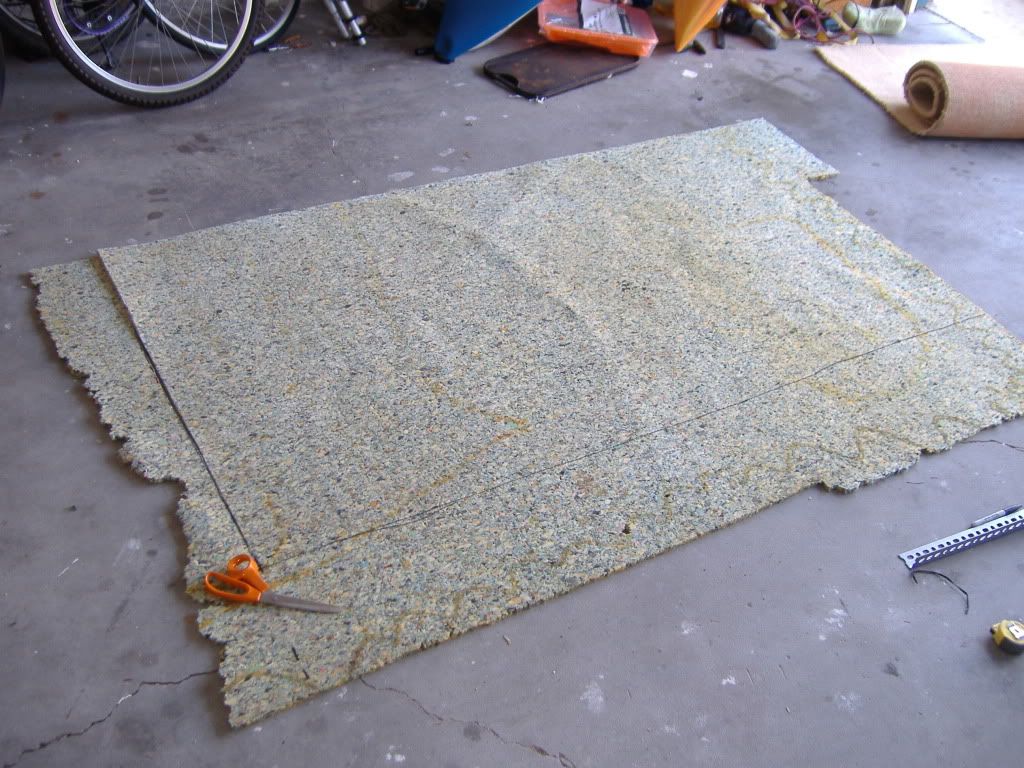
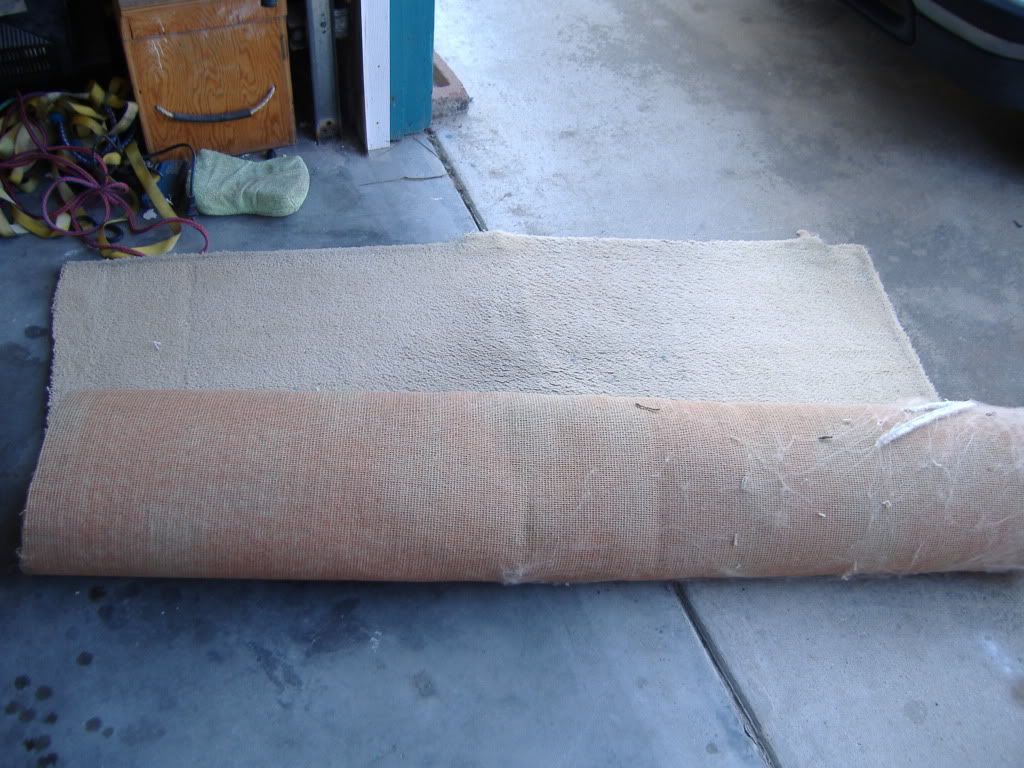
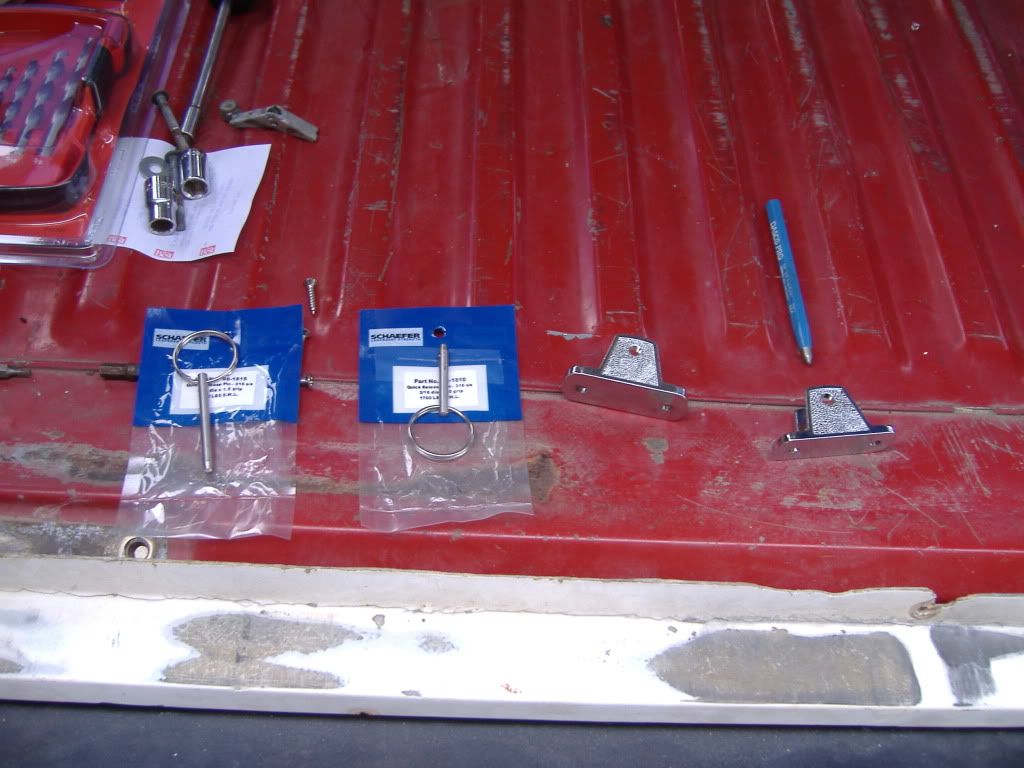
Today's update is a good one. I went to West Marine and picked up the pieces to finally get the support struts mounted to my fenders so I can go into the sleeping area for the first time :wings:. It wasn't a lot of work but its a huge psychological boost to be able to actually use the Flip Pac. I also picked up some carpet and padding from behind a local carpet store for free. I don't think it would be too pleasant to step out of my nice warm bed onto a cold metal truck bed.

Note the nifty little pins I picked up too.
DSCF0595.jpg


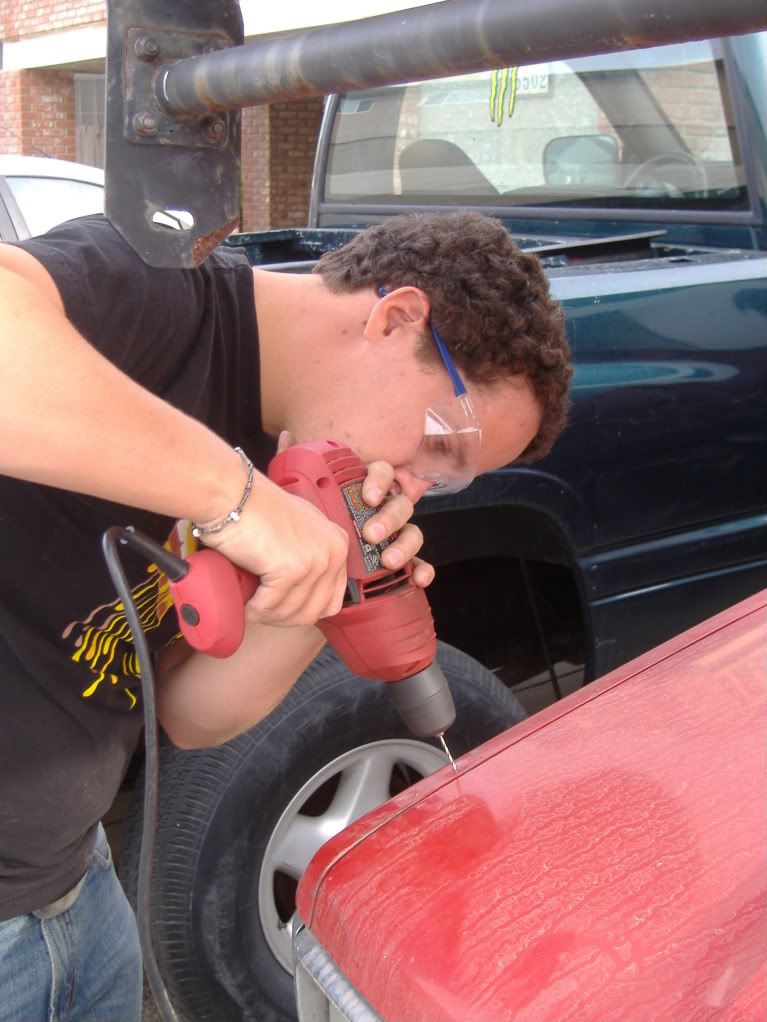
Hard at work drilling holes in my truck.
DSCF0605.jpg


Finished.

DSCF0606.jpg


DSCF0608.jpg


Those holes are my next big project and I'm not really looking forward to it. Any suggestions on the best way to sew patches over them? I've got some waterproof vinyl I'm going to use and I'm planning on getting a nice big curved needle and some waxed thread.
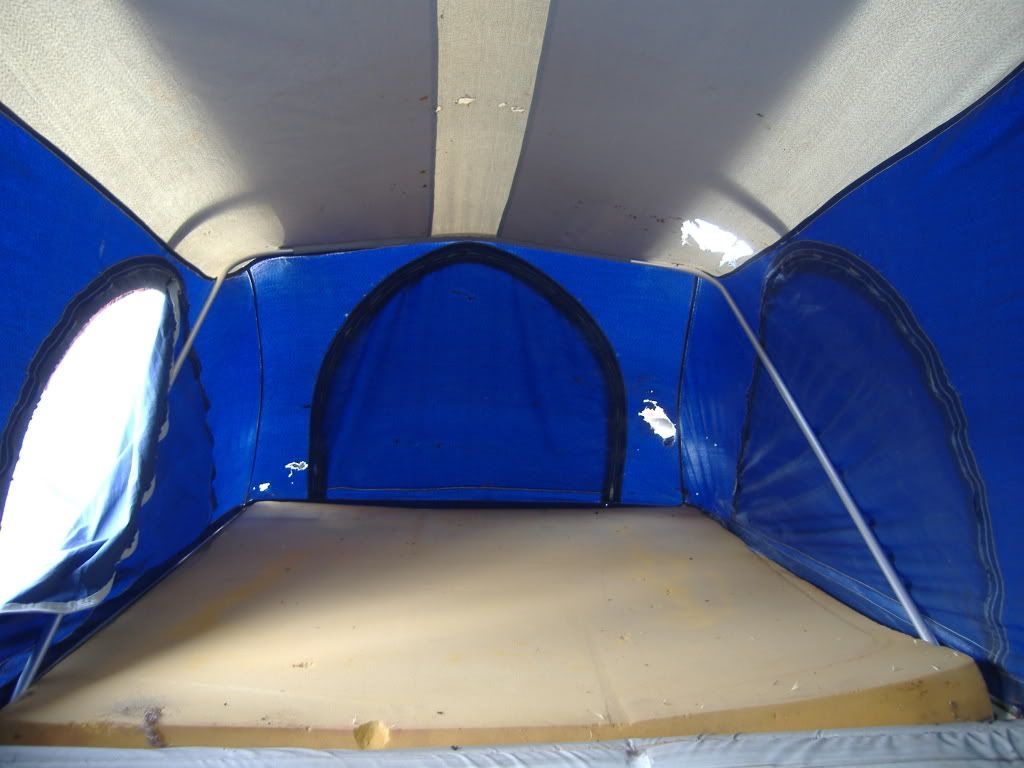
DSCF0596.jpg


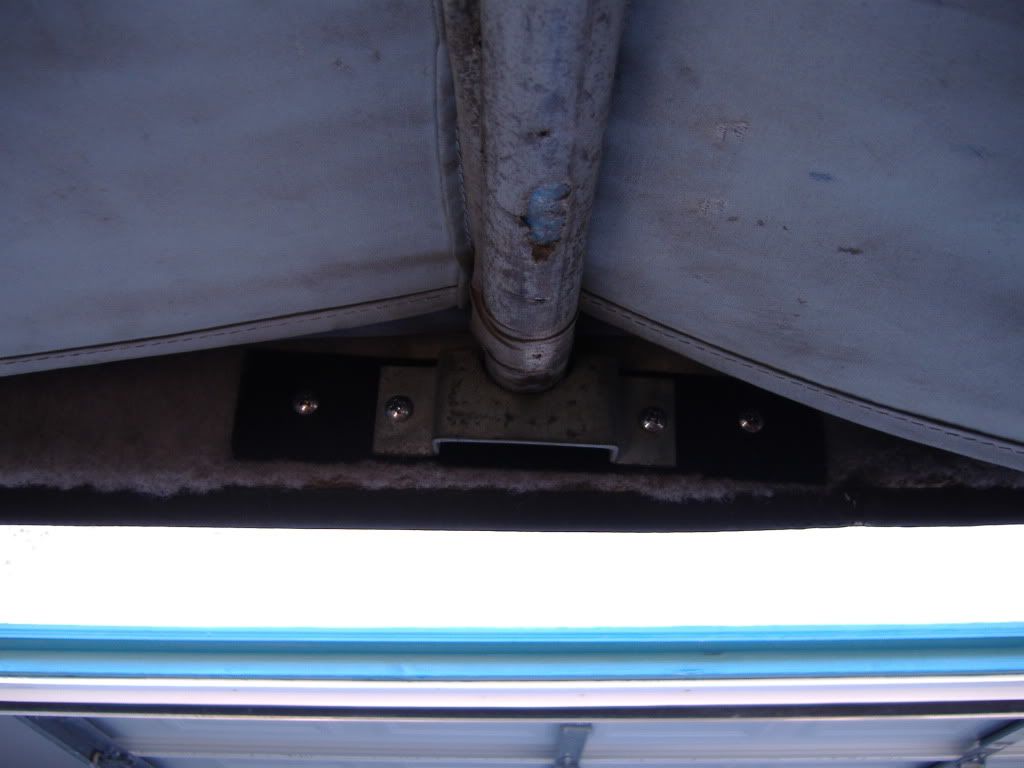
I also noticed that the supports for the ends of the hammock poles are totally rusted out so that one more thing I should probably replace.
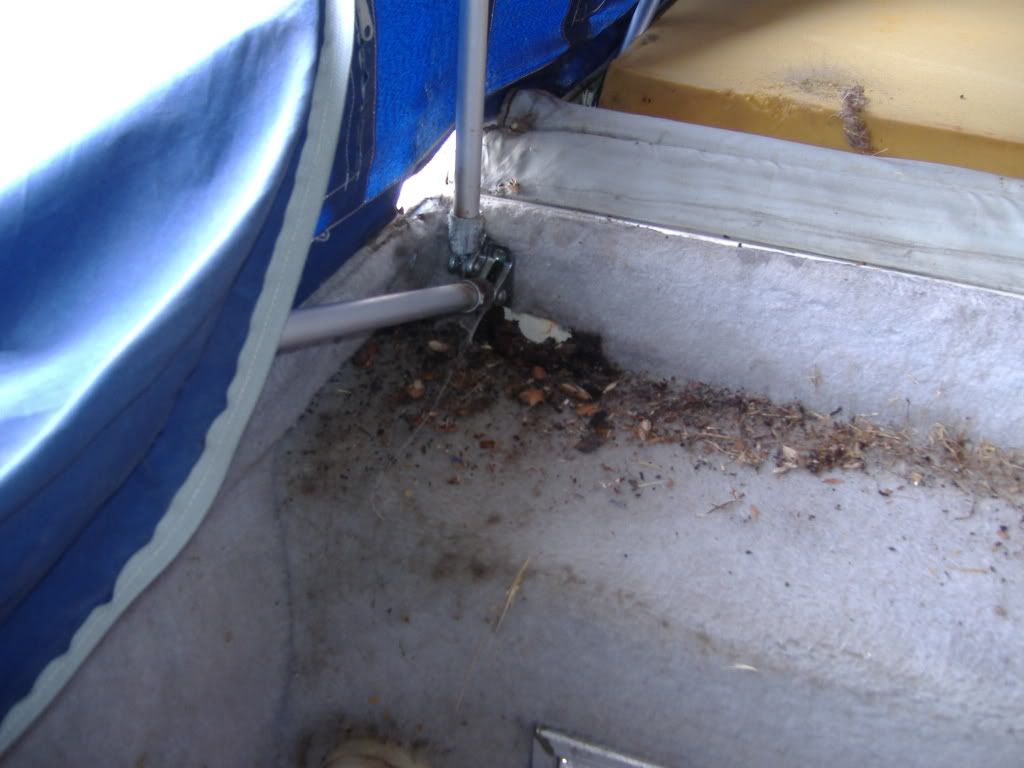
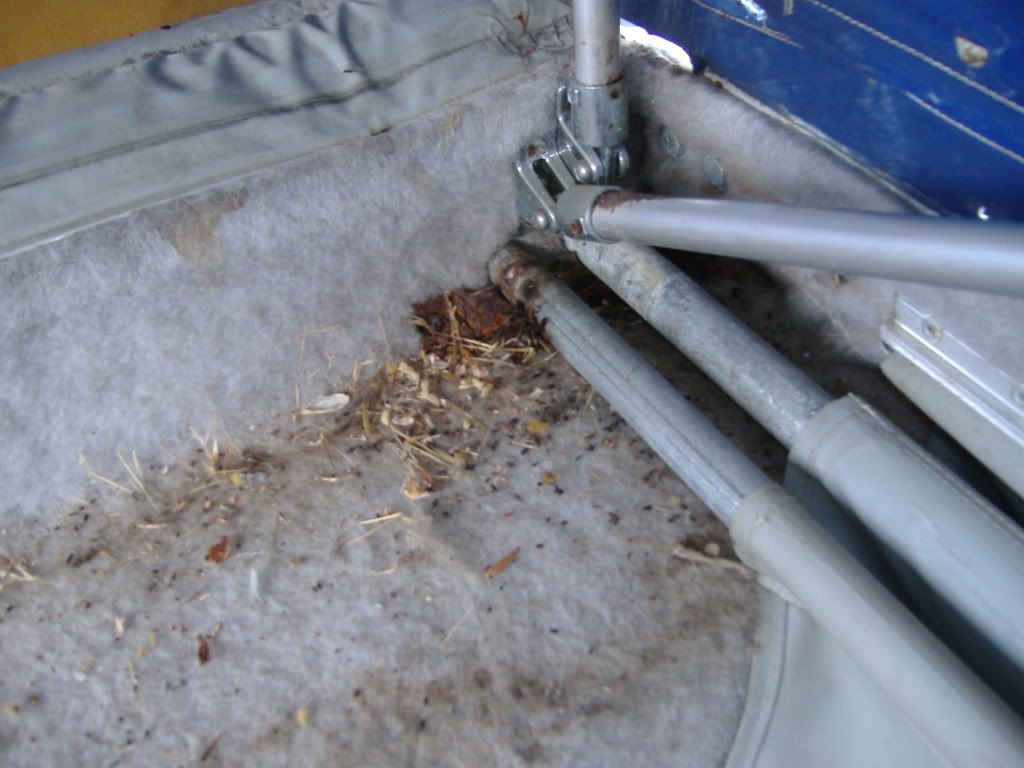
DSCF0597.jpg


DSCF0598.jpg


Tomorrows jobs include cutting the carpet and hitting up the army surplus store to get some ammo cans.
 

Bella PSD

Explorer
Call Diane at flip Pac. I bet those hammock end supports are not that much. IE: The pin connectors for the support bars going to the hood/fenders that they sell new Flip Pacs with are only like $5.00. And the factory pin connectors are hidden between the fender and hood.

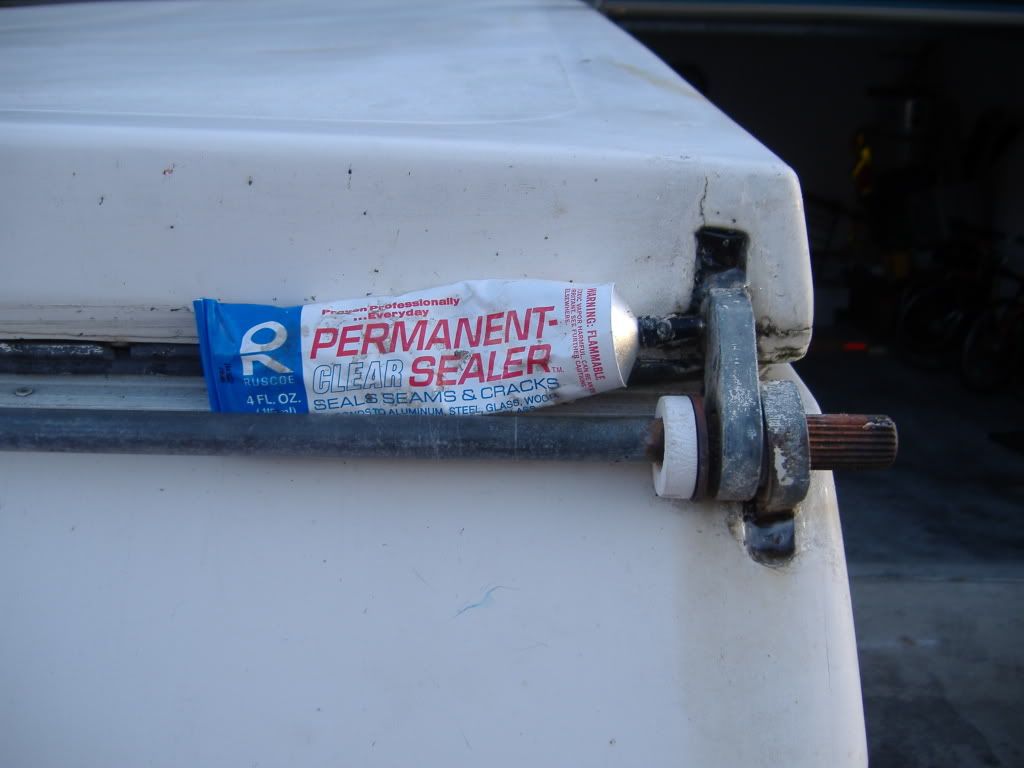
Check the sealant at the front of the Flip where the hinges are. Common cause for water leaks. If it looks dried out or loose, dig it ALL out and re seal it with really good silicone. I bet that’s what happened to your hammock end supports. Also on the hammock, you can remove it by sliding it from the rail system on the wall. Makes it easy to clean. Also study the way your flip closes together. It may have a slight bow in the center that will let water in. Easy fix here, just double up the weather stripping at any sign of separation of the two pieces coming together. You can also adjust the rear clamp turnbuckle’s to pull down more on the closed flip.

And if you tent patch does not work out you could buy the rain fly for the flip pac. Its about $250 and fits so good, those holes would not be a problem. You’re going to need it anyway if it rains. And if all else fails you order a new tent. I was quoted $600 this summer for a new one. Or take yours off and use it as a template to make a new one locally.

I bet it felt good to get it all opened up and secure!!

Louie
 

red87

Adventurer
$5 for the brackets on the fenders? I spent way more than that on the ones I got, oops. Thanks for the tips on sealing the flip pac, I'm sure it needs some renovation there. When you say check where the hinges are for leaks, do you mean checking around the actual hinge pieces or just in the front?
 

robert

Expedition Leader
Looking at where your larger holes are they look like the fabric is rotten. If that's the case you may have problems sewing a patch on, you have to get it wide enough to get into good material and if your material is starting to go bad each needle hole may enlarge when under tension. I have seen folks glue patches on with fabric glue and they hold just fine as long as the area isn't stretched. Either way, put a corresponding patch on the backside of it as well.

The two biggest reasons I've seen for the tent material to rot is unchecked mildew and getting some sort of foreign substance on the fabric; most folks don't have their tents open enough for UV to break them down. I would clean the material well with a mild detergent (whatever they recommend), rinse thoroughly and allow to air dry. I don't know if that company recommends treating the material, but there are products out there designed specifically for protecting tents.


Disclaimer- I've never even seen a Flip-pac in person but I have dealt with plenty of Westfalias over the years and, as you can imagine with VW buses, have seen all manner of repairs to the tents. :ylsmoke:
 

ntsqd

Heretic Car Camper
There is a heat activated tape made for making sailboat sails that might be just the ticket for patching the holes. Can use an iron to set it. I built a couple control line kites using it and it is amazing!
 

red87

Adventurer
So I should be looking into glues rather than stitching for the holes then. I can do that, I wasn't looking forward to sewing anyway :)
 

Bella PSD

Explorer
$5 for the brackets on the fenders? I spent way more than that on the ones I got, oops. Thanks for the tips on sealing the flip pac, I'm sure it needs some renovation there. When you say check where the hinges are for leaks, do you mean checking around the actual hinge pieces or just in the front?

Those support brackets you bought look way stronger than the Flip Pac ones. So don’t feel bad.

As for water leaks at the hinges, I am referring to the support hinges the torsion bar is attached too. The ones that go into the body of the camper. They are filled with silicone. Here is a picture.

Camper_Build_Torsion_Bar_7-08_005.jpg
 

red87

Adventurer
Filled huh? So I'm guessing its a bad thing that I can fit my pinky around the support hinges on the lid? The sealant looks terrible on the other end too so it looks like I have something else to do this weekend
 

Bella PSD

Explorer
Filled huh? So I'm guessing its a bad thing that I can fit my pinky around the support hinges on the lid? The sealant looks terrible on the other end too so it looks like I have something else to do this weekend

Ah yea, that's not good! It won’t take long to do but will make a huge difference with the water getting in.:snorkel:

Louie
 

ntsqd

Heretic Car Camper
So I should be looking into glues rather than stitching for the holes then. I can do that, I wasn't looking forward to sewing anyway :)
I don't know that it will work here, but I mention it as an option that may worth looking into. There used to be a couple Sail lofts in the area, might see if they'll sell you a bit of it and try it out.
 

red87

Adventurer
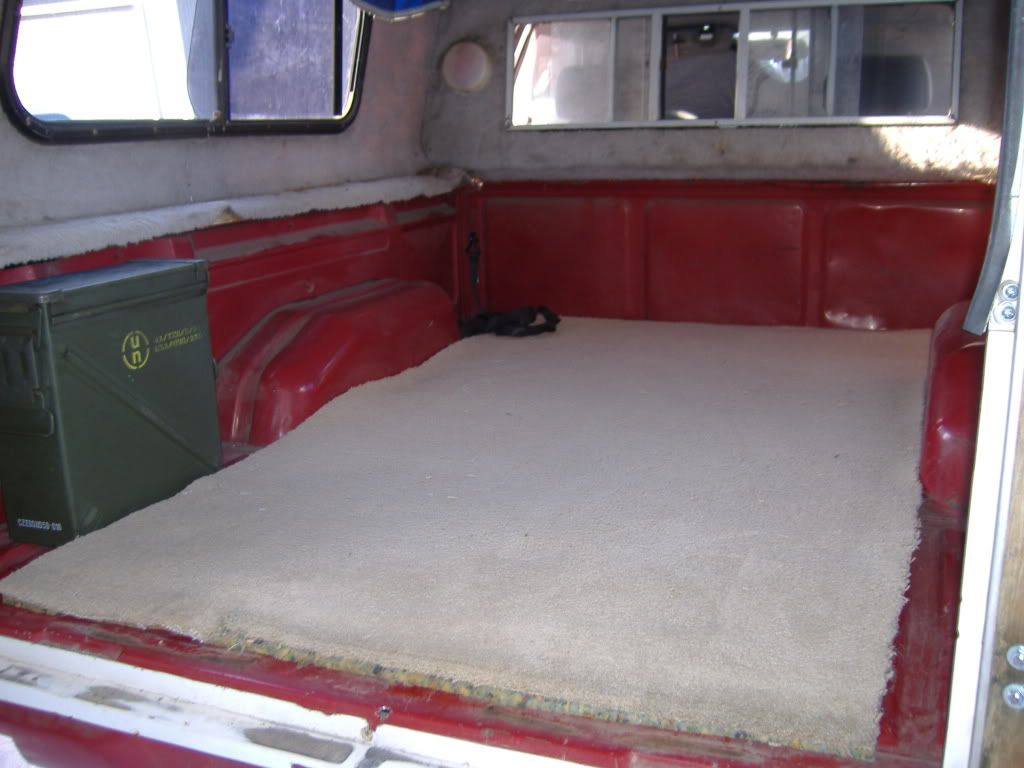
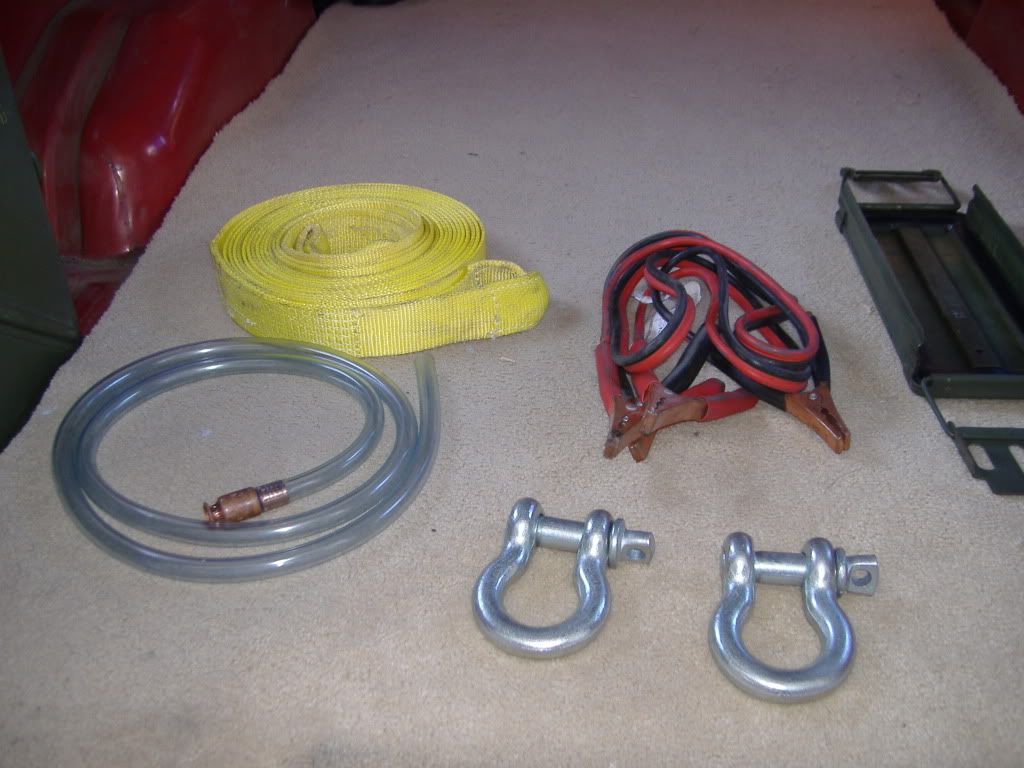
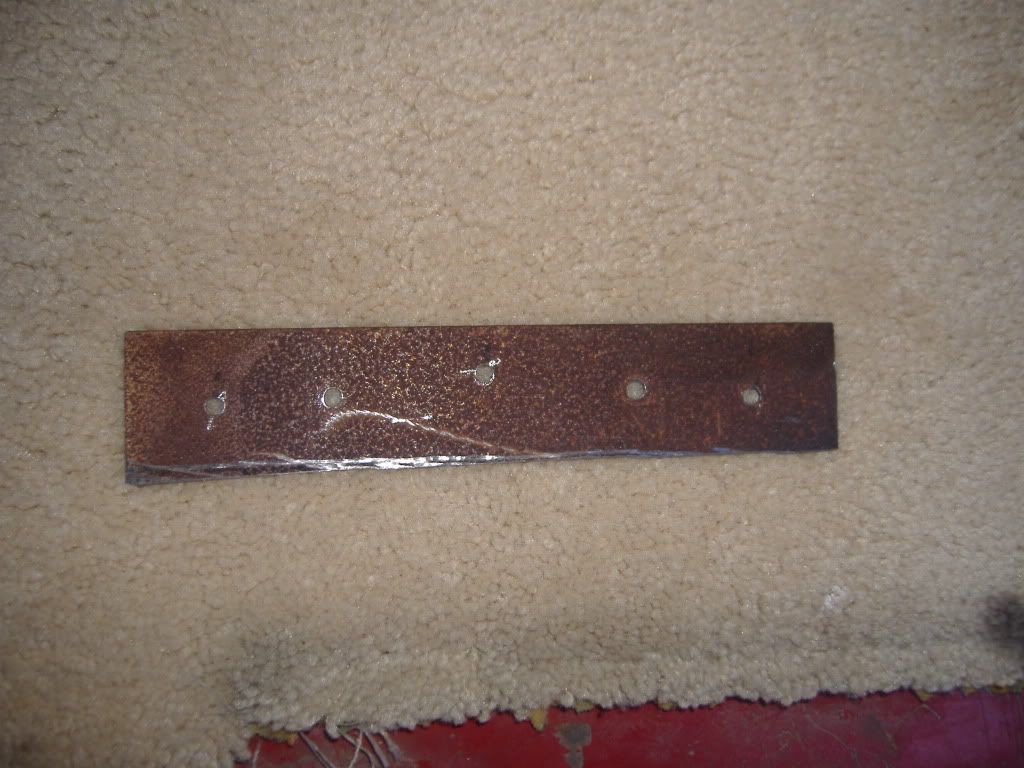
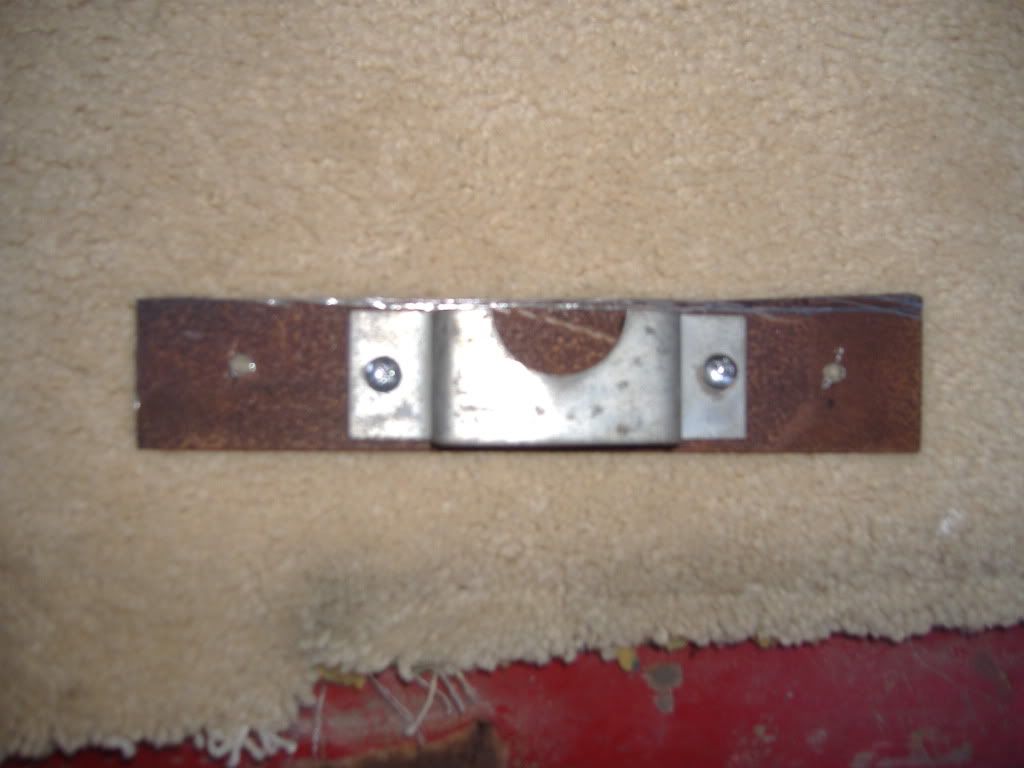
The last two days of work saw me get an ammo can to store my recovery gear in, cut and install carpet, fix the bracket the end of the hammock pole sits in and seal up the gaps around the hinges. When I bought the Flip Pac, the holes for the hammock pole bracket were completely stripped out so I cut a piece of metal to bolt the bracket to and then just screwed the ends of that into new holes in the Flip Pac.

Cutting carpet with scissors is terrible and I do not recommend it, my hand hurt like crazy when I was done.

DSCF0613.jpg


DSCF0614.jpg


I purposely did not make the carpeting wrap around the wheelwells as I would like to easily roll it up if I put something wet or nasty in the bed and I don't really plan to step in those corners too often. You can see the ammo can all bolted in in this pic too:

DSCF0616.jpg


This is all the stuff that fits in there with a little room to spare

DSCF0617.jpg


This is the bracket I cut out of some metal I had laying around. These are before I cleaned and painted the metal, obviously. Pay no mind to the non-square cuts, I'm working with a dremel and no workbench or anything that would make cutting jobs easier.

DSCF0618.jpg


DSCF0619.jpg


The bracket all installed and doing its job great. One thing I didn't account for was that I have no way to get the the third screw I had planned for once the stock bracket is in place. Oops :sombrero:

DSCF0620.jpg


This is the sealant I now have all over my hands and my awesome sealing jobs. I just built up the sealant on itself to close the big gaps and it seems to be doing just fine in the 20 minutes since I've done it. It seemed to make pretty thick walls so I think it should be ok. It cures underwater so I expect to "dry" just fine tonight with the nice wet coastal breeze we always get.

DSCF0621.jpg
 
Last edited:

CYi5

Explorer
Diggin' the build thread, and since pics are always great, here is a small update on your rear bumper.

100_1453.jpg


100_1452.jpg


I still need to weld it in, so you will need to pick it up on Tuesday, sorry. Plan accordingly for traffic ;), i'll probably be back around 2pm. Maybe you can test fit the 35's in the back too :D.
 
Last edited:

red87

Adventurer
Siiiick, thanks man. I'll bring the floor jack and the breaker bar. Lets make my truck a monster.
 

ddawson

Adventurer
Hey Red,

I too scored a pretty cheap Flippac that needed some attention. There are two things I would suggest you look into doing:

1. Re-seal the side windows. While washing mine I realized that the caulking material was pretty deteriorated and water was leaking through. I unscrewed all of the little screws on the inside and was able to remove the windows completely. I cleaned them up and then resealed. It is working well so far.

2. Remove the carpet that it came with. My carpet was filthy! I opened it up on a hot day and took the hose inside the cab and hosed the thing out. There was brown water from all of the dust that had accumulated inside it during the years. When the carpet was wet, I was able to start at a corner and pull it off of the walls. I had to use a razor and pliers a few times, but I got it all out. I went to Home Depot and spent about $50 on some nice blue indoor/outdoor carpet and a bucket of industrial strength carpet glue. I measured the walls and cut pieces to fit. I then glued and used a razor to fine tune the edges and windows.

If you have any questions let me know, I'm not too far away from you. Good luck!

-Danny
 

red87

Adventurer
Oh cool, I never would've thought about the side windows, thanks. Good call on the carpet too, mine's disgusting.
 

Forum statistics

Threads
188,176
Messages
2,903,367
Members
229,665
Latest member
SANelson
Top