2017 Fuso Canter FG4x4 Expedition Camper Project

samurai driver

New member
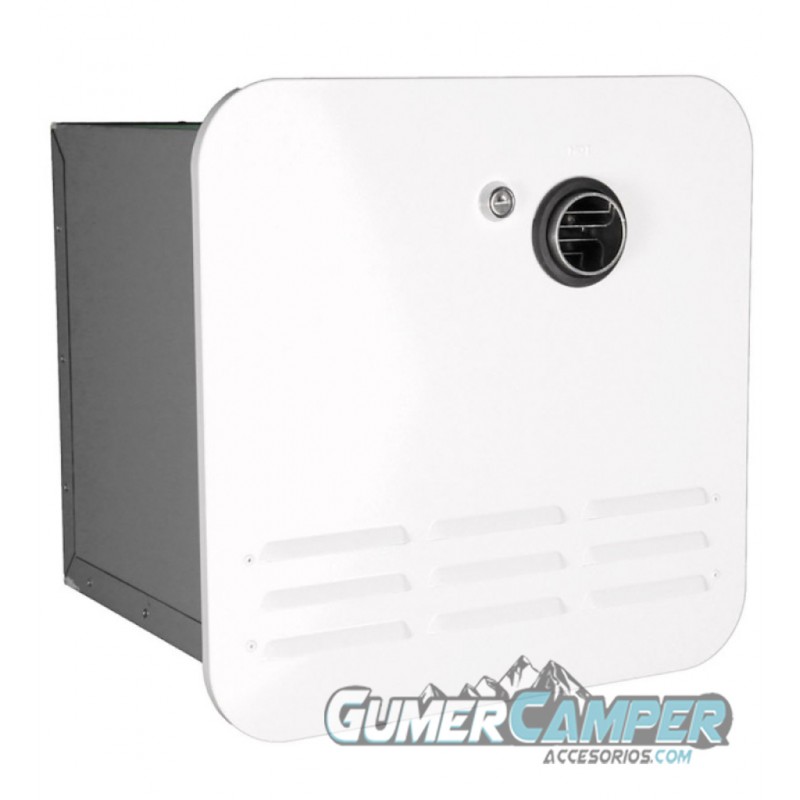
Due to the added diesel emission equipment this truck lost much of the useful saddle space along both sides. I tried to find a 10 gallon propane tank that will fit between the rear wheel and the DEF tank to no avail including Manchester online catalog. They are all too long. I didn't give up and eventually I found one rarely marketed that is intended for food carts. I ordered one and it arrived.

It turned out it is made by Manchester, which is what I was looking for from the start. With Manchester tank you can get their optional level sender for remote monitoring.

IMG_1665.jpeg


I call it Fat Man tank; the simple gauge is one I already have on hand so I snap it on to test the proper functioning of the internal float by tilting the empty tank

IMG_1670.jpeg

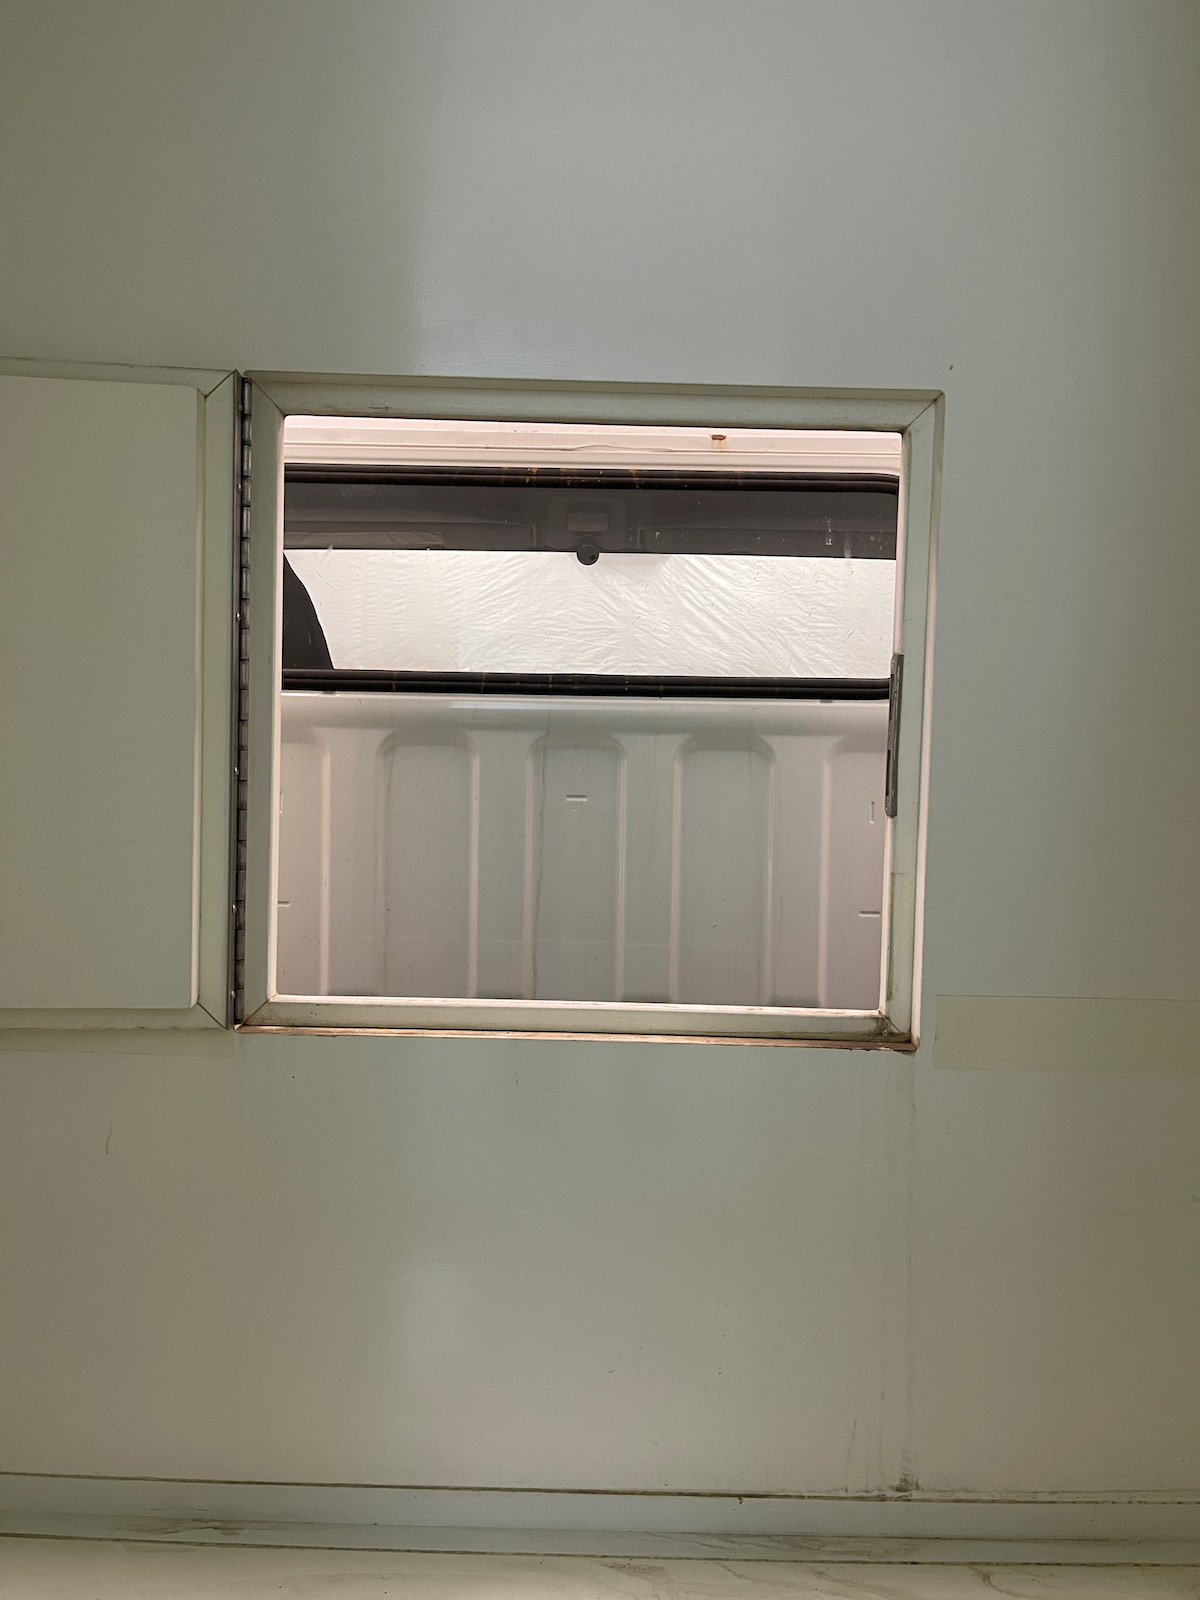
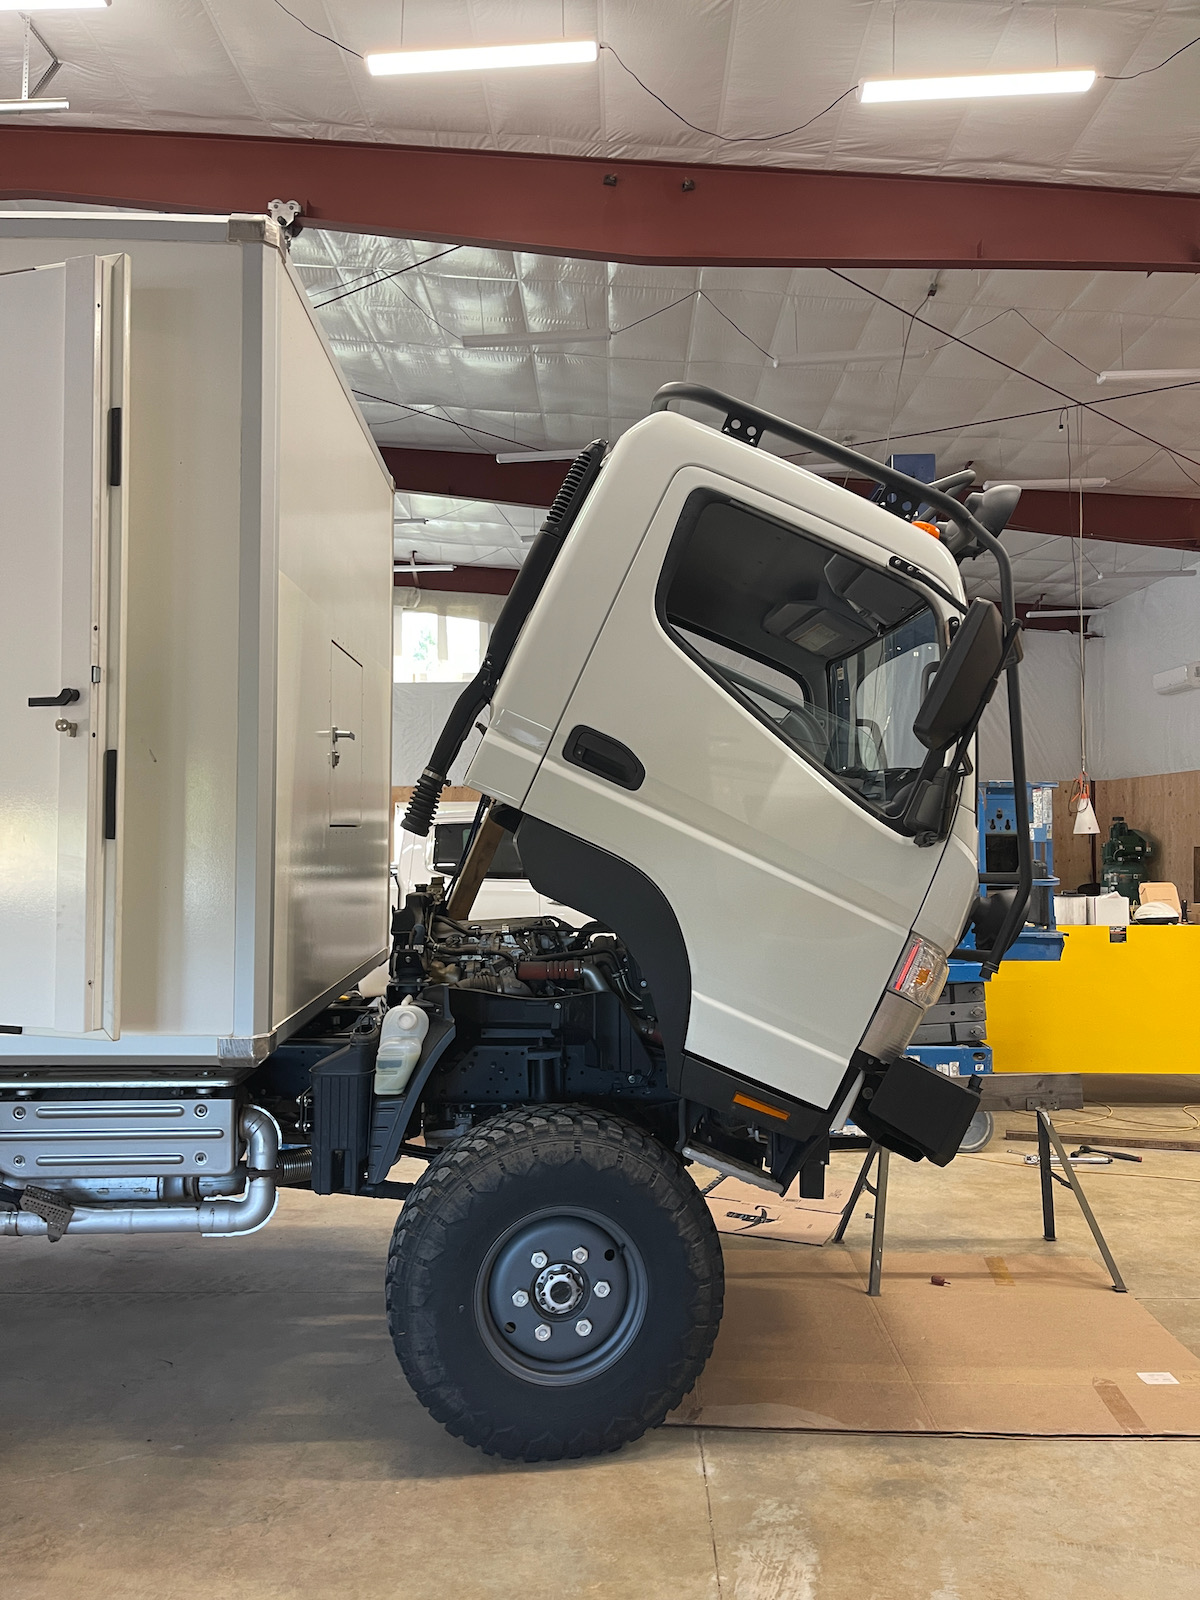
here is the saddle space where the tank will go, protected between two wheels

The alternate location but less preferred is between the frame at the back. I want to reserve that space for the spare wheel should I decide to mount it there.

IMG_1565%20(1).jpeg

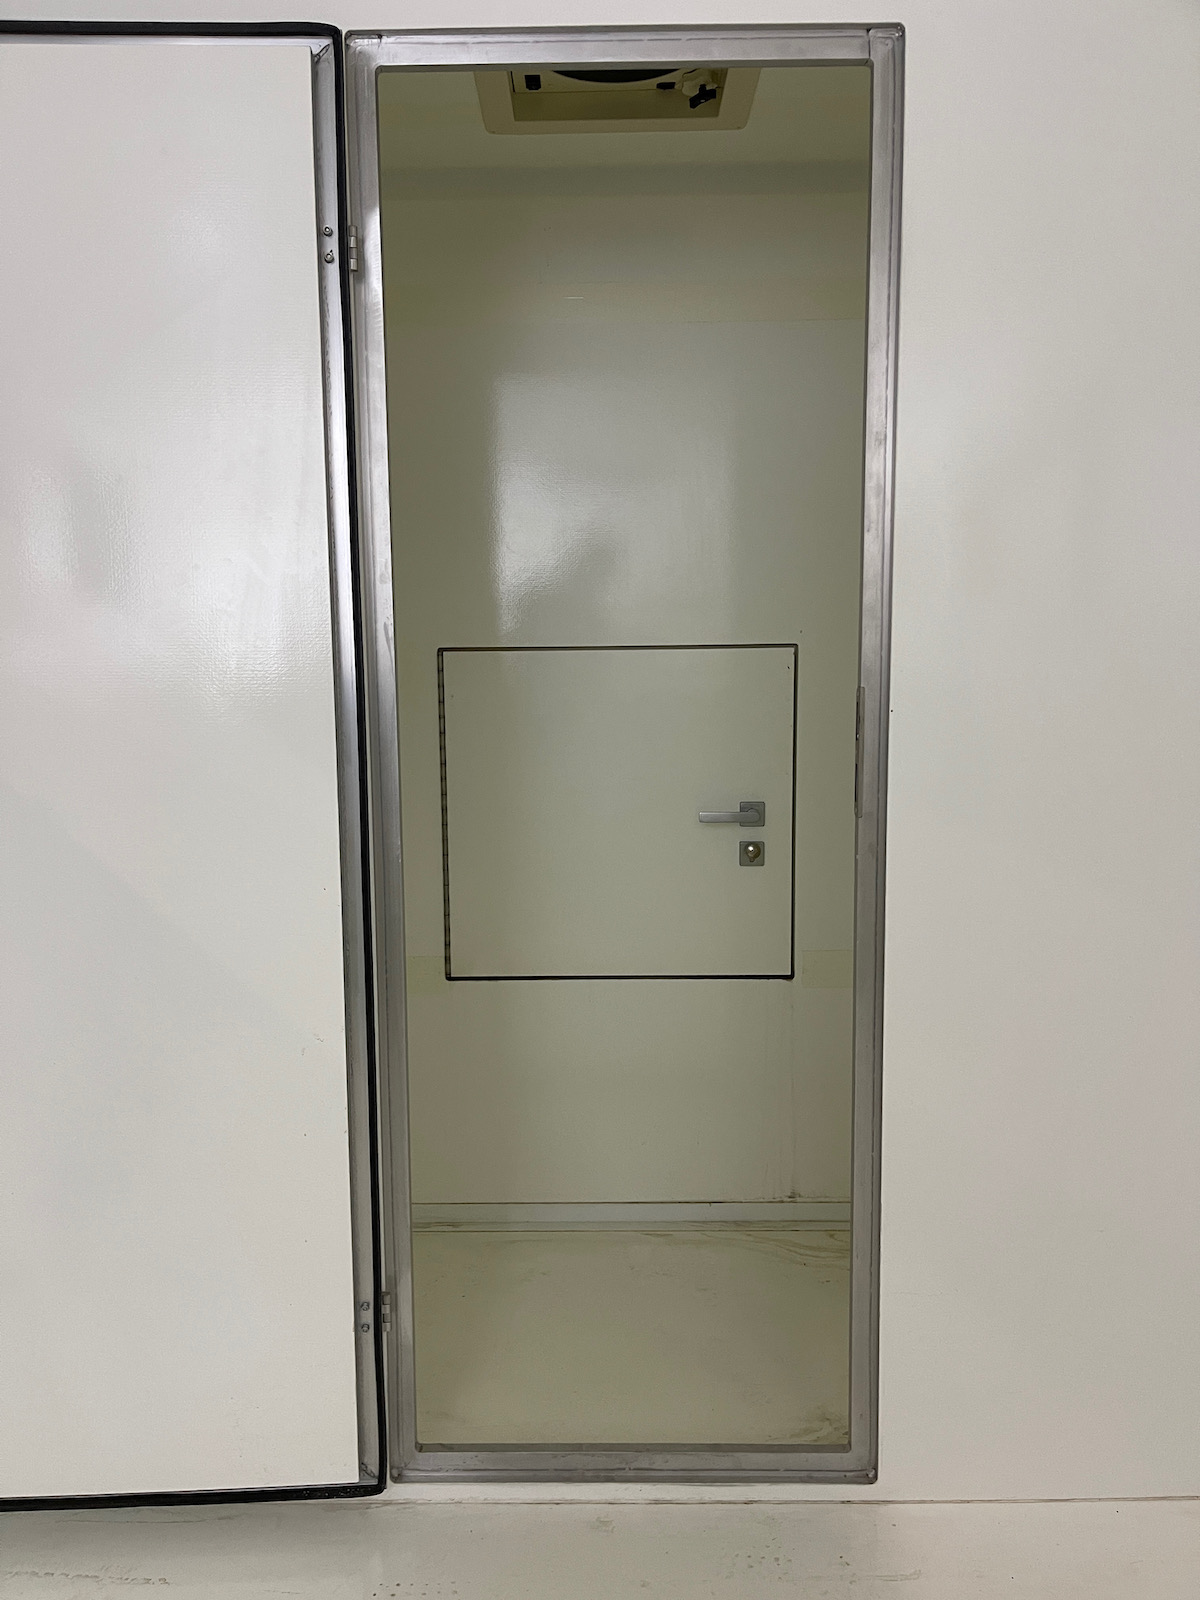
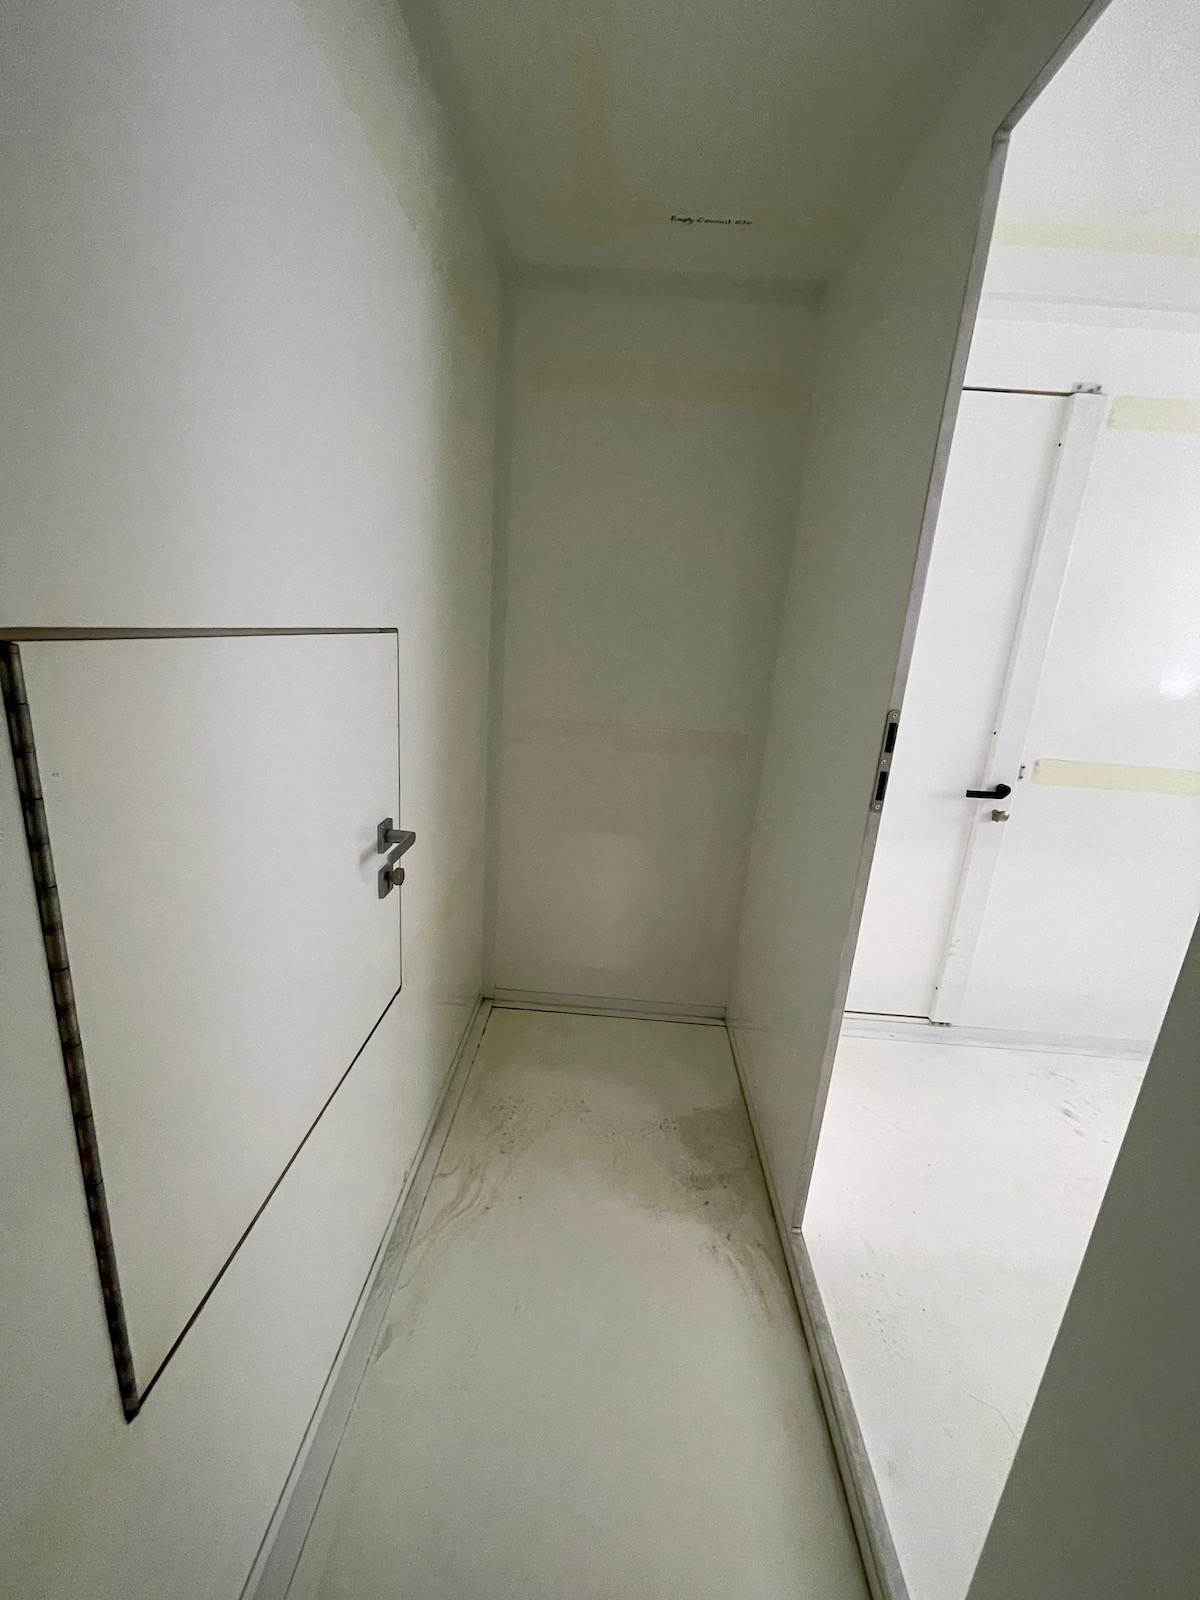
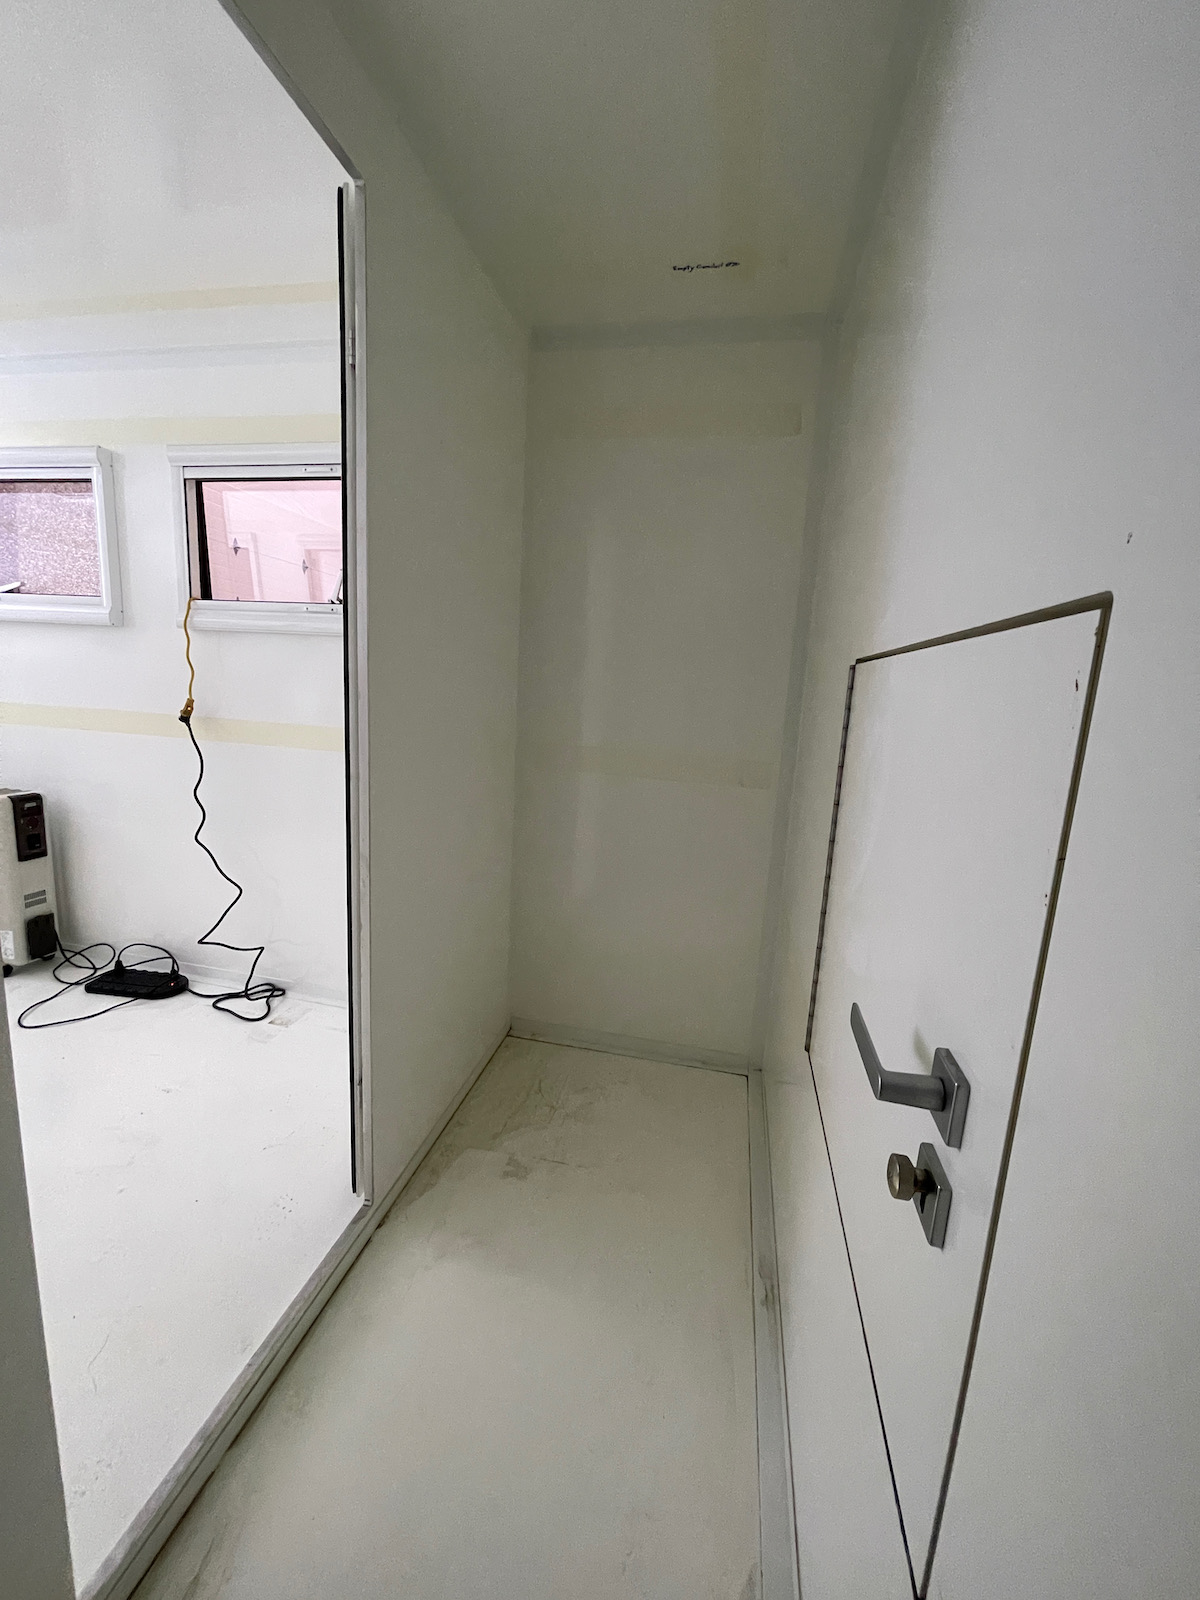
here is the retractable clothes lines that I want to procure; this one is inside the bath of my Westfalia James Cook camper
 
Last edited:

samurai driver

New member
I looked at a lot of sinks, sinks with drainboard (all NLA), combi sink with hobs, domestic sinks and eventually settle on this one from Dometic/Smev/srl that I found for a bargain. I plan to mount a Japanese compact on-demand propane water heater above it. The common error for picking a camper sink is choosing one too big as water is precious. Round works better than rectangle as most cookware are round.

IMG_1635%20(1).jpeg


I found Brad's post and videos on Youtube a few days ago and am extremely impressed with his meticulous planning and quality work, and many thinking out of the box solutions. I see eye to eye with many things he'd done, and one common plan is the hydronic heat. I had planned for hydronic heat even long before this rig came my way. In the course of my research I selected many similar or same components he chose.

One of the greatest modern architect/industrial designer Charles Eames said constraints are necessary ingredients in good designs and I had taken that to heart.
 

BigSkyBrad

Active member
Aw, shucks.

As everyone knows, all campers are a compromise! We are 4m x 2m internally, so a lot can be done with that extra 400mm length you've got.

My build was how I saw things in my head, partly resolving issues in our previous build, and I'm sure there are plenty of things that will have people thinking "why the ** did you do it that way"! A good amount of my build time was watching YouTube builds, thinking "why the ** did they do it that way?!":LOL:

My videos don't show very much, they were as much done for distant family and friends to follow the progress. I would like to do a video tour showing everything, but I don't have the confidence to walk about speaking to camera. I could probably cope with an interview style show-n-tell where the interviewer is in shot and prompting the conversation - like Down2Mob and other similar YouTube channels.
 
We practically have the same measurements, well I have a tad more 4500 internals.
The aerodynamic issue of the cell is quite complicated. I have opted for the Polish system.
that little front hump
The only drawback is that you should not put too much weight on the cabin, it is inadvisable.
We have the same refrigerator and I was also looking at this small washing machine, in the end I decided on a normal Miele washer dryer like the ones at home.
 

samurai driver

New member
Yes! The Azimoo box is one of the very few that set out to address the common aerodynamic shortcoming of these habitat boxes. The other less complex approach is to have a slant on the front top corner but that erodes the usable interior wall area. With my box wider than cab I pay additional penalty but gaining extra volume. I didn't specify this box but I could totally envision why the prior owner did what he did, in every dimension inside and the locations of all the fenestrations and partition. I never met the prior owner unfortunately.

I watched countless hours of EV videos on Youtube but mostly to survey how different builders design and construct their. The channel that I watched the most is German Television. I also watched some from Down Under and saw how they approach EV so differently due to the climate. They exclusively nearly always choose extended cab.

I scrutinize the components they use, floor plans, heating system, plumbings, electrical...especially the high end builders like Bimobil, Bliss, Krug, and Vario. Vario's products are like super yacht on land. A lot of these components are next to impossible to procure here in the US.

One of my best reference is my Westfalia James Cook built on the T1N Sprinter chassis. Despite the circa 140" 18.5 ft exterior length it managed the most equipped bath and especially a real kitchen with generous work surface and storage. No one cubic centimeter of interior volume is wasted. Even designed over 3 decades ago, Westfalia's plastic latching drawer and door pulls are few of the most elegant and easy to use design till this day.

255070915B_540x540.jpg


My box is built by Boxmanufaktur. They don't buy off the shell FRP sandwich panels but manufacture their own to each bespoke box design. Because of it they can embed structural elements and small conduits within the panels before applying the outer skins.
 
Last edited:

samurai driver

New member
This is the compact Japanese on-demand water heater I plan to install above the kitchen sink. It wastes next to no water before you get hot water out of the cleverly designed articulating spray arm. It is not direct vent so not for idiots and some litigation happy Americans. It only needs propane and two D size cells.


samurai driver

New member
My opinion is that you use the system you are going to use, make it all in one, for example if you use Imas gas or if you are going to do it with Webasto you can have the option with a boiler or with heat exchanger plates, but one hot water for all.
I know. Some prefer to keep it one fuel. I would in an ideal world, but the ideal products for one fuel don't exist in my book. I want diesel hydronic heat. I can have hot water which I would. But often I want instant hot water without firing up the diesel heater. That is from the compact Japanese on-demand propane fired water heater. No wasted water to flush out the cold until you get hot water. You can get diesel cooker but they suck. I will have nothing else but gas burners.

As good small diesel generator doesn't exit, I chose a gasoline powered Honda portable to run the air conditioner/heat pump. I have been doing this for since 2010 with my Sprinter based James Cook camper. In fact I also carry a butane stove in case I run out of propane. If they are carefully curated they hardly add more weight or take up unreasonable amount of space.

The system in your video is similar to what I will install but without the blower radiator. I will have a wall mount towel warmer in the bath but fanless loops in the floor and around the bed.

Screen%20Shot%202023-11-03%20at%209.01.41%20AM.jpeg

schematic for a generic hydronic system for camper
 

samurai driver

New member
The hinge bracket for one of the gas strut on the roof winter was unglued when I took possession of the rig, also all the roller blinds and screens were messed up. I fixed all that.

IMG_1591%20(1).jpeg


IMG_1636.jpeg


IMG_1646%20(1).jpeg


IMG_1660.jpeg

the first time I use it as the hatch to gain access of the roof

IMG_1594%20(1).jpeg

IMG_1595%20(1).jpeg
IMG_1596%20(1).jpeg
IMG_1598%20(1).jpeg


Since I plan not to change the seats for now, I gave them a good cleaning and install a seat cover for the driver seat. Someone posted that the newer seat is as comfortable as the old seat with a suspension base. I drove 1000 miles non-stop and found the seat to be comfortable and supportive. Bouncy it is on some concrete pavements. I dread the complexity and labor intensive task of changing the seat, and the potential raise in the sight line out of the windscreen.

IMG_1688.jpeg

vacuuming the cab is a chore with it being so high off the ground

IMG_1690%20(1).jpeg

these seats only has 1,900 miles

IMG_1691.jpeg

removing the armrest was very easy

IMG_1697.jpeg


IMG_1700.jpeg

dressing this side took some work

IMG_1701.jpeg

putting this cover back and finding the screw hole was the hardest part

IMG_1704.jpeg

I have similar covers in my other campers and they protect the seats from soiling

I didn't bother to make the cut out for the lumbar adjustment lever as I rarely need to change the setting. It is also easy to adjust even behind the cover as long as one knows where it is.

IMG_1705.jpeg
 
Last edited:

samurai driver

New member
The long pole in the tent for my project is the cab crawl through. It is a crawl through because of the modest passage size. The Fuso Canter is a small truck and hence the pass though too to keep things in proportion. While I didn't specify the habitat box, I appreciate how well thought out it was. At one time the interim drawing shows a taller access door, but that was subsequently reduced to the current dimensions, for very good reasons.

IMG_1708.jpeg

the lockable pass through door behind the front partition of the box; above the pass thru door is where I plan for the Daewoo mini washer/dryer

Note also the space between the bottom of the partition door and the floor. That is the greatest challenge for the in floor radiant hydronic heat. I have thought through that challenge.

The door for the partition wall is also lockable. All the locks are keyed alike.

IMG_1709.jpeg

this side of the partition will house the built-in refrigerator/freezer raised off the floor with space for utilities under it; the entry door is just outside of the partition wall

IMG_1710.jpeg

this side will be the toilet with sink, and hydronic towel warmer and with in-floor radiant heat; above the crawl through door will house the Daewoo mini washer

IMG_1711.jpeg

the alignment of the opening WRT the cab; it is narrower than the width of the cab rear window so the two sides will needed to be filled in with sheet metal

The cut out on the cab on the top aligns with the top of the window, and the bottom alignment with the top of the ledge inside the cab. This preserves the structure integrity of the cab. I don't find the pass through small at all given the access constraints from the cab. It is very easy to make a plug that looks like a cushion with high density foam covered with appropriate fabric, to keep the noise out and control heat transfer.

A common pitfall is to make the pass though too wide, like what Earth Cruiser does with their EVs. That makes it difficult for noise abatement as well as controlling heat loss/gain. Even good German built EV that I watched on Youtube has narrow but taller pass through as they are built with bigger trucks like the Eurocargo or Arocs.

The challenge for me to get the crawl through constructed is how to deal with the complex profile of the cab side cutout. A shroud needs to be designed and fabricated to create a flat interface surface with the flexible bellow frame, with detachable mechanisms so the cab can be raised for service.

It would be easier to do all this with the habitat box taken off the truck but that is a lot of work for one person. I would have to tie up the two pole lift during the whole time.

The other less preferred way is to kick the can down the road and deal with it later. Then I would have to work with the cab tilled up and standing on top of the engine.

IMG_1247.jpeg

it doesn't look too bad to work on it with the cab tilted

IMG_1245.jpeg

this photo show the other side of the box access door with latch and lock as well as screw holes for the bellow frame
 
Last edited:

samurai driver

New member
My current thought is to build the cab side shroud with a combination of fiberglass and sheet metal. Fiberglass construction is easier to deal with the undulating ribs of the cab back wall, and a flat steel frame on the inside for mounting over-center clamps.
 

86scotty

Cynic
It threw a yellow check engine light just when the going was at the worse during the early winter blizzard pulling hills with 50 mph headwind as it decided to start DPF regen and ran out of DEF in the middle of nowhere. Without the owner manual and no experience with the truck I was really worry about being stranded on the Interstate. Luckily I found a small gas station to fuel up and replenished the DEF. Only many days later I would read up on the various meanings of check engine and the enforced limp modes. In retrospect, knowing what I know now, I would have stop and initiate a parked regen.

The rig threw a dreaded red check engine light during a short drive at near home and went into limp mode. It refused my attempt to initiate a parked regen. A long story short I got that figured out.

Get yourself a commercial diesel fuel card and fuel up diesel and DEF at the truck pumps at truck stops. It's a much more pleasant experience with a big diesel vehicle.

Never let your DEF get low or anywhere near empty. I know nothing about FUSO's but i can't imagine they are any different than any other modern emissions diesel, so it should regen on it's own while you drive. You shouldn't need to pull over and do a parked regen.
 

samurai driver

New member
I've lost all interest in your camper, now that I've seen those three sports cars! :love:
Ha! You ain't seen nu'thing yet. For me ICE is one of men's greatest achievements. I can't keep up with Jay Leno, or Harry's Garage in your neck of woods, but my buddy and I are egging each other on to see who has more desirable vehicles. US is a crappy place to be in race cars, compared to UK. And don't even get me started with all the nice cabover trucks over in Europe.
 

Forum statistics

Threads
185,888
Messages
2,879,485
Members
225,497
Latest member
WonaWarrior
Top