not that I am building an awesome camper like you all, so jealous...
But I went with fiberworx fenders on my dodge and skipped the whole add on fender that looks goofy. The carbon fiber on the black truck looks great with a semi transparent paint job as well.
 www.fiberwerx.com
thinking all the fenders are the same for the heavy duty trucks, but I could be mistaken.
www.fiberwerx.com
thinking all the fenders are the same for the heavy duty trucks, but I could be mistaken.
But I went with fiberworx fenders on my dodge and skipped the whole add on fender that looks goofy. The carbon fiber on the black truck looks great with a semi transparent paint job as well.
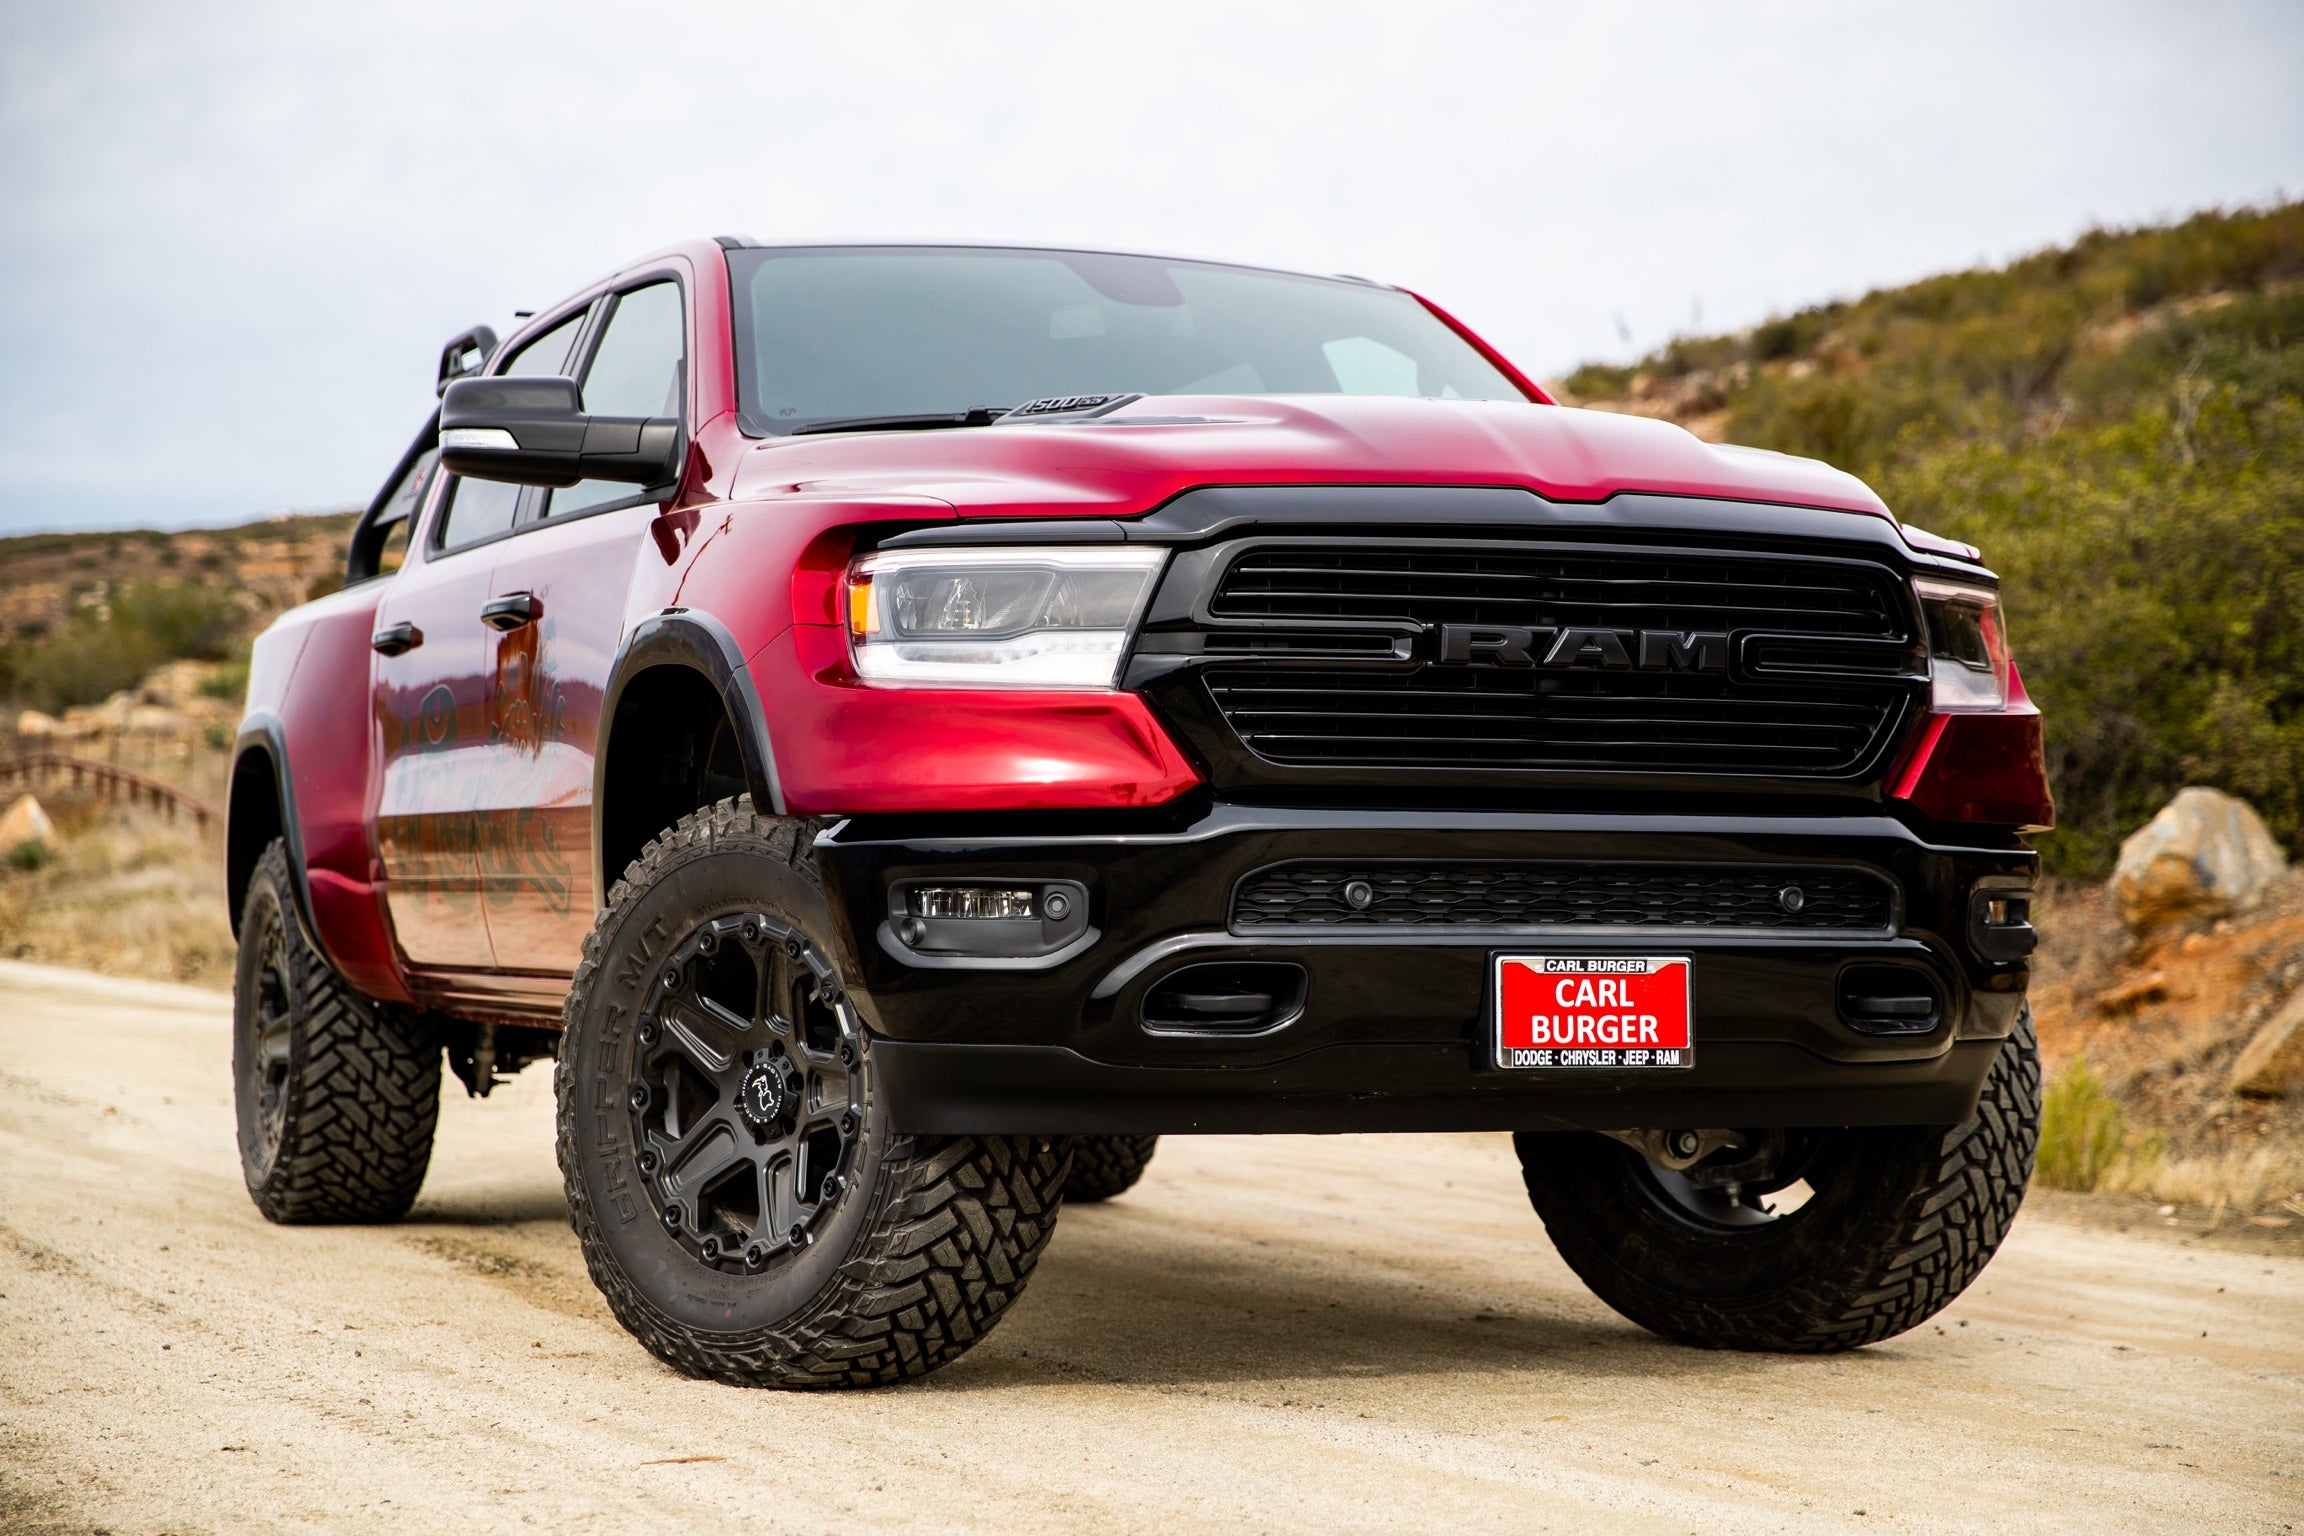
2019-2022 Dodge Ram Fenders
Bulge Rise 4.5" 2.5" Works With Your Stock Hood & Headlights The Fenders Will Work On The Rebel But The Extensions Will Not Bolt On Installation With Factory Hardware Includes Driver & Passenger Fenders & Extension Pieces
www.fiberwerx.com
")


