FJC Long Travel Build: 3Link Rear w/ Coilovers, Camburg, and more

FJLED

Adventurer


Today was miscellaneous wiring so that you can turn the passenger side airbag on when you have a passenger in the seat (OEM seat has sensors located in it). May end up removing the airbags down the line, but for now I'm planning to wire everything so its operational.

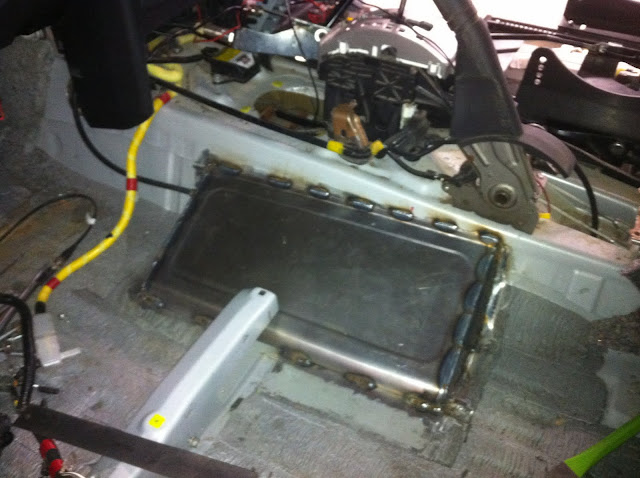
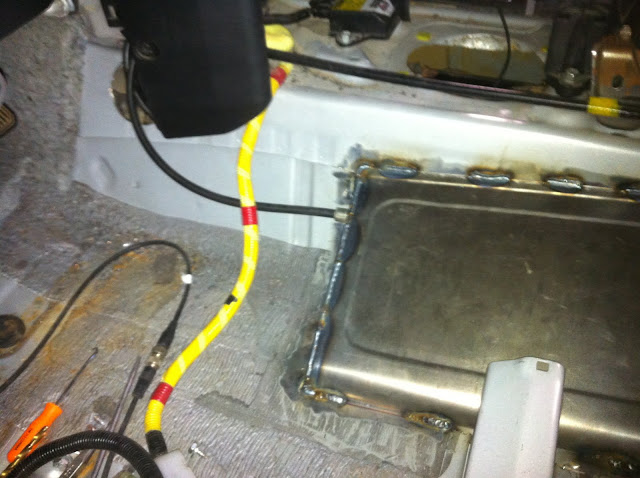
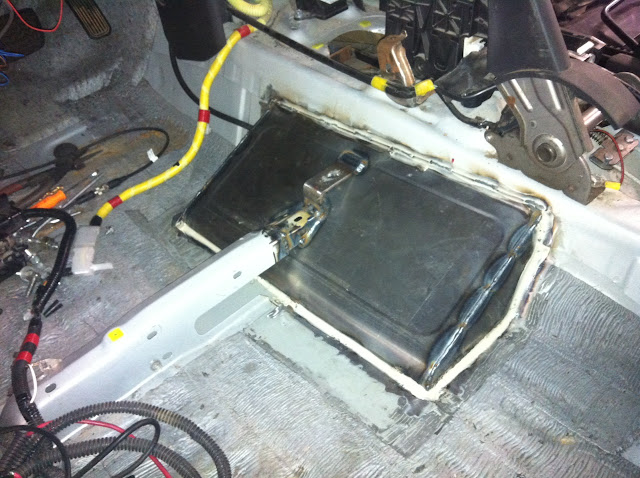
On the left (black box) is the Occupant Classification ECU. Wiring that comes off of it hooks up to harness under the seat and passengers seat belt. Wiring on the far right is what comes off the other bung on the OCS and runs to each of the 4 sensors on the passenger side seat. Wiring in the center replaces all the wiring on the right with a switch that allows you to manually turn on and off the passenger airbag. (sorry for the quality - iphone camera wasn't working so well)

IMG_0026.JPG


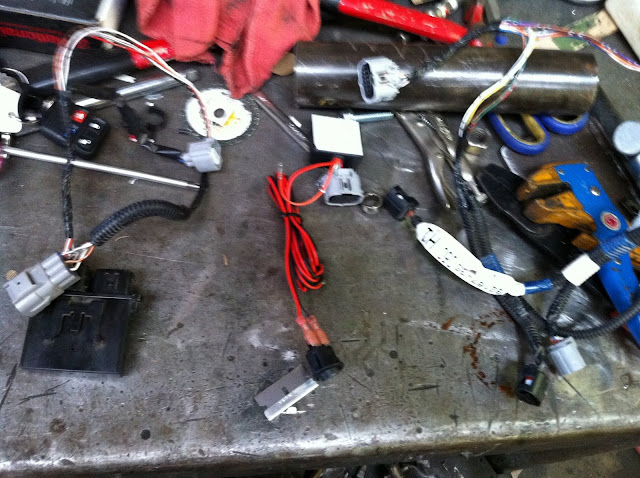
You also need to cut the yellow wiring under the seat which is for the OEM seat side airbags. Since the sparco's don't have any side airbags you just need to wire in ~3ohm resistor to complete the circuit and hook it back up to the harness on the floor. The resistors allow the ECU to believe the airbags are still there. Sorry didn't grab any photos of this


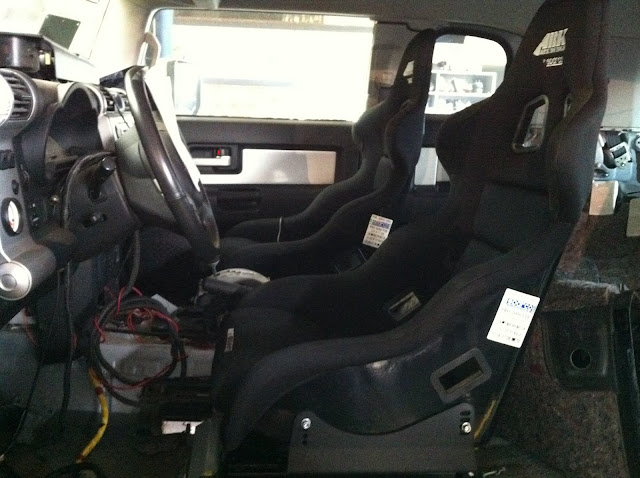
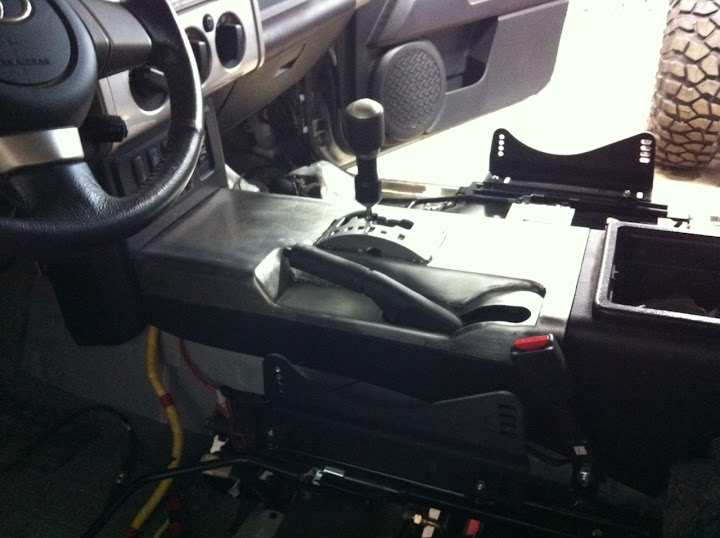
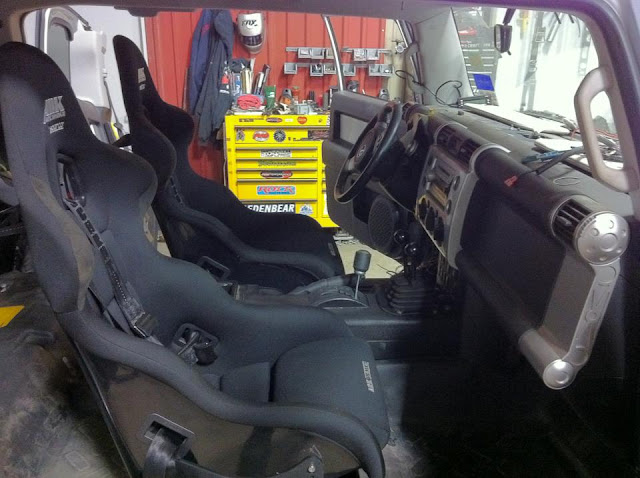
Driverside seat installed

IMG_0028.JPG
 

Gerdo

Observer
What an impressive build.

I didn't think there was a way to mount an Atlas to a Toyota tranny. I assume you built the adapter, right?
 

FJLED

Adventurer
Advanced Adaptors offers adapter plates for the AT/MT FJC (probably other yotas as well). You might be able to make one for cheaper, but the cost comes in getting a spud shaft to go from tranny output to the Atlas.
 

FJLED

Adventurer
P1010942.JPG


P1010939.JPG


P1010943.JPG


P1010948.JPG


P1010949.JPG


P1010952.JPG


P1010951.JPG


P1010954.JPG


You can definitely tell its a straight through exhaust without any cats or resonators. Looking into fitting a resonator after the muffler or a second muffler behind the auxilary tank. Keep in mind there are no hangers on the exhaust now and it isn't orientated 100% correct on the rear, so it will be further from the auxilary tank than it is in those photos. Just chucked it on to get a feel for the sound and what modifications we might need to do. Should have grabbed a few photos before tossing it under today.​
 

FJLED

Adventurer
Not sure if I posted it previusly or not, but here's the tailhousing mount to support the weight of the atlas & crawlbox.

P1010940.JPG
 

FJLED

Adventurer
Nearly 11 months to the day after the project began, it drove for the first time

FJ%252520Drives.jpg


Suspension is smooootthhh :bigthumb:


Dave also got one of the rear fenders knocked out

IMG_0045.jpg


IMG_0044.jpg
 

FJLED

Adventurer
Supercharger is back on. Not sure if I mentioned it, but after running it the first time it seemed a bit louder than it should have been. Compared to some other folks and was just a bit noiser in the lobes. I dissassembled, but couldn't find any clear issues of interference or scoring on the housing. Sent it to PSE and they fixtured, tested, and measured everything...turned out the lobes were 300 thou out of spec which was causing a slight contact on a set of lobes. Fixed up and should be good to go now.

The floor and seat mount were knocked out today (sorry for the iphone phots..camera battery was dead).

IMG_0115.jpg


IMG_0117.jpg


IMG_0118.jpg


Floor.JPG


Last swaybar parts showed up, so that can be finished next week.

IMG_0114.jpg
 
Last edited:

GTABurnout

Explorer
I love this build, if I win the lotto and buy an FG this is what I would want to happen.

Keep up the updates can't wait to see it done.
 

Forum statistics

Threads
185,912
Messages
2,879,704
Members
225,497
Latest member
WonaWarrior
Top