98 Jeep ZJ "SHTFV"

Recce01

Adventurer
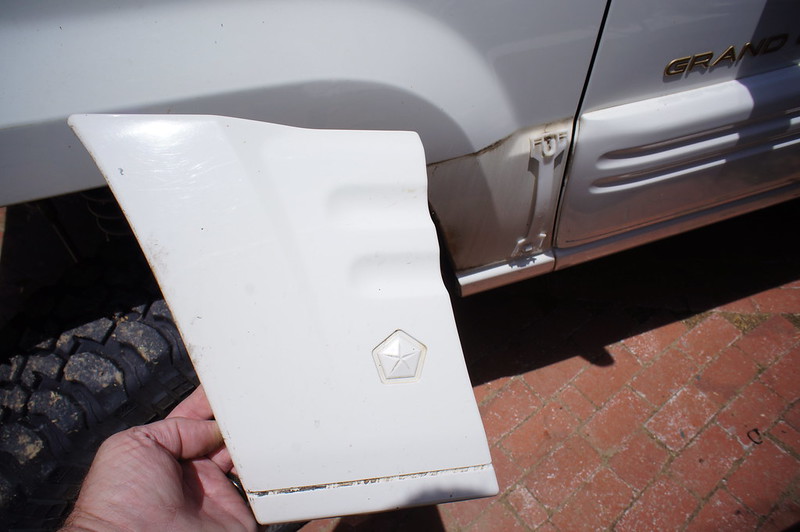
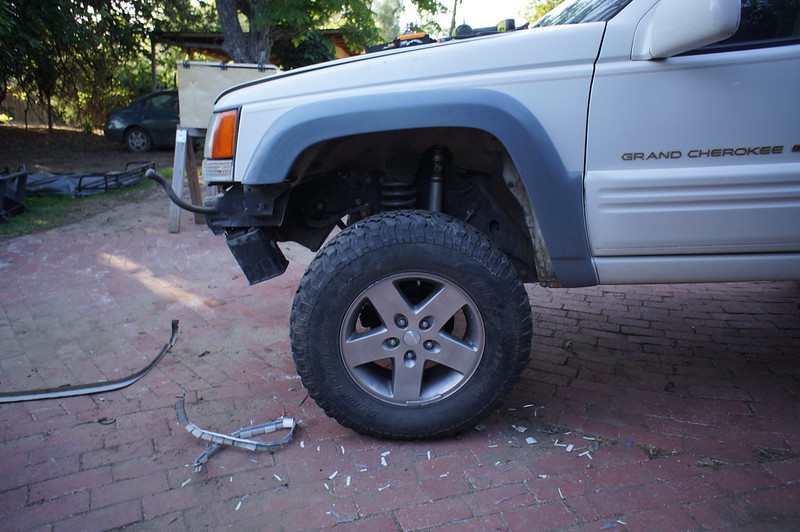
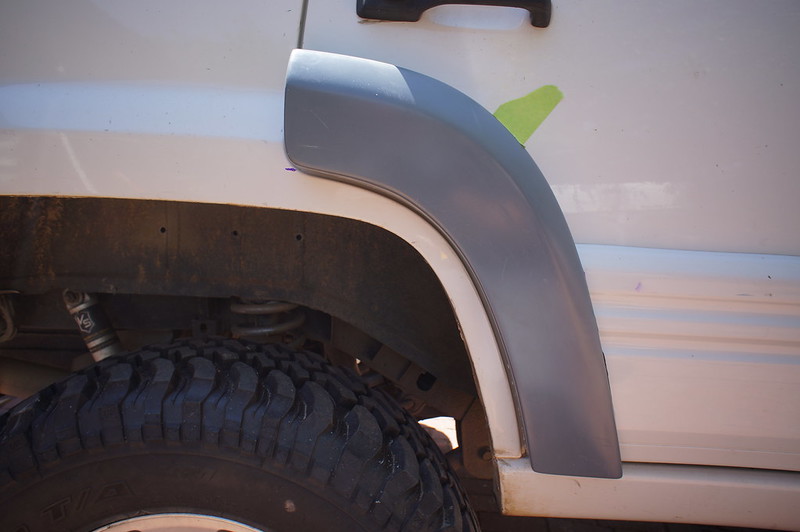
Recce01, if you haven't done so already, add hood vents. They make a huge difference in cooling on v-8 ZJ's. As you probably already know, the engine is a tight fit and the air can't flow out very well and stacks up.

Jim

I am looking for hood vents now! Thanks for the tip man :)

Sometimes life just has surprises in store for us, and it works out better in the end.


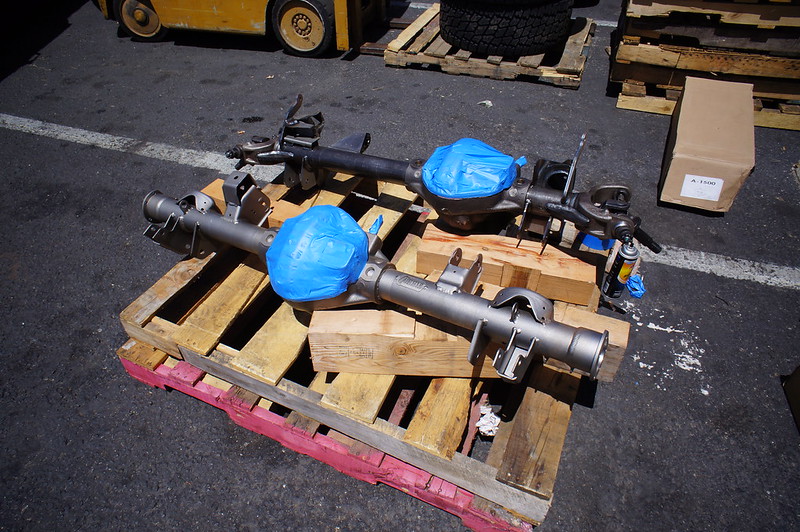
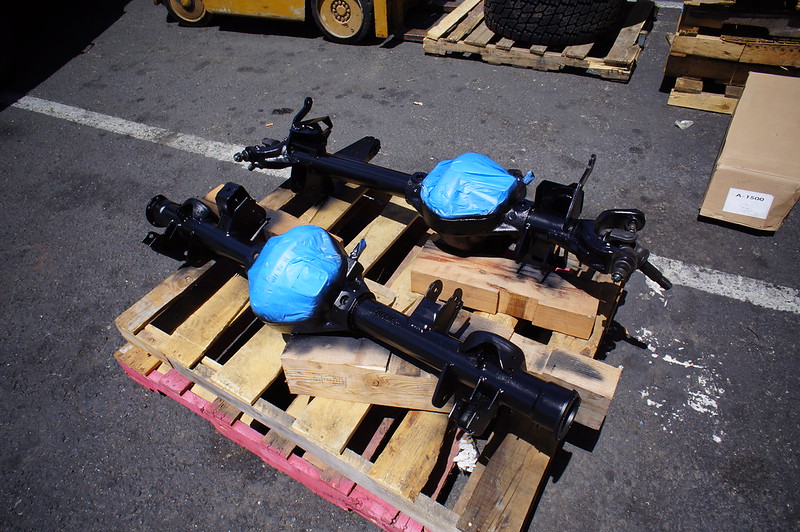
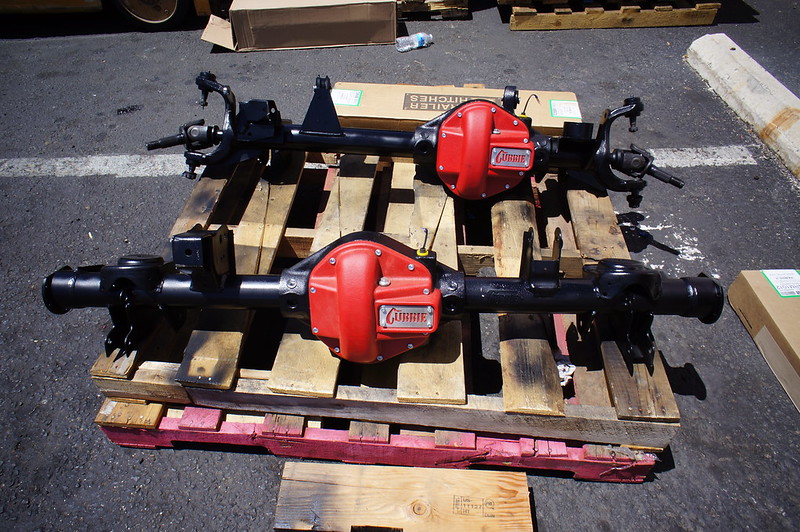
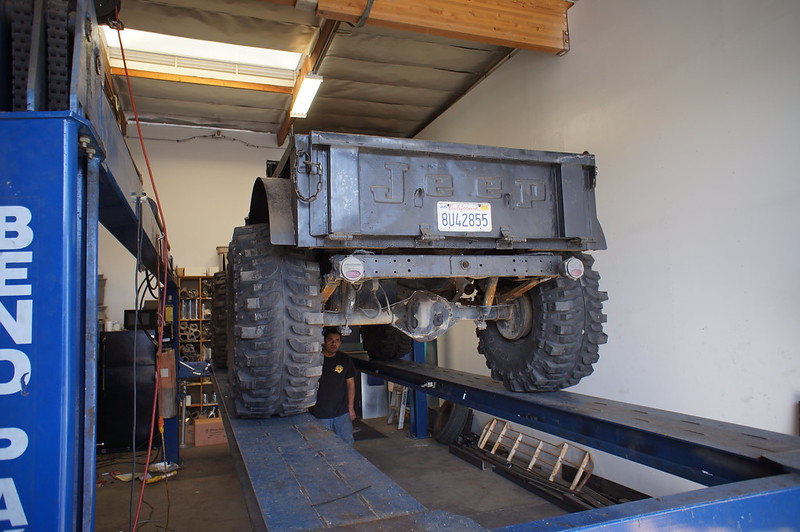
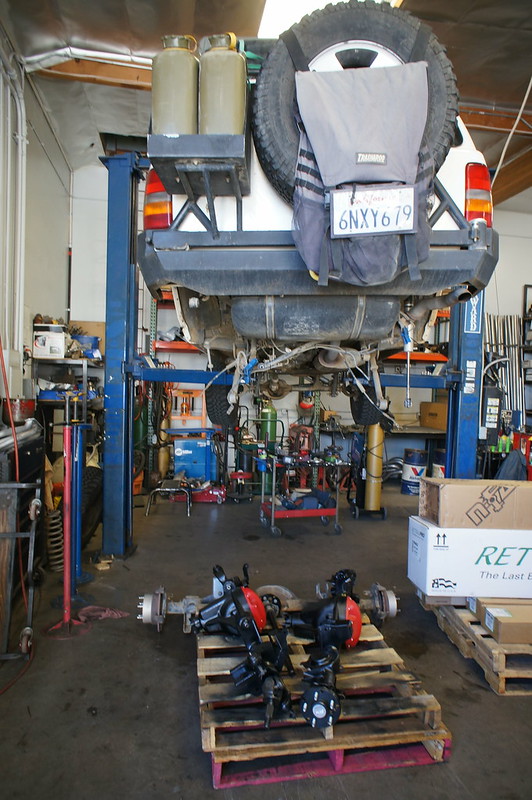
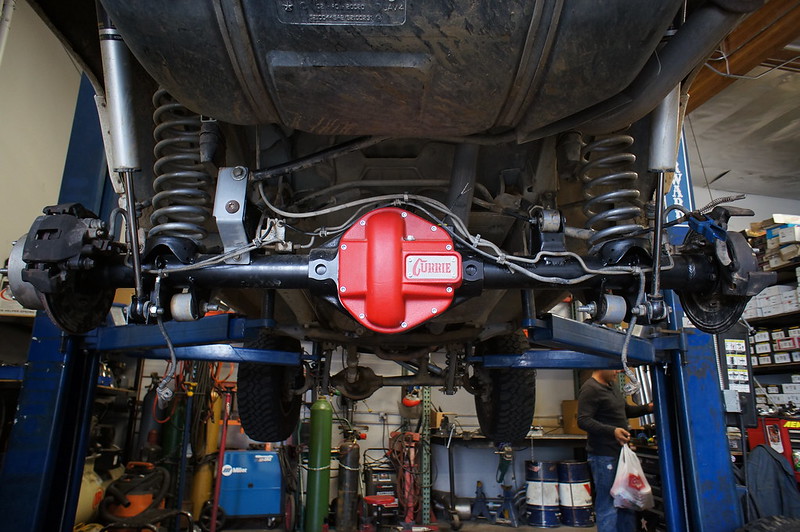
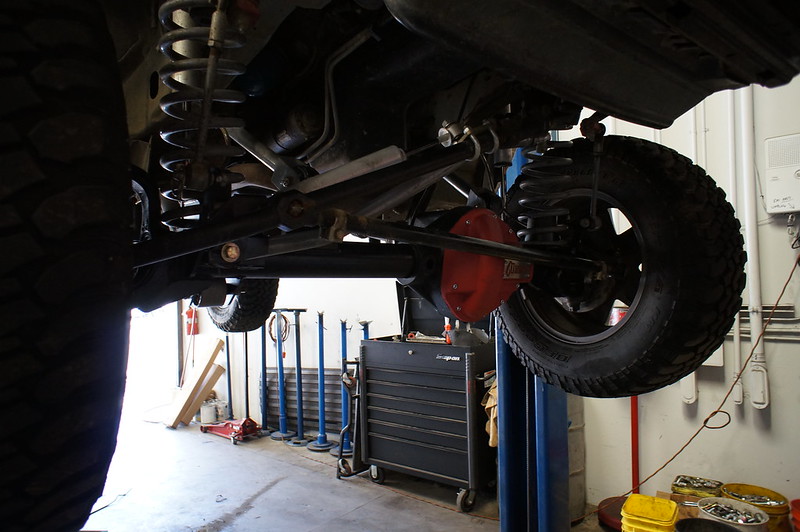
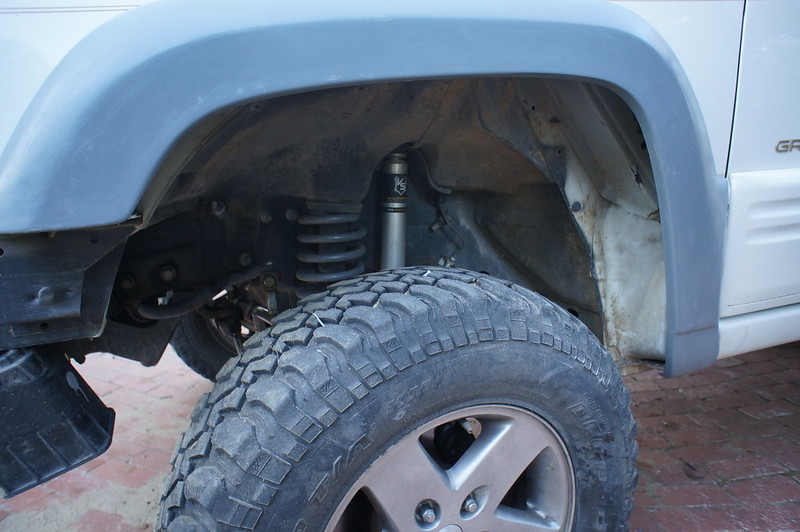
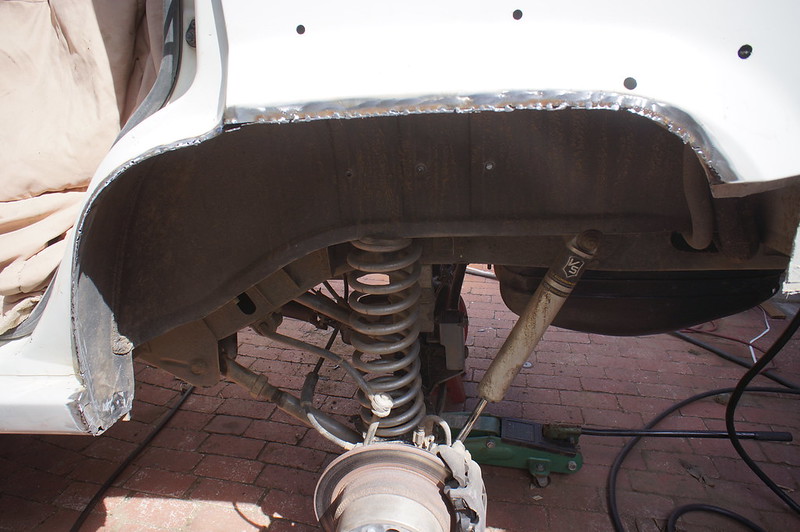
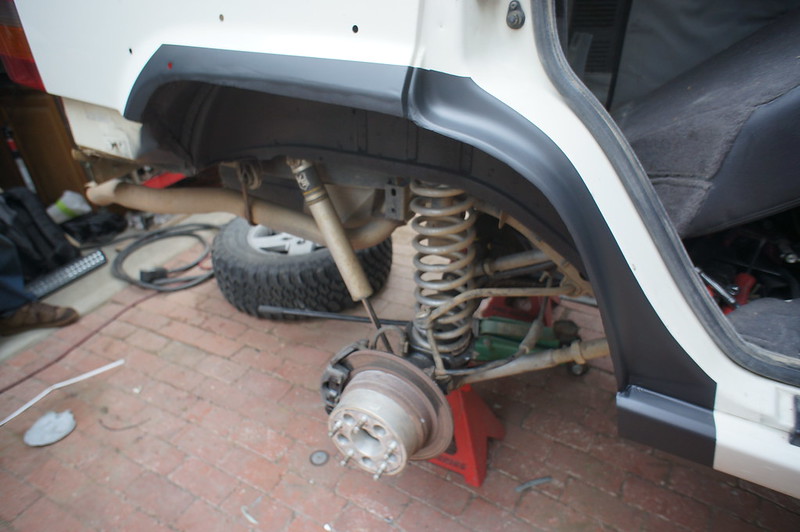
Once these are installed and you're wheeling them, I don't think you'll look back at wanting the JK axles - good choice on the Curries. I looked at their RJ 60s, but went instead with the Dynatrac Pro Rock 60s since their shop is only a couple of miles down the street. Yes, overkill for sure with most of my offroading, but occasionally I have needed them.

Anyway, nice build and I'll go back to observer mode.

You are not kidding man, thanks for the compliments!

By the way, just wanted to let you know that your build has influenced/inspired a lot of my build! I love this thing.

I like to hear stuff like that, I cant tell you how much this forum, people and their builds influenced mine!

I think you have built a really well balance jeep.

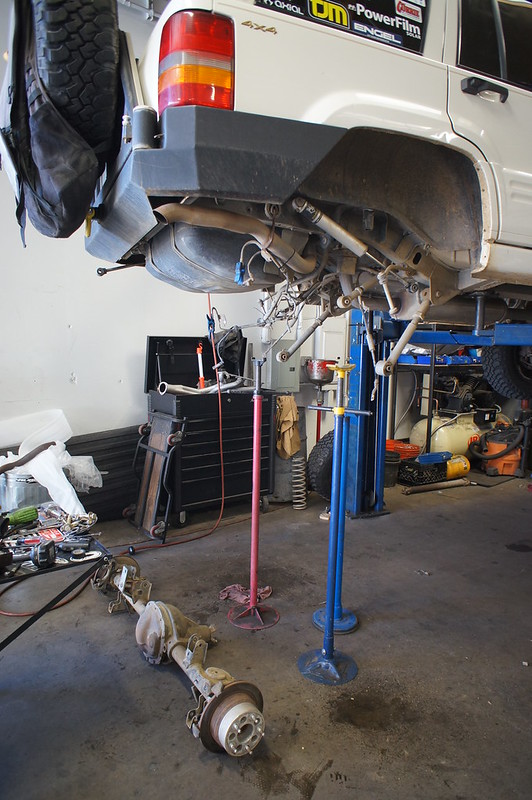
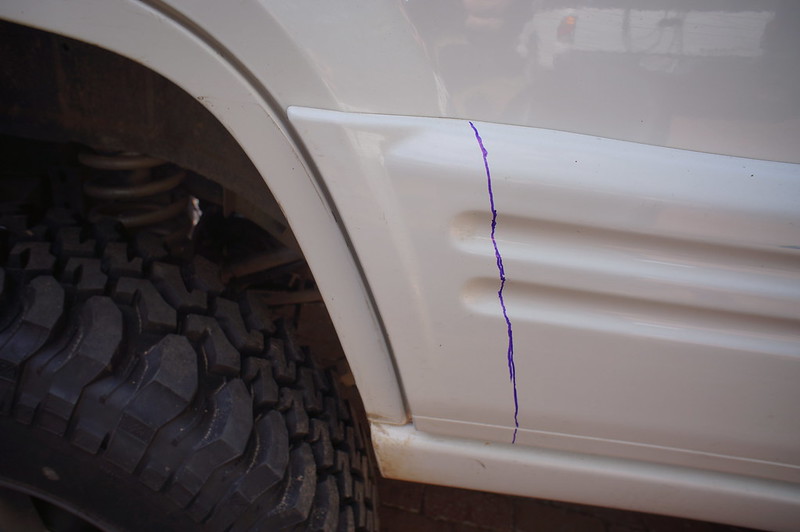
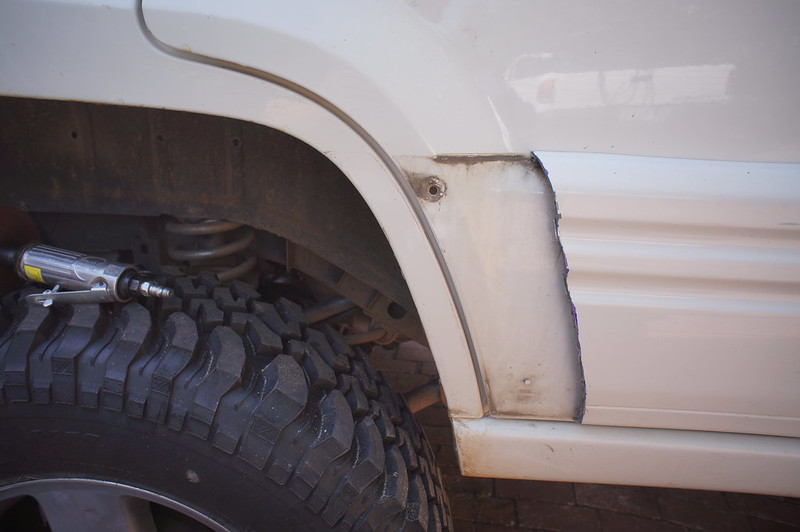
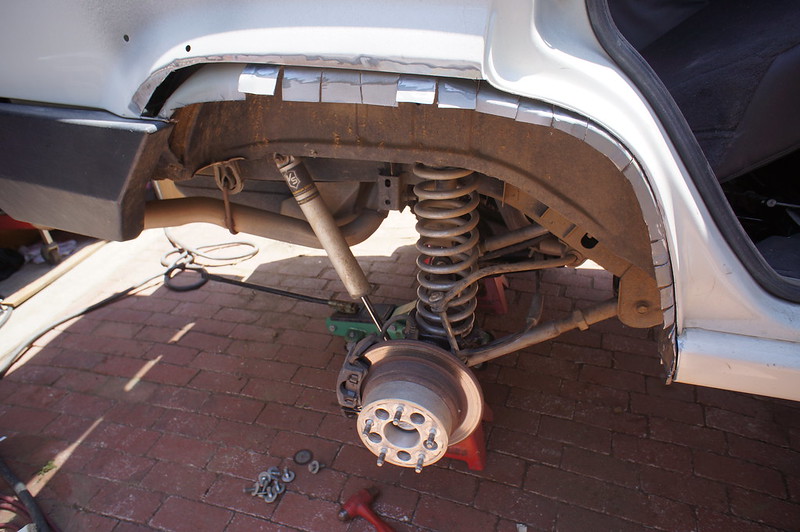
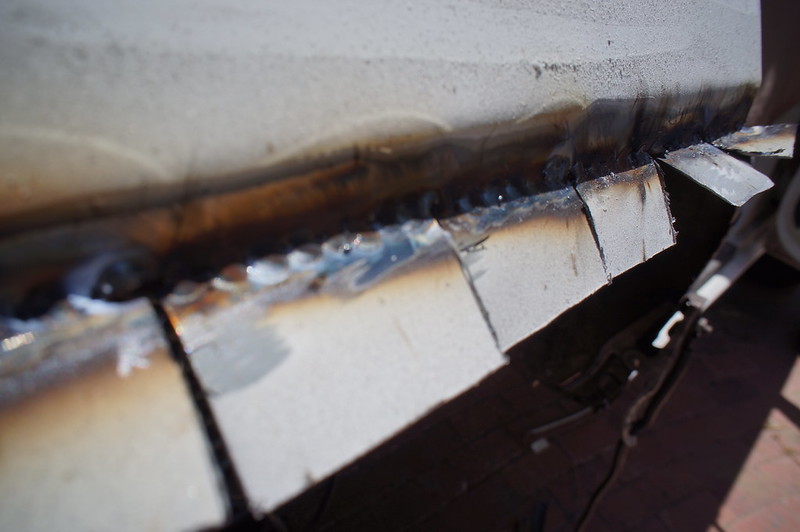
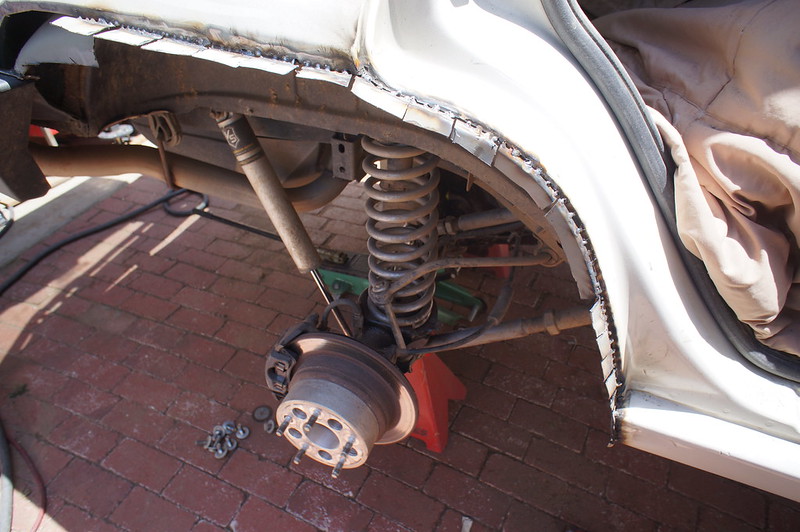
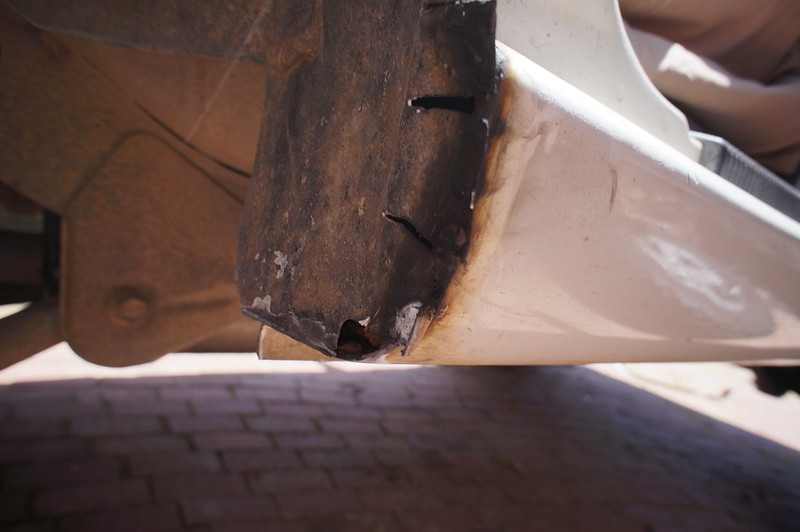
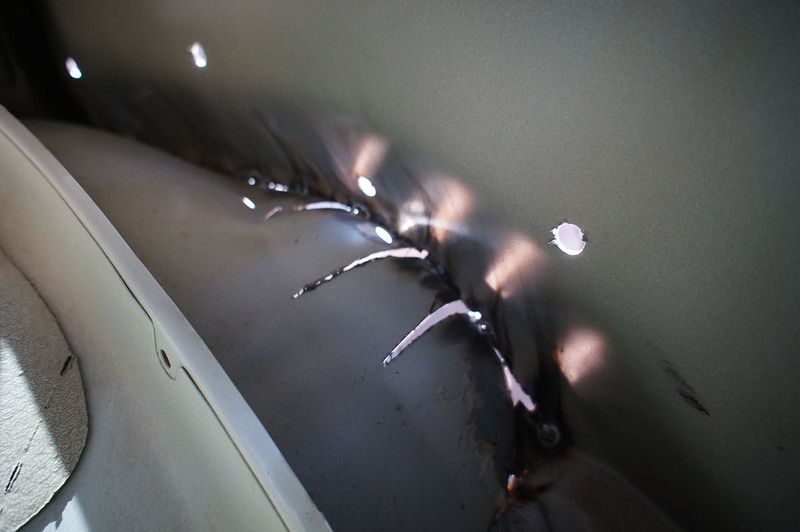
I have a question about the axles. Are you getting the axles and welding your own brackets or are the axles coming ready to go?

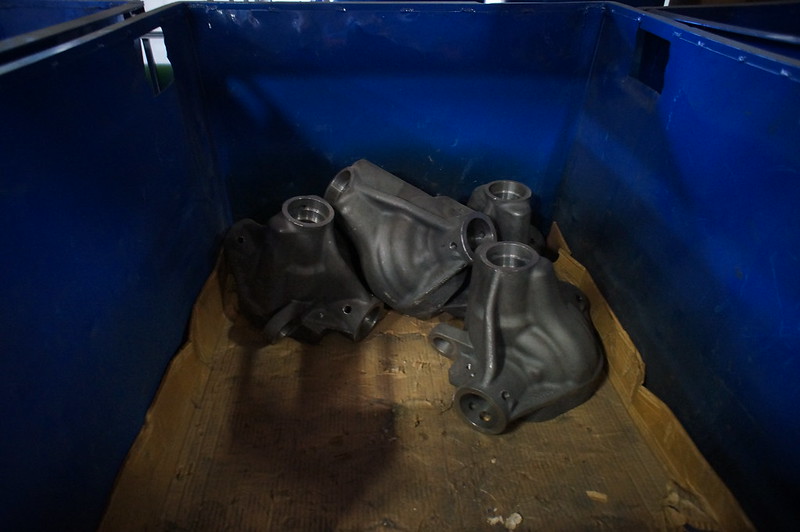
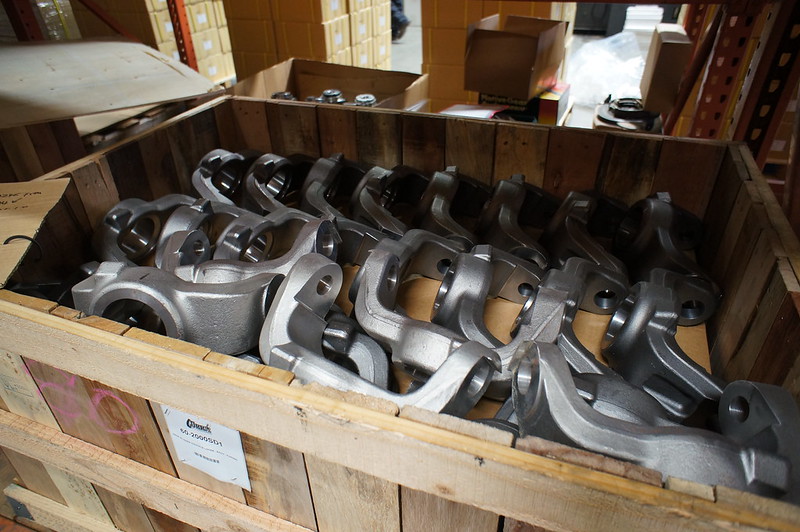
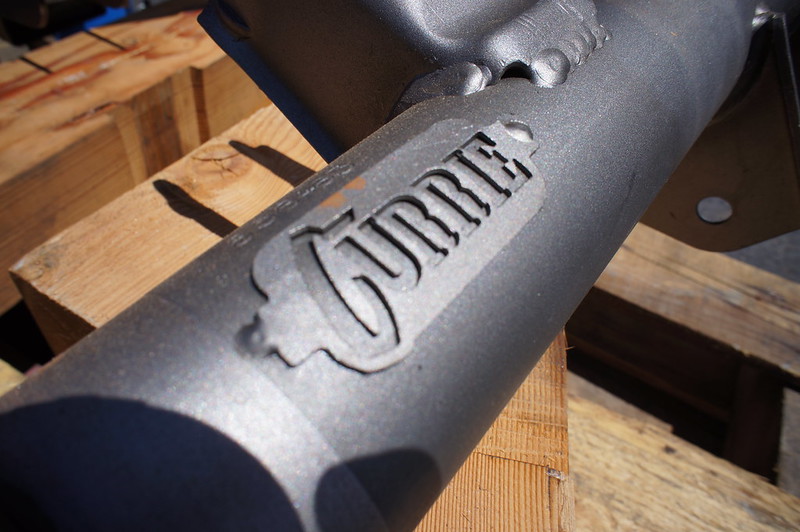
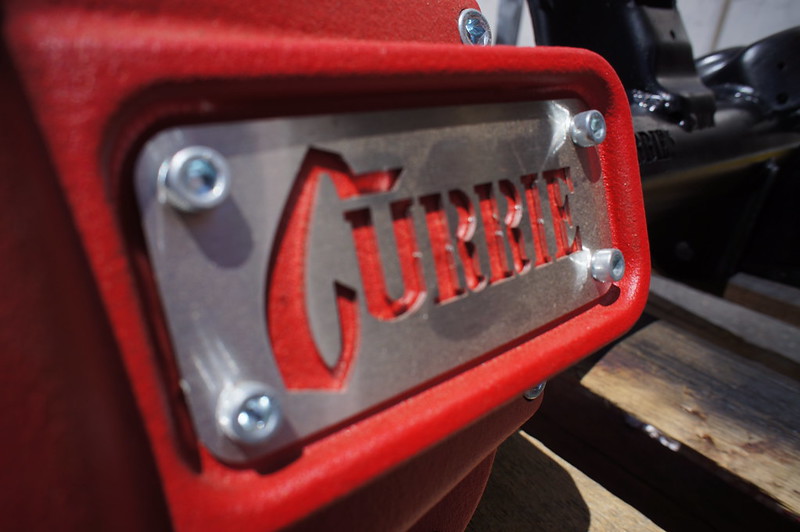
Thank you! The axles I got were bolt in!

Just read this whole thread...at work. Haha. Beautiful GC man! Keep up the good work.

Thanks! Just trying to find the time!!!!
 

Recce01

Adventurer
The Currie axles turned out to be way beefier than the standard Dana 44 options. The center section was thicker, the tubes had a larger diameter as well as being thicker, the Axle C's were way thicker too!

21758358842_2399635792_c.jpg


21743116556_652c4965af_c.jpg


21583134779_6490d458f9_c.jpg
 

Recce01

Adventurer
Once the axles arrived, I had to mask and paint them!

20718877760_a81c7fa582_c.jpg


Love the little Currie Tag!!

20284294064_7f7d61f45b_c.jpg


I decided to paint them semi gloss black. Looking back, I wish I would have done a gun metal gray or something...

20285774193_3c025eb9b2_c.jpg


20284118704_e4fb9dd424_c.jpg


20285617913_ee83fca76f_c.jpg
 

Recce01

Adventurer
axle install

I felt it best if I had a little help doing the install of the axles. This seemed like a job for a rack, not so great of an idea to do it on the ground in my driveway. I decided to take it back to Ranch Muffler and have them do the install. They have completely remodeled their shop, it looks bad *** now!

20718435740_922f9ba341_c.jpg


20283967564_dd46091bdb_c.jpg


They jumped right on it and had the old ones out almost immediately!

20718313660_96f298917d_c.jpg


They always have crazy cool stuff in their shop!!

20896690632_e01bef757b_c.jpg


20896703762_1ed5a2fc60_c.jpg


20283705774_e4cd2829ed_c.jpg
 

Recce01

Adventurer
axle install cont...

Unfortunately I had to work so I didn't get a step by step install on the Axles :(

20896504032_724147704a_c.jpg


I did have to ditch the ABS in order to run the super strong Ten Factory axles

20879996346_6ff1963bcb_c.jpg


20906084935_47b115ee93_c.jpg
 

Recce01

Adventurer
New Wheels and Tires!!!

I felt it was about time to get off the factory JK wheels and tires and get rid of those 2" wheel spacers. I decided to go with BFG KM2 Mud Terrain tires in a 305/70/17 wrapped around some matte Black Method NV 17X8.5" wheels. I really liked the 17" wheels, and discovered that I could get the BFG's with an E rating. This seemed to be the best choice for my rig due to its weight. I was afraid the lighter rated tires would feel sloppy.

20719246169_ce54c18b9d_c.jpg


20879741416_9c5626d621_c.jpg


20879692096_a566d76427_c.jpg


I really love the look of these wheels!!!!!!!!!!!!!!!!!!!!!

20719194859_282fd17d22_c.jpg


20879613986_01fe6868cd_c.jpg


The combo looked pretty good together! Much bigger than my old set :)

20896122692_861d0d8809_c.jpg


There was only one problem, there was no way these were going to fit without major surgery, so I only got to see them on for a few minutes, then it was back to my old set until I could find some fender clearance!!

20905813015_5e6a5c3749_c.jpg
 

Recce01

Adventurer
Parts on order, more goodies to inbstall!!

I did a ton of research on fender flare options for the ZJ. There were not too many options available, believe me I looked and looked and looked. I had already owned a set of Bushwacker cut out flares at one time, but felt like they were a little cheesy and didn't really have the look I was after. Then I found some from a company called Notch customs. My wife surprised me and ordered them for me for my birthday, funny thing is, she had actually gave me the Bushwackers as a present too, and told me that this would be the last set of flares our household would be purchasing. As you can see by this link.... http://notchcustoms.com/ , they don't even list the Z-Max flares anymore, so they were kind enough to make us a set. I had no idea what I was in for to get them installed, but that would come after delivery. While waiting on my delivery, I decided to fix my battery cable issue and install the Bluetooth controller for my S-Pod system!
//
The Battery terminals were completely destroyed as you can see
//
20877997986_0a331eb289_c.jpg

//
I really wanted to do new cables and everything, but I had just dumped a mint into this rig, so I was going to have to slow roll the complete repair and focus on an inexpensive yet effective option. I found and purchased these connectors at American Battery Supply
//
20283234963_423264fd9d_c.jpg

//
They worked out perfectly for the time being!!!
//
20716277008_486becb29e_c.jpg
 

elliottblackwood

Adventurer
Do you have plans to go longarms in the near future? Also, keep an eye on that rear trackbar relocation bracket. They're known to crack/bend over time.
 

Recce01

Adventurer
There's a set of OEM vents currently on a ZJ group on facebook for $120. Looks like it still has the drip trays:

https://www.facebook.com/groups/1406497962897842/permalink/1674670269413942/

I wish I had extra funds, this is going to have to wait just a minute :( Thanks for looking out though!

Do you have plans to go longarms in the near future? Also, keep an eye on that rear trackbar relocation bracket. They're known to crack/bend over time.

I want to do the Rubicon express long arm kit. It has been on the list for a while, but just can't pull the trigger on another 2Gs. Hopefully this will happen in 2016! I actually welded gussets on my old read end housing to keep the bracket from cracking based off of an earlier recommendation. I haven't done this housing yet, though this seems much higher quality than the factory one.
 

Recce01

Adventurer
S-Pod Blue tooth

So, to date one of my favorite mods has been the S-Pod. After doing tons of DIY work, wiring has always been a real pain in my a s s. The S-Pod has made wiring fun, easy and quick. I noticed that they released a Bluetooth system to control the pod, and I couldn't resist. We have actually been actively searching for a better way to light up our camp area from inside the tent at night. We have a few motion sensor lights that we set up around the perimeter of our site in effort to alert us to visitors. This works pretty well, although we have wanted the ability to turn on all of our vehicle lights in the event of an unwanted visitor. This would give us 360 degrees of good light to see what is going on. With the addition of the Bluetooth system, we simply pull out the phone and push buttons, and we have full light!

//

20913073881_239dfee8d2_c.jpg

//
This works with both I-Phone and Android devices
//
20718971229_b560f495bc_c.jpg

//
It is a very simple system, it basically interrupts the signal wires going from the S-Pod unit to the switch bank
//
20283112024_eb18a5d4d3_c.jpg

//
I decided to mount the RCPM with trusty Scotch double sided tape. This stuff is so incredibly strong, I use it for everything!
//
20912938251_6329a49926_c.jpg

//
Next, I unplugged the wire harness going to the switch bank
//
20912982691_0b994eed9c_c.jpg

//
Then I plugged it into the new RCPM that I double side taped to the firewall. Then I ran the new supplied wire to the S-Pod source
//
20717578780_ac2ddcb358_c.jpg

//
And its done, that simple! I paired the device to my Samsung Note 3 and I was in business!
 

Recce01

Adventurer
Fender Flare, temper Flare...

So the fenders finally arrived. I was super stoked to see them show up. I opened the box and about fell over. These flares are fiberglass with bolts glued to the backside. This means there is not a real way to hold them up in place to see how they are going to look until you cut your vehicle apart and drill holes in the side of your vehicle. This came at a time when I was scheduled to head out to Overland Expo with some friends at Grizzly coolers in a few days. I had a buddy over and we were trying to decide the best course of action. The choice was to go to expo on the old JK wheels, or thrash and install these fenders and go on the new wheels and tires. After consuming a few adult beverages, we were feeling brave and decided to proceed. We had no real idea what we were getting into.....
//
I heard the rear install was going to be the hardest from a guy who just did these flares to his XJ. Apparently you have to actually cut into the interior of the body shell, then slot the inner fender wells and re-weld them up much higher than they were. So I went to Subiworks and borrowed his Mig welder.
//
20284531313_08a4fdb643_c.jpg

//
As you all know, I have a significant amount of crap that lives in the back of my ZJ, so I had to strip it all out...
//
20284436343_65bb85bf37_c.jpg

//
My buddy Bryan mentioned that we may have a few issues that we hadn't considered. Now that we had everything torn apart, we were pretty much committed to tackle whatever came up. The new tire size wasn't going to fit on my old spare tire mount because it was too close to the fuel can mount. I could just move the fuel can mount over, but it was already at the edge of the tail light., This meant the tire mount itself had to be moved over. Thankfully I was lucky enough to have made the actual mount bolt on, and it looked like there was enough room to modify it. This did however add to the time we were going to need :(
//
20717483020_d751602c27_c.jpg

//
This square tube used to be welded in the exact center of this plate, I had to move it as far over to the edge as possible...
//
20912807261_6c4449b339_c.jpg

//
After holding the flares up to the best of our ability, we discovered that both bumpers were going to need to be modified, cut shorter if you will. The new flares gave a much larger opening, not just toward the center of the wheelbase, but also toward the front and rear of the vehicle. This was going to add a hell of a lot more time to the project. I was starting to feel like I bit off way more than I can chew.....
 

Recce01

Adventurer
Fender Flare, temper Flare... cont.

Just looking at my Jeep in this shape so few days before departure was brutal... I am way too old for this crap hahaha. To be fair, when this kind of deadline is placed on me, I tend to actually get stuff done :)
//
20895703462_d88714d239_c.jpg

//
We felt it best to start at the front of the Jeep because they were meant to be the easiest. Our theory was that if we get progress done, it would give us the confidence to dive into the rears where much more would be required of us. Have I mentioned I am not a body work guy, at all?
//
These would go bye bye, never noticed that little Chrysler logo before... funny.
//
20717503568_0eafe94626_c.jpg

//
Inner fender wells, also bye bye..
//
20905348295_6f72174ffd_c.jpg

//
The next step was to mark some holes, using a 90 degree scribe, we had to scribe around the studs into the front fender. I guess you could say this is pretty much the point of no return. We had one final discussion and decided to dive in...
//
20912637821_425733ab9d_c.jpg

//
OK , so maybe this is the actual point of no return....
//
20717265830_a5bf192b01_c.jpg

//
I really like the look from the front
//
20879021116_5649ecce89_c.jpg

//
But this was an eye opener for sure.... Look how much material needed to be removed from the fender!!!!
//
20905252935_010a89750d_c.jpg

//
20284050363_46686dbc6d_c.jpg
 

Recce01

Adventurer
Fender Flare, temper Flare... cont.

This is where **** started going a little sideways. I was trying to follow the directions to the best of my ability. I envision the directions being created by someone who had done the job a ton of times already, as there was an amount of vagueness that was just enough to confuse. I marked the exact inner line followed by marking 1 " below, so that I could slot and bend a new inner lip to the factory fender. Then I began cutting..
//
20284221693_62ef521c7f_c.jpg

//
20895523552_94d423eb28_c.jpg

//
The slotting and bending process was a serious PITA, and it was not looking good at all. It was meant to be hidden by the fender, so I proceeded..
//
20895515022_59daa27297_c.jpg

//
20282617614_29c909ee97_c.jpg

//
When I put the fender flare in place, you could still see the very bottom of the factory fender.... I was furious that I had done it wrong :( I decided to whack off the whole bent section and run without it. It wasn't the best for integrity, but I didn't have much choice, the result was still striking... Look how much room I have now!
//
20717142930_da6c73d957_c.jpg

//
20878831286_94d46ed1a8_c.jpg

//
20717066560_6d71e927b0_c.jpg
 

Recce01

Adventurer
Fender Flare, temper Flare... cont.

All in all, the fronts were not that bad to install. So, on to the rears. These are 2 pieces per side, as the door carries one half, and the rear quarter panel carries the other half. In effort to install these everything needs to come out of the back of the vehicle so the inside of the quarter panel is exposed. The door panel also needs to be removed and the window fully rolled up. You also need to trim the plastic body cladding on the rear door...
//
20718300159_706a10103a_c.jpg

//
20282459774_5ff3c835d5_c.jpg

//
The same technique of marking the studs applies in the rear with the scribe and drilling holes.
//
20905022355_f8a3aa21d1_c.jpg

//
I over sized the holes to 7/16", where the studs are 5/16", this allows a little movement to get final placement. This is especially necessary in the rears because you want the 2 pieces to line up best as possible. You can see how much needs to be cut off. Pretty much cut it all the way to the door!!
//
This was gnarly to cut, as I am using my die grinder, sparks are flying out the back gate of the Jeep from the inside. That's right, you are cutting into the cabin of the vehicle...
//
20718260729_ef7bd2f0e2_c.jpg

//
20716957610_0b37e8543a_b.jpg

//
The next step is to cut verticle slots in the inner fender well and bend them up to the new line you cut. I made sure and cut a little extra height so I didn't run into the same problem as I had in the front
//
20716950148_0a23ebe2c4_c.jpg

//
The next step involved welding the inner fender well back to the quarter panel, this is no joke. I have done very little welding on vehicle bodies, one thing I know is that too much heat = massive warping, so I decided to just tac weld it a ton of times
//
20904882425_16a67c5cc9_c.jpg

//
20878606576_925feae38c_c.jpg

//
The end result was about an extra inch and a half in front of the rear tire!
//
20716881558_178426b552_c.jpg

//
I didn't get photos of the next step, but I had to get body filler with infused aluminum I think, and fill all the gaps, to include these gaps as seen from inside the vehicle!!!
//
20878559506_bd8e40b7e1_c.jpg

//
The whole process took me about 6 hours per side, not an easy task at all
//
20716699380_b5746edf10_c.jpg

//
Once I had the welding all done, I used body filler, and tried to smooth it out as much as possible. It is kind of irrelevant how it looks because the flare covers it, but it had to be water tight!!
//
20911875171_baa3c4b38b_c.jpg

//
A little flat black paint and the rear wells were ready!
//
20878280166_79aa86bf2a_c.jpg

//
20716627888_3f40584dcd_c.jpg
 

Forum statistics

Threads
185,896
Messages
2,879,548
Members
225,583
Latest member
vertical.dan
Top