You are using an out of date browser. It may not display this or other websites correctly.
You should upgrade or use an alternative browser.
You should upgrade or use an alternative browser.
AND YET AGAIN: Paul and Mike Try to Build a Hard-Sided Do-It-All ADV Trailer
- Thread starter mhiscox
- Start date
PaulJensen
Custom Builder
08
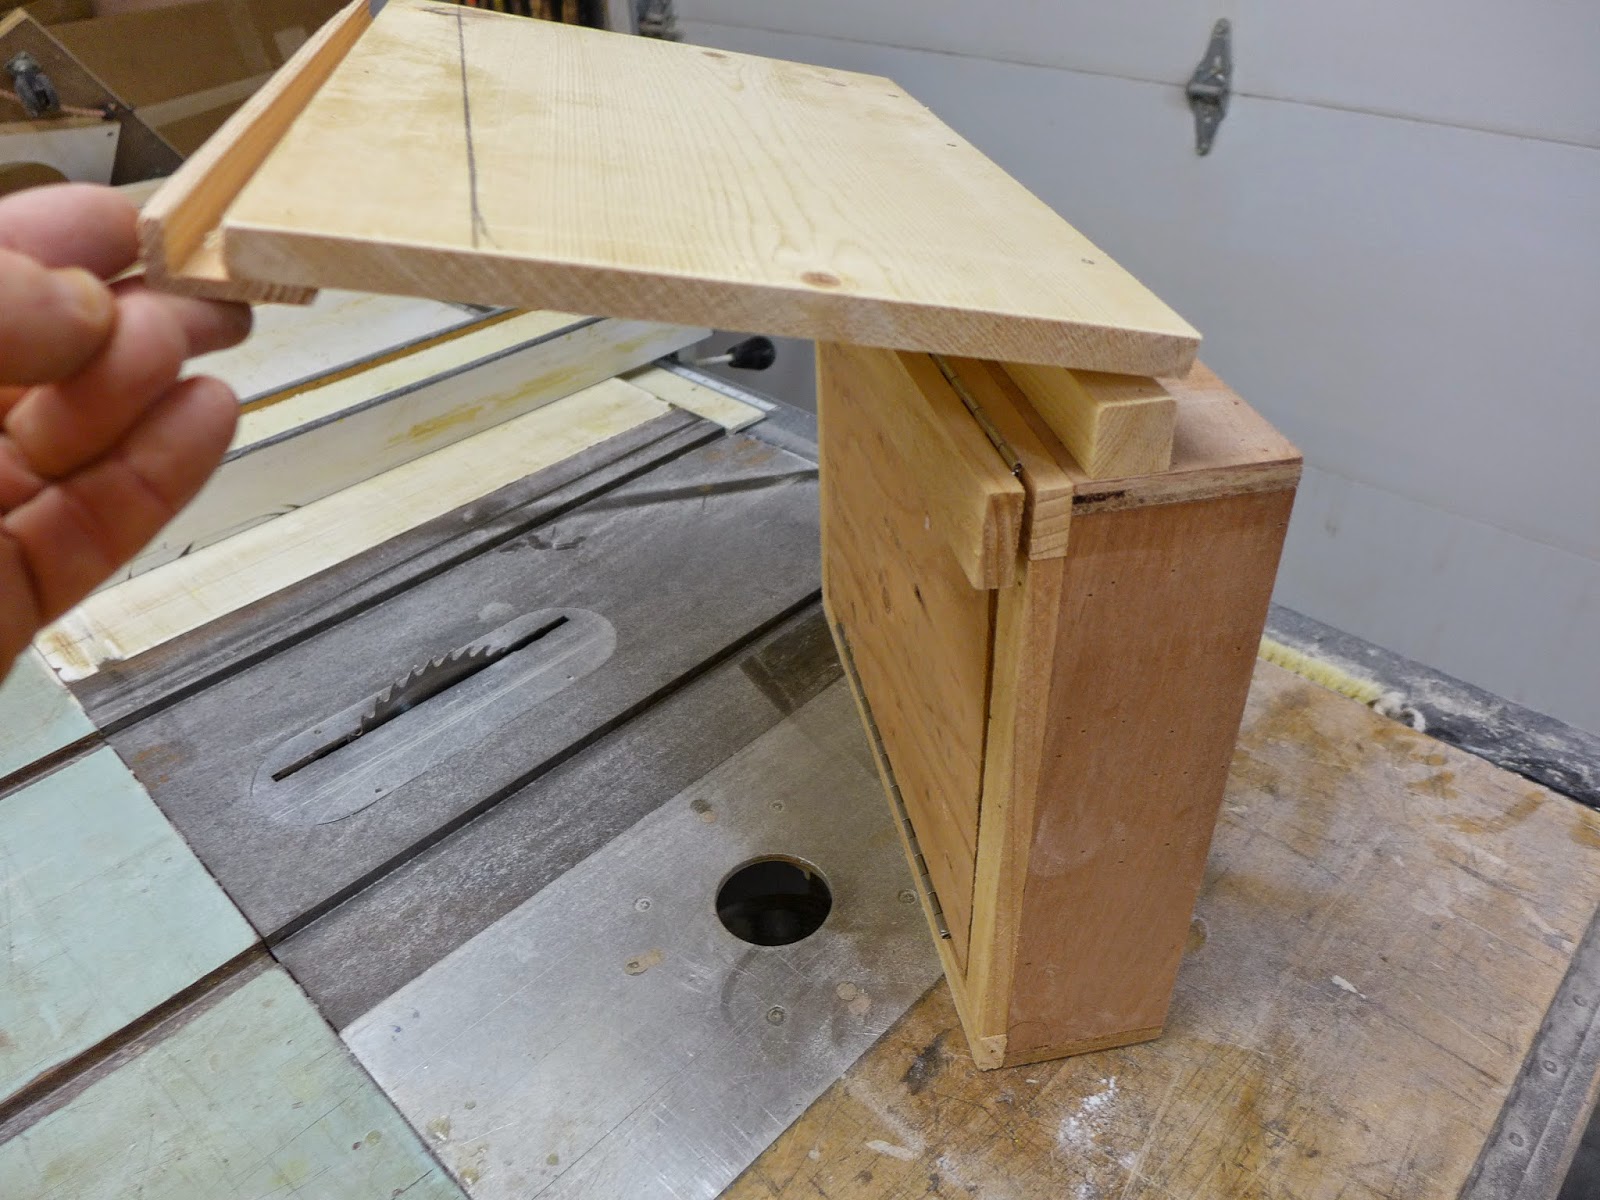
(above) The wall plan changed a bit... Taking advantage of the 1x1 curb and moving the hinge as shown, will allow the wall to lay flat to the outside... Here's how it looks closed up to the inside...

(above) The wall upright and vertical...
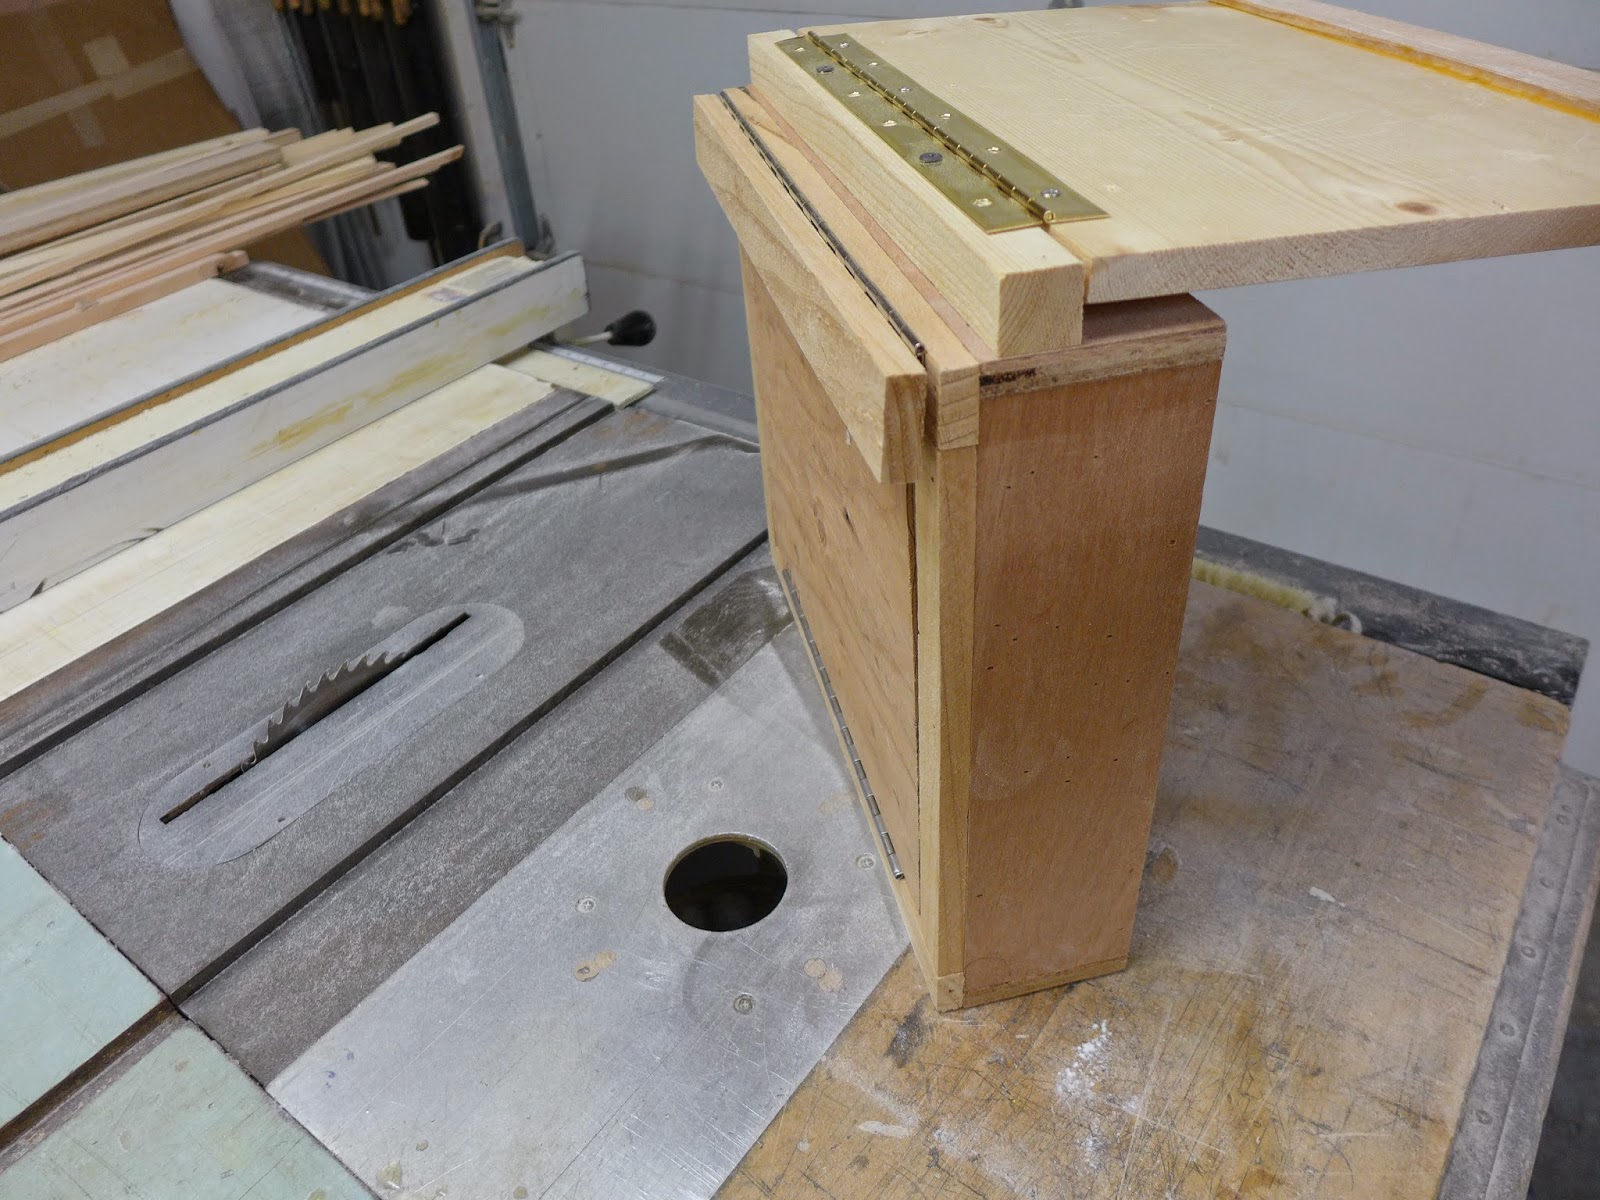
(above) The wall folded over to the outside... This model doesn't show that there will be 15" of wall laid on top of the 'pods' to eliminate the need for additional wall support when fully open...

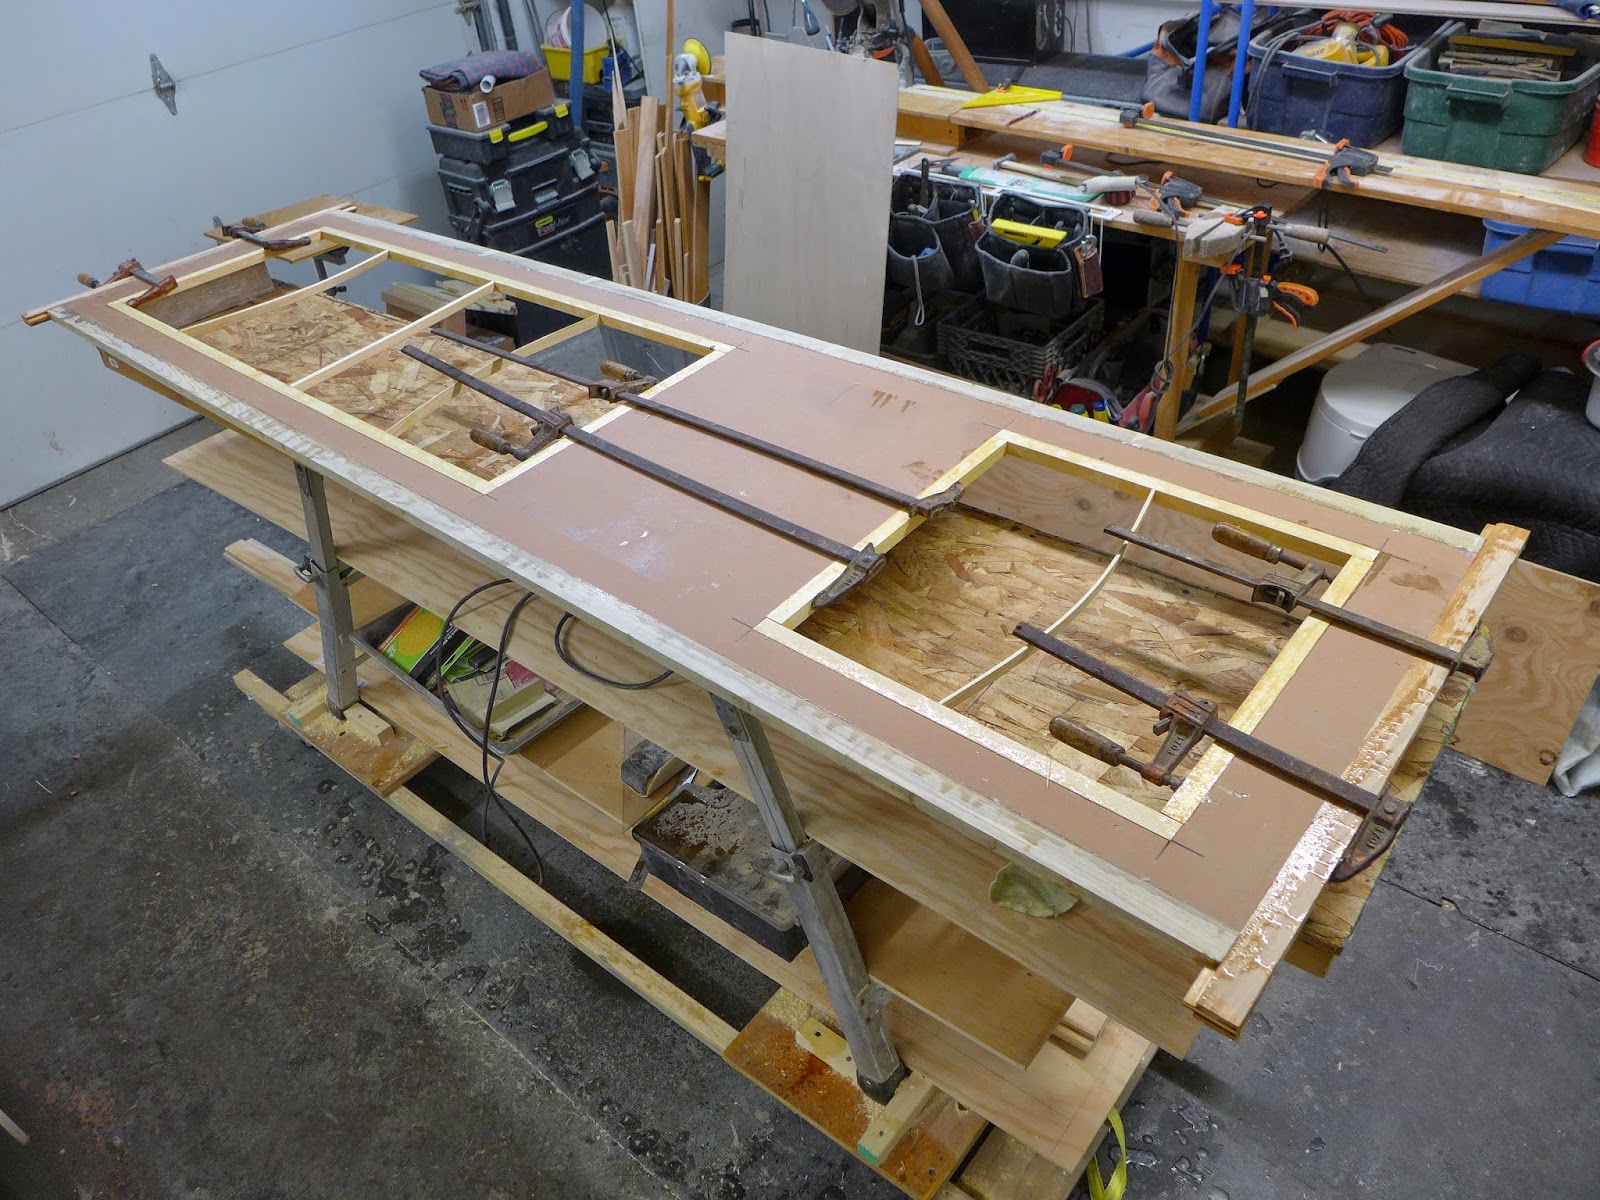
(above) The wall, end panels and doors will have this as the core...
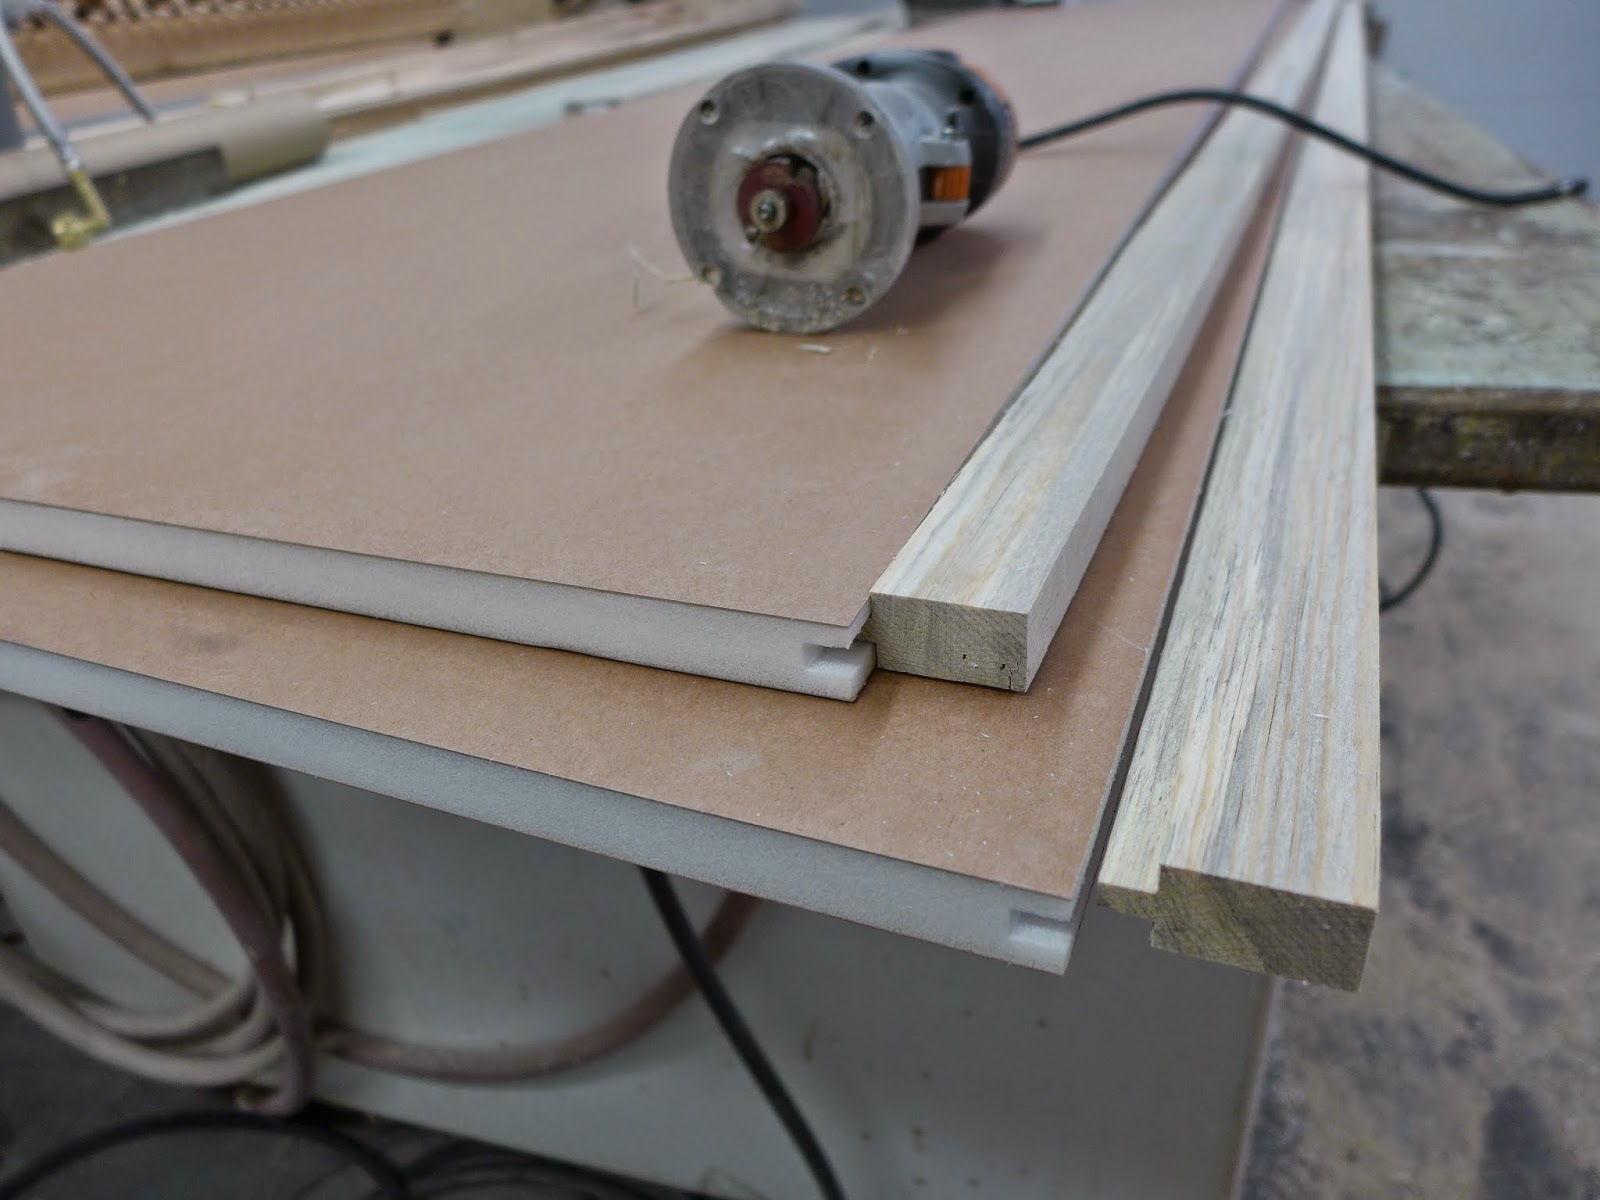
(above) The core is light and weak... Fine for a core, but for edge support, wood is bonded to the foam... First it's T & G'd to the core with epoxy...
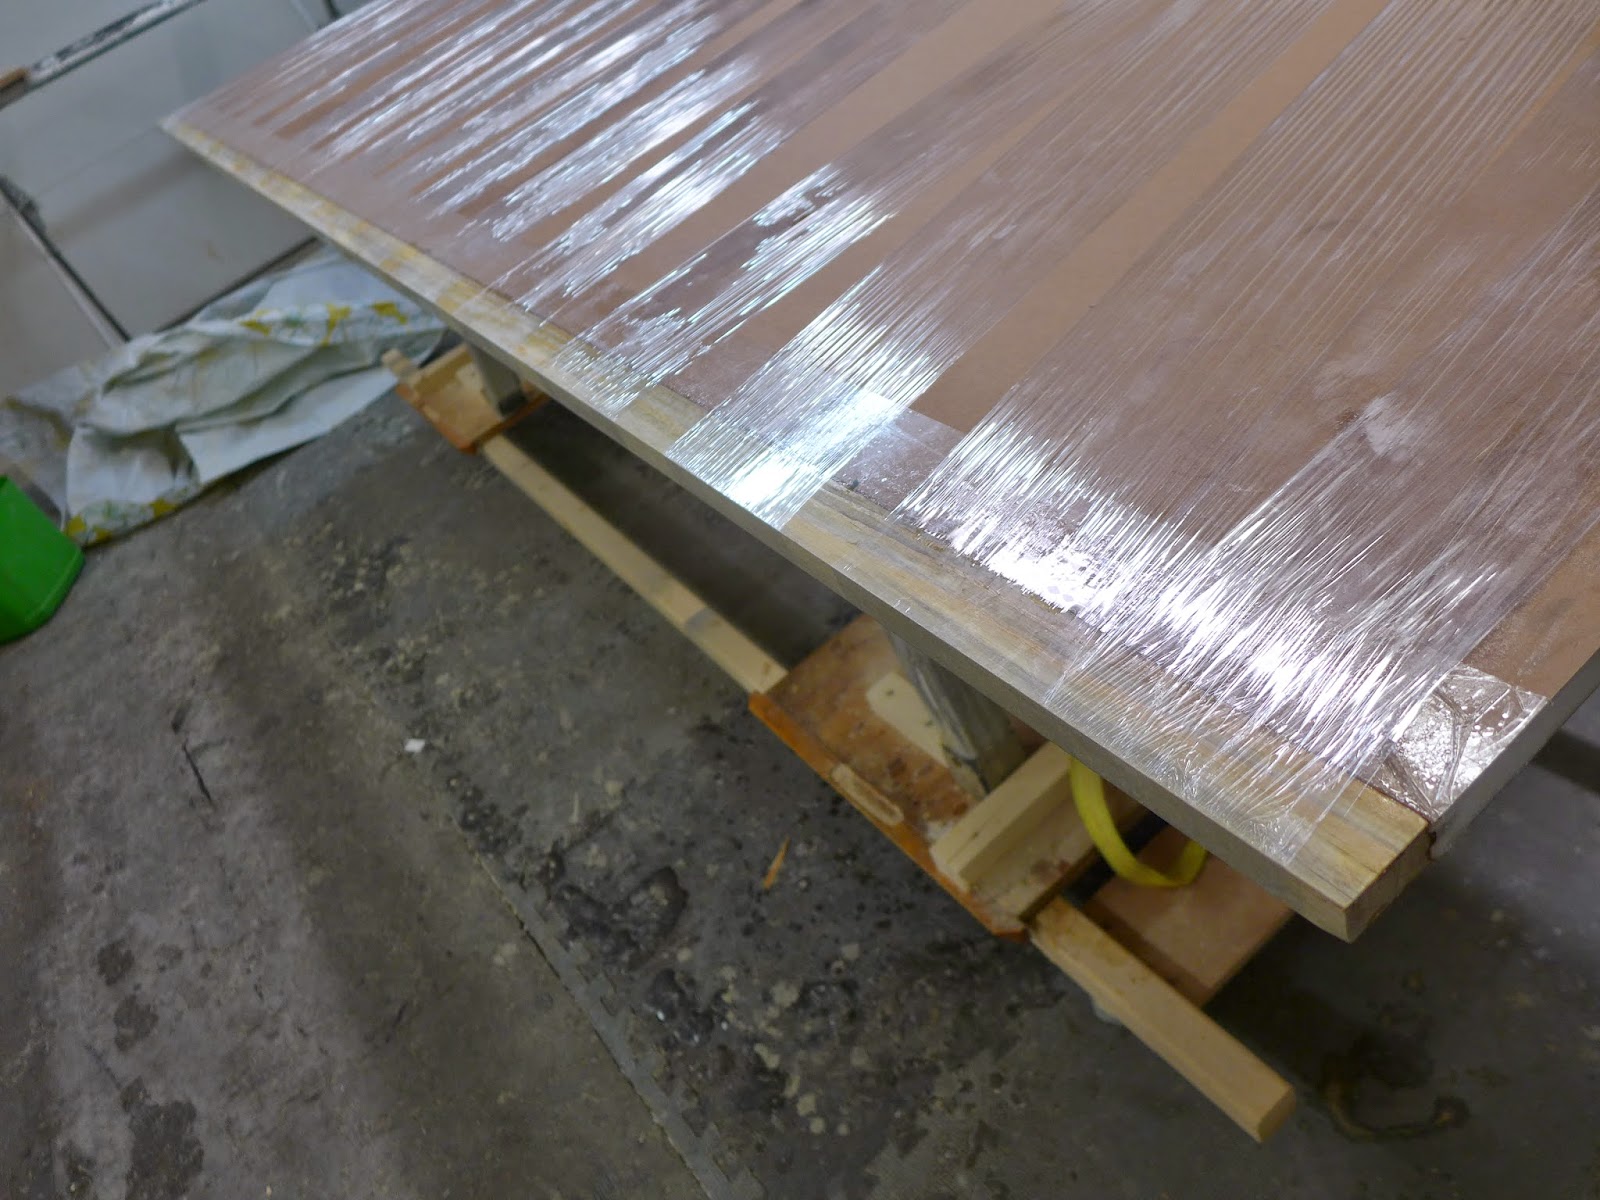
(above) A fast clamping strategy is stretch wrap... Strong enough for the task...
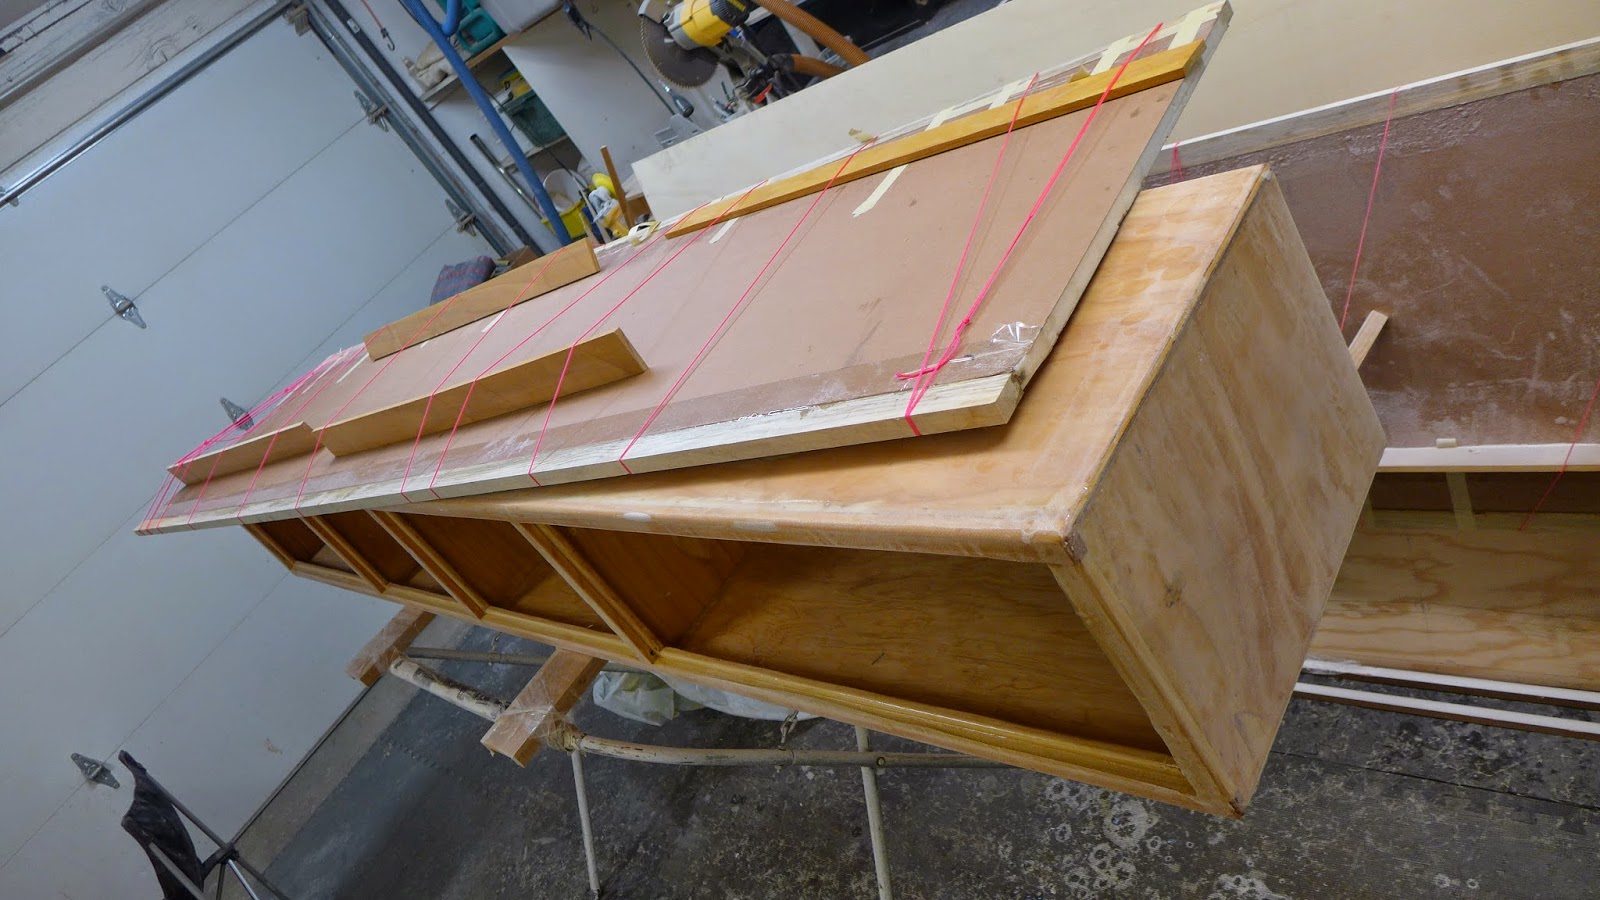
(above) The other edge was set after the epoxy hardened on the first side... This time, string was wrapped and tensioned stronger than the stretch wrap could provide... After the wood strips were turned upright you could play it like a traditional three string Japanese "guitar"... Twang...
(above) Finally, I'm trying to get this to fit in a nine inch tall drawer... Maybe...
(above) The wall plan changed a bit... Taking advantage of the 1x1 curb and moving the hinge as shown, will allow the wall to lay flat to the outside... Here's how it looks closed up to the inside...
(above) The wall upright and vertical...
(above) The wall folded over to the outside... This model doesn't show that there will be 15" of wall laid on top of the 'pods' to eliminate the need for additional wall support when fully open...
(above) The wall, end panels and doors will have this as the core...
(above) The core is light and weak... Fine for a core, but for edge support, wood is bonded to the foam... First it's T & G'd to the core with epoxy...
(above) A fast clamping strategy is stretch wrap... Strong enough for the task...
(above) The other edge was set after the epoxy hardened on the first side... This time, string was wrapped and tensioned stronger than the stretch wrap could provide... After the wood strips were turned upright you could play it like a traditional three string Japanese "guitar"... Twang...
(above) Finally, I'm trying to get this to fit in a nine inch tall drawer... Maybe...
PaulJensen
Custom Builder
all well and good until the wind blows
Exactly...
PaulJensen
Custom Builder
Exactly...
Oh yeah, I have a plan for that too... Super simple... You'll see...
PaulJensen
Custom Builder
Exactly... I have a plan for that... You'll see...you do realize the charcoal color grain in that wood is decay. I assume it's only mock-up?
PaulJensen
Custom Builder
09
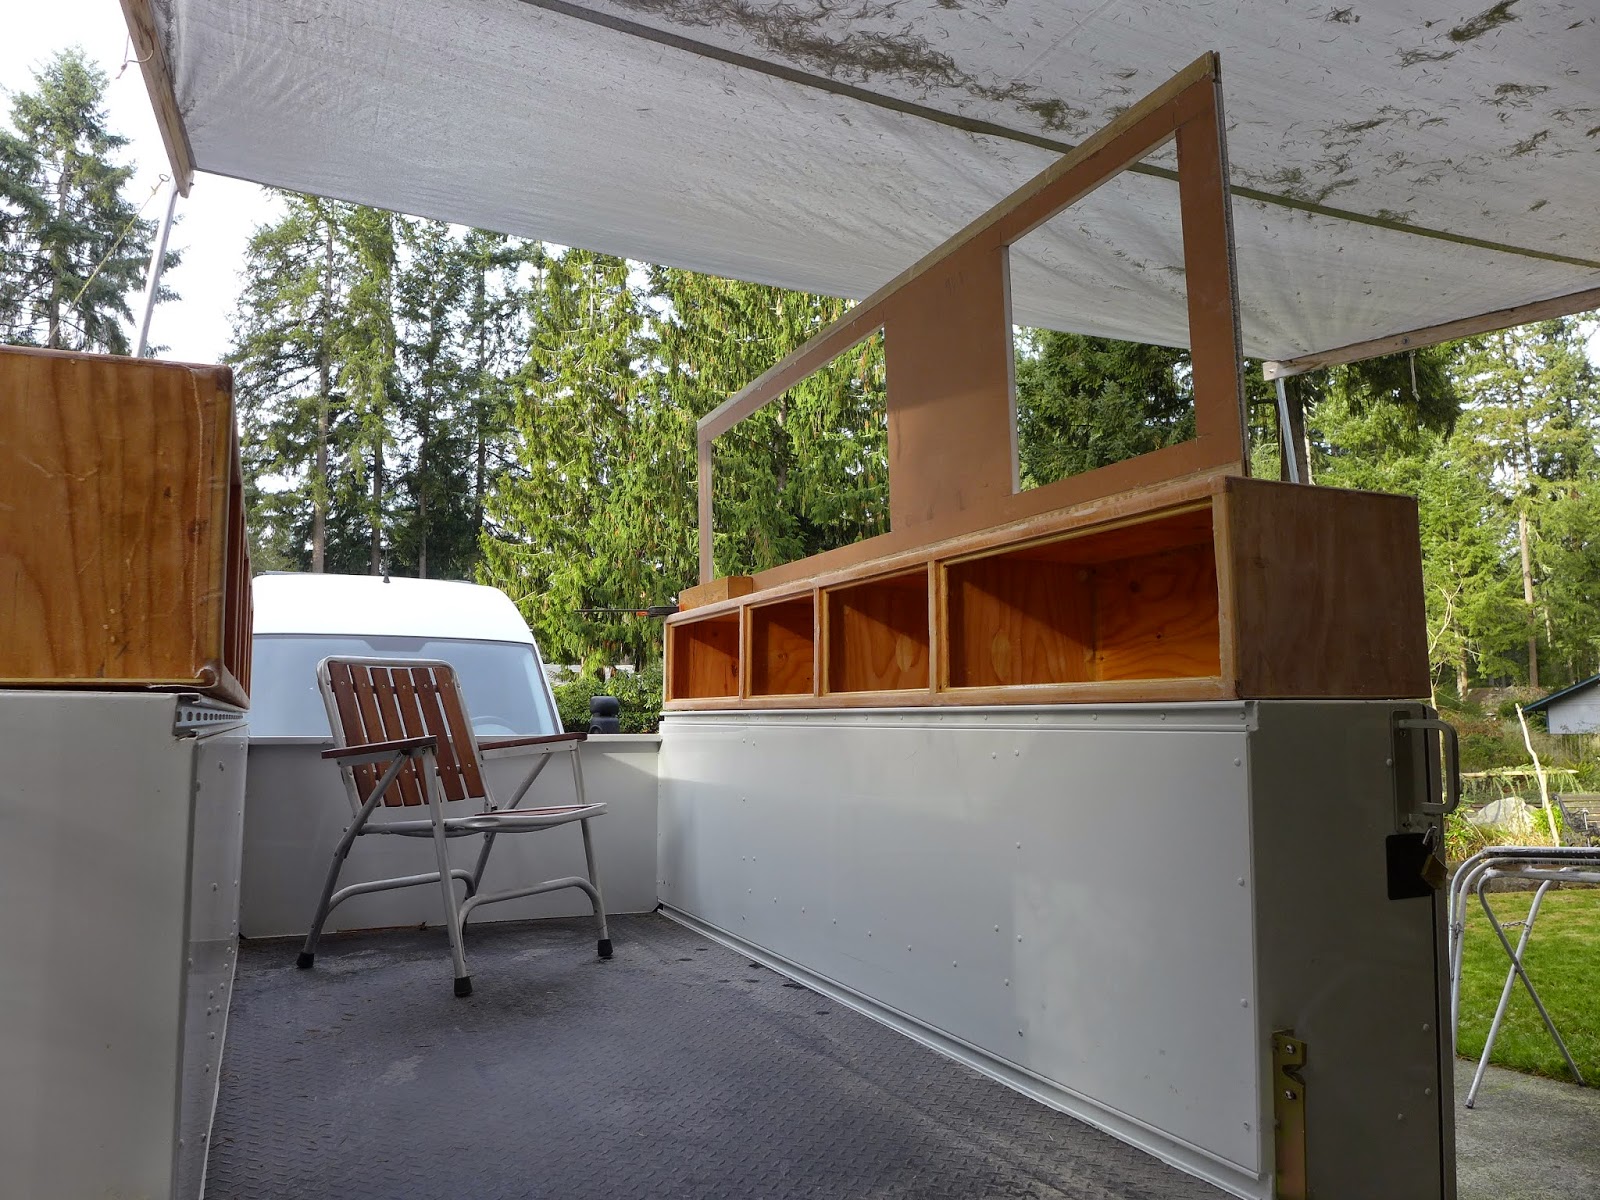
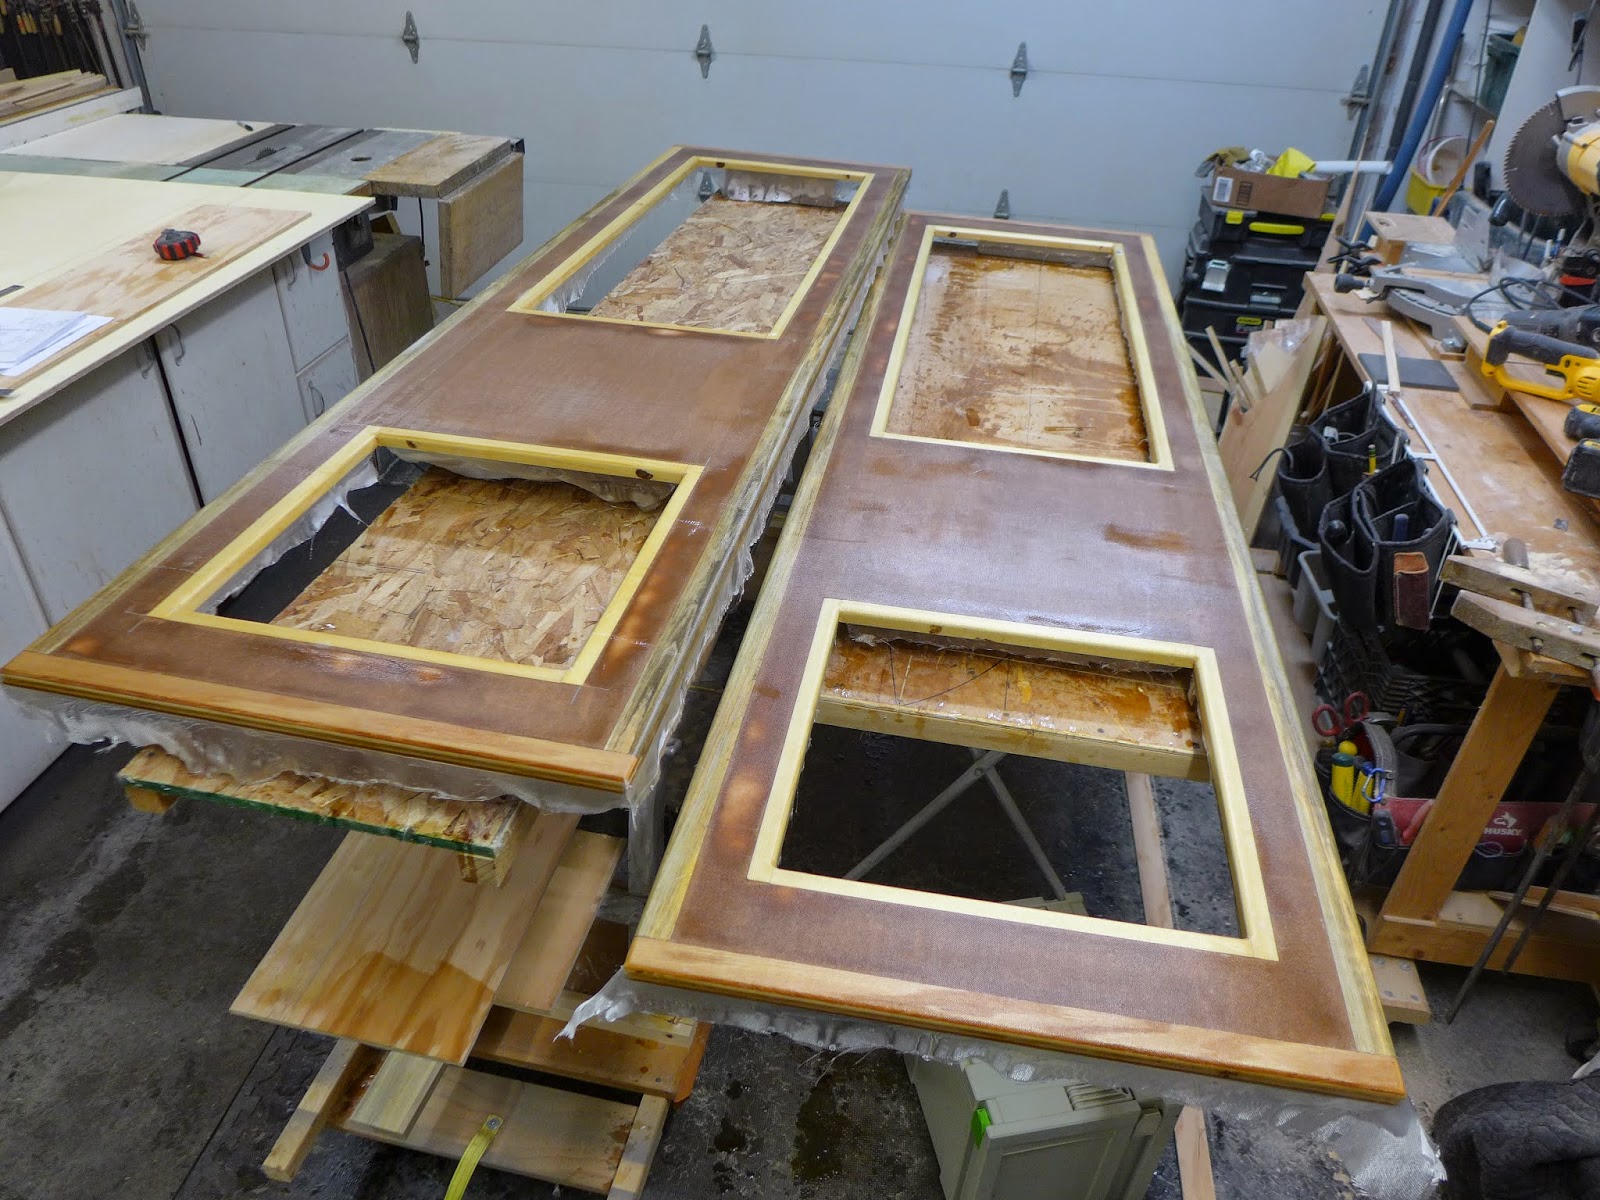
(above) The wall panels were trimmed to length, then the window cut-outs were made... I put the panel on top of the 'pod' to give a sense of scale...
 (above) The window opening also received T & G wood to foam for backing when the plexiglass gets installed...
(above) Everything is epoxied...
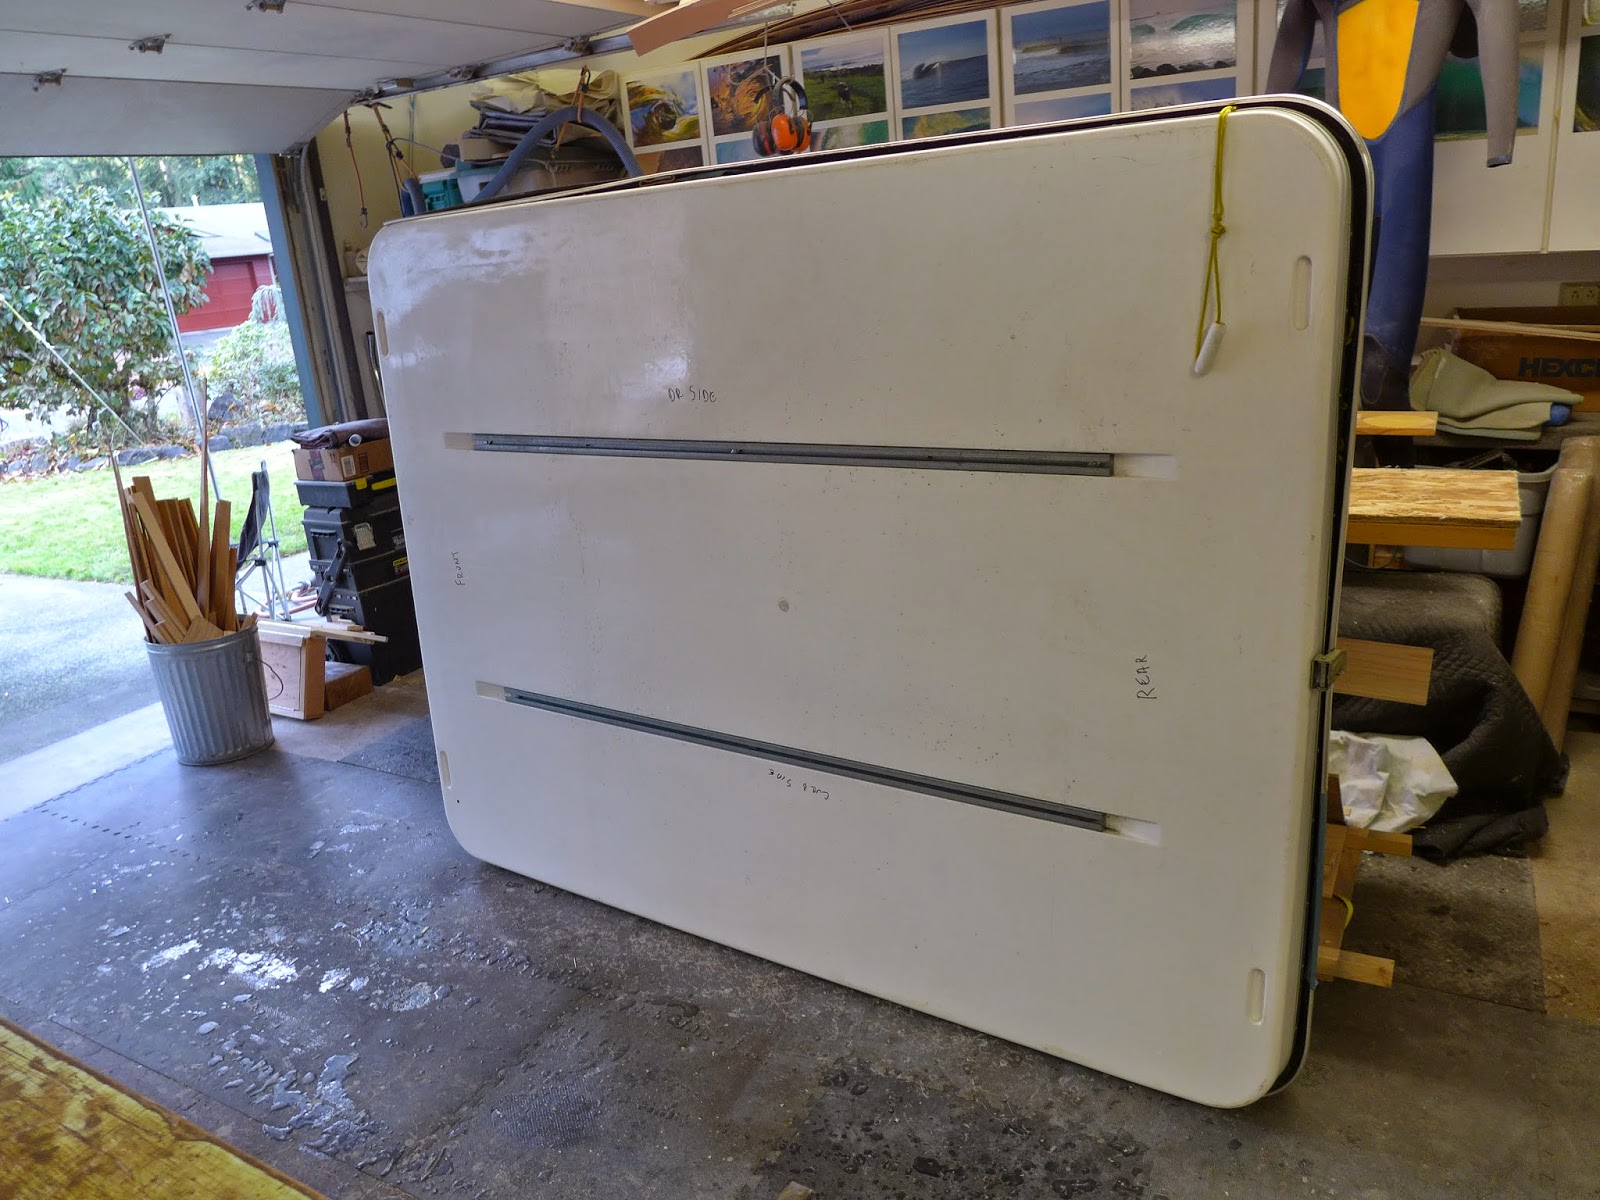
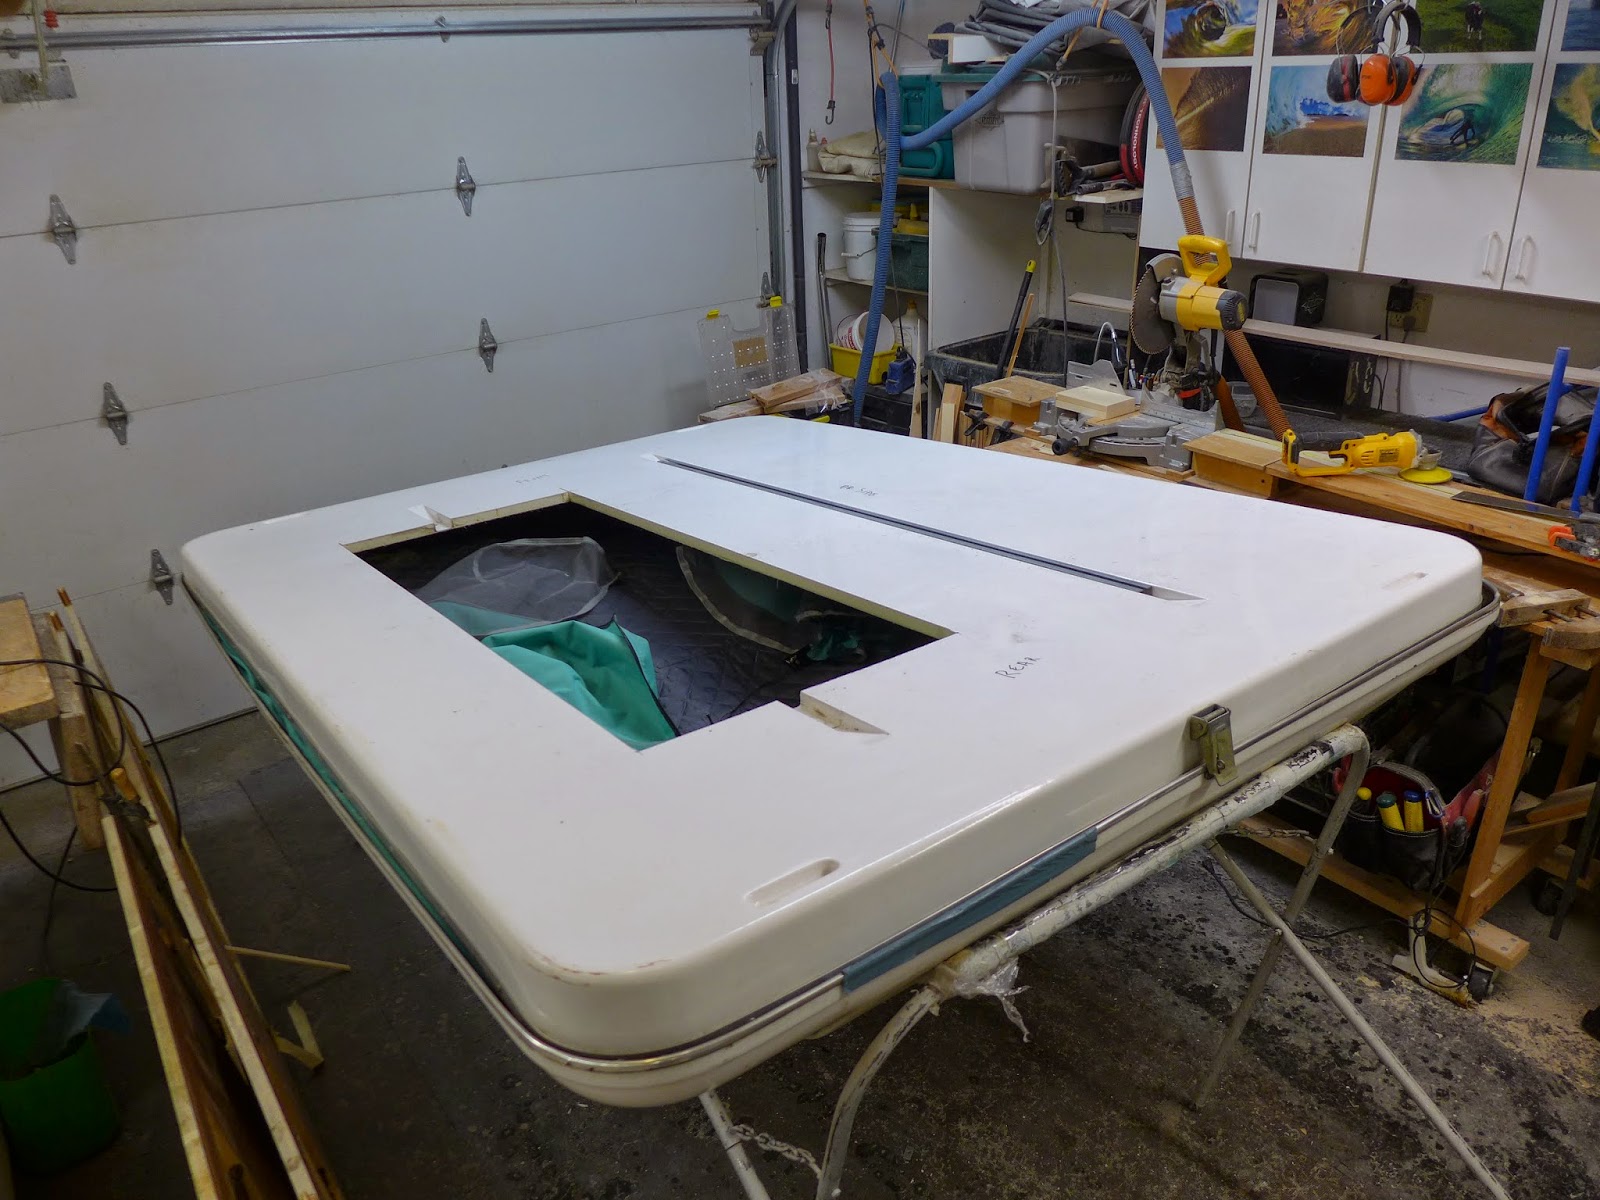
(above) The roof top tent needs an access panel cut into the bottom...
(above) The cut was made with a Festool Rail Guide Saw.... Fast and accurate...
(above) The RTT will need some structural fiberglassing inside to compensate for the cut out... No biggie...
(above) The wall panels were trimmed to length, then the window cut-outs were made... I put the panel on top of the 'pod' to give a sense of scale...
(above) Everything is epoxied...
(above) The roof top tent needs an access panel cut into the bottom...
(above) The cut was made with a Festool Rail Guide Saw.... Fast and accurate...
(above) The RTT will need some structural fiberglassing inside to compensate for the cut out... No biggie...
mhiscox
Exp. Leader Emeritus
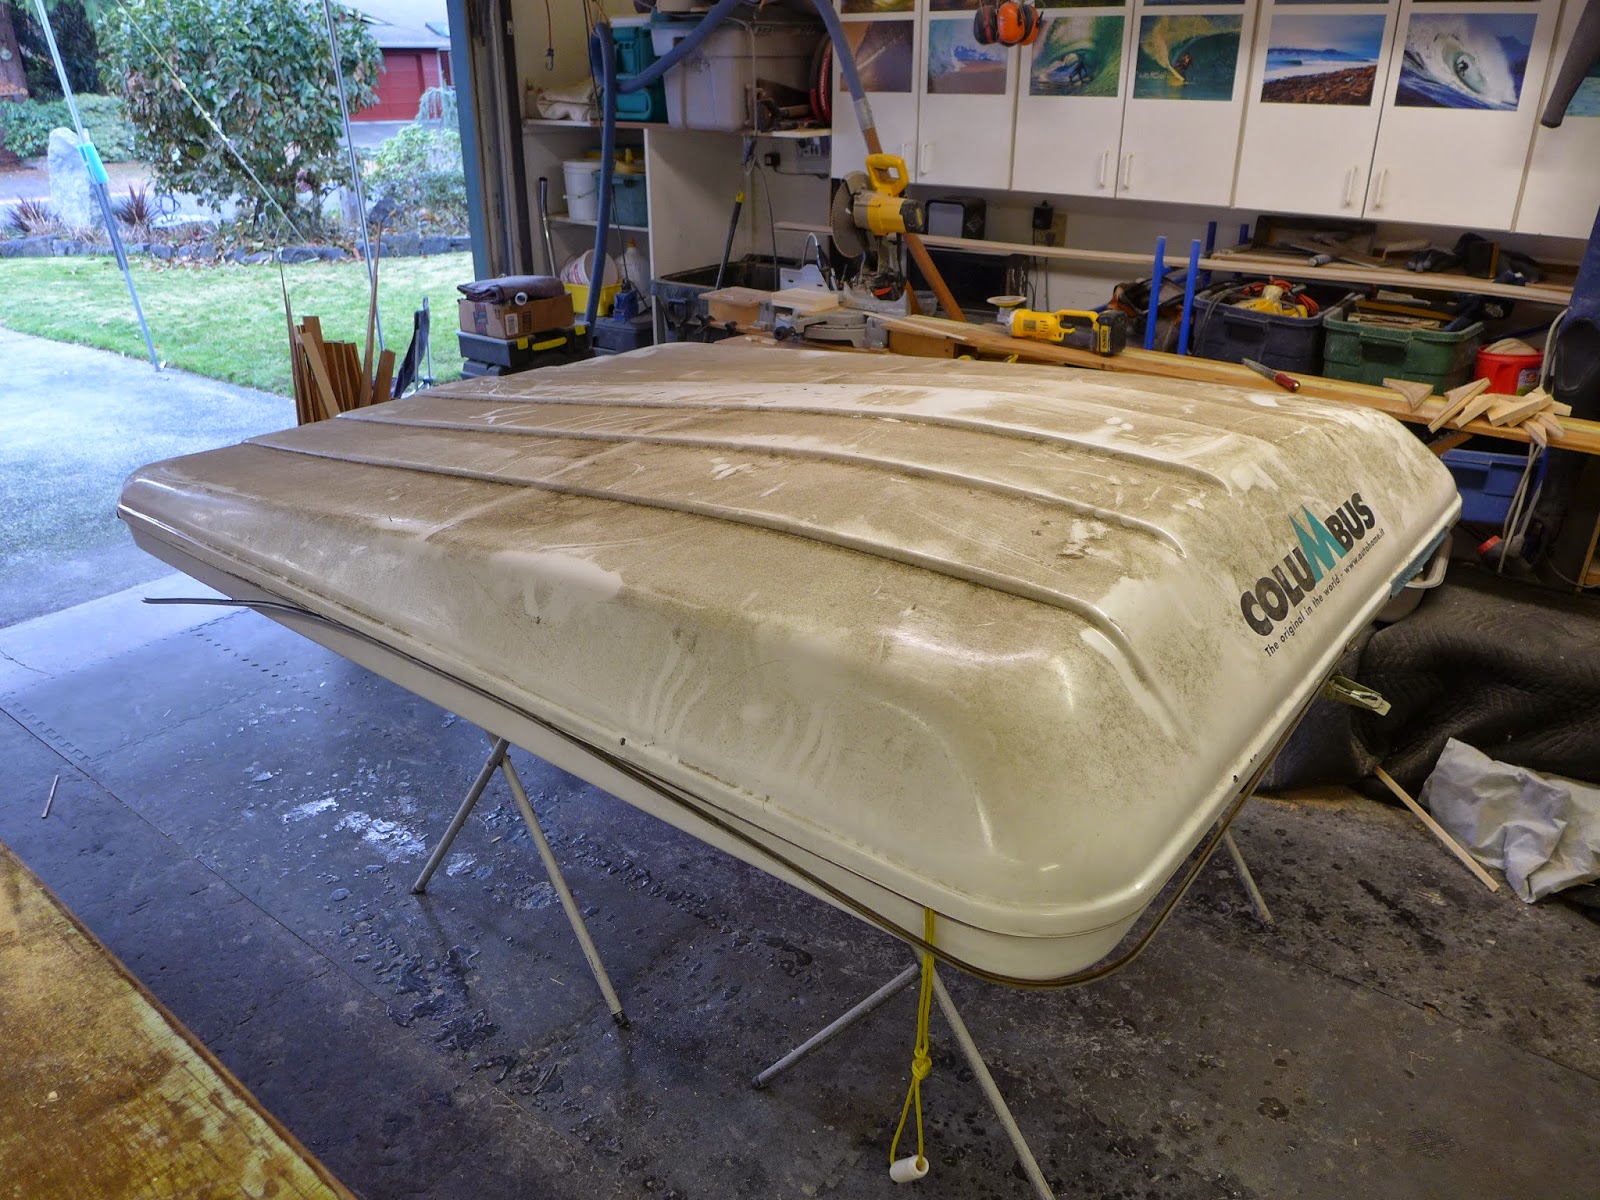
If you'd sat under the carport for as long as this tent did, you'd be dirty, too.You do realize that that brown color on the tent is dirt.
That said, I had intended to give Paul a cleaner tent. But I had it sitting about six feet off the ground and actually couldn't see the top, so I sort of spaced the fact that it would be dirty when we pulled it down. Oops.
southpier
Expedition Leader
I think he was trying to make a joke.
more of a concern would be the overlapping corner cuts in the tent clamshell case. these have good potential for cracks radiating across the remainder of the floor over time. usually a hole saw is used (in each corner) to create a radius; the just connect the outside tangents. even a 1" hole (1/2" radius) will go a long way preventing this. obviously larger is more better if the design allows.
more of a concern would be the overlapping corner cuts in the tent clamshell case. these have good potential for cracks radiating across the remainder of the floor over time. usually a hole saw is used (in each corner) to create a radius; the just connect the outside tangents. even a 1" hole (1/2" radius) will go a long way preventing this. obviously larger is more better if the design allows.
GR8ADV
Explorer
I think he was trying to make a joke.
") Well you had to a least chuckle a bit right?
Well you had to a least chuckle a bit right?mhiscox
Exp. Leader Emeritus
Yeah, I know. Ken and I are good friends. Still an embarrassingly dirty tent, though.I think he was trying to make a joke.
PaulJensen
Custom Builder
10
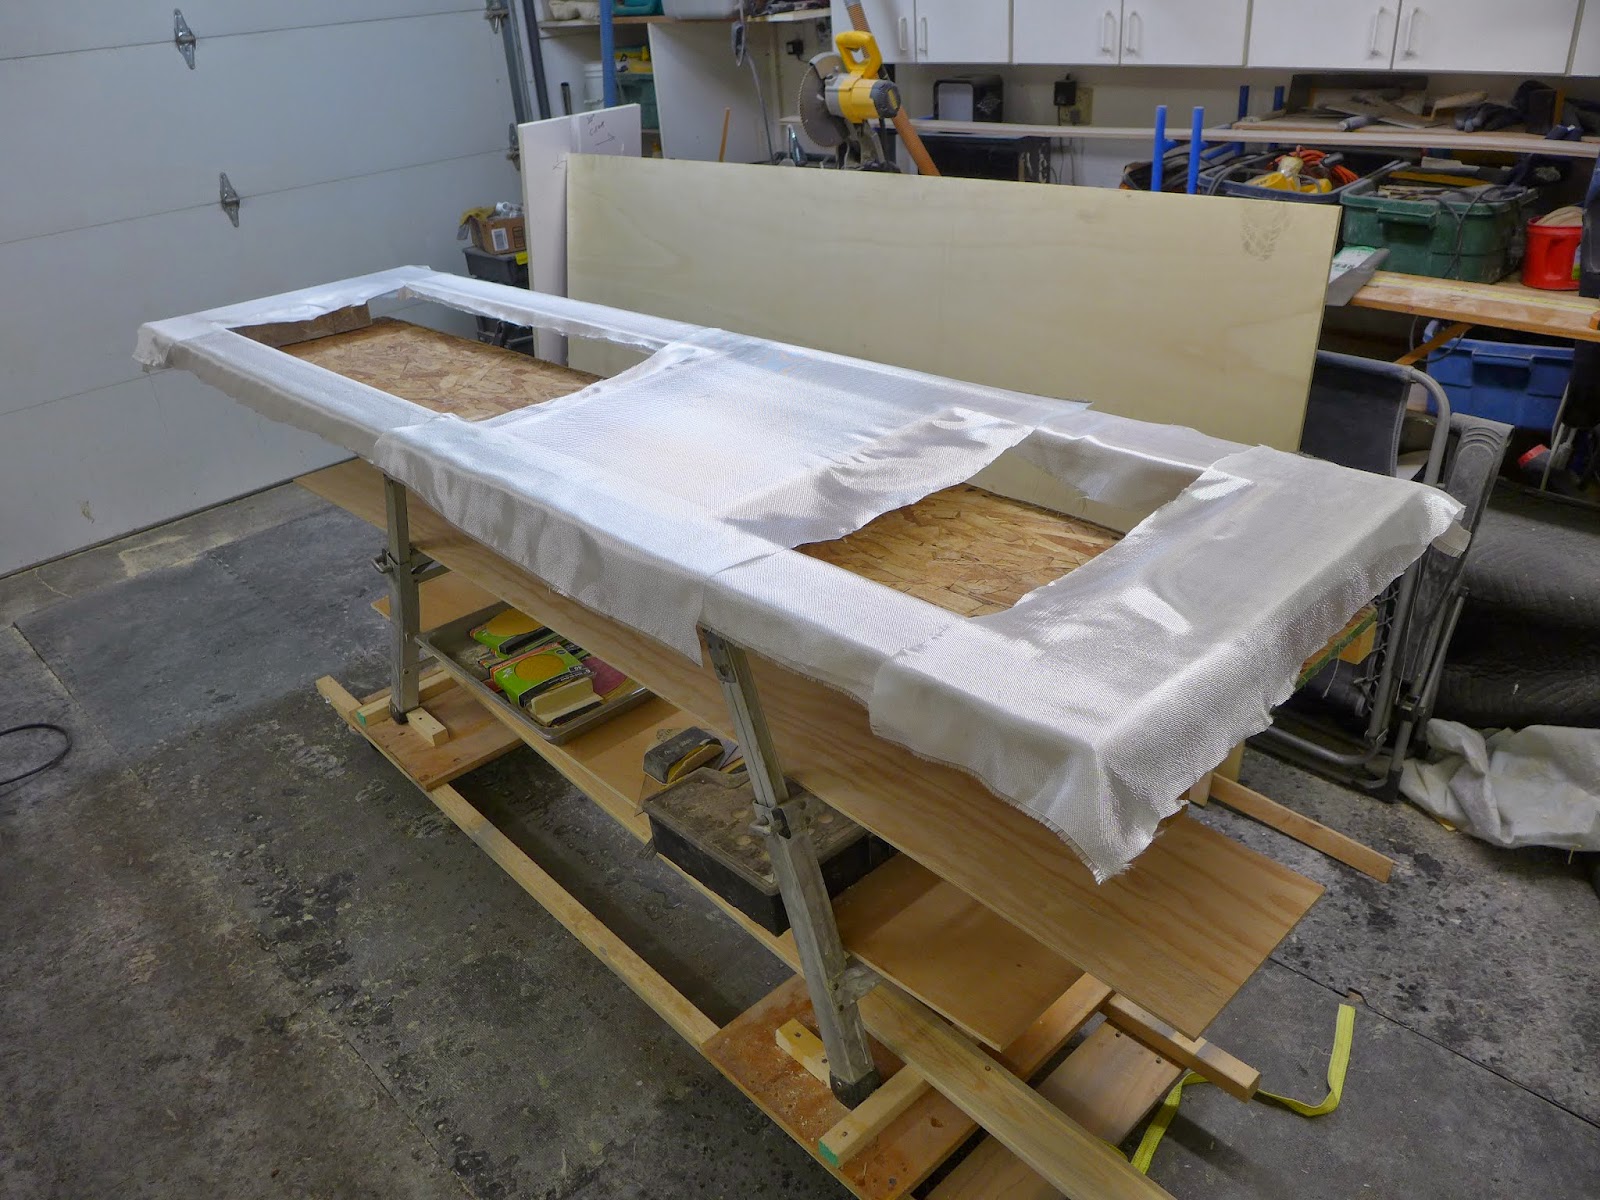
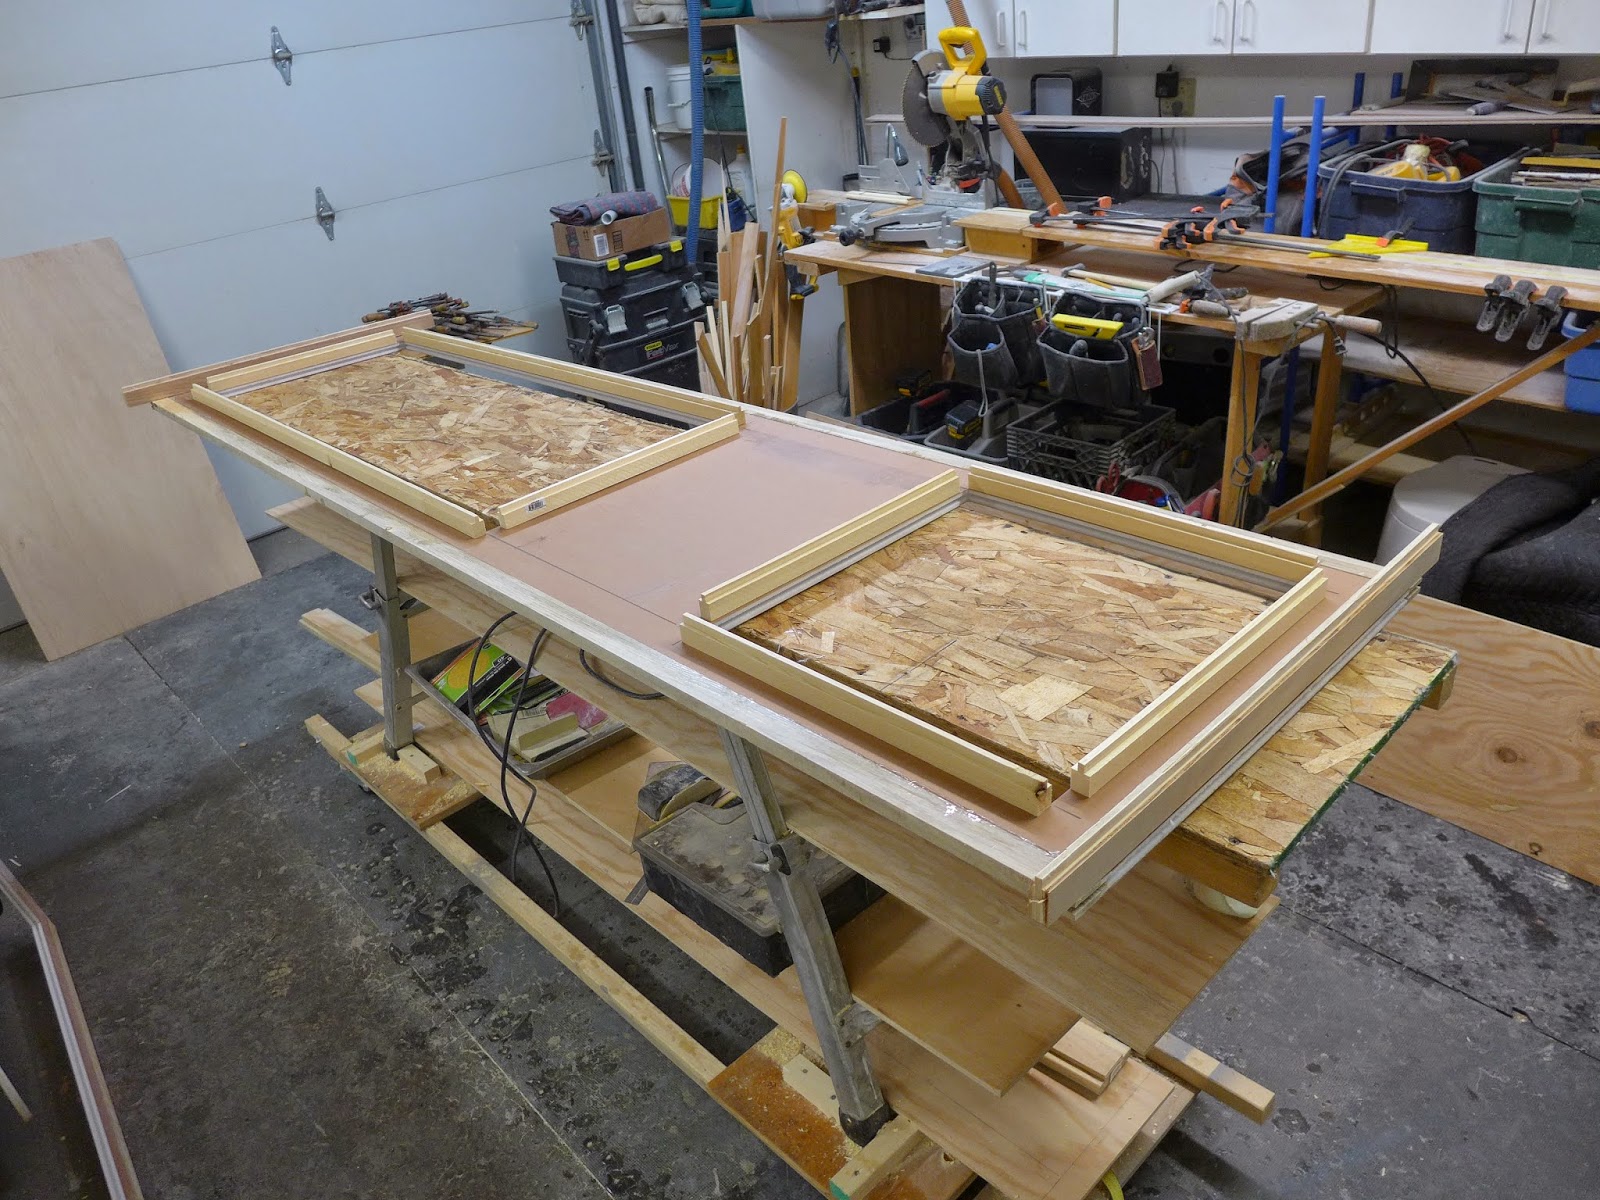
(above) After sanding off epoxy bumps and rounding over the wood edges, two layers of 4oz. fiberglass cloth are laid onto the wall panels... Next epoxy was squeegeed on, smoothed out, brushed in and finally set aside to cure...
(above) Side one, done... Flip and repeat tomorrow...
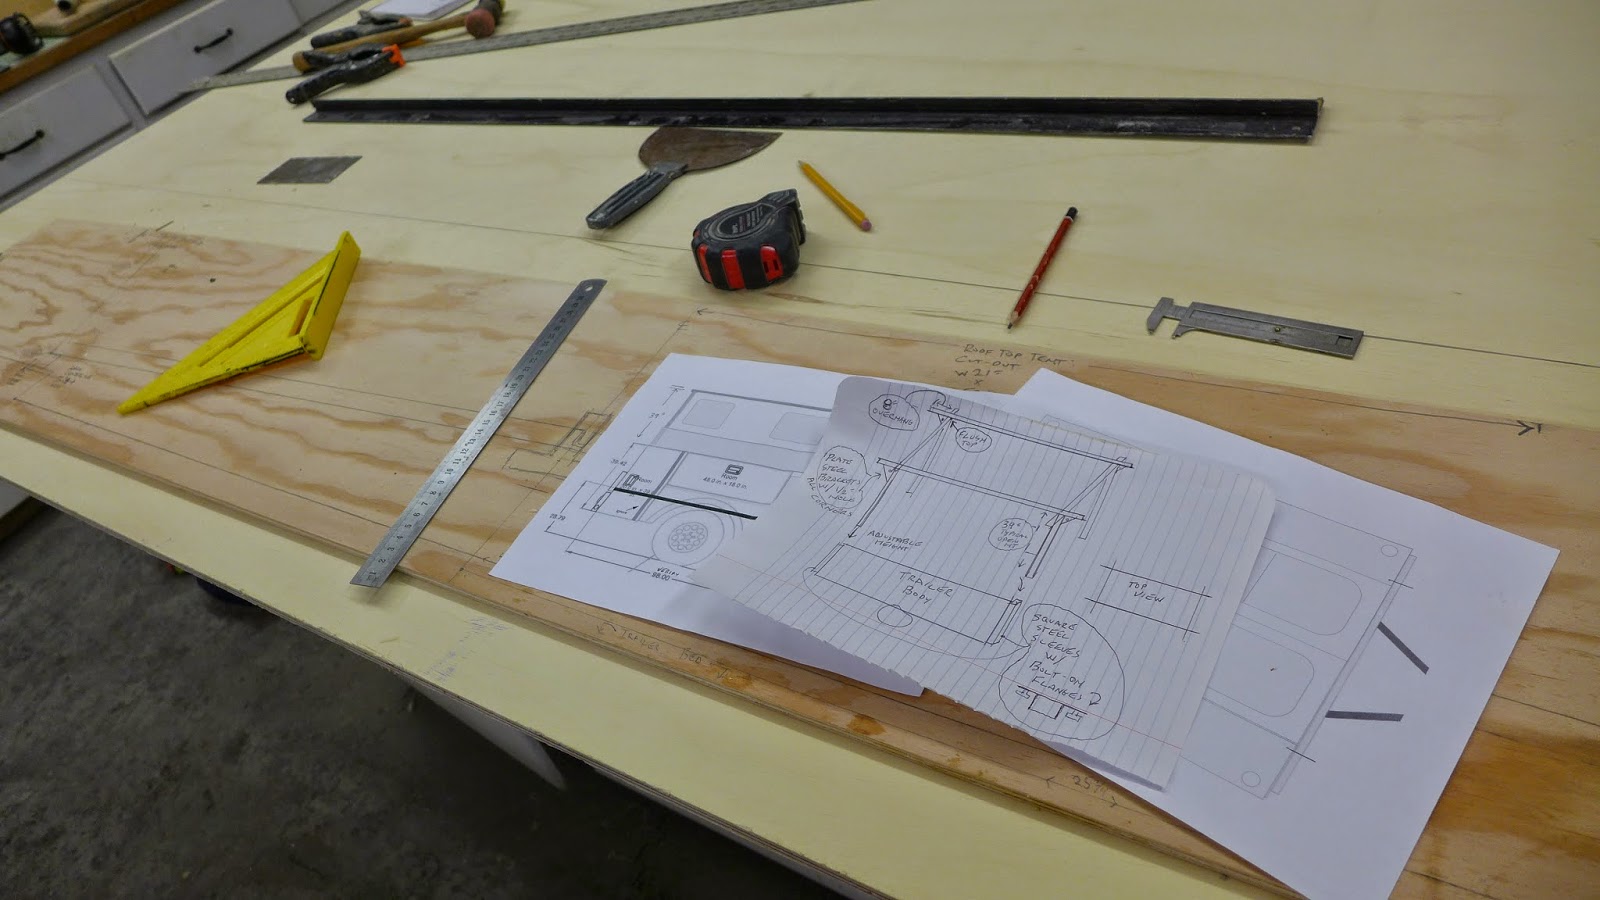
(above) With the epoxy curing, the first draft of a roof rack plan was put to paper...
(above) After sanding off epoxy bumps and rounding over the wood edges, two layers of 4oz. fiberglass cloth are laid onto the wall panels... Next epoxy was squeegeed on, smoothed out, brushed in and finally set aside to cure...
(above) Side one, done... Flip and repeat tomorrow...
(above) With the epoxy curing, the first draft of a roof rack plan was put to paper...
Forum statistics
Members online
- fattycharged
- LaraRaven
- bartheil
- Power Wagon Family
- Mekcanix
- TonyCatmandu
- mozo29
- Lhenecke
- laproscopic
- dstefan
- Robert88
- Helot
- Rovertrader
- Spencer for Hire
- deeppurpleman
- Photomike
- Alesnloggers
- Jack Mac
- Madmaxwell87
- PJorgen
- Greg03XLT
- Kish53@
- richxd87
- mark5280
- supreeth
- sportsbriefcase
- KellyM
- gunjankakani
- Camper123
- Fenderfour
- Double Down
- cmd42
- Rube2K6
- clift_d
- 94LandCruiserDude
- joefromsf
- Pax2525
- driller
- gnel
- UniChris2450L
- james.uk
- scottma
- Pacific Northwest yetti
- Tcali81
Total: 558 (members: 48, guests: 510)