jscherb
Expedition Leader
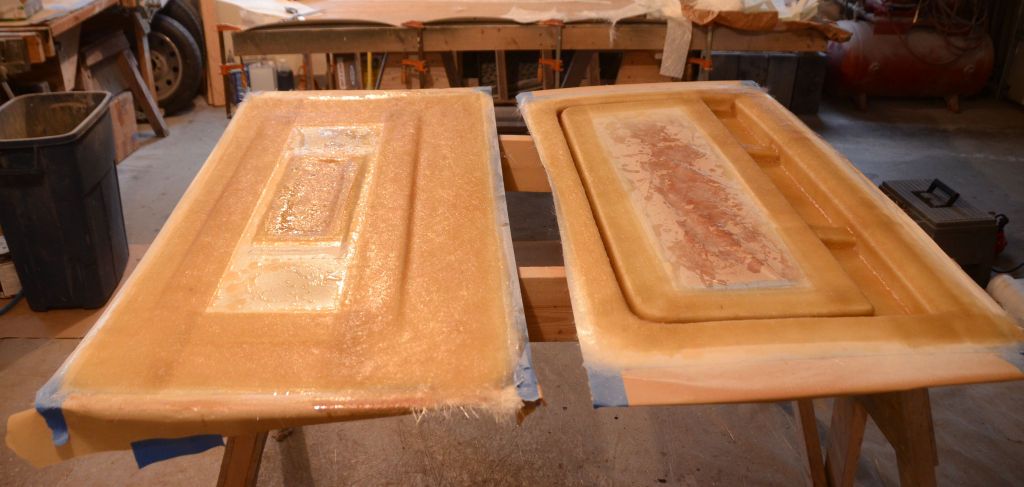
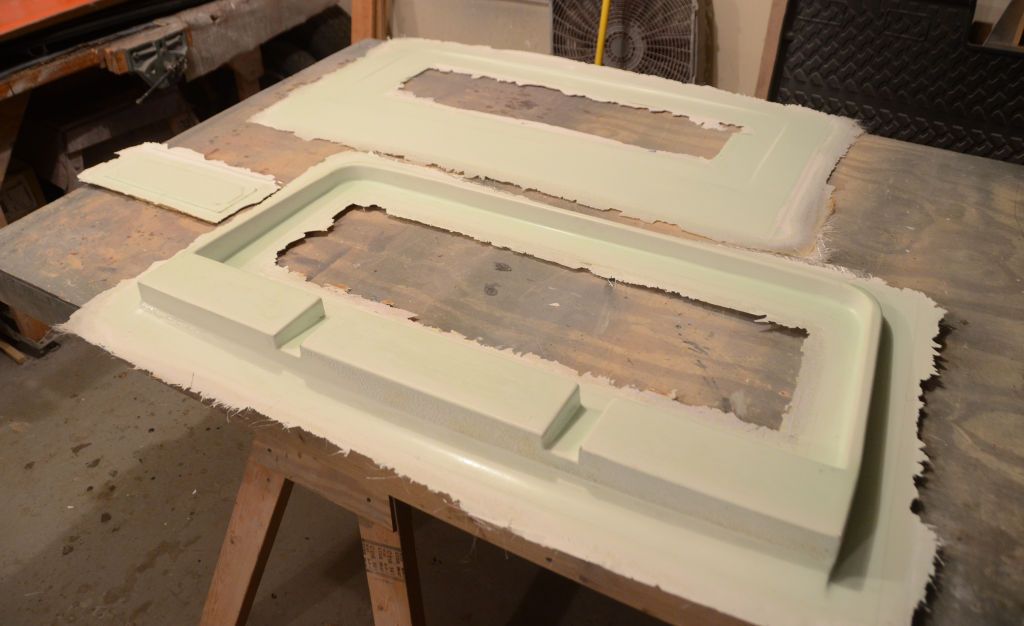
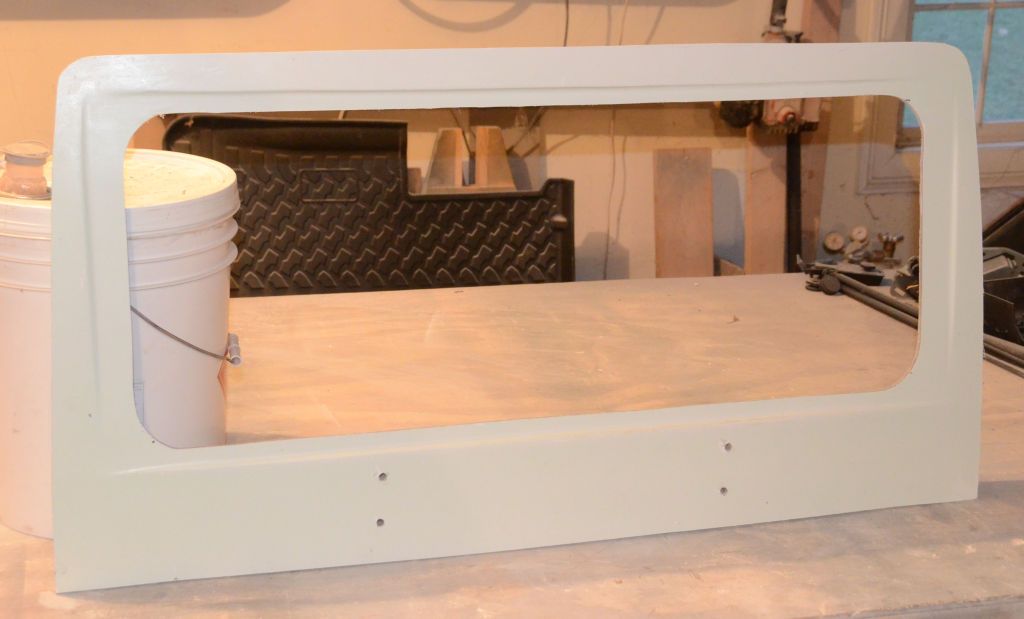
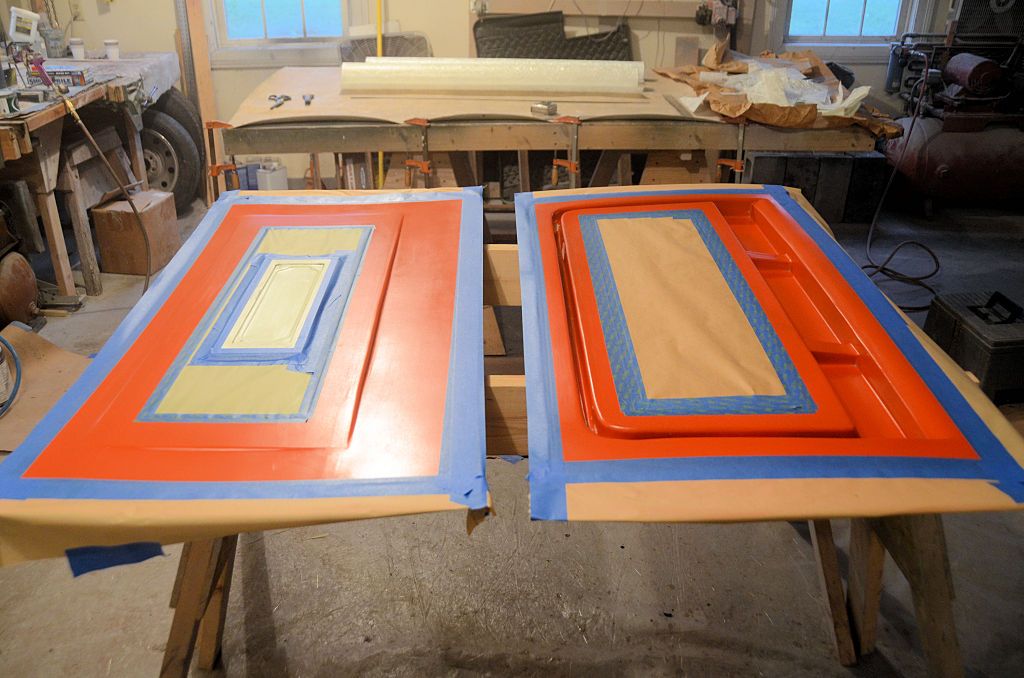
The first step to molding parts is prepping the molds, I typically mask off the edges of the molds and sections that don't need fiberglass like the area where the window will be cut out. Then mold release wax is applied, followed by spraying PVA (polyvinyl acetate) mold release. PVA is a water-soluable mold release, it provides an additional layer of protection over the mold and it washes off with water after the part comes out of the mold. The molds are now prepped and ready for the next step:
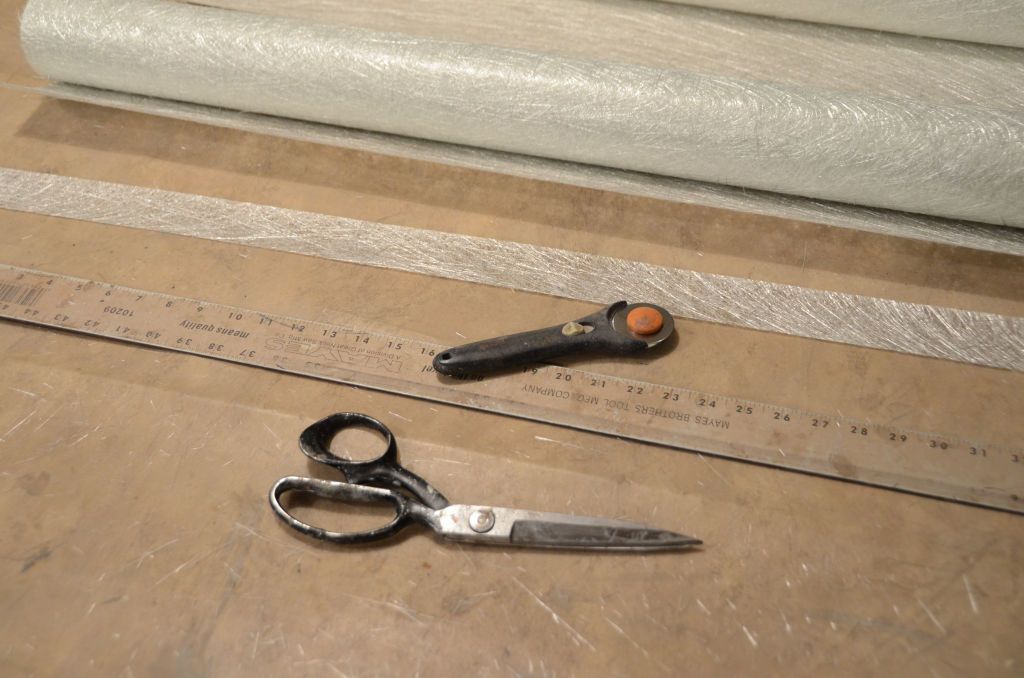
Another thing I usually do the night before molding parts is to cut the fiberglass to size based on how I plan to do the layup. They're laid out in sequence so when I get messy it's easy to grab the next piece.
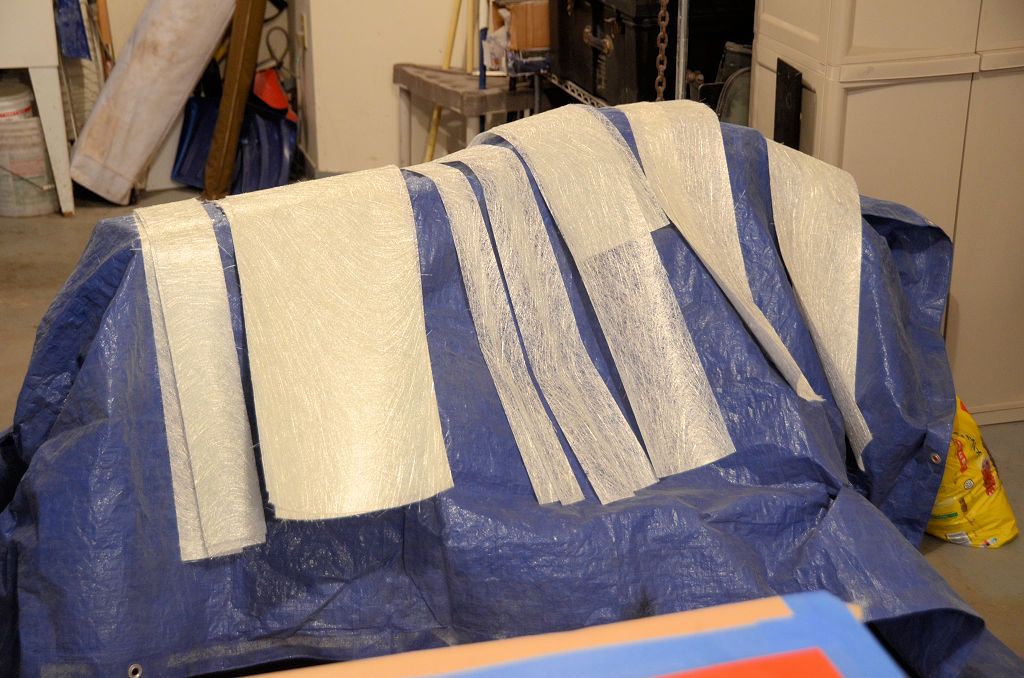
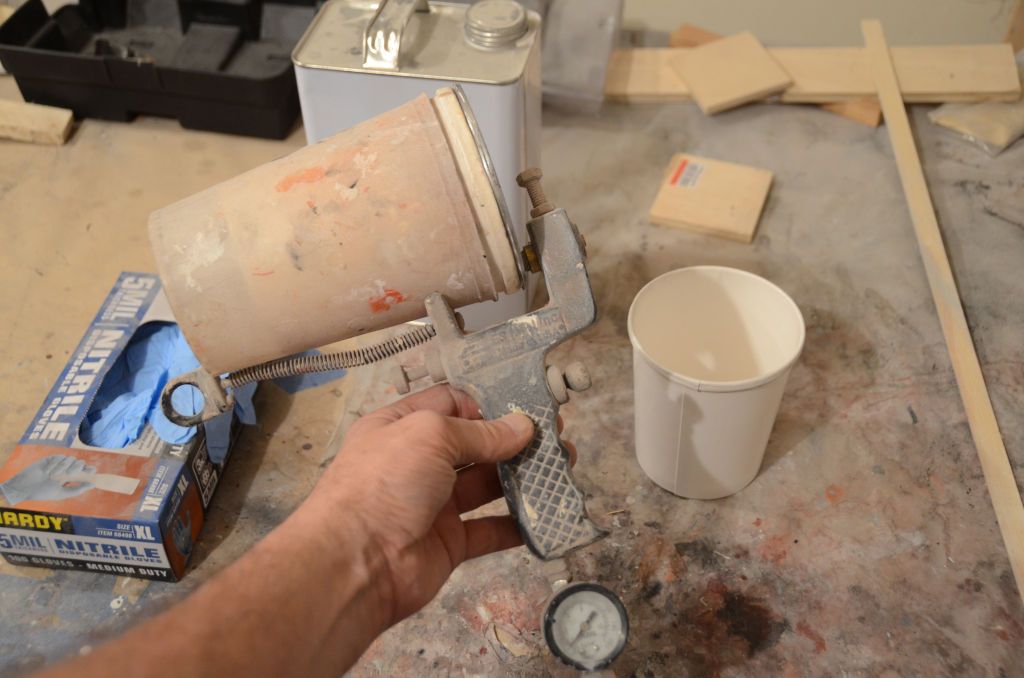
The first step in the morning will be to shoot the molds with gelcoat, which forms the nice outer surface of the part. Once that cures to the appropriatre point (about 2 hours), the fiberglass layup can be done.
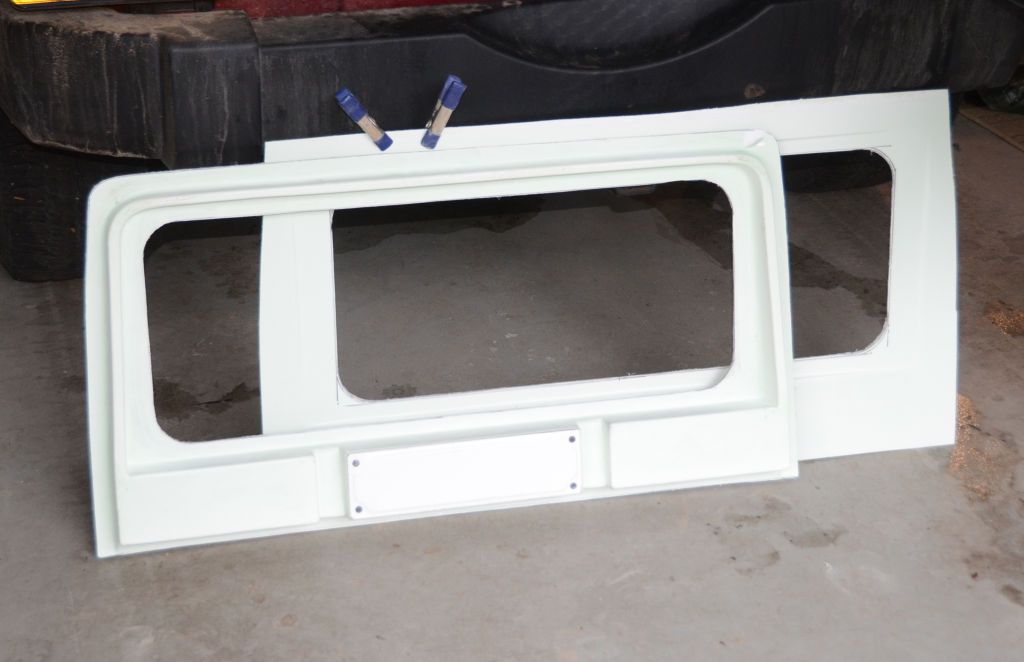
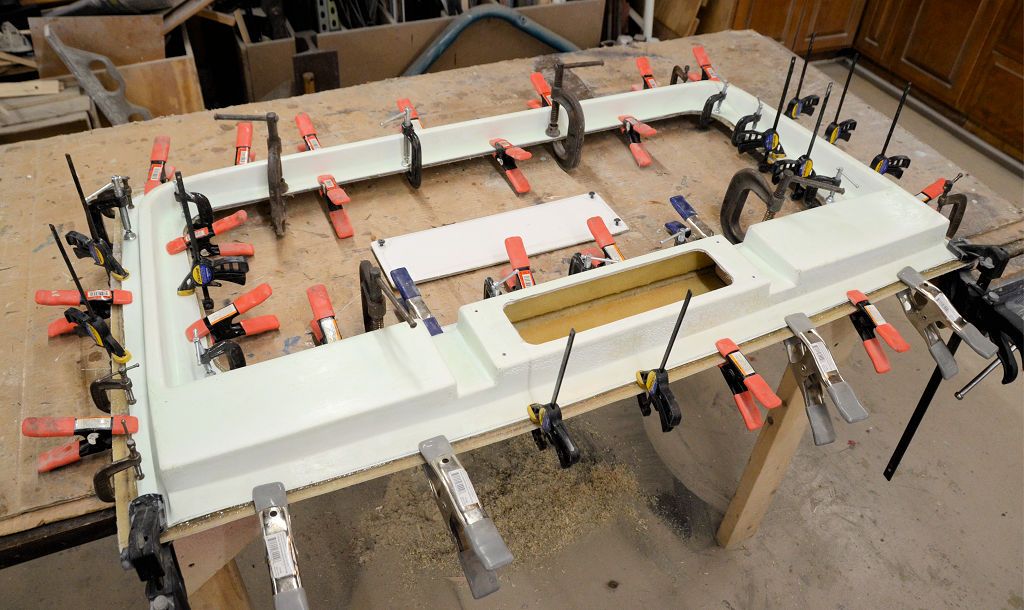
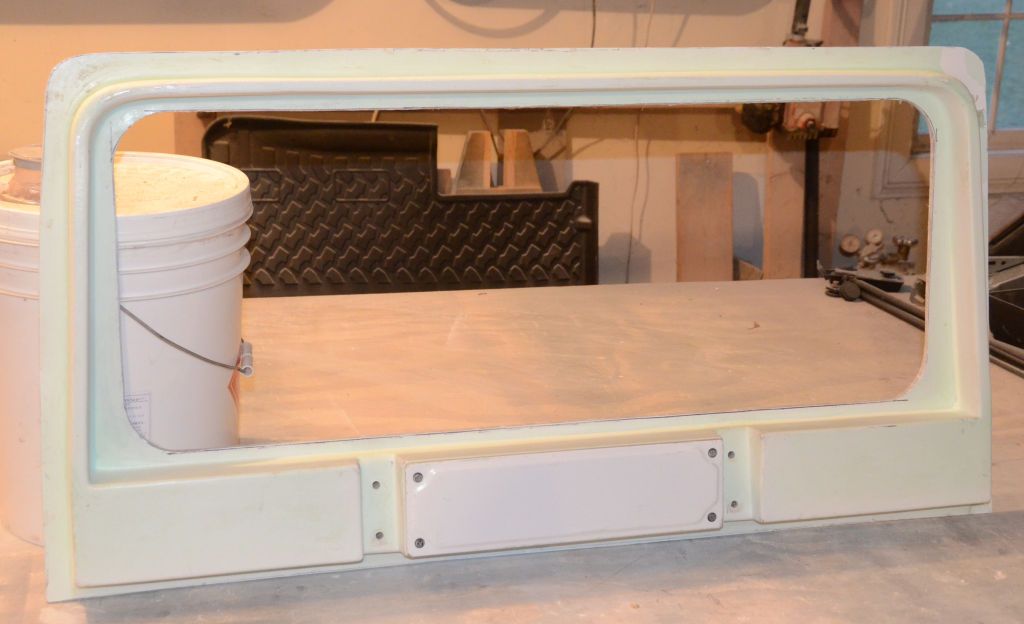
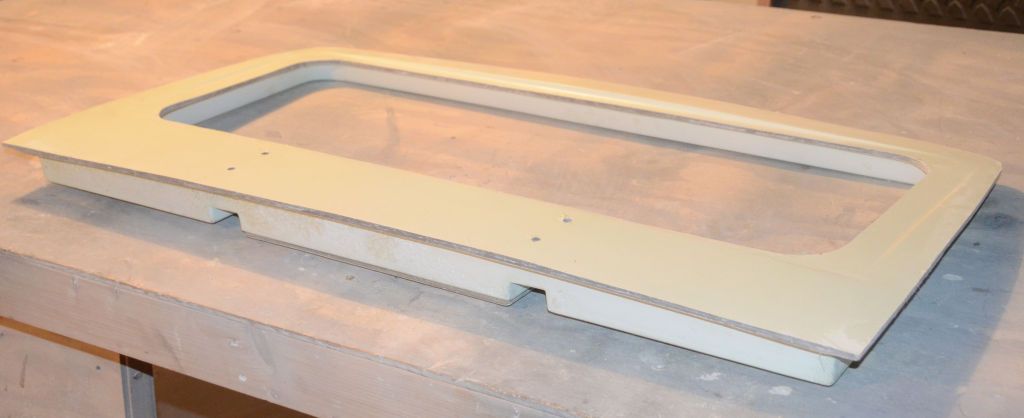
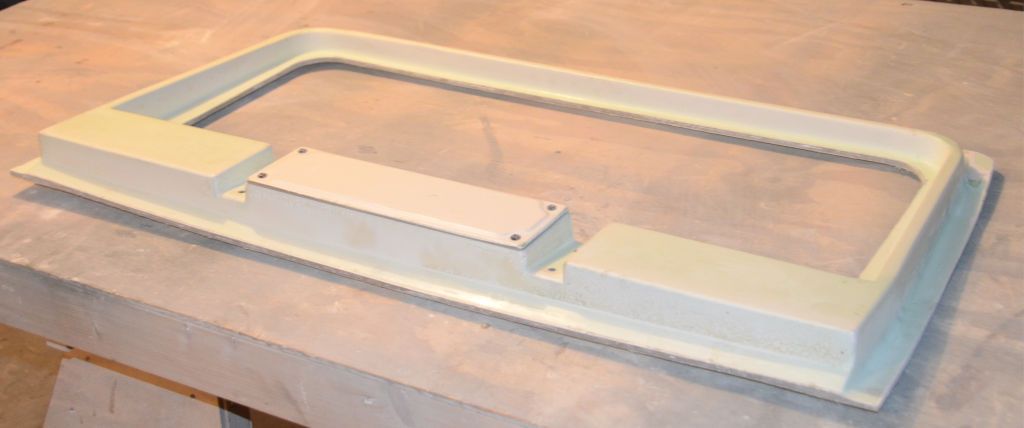
BTW there are 3 molds to make a barn door - the outer shell, the inner shell and (optionally) the cover plate for the wiper motor cavity. Donny says he won't be needing a wiper in his barn door but I'll mold the cavity cover anyway and cut the hole for the cavity in case there's ever a need to add a wiper later. I've taped the cavity cover mold (it's white) to the center of the outer shell mold to make it easier to do the fiberglass.
Another thing I usually do the night before molding parts is to cut the fiberglass to size based on how I plan to do the layup. They're laid out in sequence so when I get messy it's easy to grab the next piece.
The first step in the morning will be to shoot the molds with gelcoat, which forms the nice outer surface of the part. Once that cures to the appropriatre point (about 2 hours), the fiberglass layup can be done.
BTW there are 3 molds to make a barn door - the outer shell, the inner shell and (optionally) the cover plate for the wiper motor cavity. Donny says he won't be needing a wiper in his barn door but I'll mold the cavity cover anyway and cut the hole for the cavity in case there's ever a need to add a wiper later. I've taped the cavity cover mold (it's white) to the center of the outer shell mold to make it easier to do the fiberglass.
")