City_Rider
Adventurer
Here is a fun mini restoration project. This all BRASS license plate frame came off my '96 Tacoma and will find a home on the new Tacoma once I get it cleaned up and looking nice...
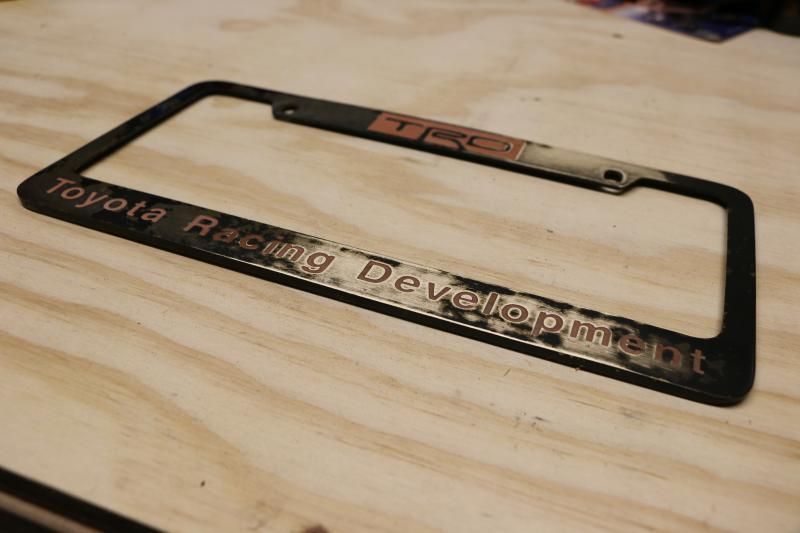

Classy! Get that shined up and lookin' purdy!
Here is a fun mini restoration project. This all BRASS license plate frame came off my '96 Tacoma and will find a home on the new Tacoma once I get it cleaned up and looking nice...
Those organizers are slick. Never seen them before.
Where in the PNW are you? the one pic looks like hwy 12 ish
We are in the Woodinville area. Close to Red Hook.:coffeedrink:
The picture was taken on the Stevens Canyon Rd just SE of the Paradise Inn within the MT Rainier NP.
Cool ill keep an eye out for you, I'm in Kenmore, and make a trip to red hook about monthly for a fresh keg!
Awesome idea on the storage bins behind the seats on the floor!
Keep up the good work.


Those racks look great!! Can you post a side picture? Also, how is the road noise?
Thanks! I will get a side shot as soon as I can. I notice a fair amount of noise. It definitely has a whistle compared to my '02 GTI factory rack. That's due to the open slots in the cross bars and some to do with the emblem cutout. I did an experiment this summer to isolate where the noise was coming from by covering the suspect areas with clear packing tape and driving with it for a few days in varying conditions. If the emblem is covered it improved the whistle and with the first crossbar completely taped up (top and bottom mainly) it reduced a lot of noise. I'm VERY picky when it comes to rattles and noises. Some I live with, some drive me crazy. But this is tolerable. I will probably find some rubber hose and press it into the slots to take up the space......some day...
Just found this build. The racks look great. TSLOTs actually started making a cover for the little slots that I am going to start carrying for people to experiment with. They come in many different colors too. http://www.amazon.com/80-20-Black-E...F8&qid=1450803366&sr=8-2&keywords=80/20+cover
Adding some of those to the front crossbar does a lot for noise.
Great Pictures!


