_hein_
Observer
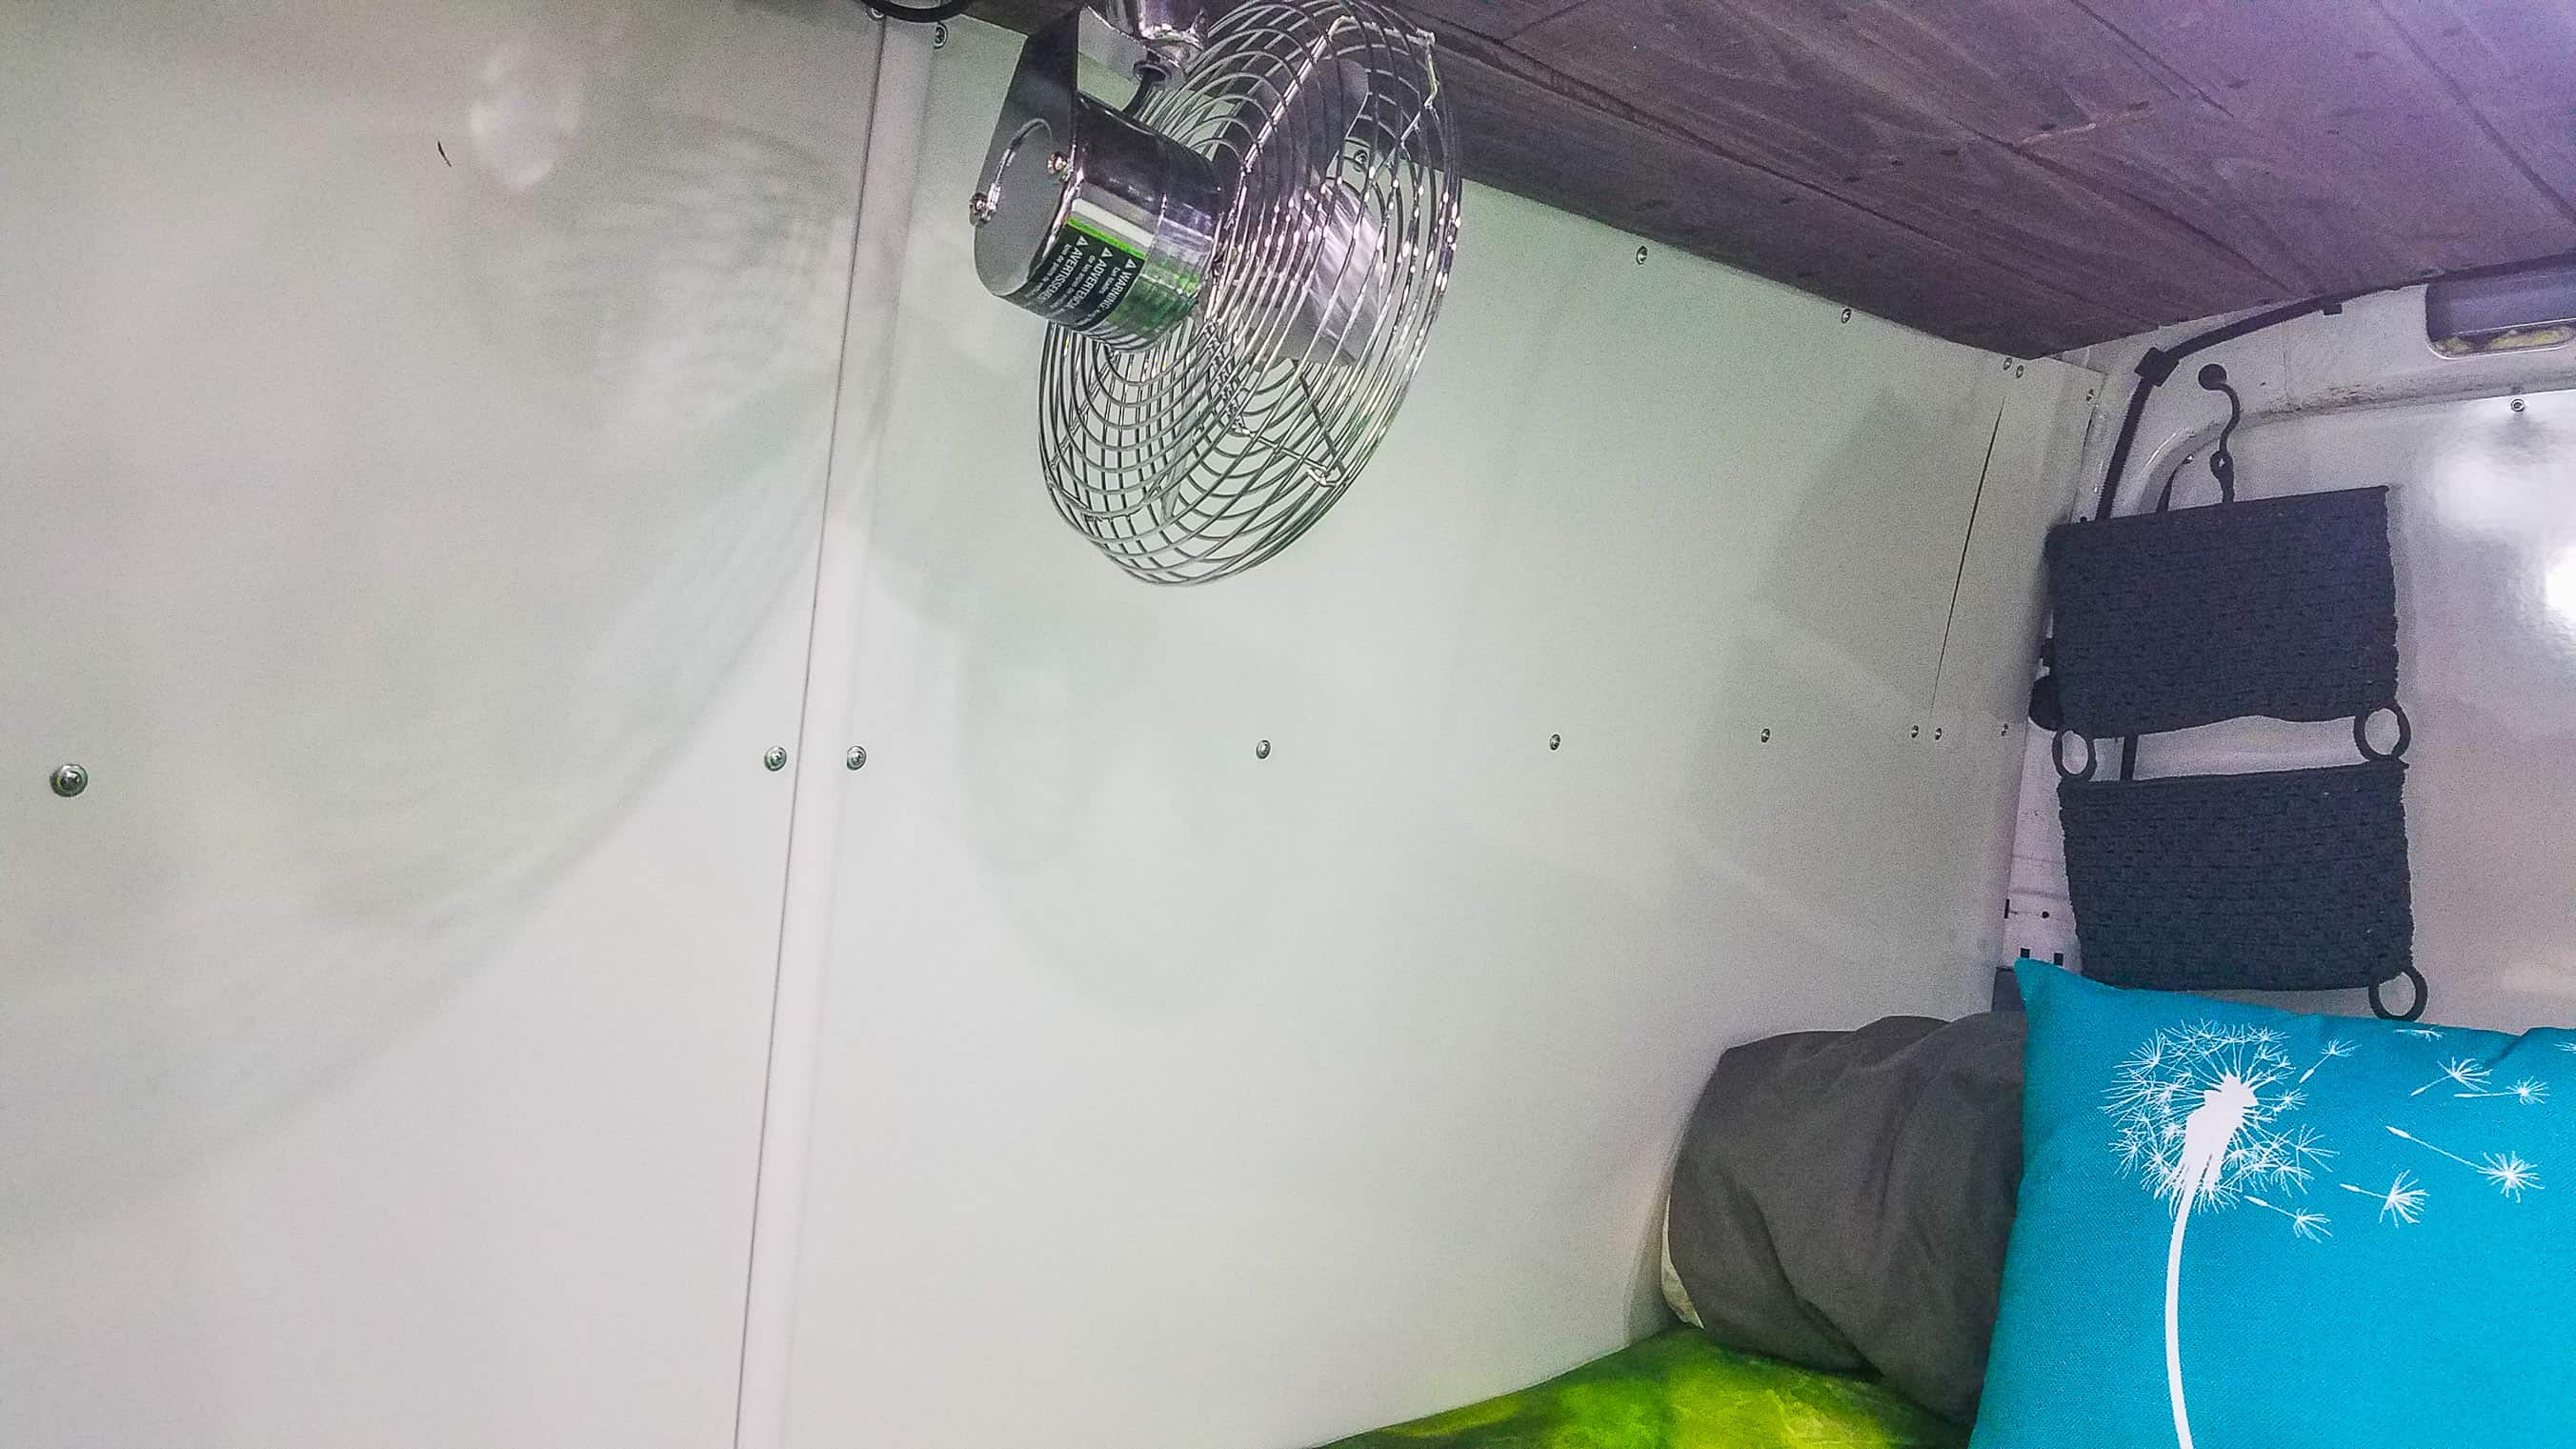
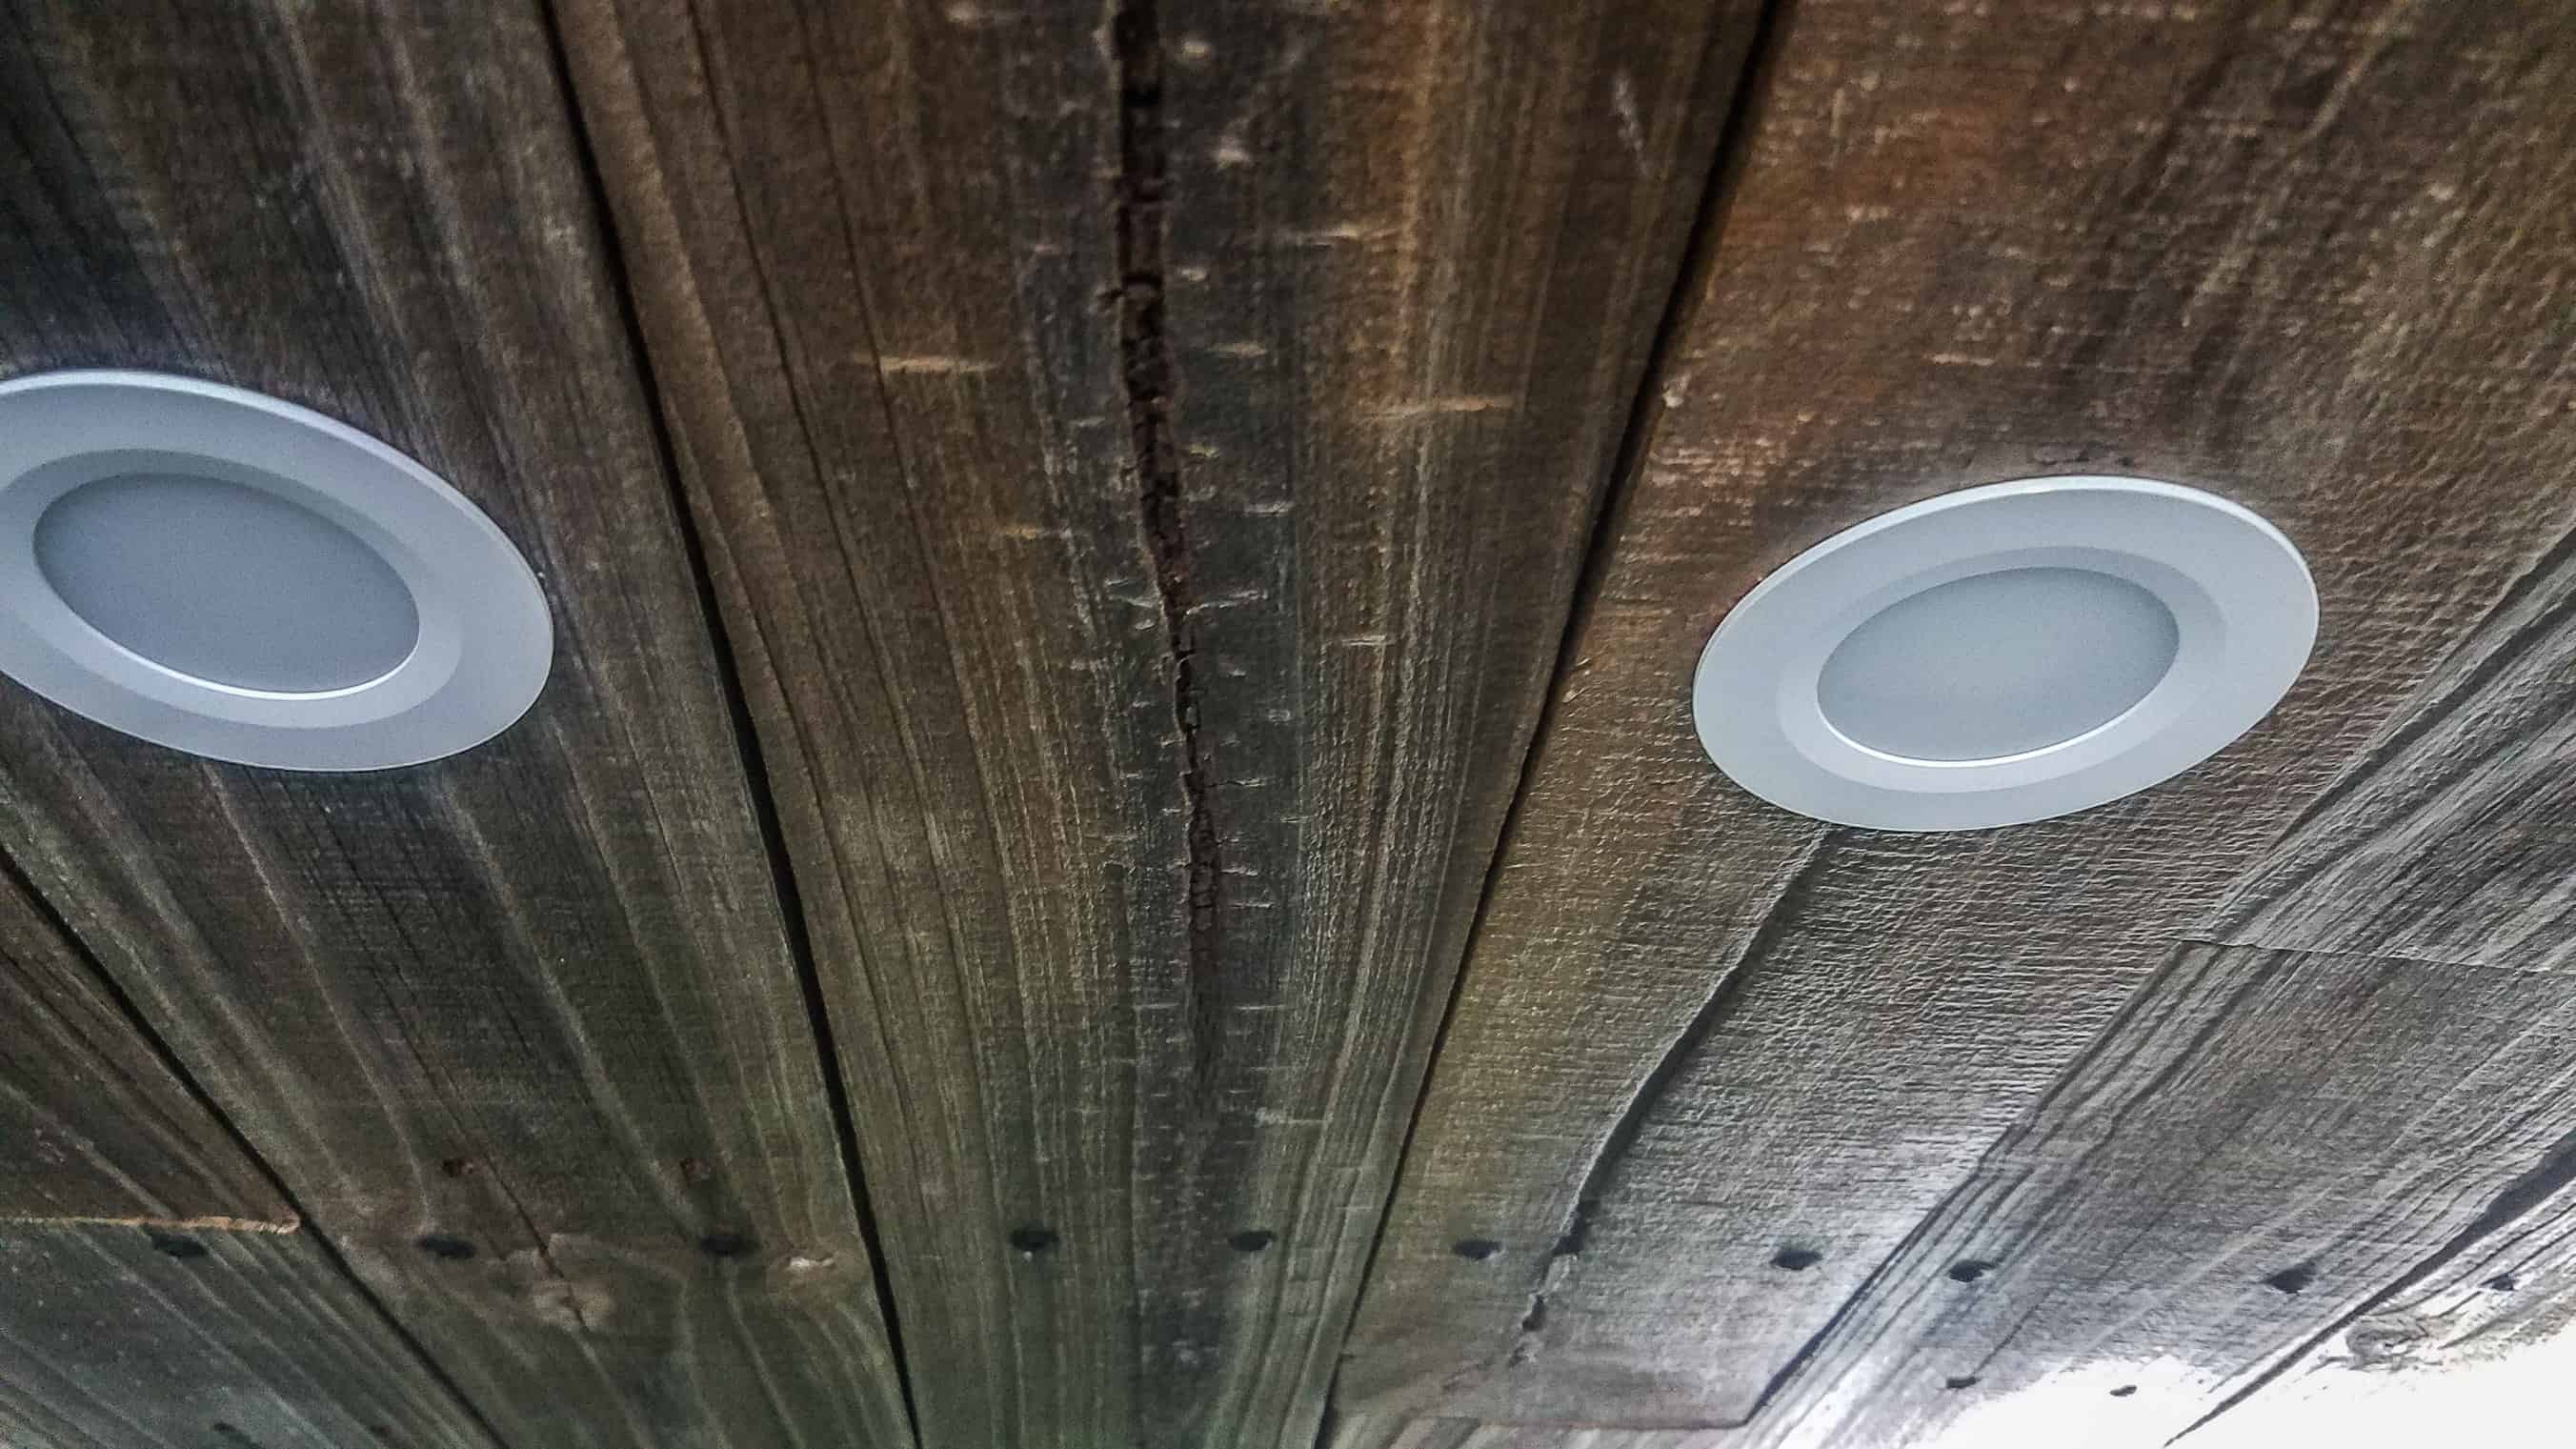
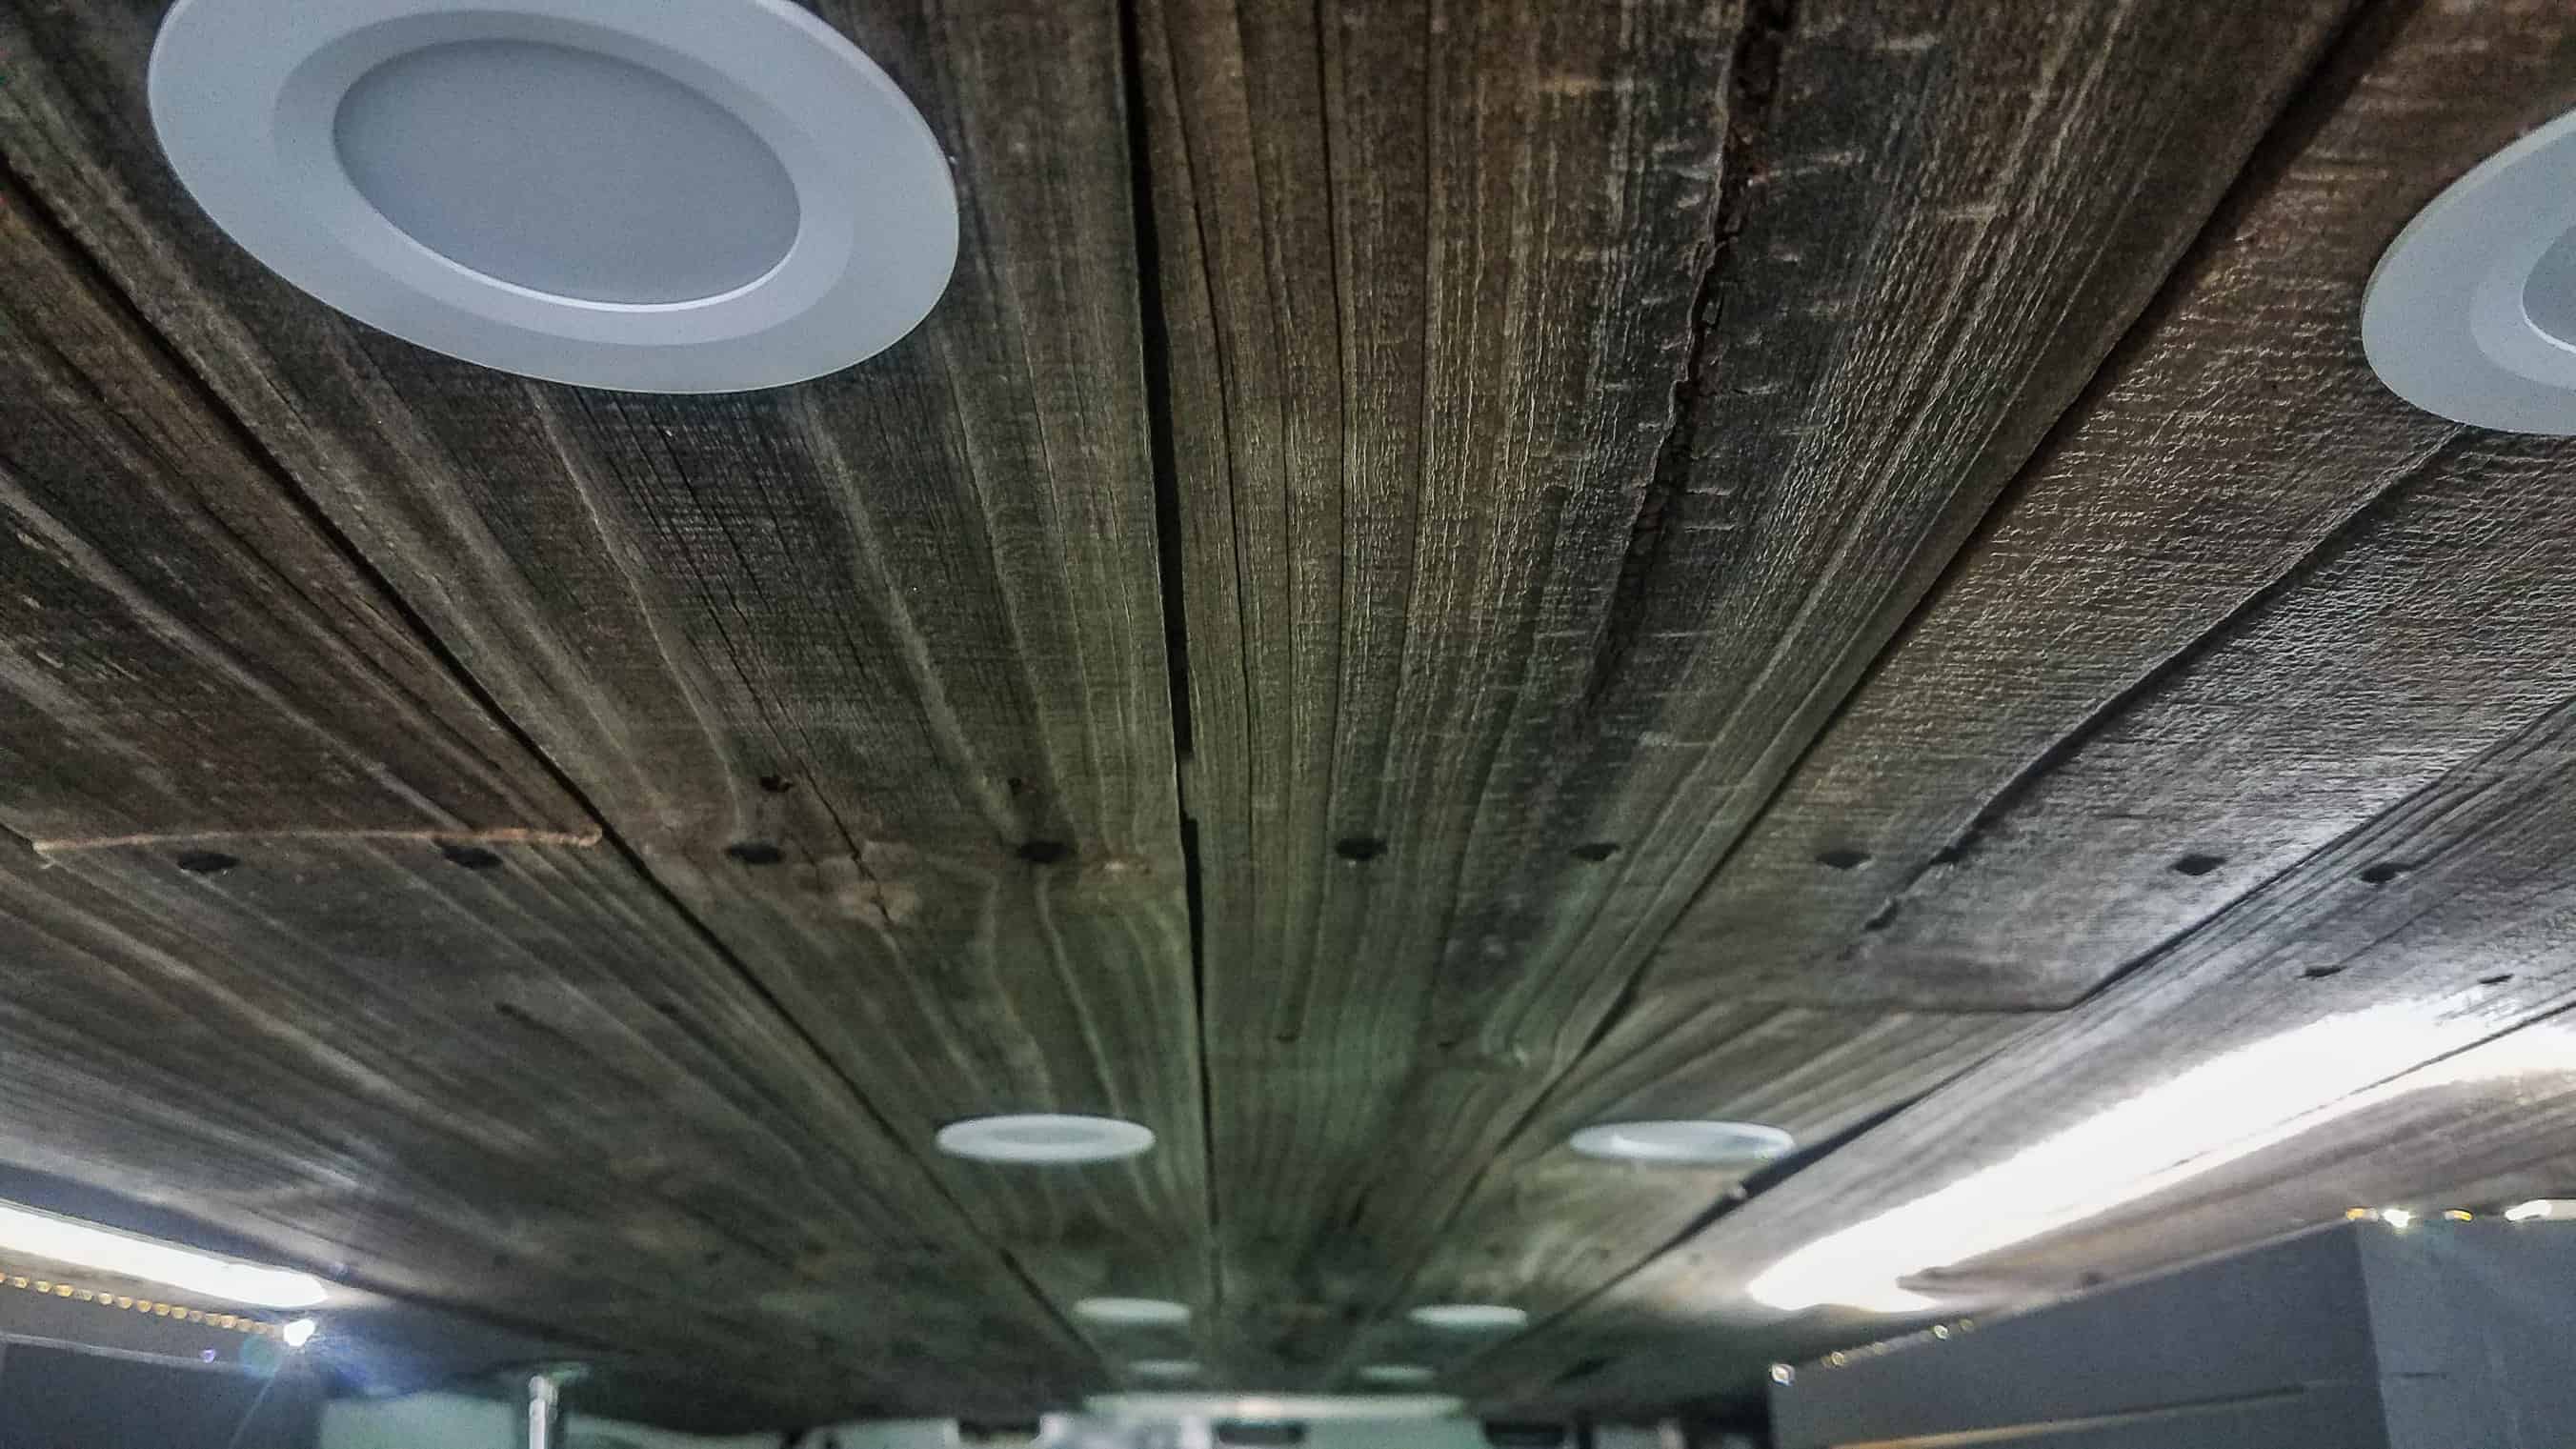
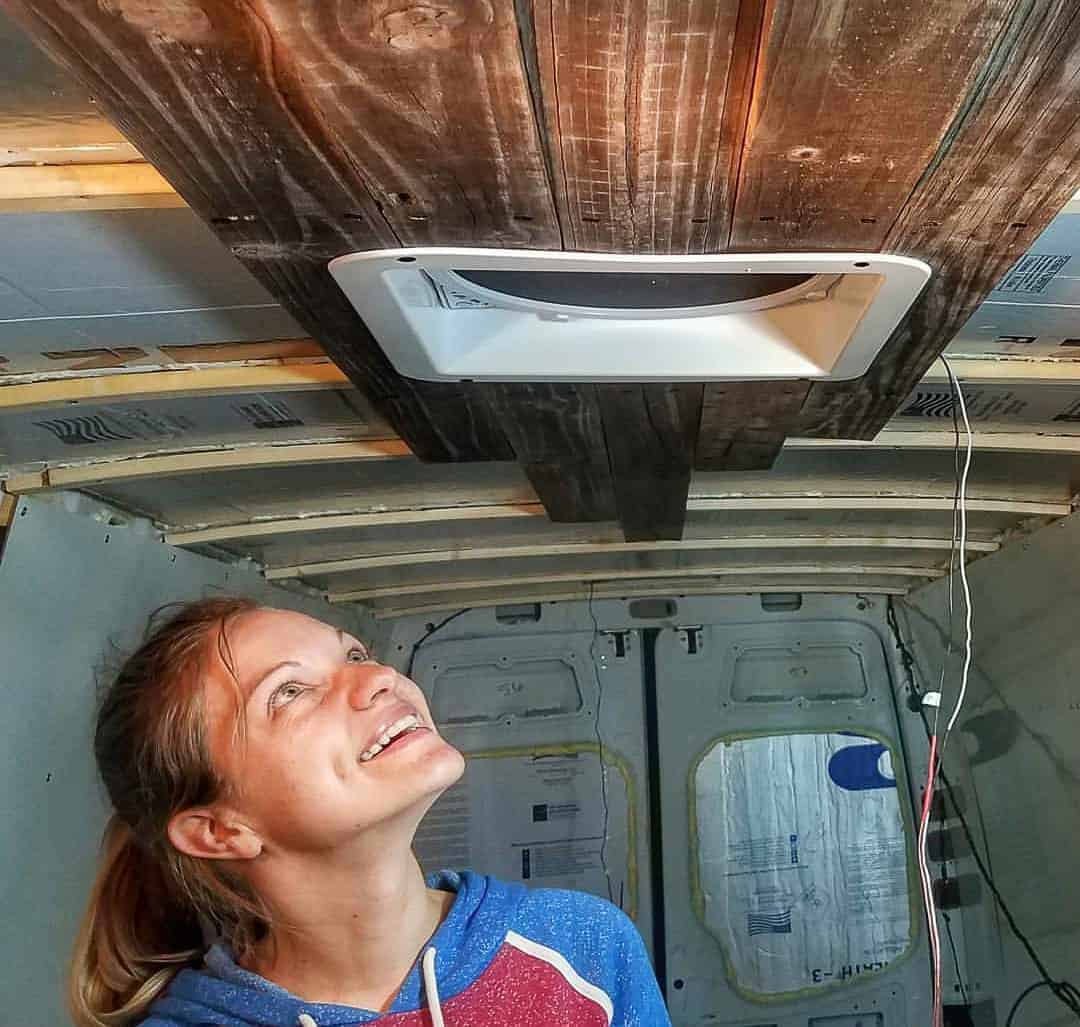
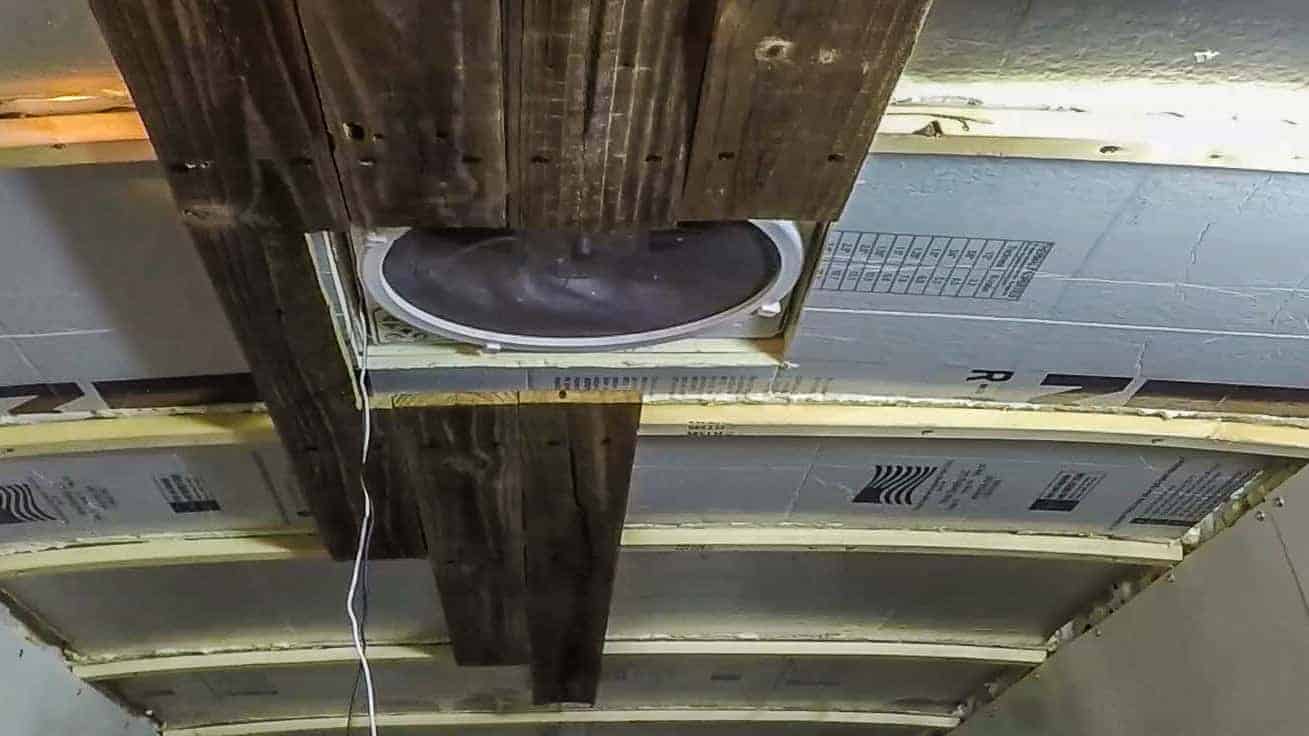
Great that you are taking the time to document. But so far you have embarked on a very labor intensive build which may not be the best practice for others to follow. Wish we could have helped you with one of our adapters for the fan install and some Thinsulate(TM) accoustic/thermal insulation that is engineered for vehicles. We can probably still be of value to you with some of our other Sprinter build items. How are you mounting your solar panels? The best way is to support the load off the roof rails. Where are you mounting your house batteries? Do you have an electrical plan/schematic? Has that van been maintained properly? I would suggest running it over to Dennis at Linden Engineering in Golden for a full checkup before you hit the road.
Sorry to be sort of matter of fact and a bit critical. We are here to help.
All the best,
Hein
Impact, Inc
54l 49O 5O98
Our coolest Sprinter product: https://youtu.be/Lu_KqLADXUQ?list=PL6hY8o9nJCeIoAMc5x_s1gE6S2_XH6Z4i
Sorry to be sort of matter of fact and a bit critical. We are here to help.
All the best,
Hein
Impact, Inc
54l 49O 5O98
Our coolest Sprinter product: https://youtu.be/Lu_KqLADXUQ?list=PL6hY8o9nJCeIoAMc5x_s1gE6S2_XH6Z4i