Build - Fiberglass & Foam Truck Camper

luthj

Engineer In Residence
I saw elbow fitting in the photos. Not bends.

Good catch. Less likely then, but the elbows are still a high stress point. :unsure: They may well be fine. If the OP wants to stick with copper, it may be worthwhile to cut a plate of copper to make a small gusset, and solder it on?
 

underkill

Active member
Thanks for the concerns about the copper guys. We did use copper fittings instead of bends, which would make the thickness double at that point. The tutorial on Youtube that we copied was using cheap electrical conduit, so we figured the copper would be at least as strong as that. I don't remember off hand, but I think we used the thicker Type K copper instead of M or L. The way the roof is lifted is by hand so the copper tubing will really only be supporting weight in the vertical along its axis and eventually the canvas will hold the side loads.
 

underkill

Active member
One of our major oversights on this project stemmed from our desire to keep the camper as compact to the outline of the truck as possible. That means that the side of the shell has minimal overhang over the sides of the bed. That also meant that we had no way to mount normal camper jacks because they would end up too close to the truck. We decided to build a decorative pergola on the side of the shed with a hoist system to just pull the whole thing off of the truck similar to what they do with camper shells.

It doesn't look terrible.
IMG_0026.jpg

IMG_0027.jpg
 

underkill

Active member
The roof is painted! We decided to paint it the same grey color as the body and not white like we were thinking.
IMG_0028.jpg

Today was more about upgrades to our truck than the camper. Jason doesn't like to slow down ever, at all, for any reason, while driving and he overheated the shocks on our last Silverado. The camper should be light enough to not impact his driving style so he managed to talk me into upgrading the suspension on the Colorado to a set of Fox 2.5 coilovers. While we were doing that, we also removed the air dam on the front grill.
IMG_0033.jpg

Bought from Accutune who tuned the shocks for our truck, weight, and driving style. They work AWESOME!
IMG_0034.jpg

The truck still looks pretty basic, but it's leveled out up front with the air dam removed.
IMG_0035.jpg

It's sunday, so there wasn't a place open so we could get the new wheels and tires mounted and installed. That will unfortunately have to wait.
 

underkill

Active member
We installed the aluminum angle on the roof a few posts ago. Now it was time to install the aluminum angle on the actual camper shell to finish off the last remaining fiberglass edge.
IMG_0041.jpg

IMG_0047.jpg

IMG_0048.jpg

Tomorrow I get to clean up all the leftover epoxy, prep for paint, and maybe get a layer of primer on the inside!

The next real step is to start working on the galley. I'm actually procrastinating on that because it's going to be a ton of work, so I'm choosing to fully finish up the front dinette area before I have to tackle the galley cabinets. I'm going to be using a mix of leftover foam and fiberglass and marine plywood. No real rhyme or reason here, I just figured it would be as good a place as any to use leftover material.
IMG_0043.jpg

IMG_0046.jpg

I am actually mildly annoyed at how textured the fiberglass looks on the top of the roof, but putting a ton of hours into it with body putty etc just isn't worth it. I have other things I can be doing, so I went ahead and painted it.
IMG_0049.jpg

Luckily no one will be able to see up there!
 

luthj

Engineer In Residence
I think I see some spray on bed-liner in your future. :ROFLMAO:

Really it came out quite good I think. I find that a flat or semi gloss hides the texture a lot better.
 

underkill

Active member
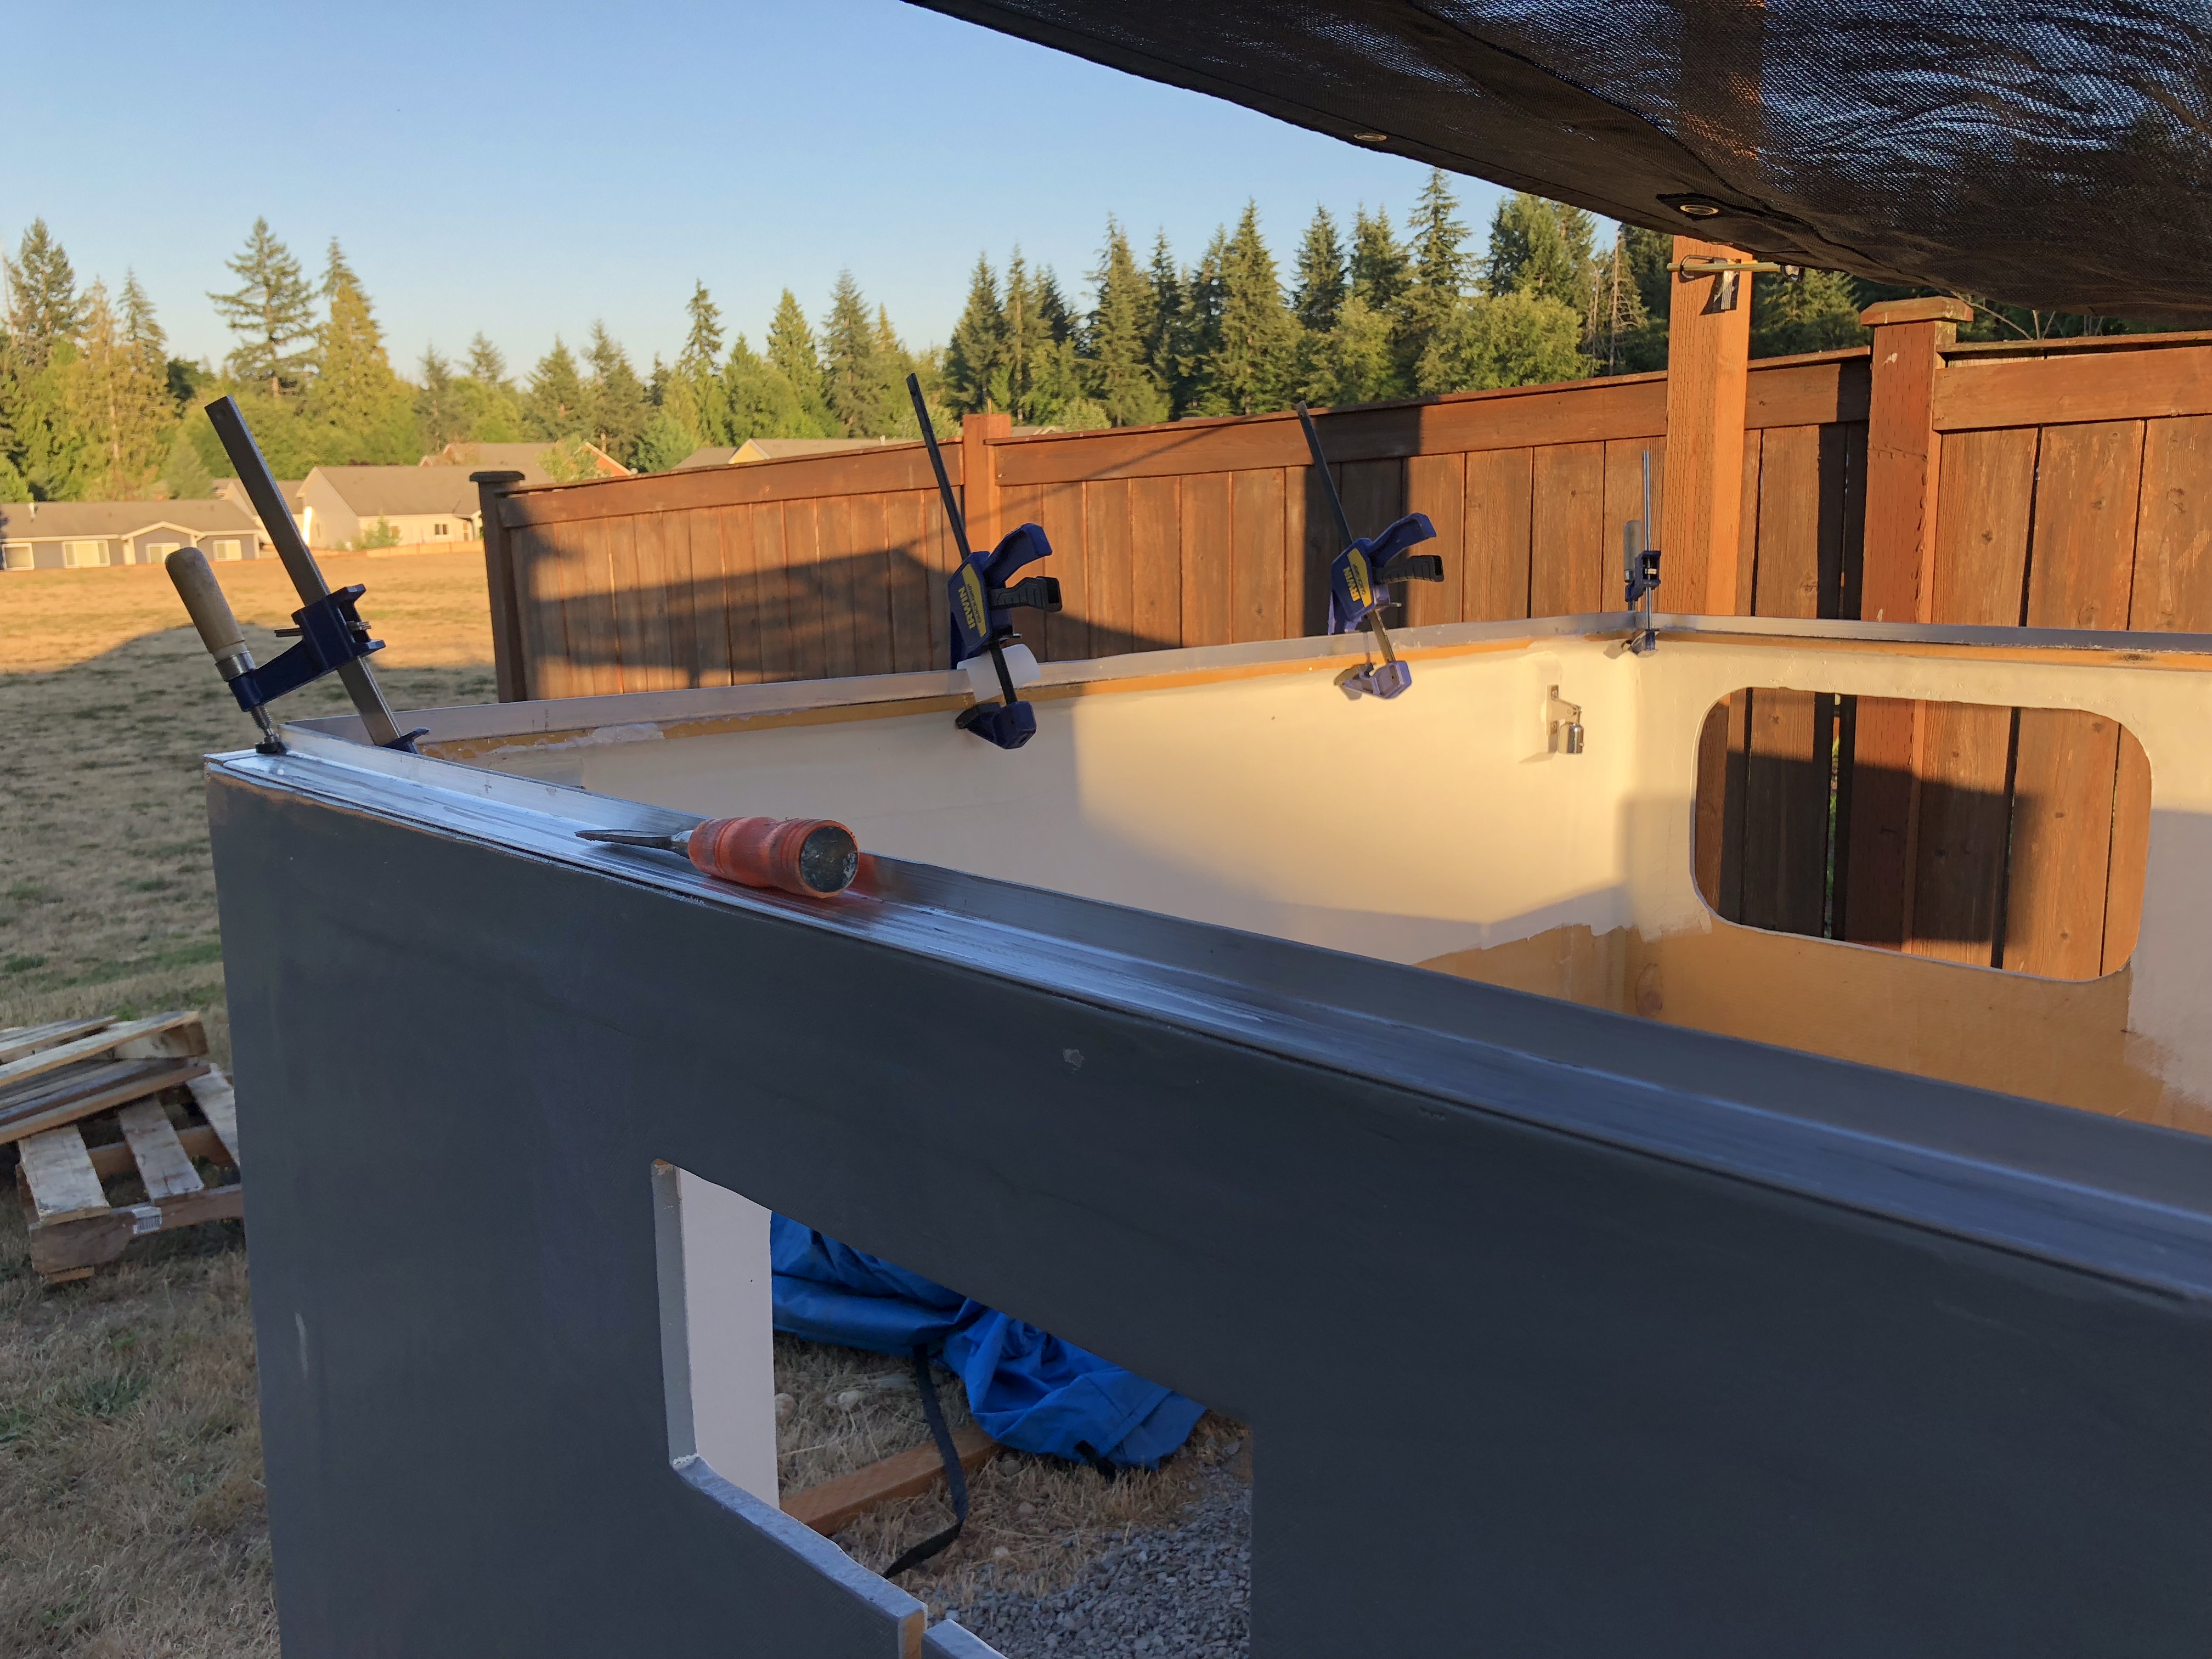
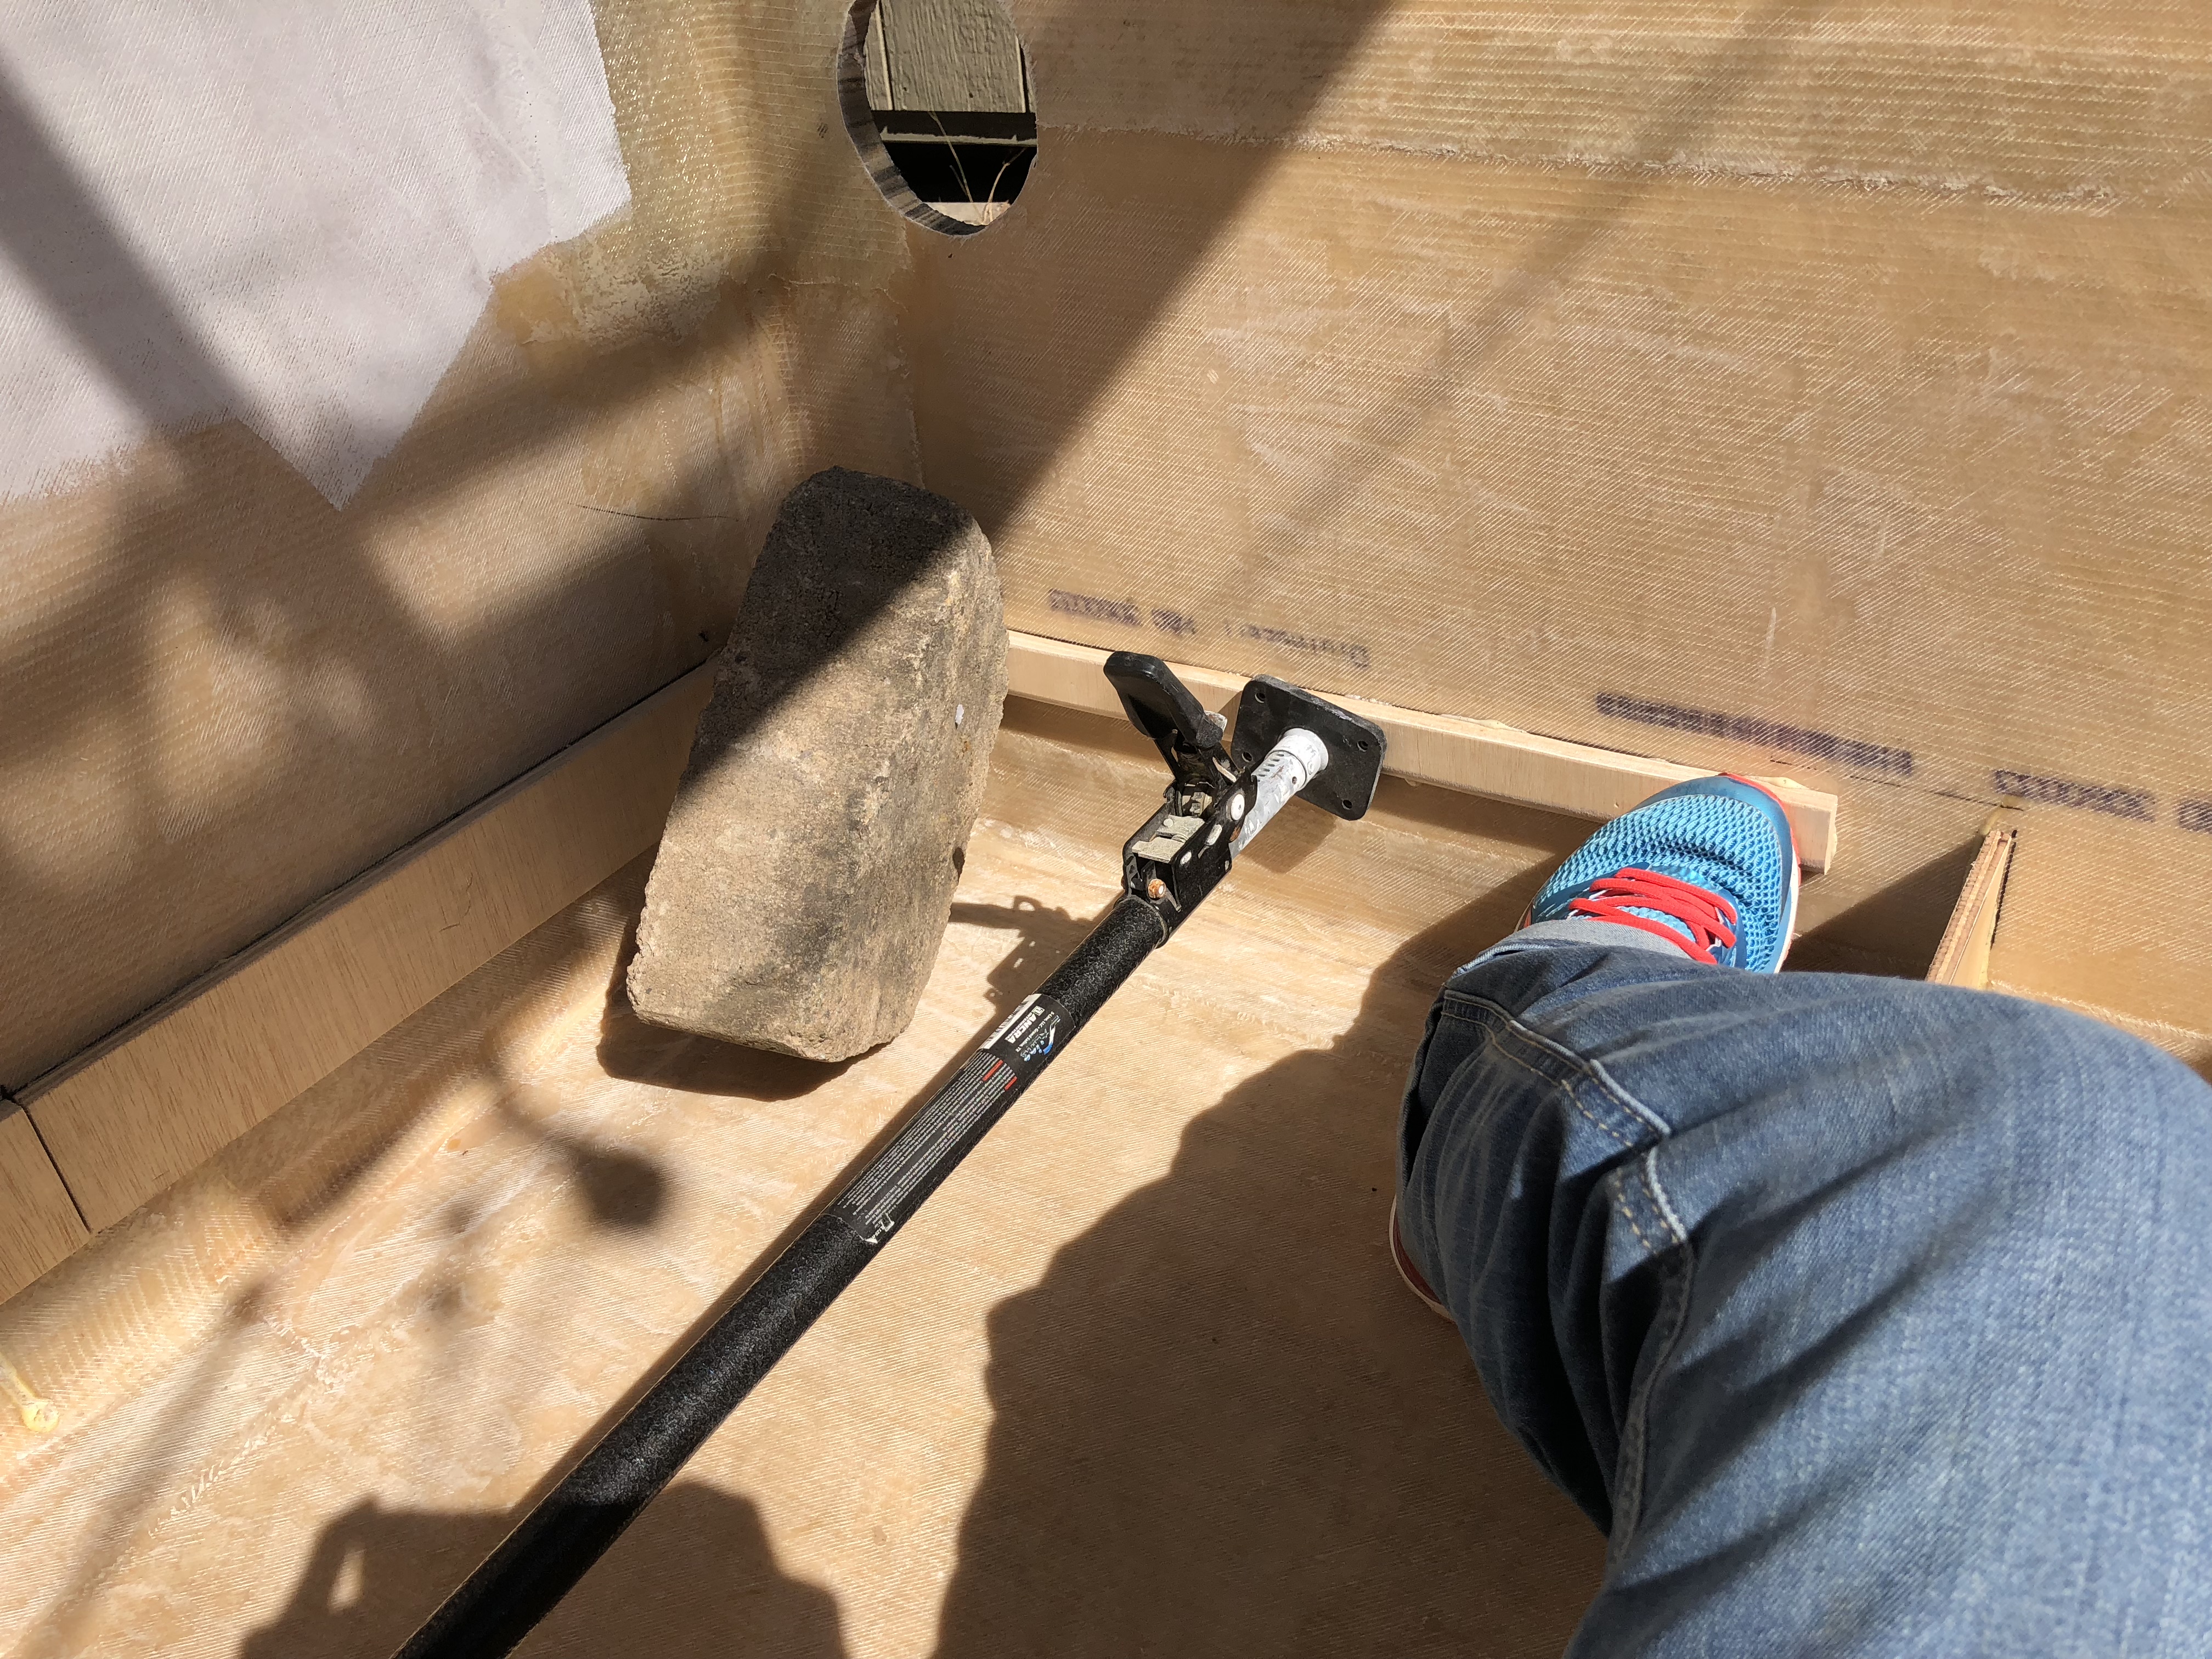
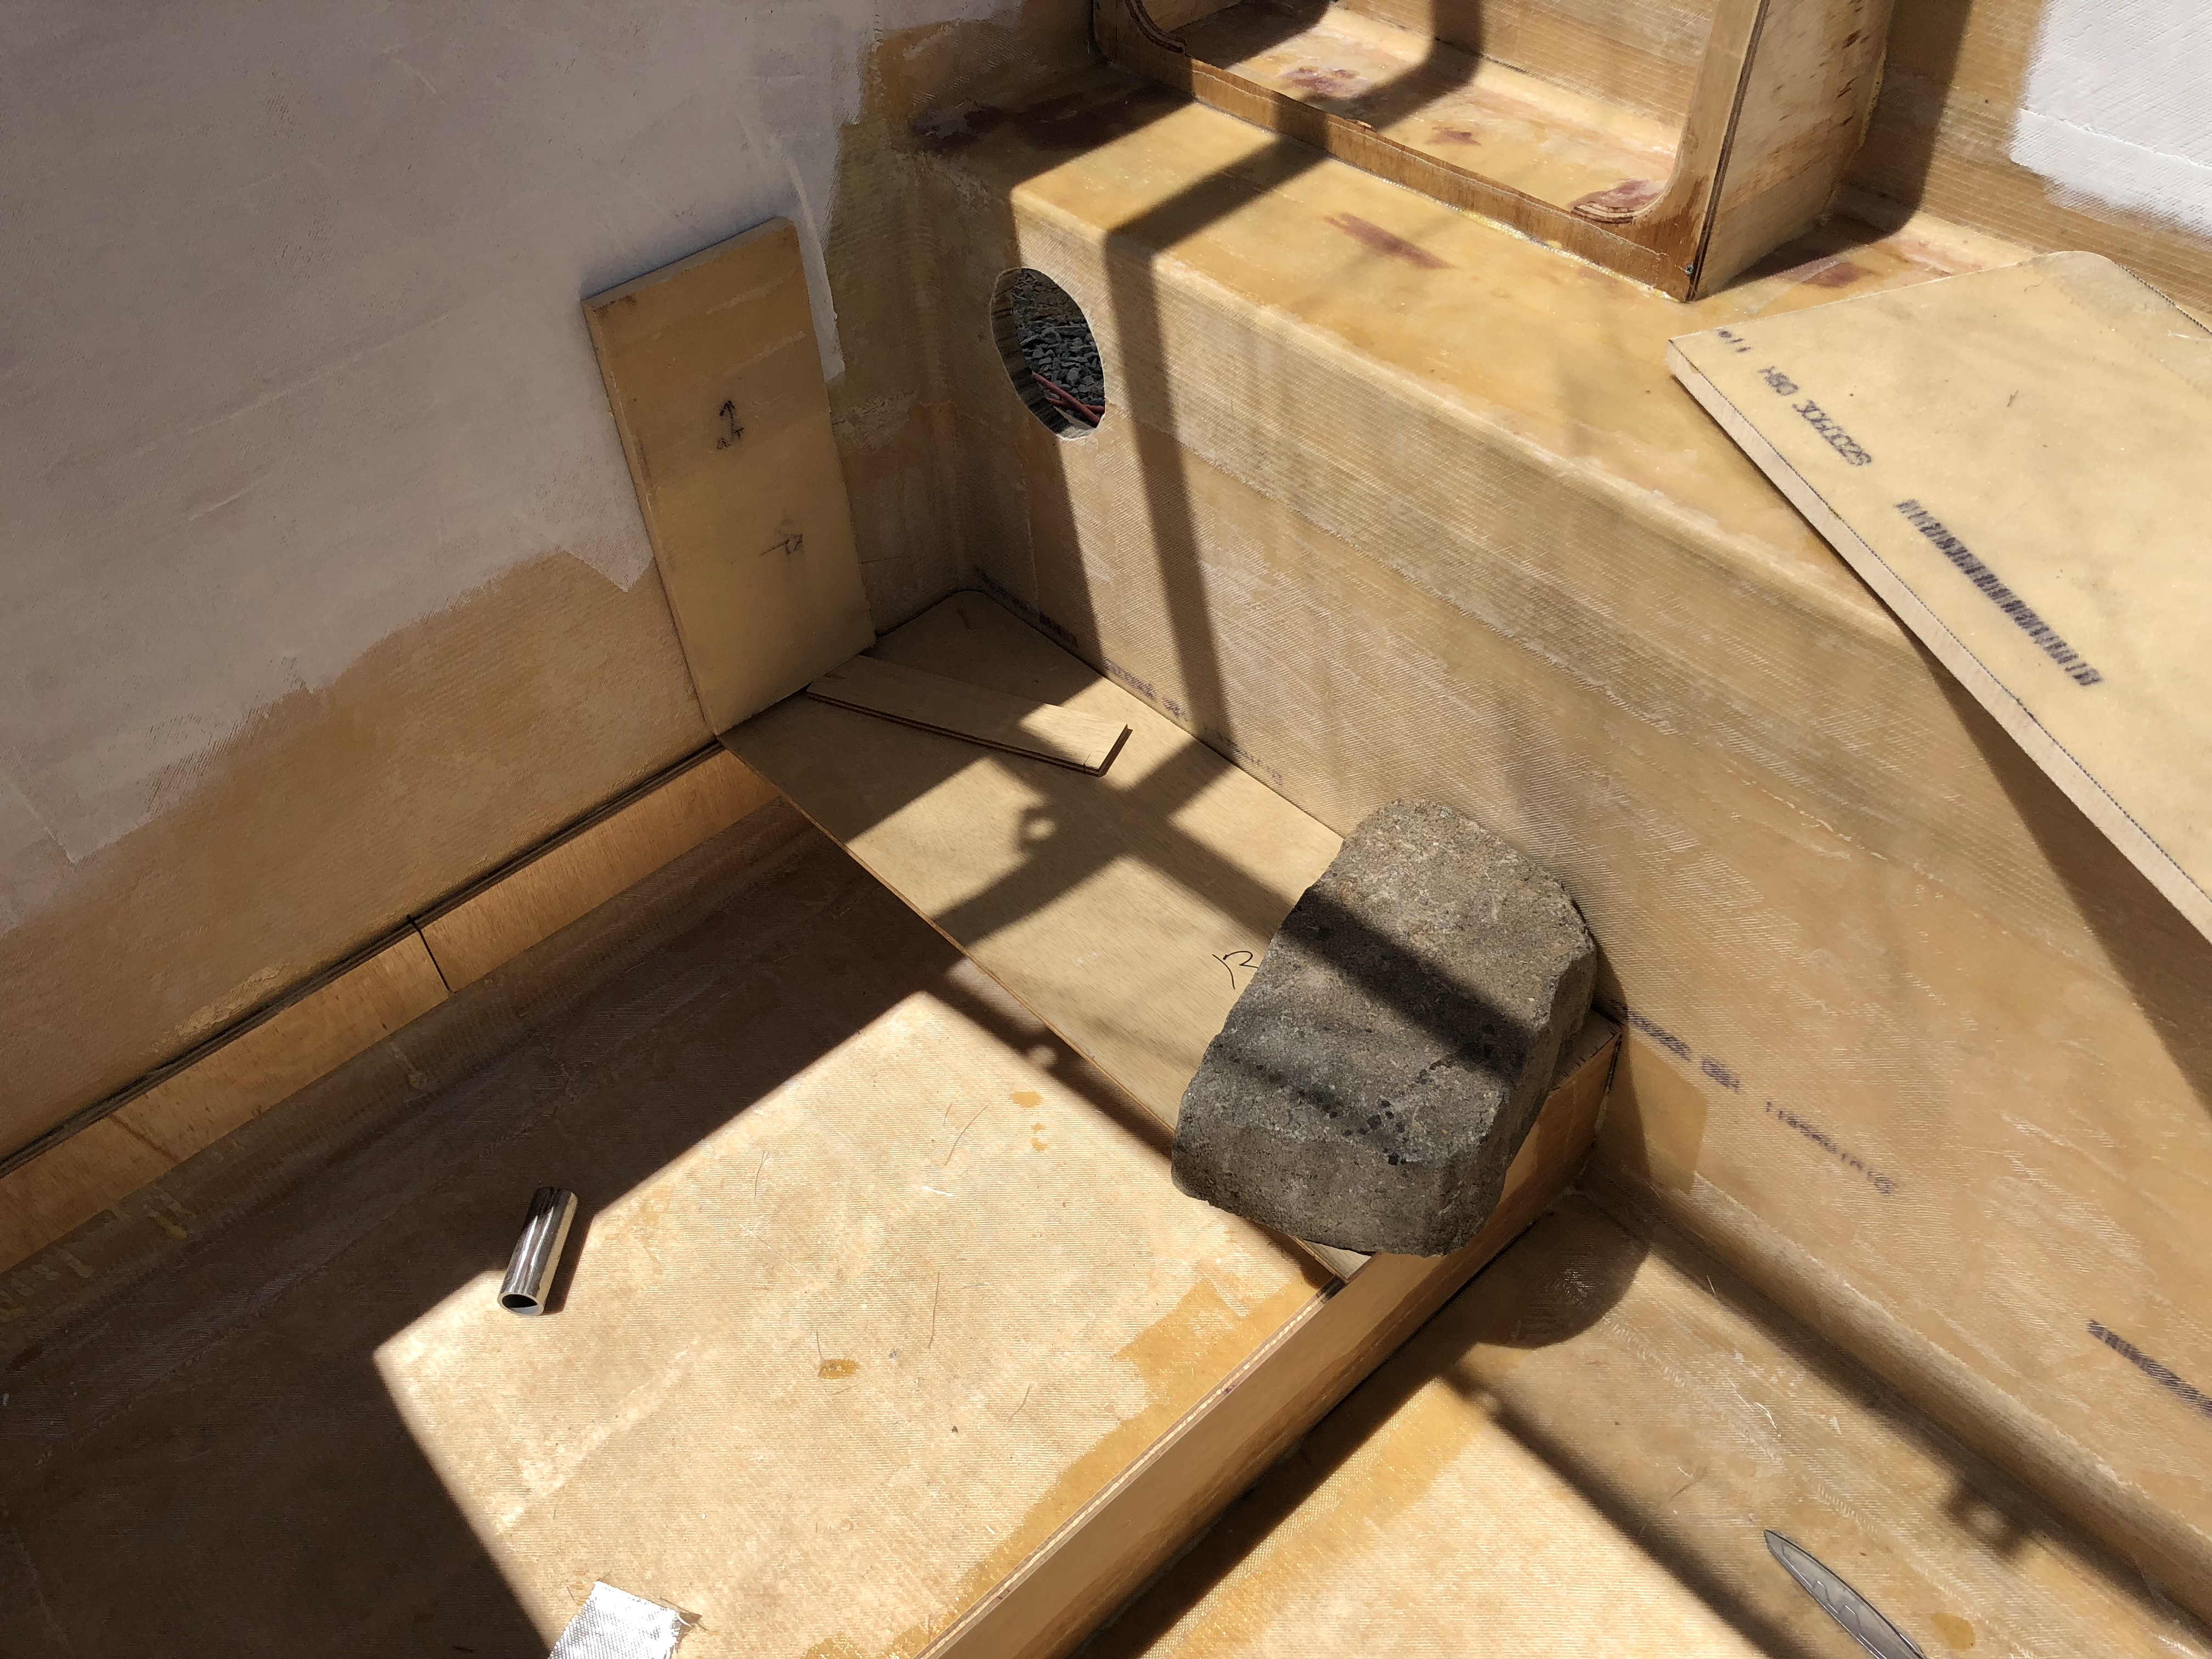
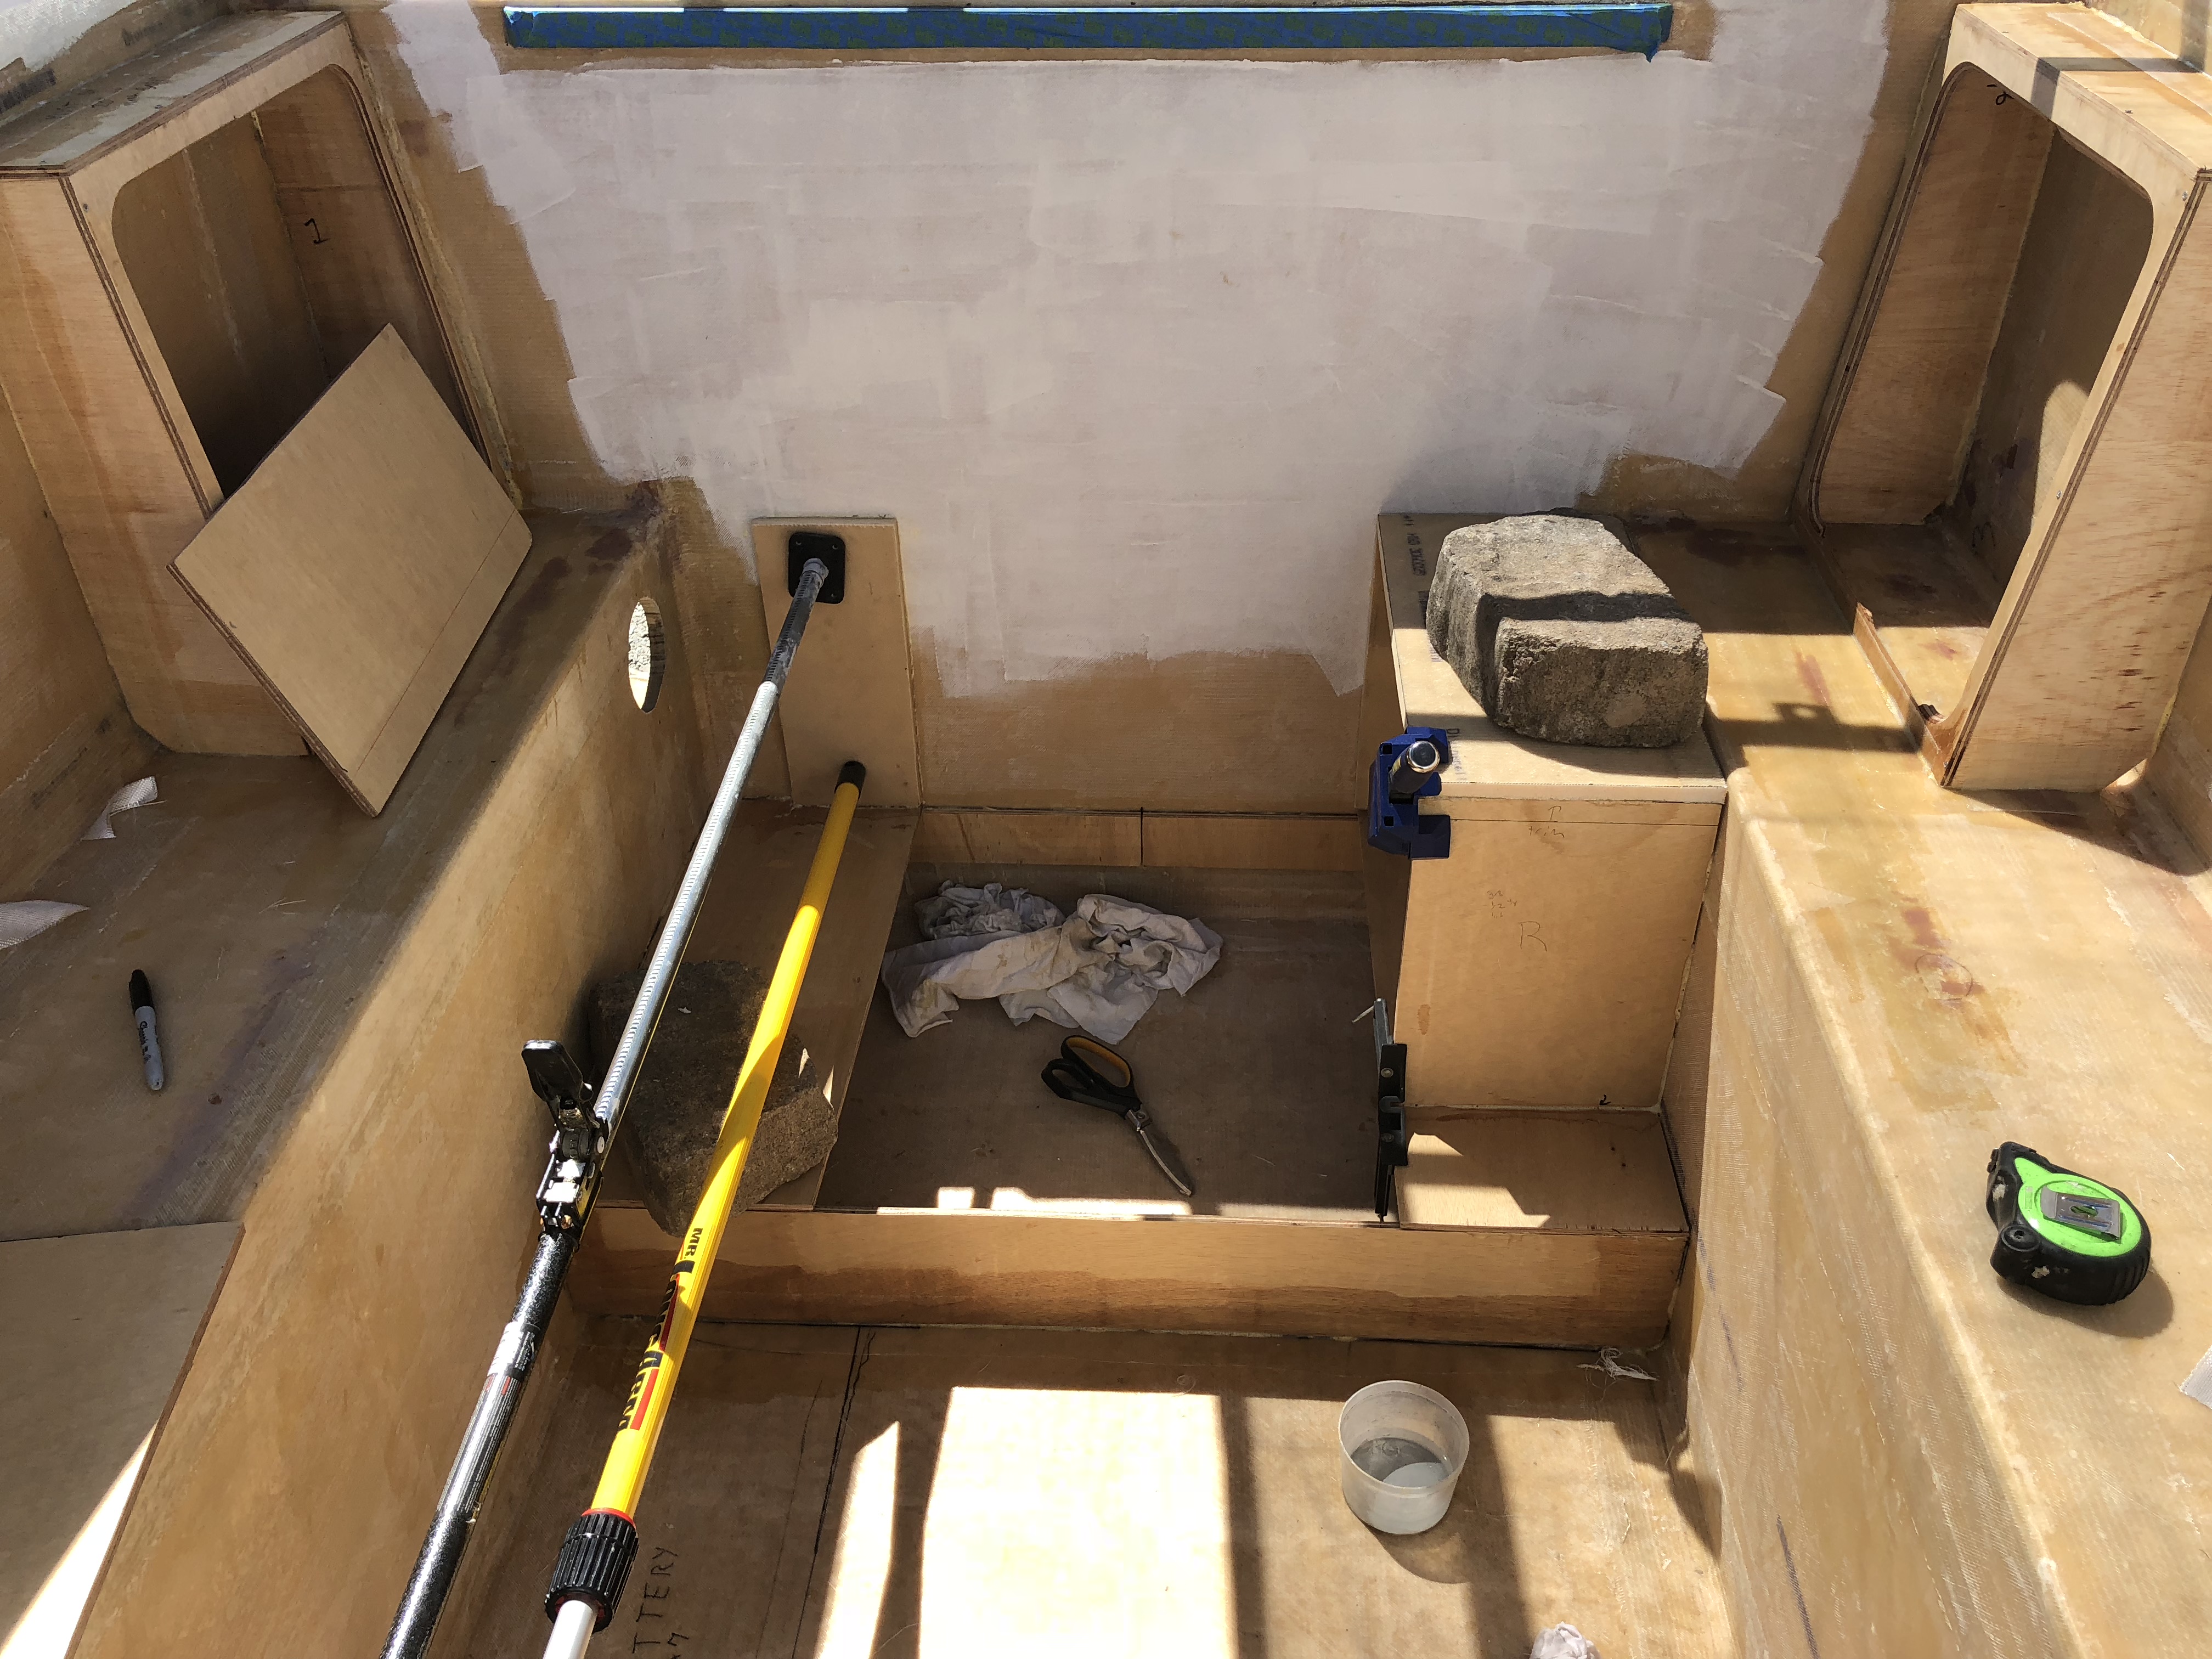
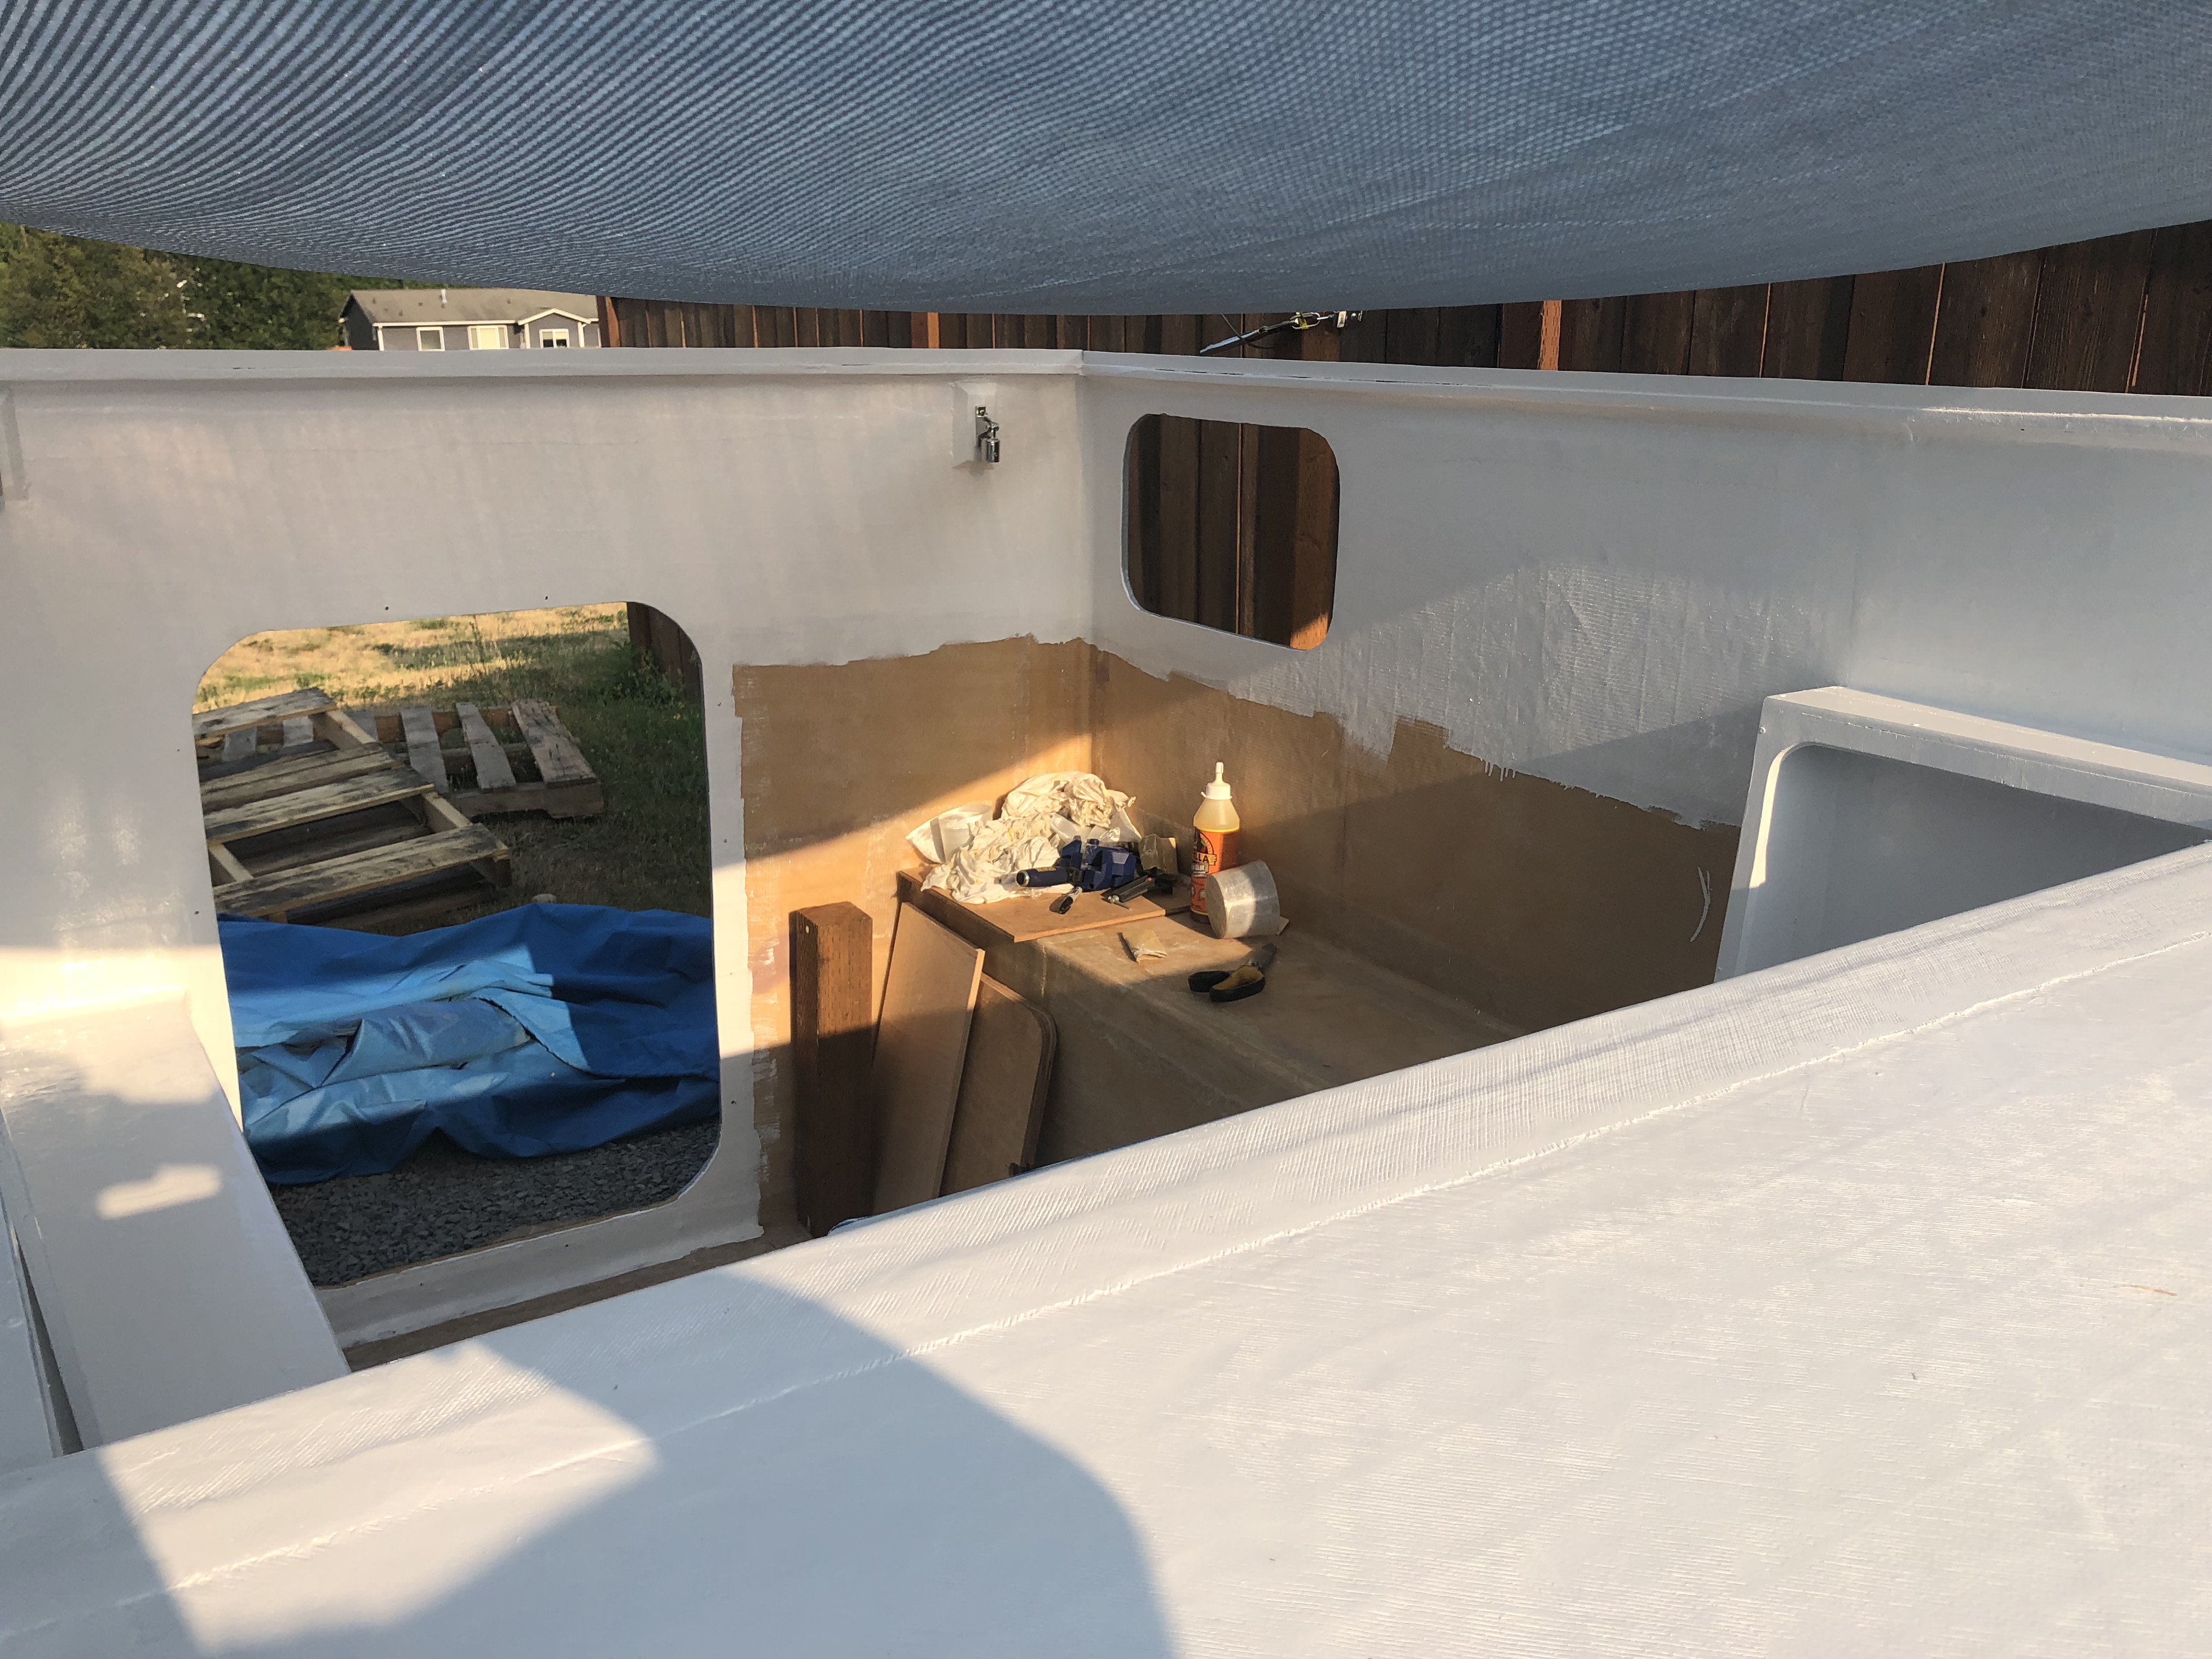
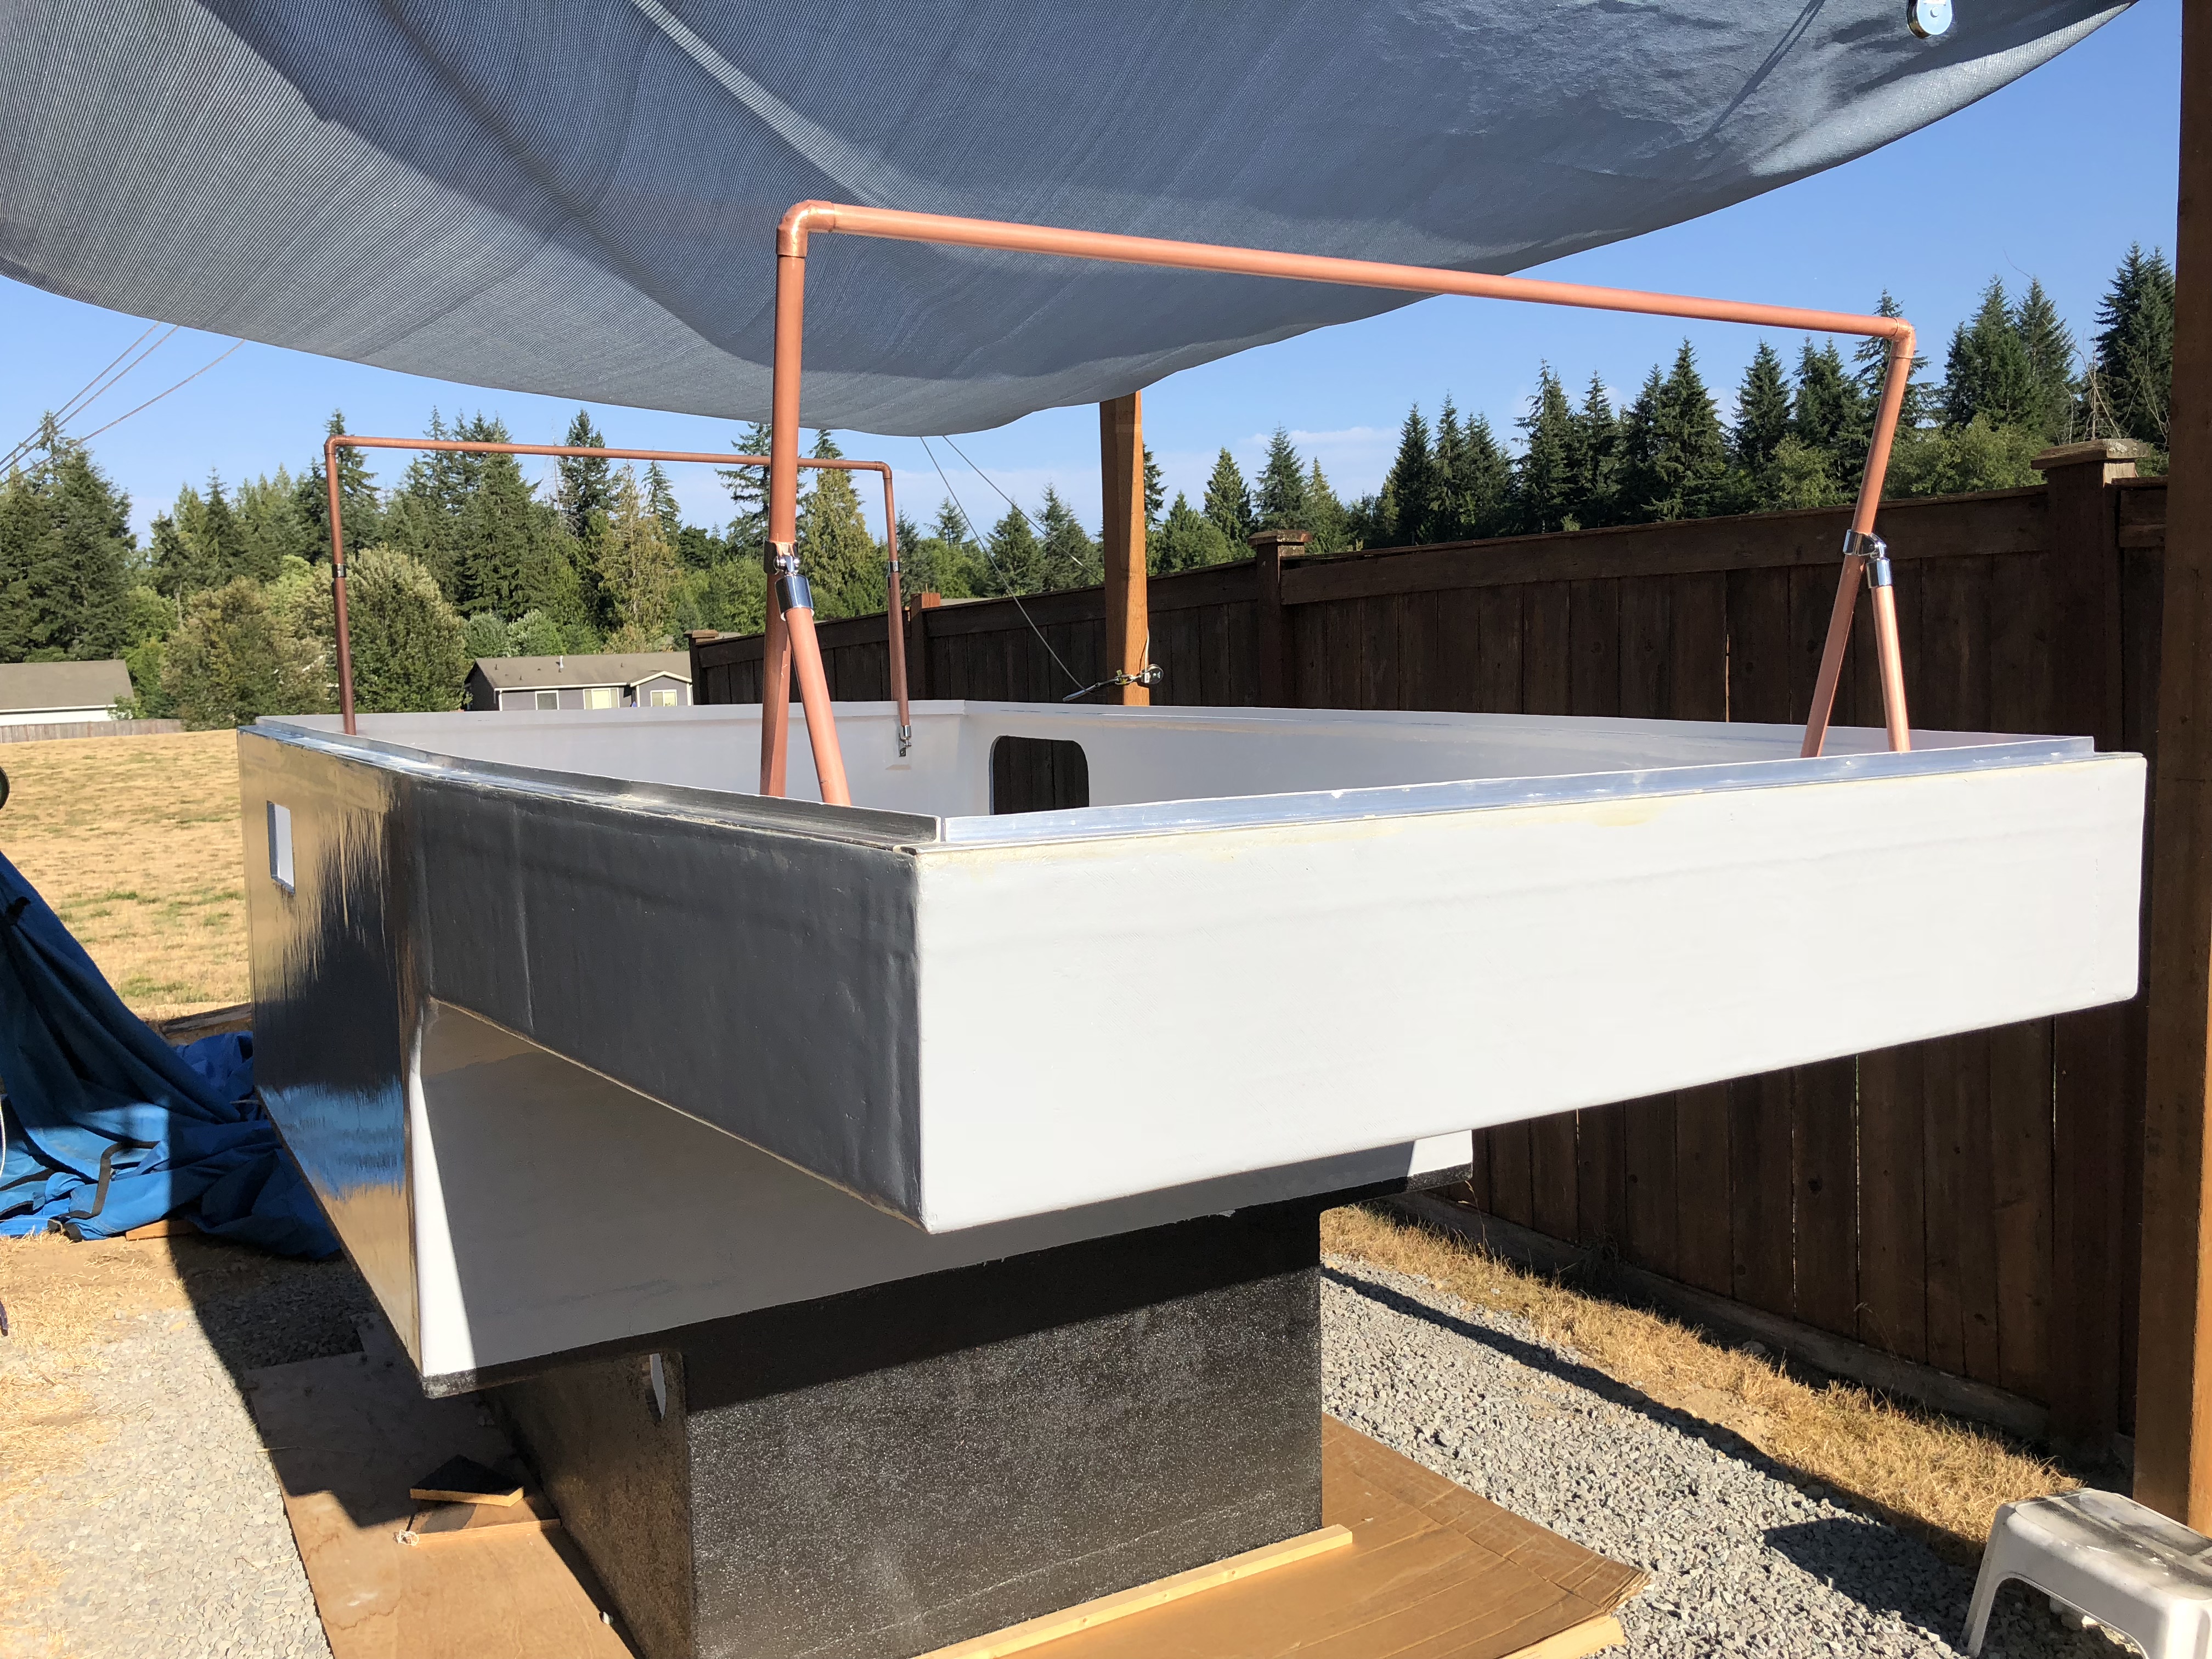
I got the metal bits sanded before the sun started beating on it and making the aluminum too hot to work with! With that out of the way, I needed to start gluing in the structure that would hold the false floor where the water tank would go.
IMG_0052.jpg

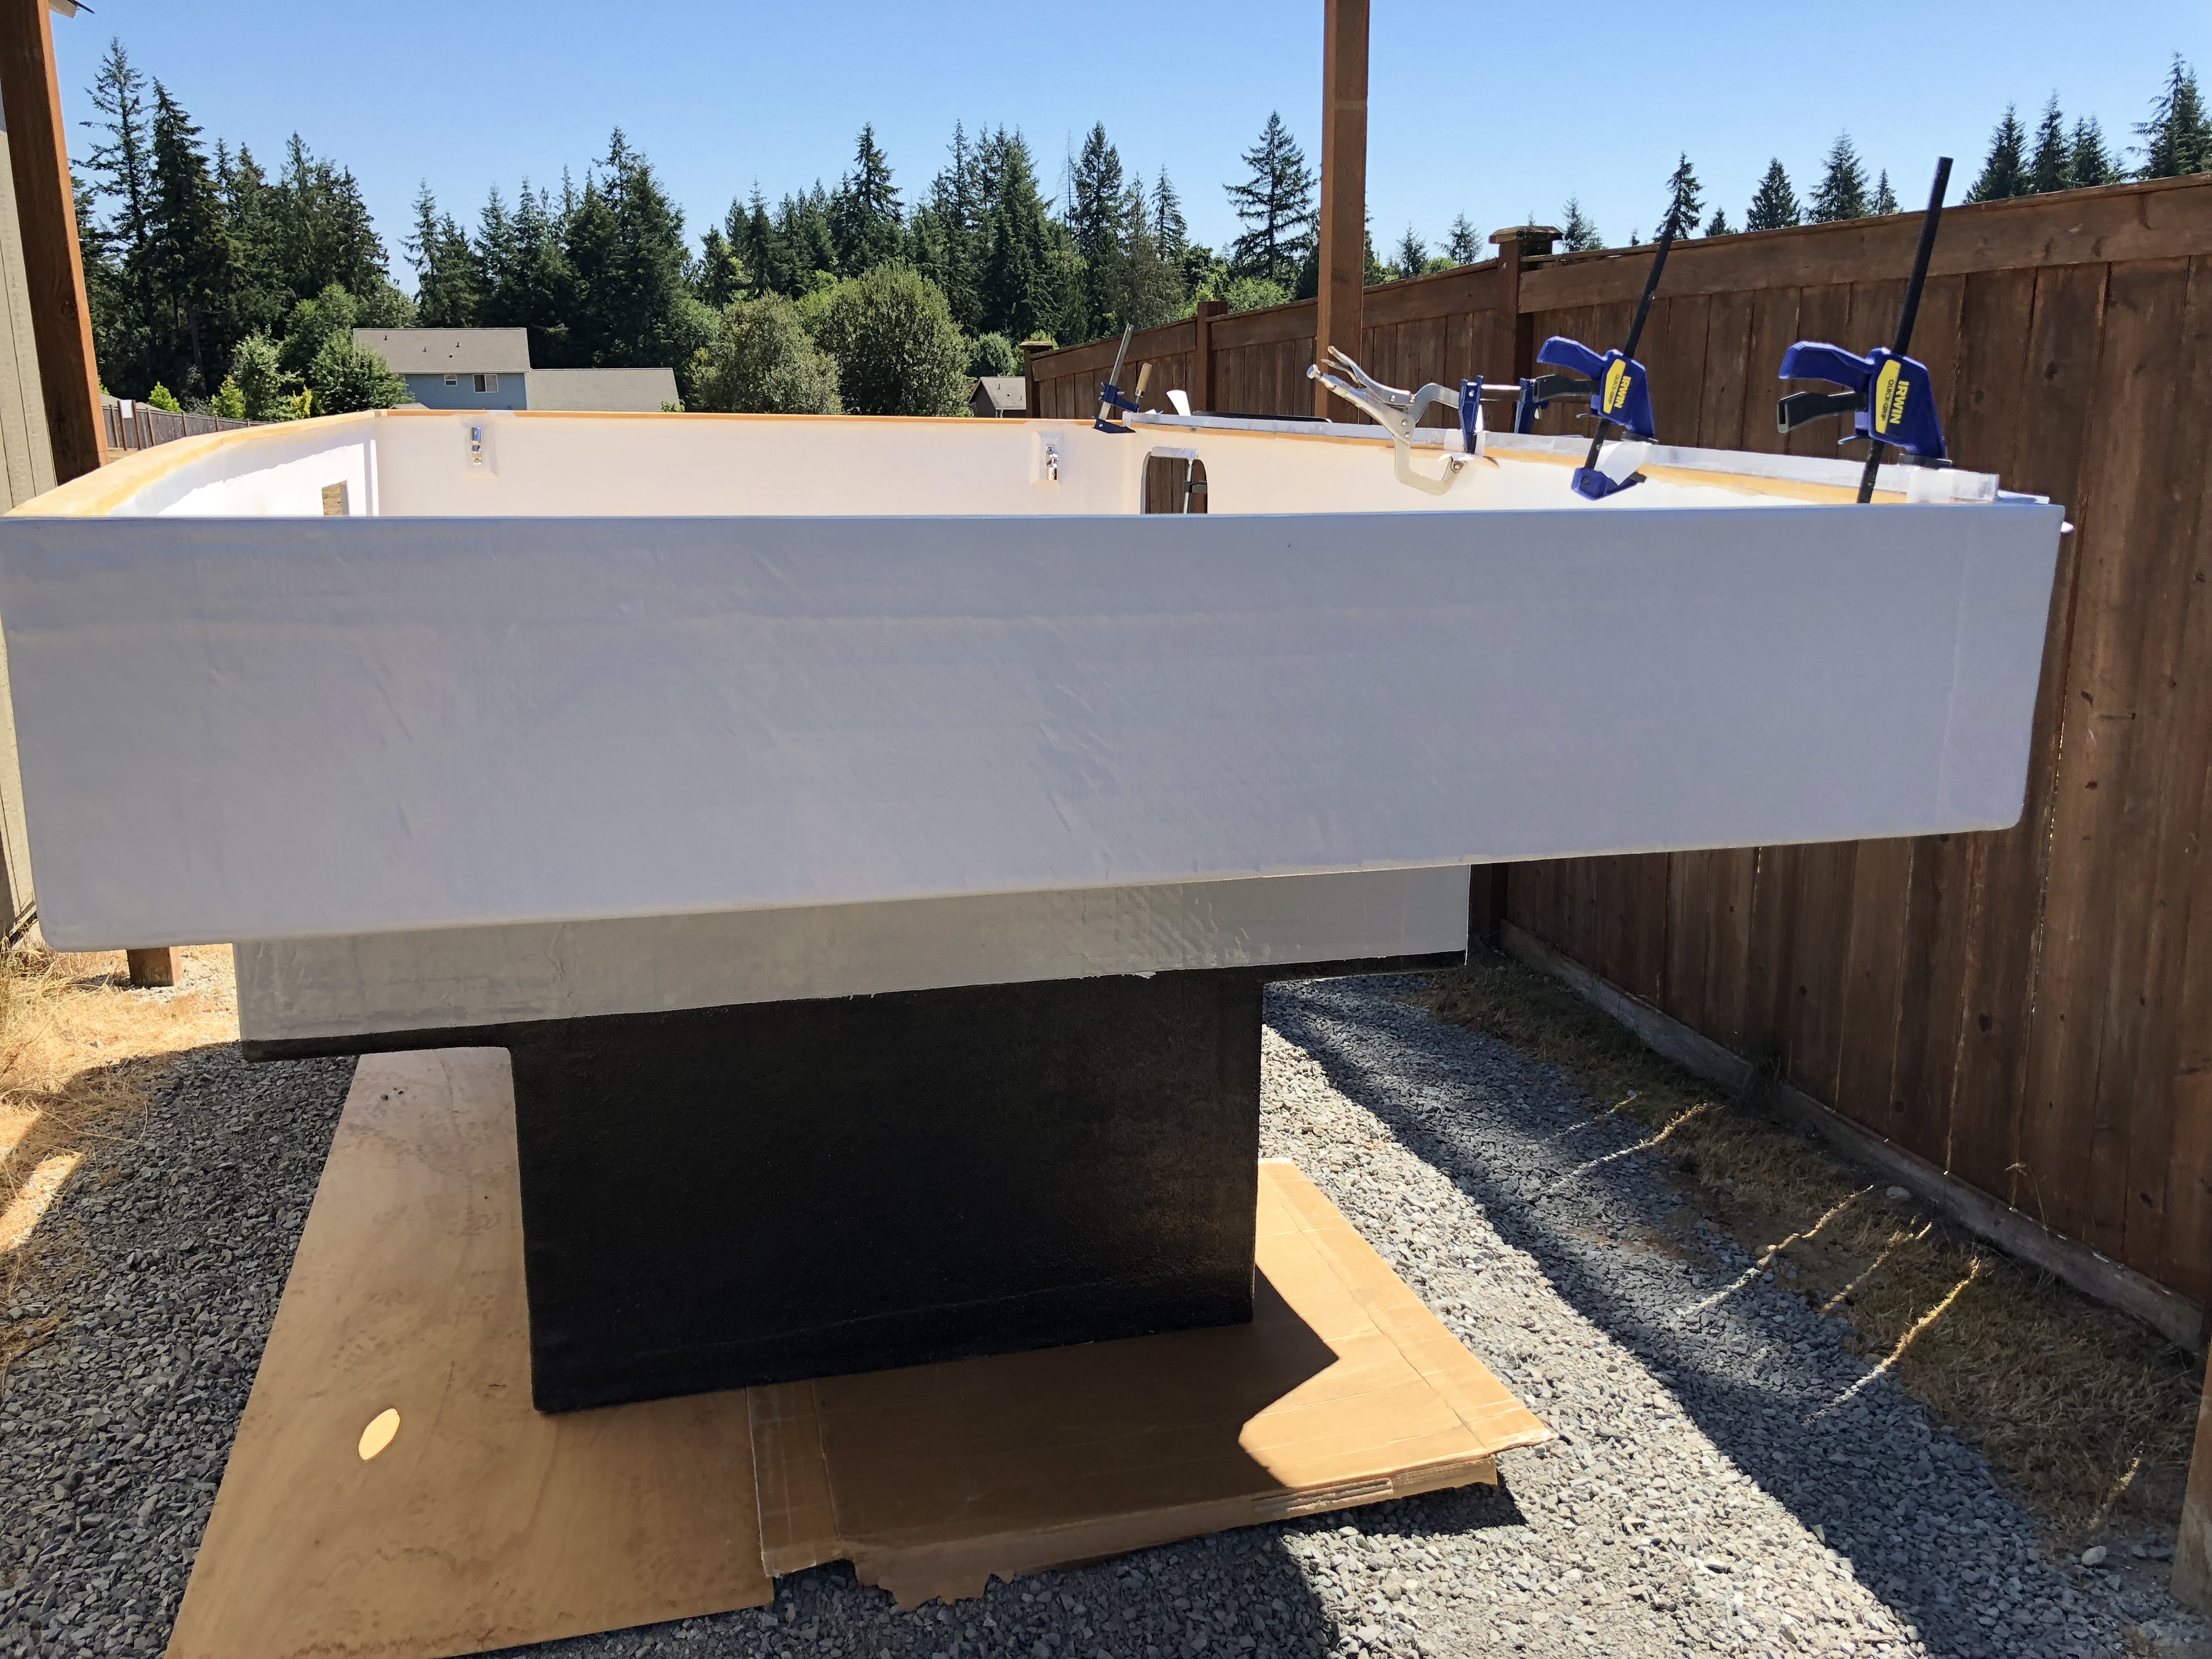
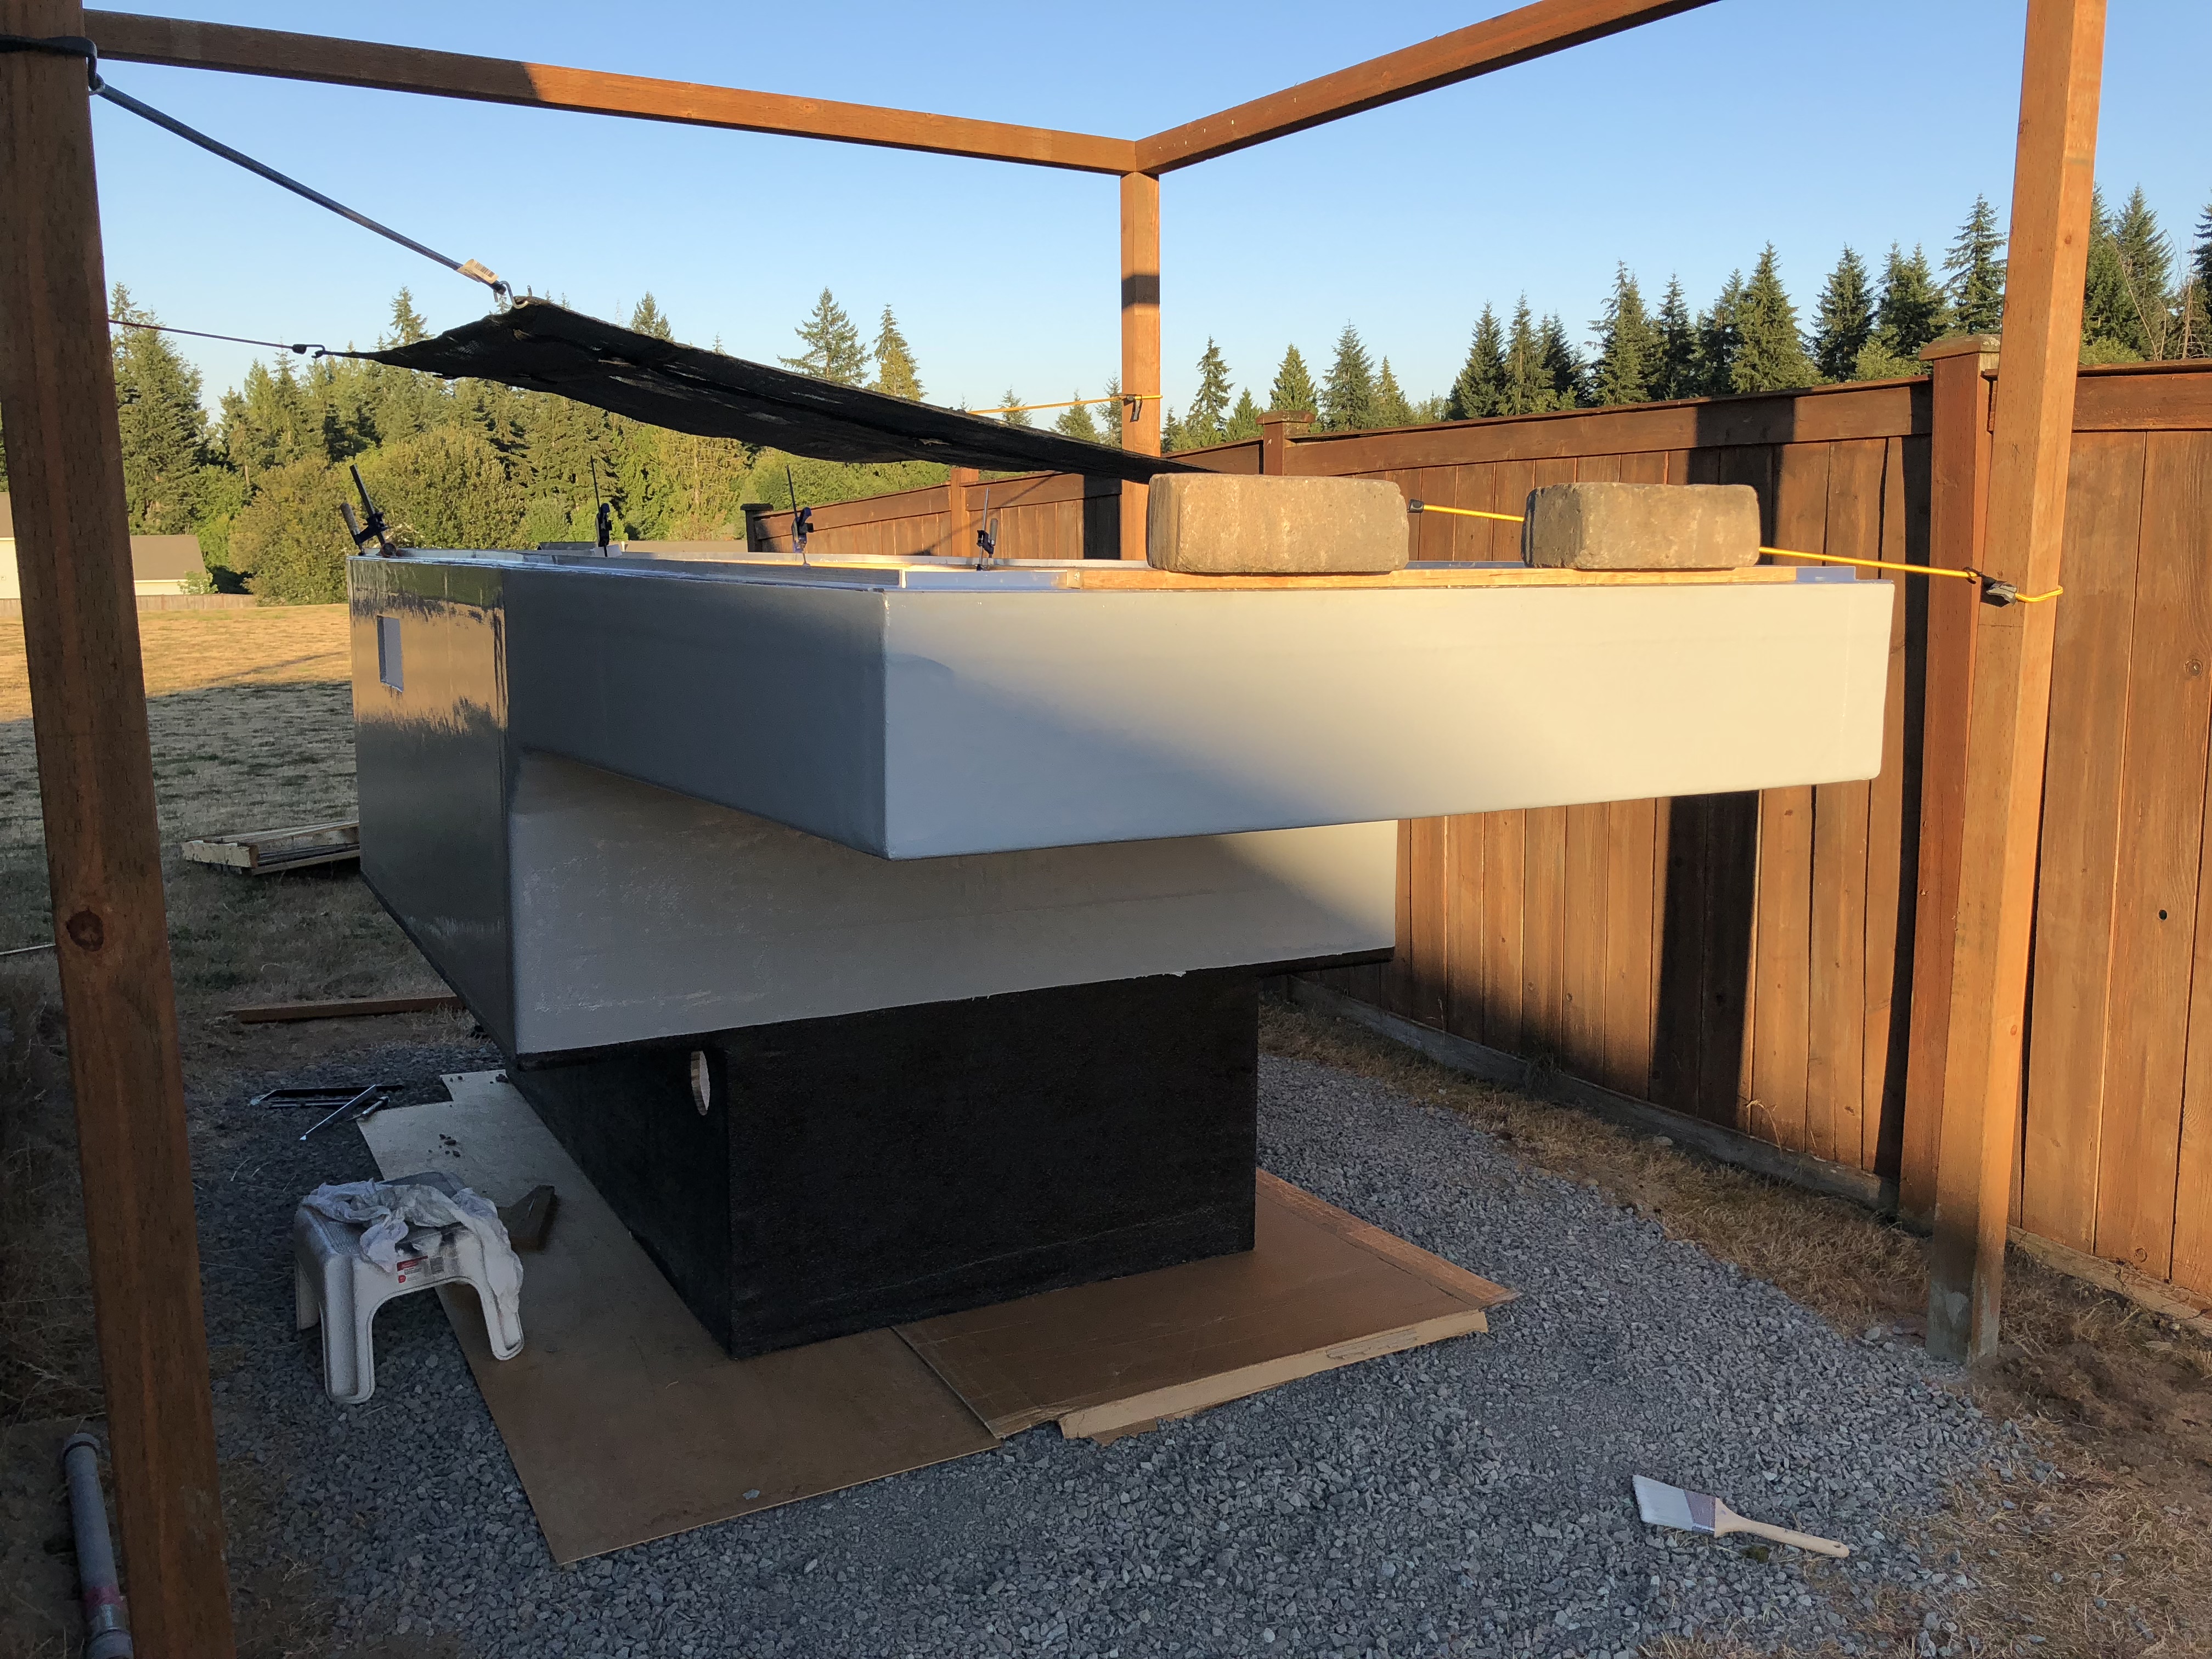
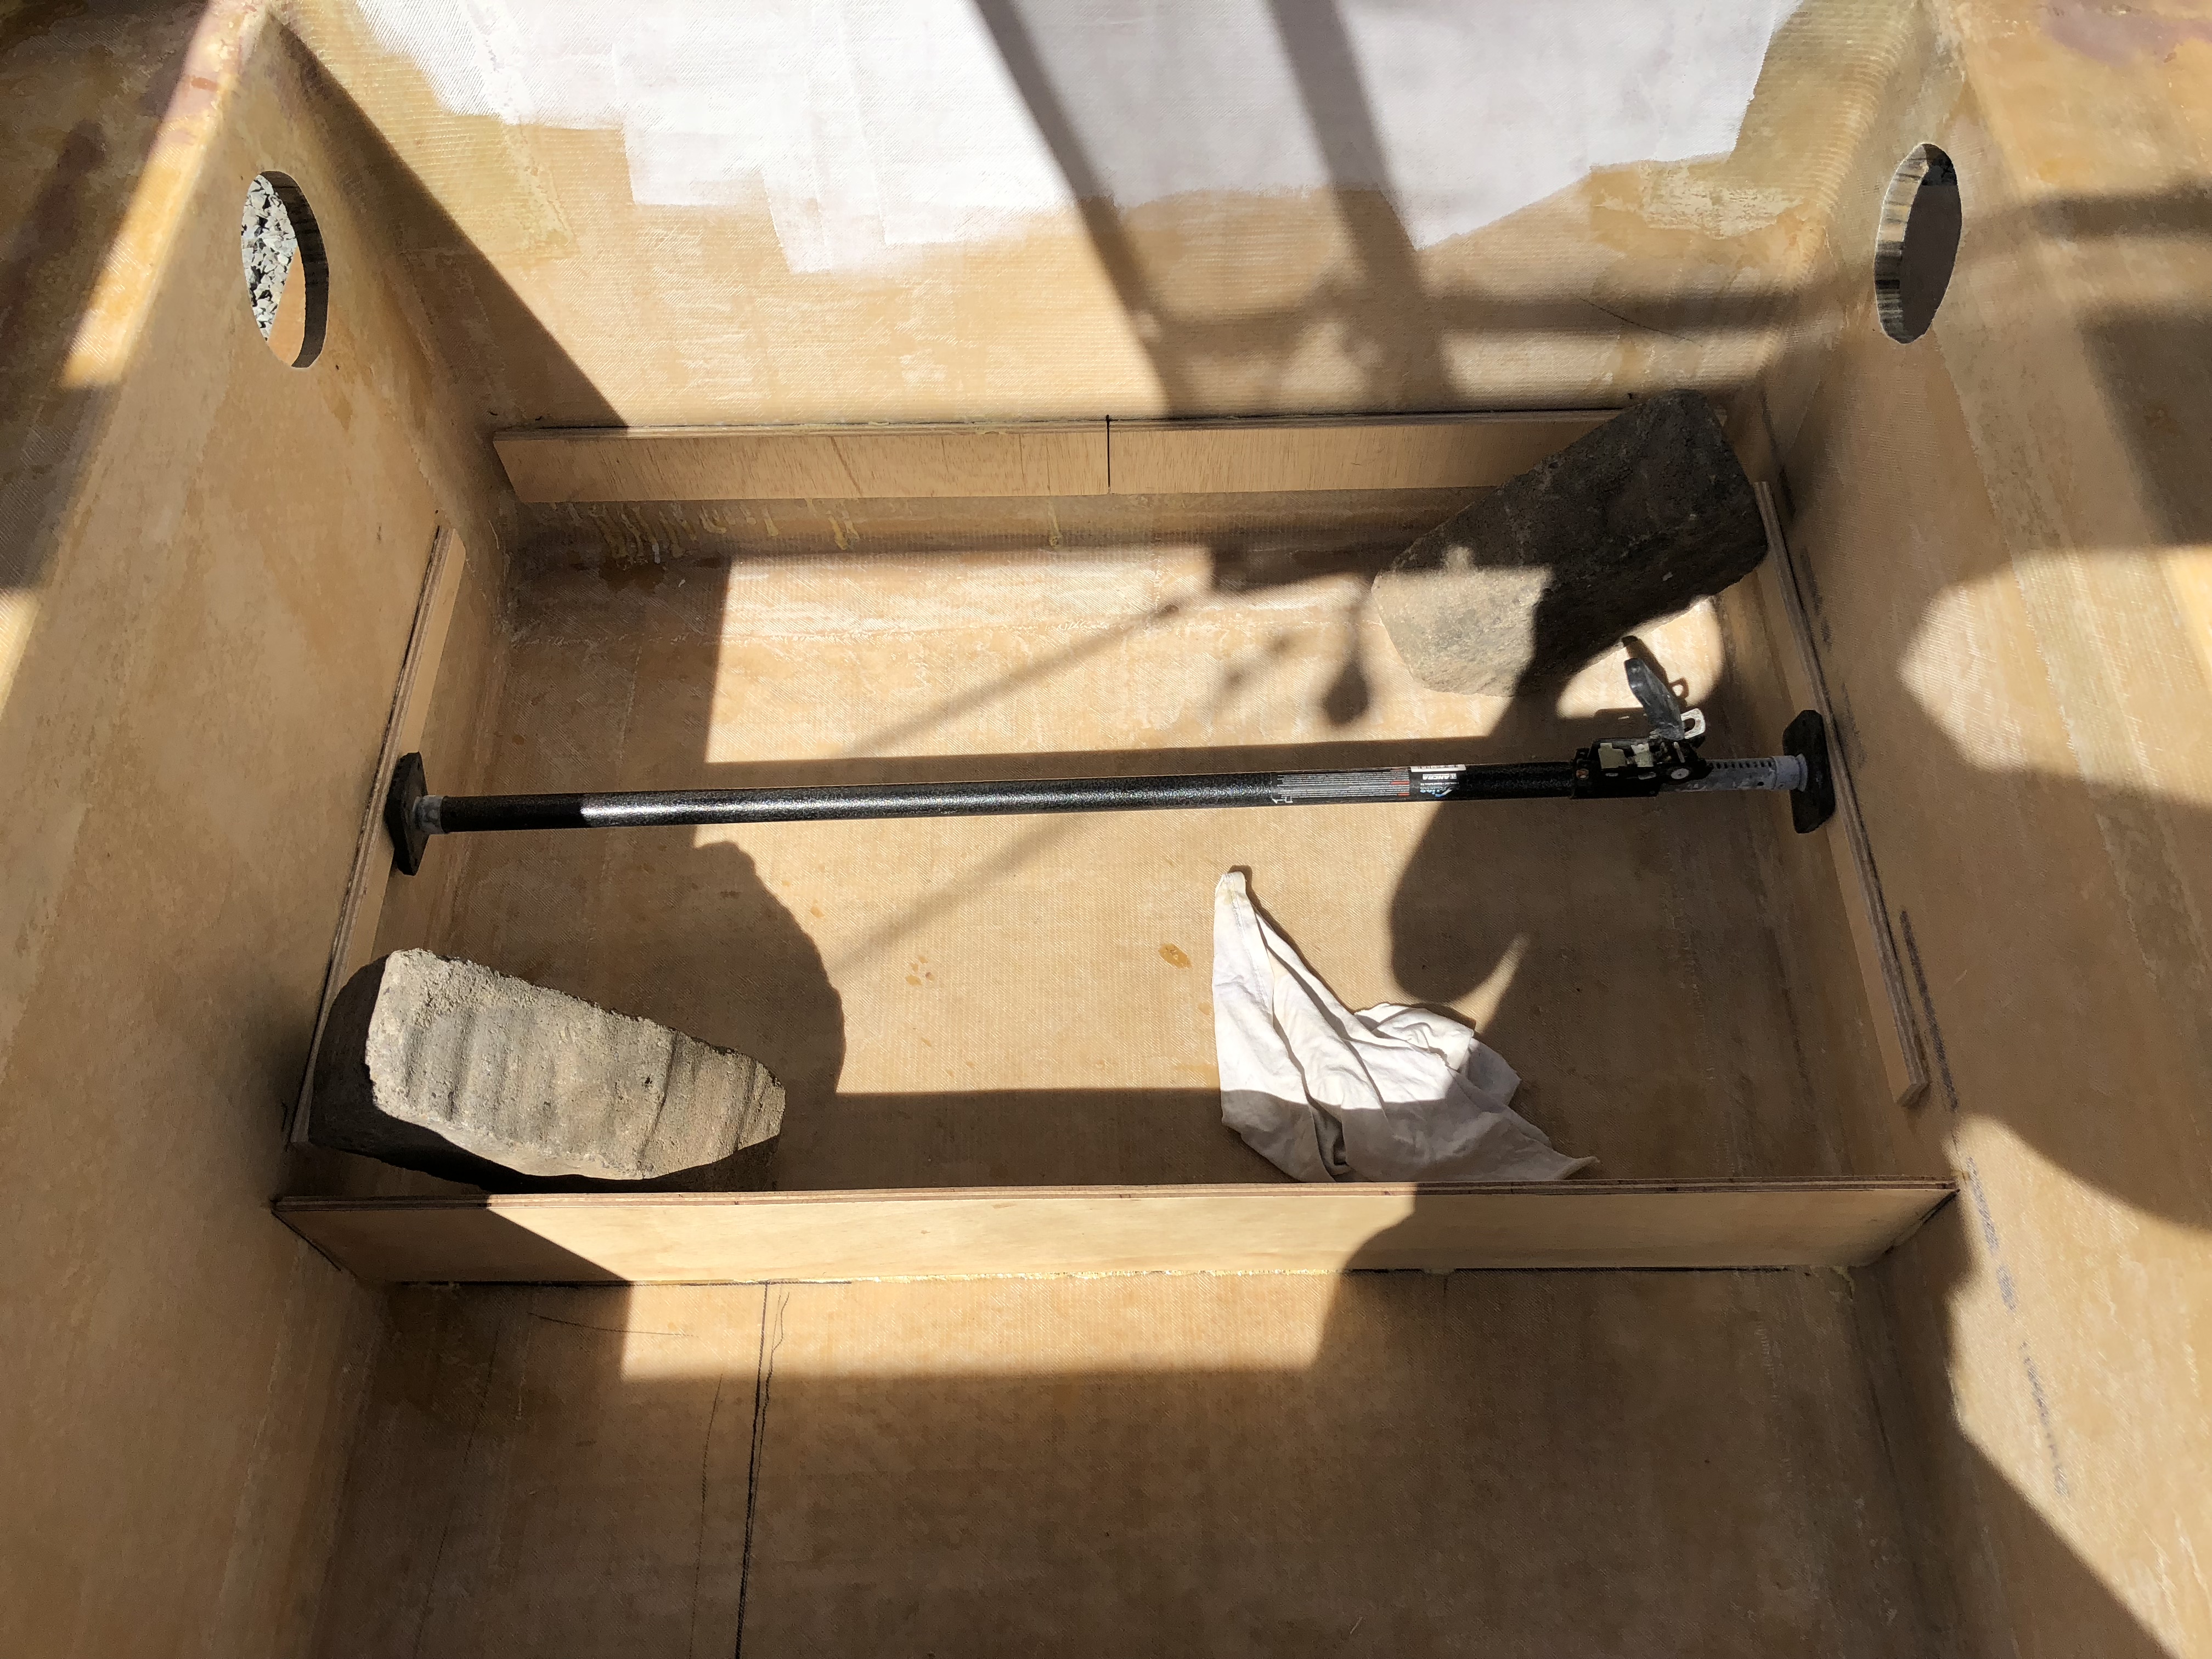
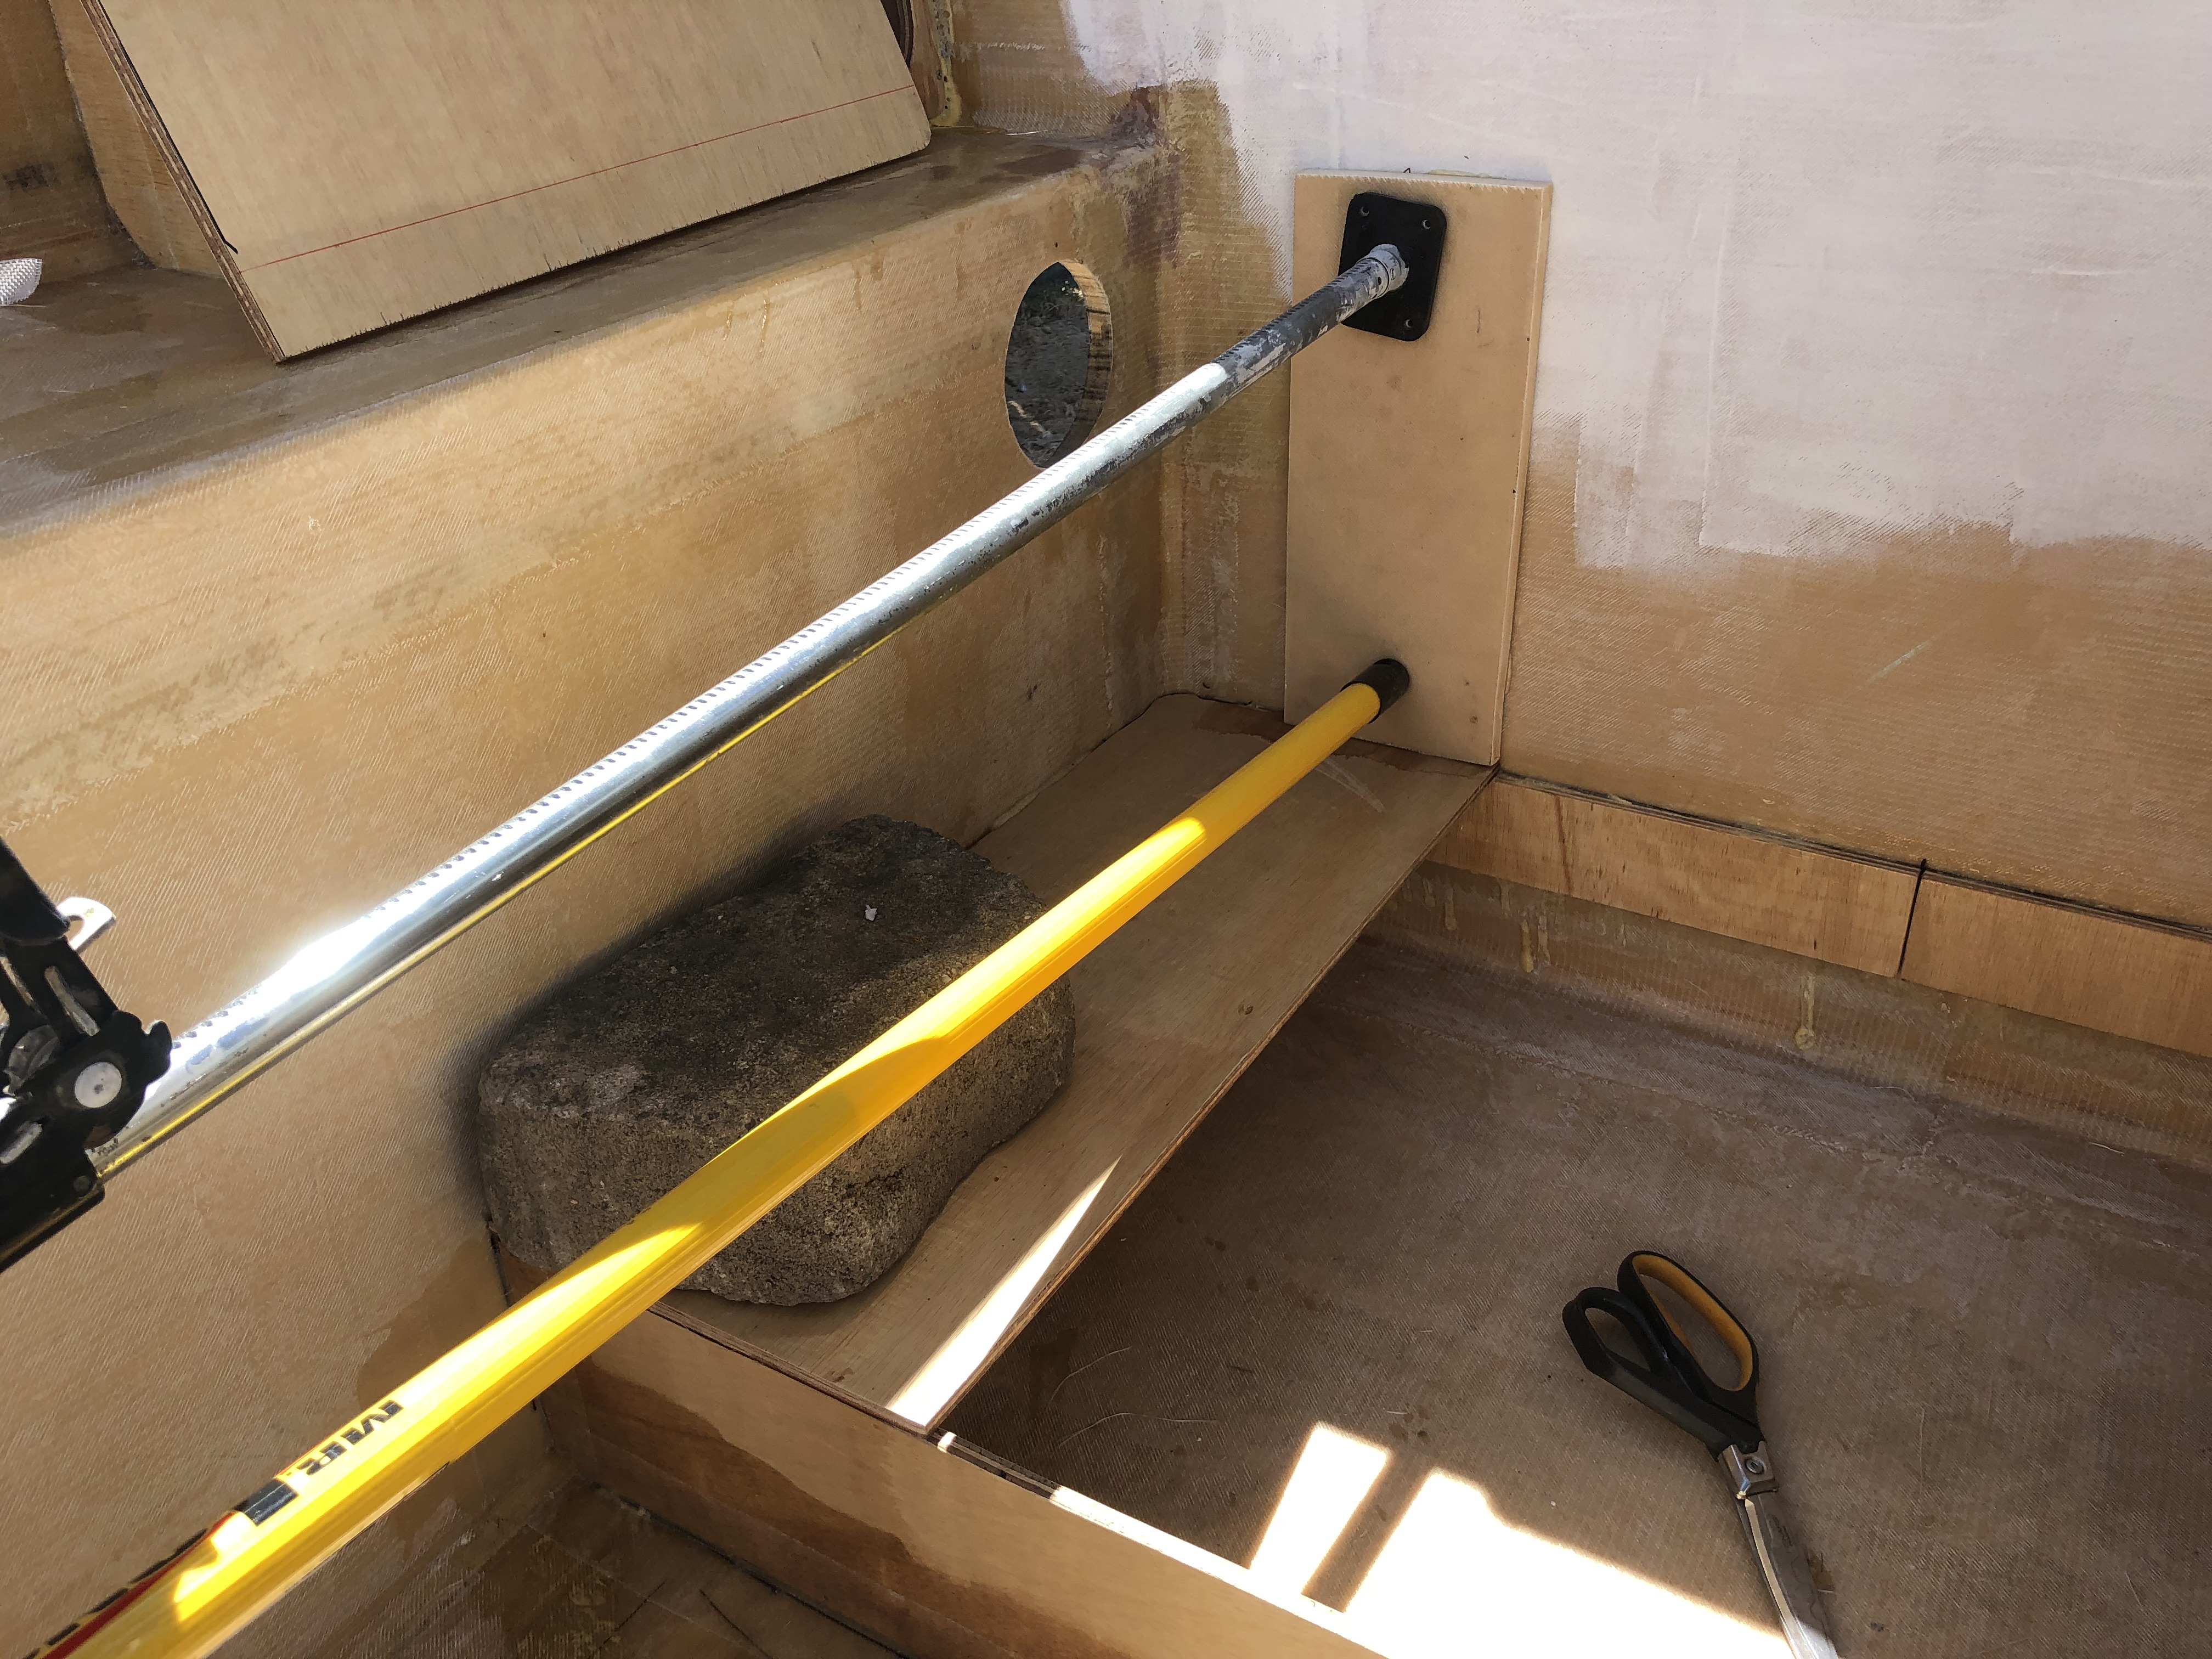
More paving stones and the truck bed cargo divider... couldn't have done it without them!
IMG_0053.jpg

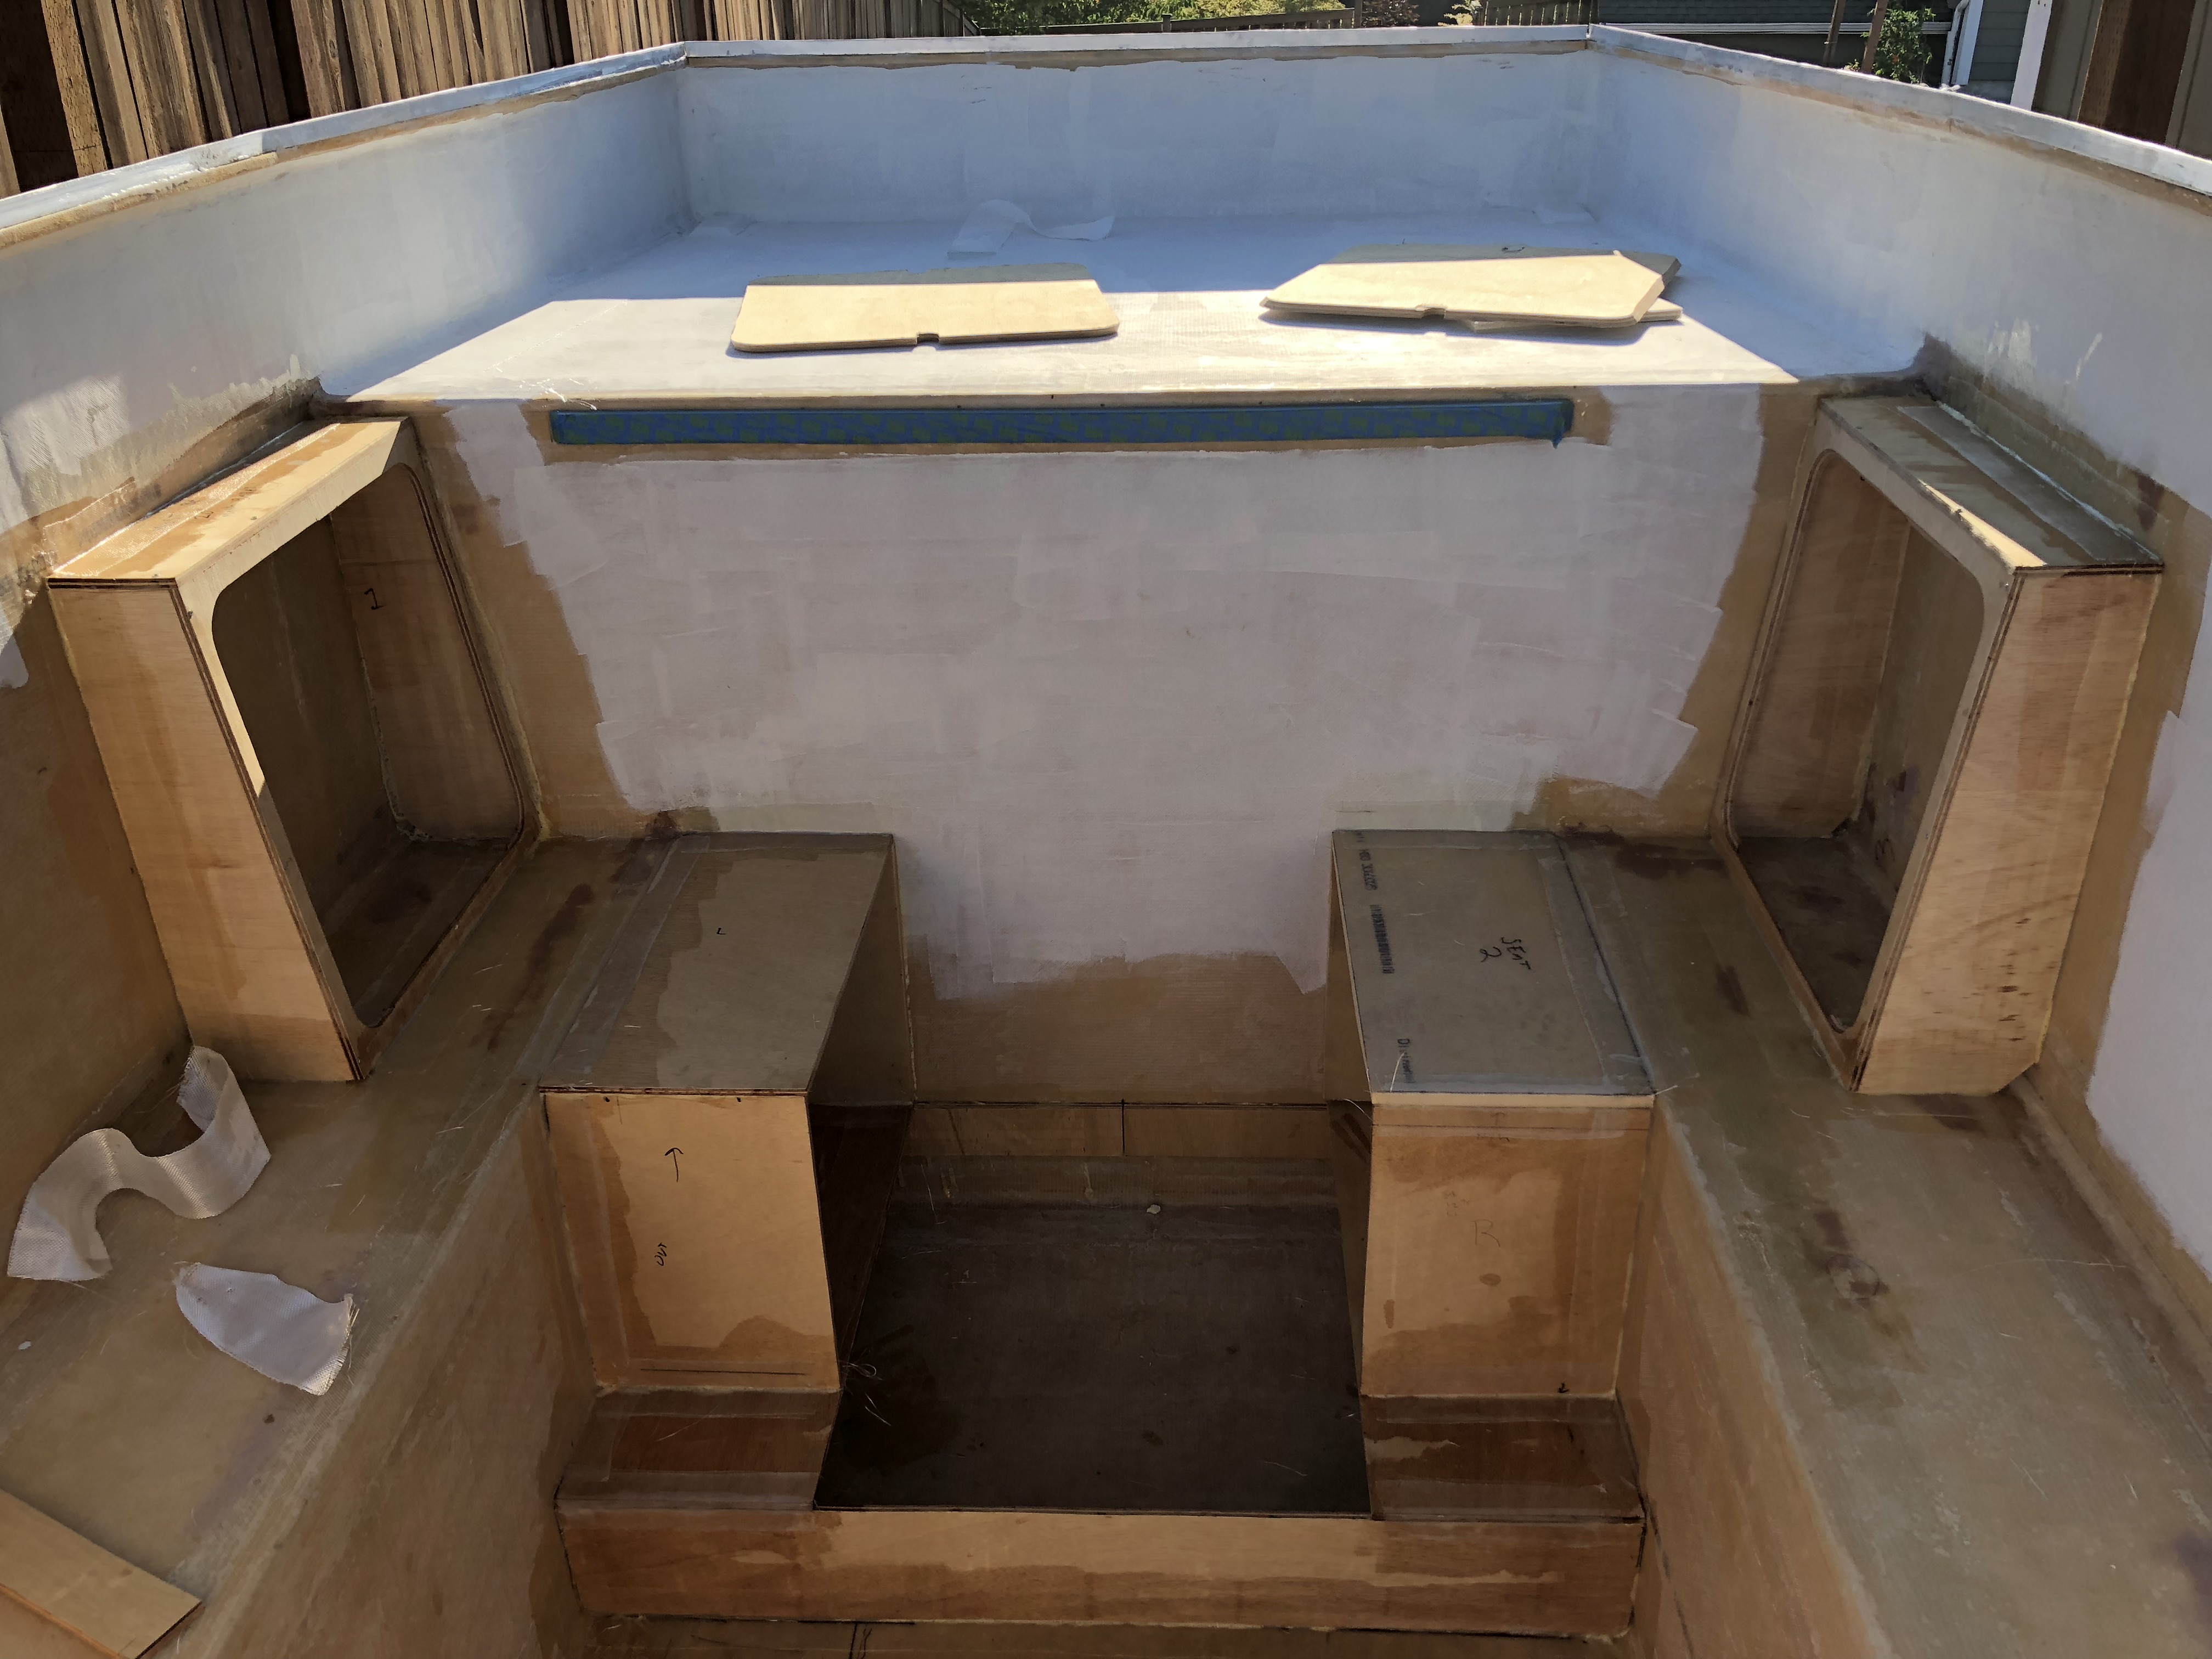
I bought a few rolls of the 3" 6oz glass cloth. It's so easy to work with and just cut off various lengths of it. My plan for the structure was to glue the wood where it needed to go and then take the cloth and just fiberglass everything in place. I made sure to cut a few layers and stage everything because once you start rolling, you have to just keep going until it's all gone. This stuff doesn't leave a lot of time to mess around!
IMG_0055.jpg

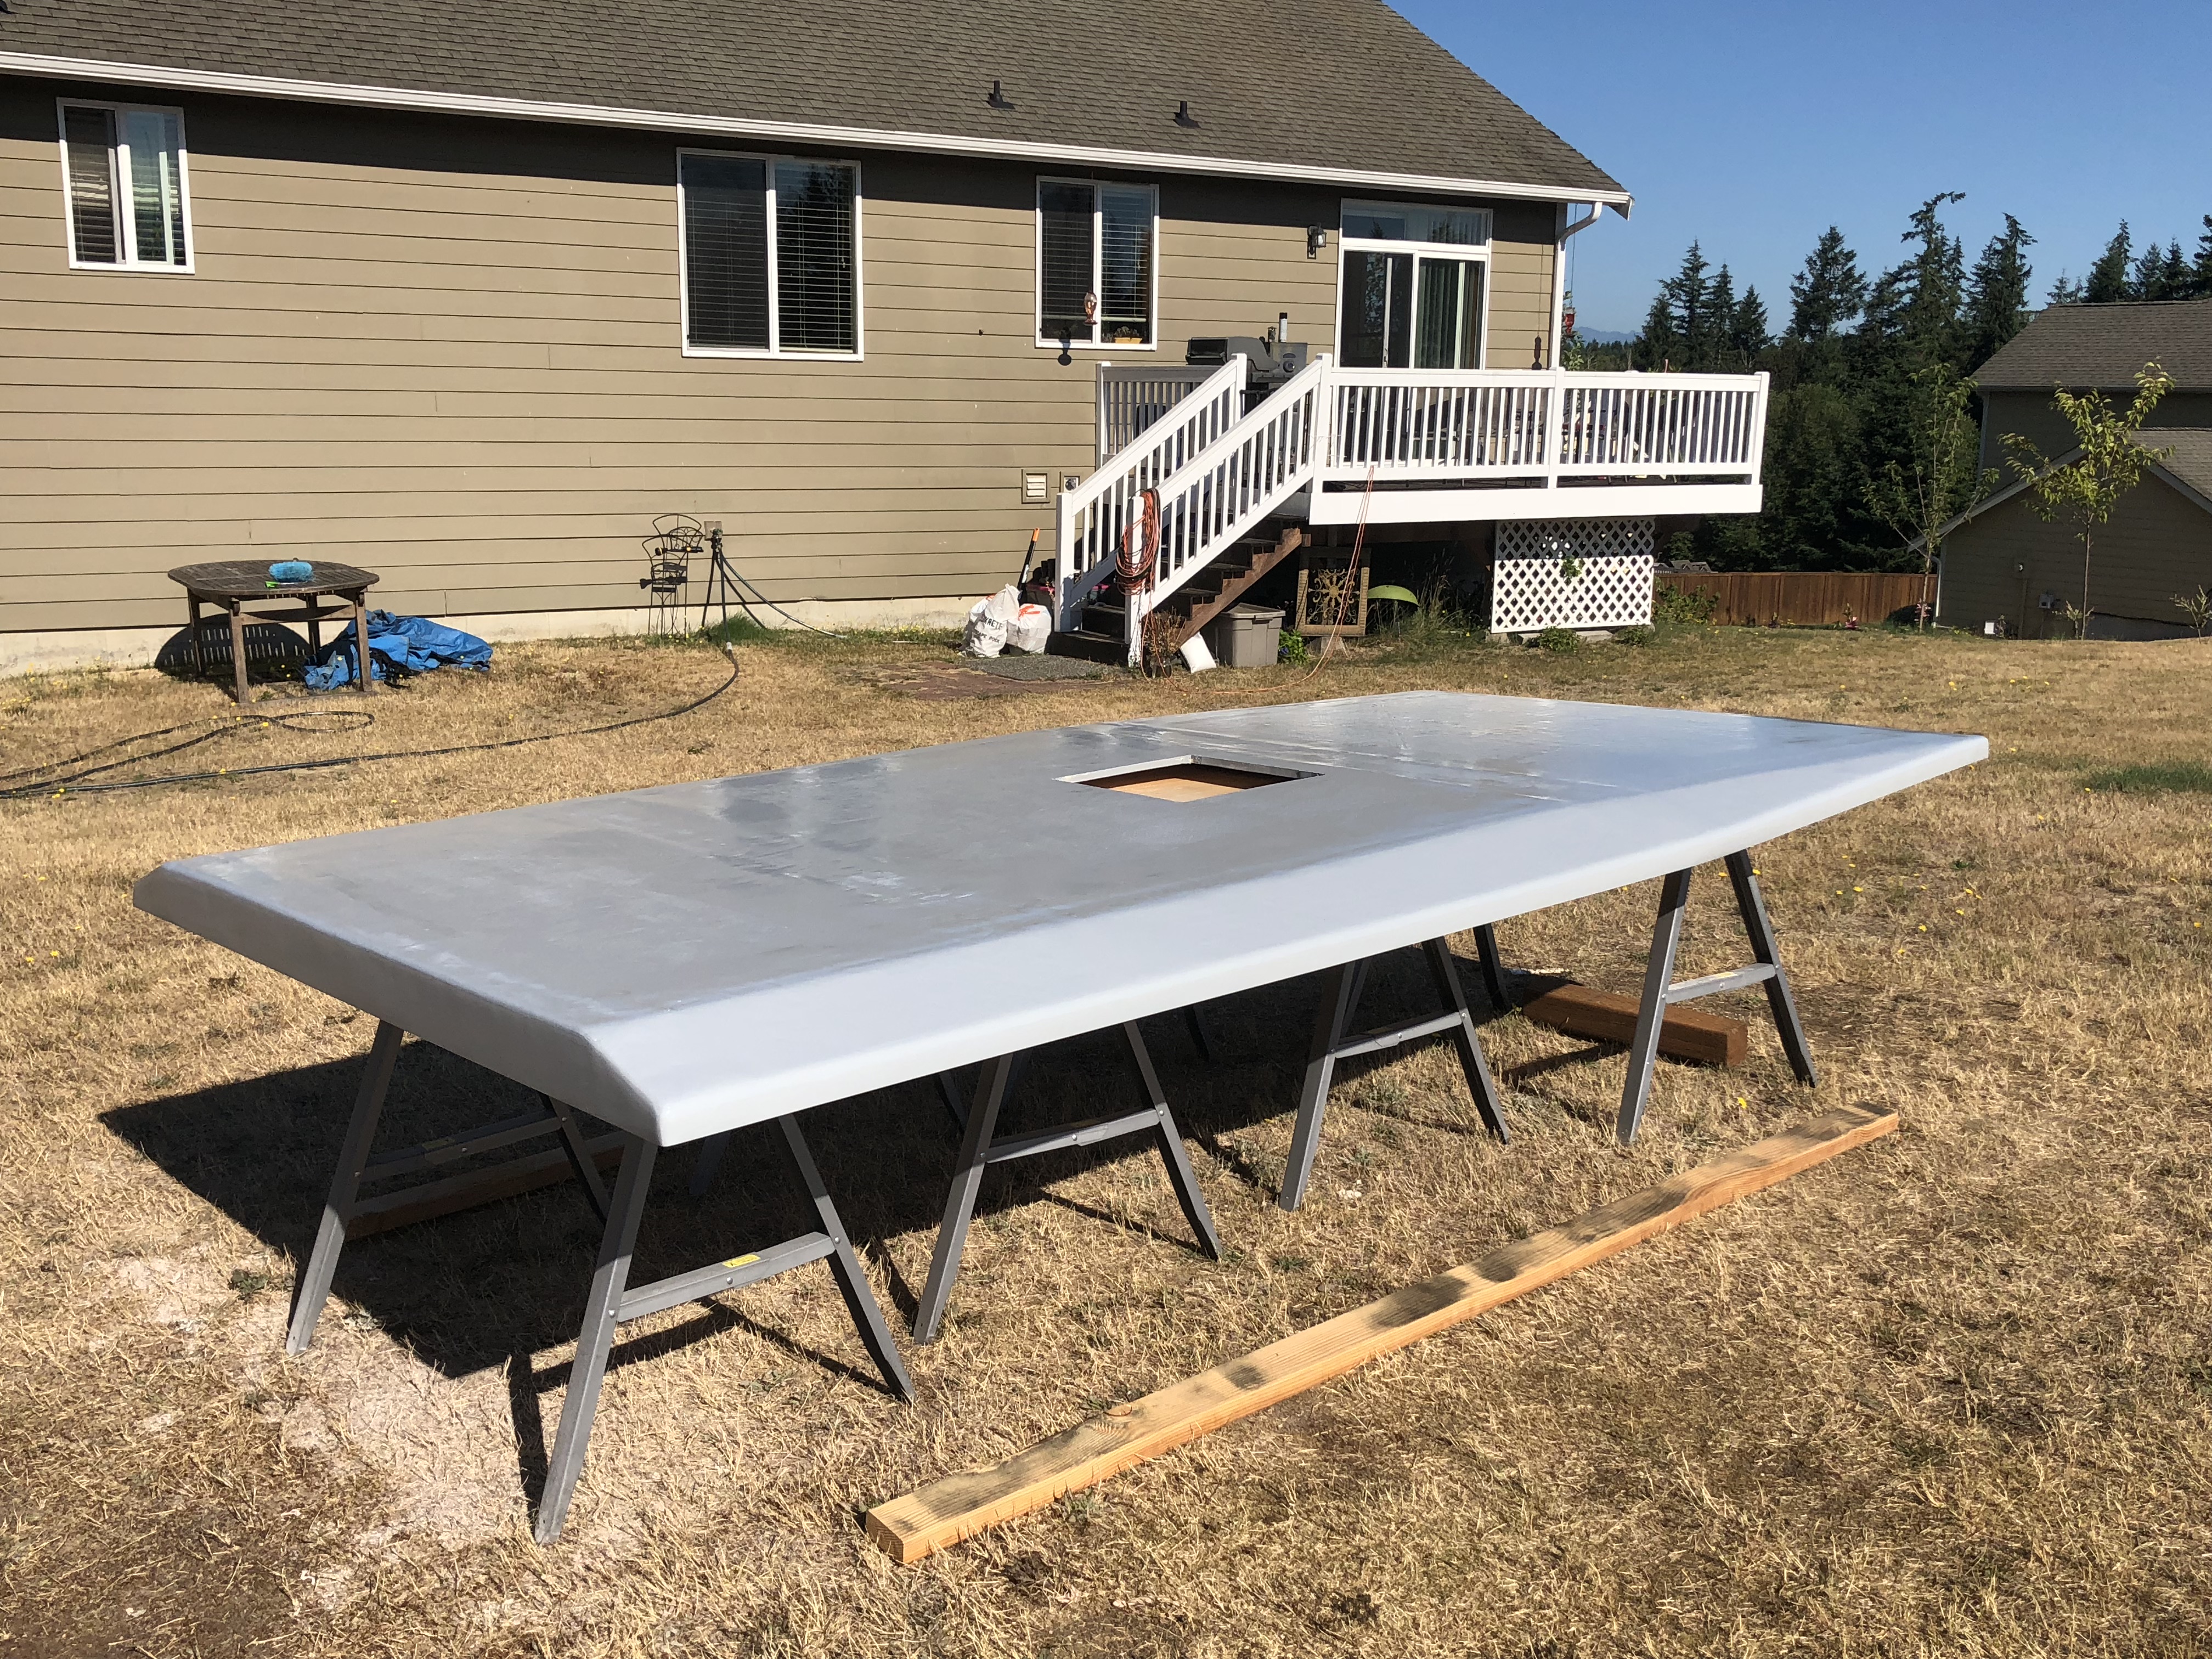
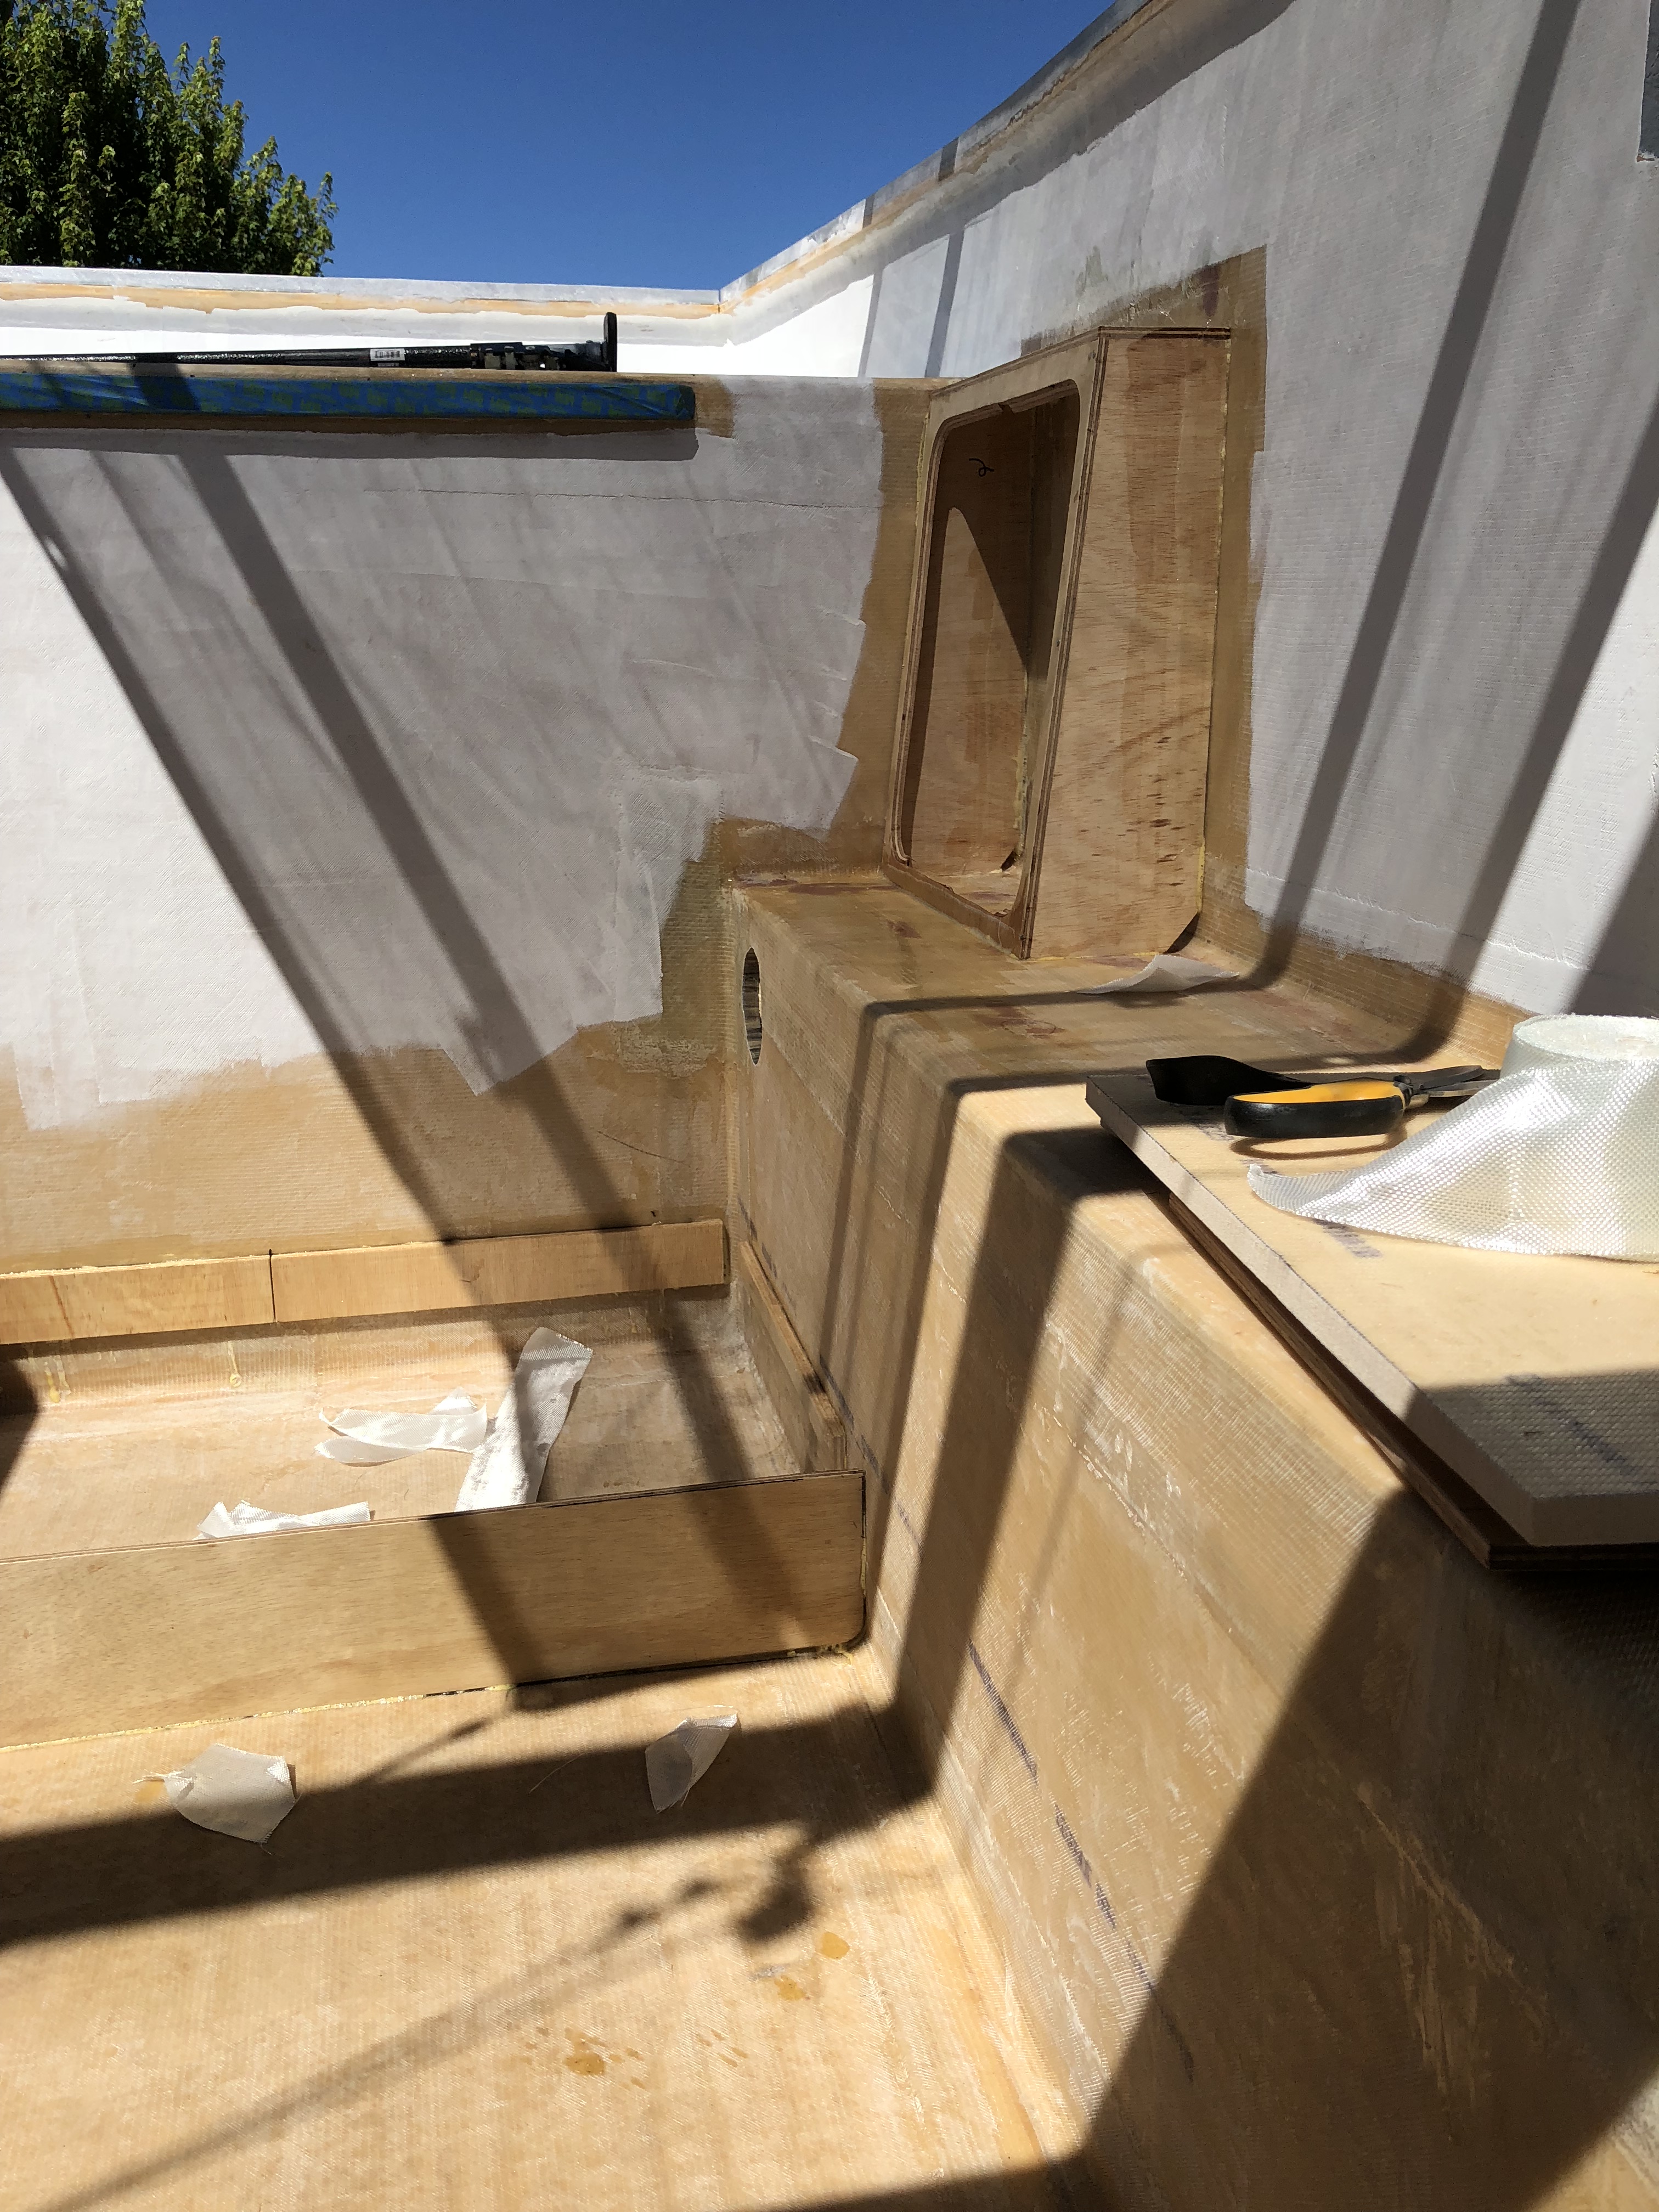
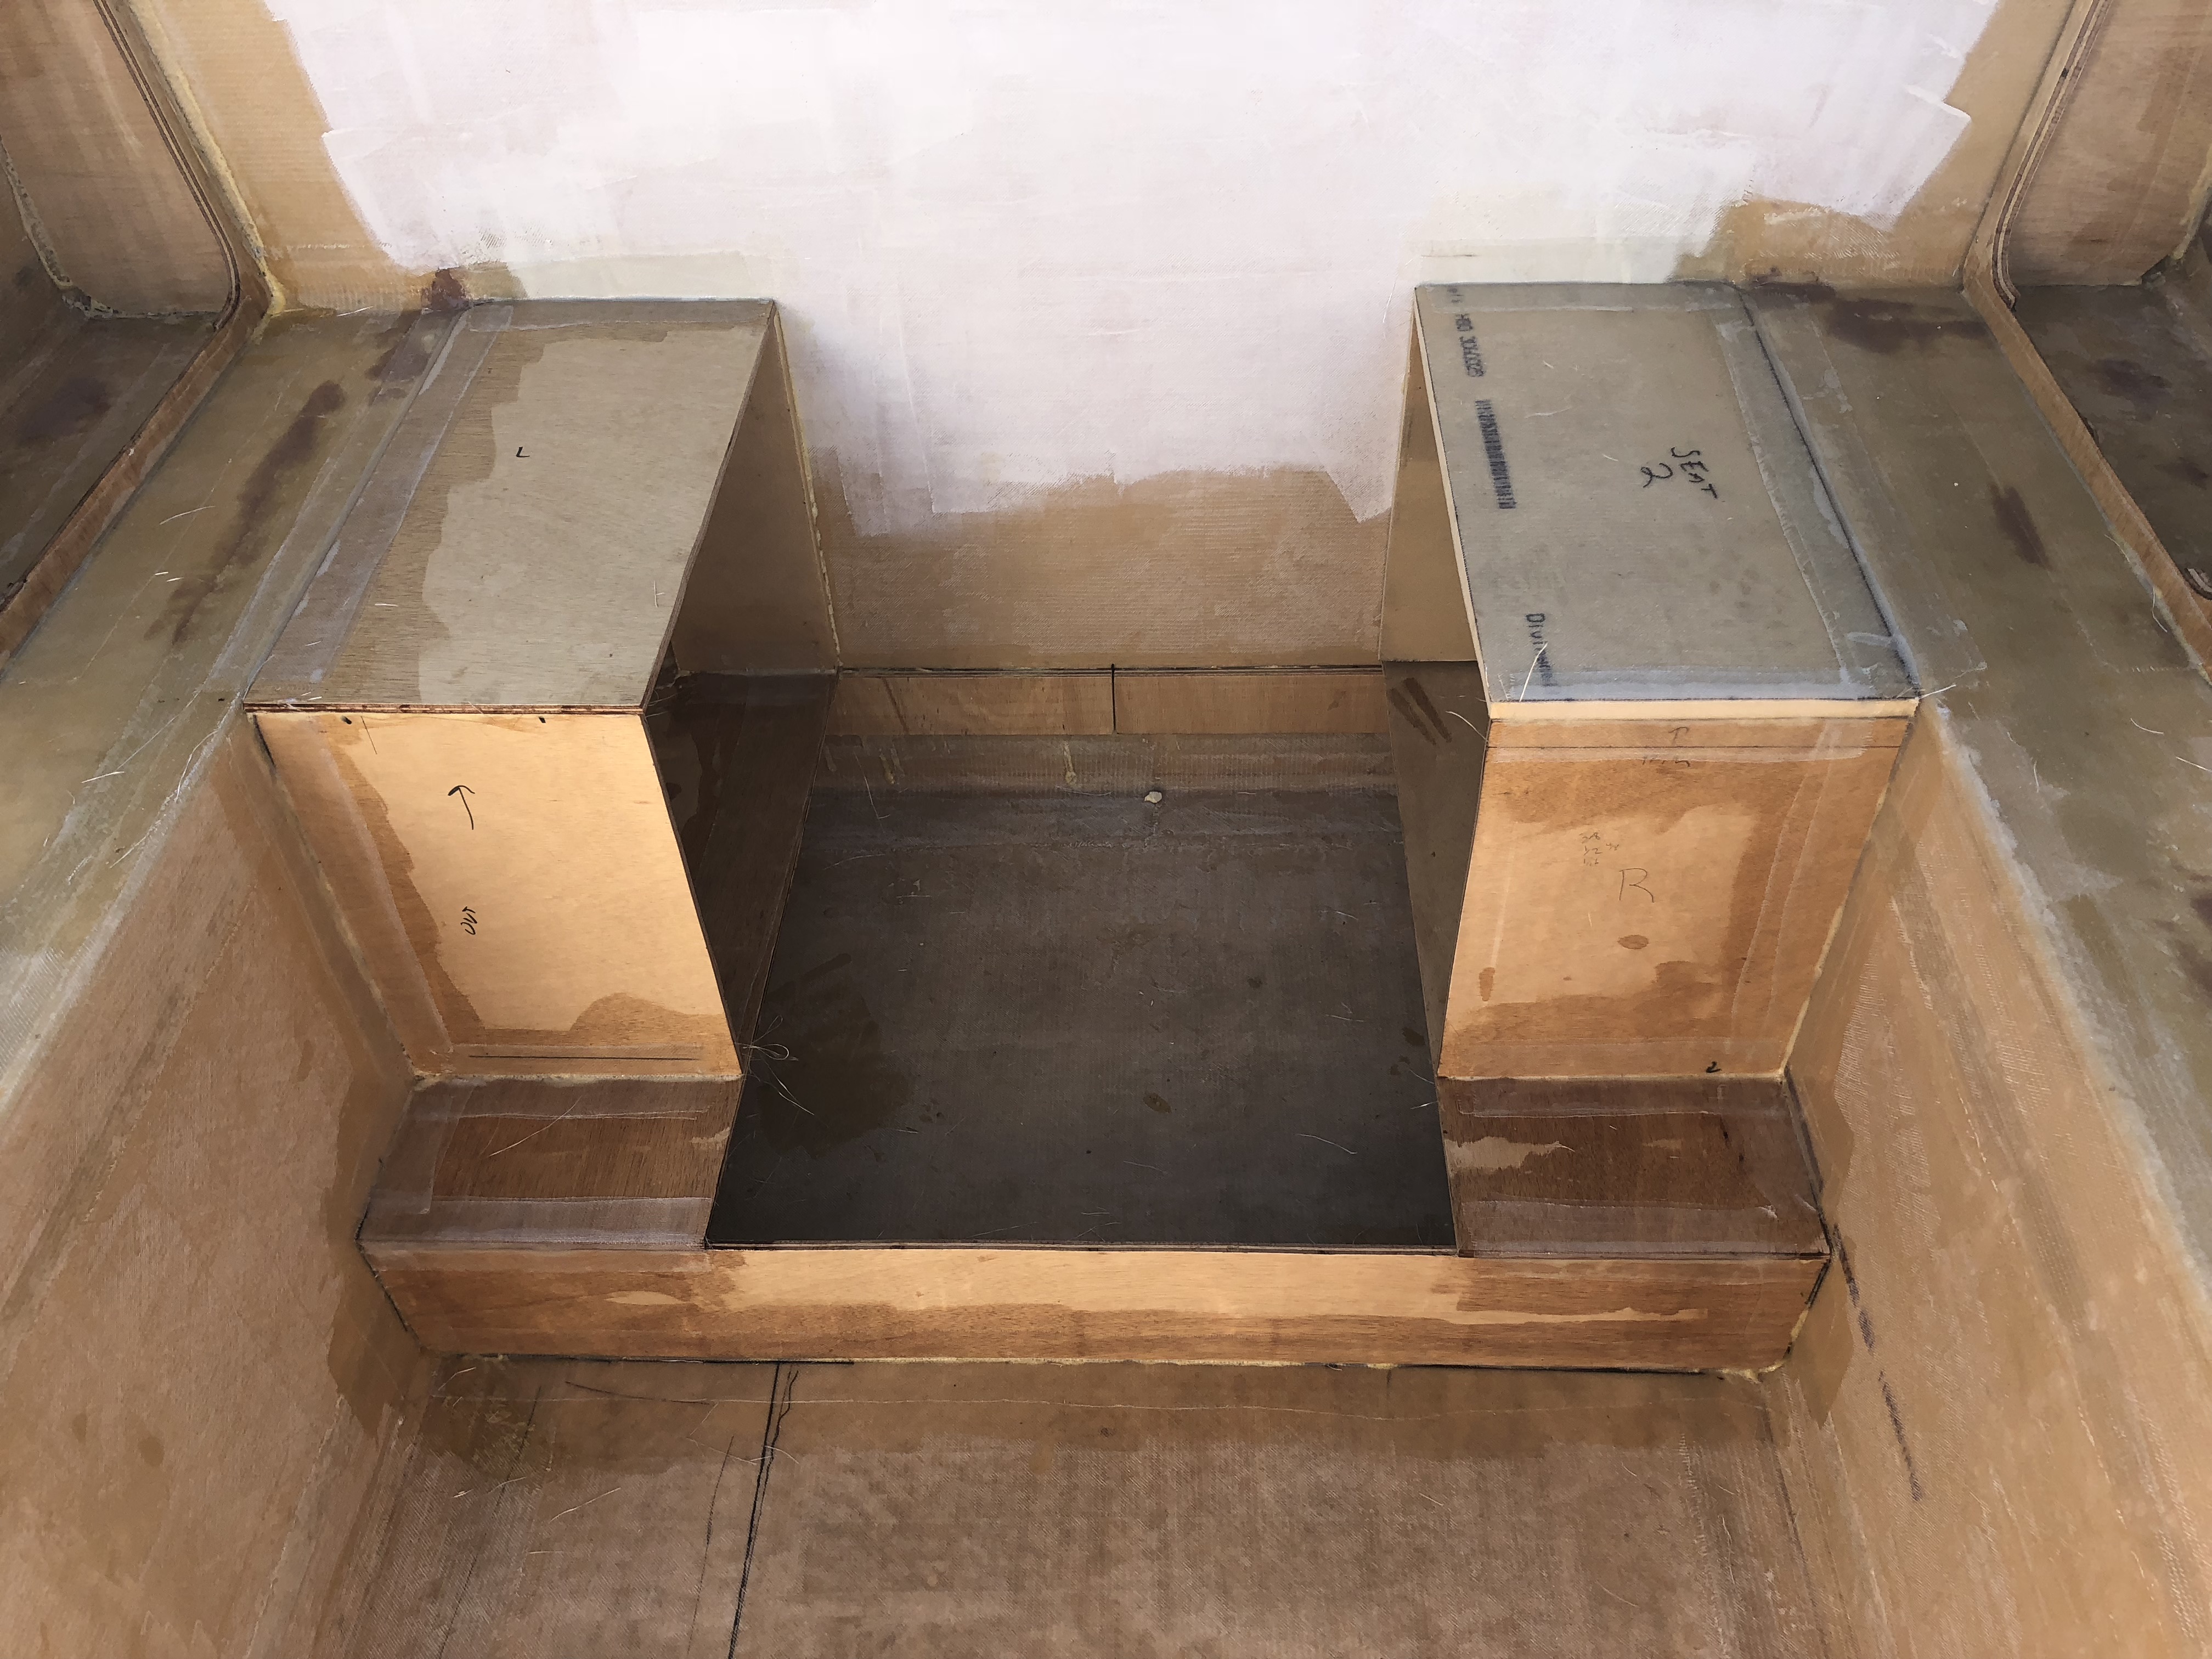
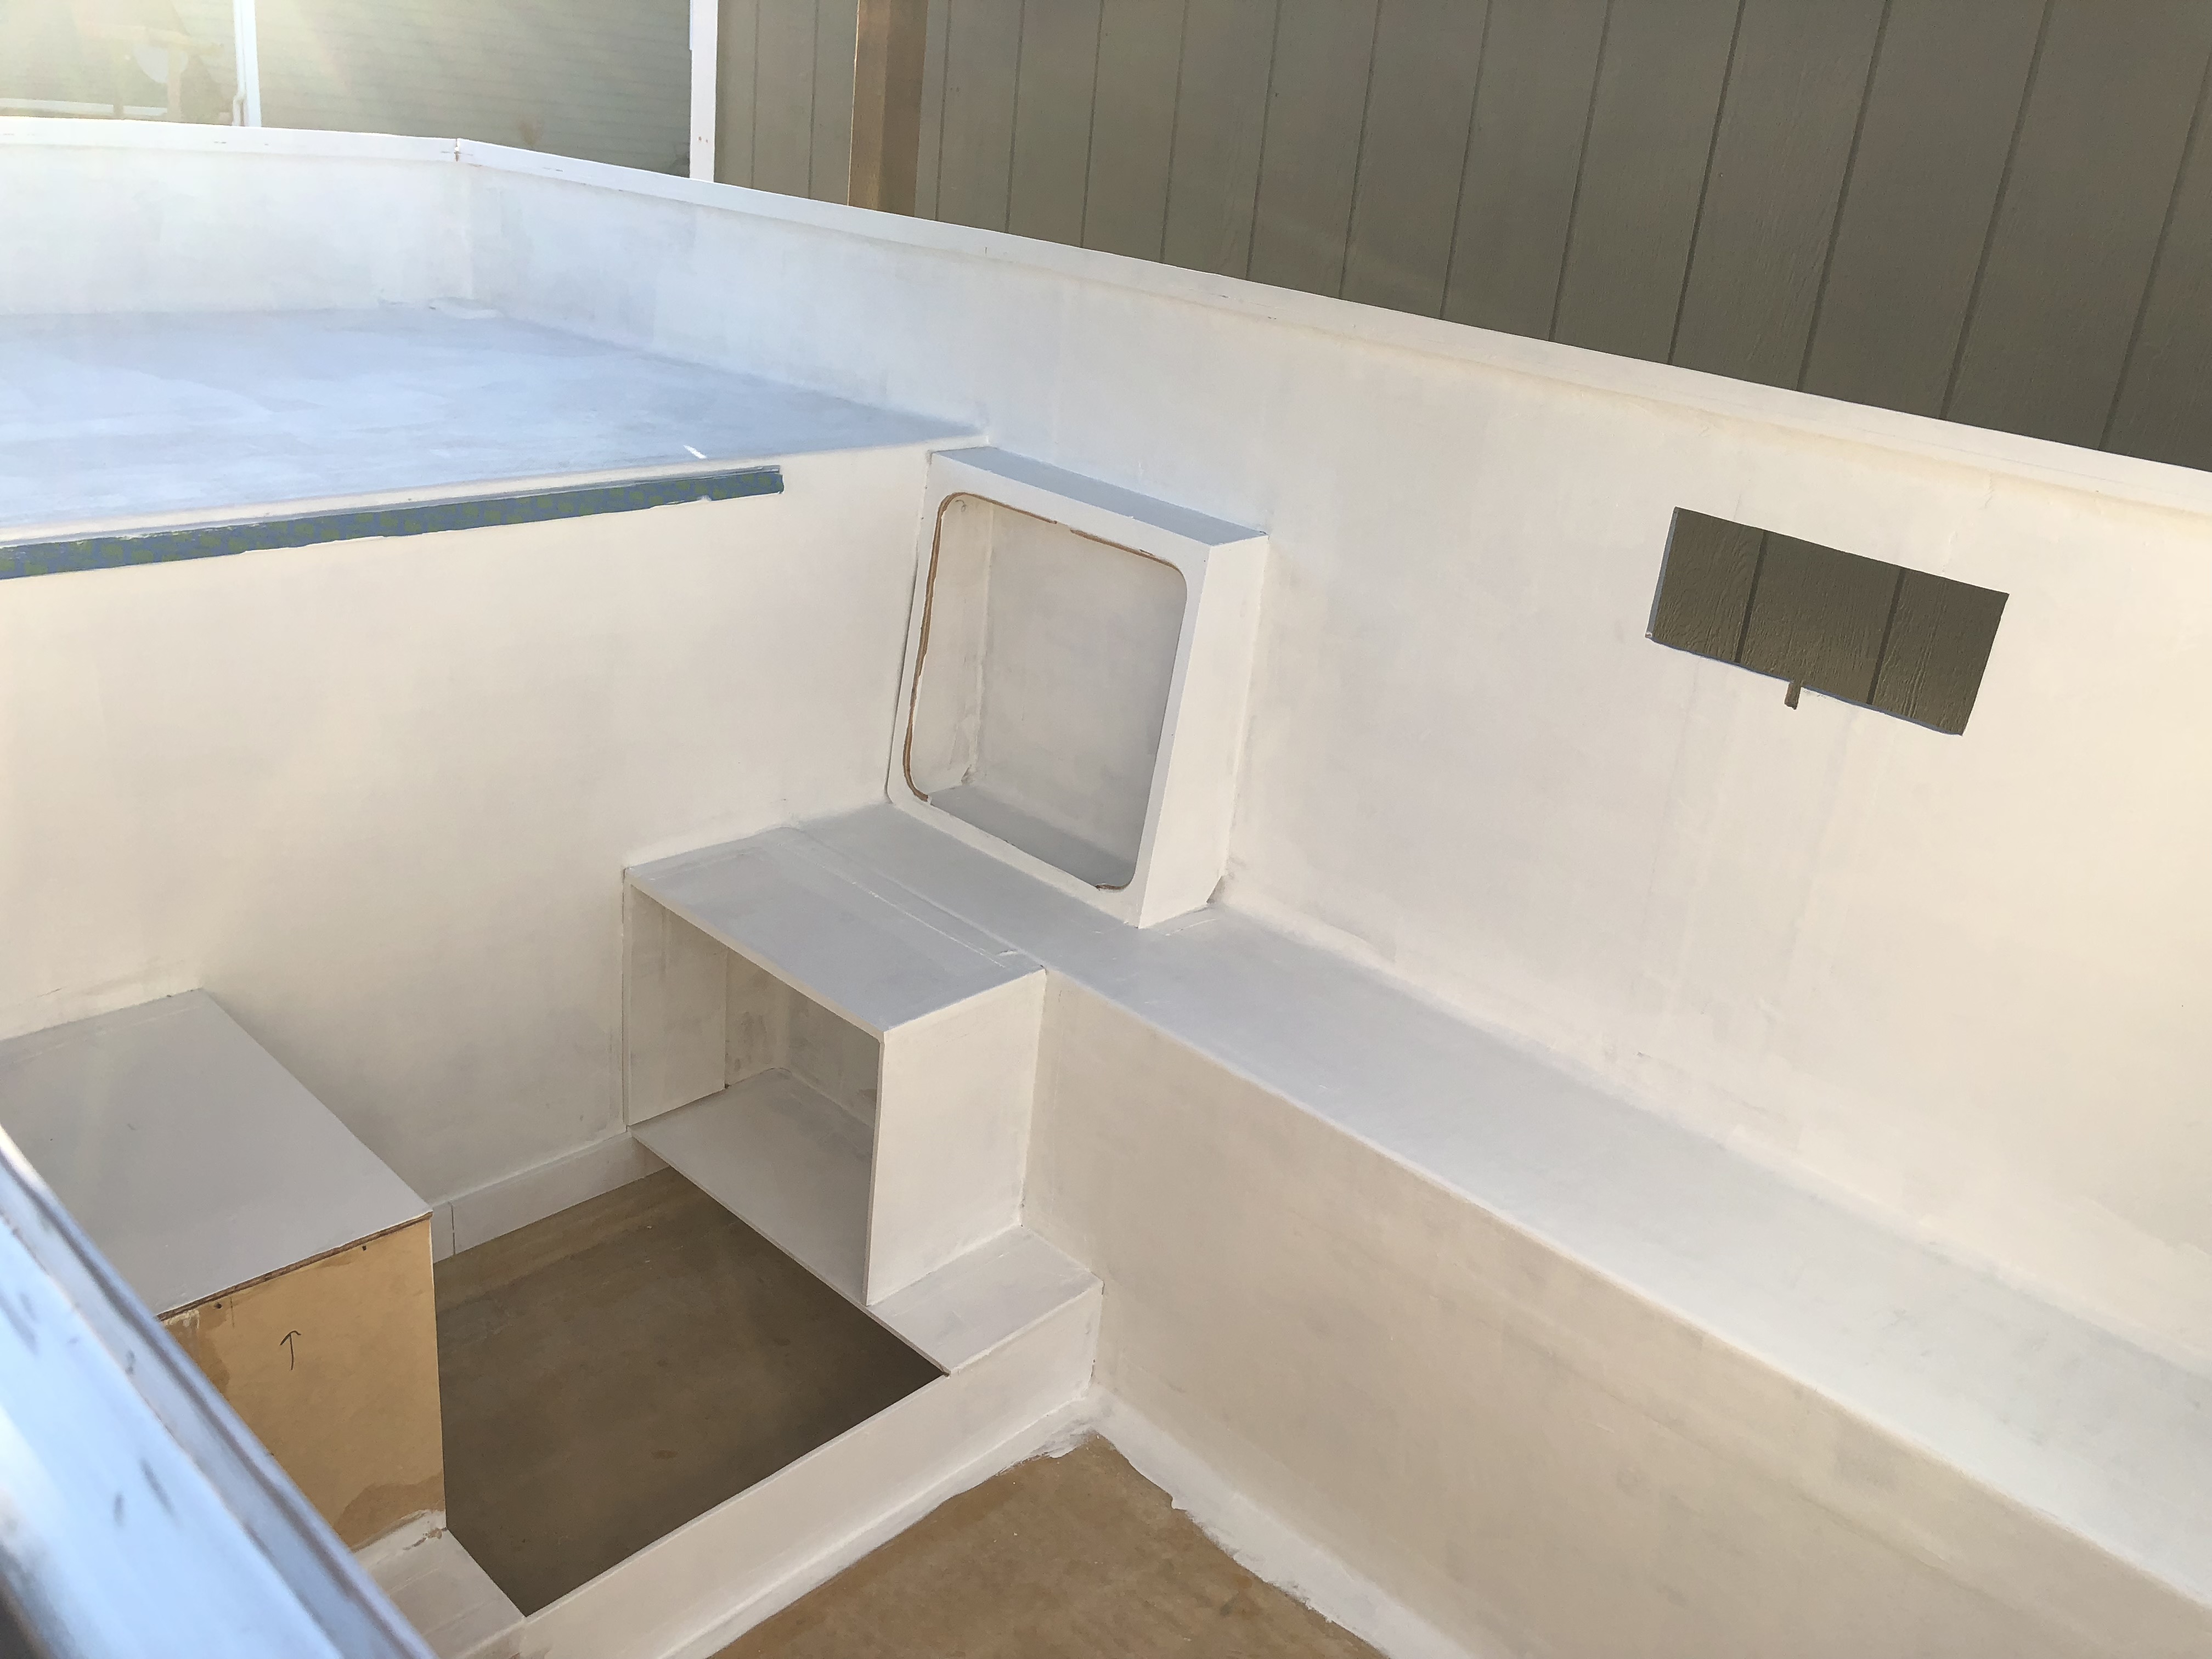
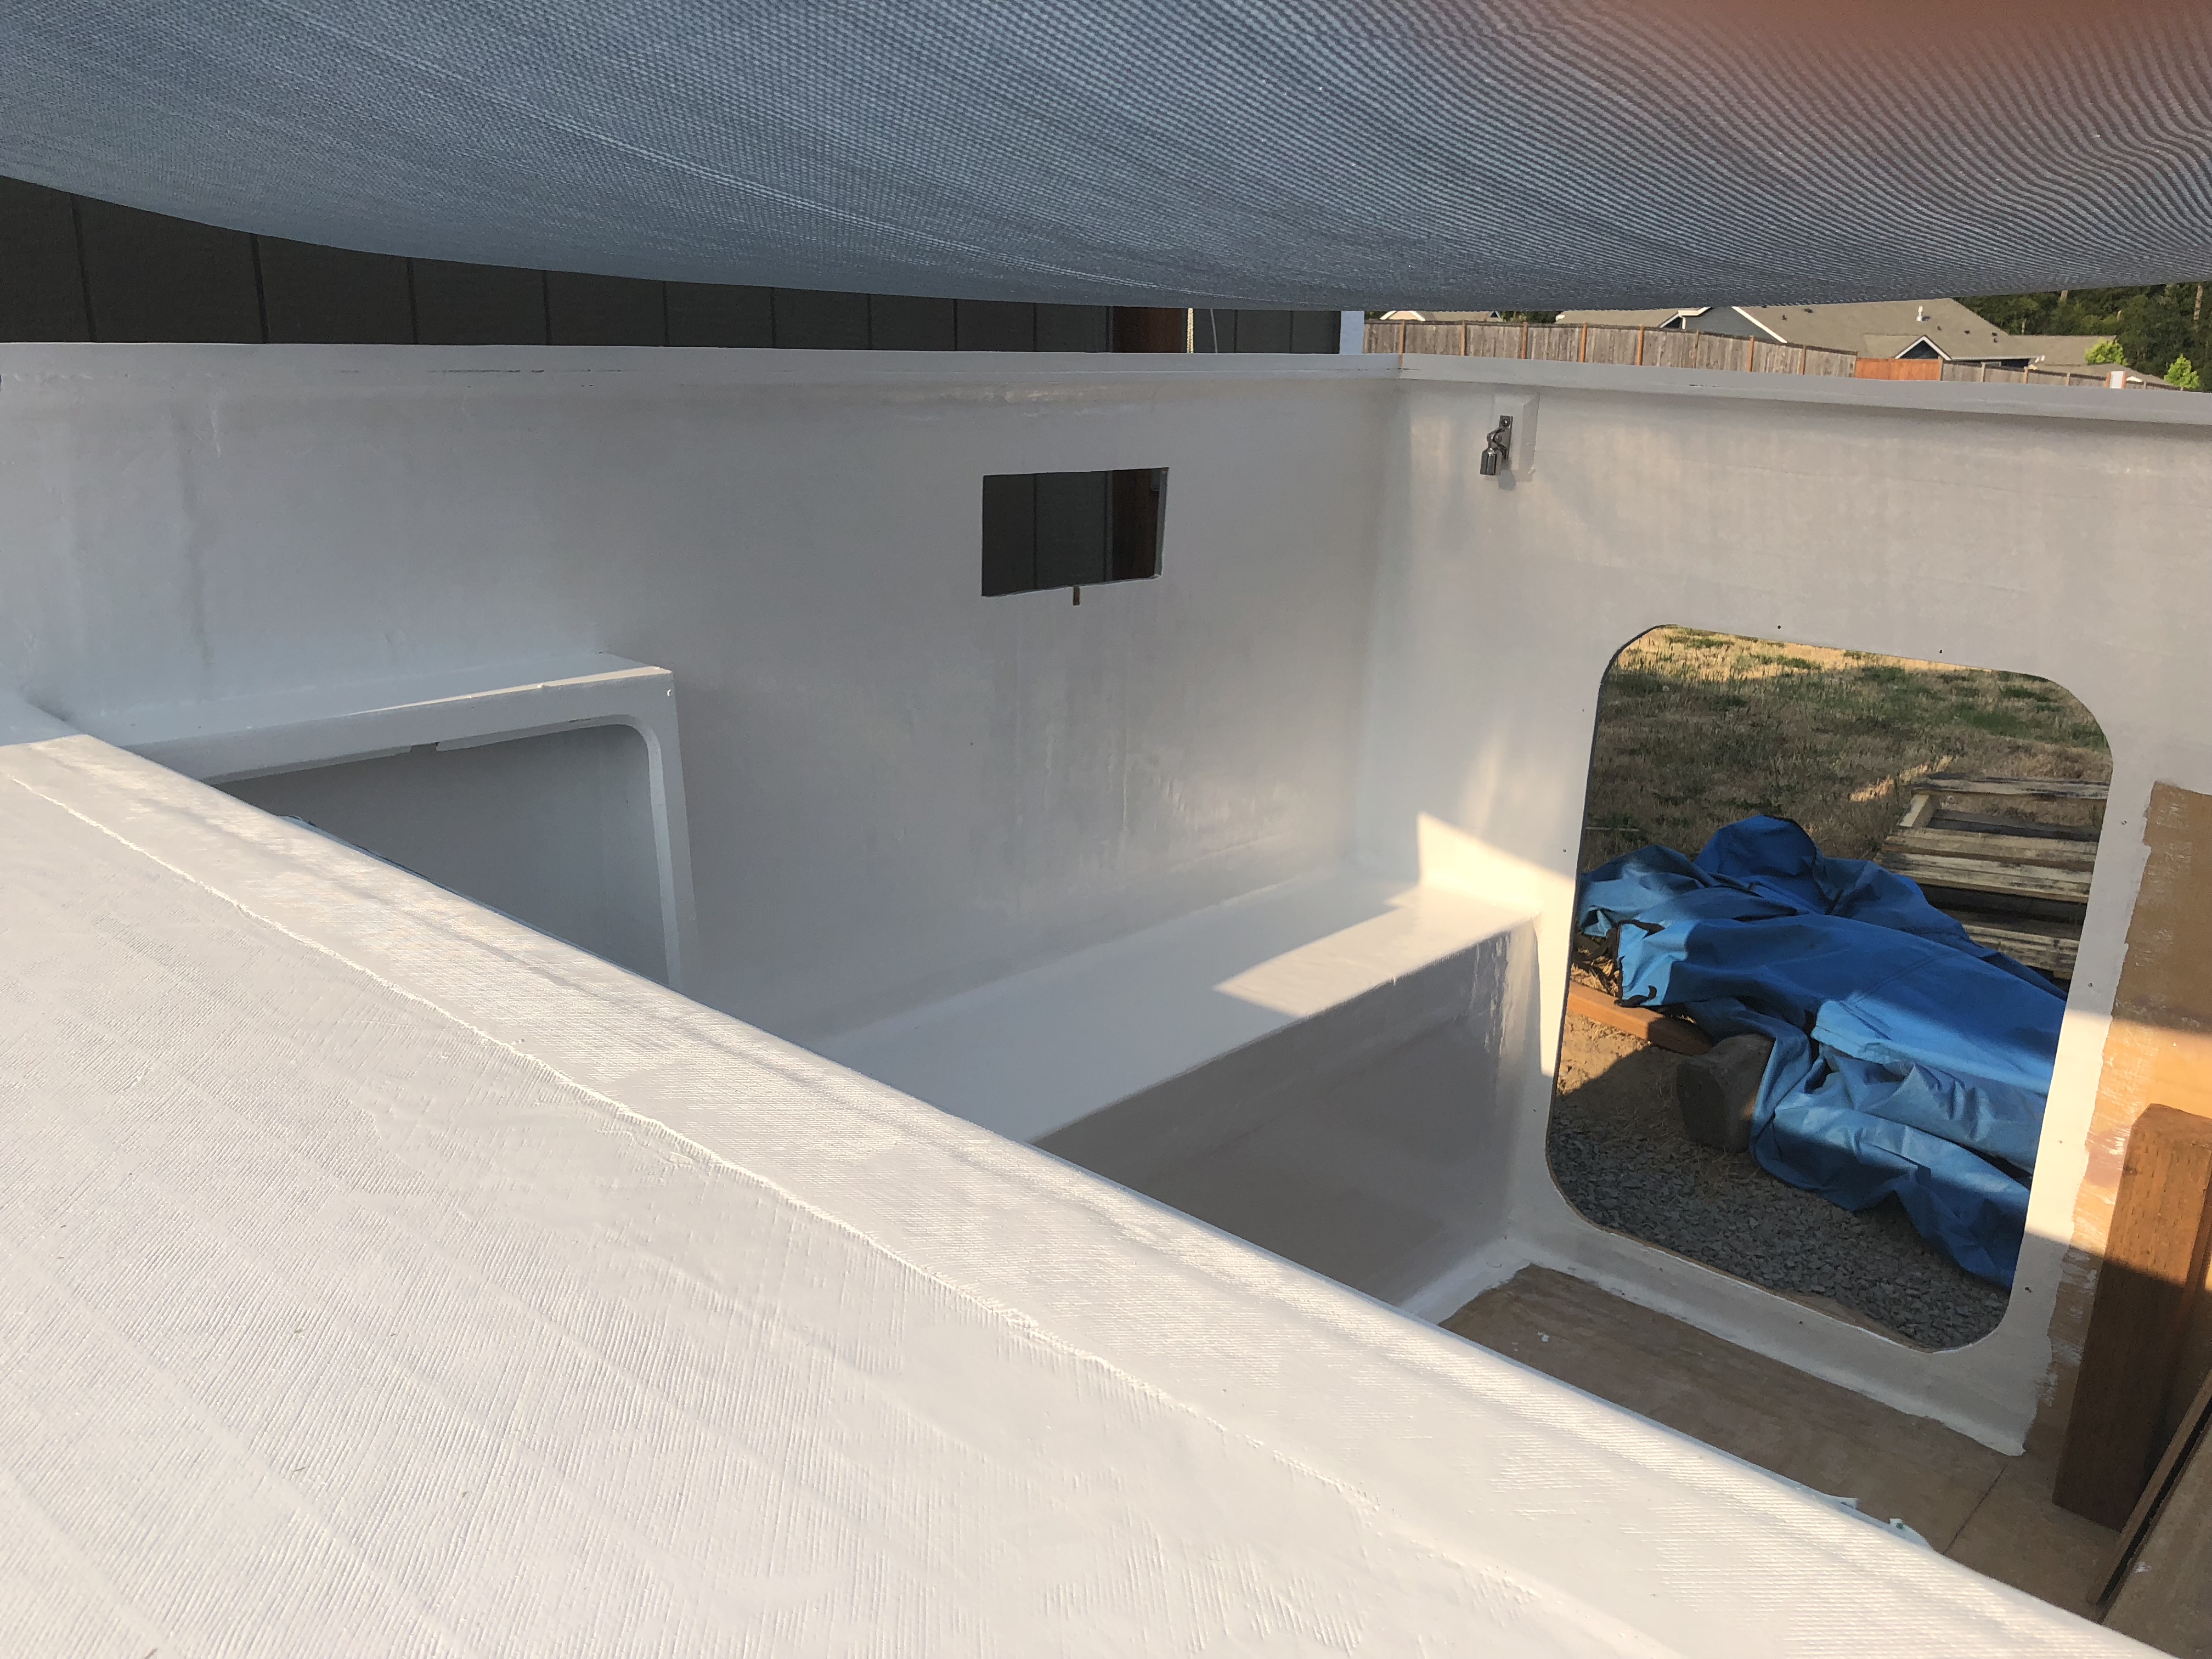
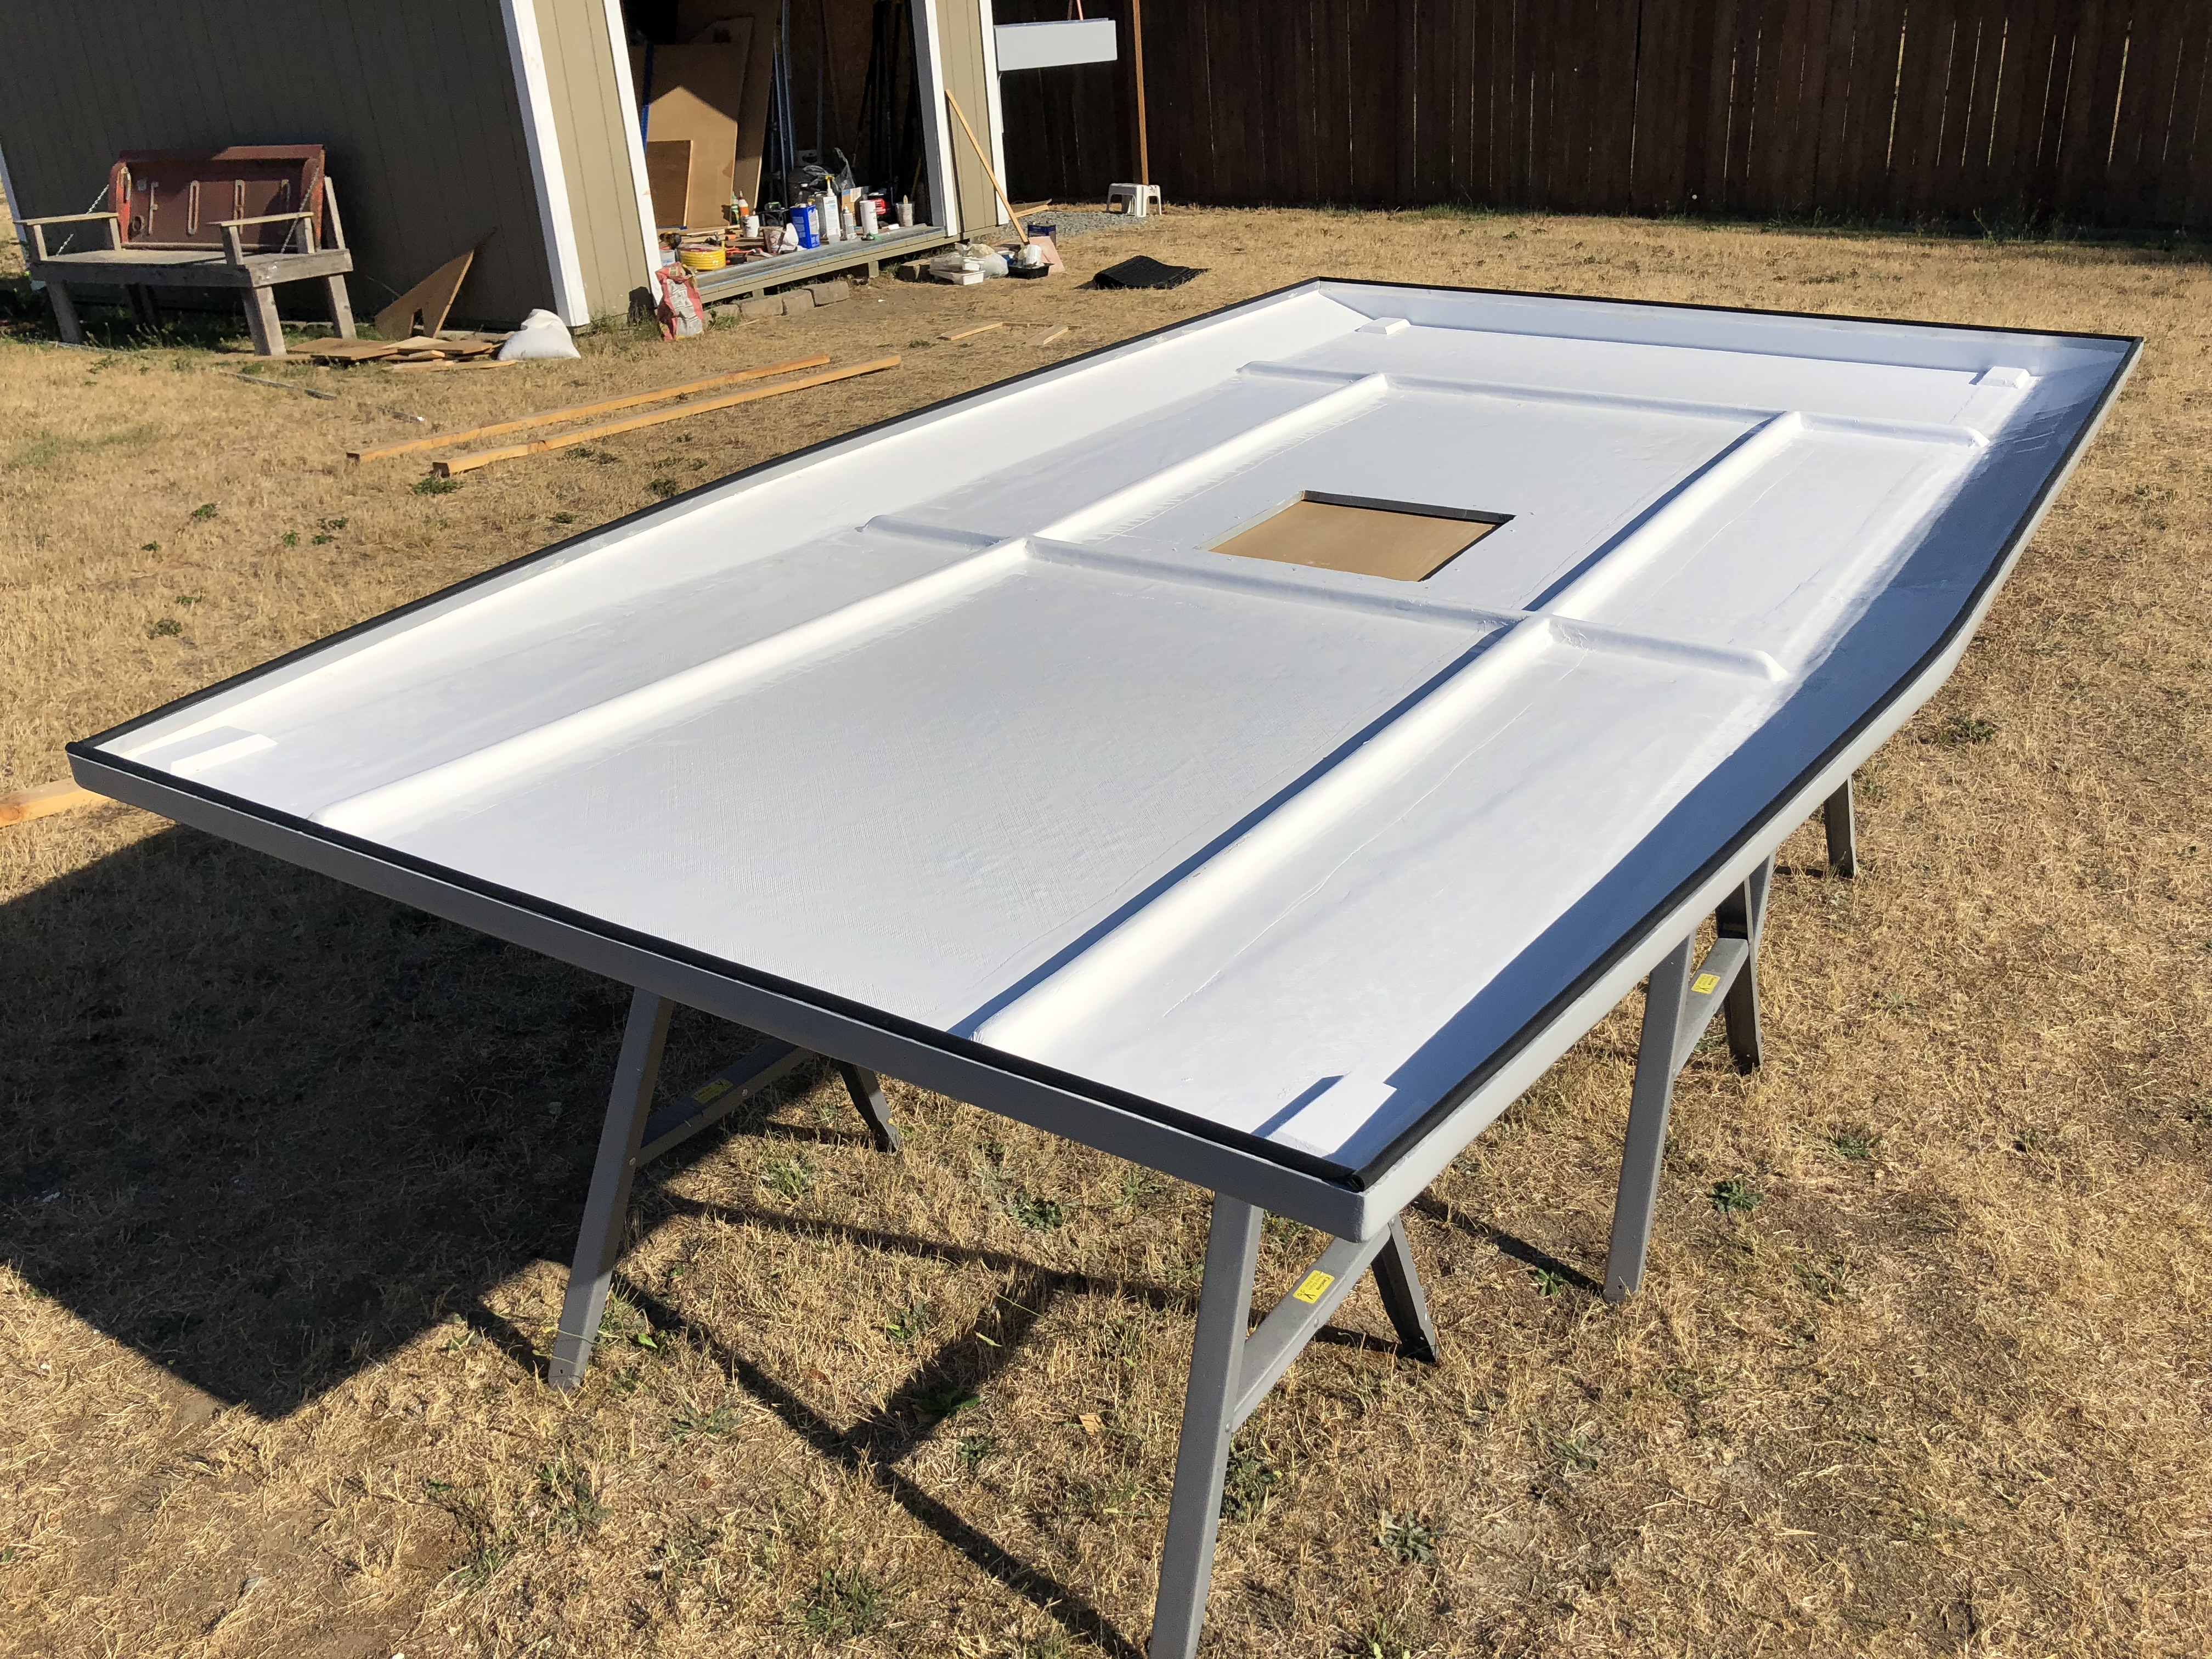
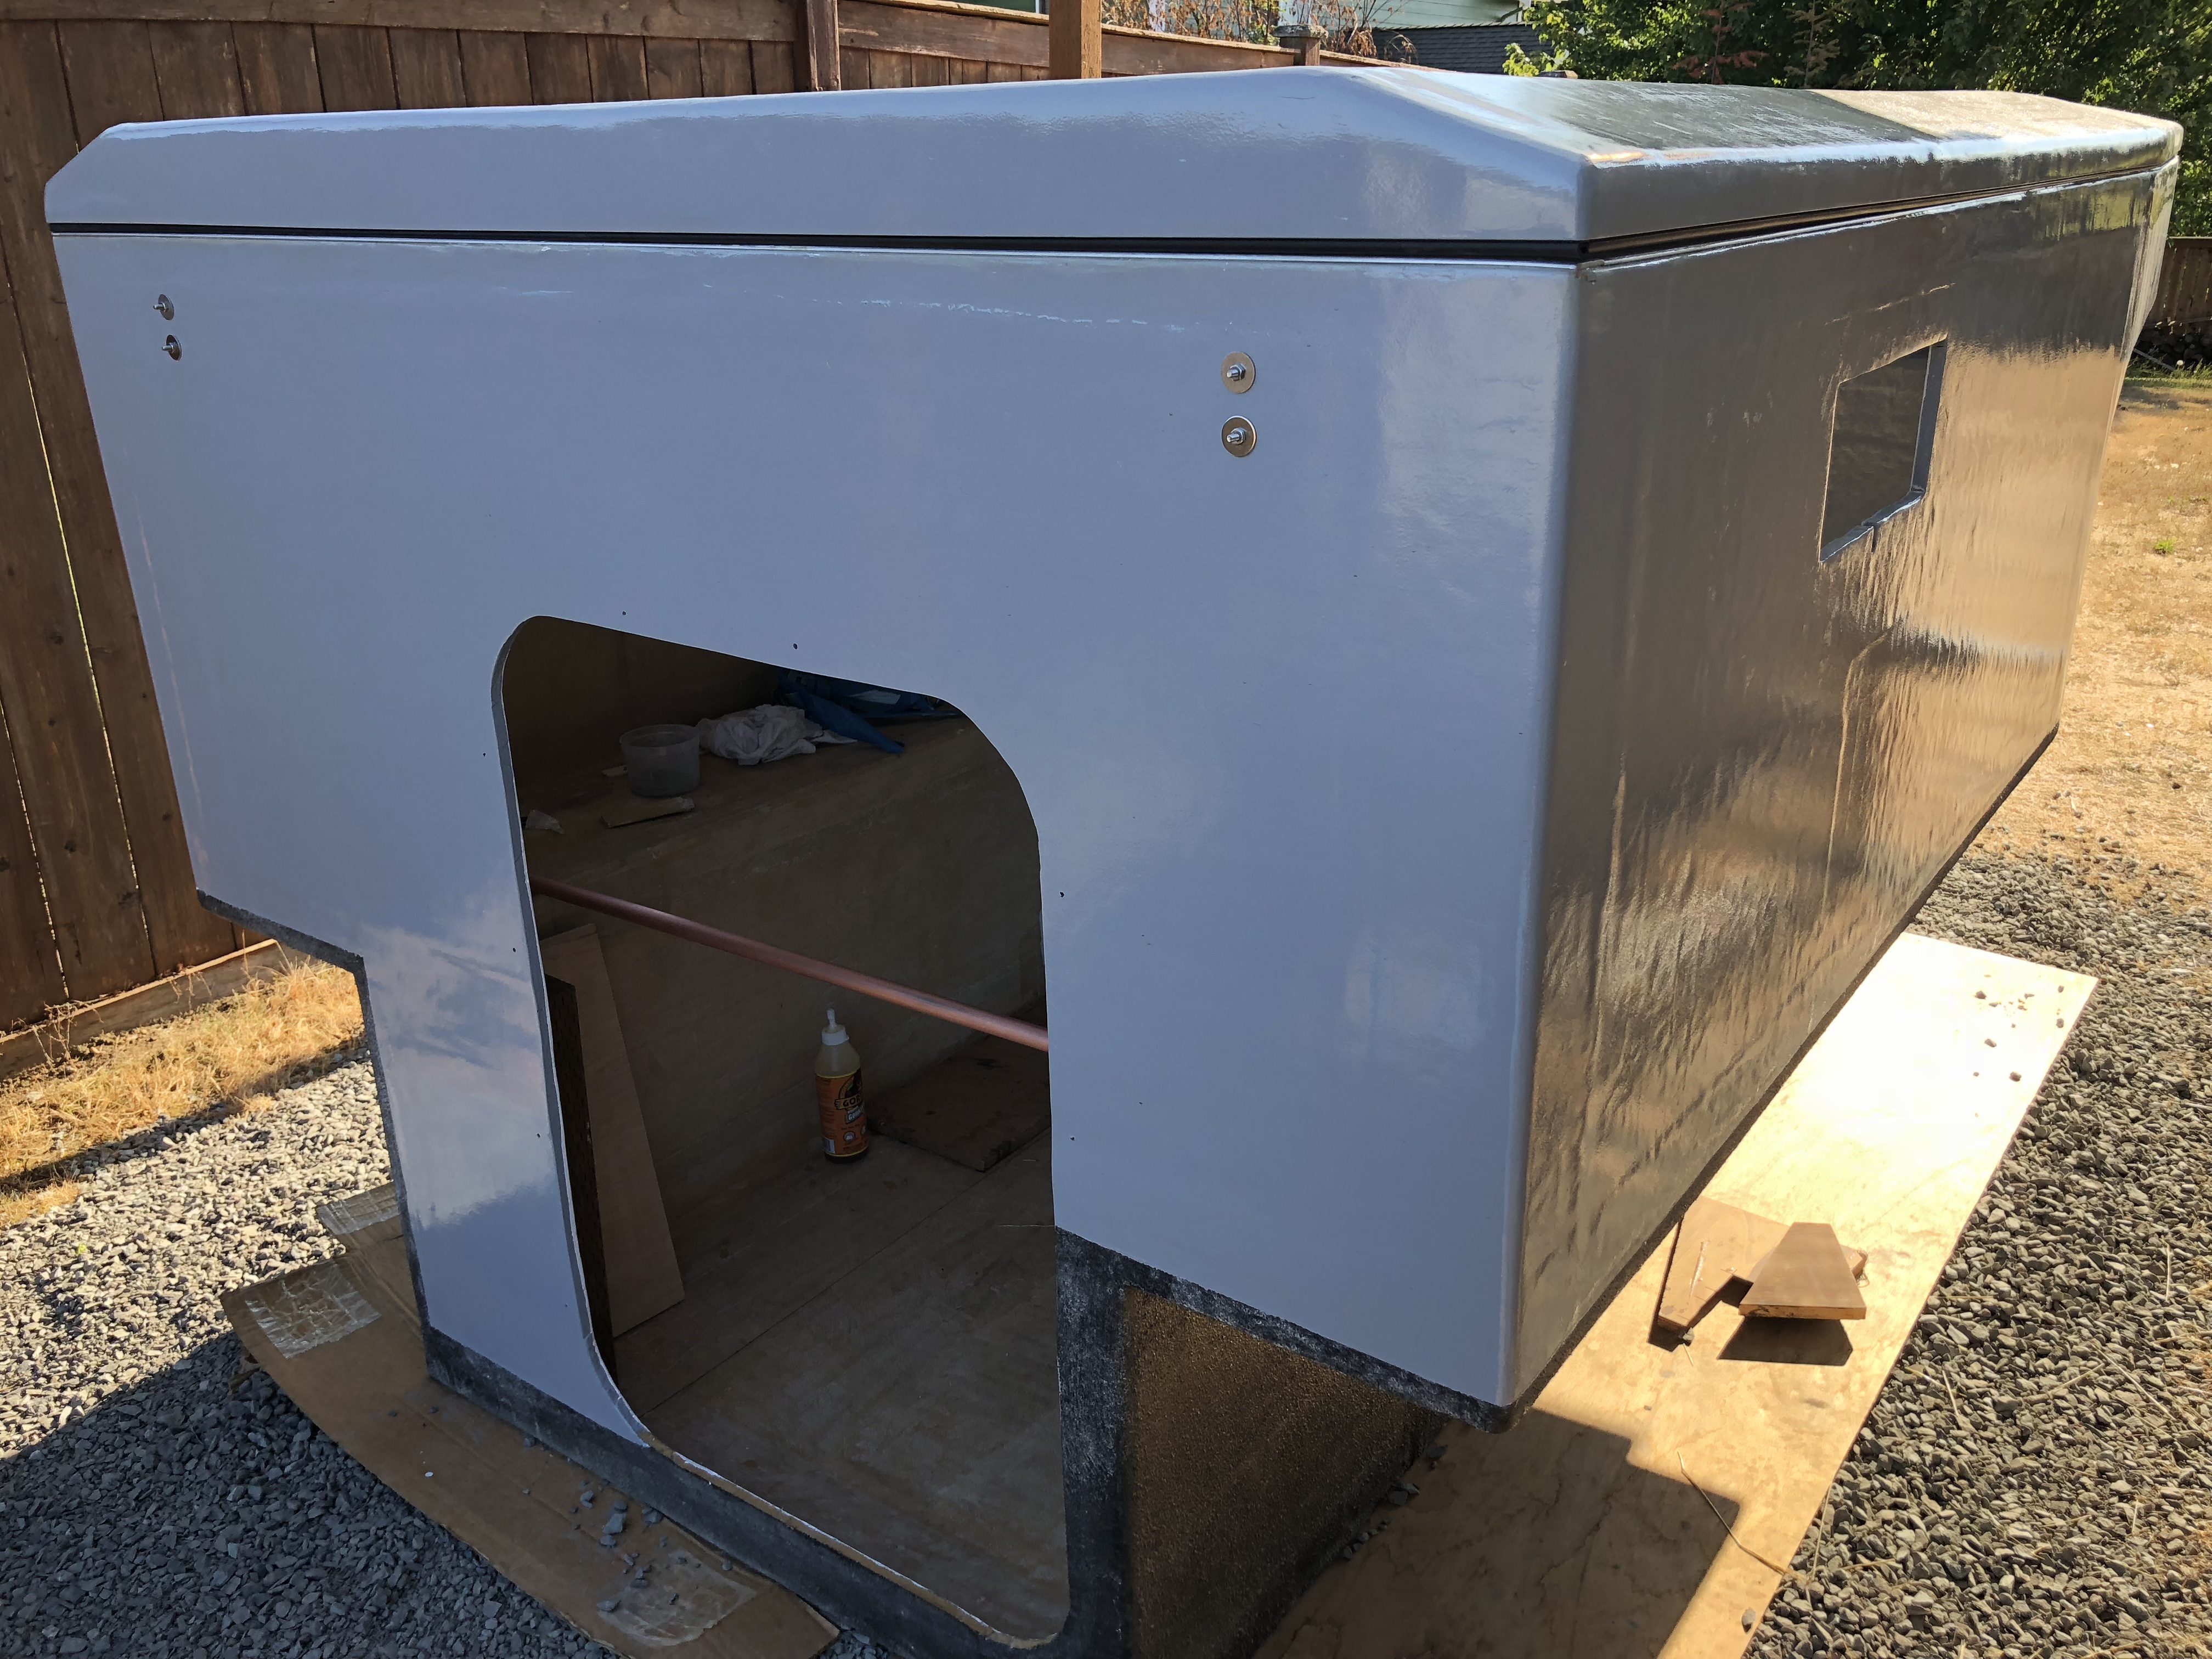
One side finished. Not that you can tell because it's clear!
IMG_0056.jpg

Everything in the picture is now permanent!
IMG_0057.jpg

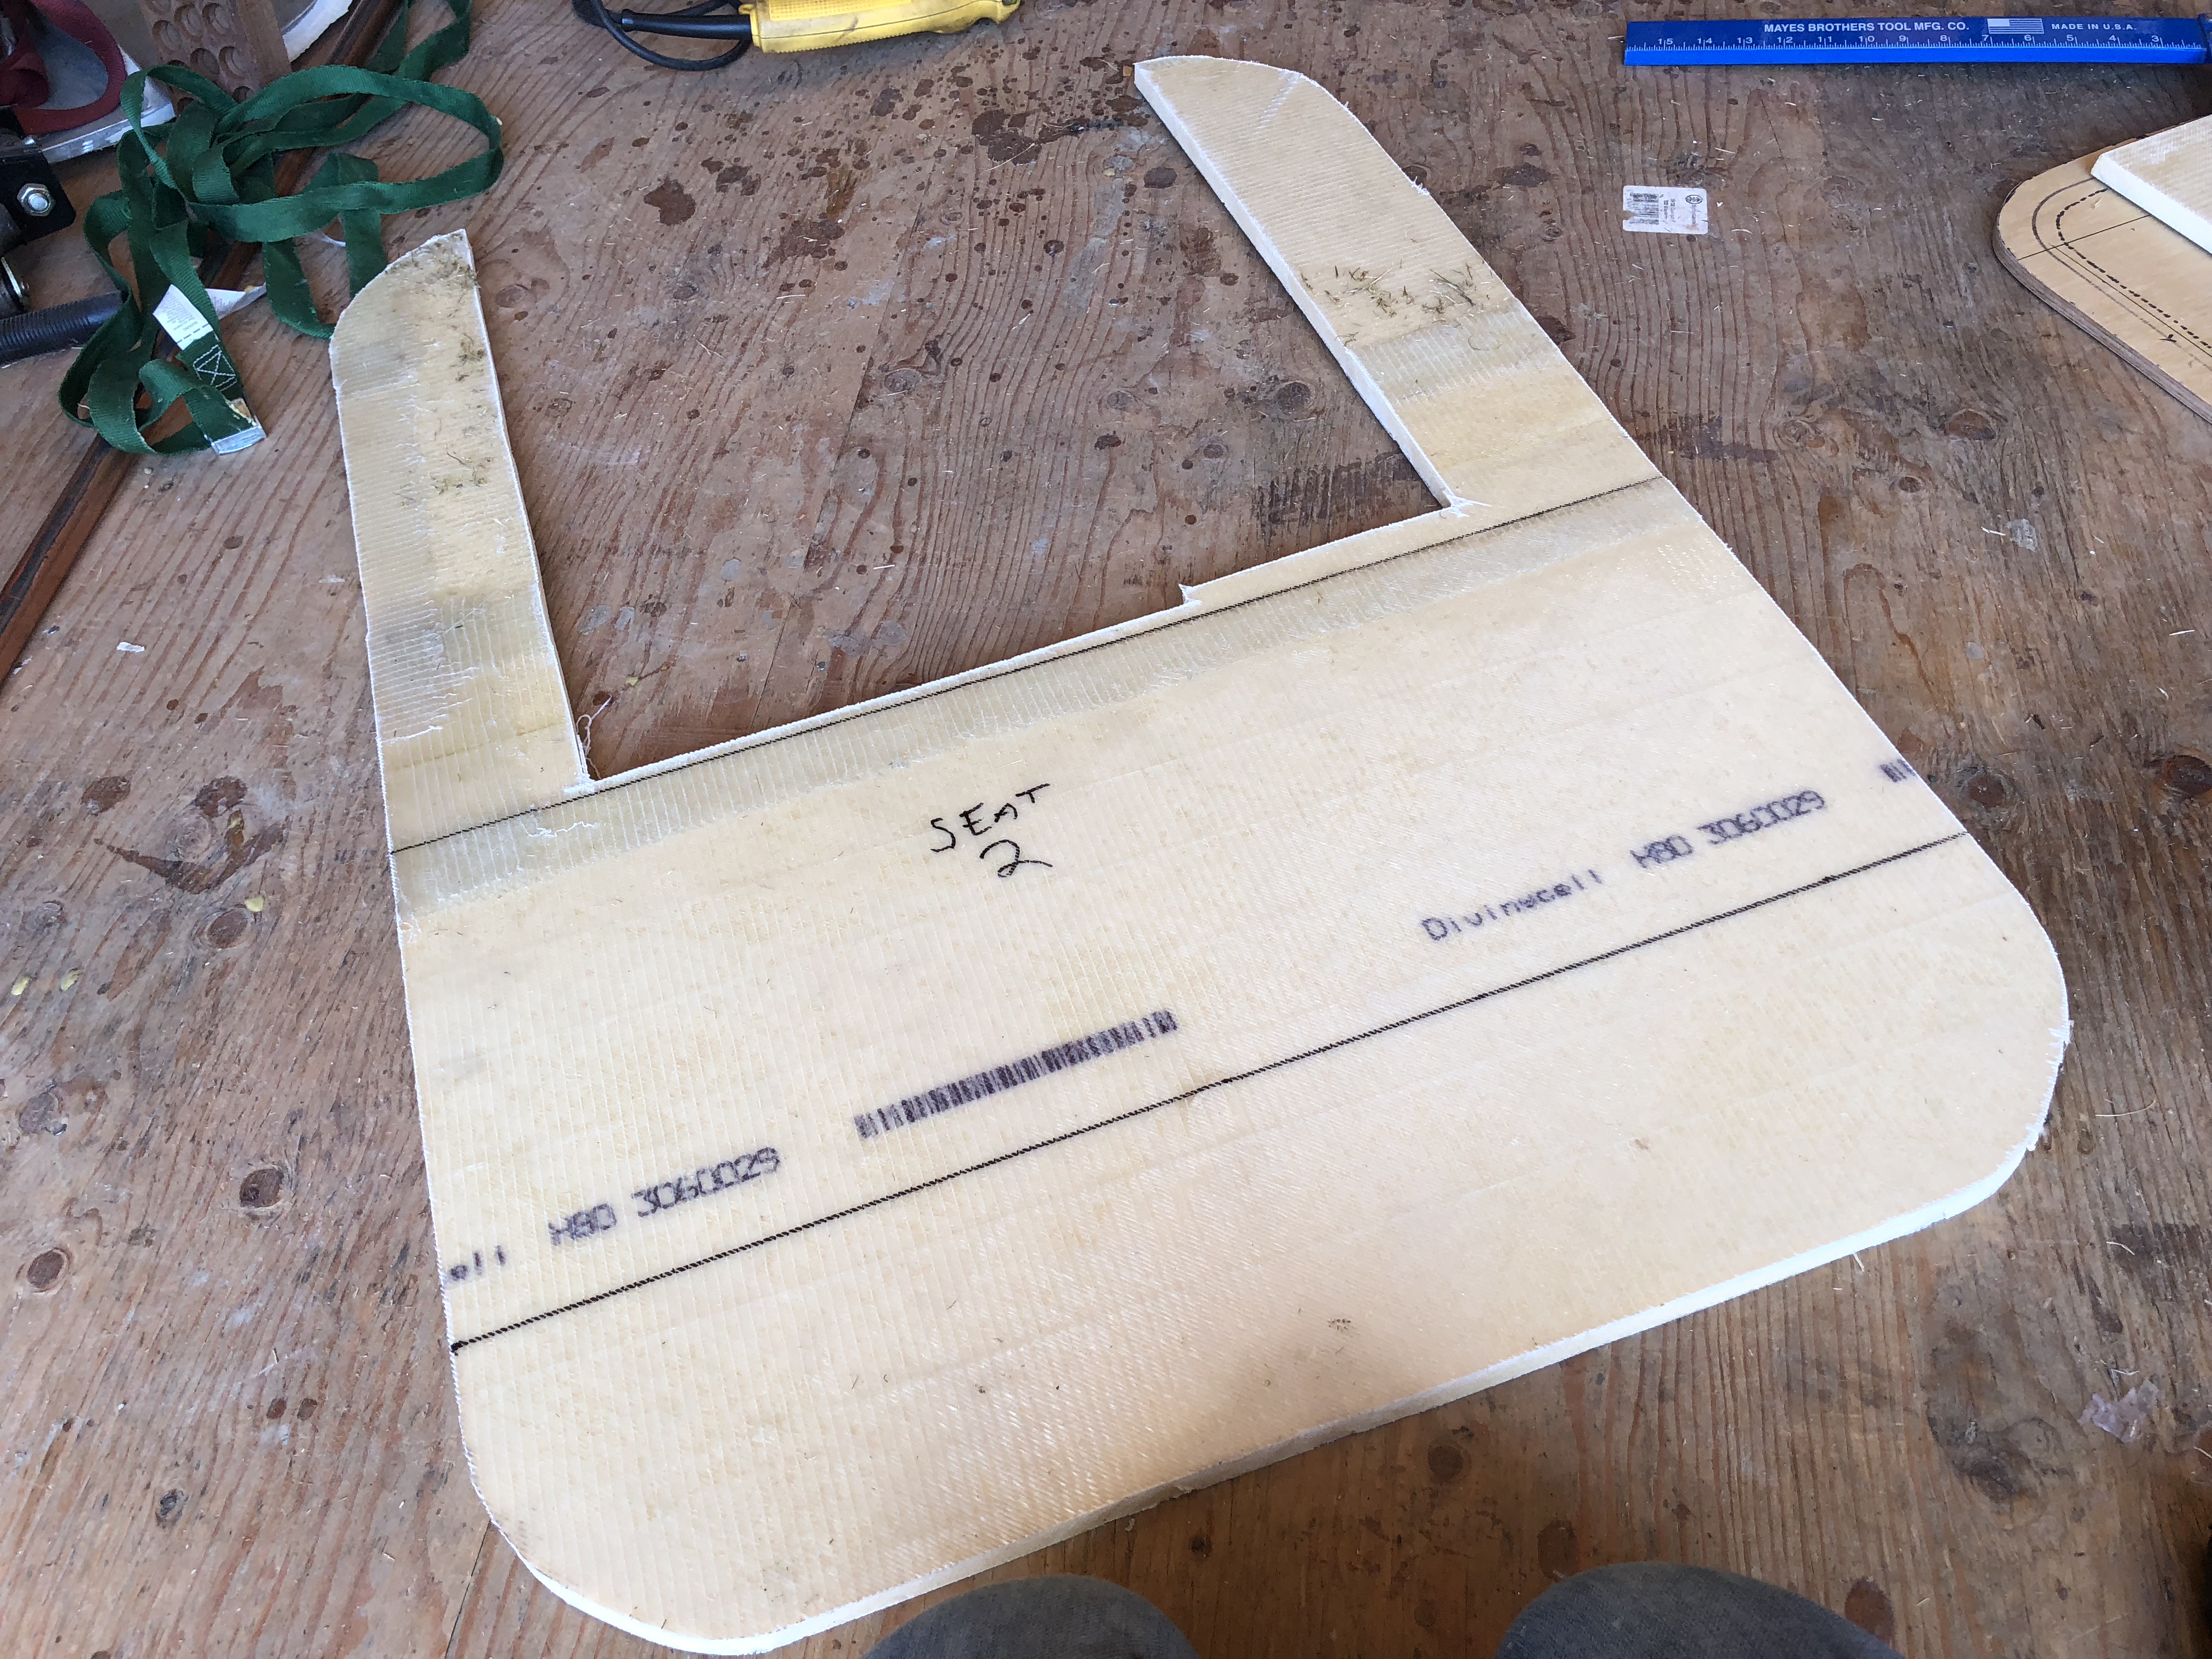
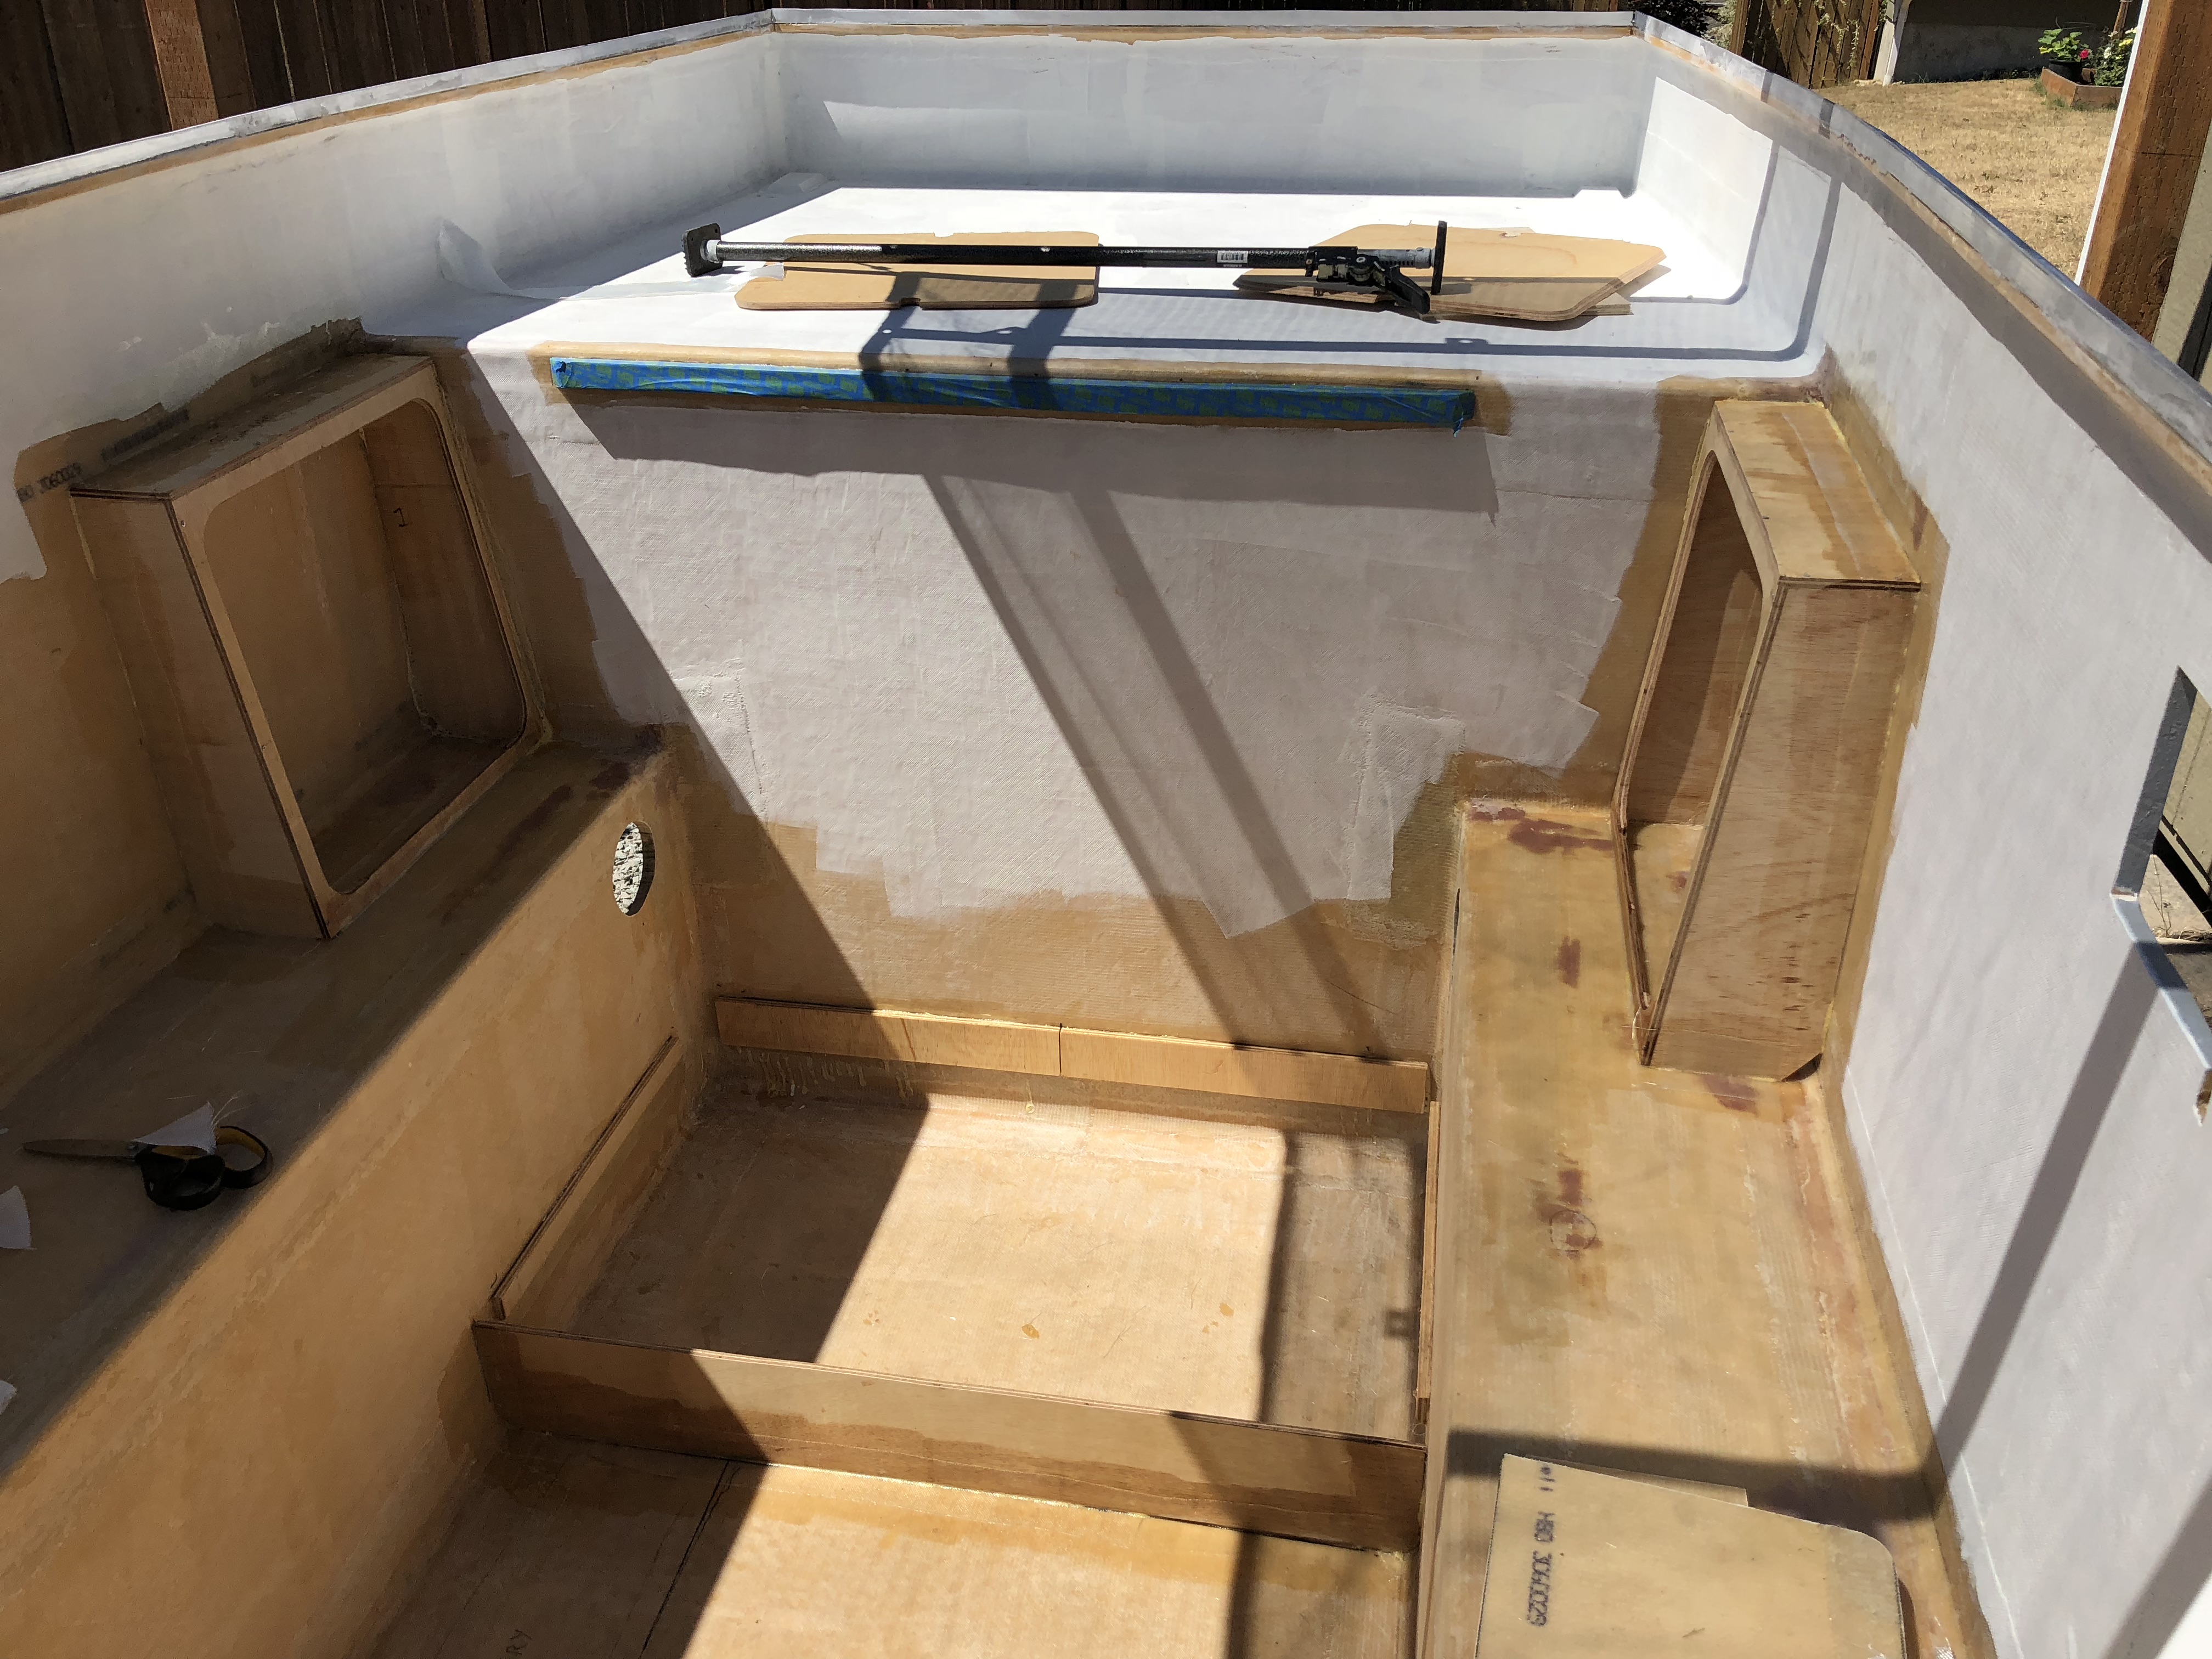
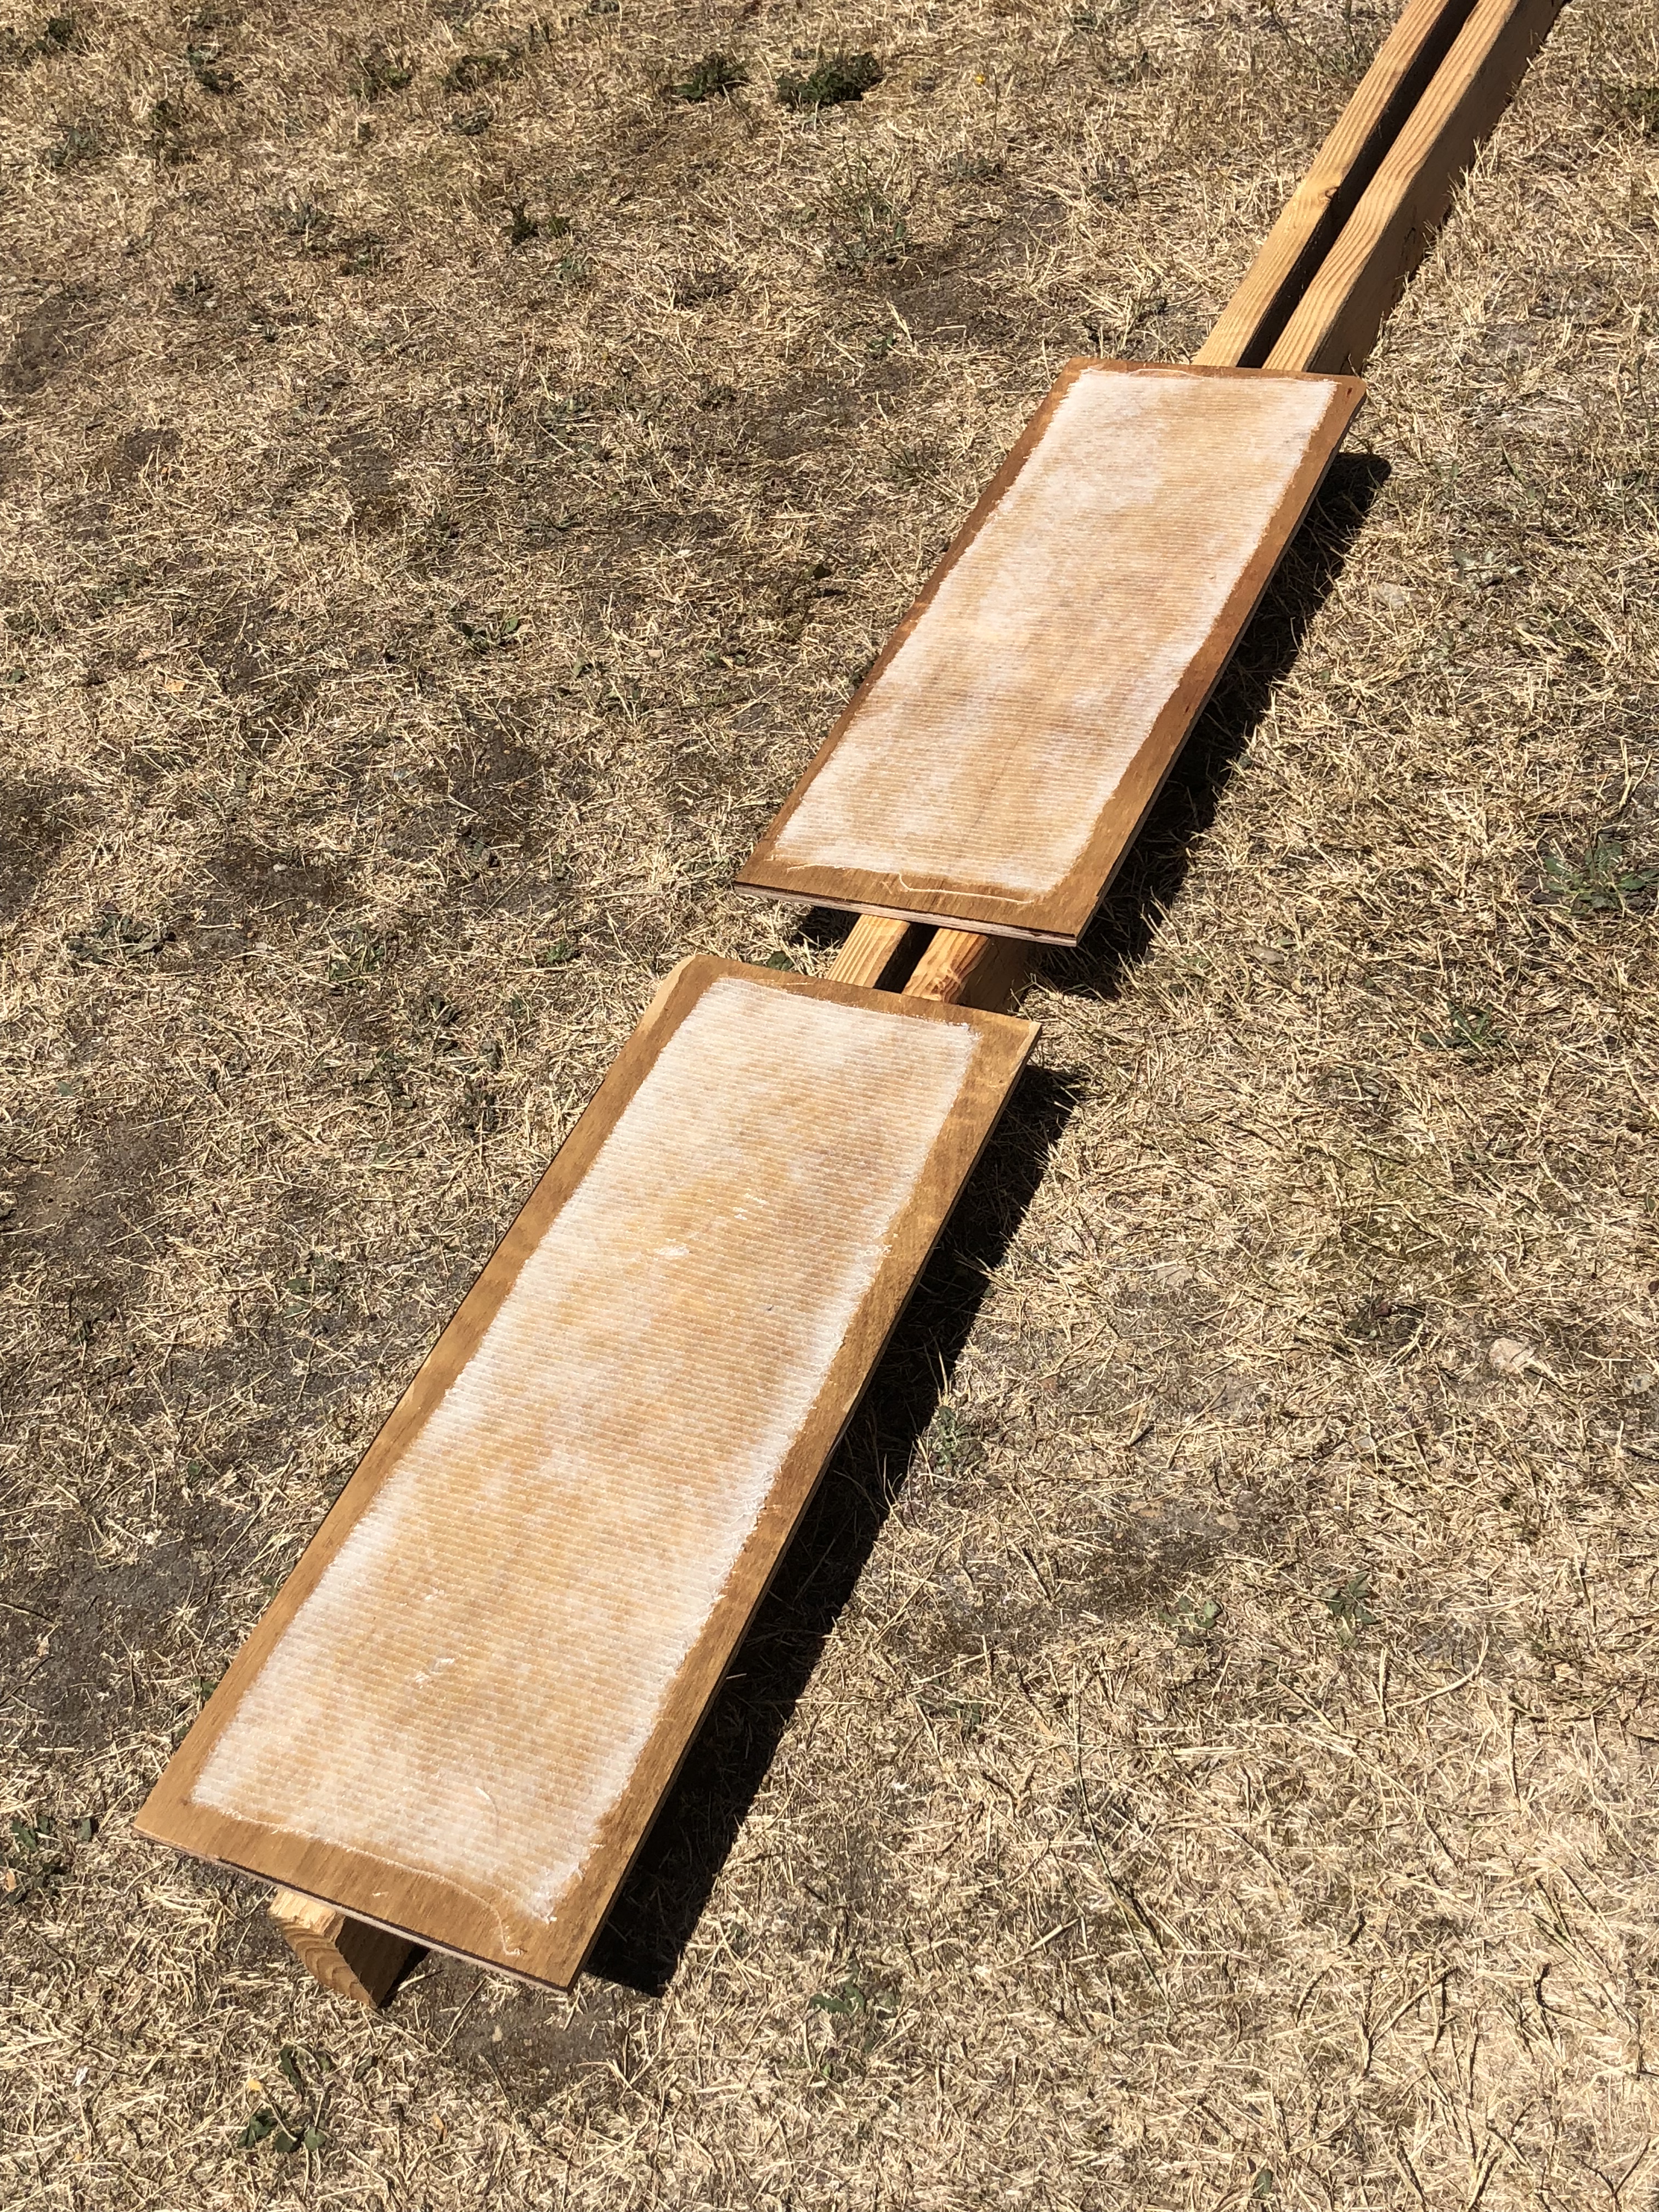
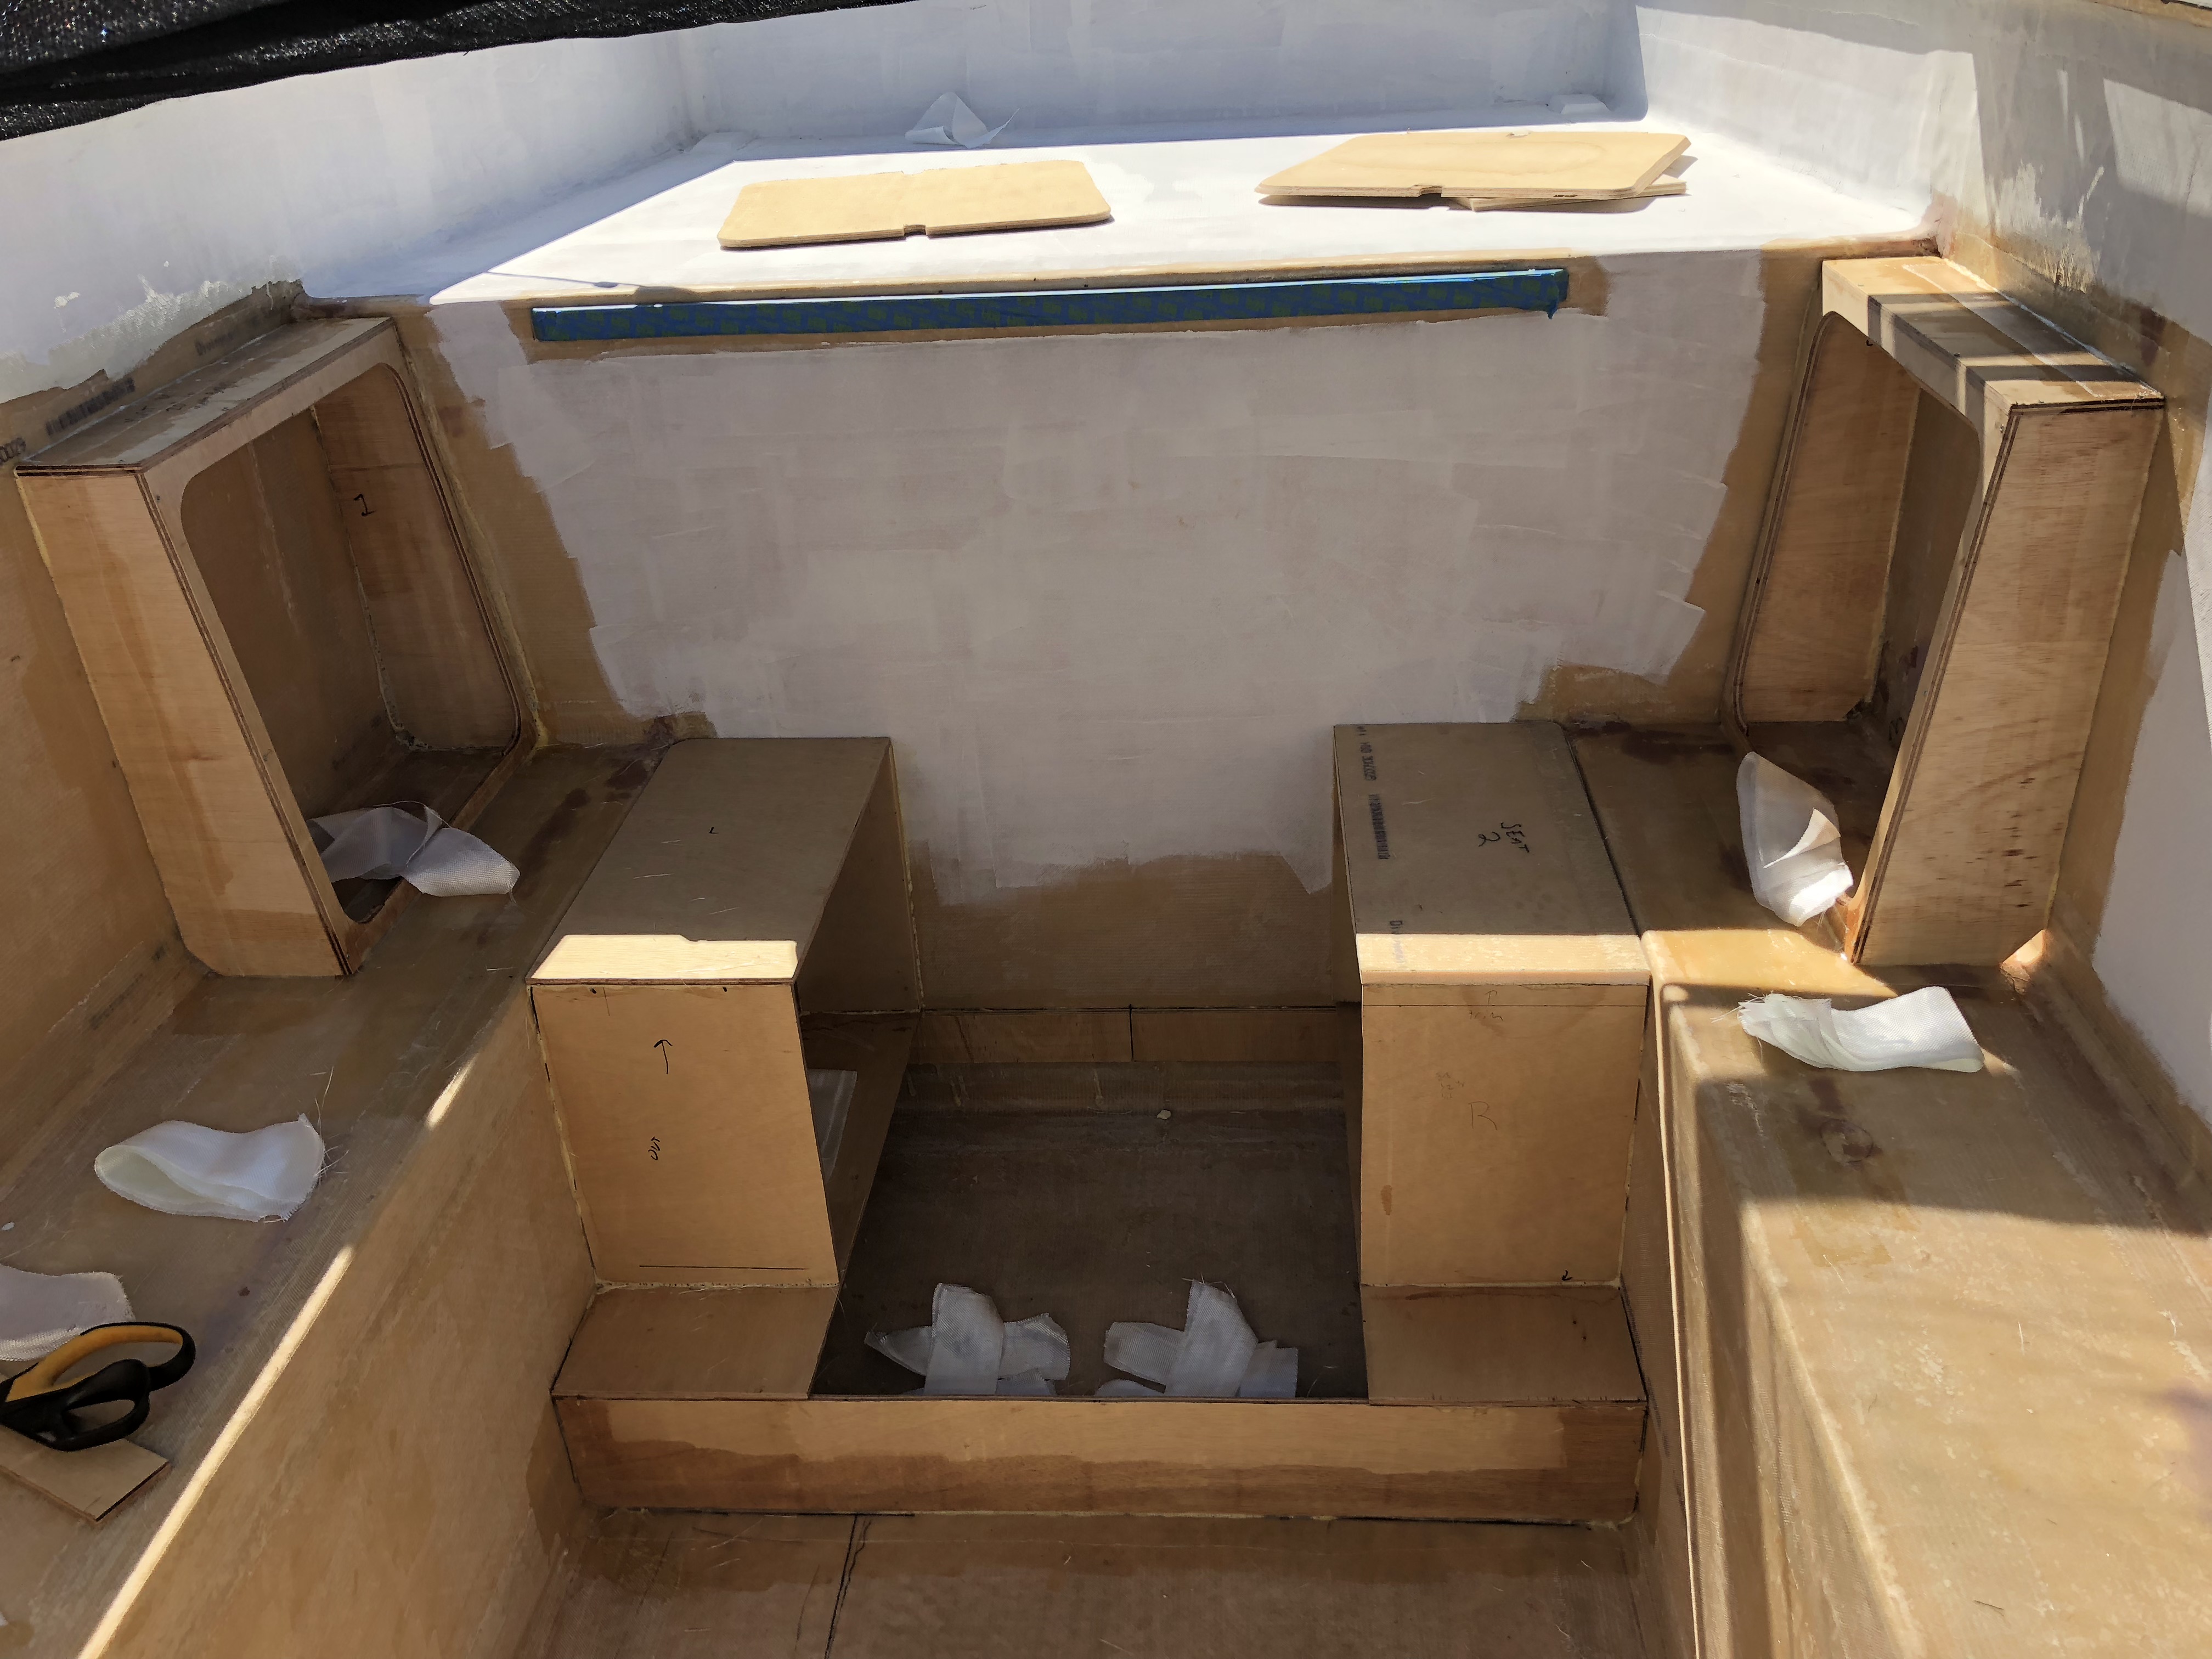
The side pieces under the seats that make up part of the floor could have to hold some weight, so I added a layer of fiberglass to them just in case.
IMG_0058-1.jpg

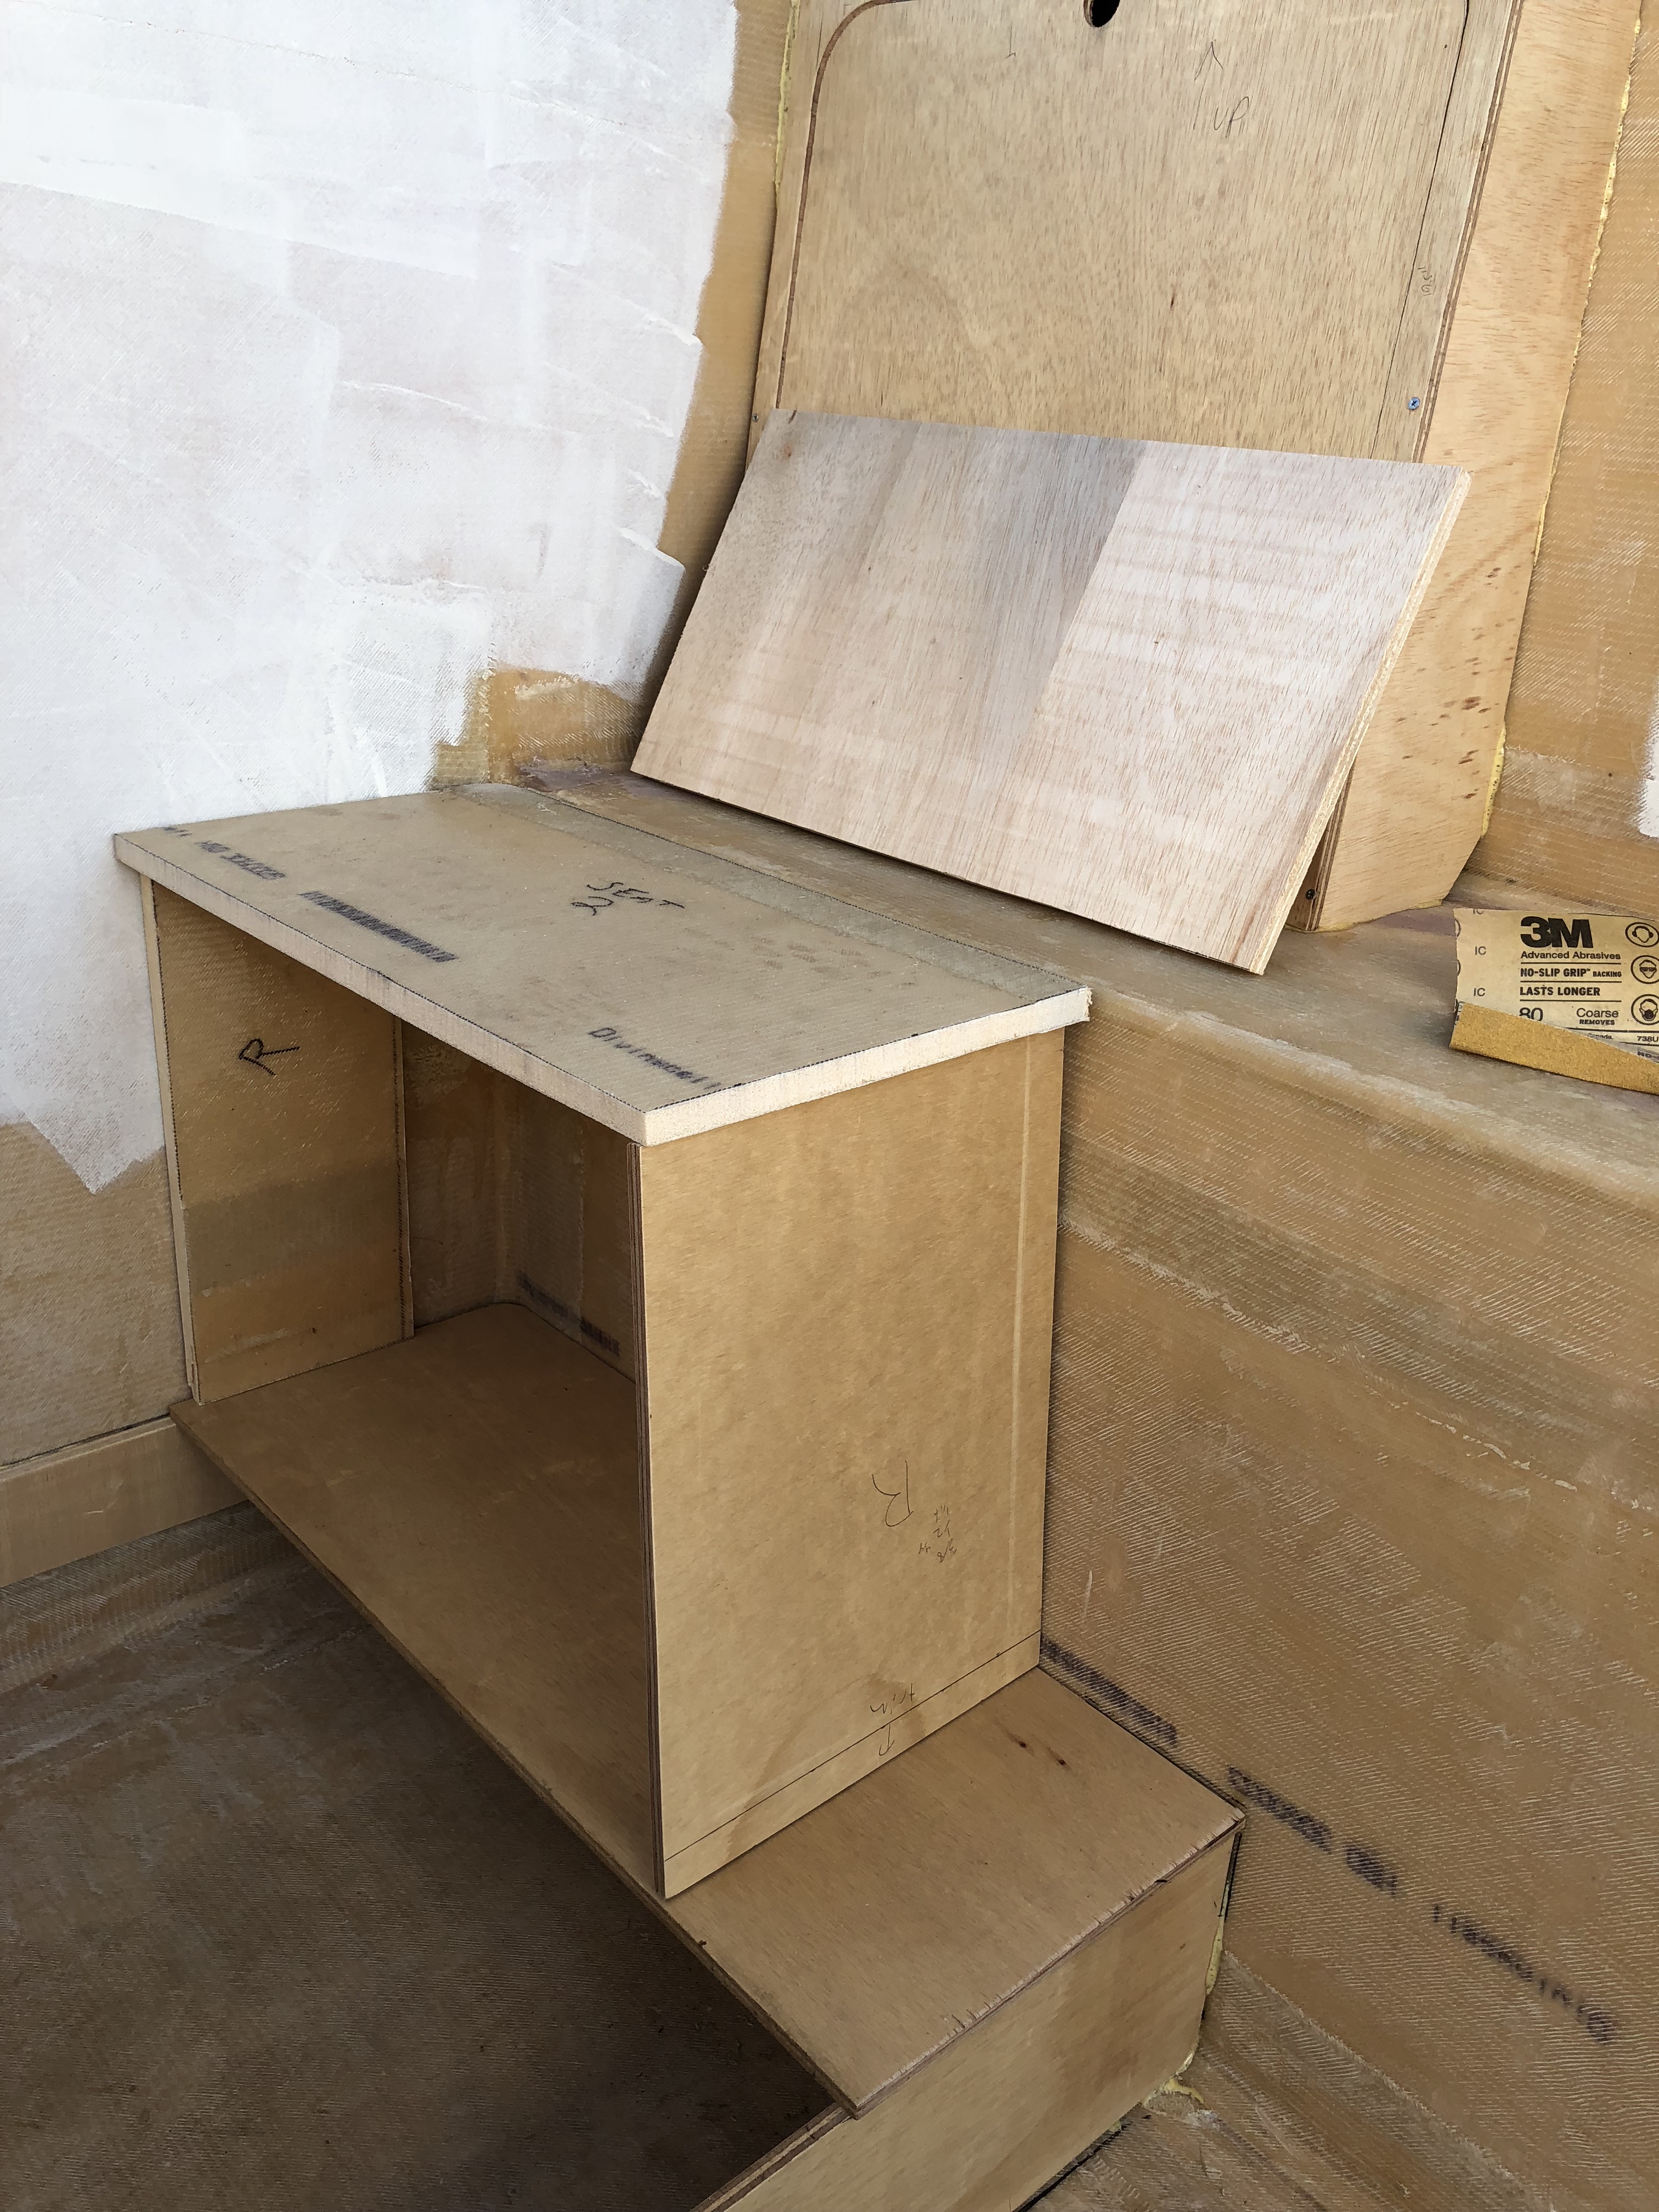
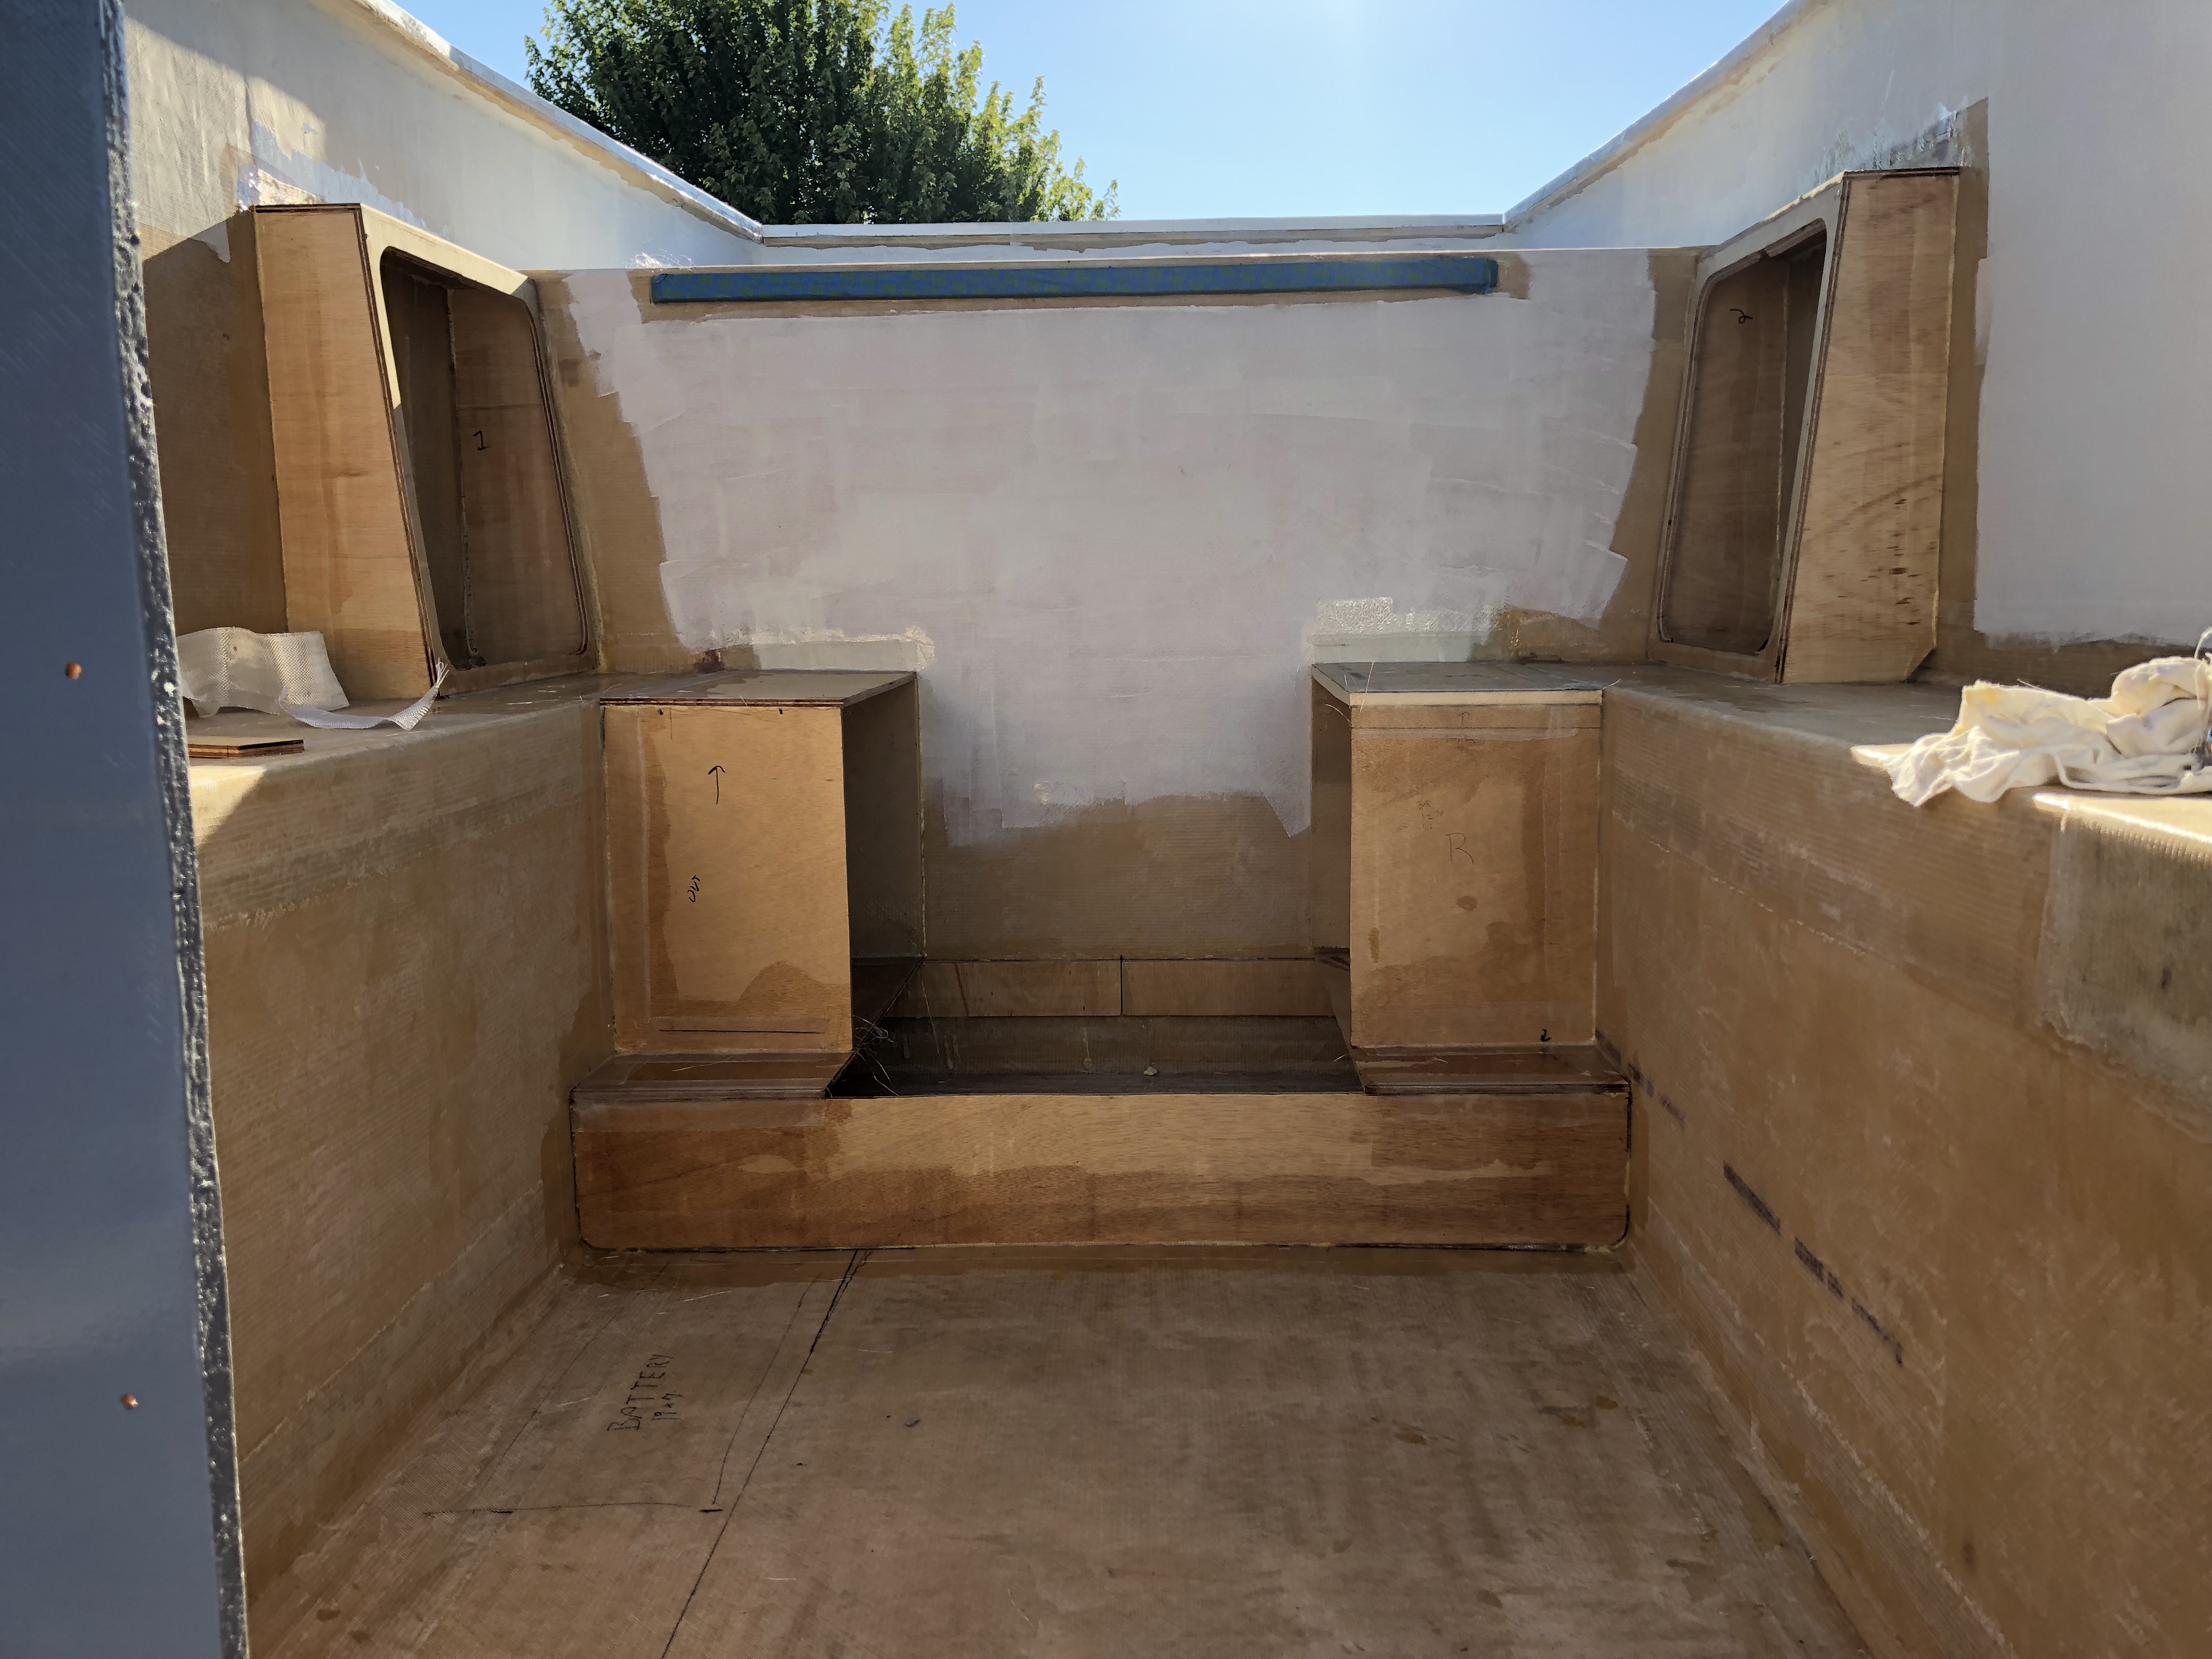
Now those get glued in!
IMG_0059.jpg

IMG_0060-1.jpg

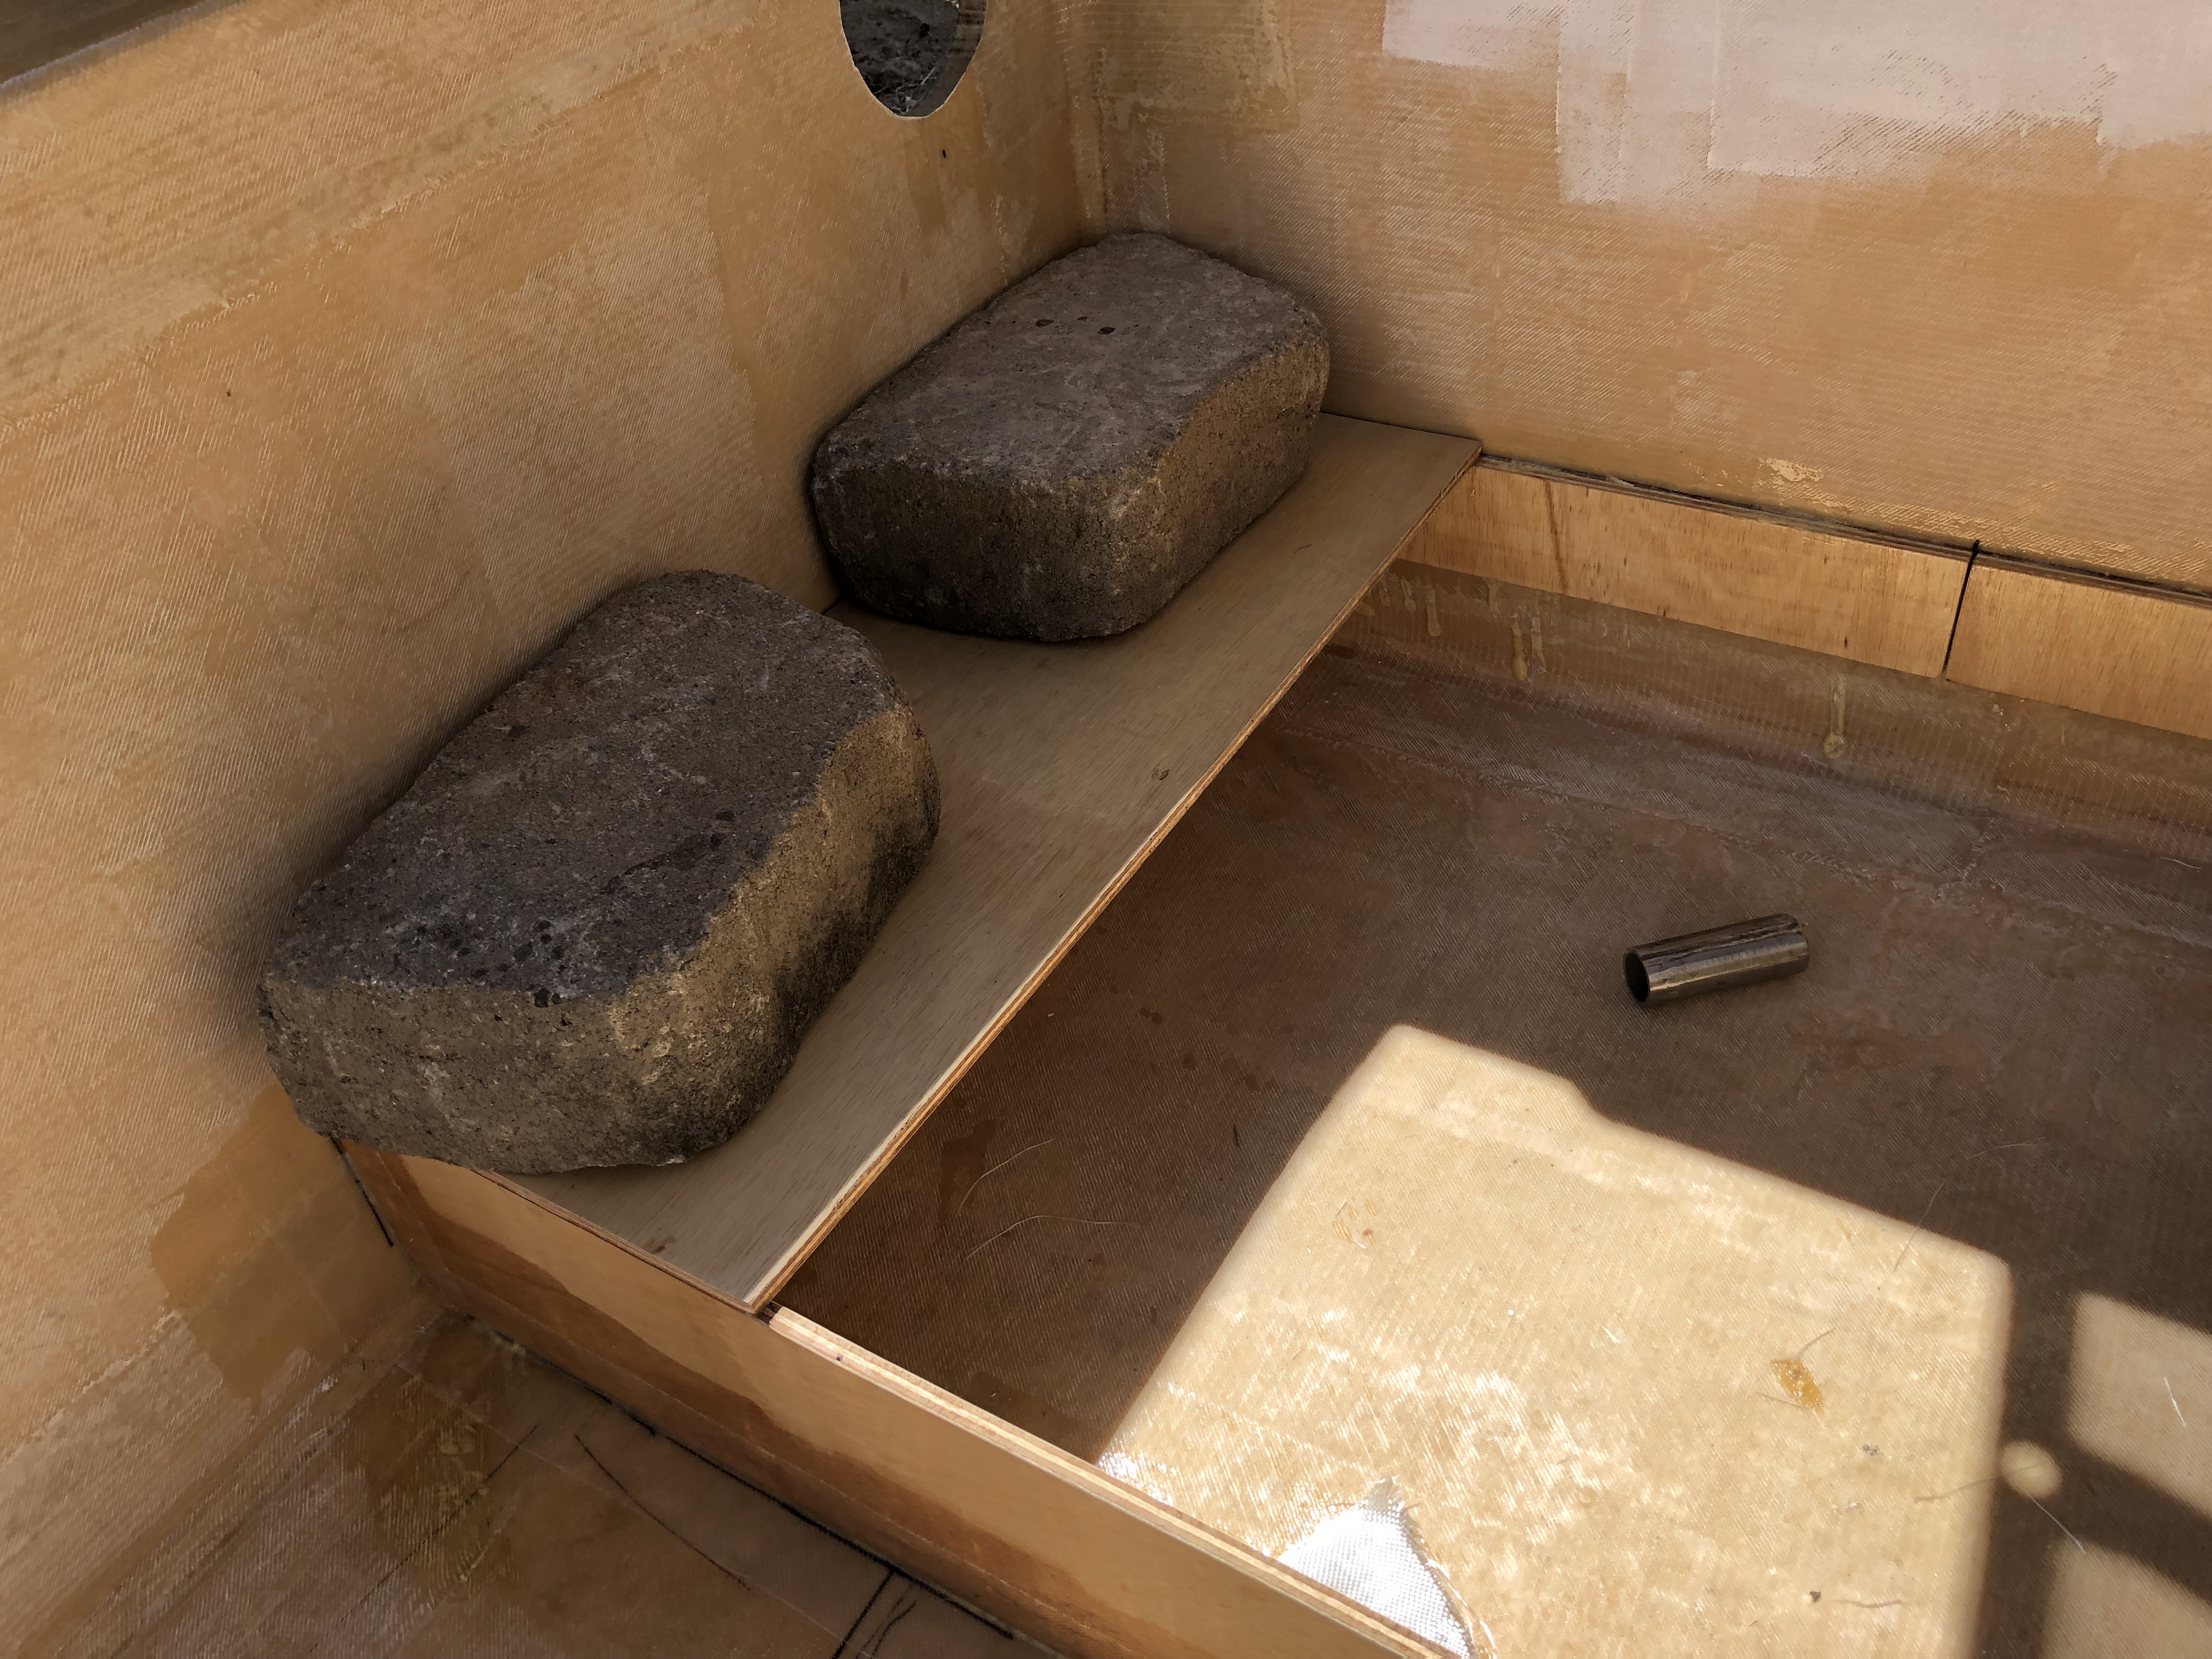
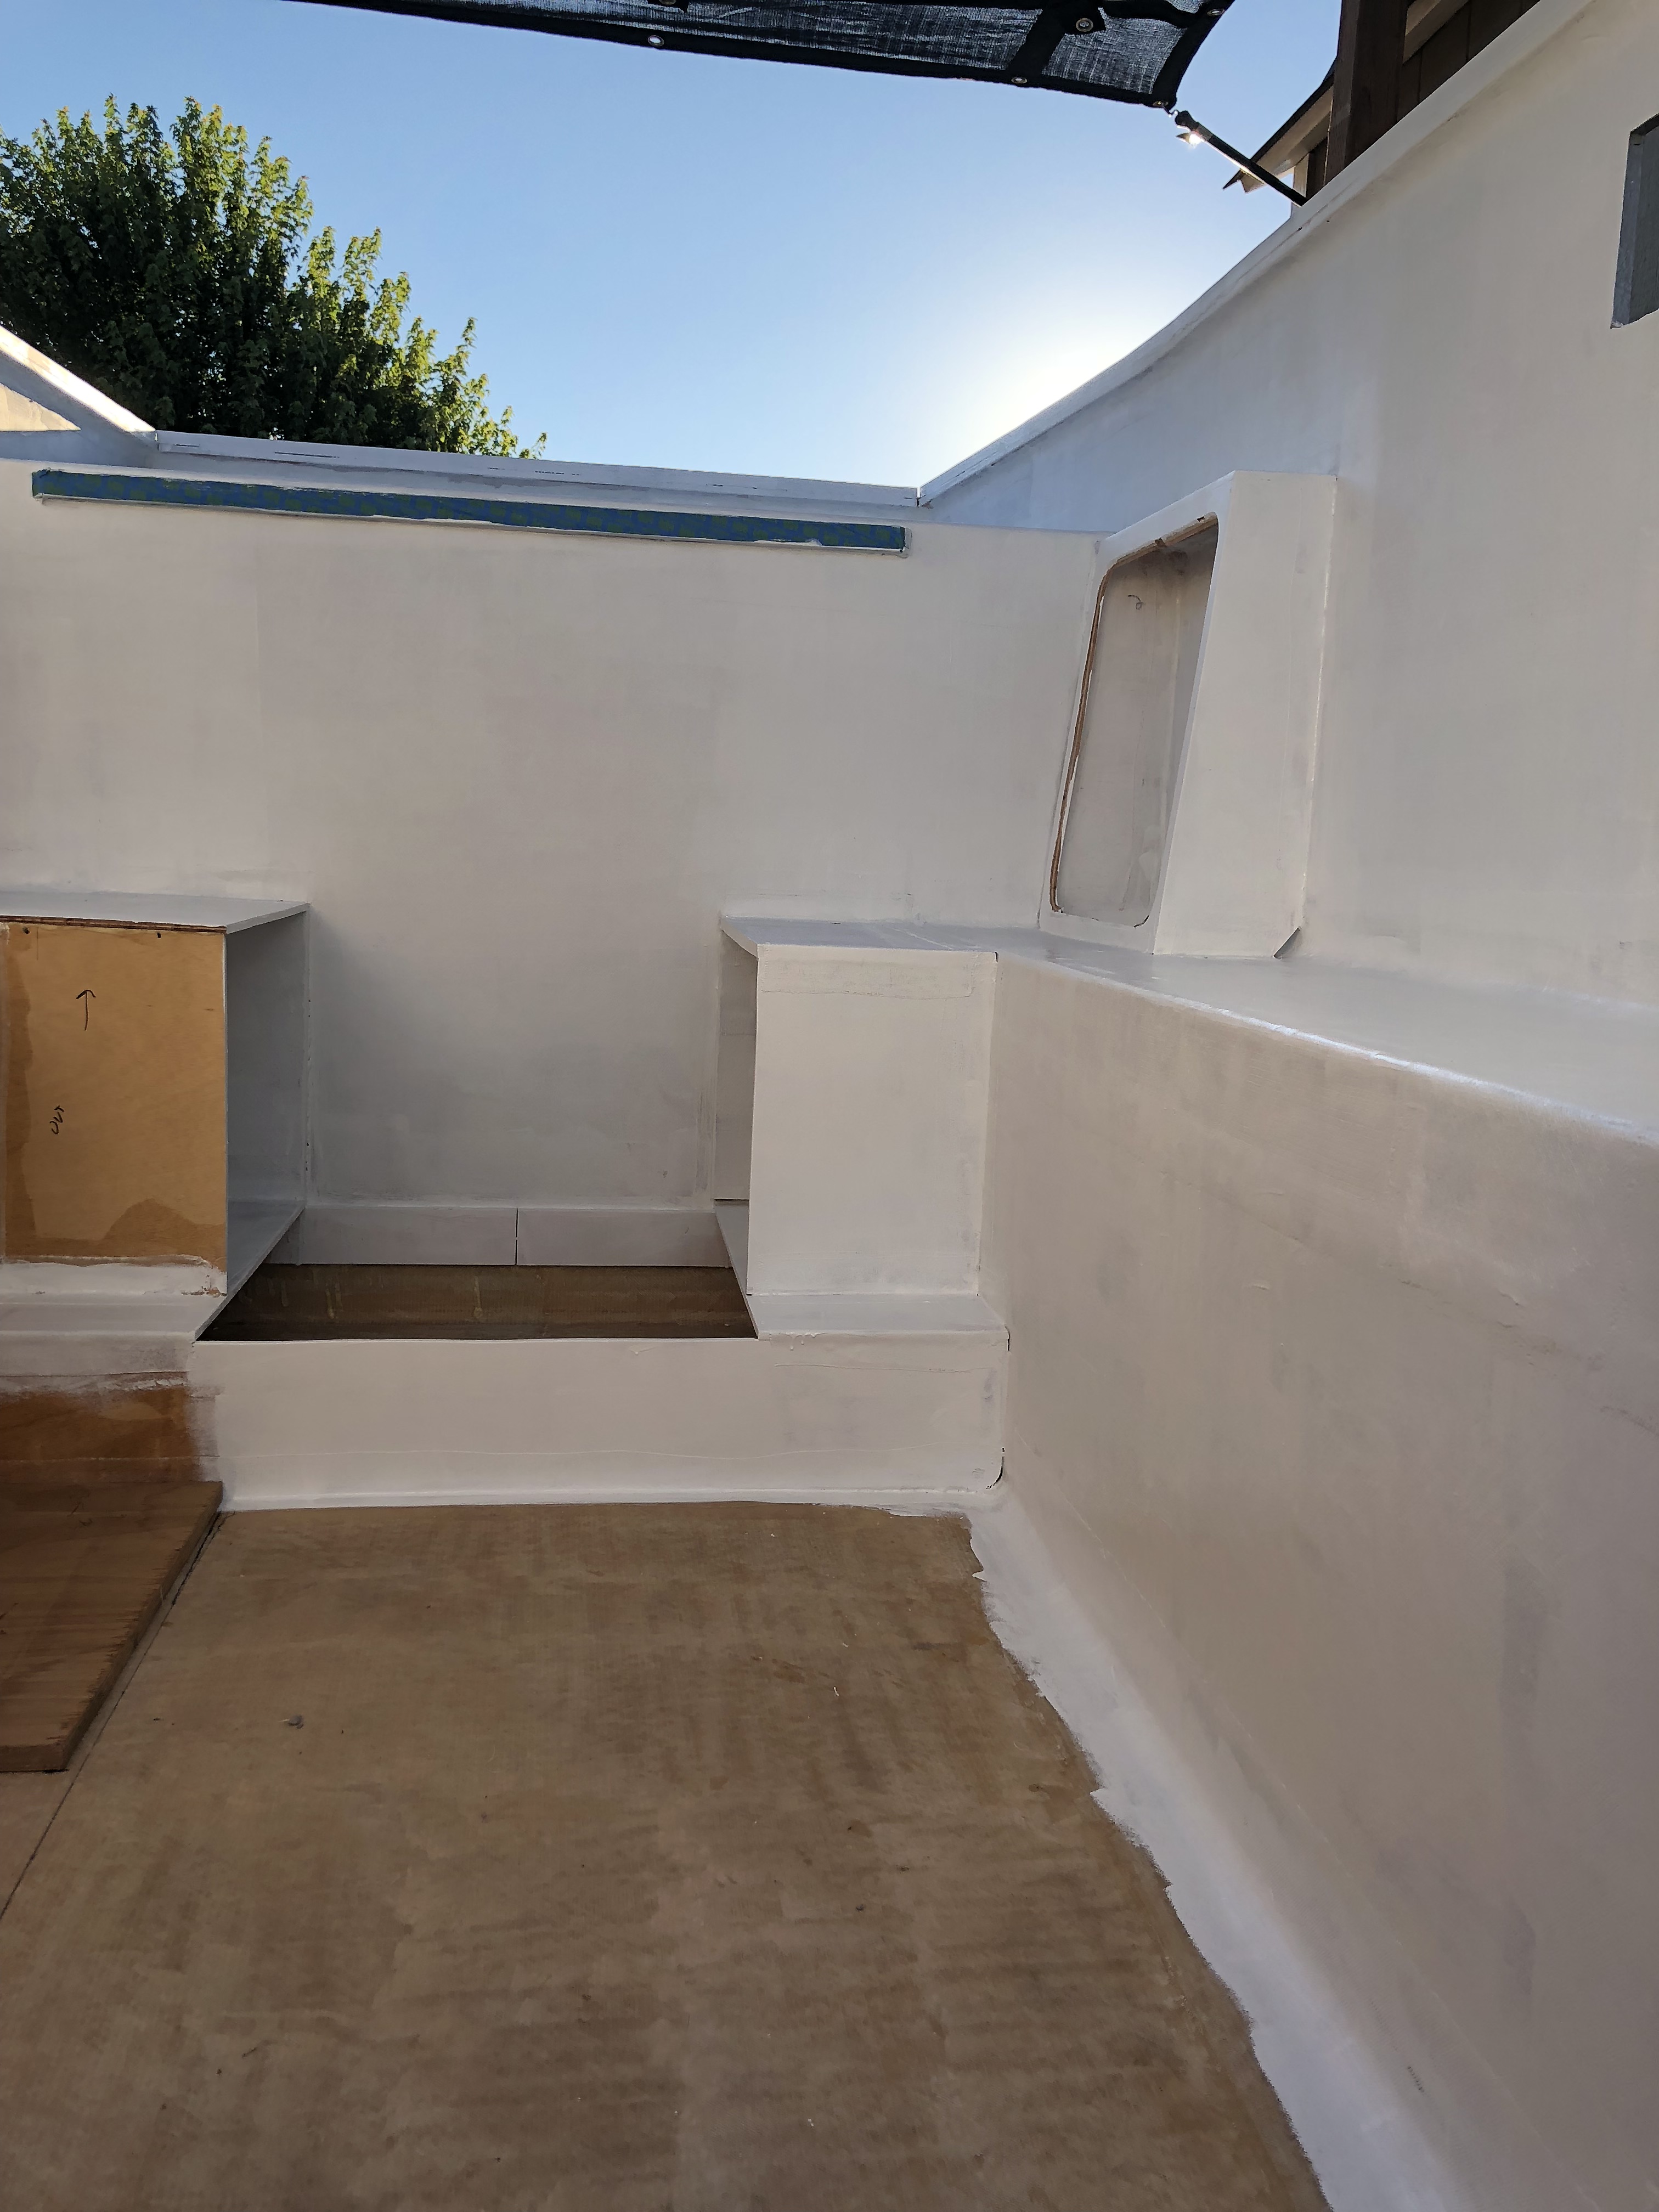
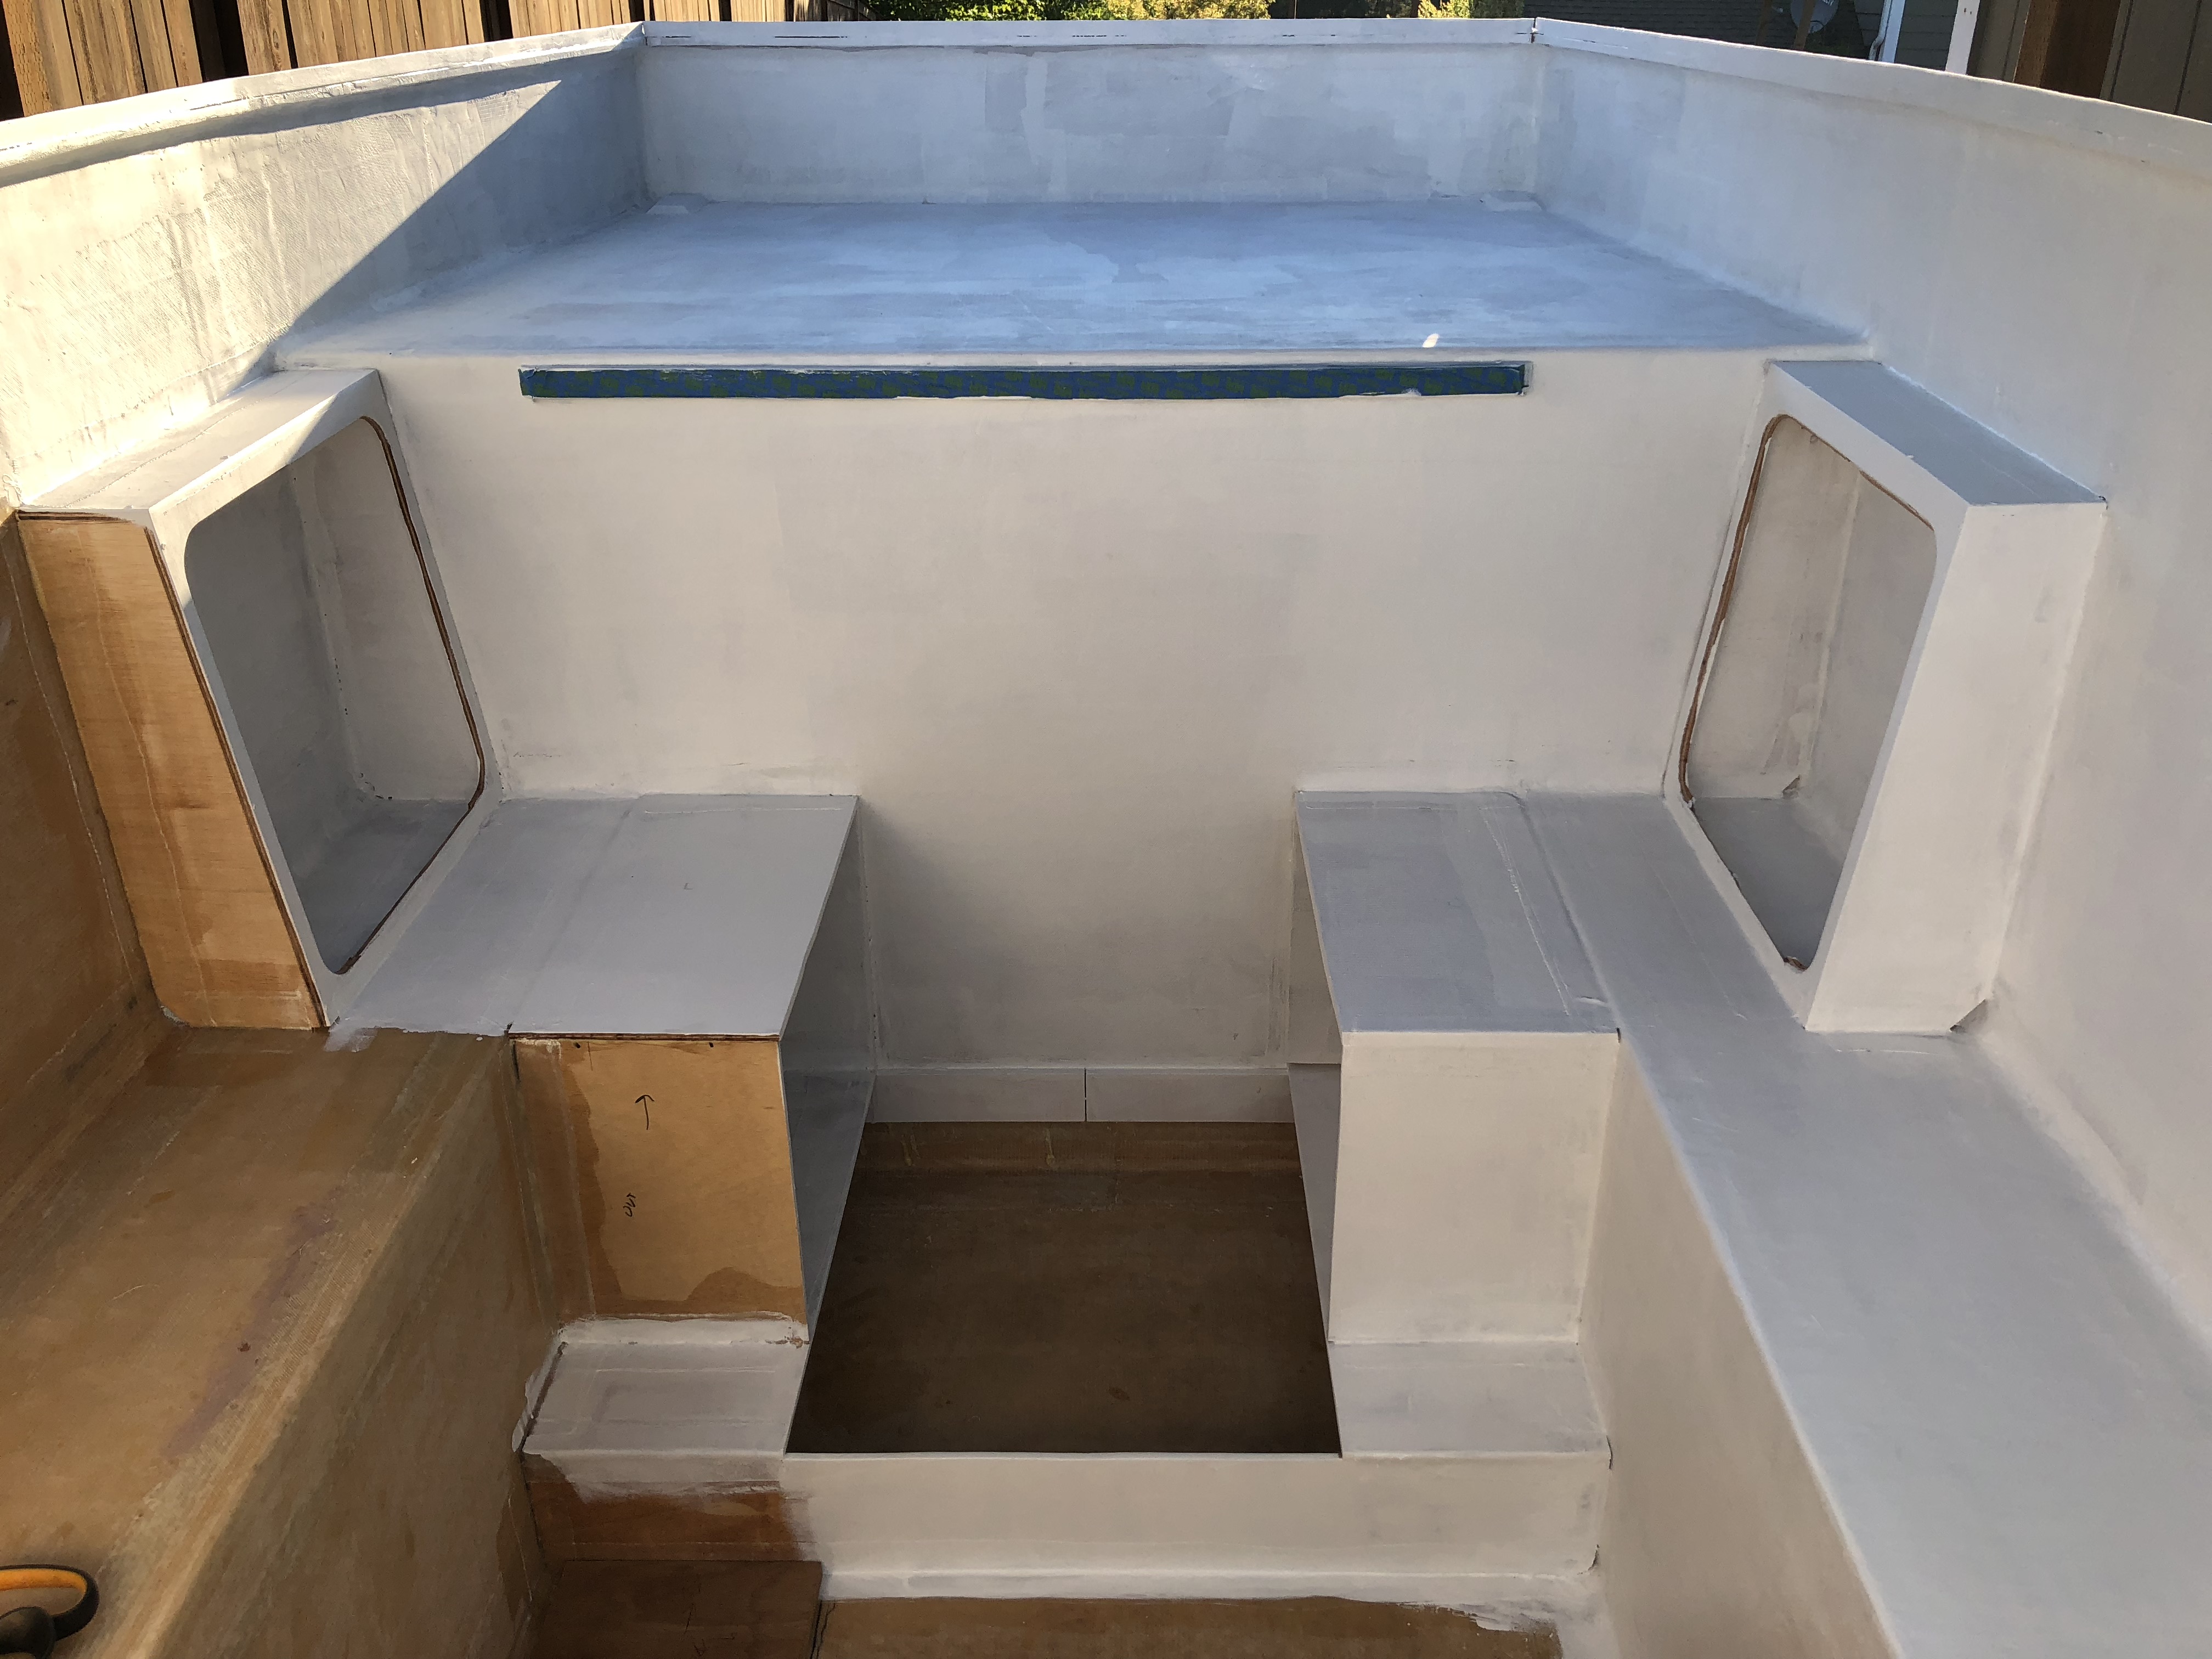
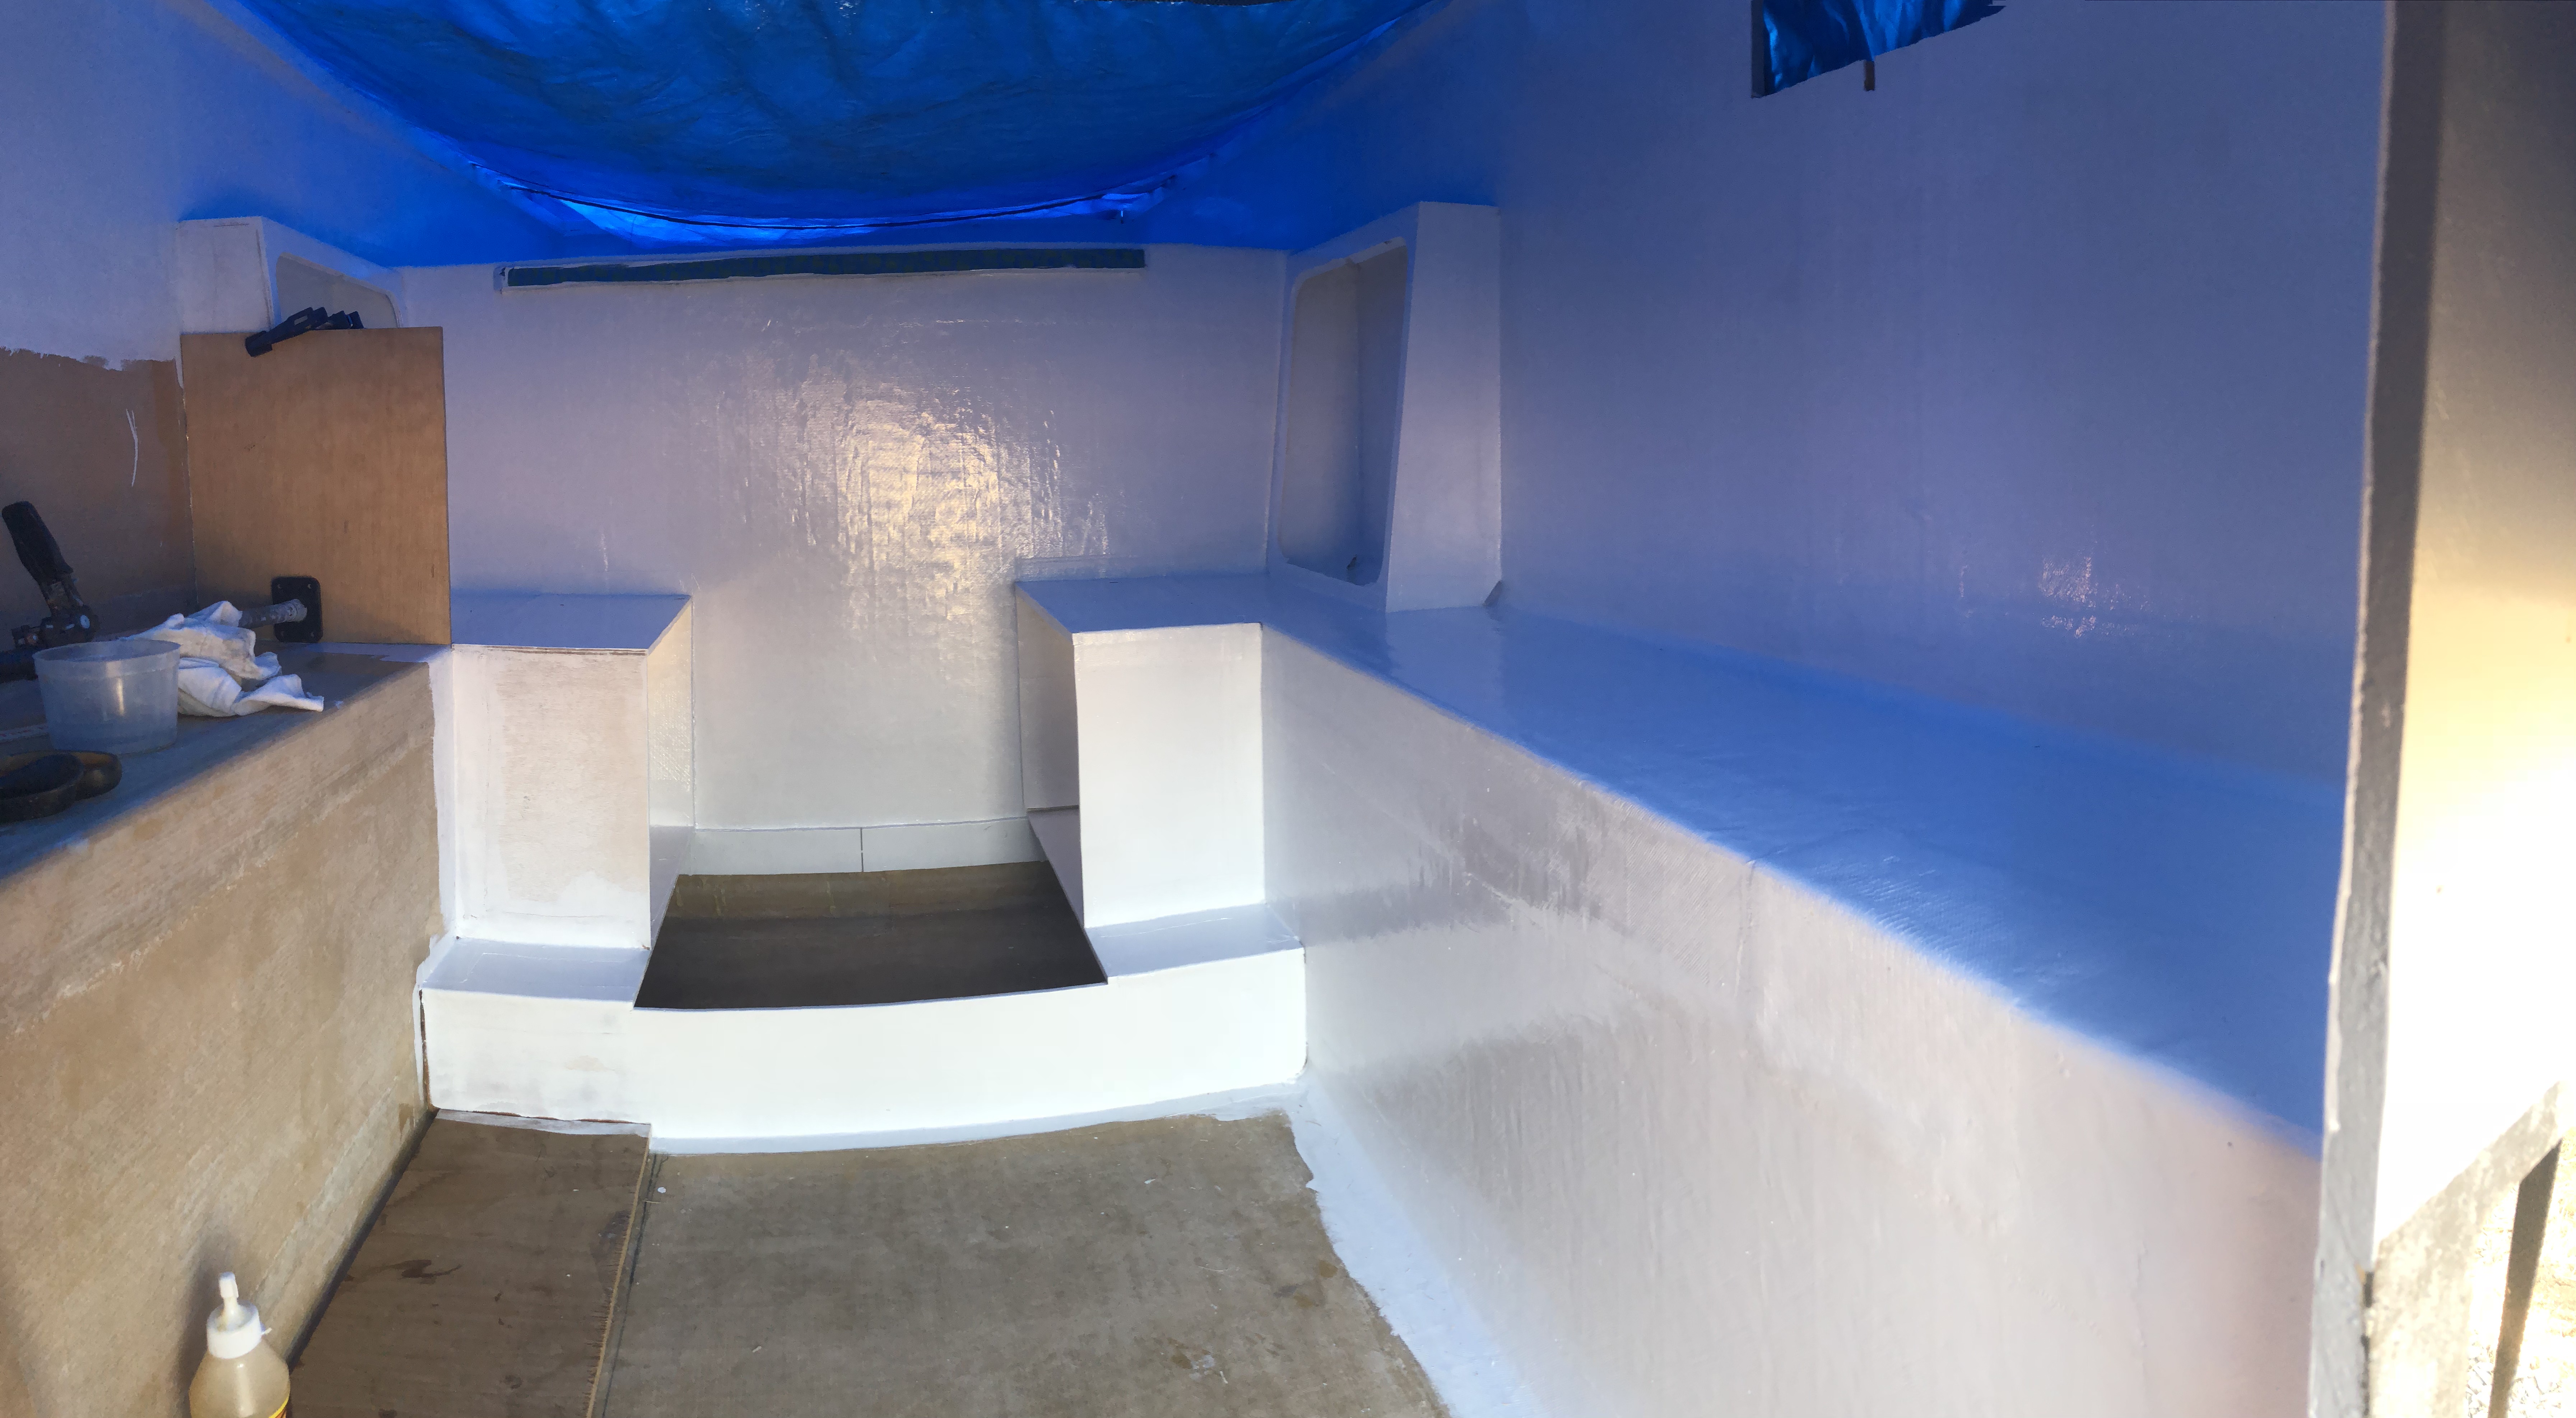
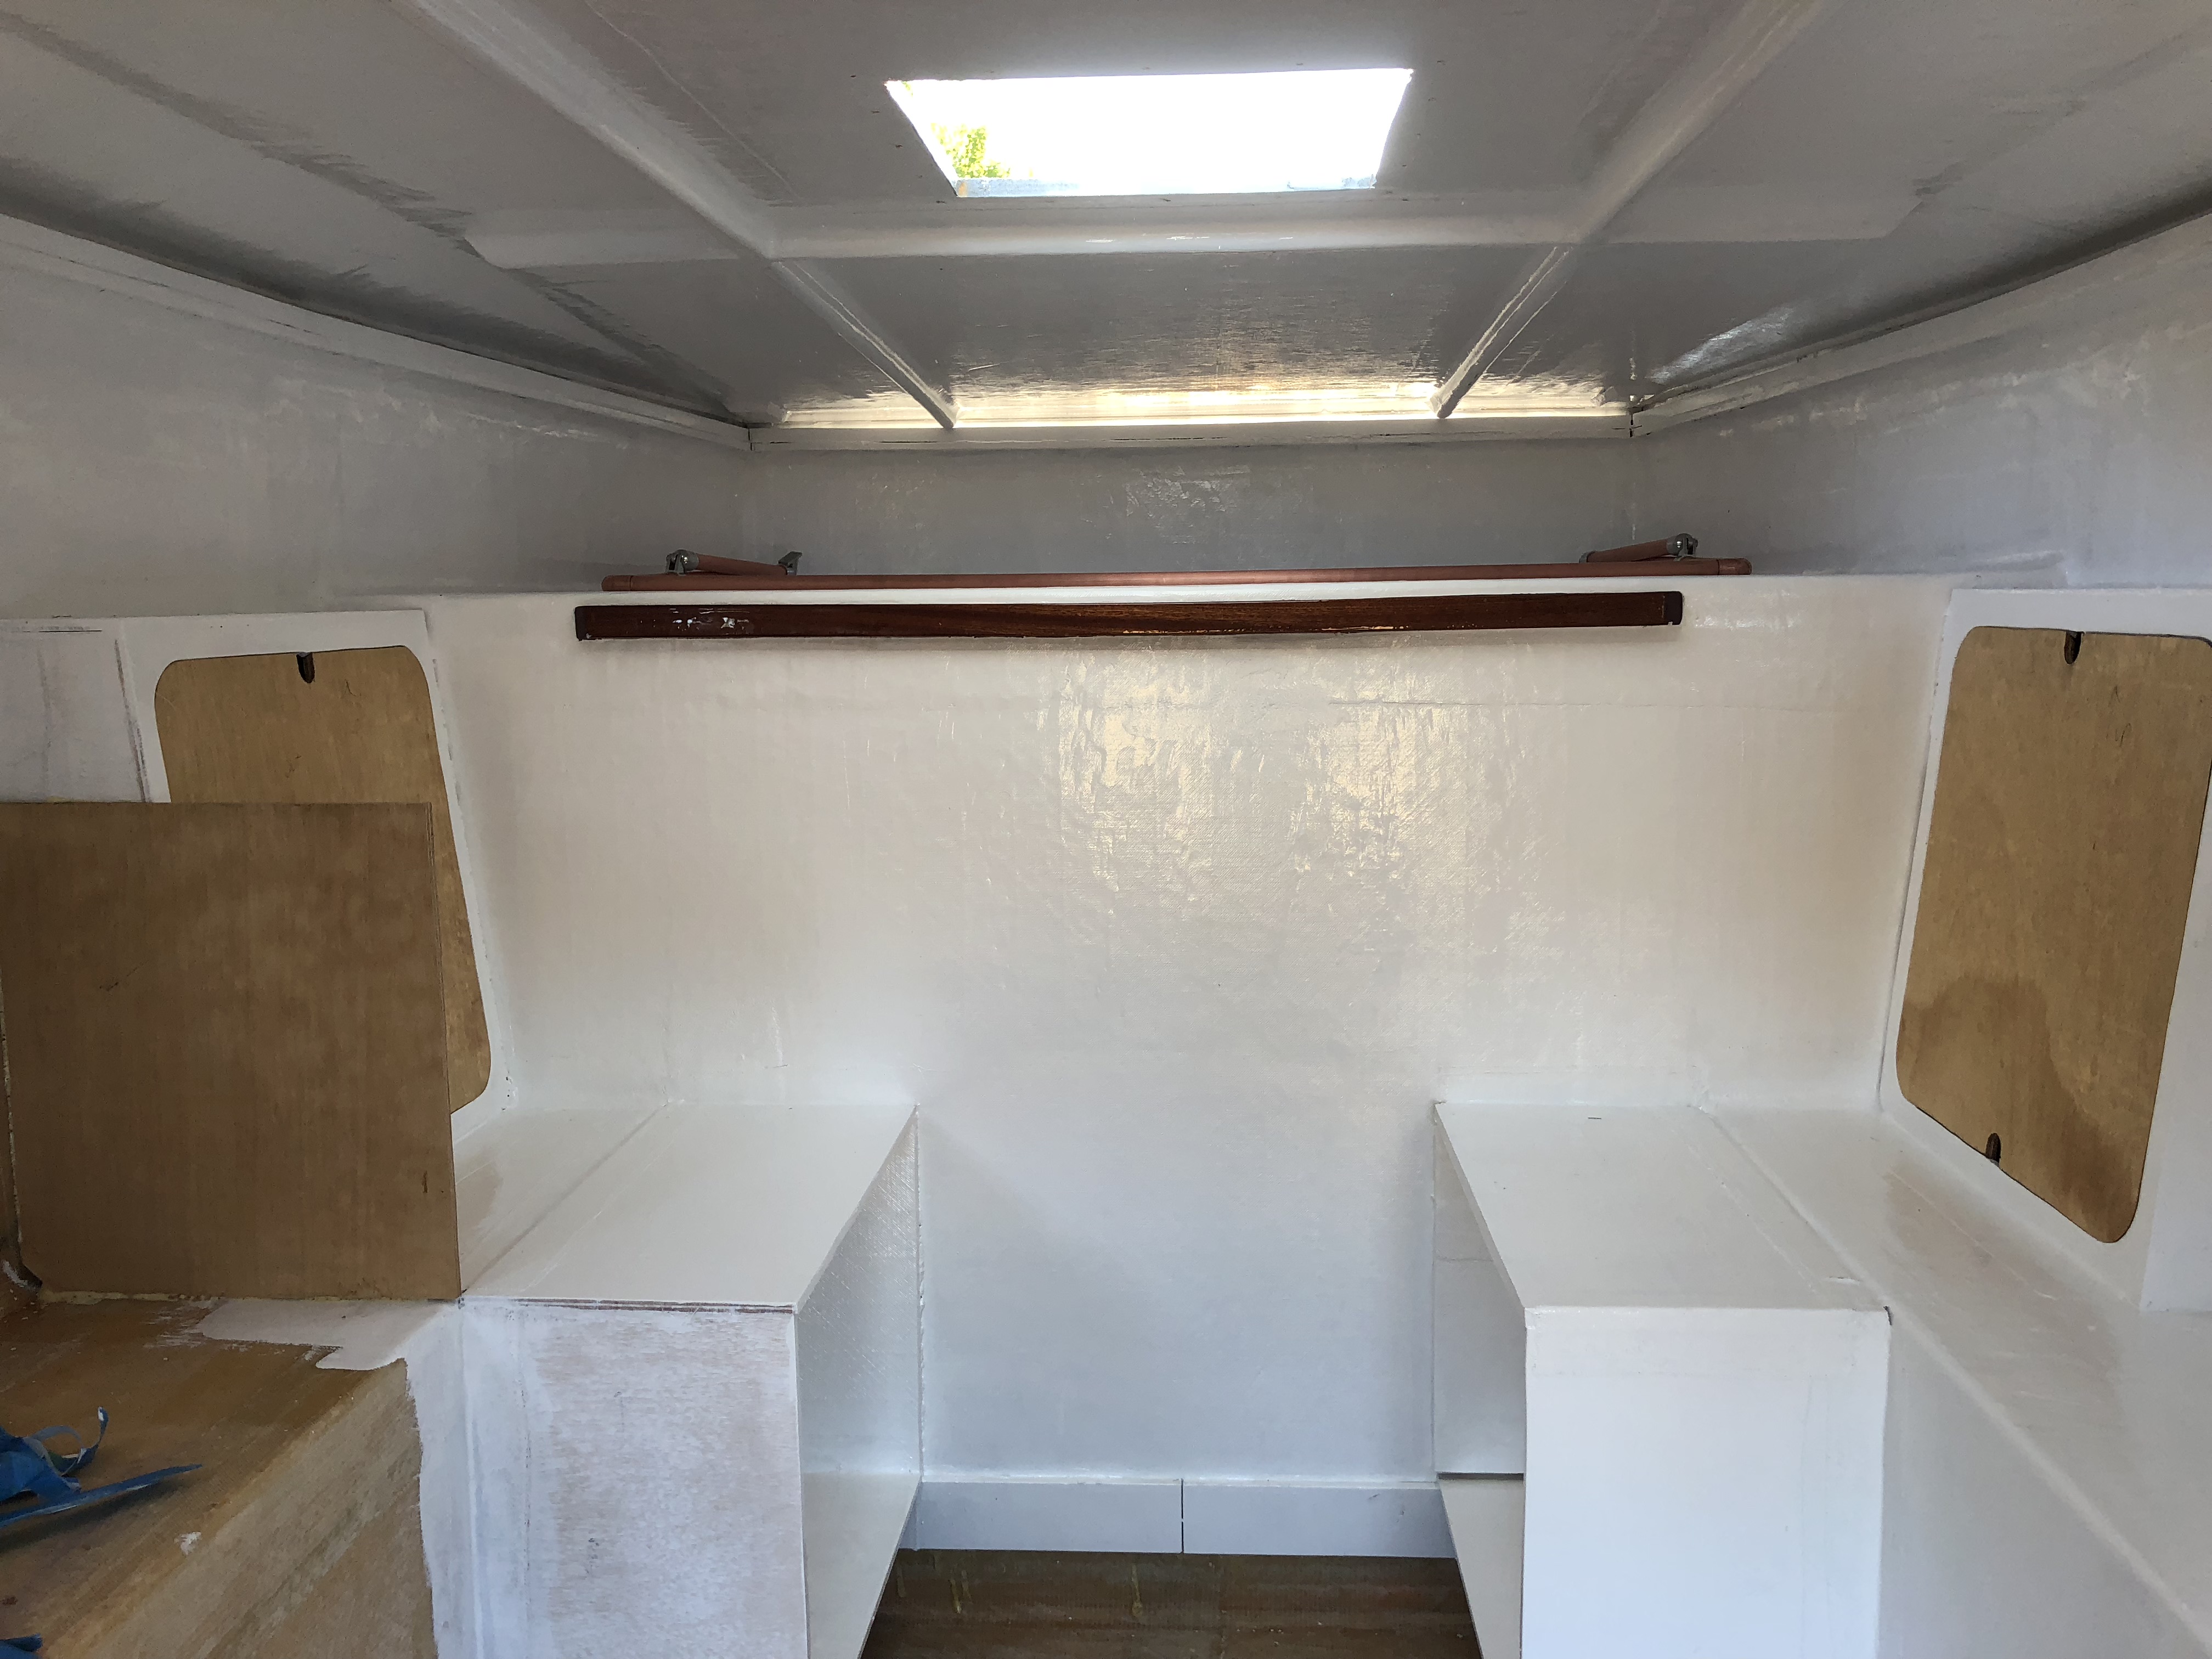
Now the seats need to be glued in!
IMG_0062.jpg

IMG_0061.jpg

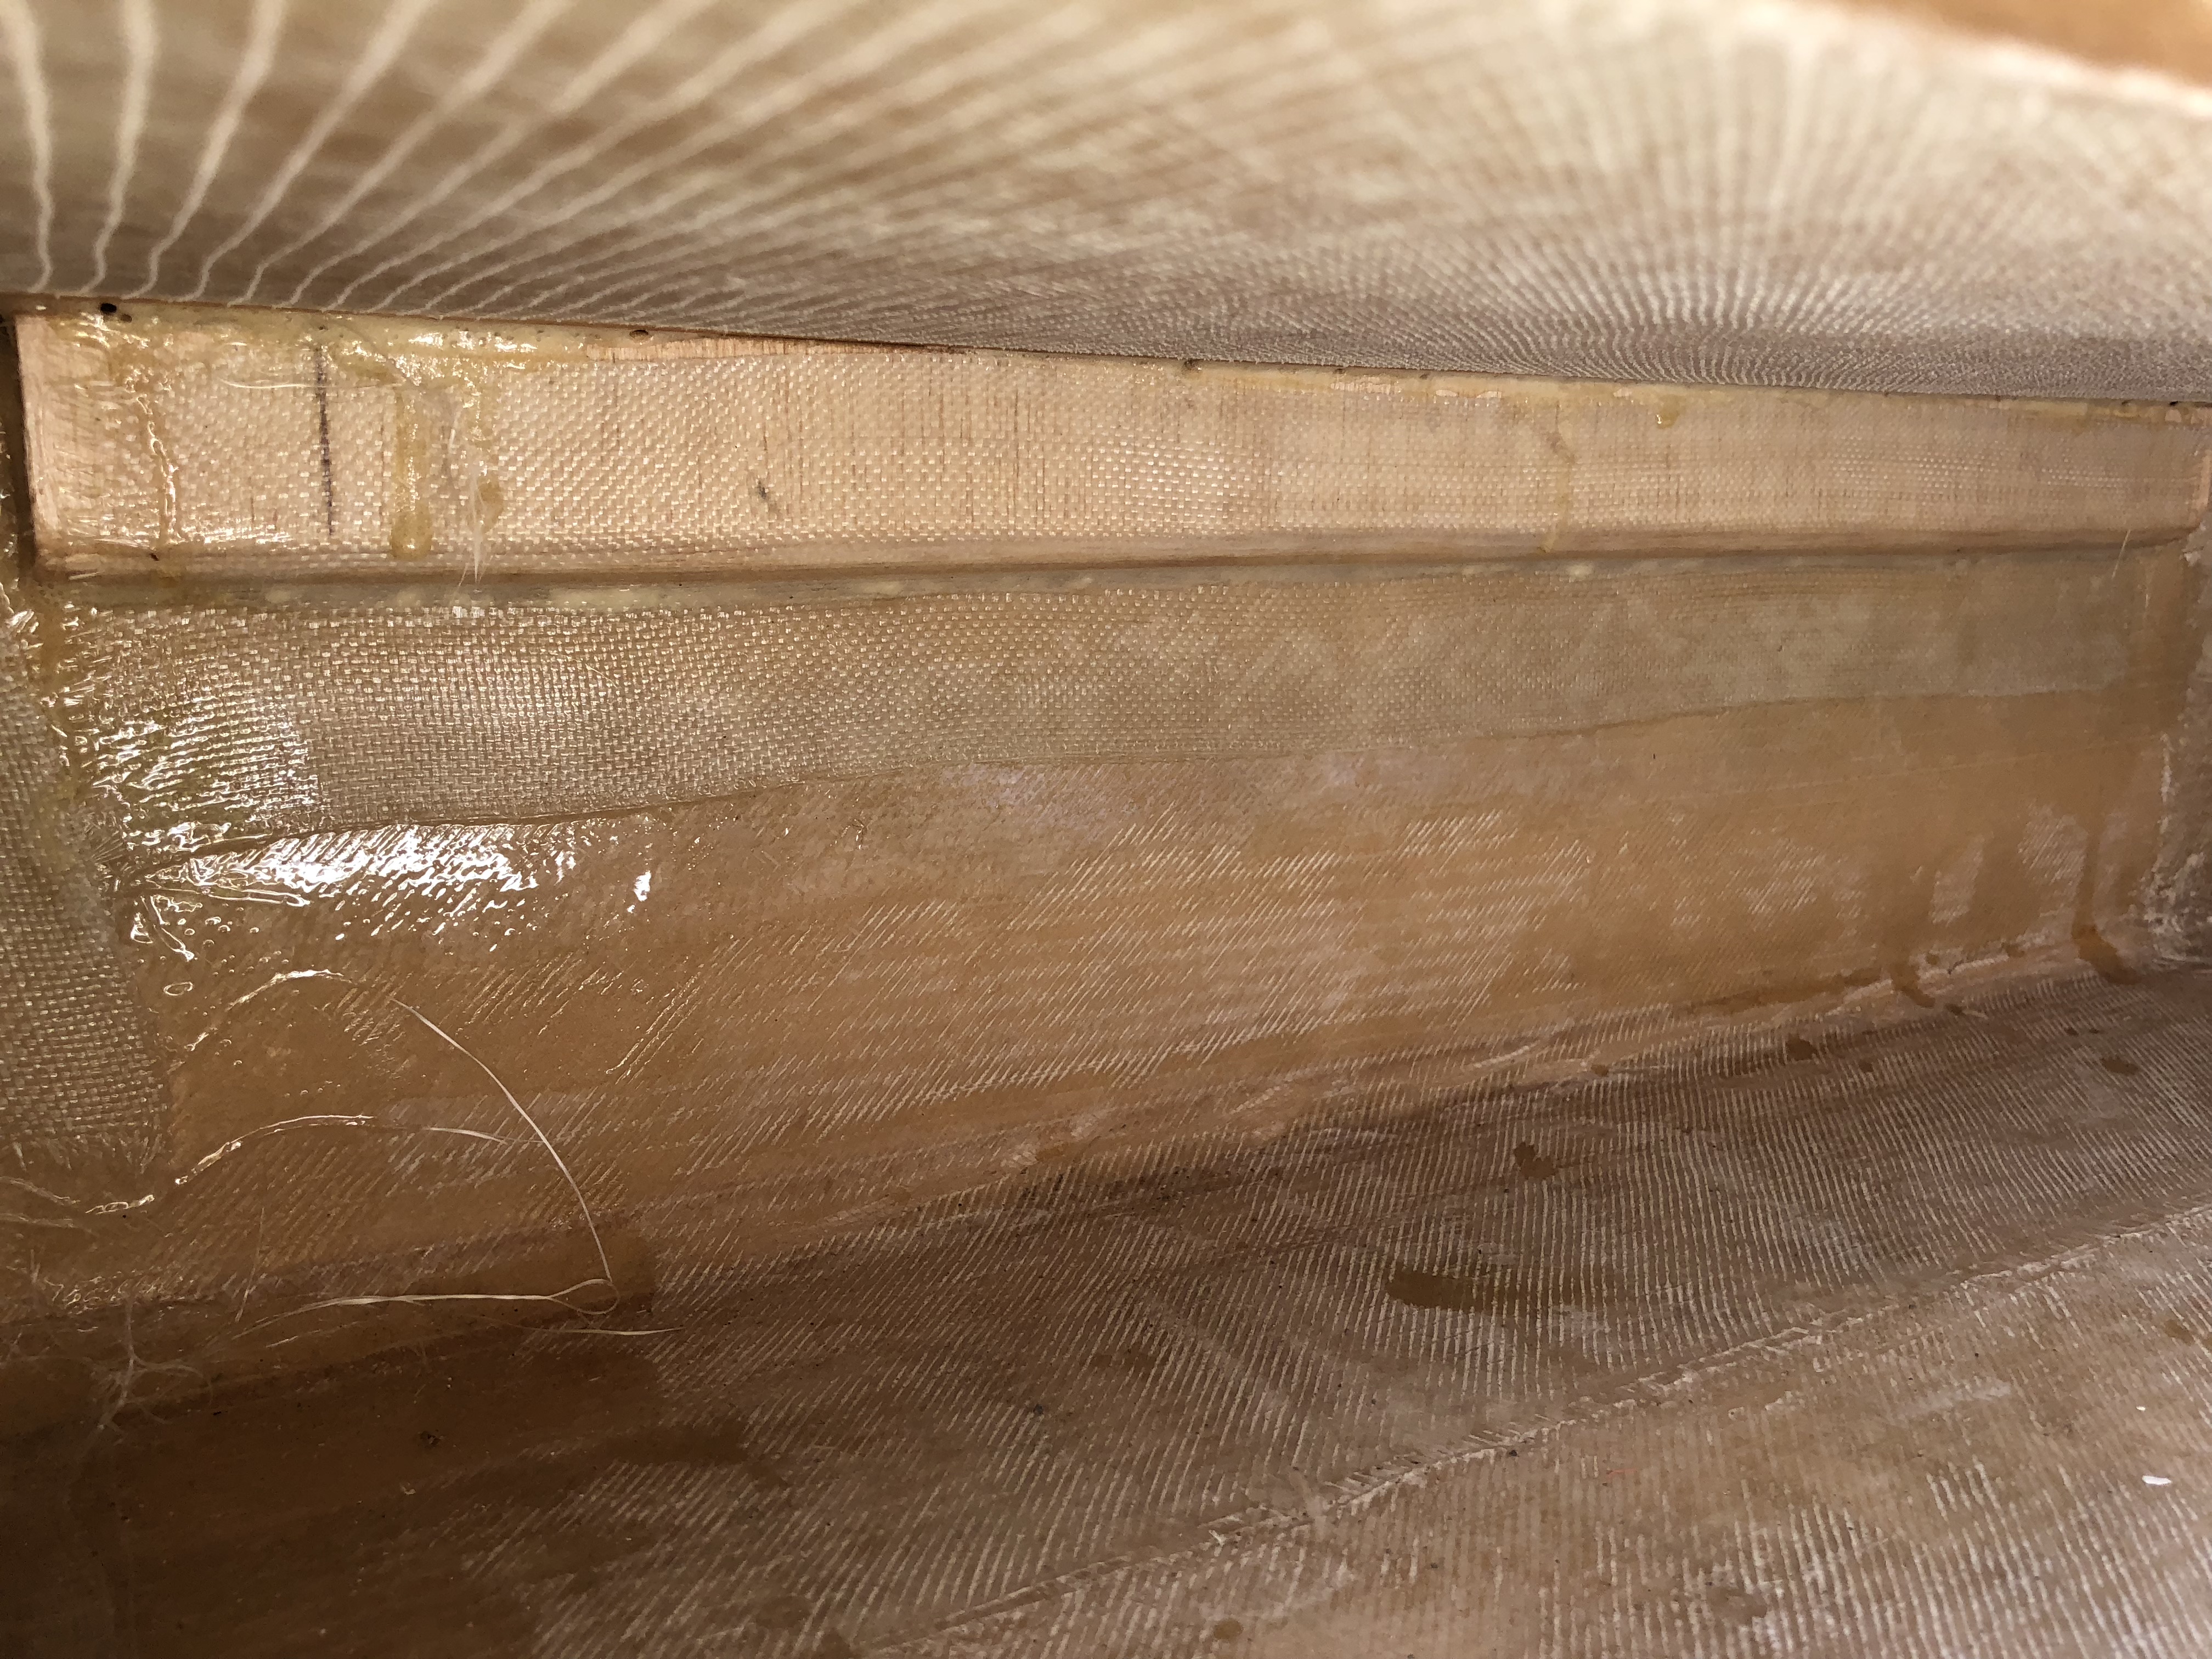
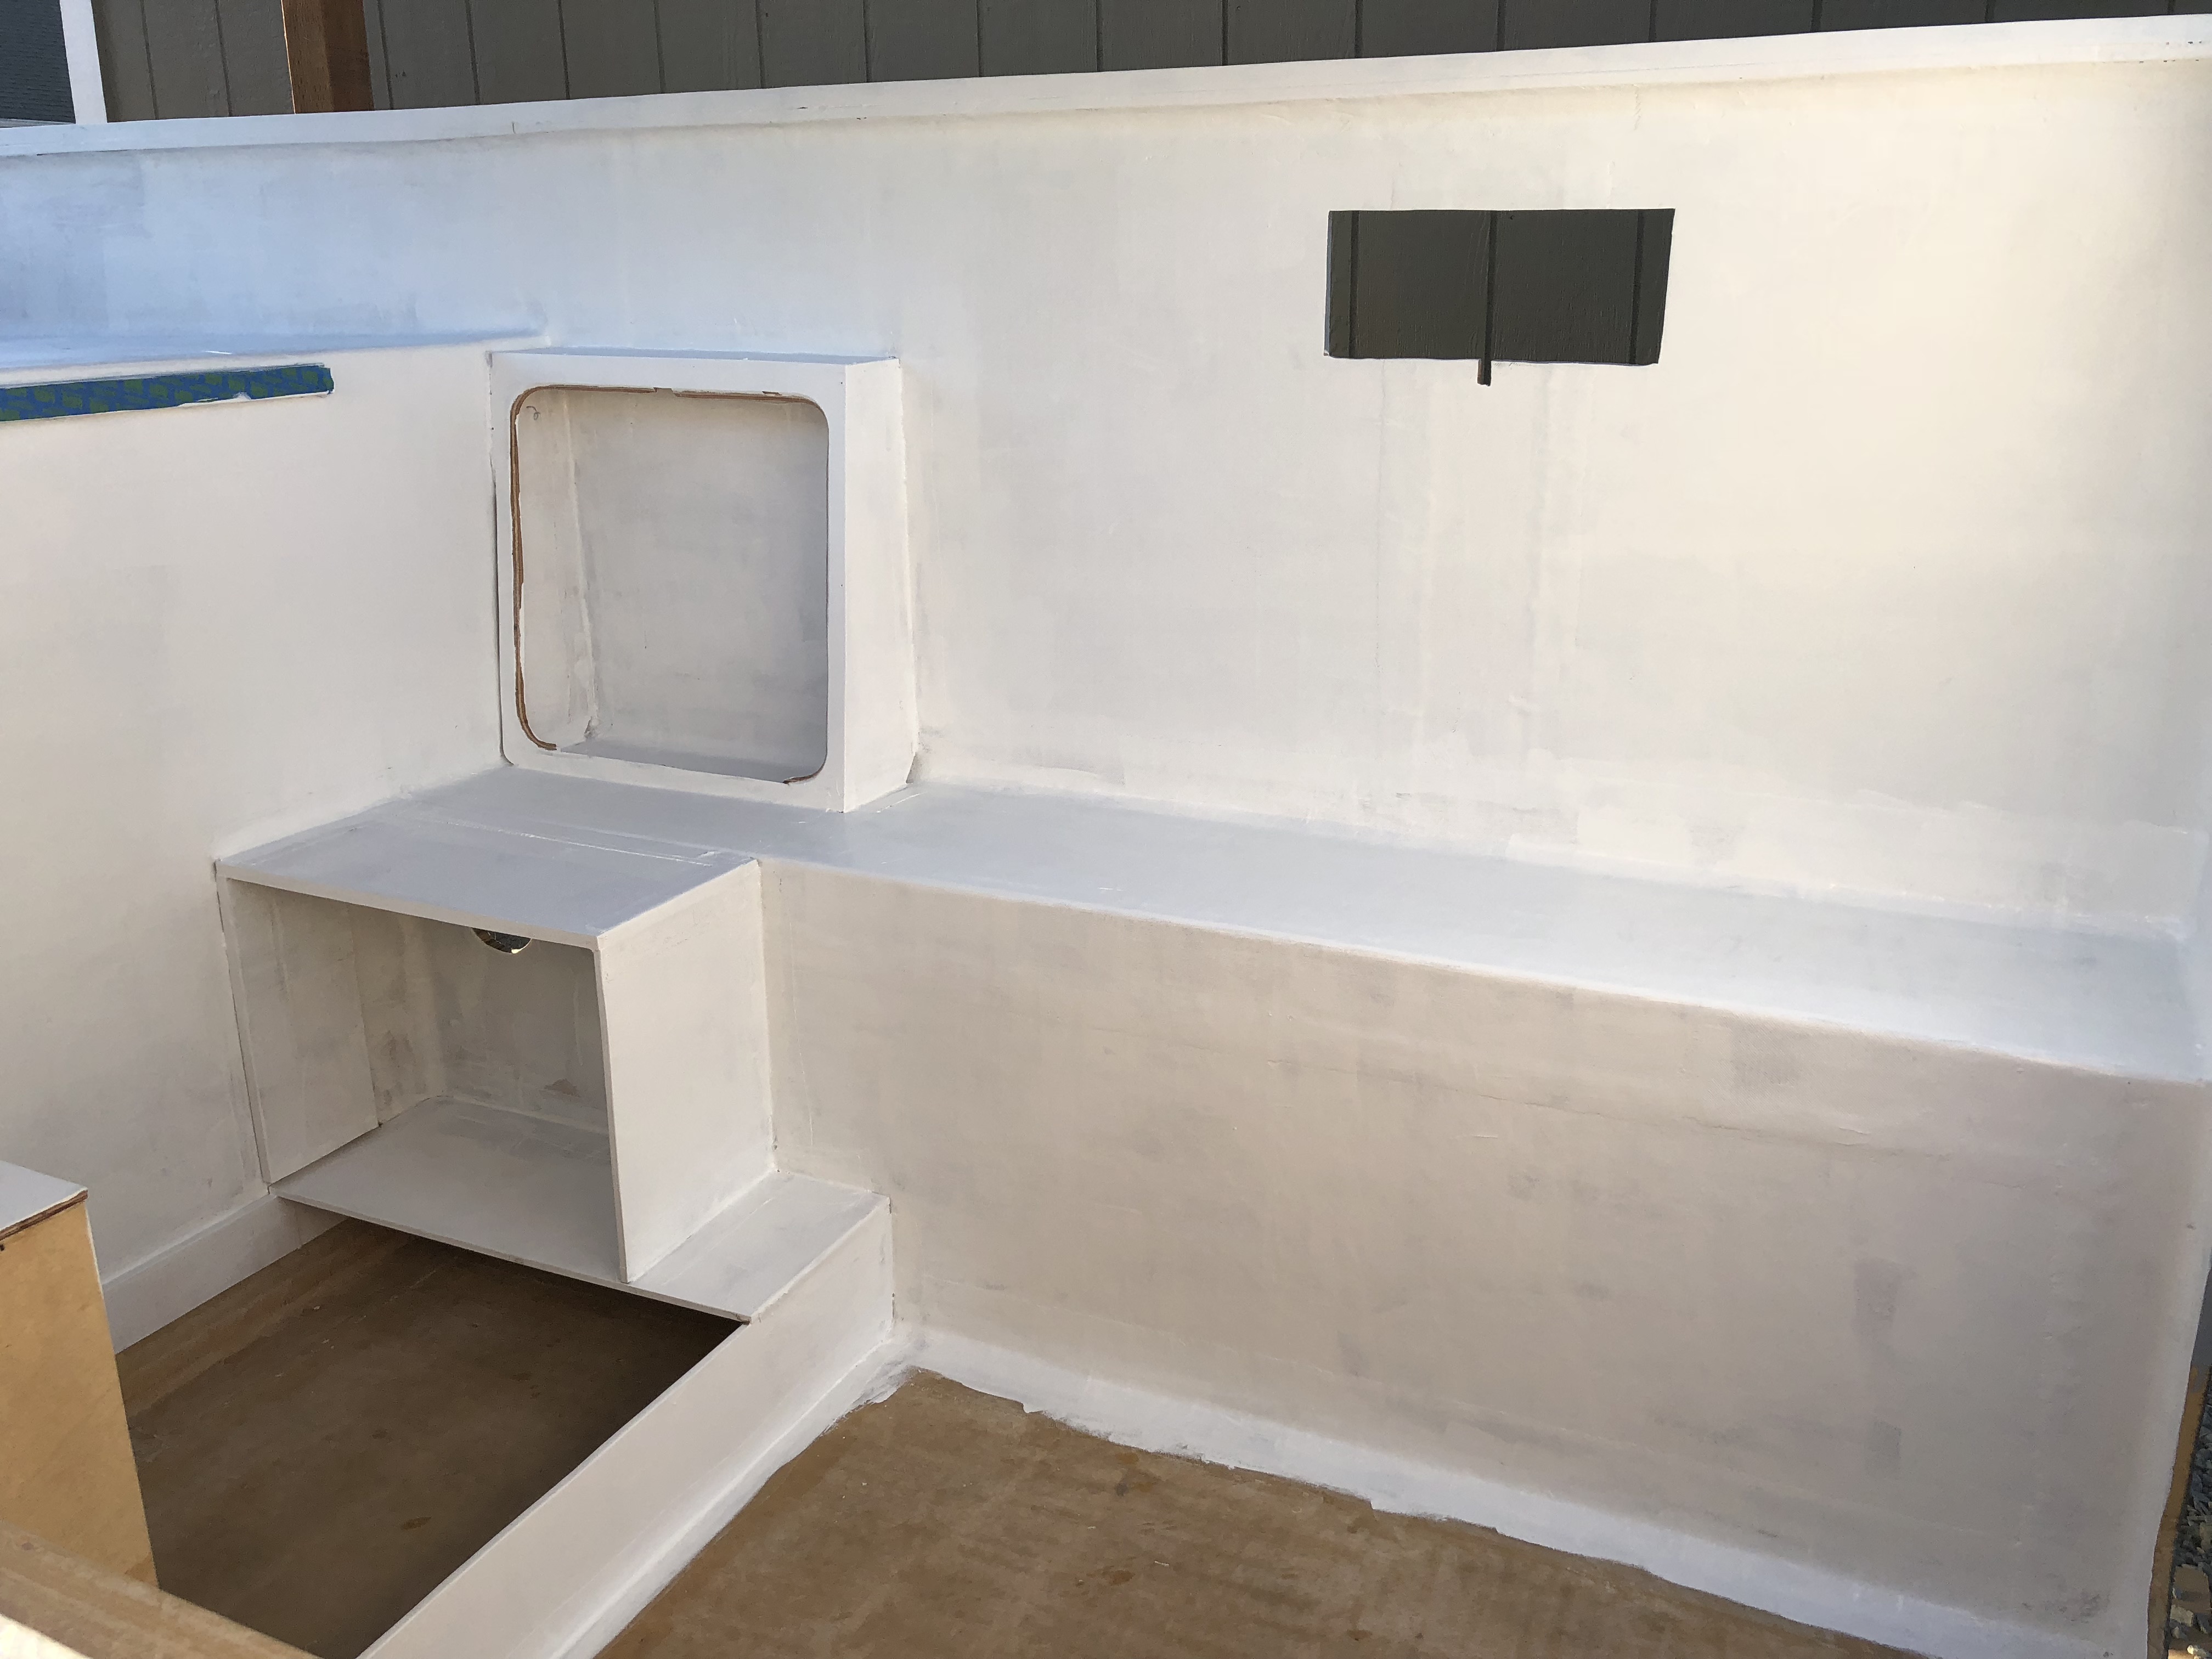
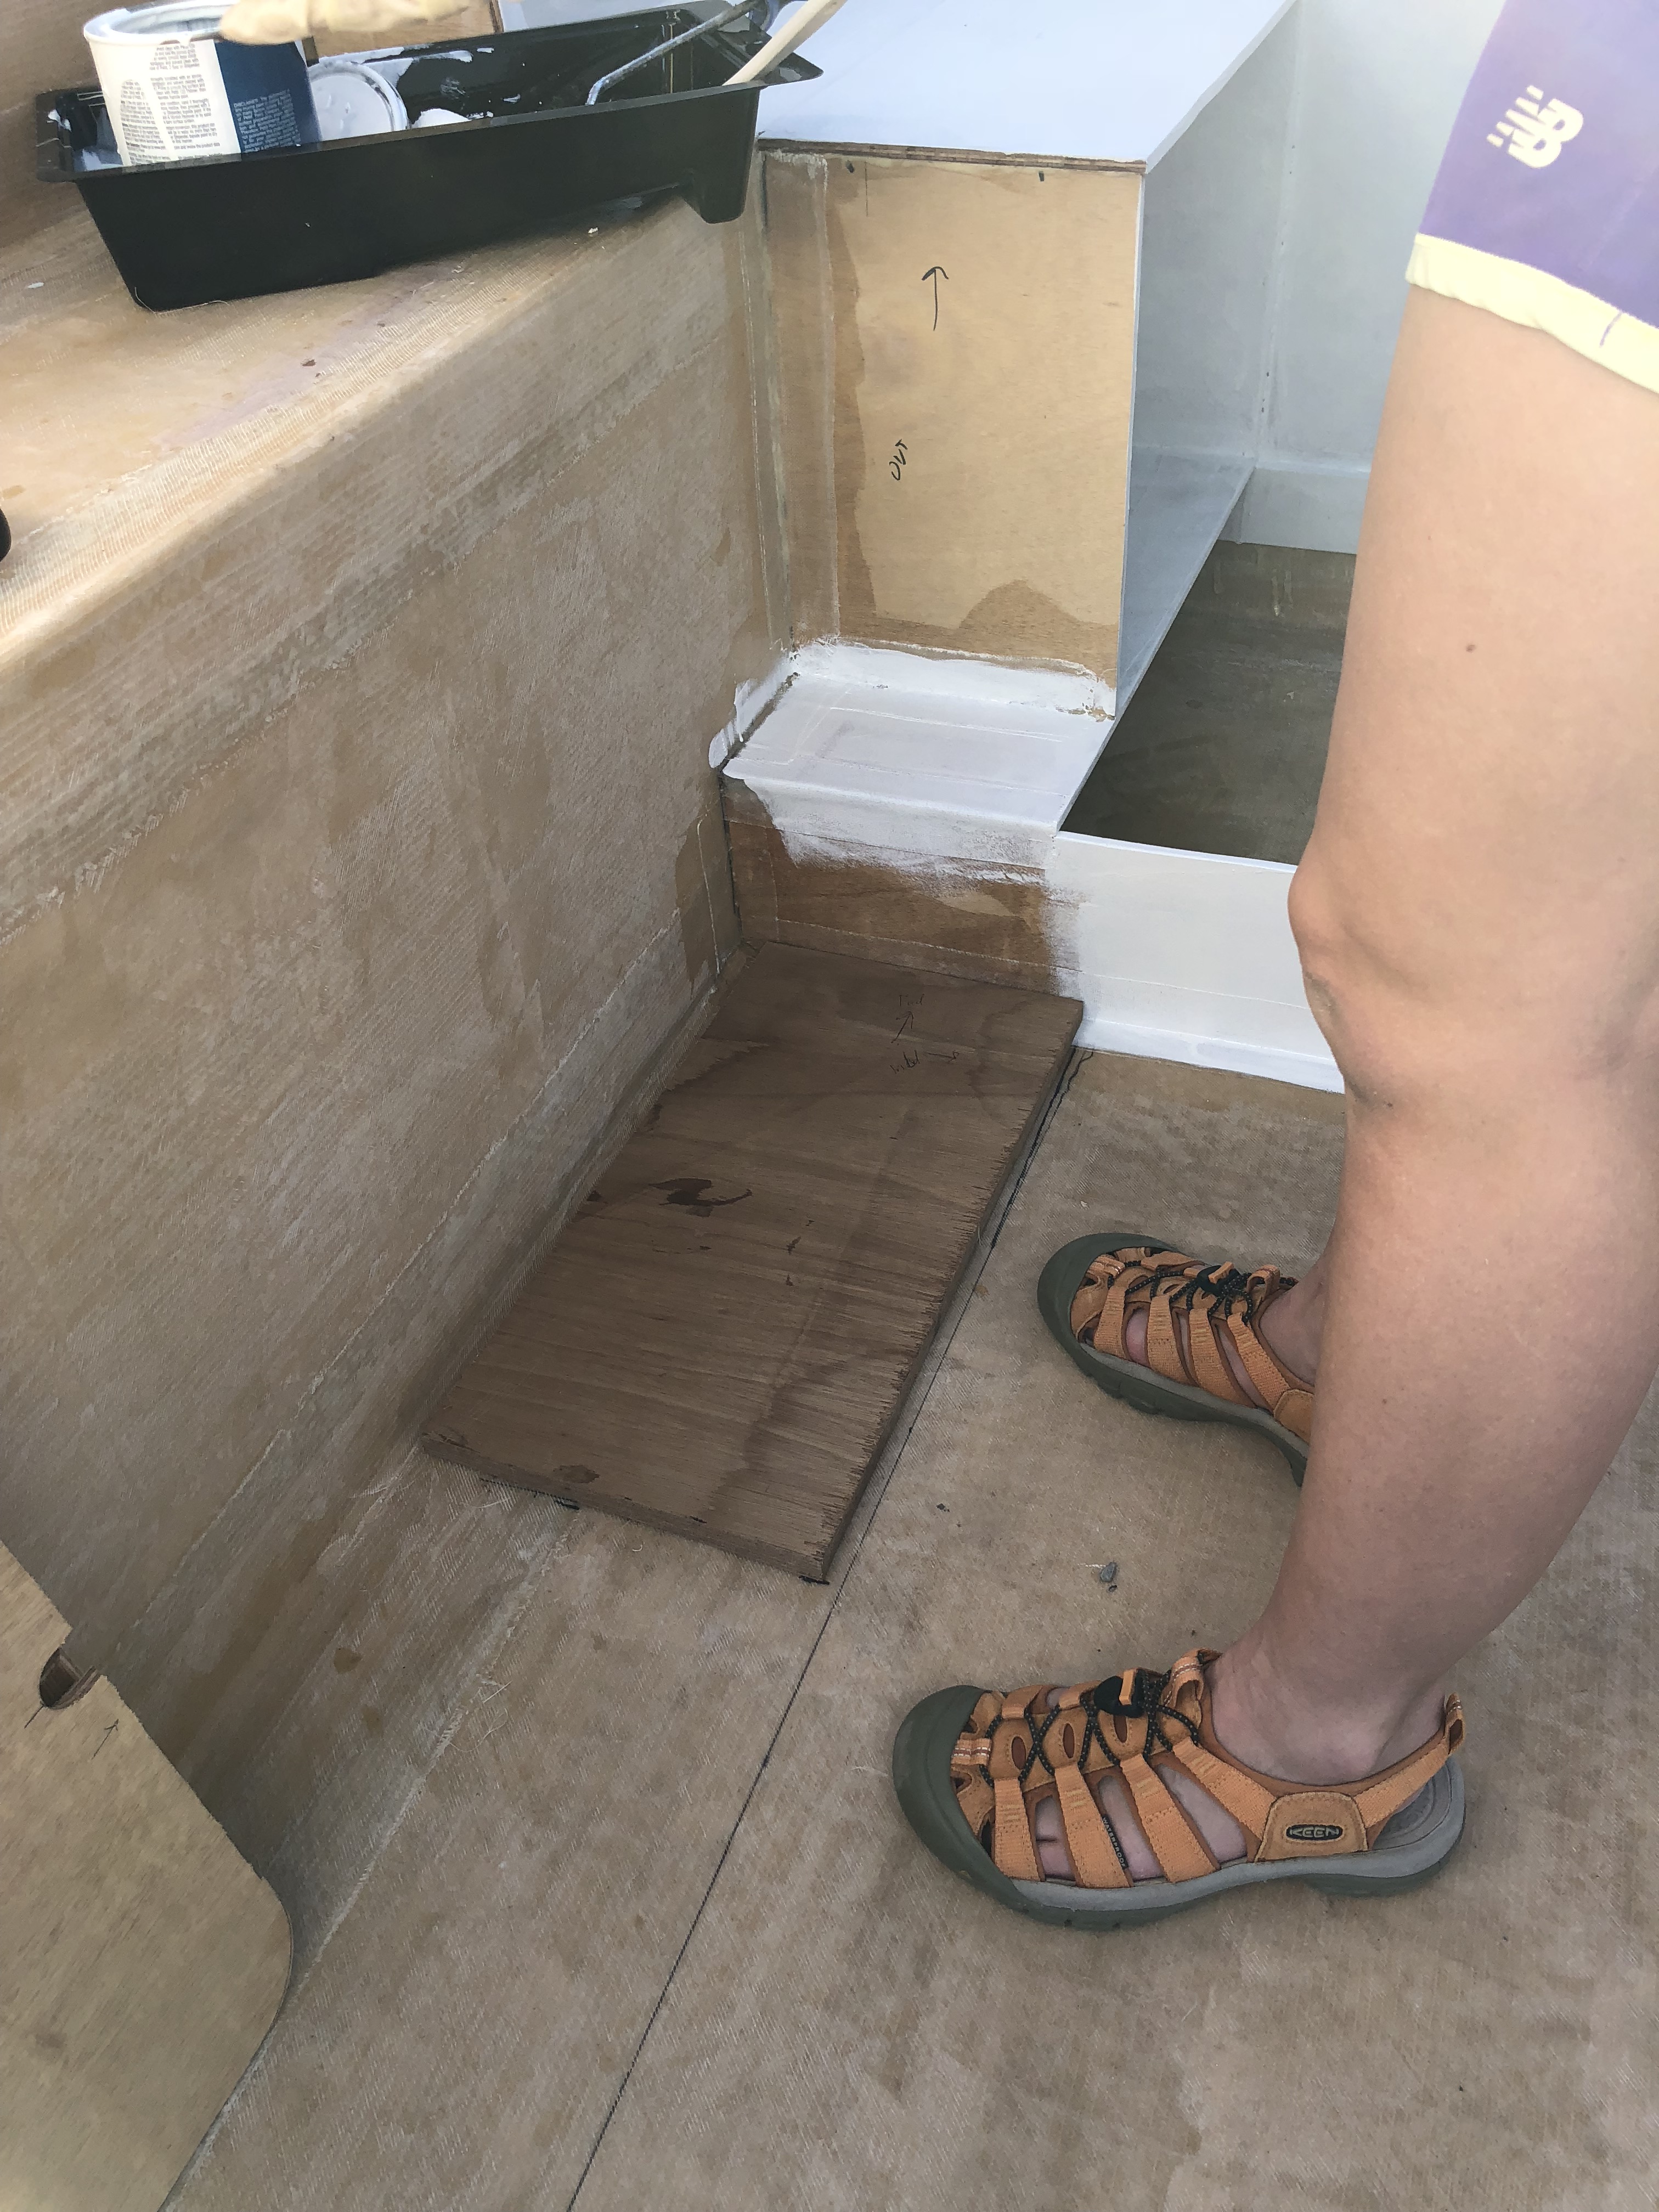
This is inside the tank area. I rounded the edge of the board so the glass would lay over it more easily and so the sharp edge wouldn't cut the material of the "water bladder" we chose to use.
IMG_0063.jpg

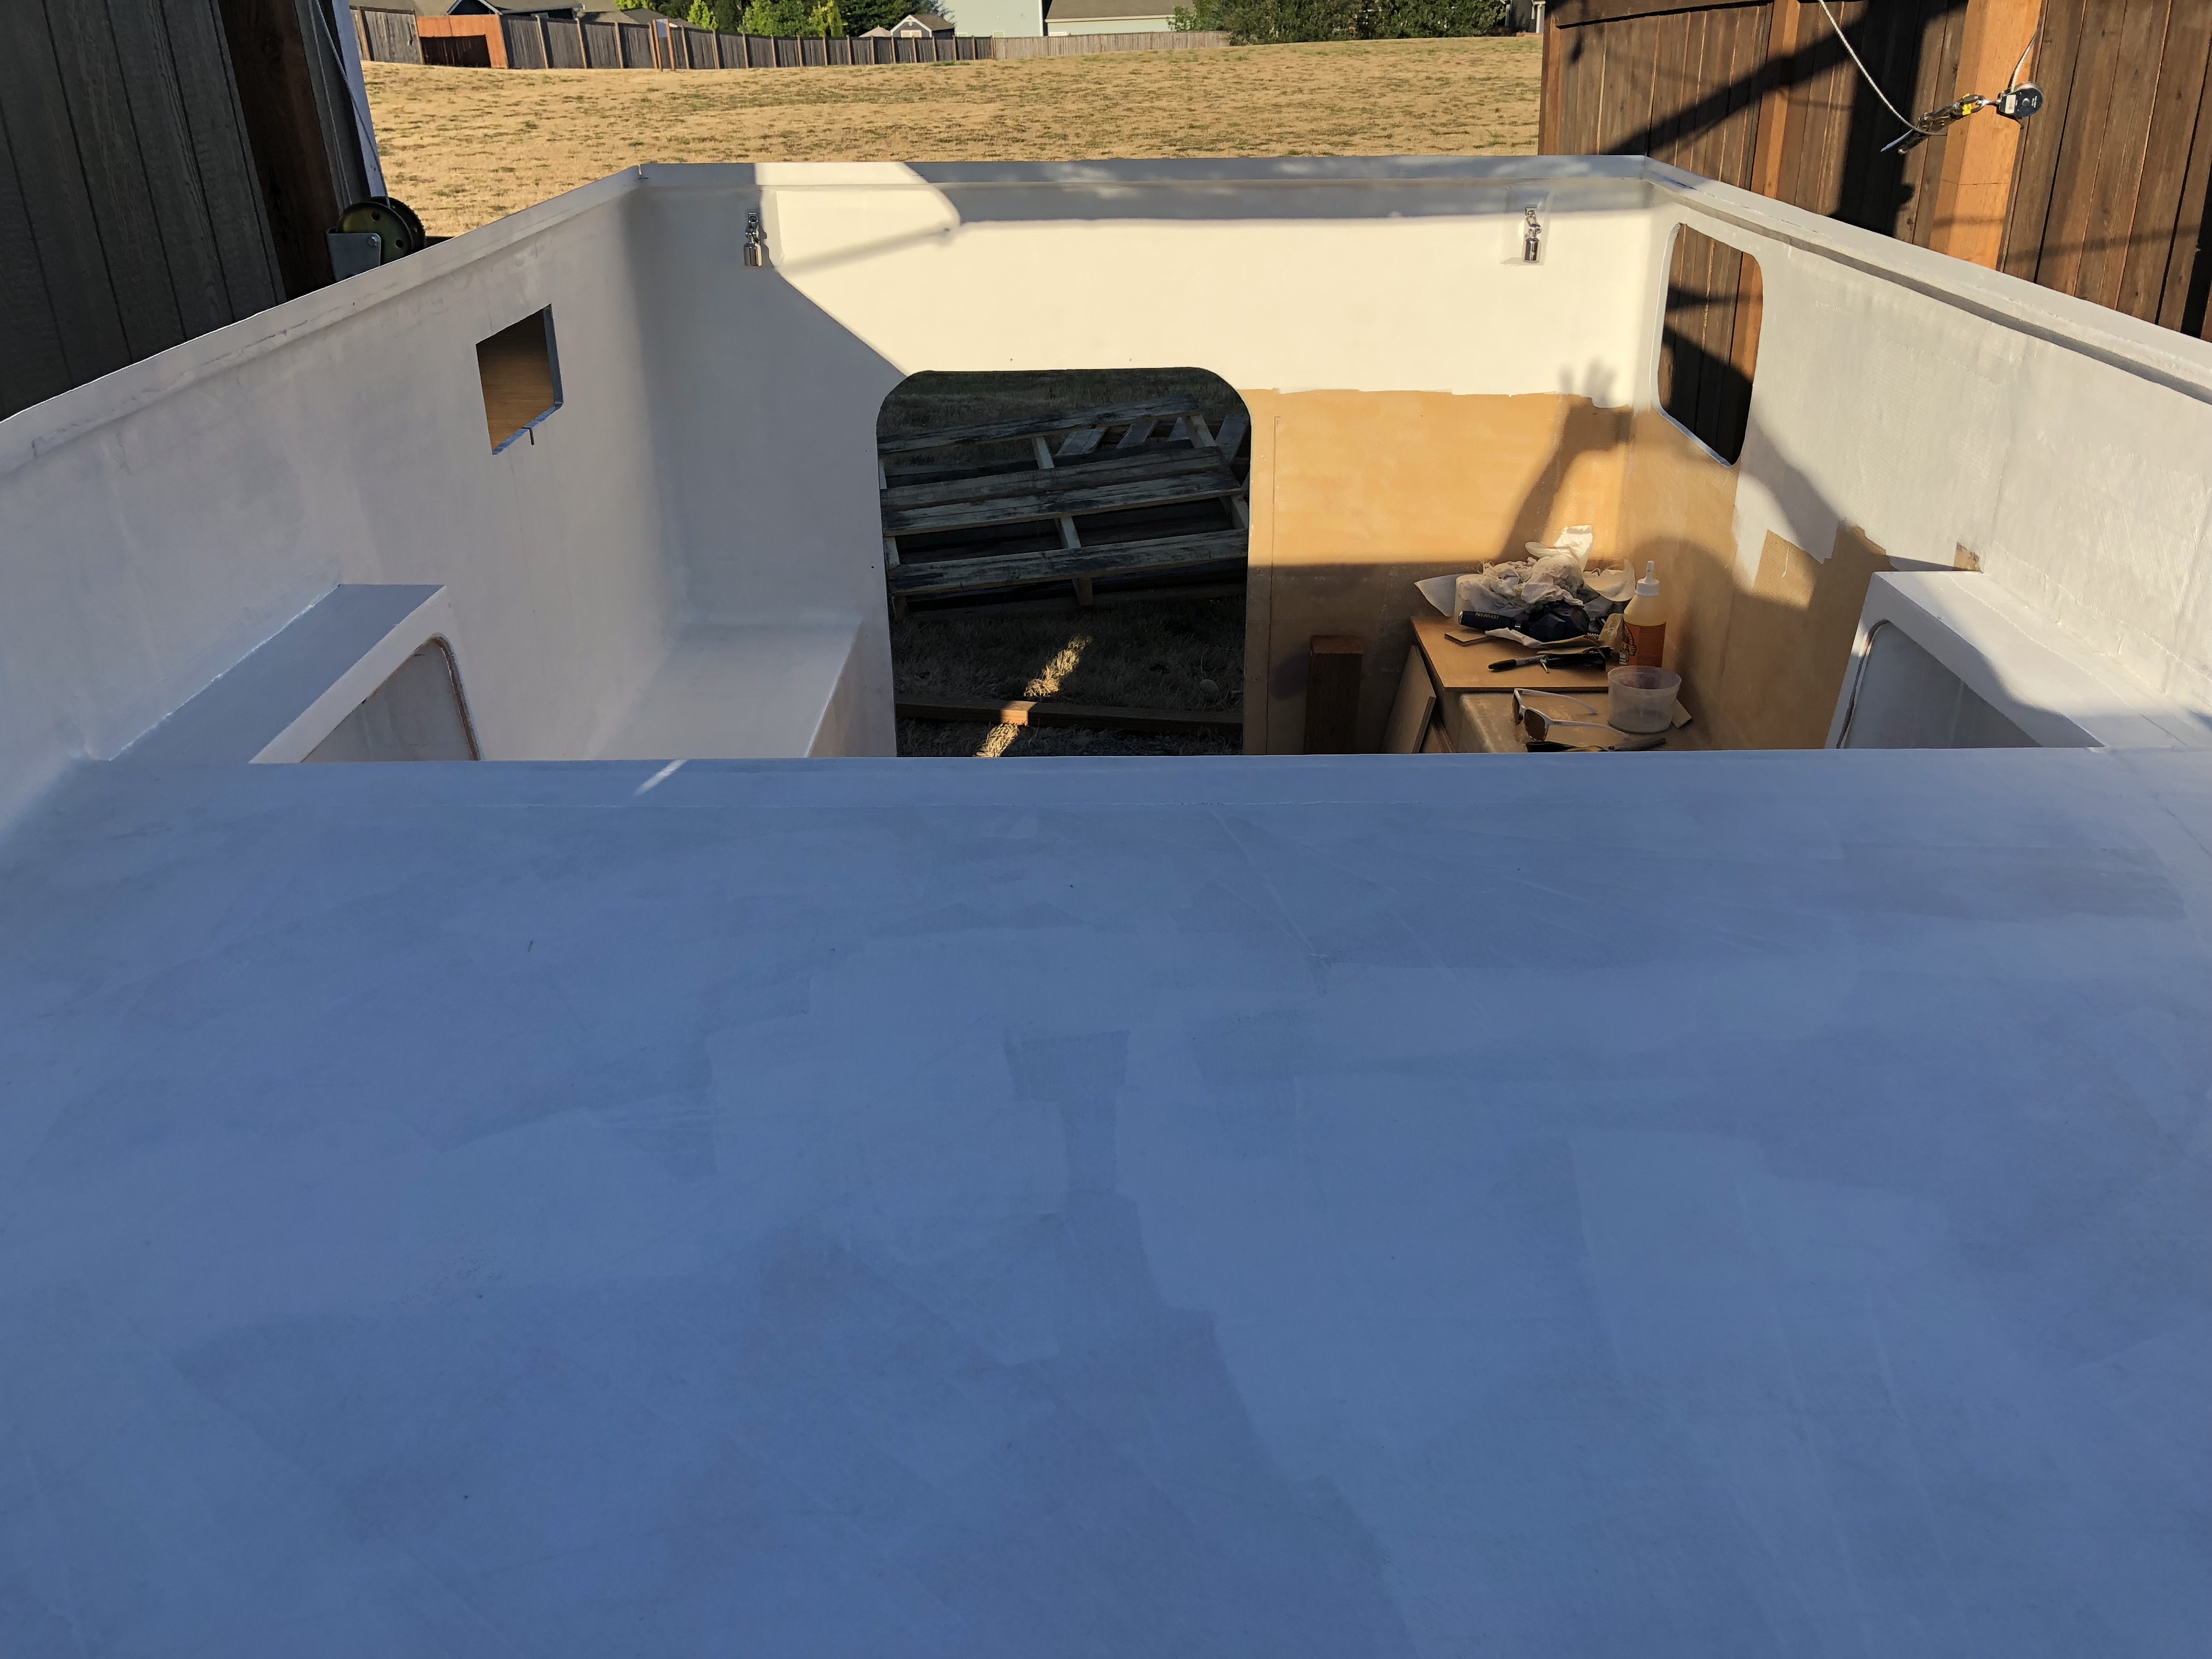
Waiting for things to dry takes up so much time...
IMG_0064.jpg

IMG_0065.jpg

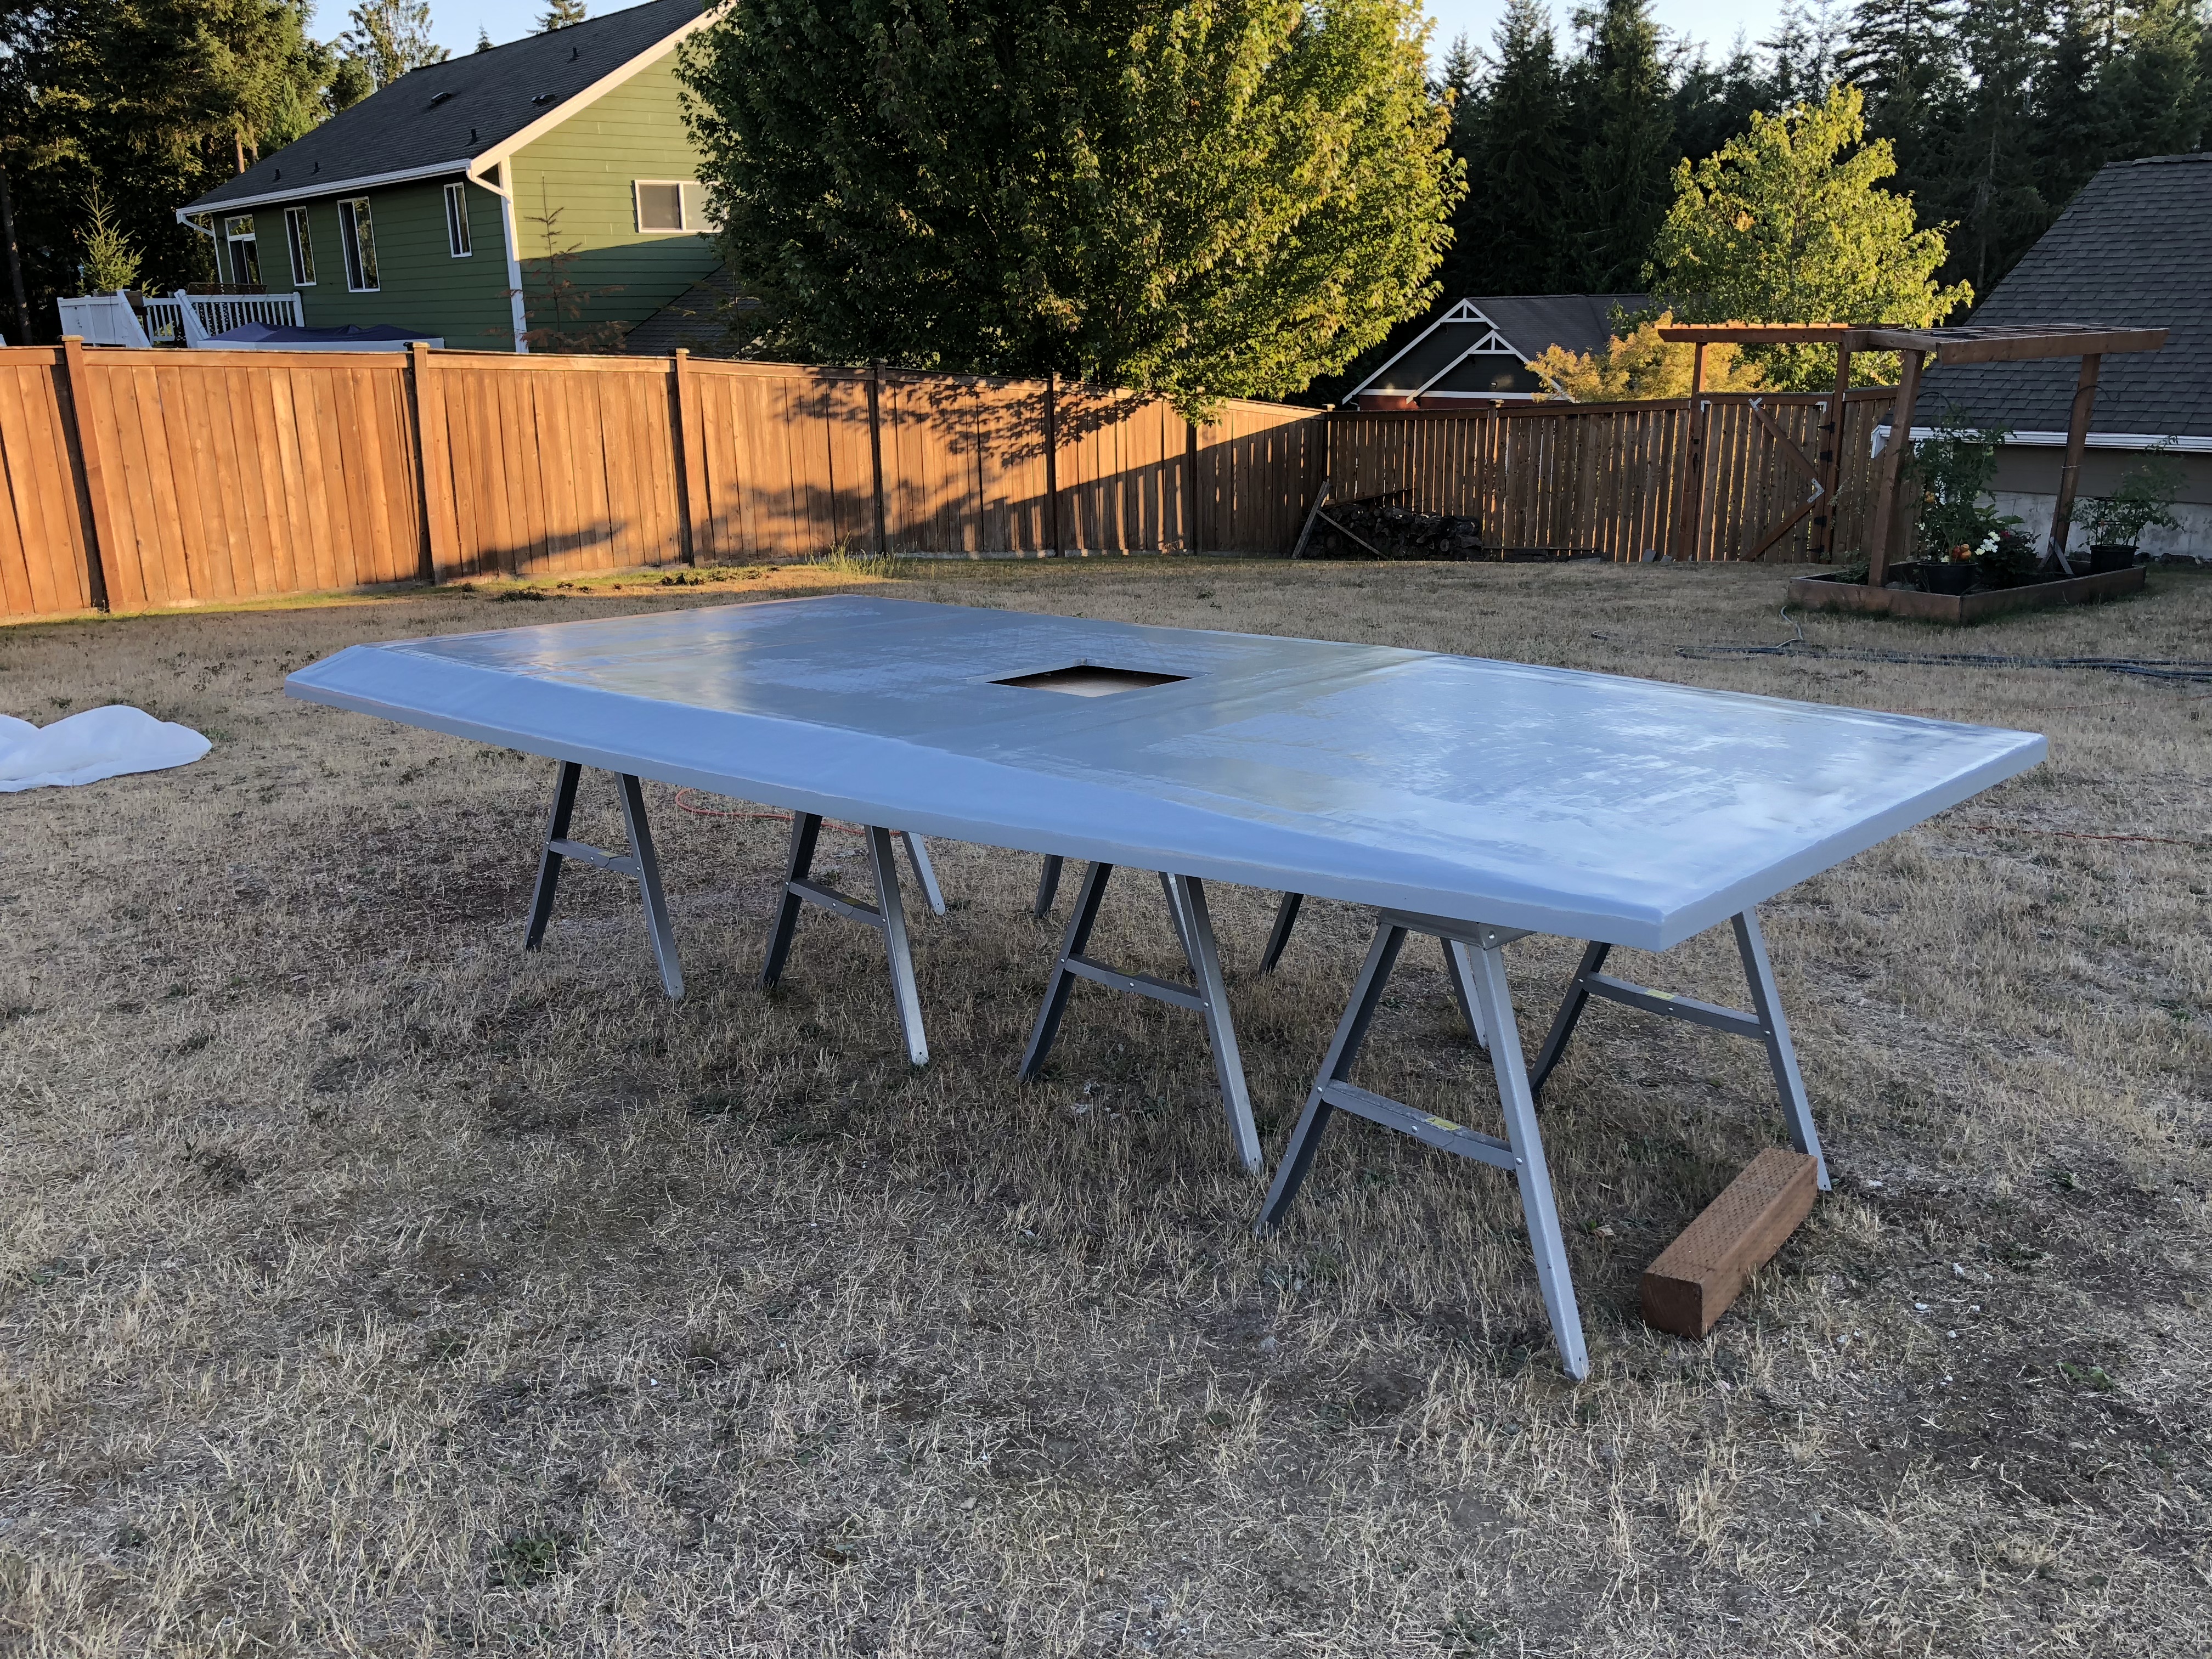
Time for some more fiberglass!
IMG_0066.jpg

I was using small 4" foam rollers and disposable trays for this part. Apparently the heat outside and the hot sun overhead was too much for the epoxy and it began to set up way sooner than it had been. The foam rollers would start to smoke and get so hot I was unable to touch them. This happened 3 times (yeah, I don't learn...) and then I decided I should probably take a break and let it cool down a little bit otherwise I was just going to keep toasting rollers and wasting material.
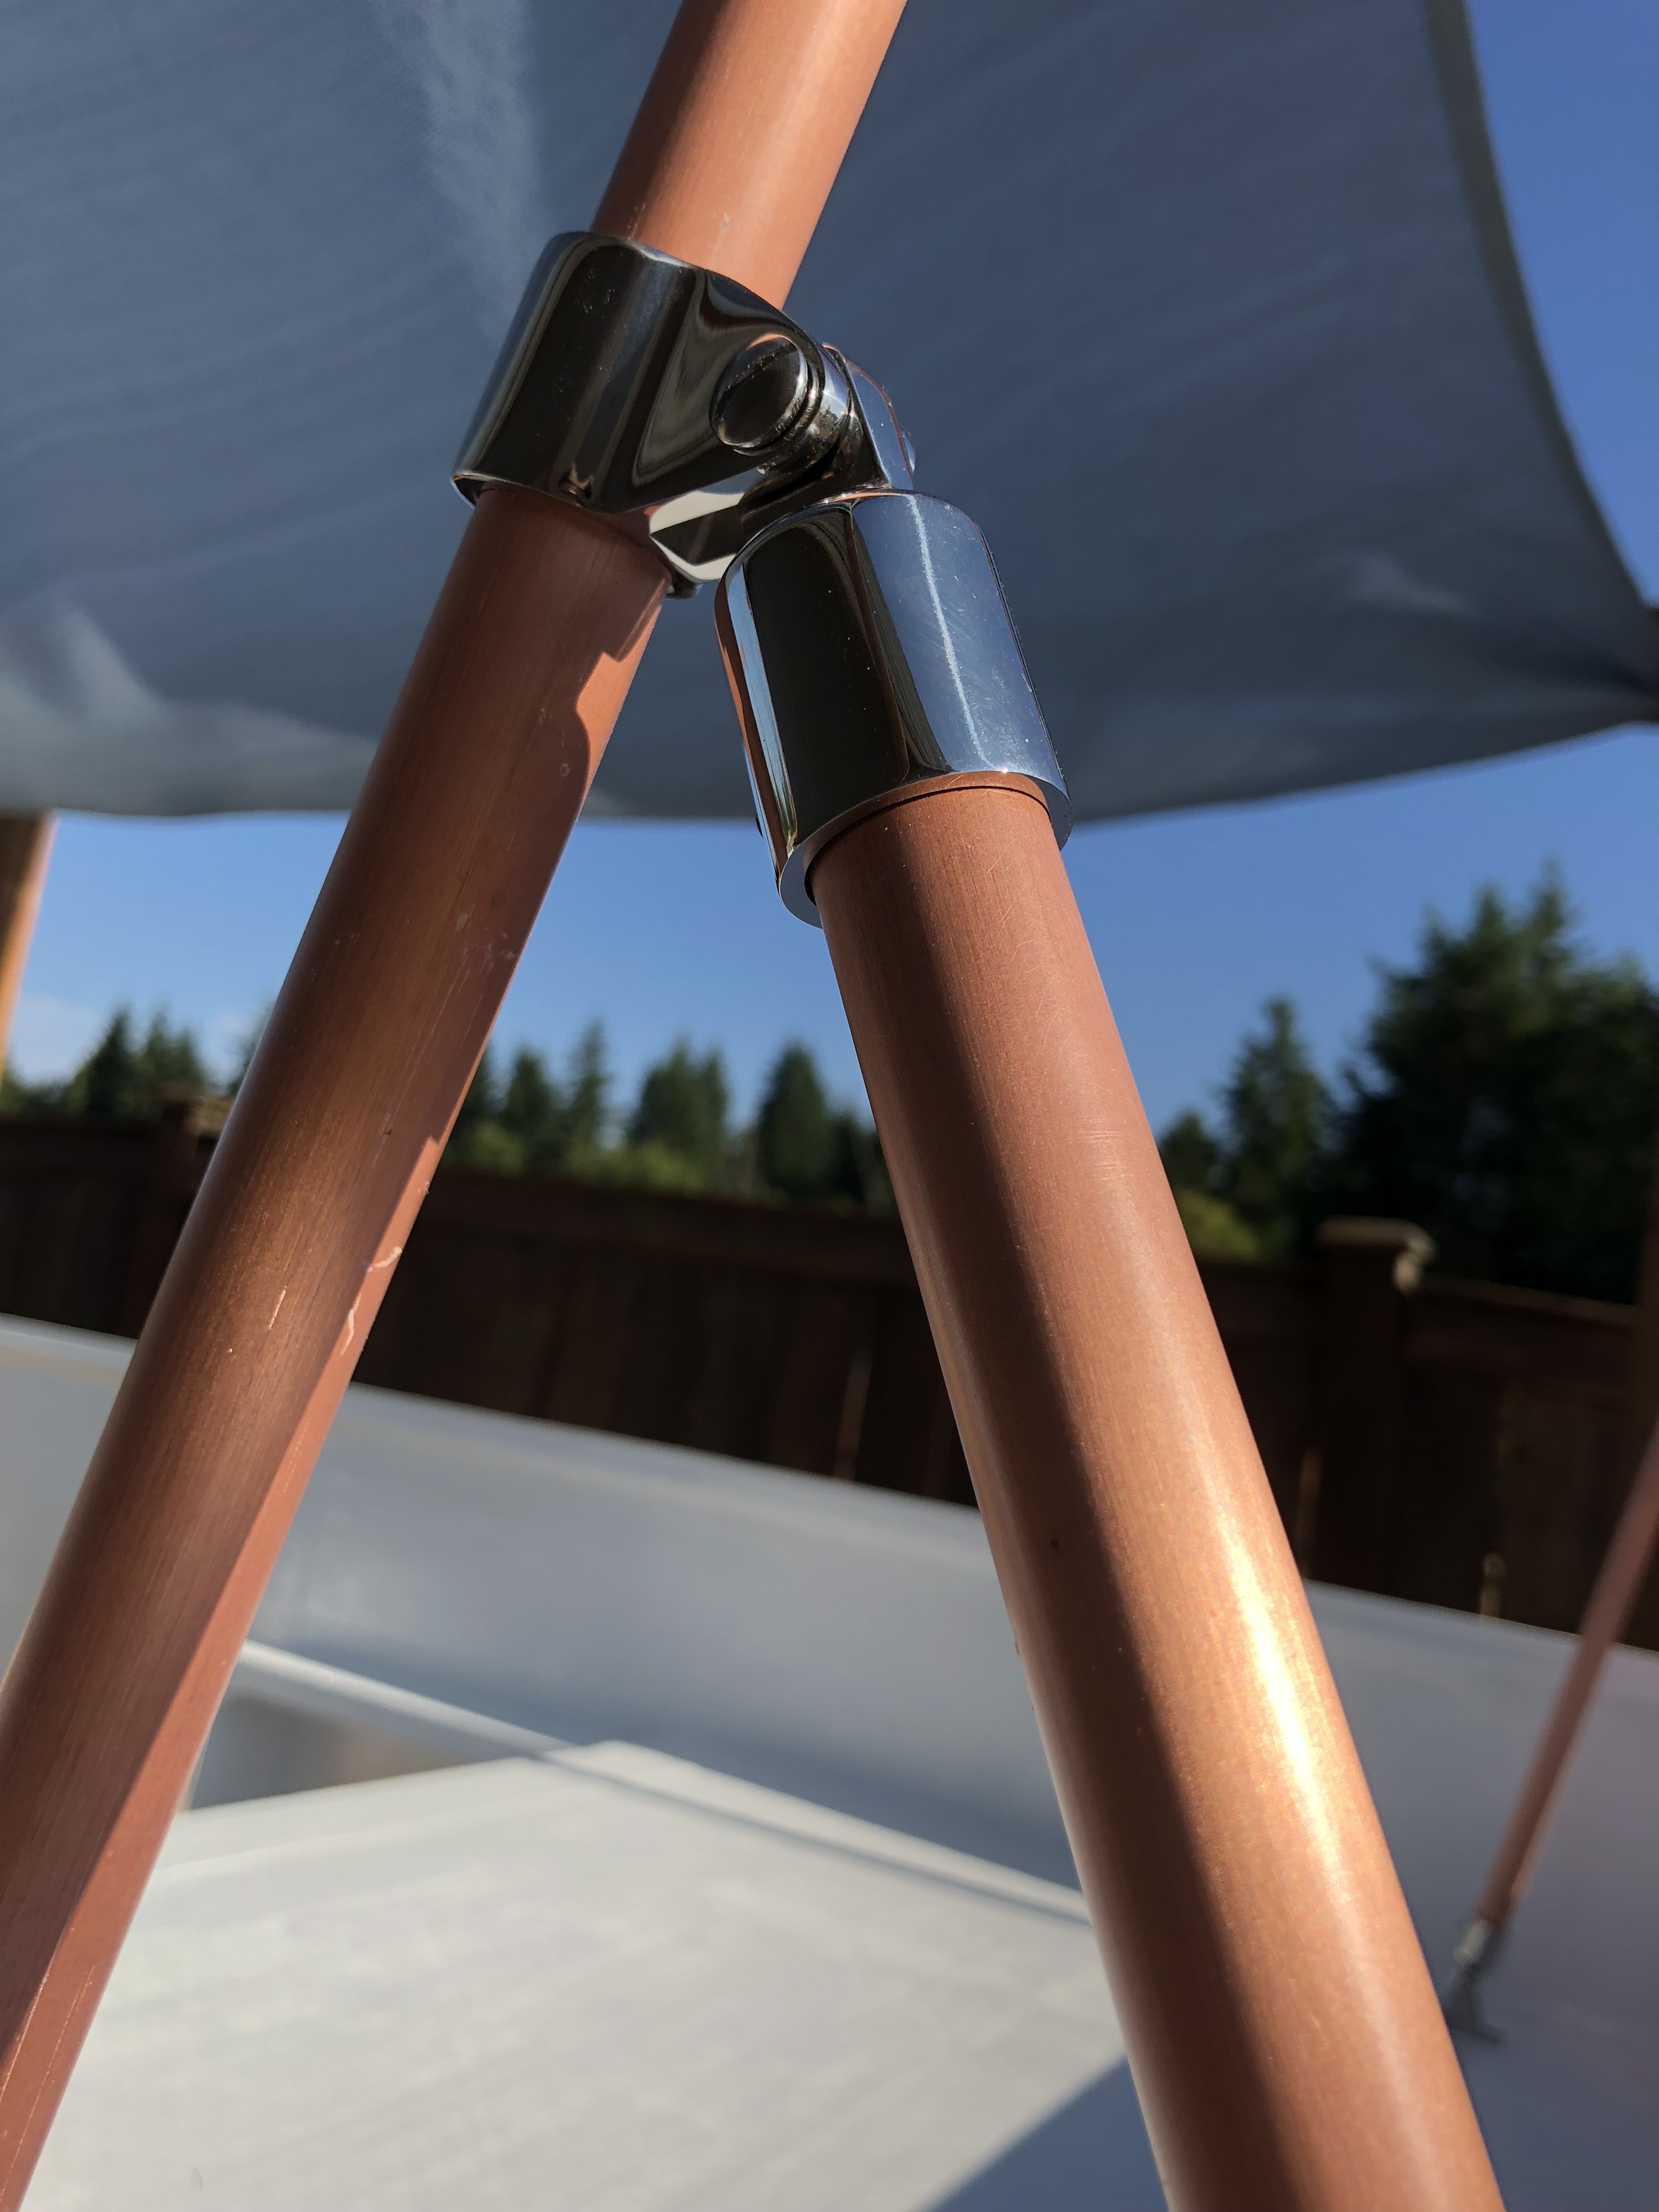
 

underkill

Active member
I think I see some spray on bed-liner in your future. :ROFLMAO:

Really it came out quite good I think. I find that a flat or semi gloss hides the texture a lot better.

Yeah, we did the bedliner on the bottom part!

I agree on the flat paint... by now it's pretty flat because of all the dirt and crap that's been on it while we've been using the camper, so it worked out in the end. We originally had plans to paint some crazy graphics on the side, but never got around to it. That would hide a lot of the little imperfections for sure!
 

underkill

Active member
After running by Lowe's for more foam rollers and chip brushes (and the grocery store for actual chips... just because) I cut many more strips of glass and finished the dinette!
IMG_0068.jpg

IMG_0070.jpg

IMG_0069.jpg

It actually is starting to feel like a camper now. We have a place to sit and eat dinner!
 

underkill

Active member
Now that the dinette was done, there was a lot of fiberglass prep to be done before paint. Be extra careful of the fiberglass shards left on the edges. I had so many jammed into my fingers. They're like tiny razor blades and hurt like hell! After prep, I grabbed my bucket of paint and brushes and went to town!
IMG_0076.jpg

IMG_0077.jpg

IMG_0078.jpg

IMG_0080.jpg

IMG_0082.jpg

I keep trying to just start with the white paint and not buying primer. The glass really soaks up paint and the white doesn't cover really well. Always use primer! The white paint really brightens up the interior a considerable amount! I painted everything except where the galley is going to go and the floor because we're not quite sure what we're going to do with that yet....
 

underkill

Active member
Since there was only room for one person inside the camper to work, Jason cut a mounting block out of thick wood that we found in the garage for the battery to tie to.
IMG_0075.jpg

... and another few coats of paint has the interior looking pretty nice! :) Also note my blue sun shade above the camper. Well worth whatever it cost on amazon!
IMG_0172.jpg

IMG_0173.jpg

Finally got to the first part of the galley cabinets! Just going to start on that end and work my way to the back...
IMG_0174.jpg

IMG_0175.jpg

We've also been ordering parts for the camper and the electrical system... it looks like Amazon threw up in our office...
IMG_0165.jpg

The plan for the electrical stuff was to put it behind the driver's side dinette seat, so Jason made a template and laid everything out where it would be most efficient. Looks pretty nice!
IMG_0178.jpg
 

underkill

Active member
Up until now the roof to this thing has been laying upside down in the middle of our yard which was, legitimately, starting to look a little trashy. ;) The goal for today was to get the roof installed on the lift!
IMG_0180.jpg

We put the gasket on the top part so dirt and water wouldn't be trapped on the lower part.

Lift mechanisms installed and raised!
IMG_0181.jpg

I sanded and clearcoated the copper tubing for maximum bling.
IMG_0182.jpg

Here it is with the roof on top!
IMG_0184.jpg

We did run into a few issues while installing the lift. The stiffeners on the roof hit the forward part of the lift bars when the roof is lowered. I'll have to clearance them to fit. The aluminum angle actually made the roof much much stiffer than it already was. I'm thinking that once the canvas is installed it shouldn't flex any at all. The roof also needs a lot of touch up paint from where I missed spots. Annoying but recoverable.

This is just the rear lift. It may still need some height adjustment, which is done via the slider in the middle and if we really didn't measure well, some can be trimmed off of the actual tubing length.
IMG_0192.jpg

Didn't quite finish the front lift today (probably because it's harder to get to) but now the roof is actually a permanent thing! It looks awesome!
IMG_0186.jpg

IMG_0188.jpg

IMG_0189.jpg

IMG_0191.jpg
 

Forum statistics

Threads
186,051
Messages
2,881,441
Members
225,825
Latest member
JCCB1998
Top