mse871859949
New member
Title says it all. Camper, toyhauler, utility trailer all in one...
New here to Expedition Portal and I'm very excited this forum exists. I have been itching for a new project and finally settled on one. I have been working on project cars/trucks for the past few years, but have never done a trailer or carpentry project of this scale. I don't know jack about carpentry, finishing, framing, paints, stains, caulk, etc...I am more a mechanic. That said, I dove right in. It's not ideal out here in the Northeast...it's fricken cold and I'm doing this all in my uninsulated and unheated garage (more on this later). But if there is a will there is a way. So lets get started.
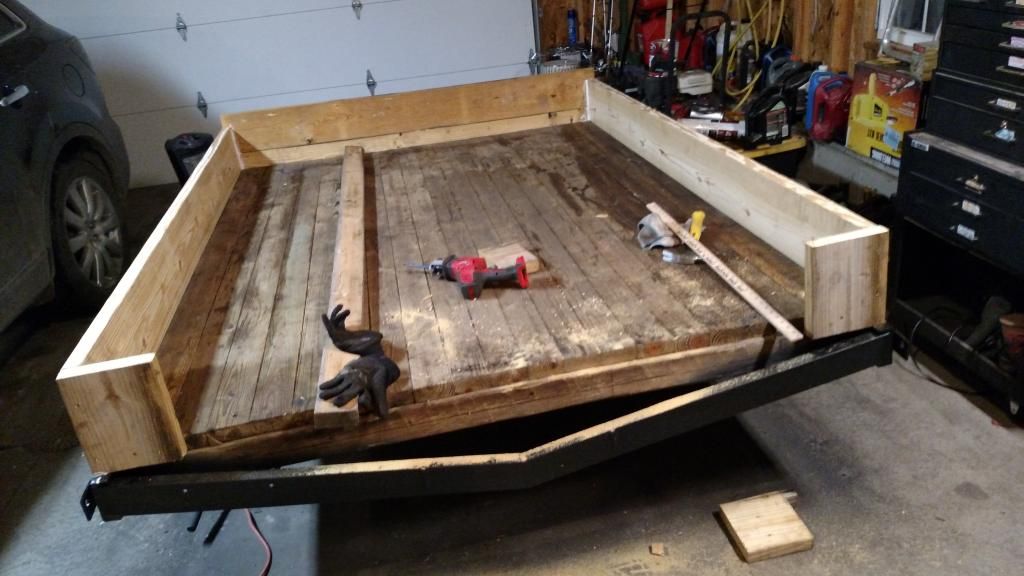
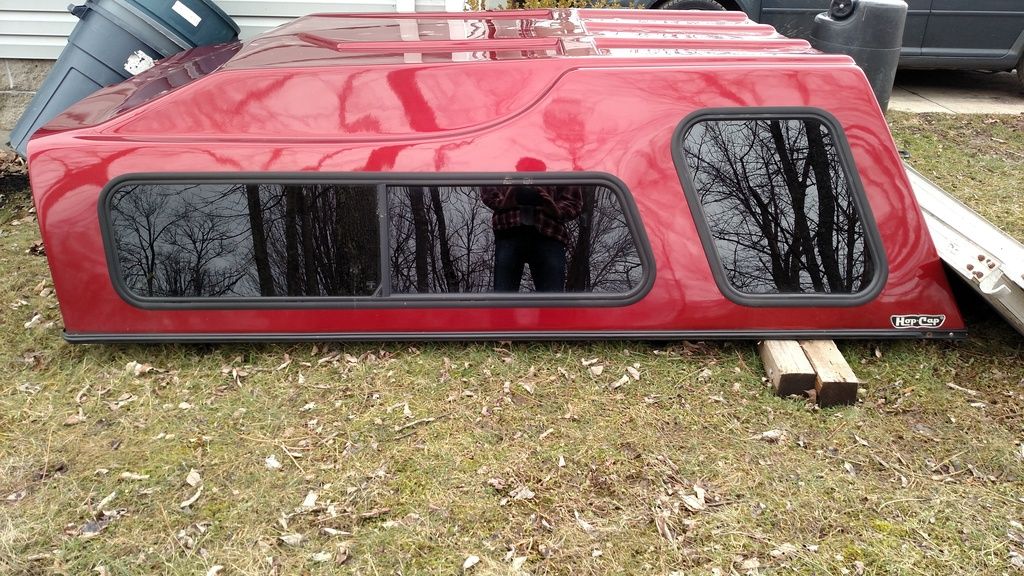
I started with a 6x8 homemade utility trailer I bought from a guy for $250. It's very heavy duty. 3,500lb axle, 215/75/r14 tires, has (6) 4"x4"s spanning the width, and unfortunately a couple odd "V" shaped braces because it was a boat trailer ...more than I need, but good to know its heavy duty! I have a long bed high-back fiberglass truck topper left over from a project truck that I am going to use for the roof, windows and hatch. Convenient! The goal is to build a camper/expedition trailer that can be quickly gutted and converted to a cargo trailer to haul an atv, plywood, a deer etc. I want to keep the utility of the trailer but also be able to take it camping.
I am not good at drawing so just try to visualize with me.
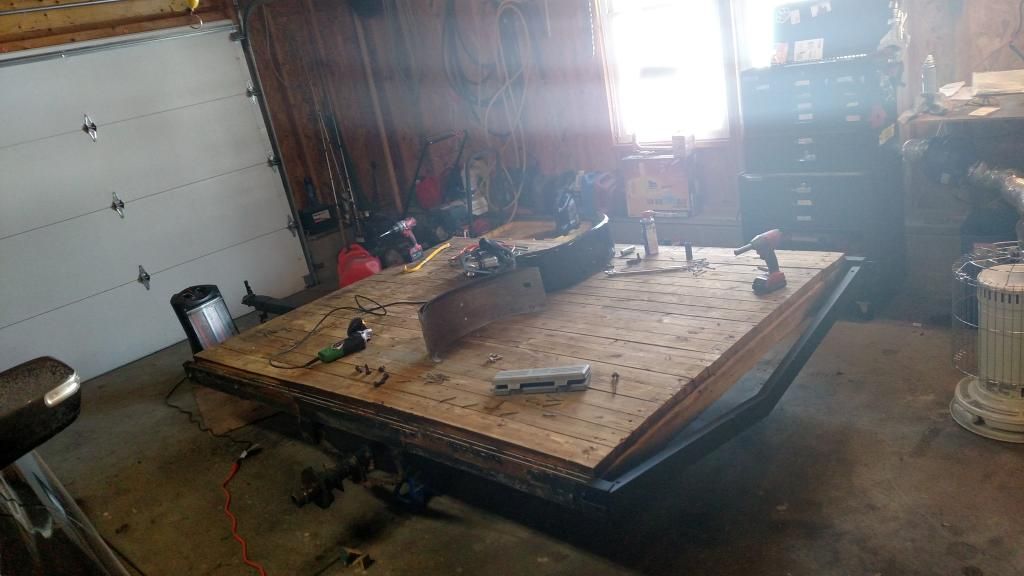
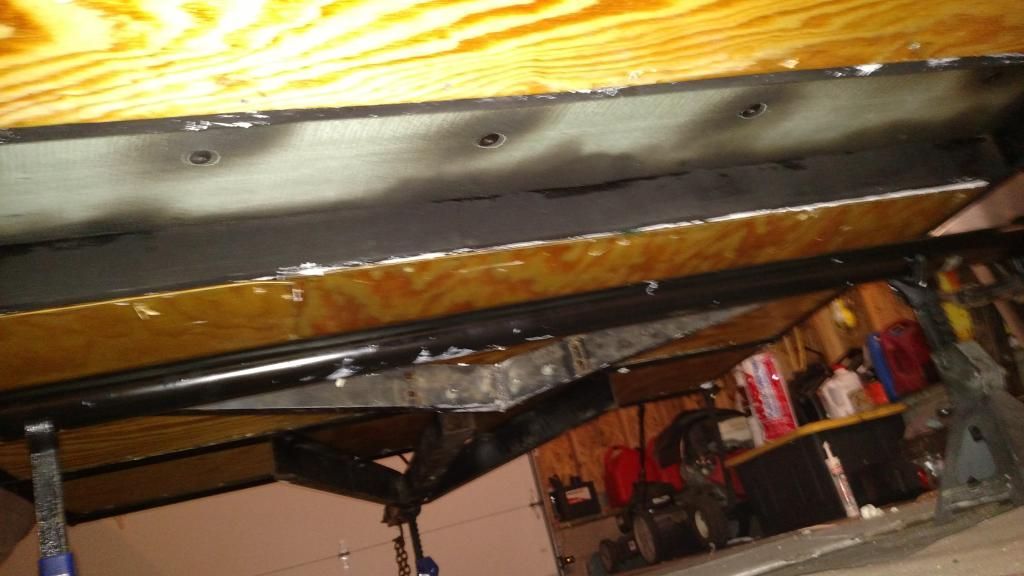
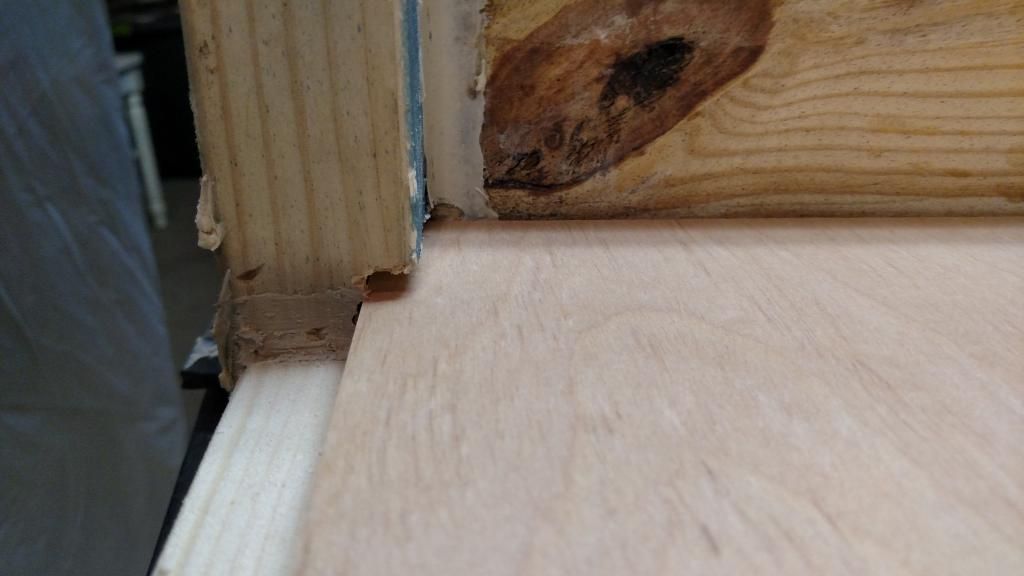
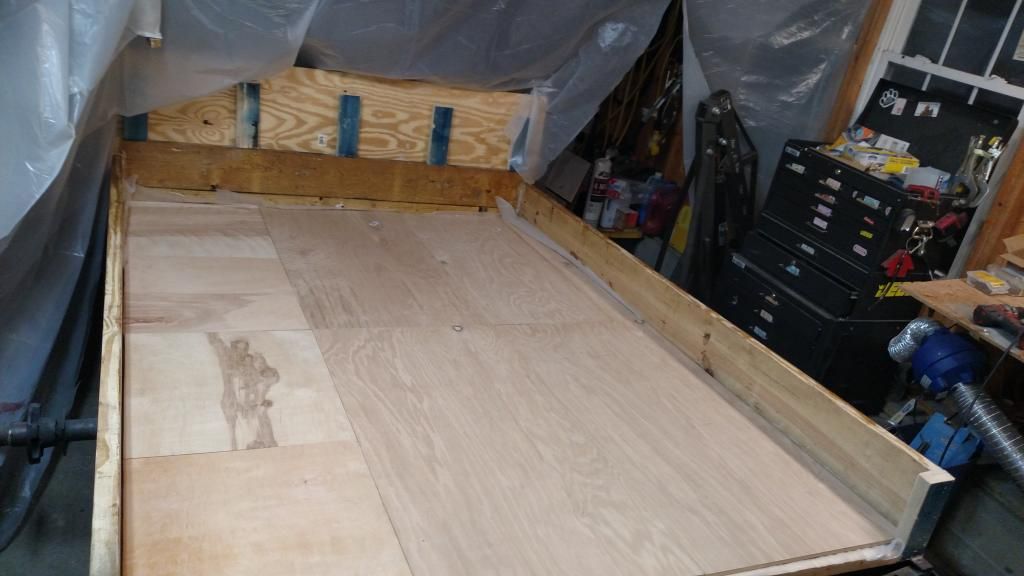
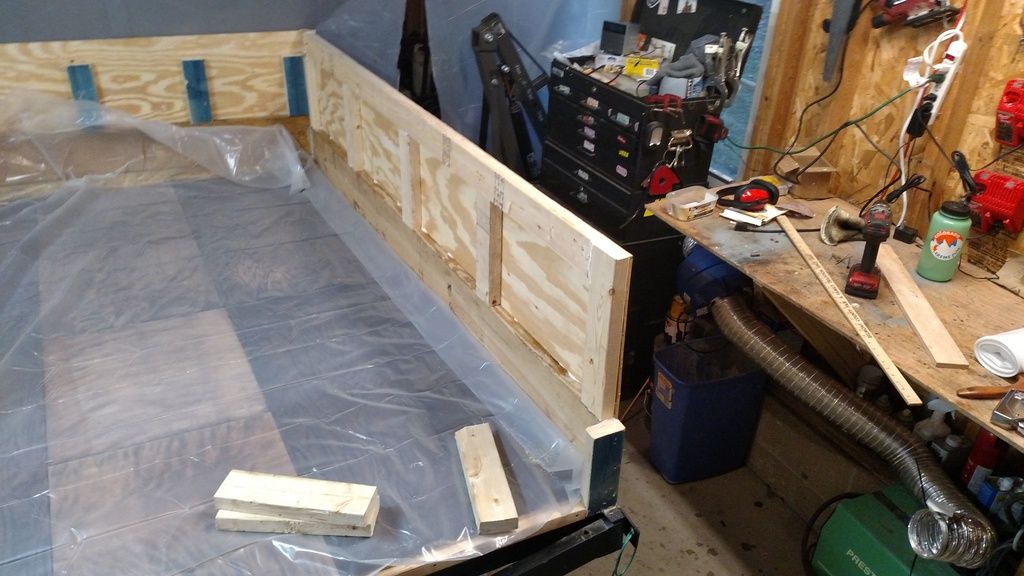
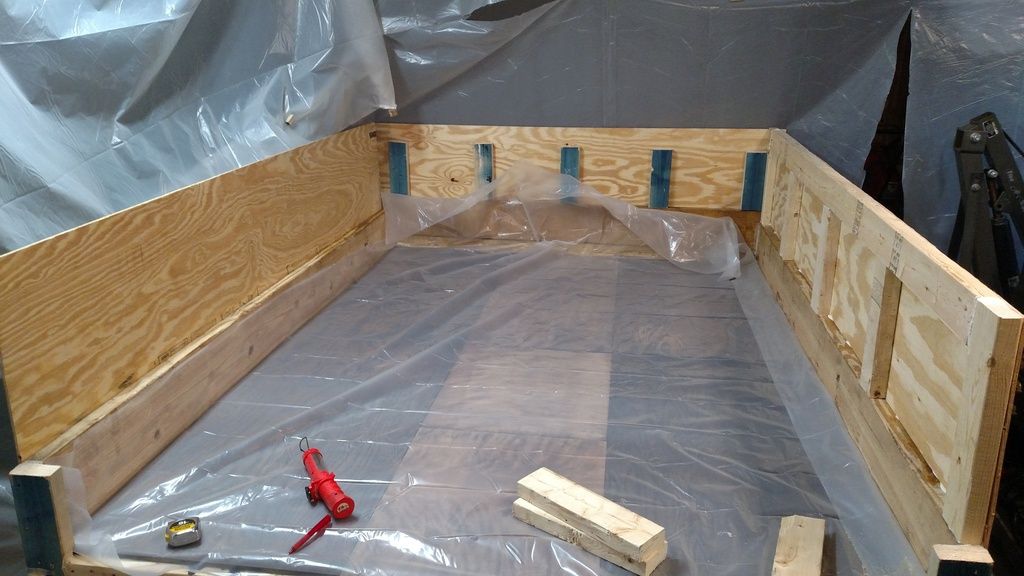
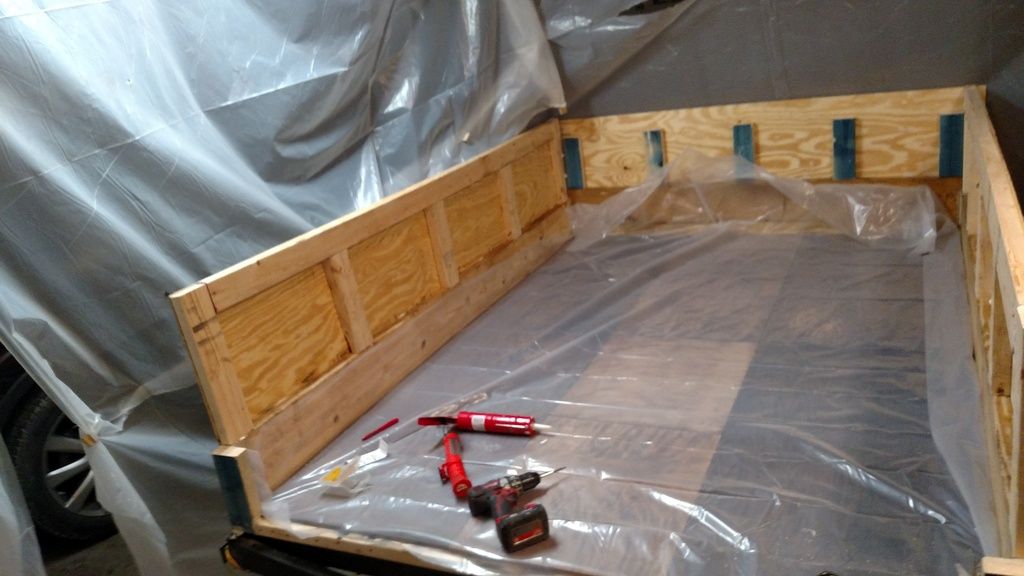
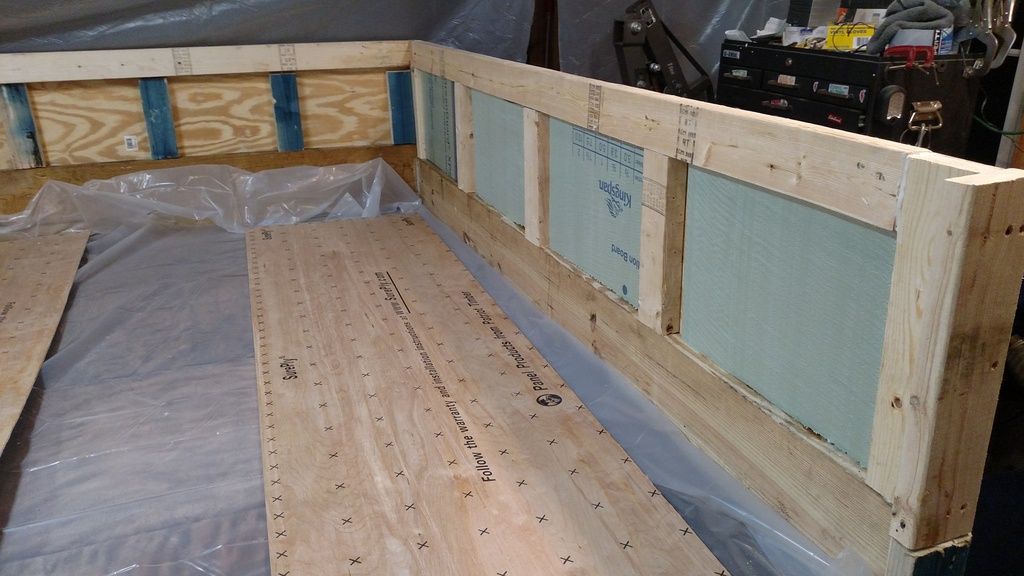
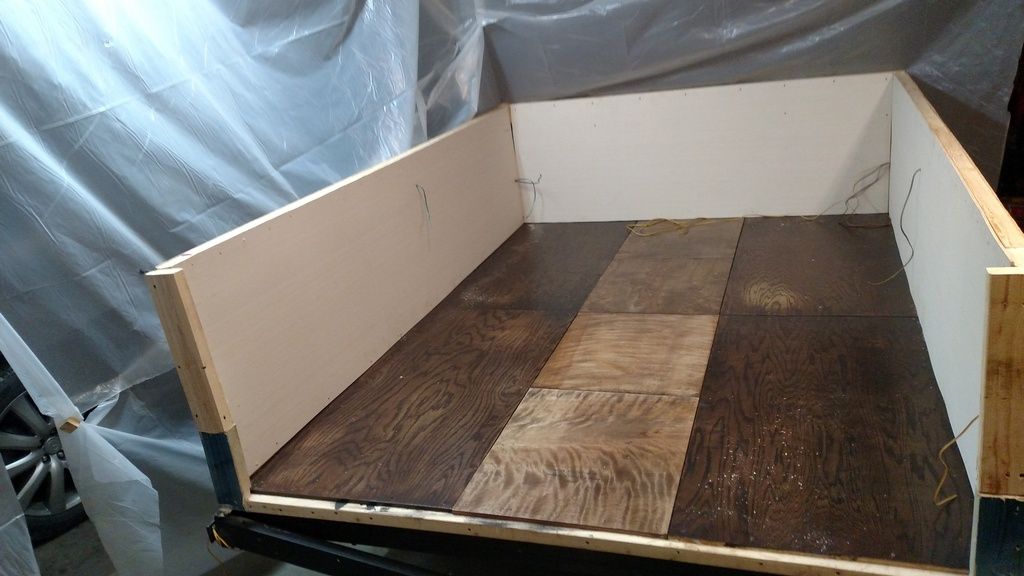
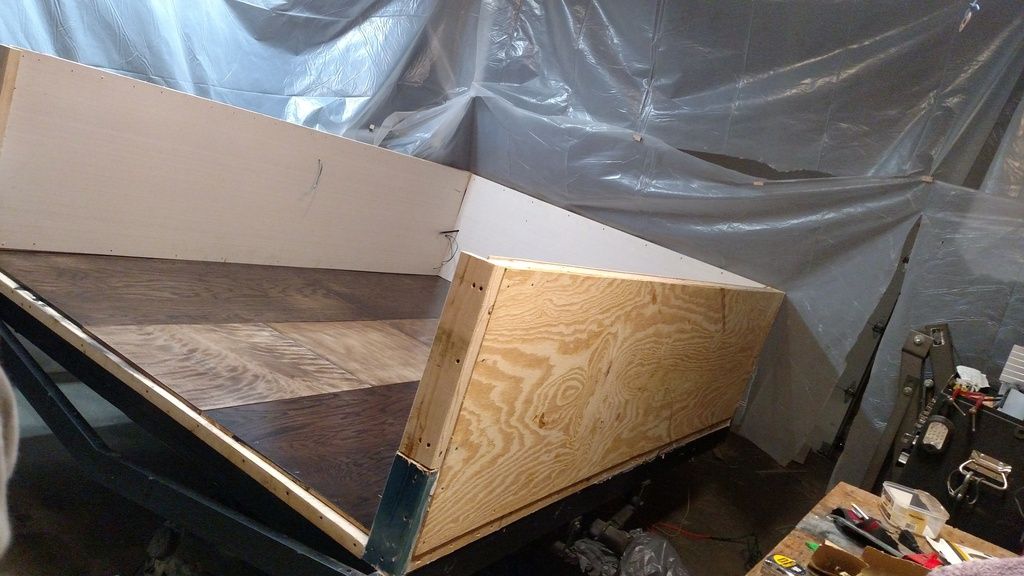
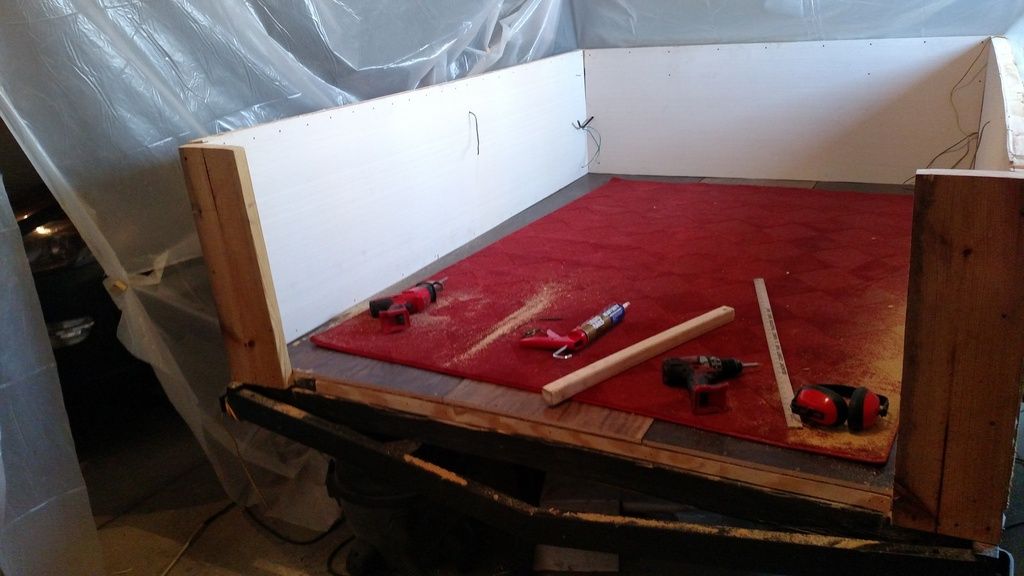
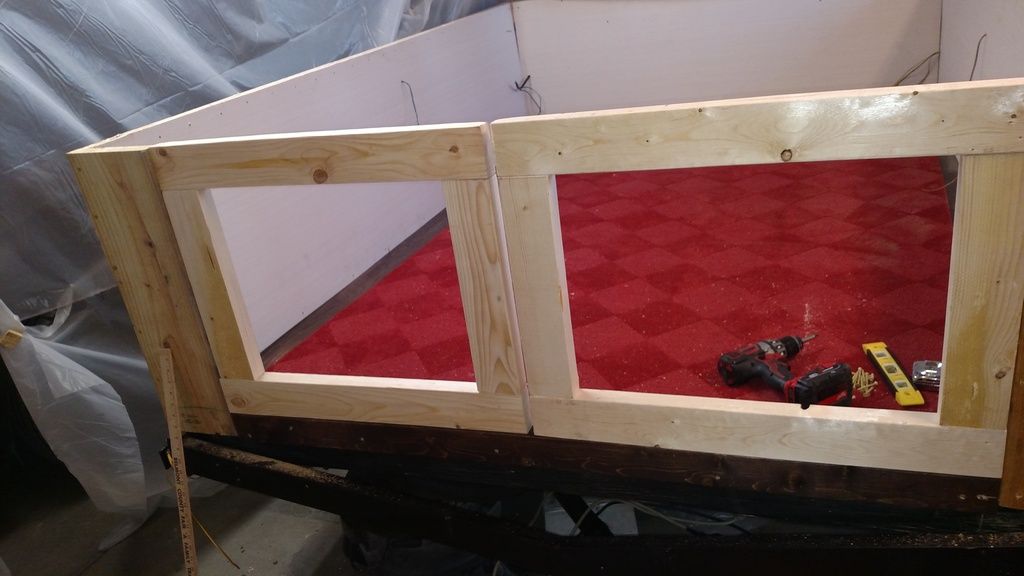
First things were brand new tires, new rims will come at the end. I pulled the sides off the trailer leaving a fairly decent 2x4 deck. Wire brushed the frame as best I could with my angle grinder and coated with black rustoleum. I used 2x8's for the sides and liquid nailed and screwed them along the frame rail creating a U shaped box. It's very sturdy.
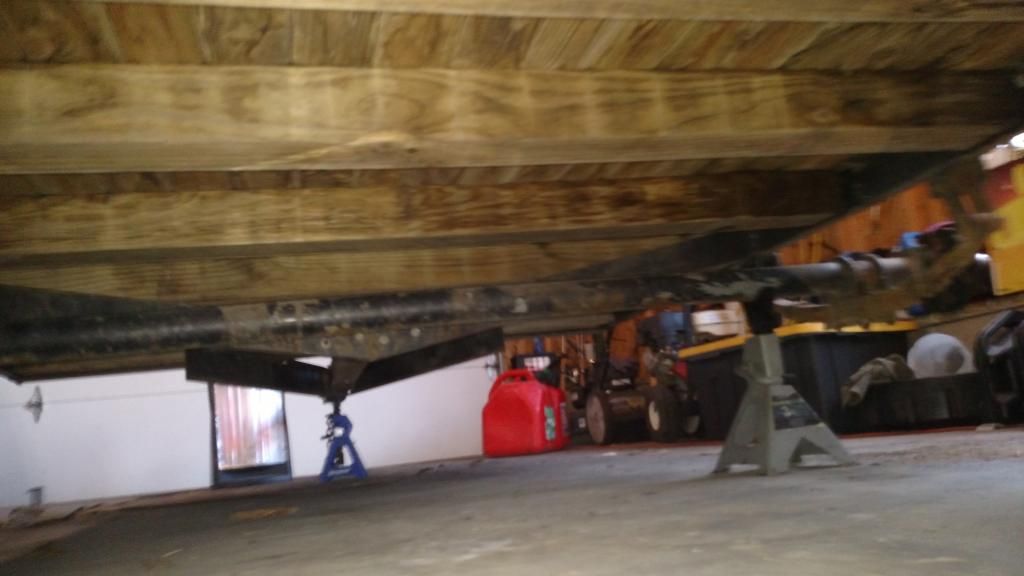
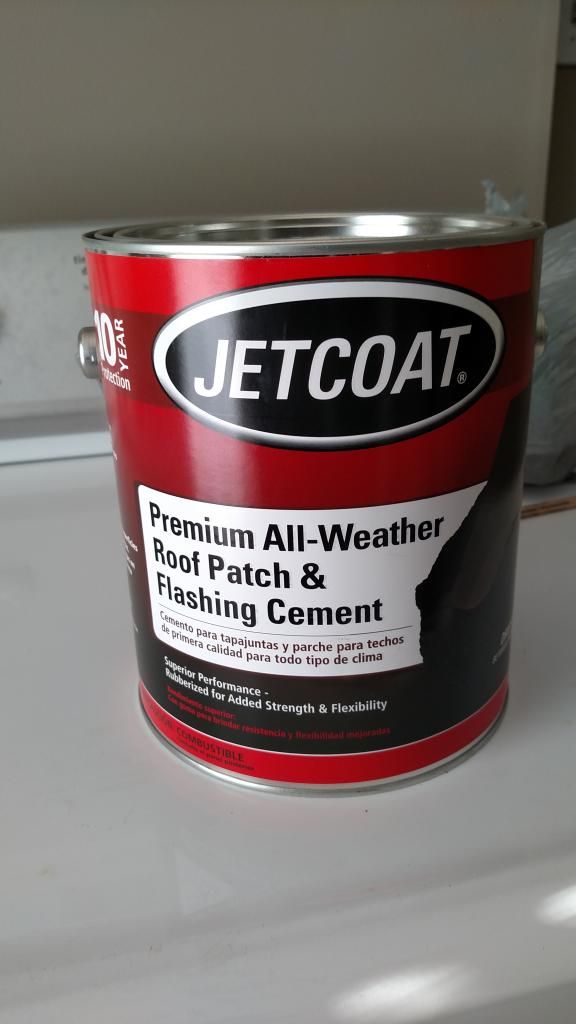
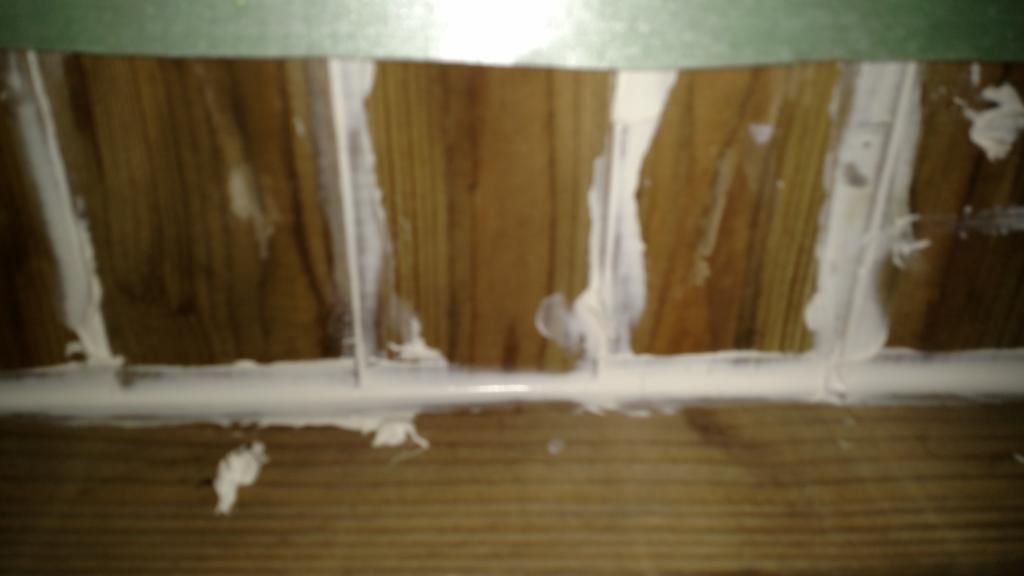
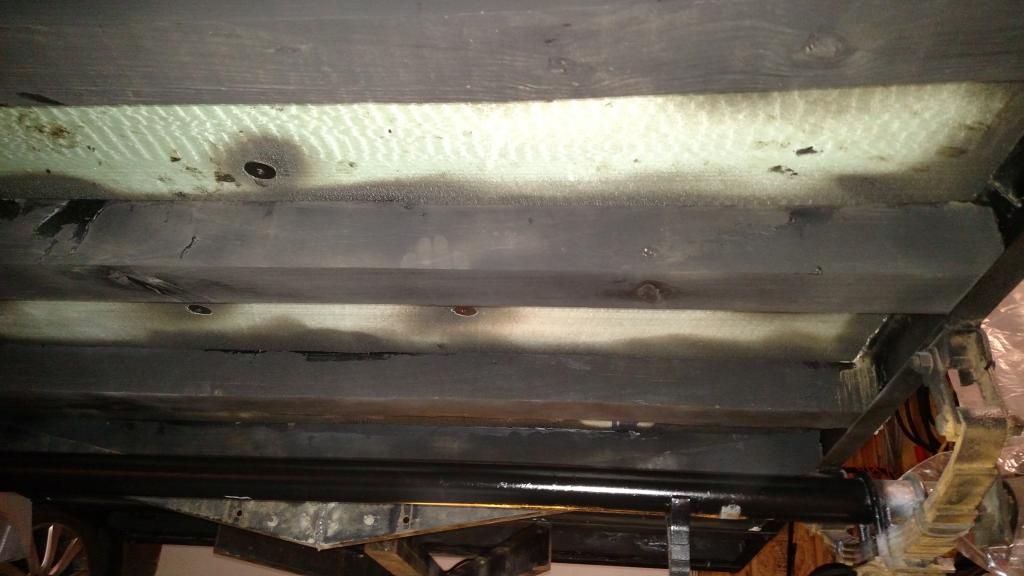
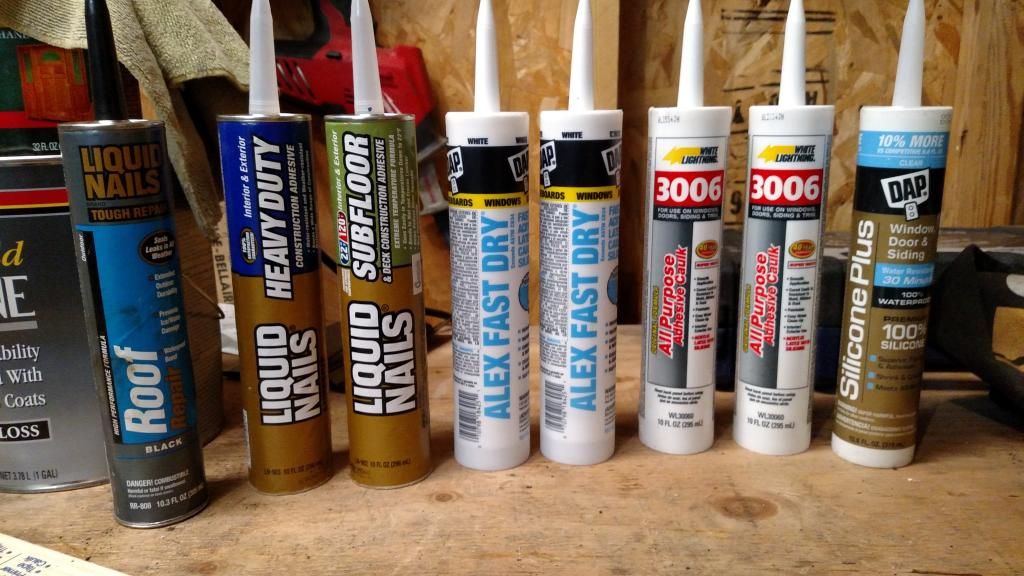
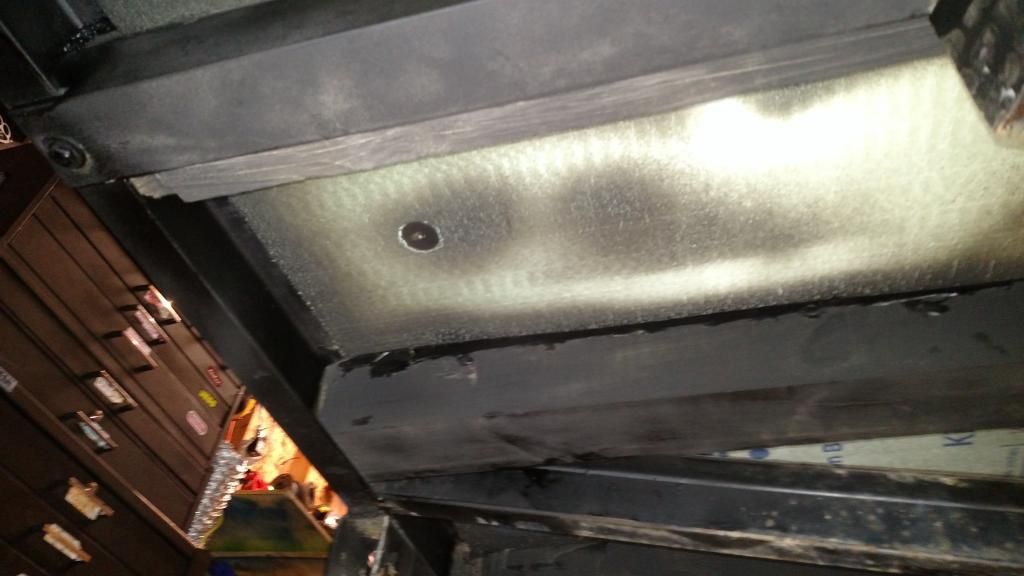
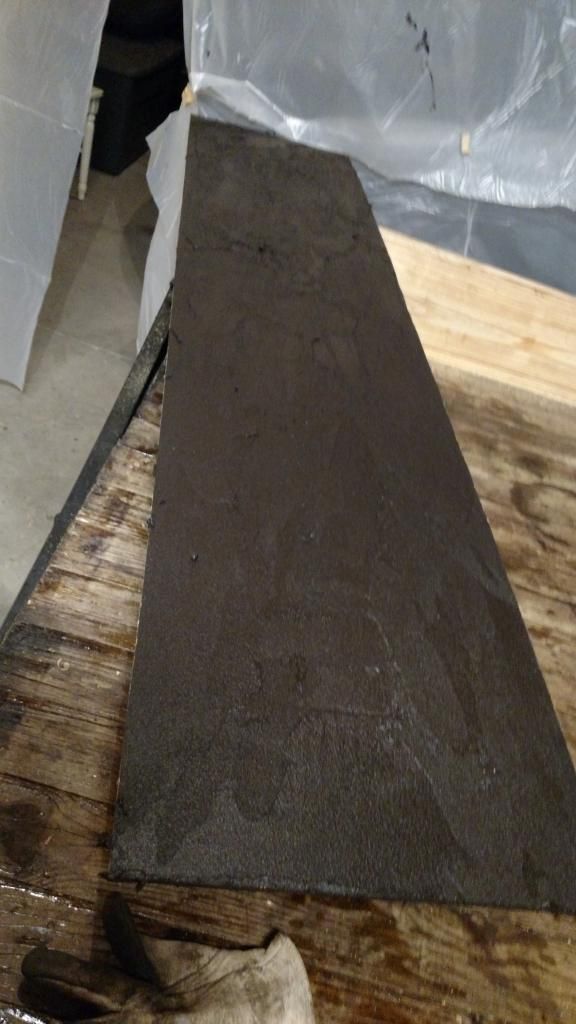
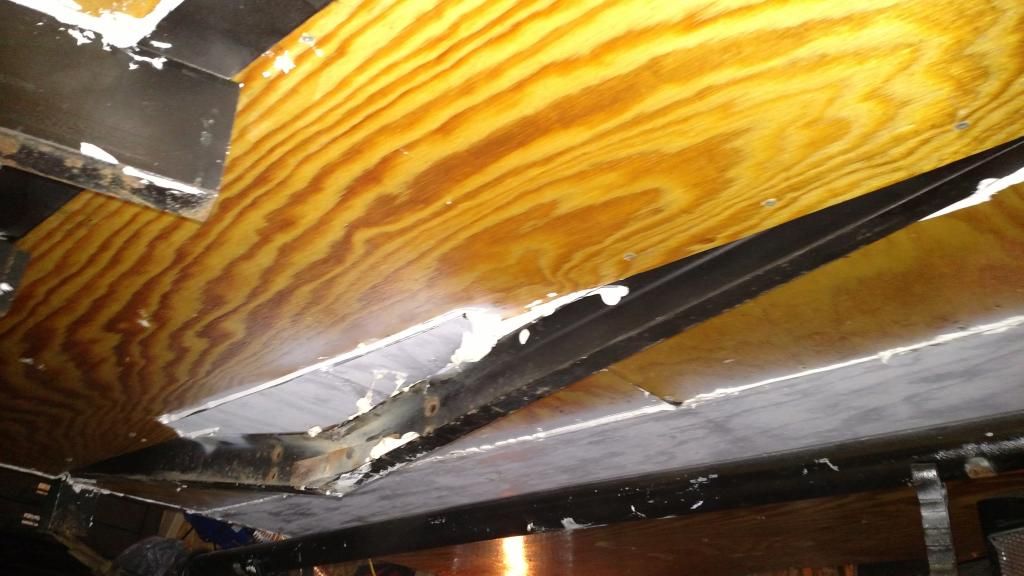
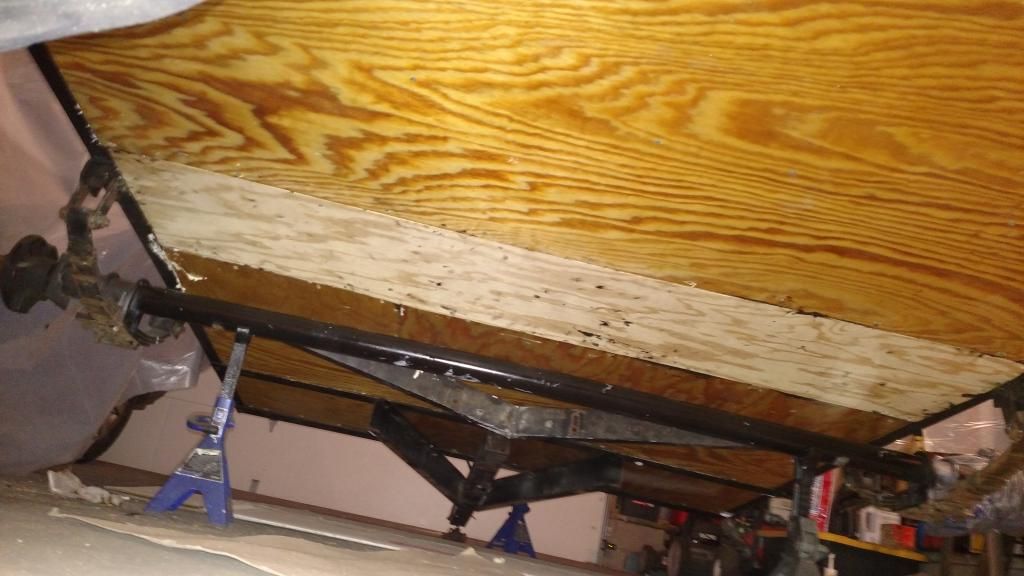
Next, the ever important underside. I wanted this thing to be WATERPROOF. I want it to damn near float so I pulled out all the stops. I cleaned the underside and picked up some jetcoat roofing adhesive/cement. DO NOT GET THIS. It's way too thick, especially in cold temps and needs to be spread with a trowel. I used it on one of the sections between the 4x4's, but changed plans. I used liquid nails to fill every single gap on the 2x4 laid deck from the underside. When the liquid nails ran out I used roofing cement in a caulk style formula, worked great. Took about 5 tubes of the stuff but I sealed everything, and a total PITA because all this is done on my back under the trailer. Next was some 1/2" foam board insulation, cut to size, screwed and glued to the underside. Following this I bought 5 cans of Rustoleum rubberized undercoating from Wallyworld and went to town. I sprayed the entire underbelly with the undercoating.
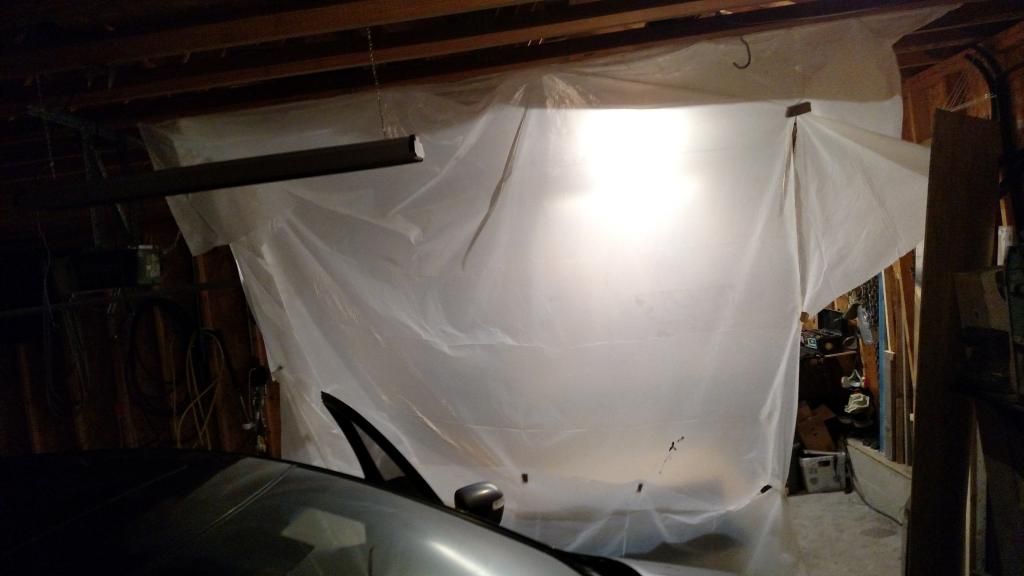
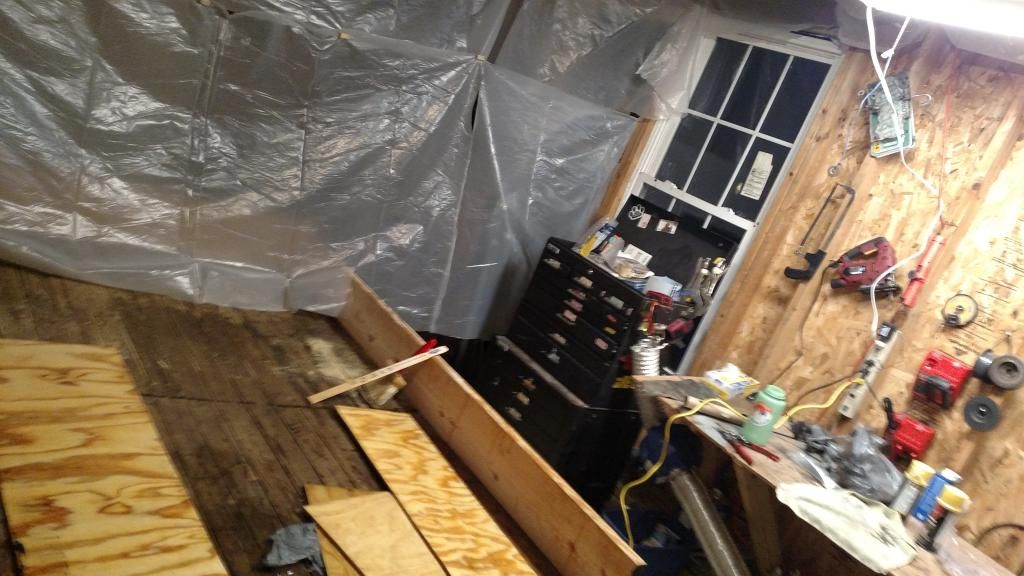
I built a little "Dexter style" room out of 4mil plastic to enclose the trailer in my garage space and help with the heating situation. seems to have helped but it's still pretty cold since temps are down around 0. No good for painting, it takes about 10x the time for the paint to dry.
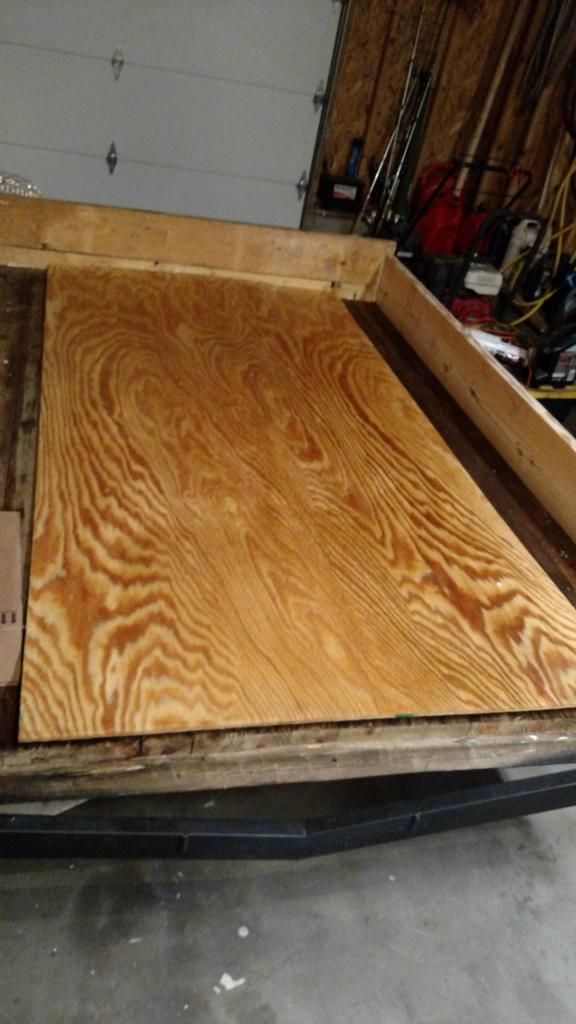
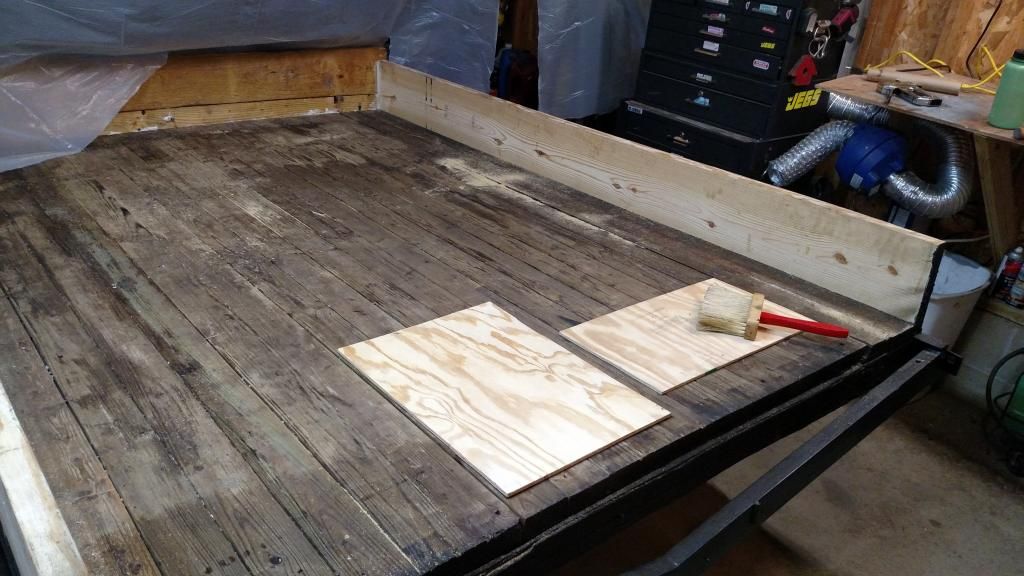
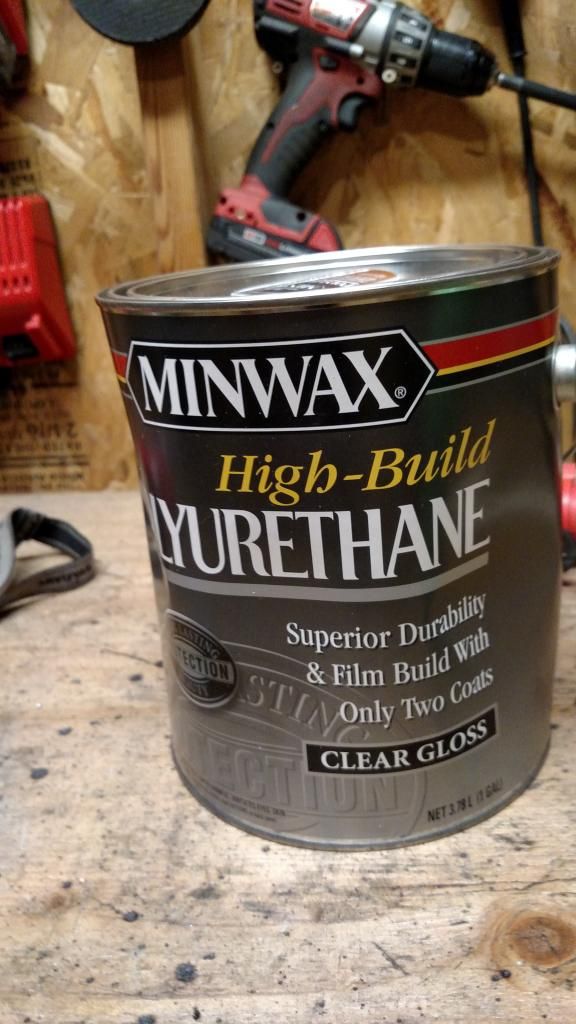
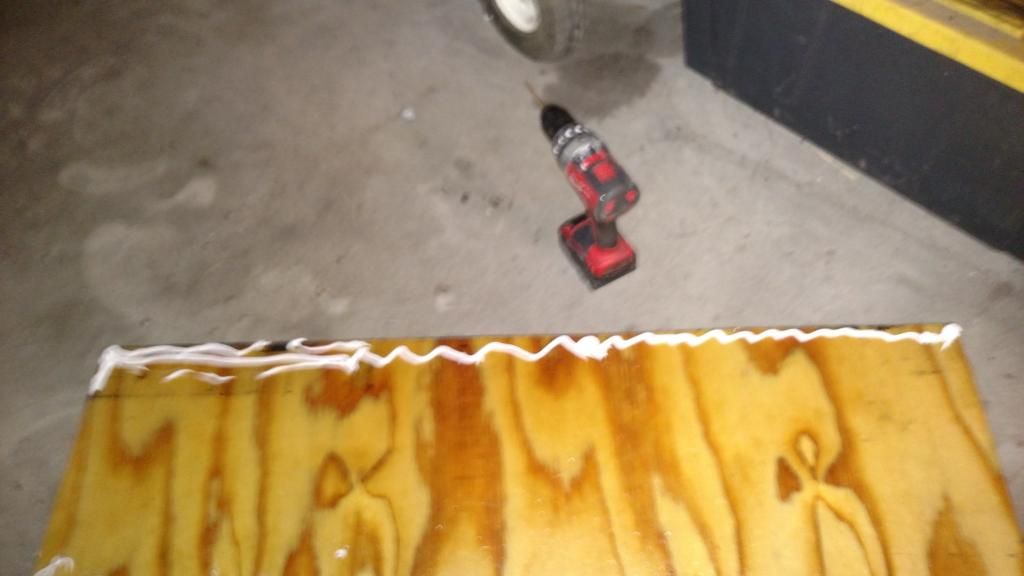
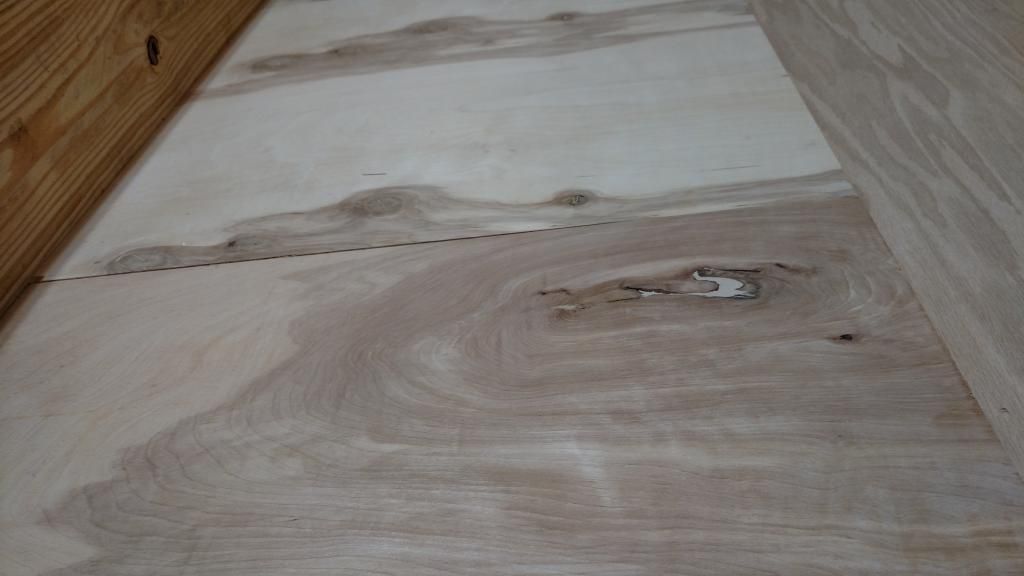
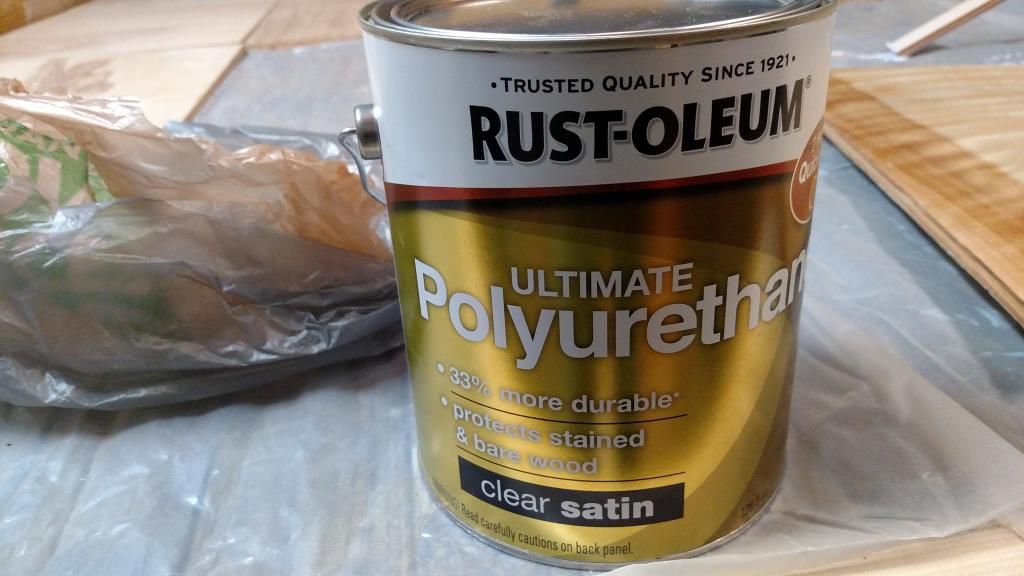
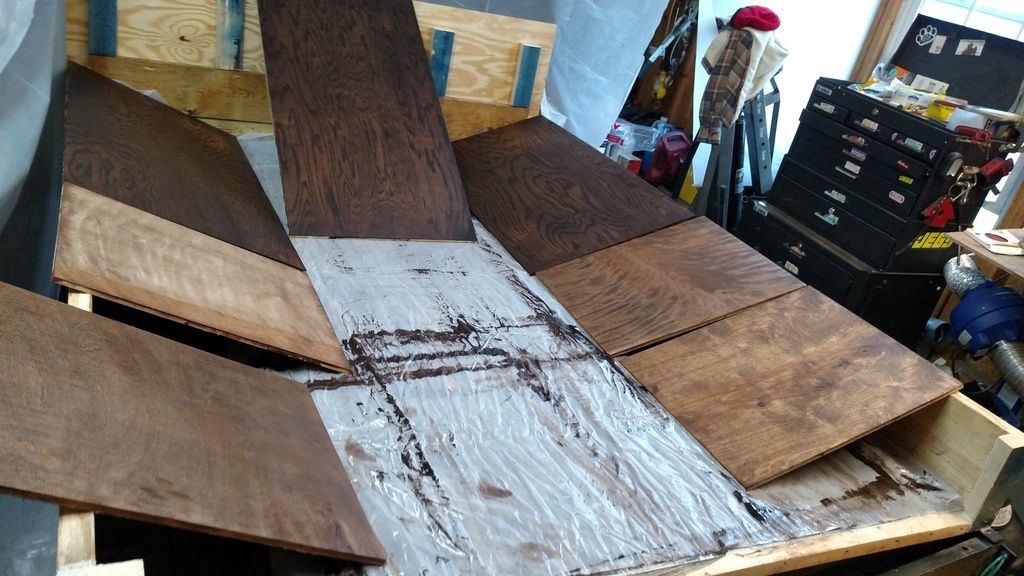
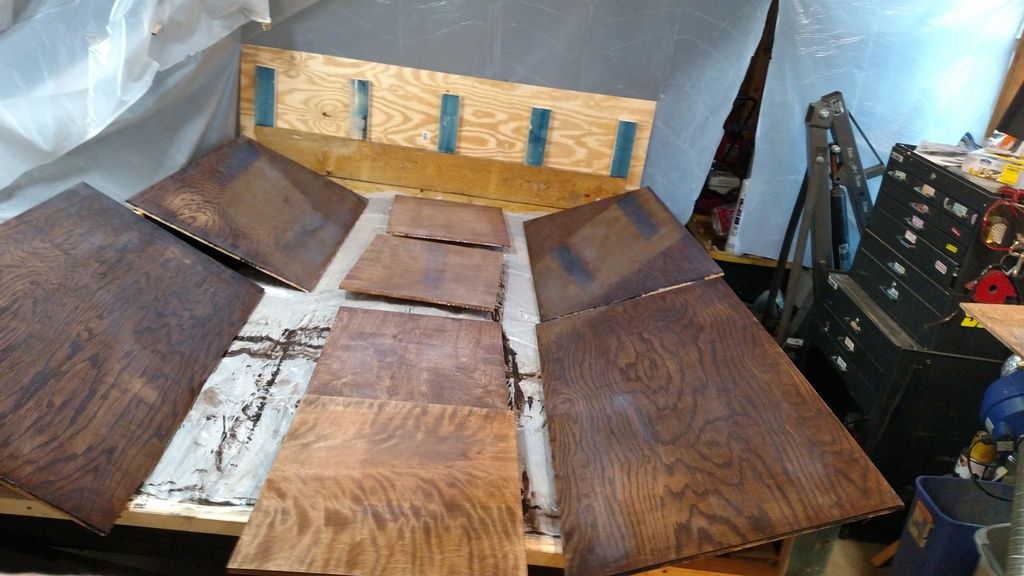
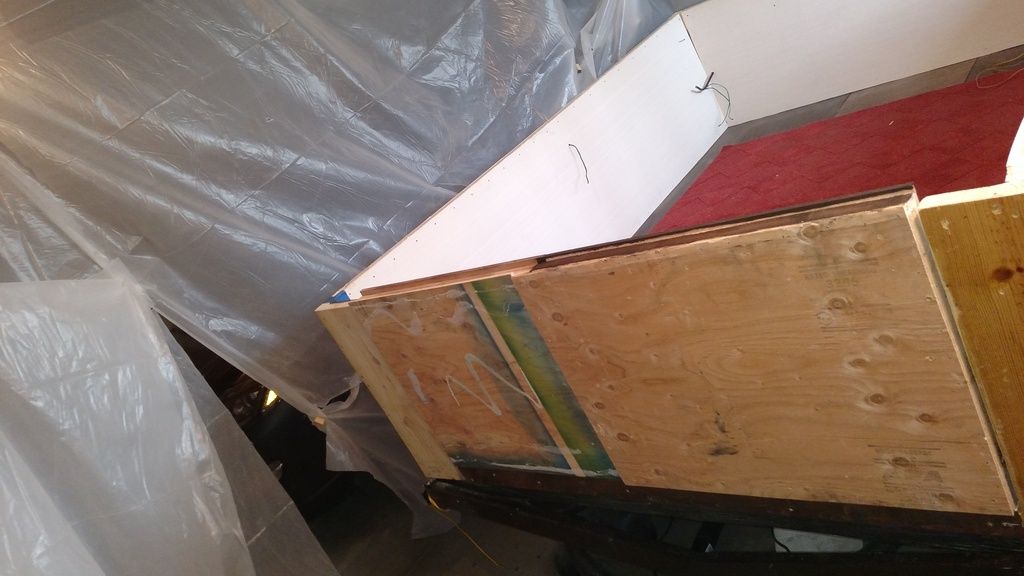
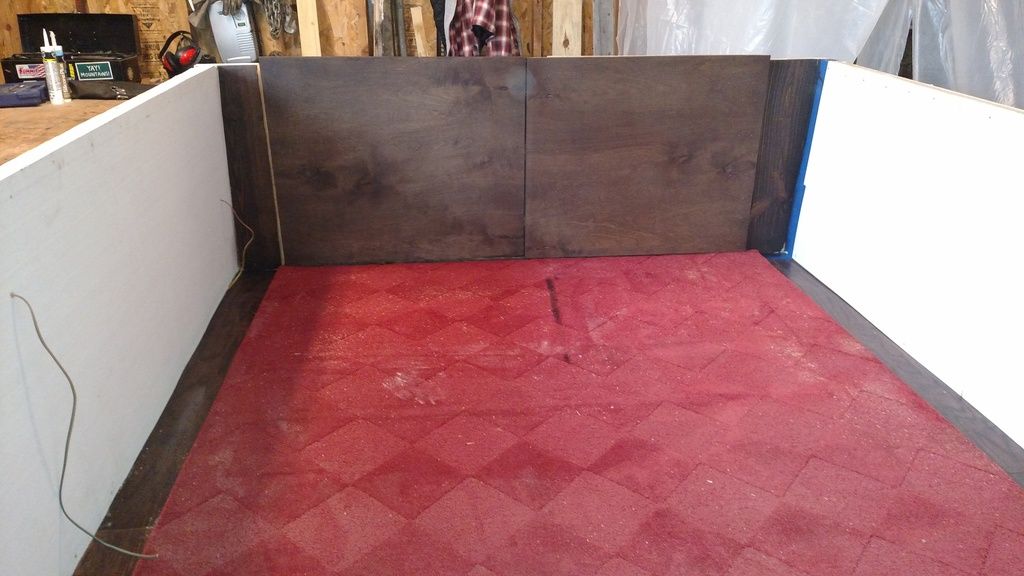
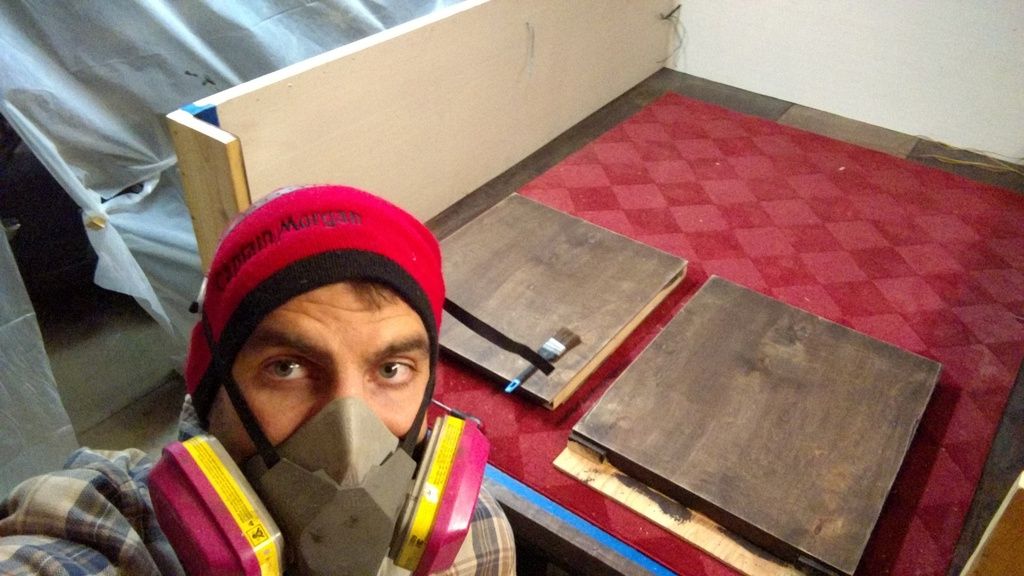
After the undercoating, I used 1/4 plywood, coated in two coats of oil-based polyurethane varnish to seal the underbelly. Cut to form they fit in like a puzzle piece. These will be installed this week with a caulk barrier and screwed into place. I wire brushed, primed and painted the axle black as well. Well this is where I am right now. I'll update this as I go, could be slow going but stay tuned if you are interested in this project!
Last edited:

