DRE's New FWC Project

elmo_4_vt

Explorer
Be sure to insulate/isolate the aluminum bed from the steel chassis, somehow.

If you dont galvanic corrosion will most likely be an issue.

Alum-Line supplied a rubber gasket material to lay down between the steel and the alum. frames.

Here you can see how the frame was cut to clear the frame bump. I'm going to bolt some angle to the center of the cut section so that it makes solid contact with the frame at the center of the cut. That should restore some strength and also prevent any movement there.


Here is a picture showing the difference in location of the stock fuel fill line and the new one. I hope I can get enough angle here to make it work smoothly. I'm using stainless 90deg exhaust tubing and fuel line made for boats to do the offset.


Here is just a picture of the back to show where the winch mount will be going... Still have to work that out though.


And just a couple more pictures of the finished trailer.


And the removable support bar inside:


Enjoy!

Don

-
 

elmo_4_vt

Explorer
Impatient, but understandable. :ylsmoke:

Not much time to post now, but a couple quick updates.

Spent most of the yesterday finishing up some small things. Had to get the new flat-bed wiring in order, and installed some extra lights on the back of the bed. Two additional brake lights and a switched light for the rear to help when working back there and hooking up trailers. I'll probably use the spot lights mounted to the camper more, but this was easy and cheap. I also installed a new 4" exhaust while the bed was off to make access a little easier and try and help keep down the EGTs. Based on a suggestion from a friend, I added a turn down tip so that the exhaust gasses wouldn't be coming right into the camp area when running the truck. A new intake should go on tomorrow after work.

Now the BAD.... The bed wasn't manufactured as I specified, and I'm not sure what the resolution will be. I asked for the center of the wheel opening to be 55" from the front of the bed. Well, they made it 53". Not sure why, but you can see the results. The cab to bed gap is a little larger than desired (~1" more than needed) and the wheel is off centered towards the back about 1". I'll be talking with the dealer tomorrow to see that they suggest be done. For now though, it's completely functional and ready for the camper if need be.

The wiring finished up. More than you'd think:


The fuel line, just since I couldn't find any pictures of this kind of modification:


Finished up:


Distance above the cab:


The gap issue:


More later this week.

Don

-
 

IdaSHO

IDACAMPER
Ouch.

No easy way to put that.

That error SUCKS.


Certainly more of a visual thing, but having an idea of just how much some of those beds cost, I certainly wouldnt let it slide.

Not to mention it would drive me NUTS every time I looked at the truck.


From where Im sitting the best thing for them to do would be to cut that section of the bed out and rebuilt it.

If you have the documentation to back it up that it is their error, thats what I would push for, as IMO it is the best alternative for both sides.

Happy customer, and relatively easy fix.
 

elmo_4_vt

Explorer
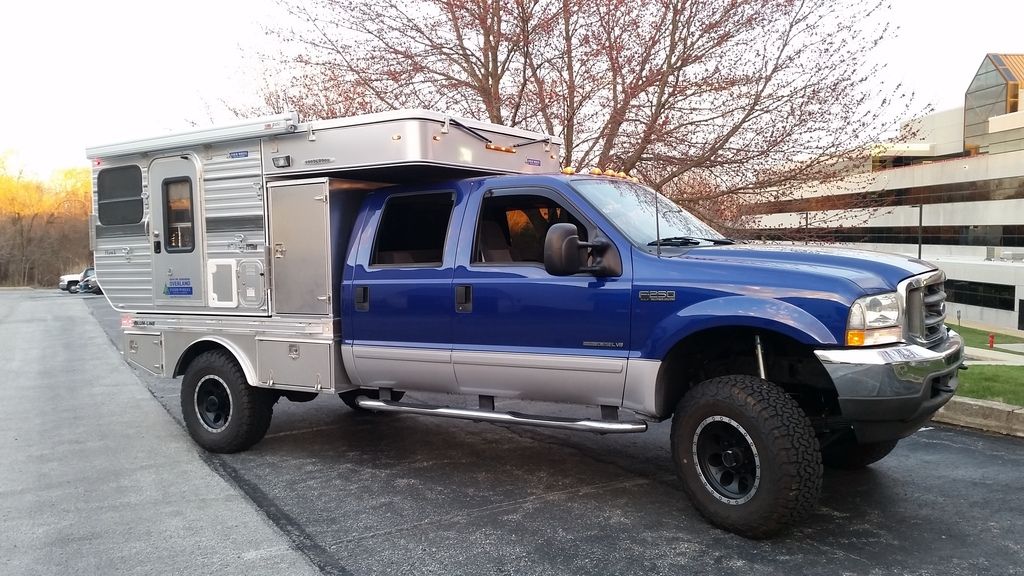
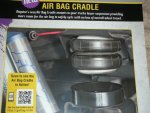
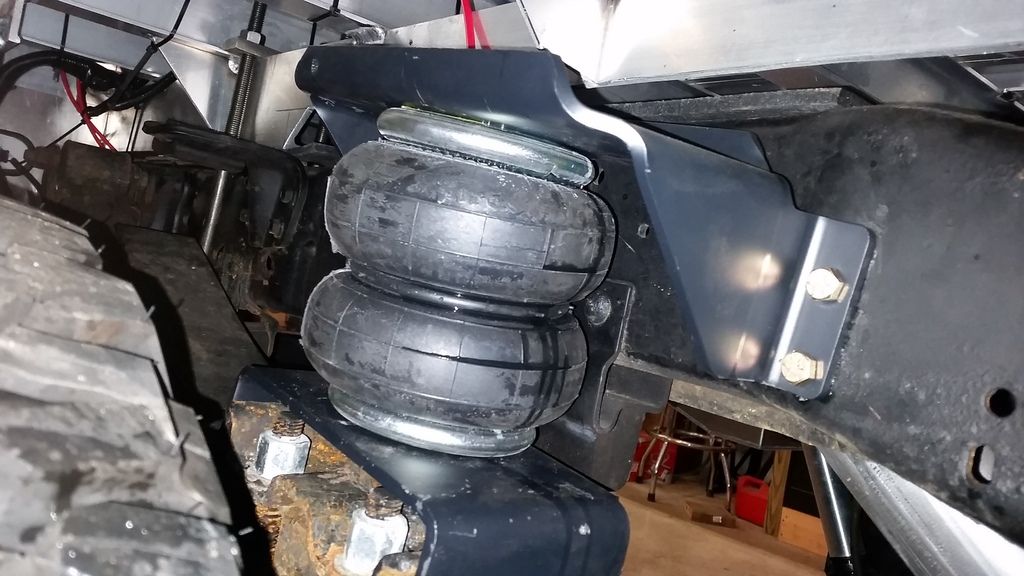
So, a quick updated. Spent that last two weekends working on a bunch of small things getting the truck ready. Mostly basic stuff. Added an intake and programmer. EGT guage and backup camera. Also, because the rear suspension was at a good ride height with just the flat bed on it, I decided to add air bags so that I can keep it there after adding the ~1,800lb camper and supplies.


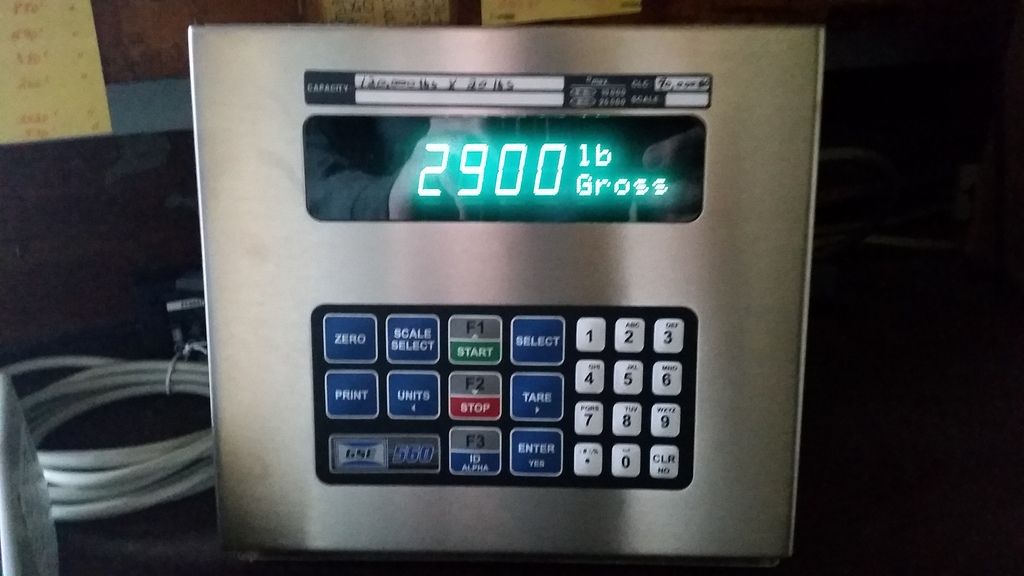
Got the truck weighed, and the new bed is basically about 120lbs heavier than the stock bed. The rear weight went up by 100lbs and the front went up by 20.


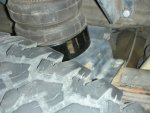
Talking with the flat bed dealer, Main Line Overland, it sounds like Alum-Line is going to step up to the plate and pay for a local welder to cut out and weld in a replacement wheel well opening. Still waiting on the details, but I'm hopeful it will work out. Since it looks like we have a path forward, and because it will be harder to do once the camper is on, I went ahead and moved the bed forward so that the bed to cab clearance is correct. When I initially fit the bed, I split the error by opening up the distance between the cab and the bed because I was afraid that the tire would be too close to the opening during suspension travel. With the air bags, it makes it pretty easy to adjust and keep the clearances needed, regardless of the weight.

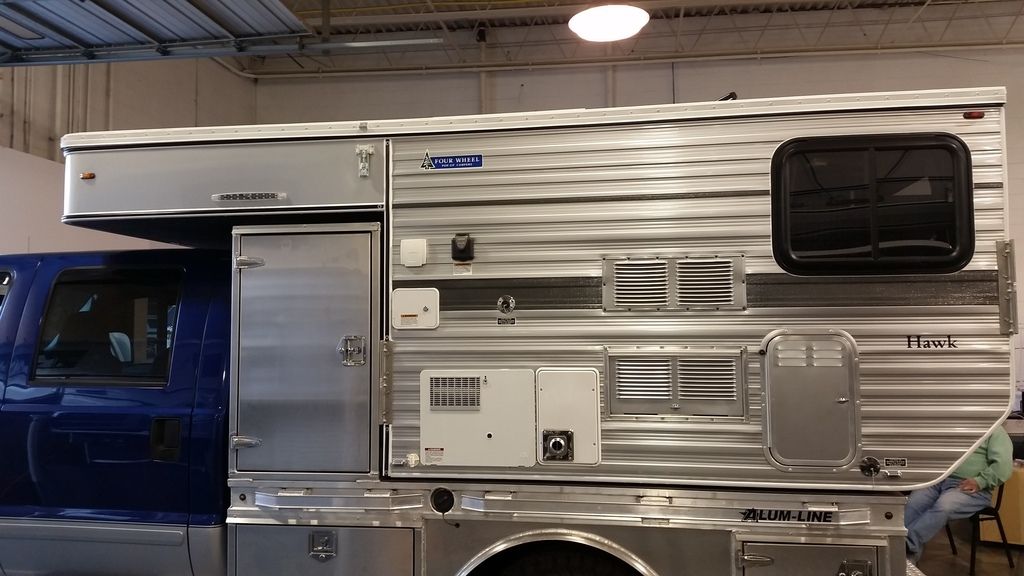
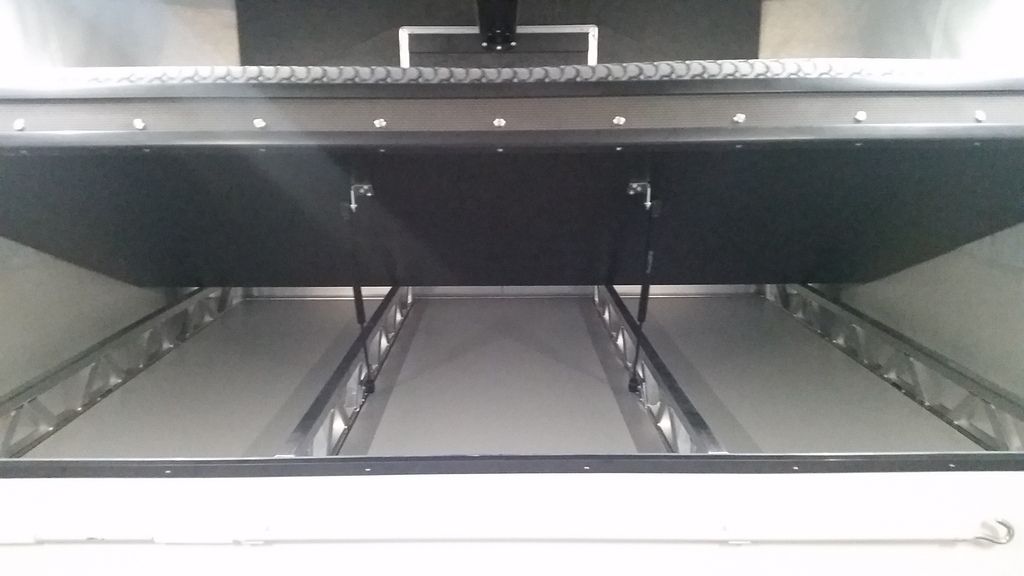
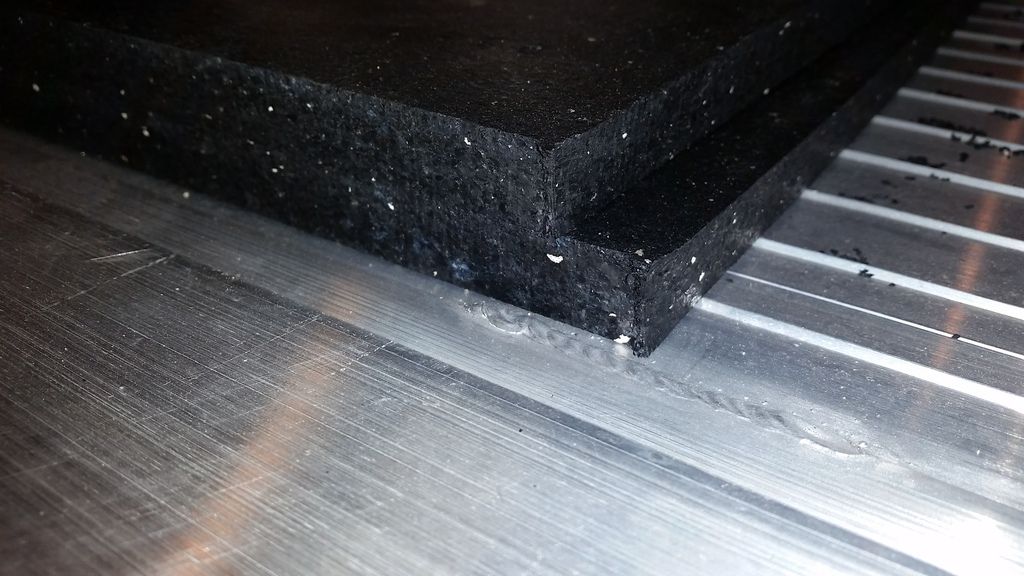
The flatbed construction uses an extrusion rail along the outsides that creates a 3/8" lip about 3" wide on each side, and the back. The camper has a flat plywood bottom almost out the edge. Putting the flatbed directly onto the bed would create a void in the center as the outside of the plywood base would sit on the outside lip. The easiest way to keep the base flat was to put a filler in. After talking with the factory, they suggested I use rubber stall mats. Found them cheap at the local Tractor Supply and picked them up on Friday.


With the progress this weekend, I think I'm ready to put the camper on. Just in time, as I was told last week that the camper should be here tomorrow. I'll hopefully be picking it up this week. CAN'T WAIT! Next update should be with the camper on the back!

Don

-
 
Last edited:

elmo_4_vt

Explorer
Picked it up tonight. SO STOKED! There are a couple small spots I want to run over with caulk, but for the most part, it's in great shape and the build quality is awesome. Truck drives great and is nice and level with it on the back w/ 45lbs of air in the Firestone airbags. Power wise, I really couldn't notice it back there, but I only got up to about 50 on back highways coming home. Tomorrow I'm going to take it to work to weigh it, so I'll get some highway time. Anyway, on with at least a few pictures.

Notice that this is one of the first with the full length underbed storage. Very happy about that for, of course, the storage, but also the thermal break between the bed and the bottom of the camper. Hopefully I won't get as much condensation there that I've read about.

20160317_190157_zps0k4xzjpp.jpg


20160317_173228_zpskhjazy5c.jpg


More tomorrow night. Took off work a couple hours today and need to finish some things up.

Don

-
 

elmo_4_vt

Explorer
looks awesome.. Question... Where and how is the camper secured to the flatbed? congrats on a nice rig..

Thanks Guys.

The camper is secured to the flat bed with 4 bolts, basically just through bolted through the camper frame/floor and the flatbed alum. floor. There is one on each corner (battery tray area, propane tank area, rear dinette storage area, and right next to the water heater). I'll get some pictures this weekend and explain a little better. But you can see the basic layout from the FWC picture below:

long-bed-popup-truck-camper-flatbed-tray-ute-ford-chevy-dodge-grandby-gmc.jpg


20160317_152836_zps43buwwps.jpg


Don

-
 

brian90744

American Trekker
recommend Daystar airbag cradle

Normally the Air Bag is one piece & attaches to the frame and springs as a unit, However when off roading sometime the rear wheel travel can be restricted by the length of the inflated airbag, I installed Daystar Air Bag Cradles which cycles Up & down on the spring, by not being attached to the airbag. This allows maximum wheel droop when O/R wheeling. It may save Air Bag from rip damage
 

Attachments

  • cradle 1.jpg
    cradle 1.jpg
    206.3 KB · Views: 79
  • cradle2.jpg
    cradle2.jpg
    217.6 KB · Views: 79
Last edited:

CTDJeeperman

Active member
Nice setup!, probably my favorite flatbed 4WC setup so far. I've got a few questions..

Your camper is the first I've seen with the cabover portion being one uniform size instead of the "stair-stepped" setup shown on 4WC camper's website for the flatbed units. I like your setup much better; is it the new standard for new models or did 4WC do that custom for you? Does the underbed storage go all the way to the front? Or did you just make room for a thicker mattress?

Do you know where the fore/aft CG is on your camper? Truck Camper Magazine Buyer's Guide lists a number of 32" (36" for Grandby) but provides no reference where that measurement is from; I'd assume from the front of the bottom portion of the camper, but not sure.

What's the overall length of your truck/camper setup?

Did you go with the Silver Spur interior as well?

Looking forward to seeing more pictures of this setup once you start using it. Once again; sweet setup.

:safari-rig:
 

changed4ever

Observer
Alum-Line is a top notch company. We have been dealing with them since 2008. They are one of the best we have dealt with. CA on the Ford truck is 56" and we usually set the wheel well opening center at 54". One thing for people to watch when ordering the beds is to check your wheel and tire size. We usually set he bed up for oversized tires in width and height when doing these type builds. We usually also use what we call shear plates or shear bolts in addition with the u-bolts for added layer of protection. The u-bolts can loosen over time so we anti-seize them to help with anti-corrosion
Also look up a product called SharkHide metal protectant. Will help that bed look new for years to come with little effort and can be reapplied. We use it in most of our camper and bed builds. Looks awesome. Look forward to updates


NutHouse Industries LLC
 

elmo_4_vt

Explorer
We don't really have much sorted out as of yet, other than some dishes and the sleeping bag/blanket that we're using for the top bunk. The rest we'll figure out as we go, making sure to keep it as minimalist as possible.

Enjoy the pictures:

Under bed storage. We plan on getting bags like these to fill up. Each person will have a couple bags of their own color, then extras (towels, sheets, etc) will have a color as well. (Also looks like long guns will fit on the sides :gunt: )

20160317_142332_zpsmkh7wv16.jpg


Storage electronics and the cassette toilette:

20160320_152413_zpst6nvndd3.jpg


Closeup of the electronics area and solar charger:
20160317_183613_zps24uh5tes.jpg


Close up on the toilet:

20151129_131033_zpshqyczvc6.jpg


The bed:

20160320_152040_zpshrjagneg.jpg


Sink and Stove:

20160320_152537_zpspvcox2dm.jpg


Storage in the kitchen area:

20160320_152706_zpsdu1pwsoc.jpg


Rear Dinette:

20160320_152929_zpsjzsy6mb9.jpg


First night pretending I'm working:

20160318_200820_zpswjzabwgd.jpg


Rear bed:

20160320_153344_zpszrwp3fi3.jpg


With the all important (old) dog bed:

20160320_153541_zpsapebnmpv.jpg
 
Last edited:

Forum statistics

Threads
185,897
Messages
2,879,548
Members
225,583
Latest member
vertical.dan
Top