I finished up my OBA setup today. I used the tank in my rear bumper paired with my trusty old MV-50 superflow compressor. The combination produced a fairly inexpensive setup that should be pretty beefy, while occupying very little space.
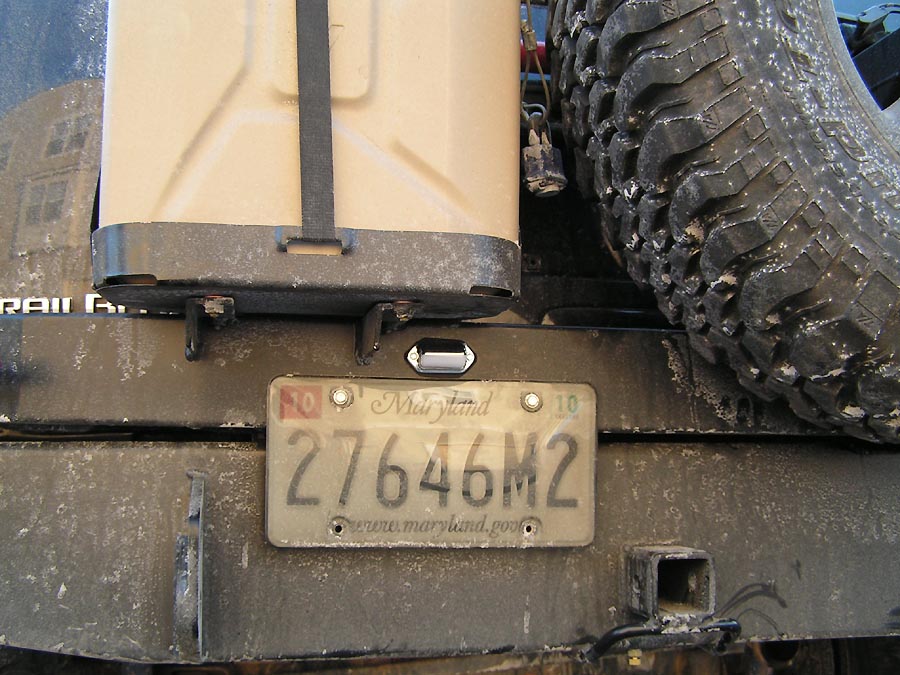
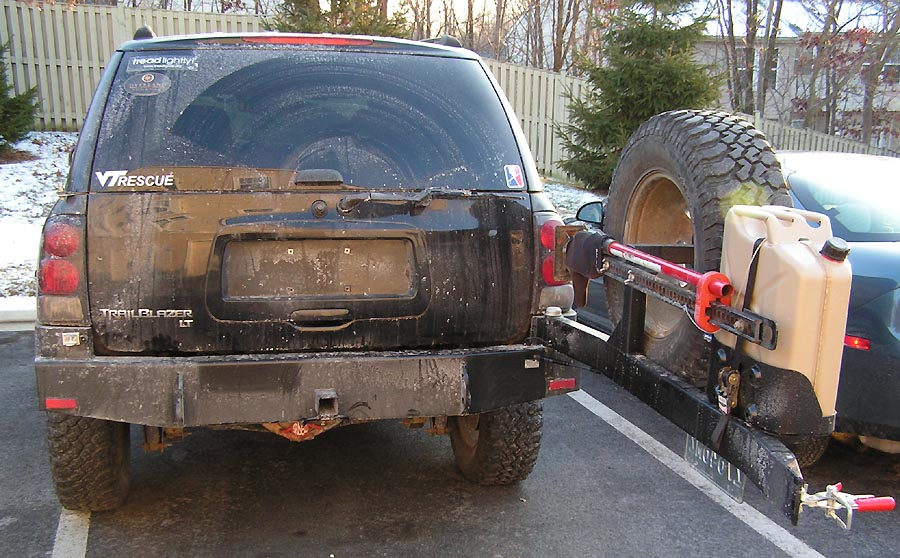
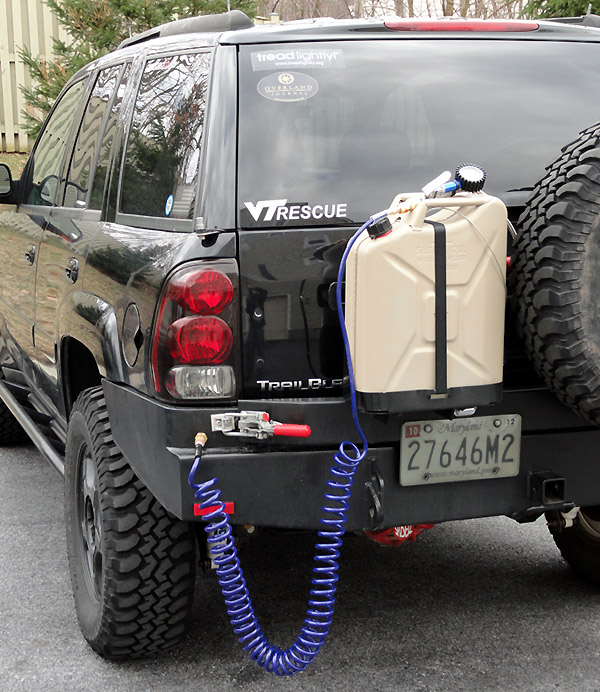
The end result is a system that I can turn on anytime to charge the 4 gallon bumper tank with 110 psi of air. That air can be accessed from the quick-connect port on the rear bumper:
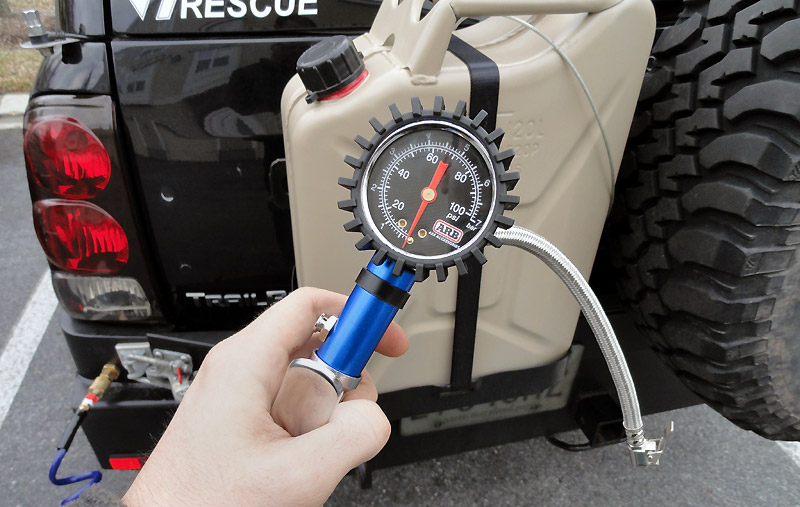
I'm using a 25 ft self-coiling hose with an ARB inflator with the OBA system. The inflator allows me to read the tire pressure instantly upon letting go of the trigger. That alone should save a good portion of time during air-up.
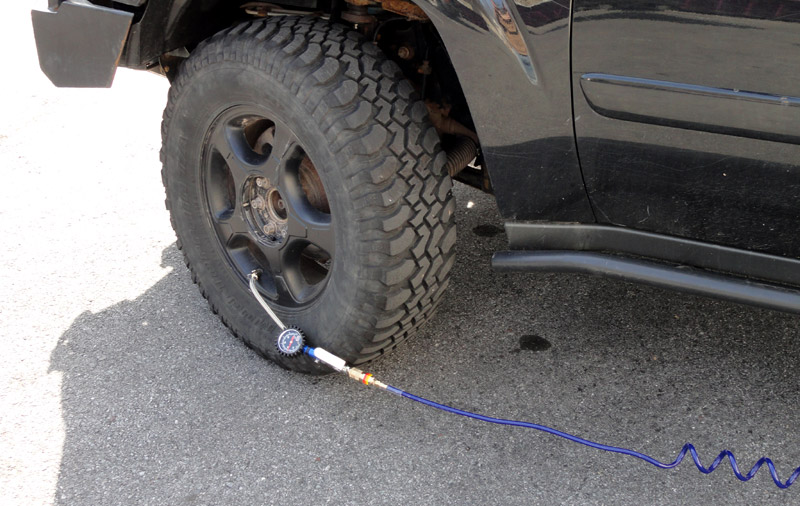
The hose doesn't have much trouble reaching the front tires, however the reach to the front passenger tire is getting towards the max reach of the hose. I'm not sure if I could air up another vehicle without having them reposition. In retrospect, I think 30 feet would have been perfect.
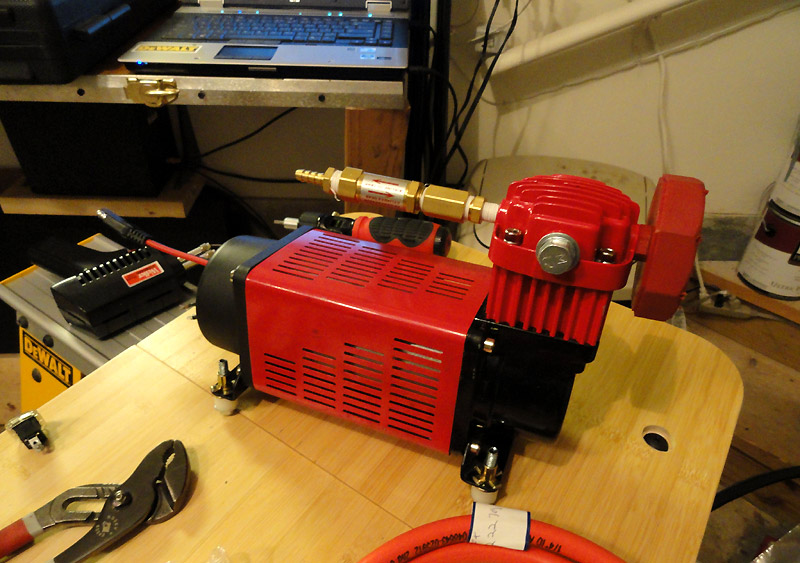
Here's the MV-50 getting prepared in the shop. The MV-50 has 3 ports, all different sizes (dumb design if you ask me). The intake port is a 1/4" NPT (where the red muffler/filter attaches). The gauge port (where I now have the output) is 1/8" NPT, and the old output (now plugged) is an M12x1mm thread. I never did find a M12x1mm ANYTHING, so I ended up jamming a M12x1.25mm plug in and cut new threads. All I needed was for it to seal anyways, and it seems to have worked ok when paired with some Teflon tape.
Downstream of the compressor, there's a one-way valve. Compressor heads can leak back through the cylinder, so I mitigated that by adding the valve.
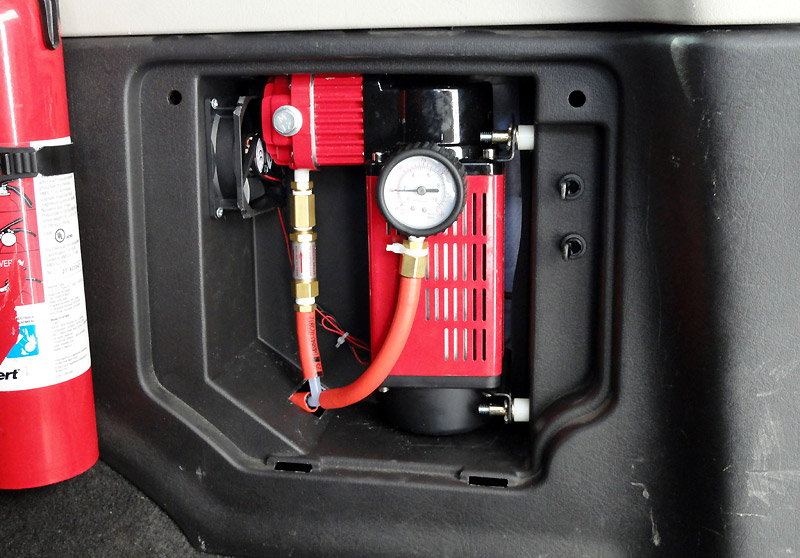
Below is the MV-50 installed in the passenger side storage compartment. I wanted it to be easily accessible if needed (like if it caught fire... :shock: ).
I have heard that a big downfall with some of these MV-50 compressors was that their heads can get too hot (I've never had an issue with mine). So to try to keep the head's temperatures down, I installed a small cooling fan that runs with the compressor cycle and helps keep airflow around the head and down towards the motor.
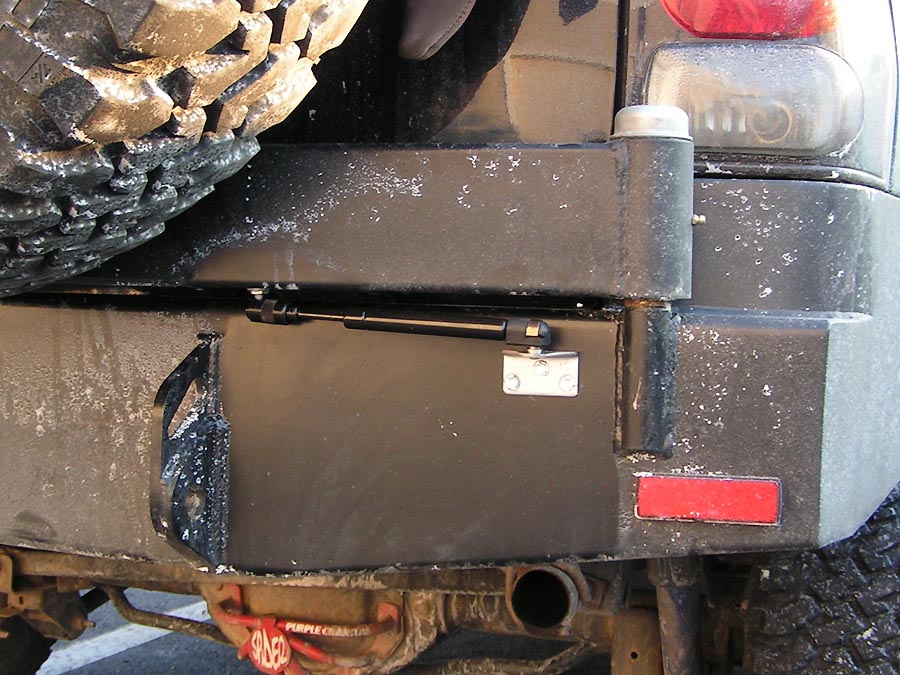
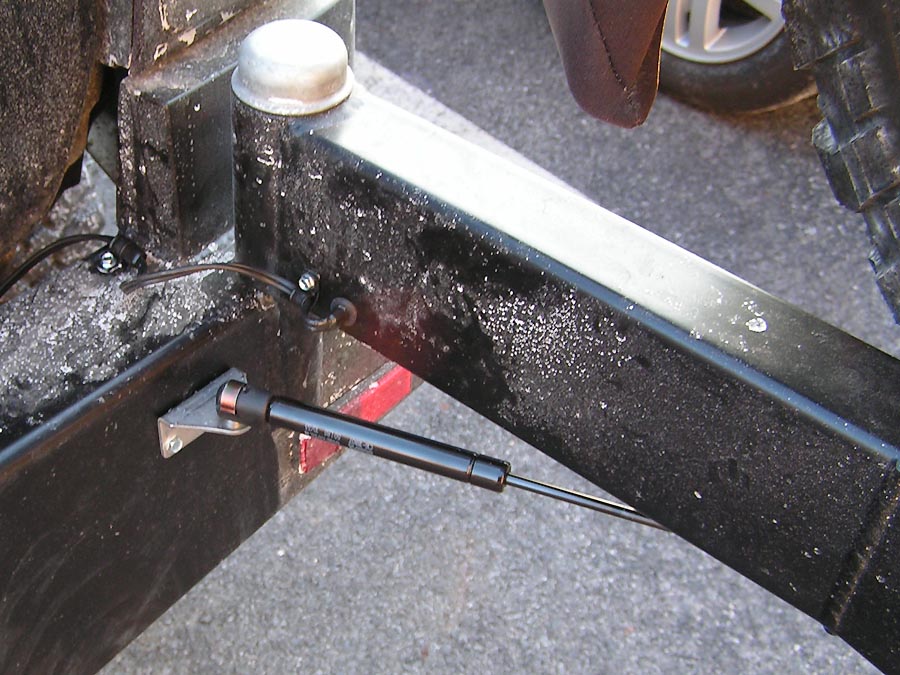
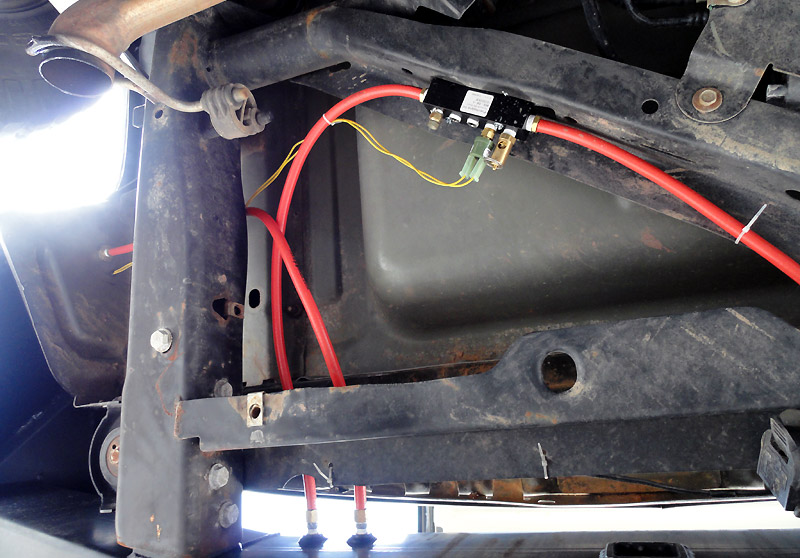
Next you can see the hose routing and wiring. The hose runs from the compressor through a gasketed bulkhead fitting and into the tank port. From the tank, it runs to an aluminum manifold block. On the block, there's an emergency blowoff valve (set to 165 psi) in case the compressor switches or relays fail. There's also a pressure sensitive switch, to control the compressor, and a manual bleedoff valve, which I probably don't need. The empty ports may be used for future projects, but for now are just plugged - I wanted to make sure the system had flexibility and room to add in the future. From there, the tubing runs to the quick connect on the outside of the bumper.
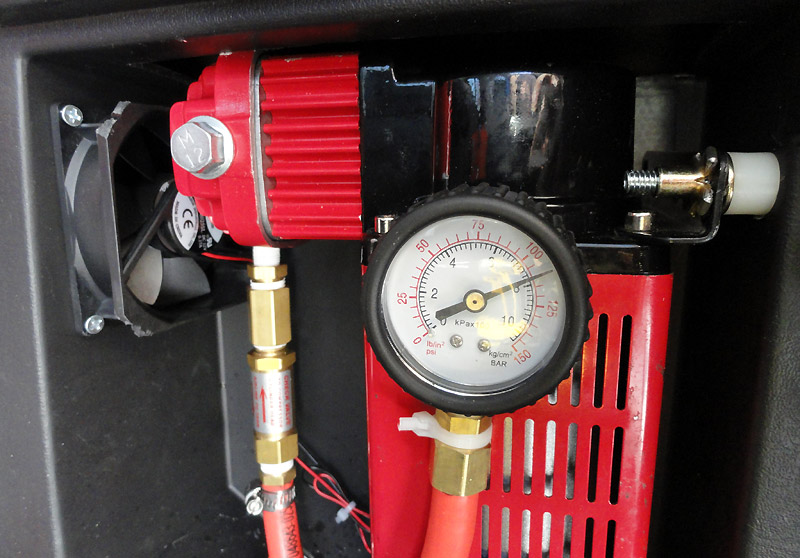
As the gauge shows: compressor on at 90 psi, and off at 110 psi. My guess is from 0 PSI, it takes maybe 2 minutes to blow the tank up to 110 psi (but I didn't time it). The MV-50 didn't seem to have any issues with the pressures.
I'm pretty happy with the result so far, but only time will tell if it holds up to vibrations and abuse.
") My only suggestion would be perhaps to fab up a cover or skid plate of some kind to cover the area shown in photo #6. Would hate to pick up an errant stick or other debris that may hang up on the hoses and wires and rip them loose. Love the cooling fan that runs with the compressor - wonderful idea.
My only suggestion would be perhaps to fab up a cover or skid plate of some kind to cover the area shown in photo #6. Would hate to pick up an errant stick or other debris that may hang up on the hoses and wires and rip them loose. Love the cooling fan that runs with the compressor - wonderful idea.