You are using an out of date browser. It may not display this or other websites correctly.
You should upgrade or use an alternative browser.
You should upgrade or use an alternative browser.
Expo style rear bumper build for a Sliverado 1500 (GMT-800)
- Thread starter Colorado_Outback
- Start date
Colorado_Outback
Adventurer
Thanks for the complements guys. I'm no engineer or designer so there's a couple things I would change if I could go back but all in all I think it turned out good.
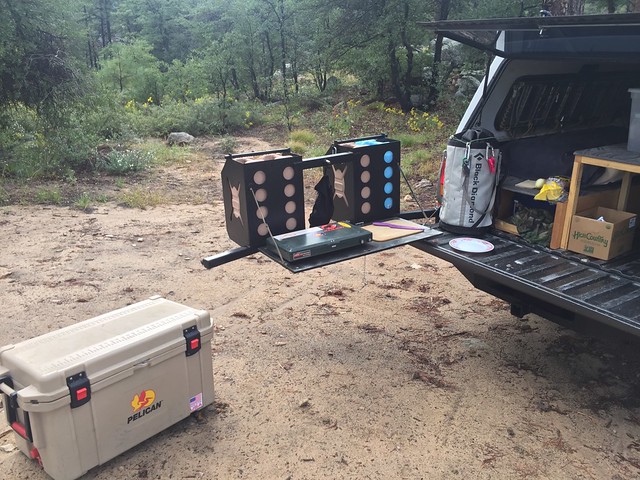
My buddy routinely guides up to 4 people on 5-7 day trips in Arizona and Utah. Some of those trips he provides all the meals and water for the participants. 20gal of water seems like a lot but with that many people in that environment it goes quick. The table space was much needed for meal prep and buffet style food layout. The table top is 300 series stainless so it can be sanitized, I custom made the stays, top and frame. Everything but the base hinges.
My buddy routinely guides up to 4 people on 5-7 day trips in Arizona and Utah. Some of those trips he provides all the meals and water for the participants. 20gal of water seems like a lot but with that many people in that environment it goes quick. The table space was much needed for meal prep and buffet style food layout. The table top is 300 series stainless so it can be sanitized, I custom made the stays, top and frame. Everything but the base hinges.
")
Colorado_Outback
Adventurer
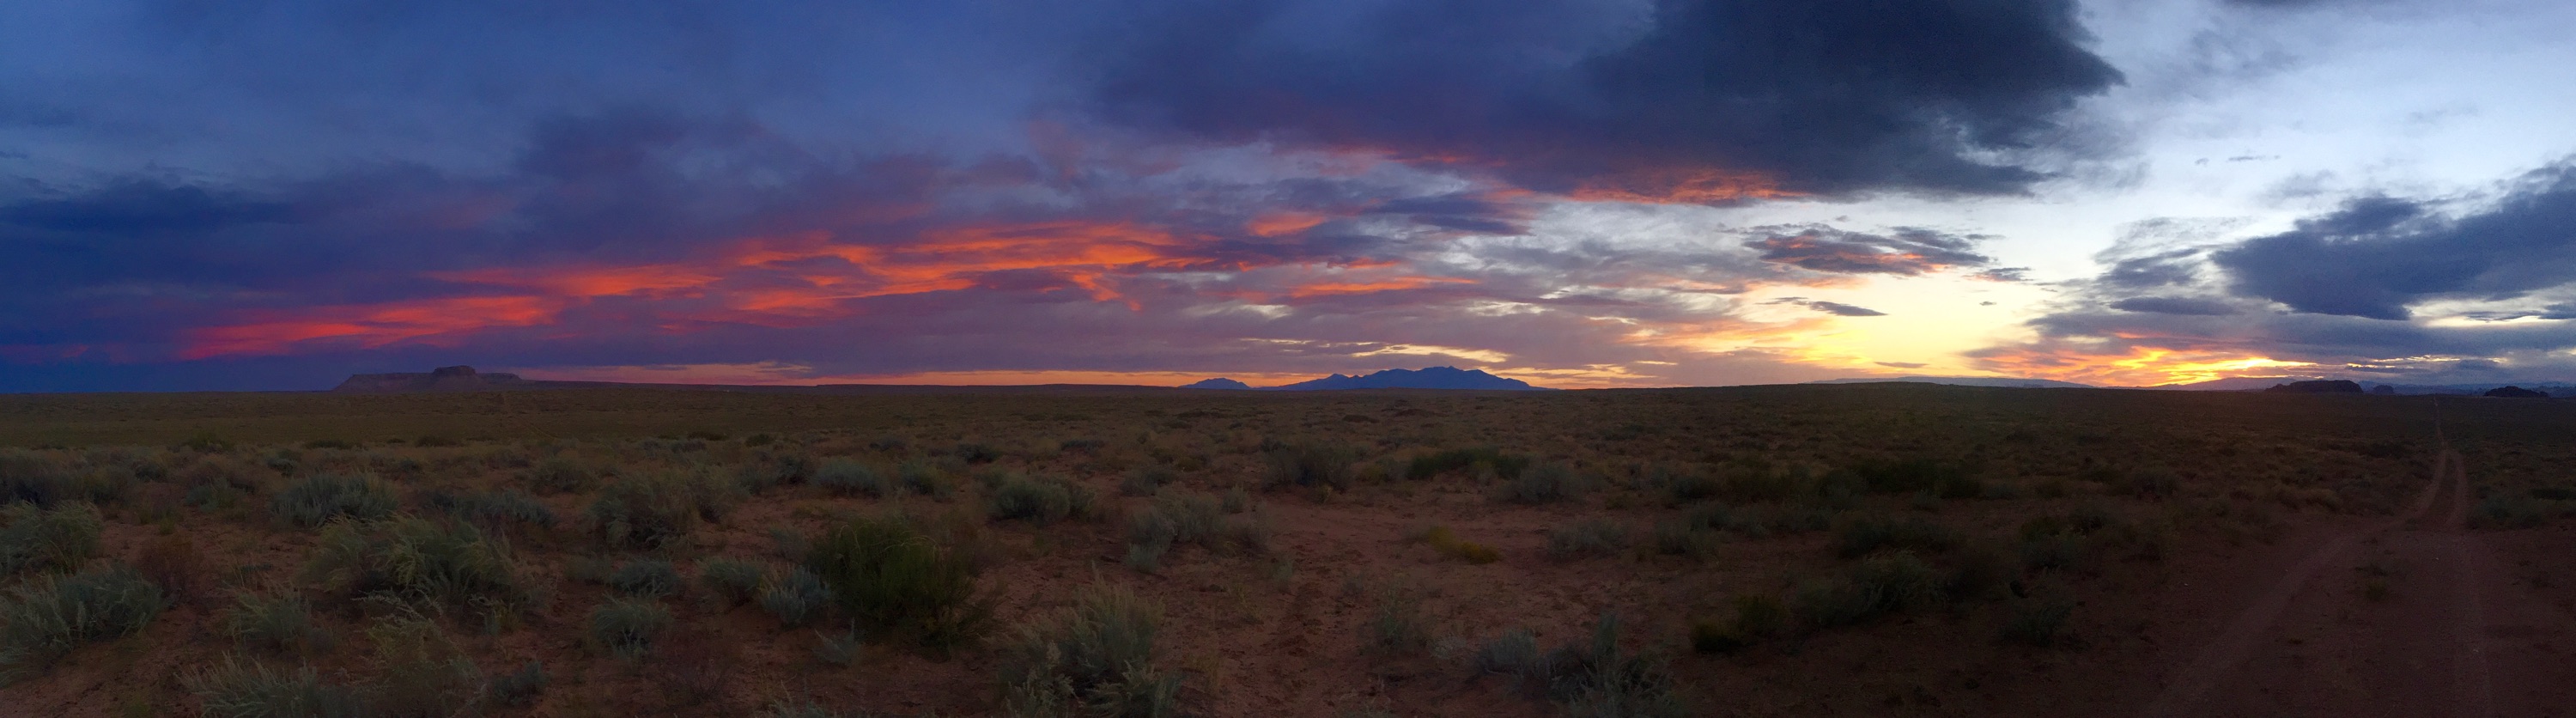
Couple shots of this thing in use from my friend.
 IMG_4442 by colorado_baja, on Flickr
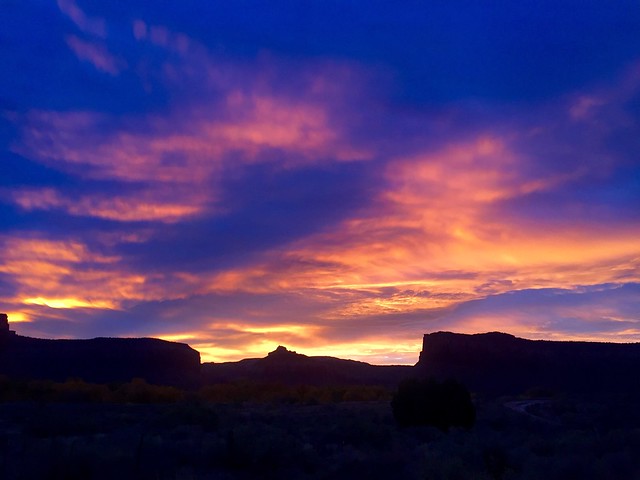
 Desert by colorado_baja, on Flickr
 IMG_4398 by colorado_baja, on Flickr
 IMG_4447 by colorado_baja, on Flickr
Can't wait to get down to AZ this spring.
IMG_4442 by colorado_baja, on Flickr
Desert by colorado_baja, on Flickr
IMG_4398 by colorado_baja, on Flickr
IMG_4447 by colorado_baja, on FlickrCan't wait to get down to AZ this spring.
Colorado_Outback
Adventurer
My friend usually spends July and August in CO since its so hot in AZ and UT during that time.
His rig needed some maint so we dug into it. NP246 is interesting inside to say the least. You need to dig deep to replace the front output bearing and seal.
 20170717_140244 by colorado_baja, on Flickr
Next was some excessive noise coming from the rear end so we popped the cover to investigate. No bueno.
 20170729_172924 by colorado_baja, on Flickr
 20170729_173037 by colorado_baja, on Flickr
Spiders were ate up.
 20170730_151351 by colorado_baja, on Flickr
Inner races on the carrier bearings too..
 20170825_094216 by colorado_baja, on Flickr
We put a new set of GM spiders in it and all new bearings from Yukon and wheel bearings and seals from napa.
We decided that it could benefit from a set of 2500 springs in the rear, raised the rear of this truck 3 inches from the sagged out 1500 springs that were on there.
 20170730_151252 by colorado_baja, on Flickr
He also wanted to do a roof rack and interior redesign while he was in town.
The roof rack was a home made to fit a Knaphide style utility bed we picked up on Craigslist for 50 bucks. We're using recycled materials, left overs, what ever we can on this project to keep the cost down.
We used the basic top frame and cut the rest off, I'm terrible at remembering to take a before pic but here's the rack after we started adding cross members and mesh, you can see the old legs under the camper in the background. :sombrero:
 20170809_151153 by colorado_baja, on Flickr
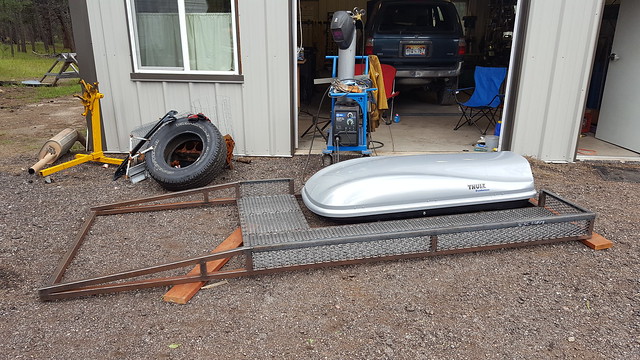
The Thule box was another craigslist score, we built the rack to fit around it.
 20170809_154426 by colorado_baja, on Flickr
In this pic you can see the base of the rack made out of 3" 3/16" angle as well as the feet welded on to the top rack. I dont have any good pics of them but in the front of the rack I welded 2 48" Yakama round bars for bike mounts.
 20170816_153633 by colorado_baja, on Flickr
Cut some legs and welded it all together.
 20170818_110219 by colorado_baja, on Flickr
This pic you can see what a difference the rear springs made.
 20170818_110243 by colorado_baja, on Flickr
 20170818_110317 by colorado_baja, on Flickr
 20170818_110327 by colorado_baja, on Flickr
 20170818_110735 by colorado_baja, on Flickr
And the topper slid into place, its got about 1.5" clearance between it and the rack on top.
 20170818_111702 by colorado_baja, on Flickr
Next was a new horizontal closet as we've come to call it. It looks kinda chaotic but all those braces have a purpose, some separate areas underneath so the 16 bins that fit under cant shift too much, others are for the recliners. :sombrero:
 20170823_135116 by colorado_baja, on Flickr
All the doors bi-fold so you can get under them easier while your in the cap.
 20170825_133628 by colorado_baja, on Flickr
The front doors slide up against one of the cross members so you can sit up and read.
The mattresses are cut into 4 pcs so you can move one and get into the bottom without moving a bunch of other stuff out of the way.
 20170825_123305 by colorado_baja, on Flickr
Now you can fit 3 bikes on the front of the rack, walk on the rack so you can easily get them on and off, access the storage box or tie other junk down in the mesh.
All in all a lot more storage and room for 2 people in there. I didn't get a chance to take any pics of it loaded up with the bikes on top before they took off but hes going to send me some pics from the road so ill update when he does.
His rig needed some maint so we dug into it. NP246 is interesting inside to say the least. You need to dig deep to replace the front output bearing and seal.
20170717_140244 by colorado_baja, on FlickrNext was some excessive noise coming from the rear end so we popped the cover to investigate. No bueno.
20170729_172924 by colorado_baja, on Flickr
20170729_173037 by colorado_baja, on FlickrSpiders were ate up.
20170730_151351 by colorado_baja, on FlickrInner races on the carrier bearings too..
20170825_094216 by colorado_baja, on FlickrWe put a new set of GM spiders in it and all new bearings from Yukon and wheel bearings and seals from napa.
We decided that it could benefit from a set of 2500 springs in the rear, raised the rear of this truck 3 inches from the sagged out 1500 springs that were on there.
20170730_151252 by colorado_baja, on FlickrHe also wanted to do a roof rack and interior redesign while he was in town.
The roof rack was a home made to fit a Knaphide style utility bed we picked up on Craigslist for 50 bucks. We're using recycled materials, left overs, what ever we can on this project to keep the cost down.
We used the basic top frame and cut the rest off, I'm terrible at remembering to take a before pic but here's the rack after we started adding cross members and mesh, you can see the old legs under the camper in the background. :sombrero:
20170809_151153 by colorado_baja, on FlickrThe Thule box was another craigslist score, we built the rack to fit around it.
20170809_154426 by colorado_baja, on FlickrIn this pic you can see the base of the rack made out of 3" 3/16" angle as well as the feet welded on to the top rack. I dont have any good pics of them but in the front of the rack I welded 2 48" Yakama round bars for bike mounts.
20170816_153633 by colorado_baja, on FlickrCut some legs and welded it all together.
20170818_110219 by colorado_baja, on FlickrThis pic you can see what a difference the rear springs made.
20170818_110243 by colorado_baja, on Flickr
20170818_110317 by colorado_baja, on Flickr
20170818_110327 by colorado_baja, on Flickr
20170818_110735 by colorado_baja, on FlickrAnd the topper slid into place, its got about 1.5" clearance between it and the rack on top.
20170818_111702 by colorado_baja, on FlickrNext was a new horizontal closet as we've come to call it. It looks kinda chaotic but all those braces have a purpose, some separate areas underneath so the 16 bins that fit under cant shift too much, others are for the recliners. :sombrero:
20170823_135116 by colorado_baja, on FlickrAll the doors bi-fold so you can get under them easier while your in the cap.
20170825_133628 by colorado_baja, on FlickrThe front doors slide up against one of the cross members so you can sit up and read.
The mattresses are cut into 4 pcs so you can move one and get into the bottom without moving a bunch of other stuff out of the way.
20170825_123305 by colorado_baja, on FlickrNow you can fit 3 bikes on the front of the rack, walk on the rack so you can easily get them on and off, access the storage box or tie other junk down in the mesh.
All in all a lot more storage and room for 2 people in there. I didn't get a chance to take any pics of it loaded up with the bikes on top before they took off but hes going to send me some pics from the road so ill update when he does.
Colorado_Outback
Adventurer
Really doing some nice innovative work. Gonna steal that bi-fold hatch idea.
How is the pivot holding up to the 200-lbs+?
And did you do anything for traction on the top surface of the bumper?
Thanks for the complements, I dunno about innovative but we managed to cobble a bunch of left overs together and make it work :sombrero:
The pivot and the whole bumper is holding up well after a year of use, no cracking or weld failures. The top of the bumper and the recess by the license plate have diamond plate on them, mostly we were standing on the tail gate to mess with the rack.
 20160831_183526 by colorado_baja, on Flickr
One thing that didn't hold up well was one of the Napa wheel bearings. This is with less then 500 miles on it. I broke my rule of only buying Timkin or Koyo, thinking how bad could Napa be.. Well theirs my answer, lesson learned.
 2017-09-01_09-10-21 by colorado_baja, on Flickr
Hillbilly Heaven
Explorer
As much of that metal moved, I would say someone screwed up heat treating or no heat treatment. Shameless plug here. Add INA bearings to your good to buy list. I worked 13 years for them and the standards and procedures they have in place make them Tier One. Sure we had our screw ups occasionally but we learned from them and put procedures in place to stop them. Appears that bearing was mixed in with heated ones. If there was one in the batch there are more out there.
Poor segregation and isolation between hard and soft parts. I miss the work but living my dream #1 bucket list job now.
Poor segregation and isolation between hard and soft parts. I miss the work but living my dream #1 bucket list job now.
Colorado_Outback
Adventurer
Appears that bearing was mixed in with heated ones. If there was one in the batch there are more out there.
That's for sure, the other one wasn't far behind it. I have a manufacturing background as well so I know all about part segregation and acceptable quality limits. It sucks when you really need that one part to work and it fails prematurely haha. That's life.
Colorado, I'd seriously pay for one of those bumpers but with a spare tire carrier with a swing out to the driver side. If you're interested shoot me a pm.
I don't usually build one off stuff like this, I usually weld production aluminum. I only do big stuff like this for friends or certain barters. I enjoy doing one off stuff but it takes me longer then average to knock them out so its usually cost prohibitive.
Here it is back on the road in Utah.
 2017-09-13_07-55-28 by colorado_baja, on Flickr
Last edited:
leftfootmoe
New member
Sent you a PM...
Forum statistics
Members online
- Burlydirtyhippy
- Avio Wine
- bozzy
- asespc13
- Dougnuts
- RubiDon
- Wakeup2river
- Motorradmark
- Blowby
- chirigringo
- Kingsize24
- Wright Around Oz
- harpersJK
- matttahoe53
- wild1
- liamorifici
- smb
- Imgoingonanadvencha
- rsmccull
- NORDFORD
- 2Dogs
- SkiFreak
- mark5280
- Cole.
- MortalMechanica
- dunedainranger798
- MatttheHatt
- gcox16
- pinevalley
- Delsh
- Ramblin_ways
- Inspired Adventurist
- MeanderingAround
- lasoundguy
Total: 1,139 (members: 37, guests: 1,102)