Martyn
Supporting Sponsor, Overland Certified OC0018
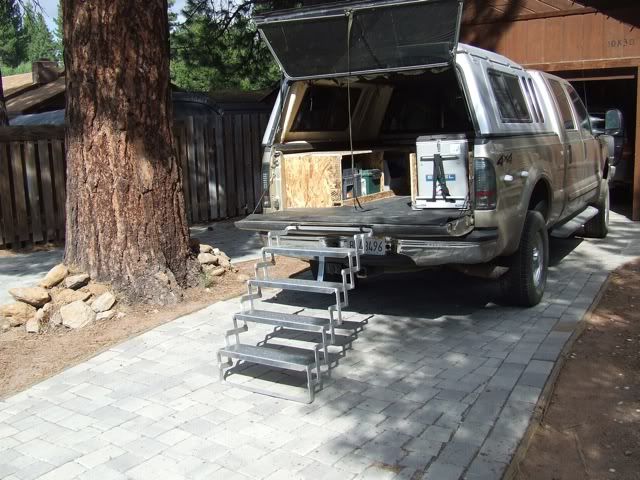
I'm starting a build on my Ford F250 Crew Cab with a 7 Ft Bed (2.13M).
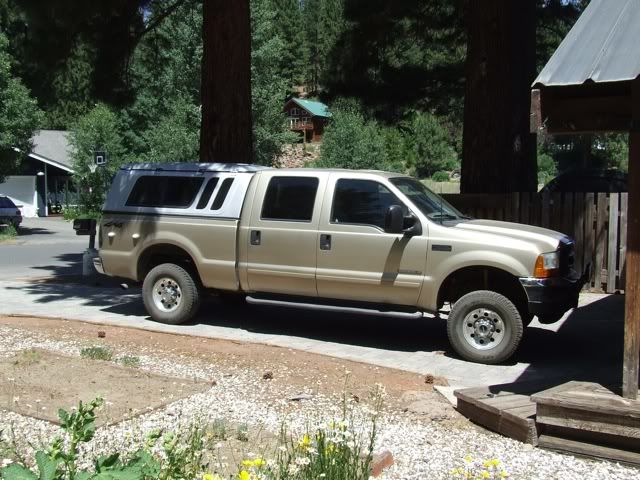
The concept is to have a truck that will function as the owners daily drive or work truck and can be easily set up into an expedition vehicle.
I'll be covering the concept and design in detail in an up coming article. This post is to cover the nuts and bolts behind it, and to share some of the thought behind the design of expedition based vehicles.
I picked the vehicle up last year primarily to tow horse trailers but my intent has always been to make this vehicle multi-purpose.
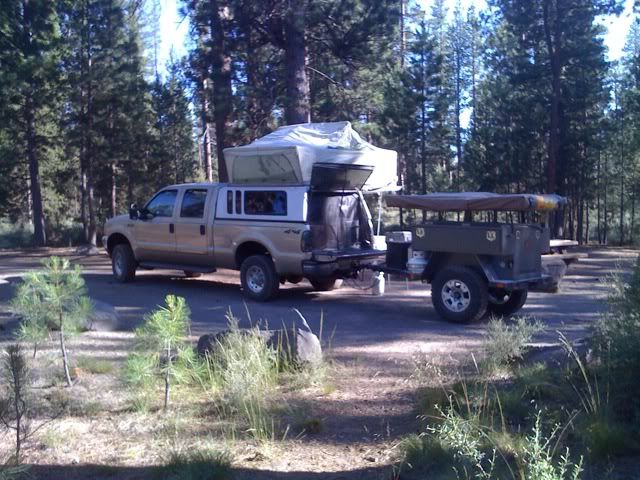
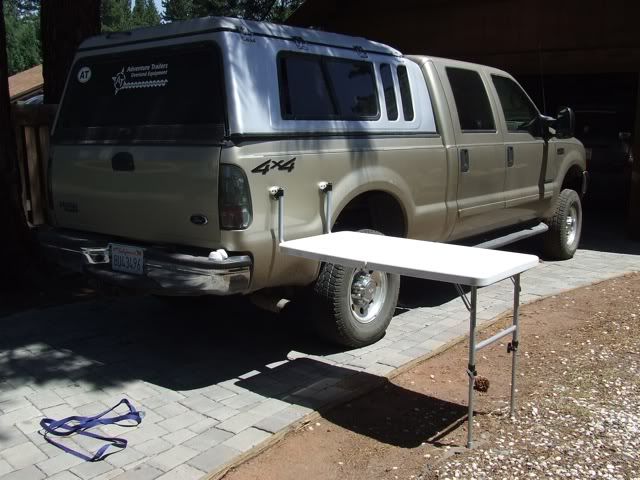
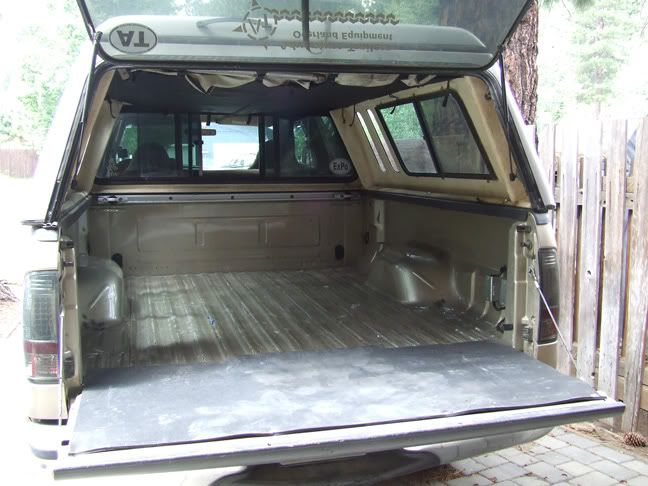
The F250 came with an older Wildernest Camper Shell on the bed, the tent is on it's last legs so I've been using it primarily as a shell. It sits on stock tires and rims.
Modifications done earlier this year:
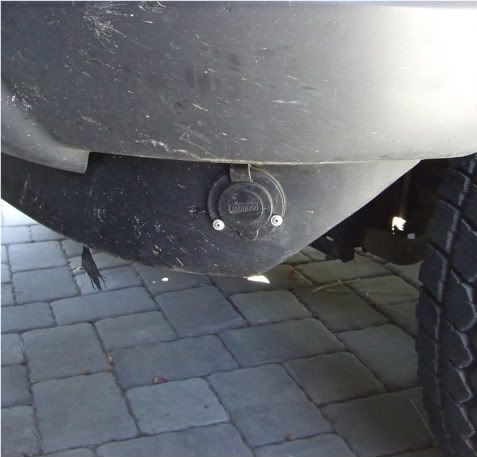
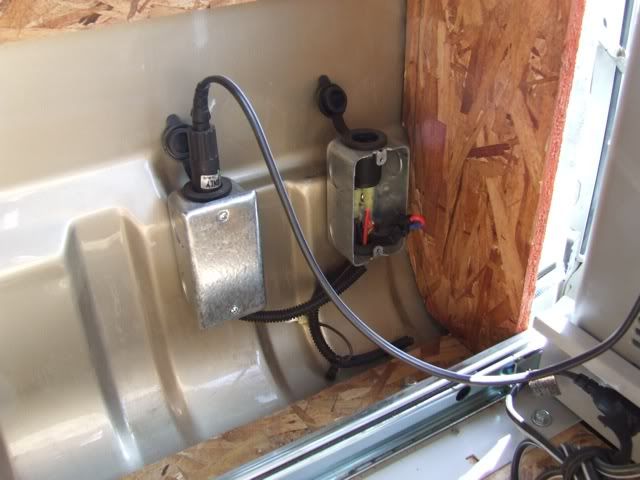
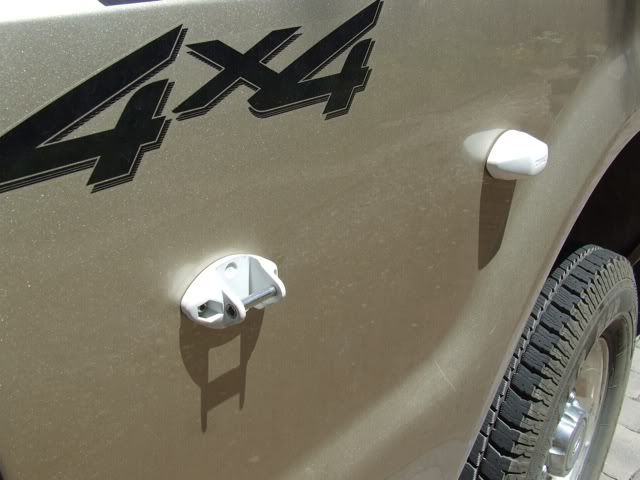
One of the first modifications I did was to install a Marine grade shore plug into the front bumper. I then wired the stock block heater to the plug.
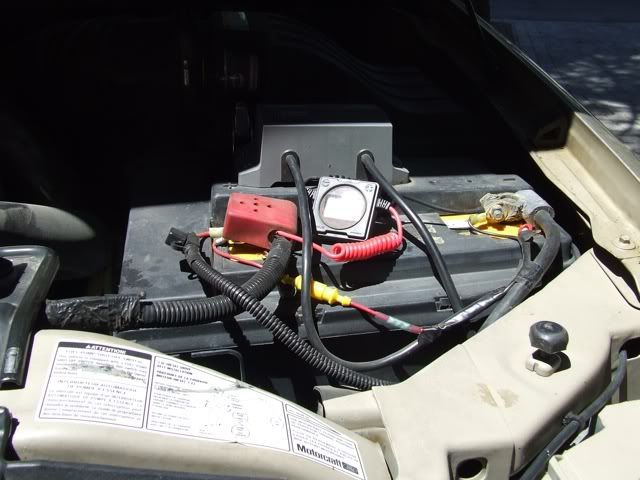
I also installed a marine grade battery charger and wired it to the shore plug. In the winter I plug an extension cord with a timer on it from the 110 v in the garage to the vehicle. I give it 1.5 hours of heating and charging time in the morning. The result is warm oil and coolant as well as a fully charged battery when I start her up in 14˚F / -10˚C weather.
While I was installing the battery charger I put a Battery Bug Smart Battery Sensor on one of the batteries to monitor it.
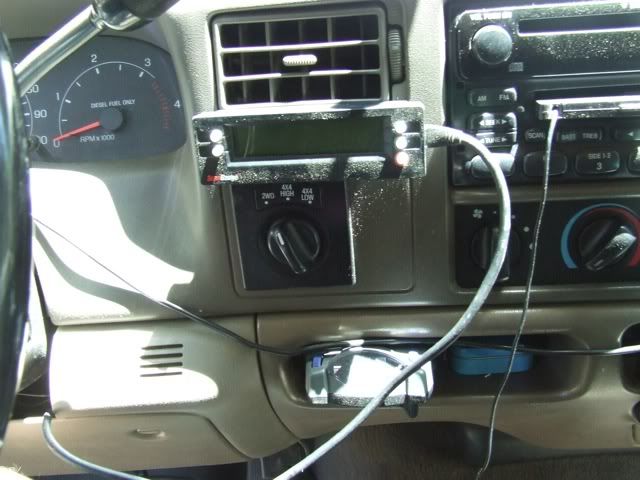
I used the Ford factory kit for installing a 7 Pin RV trailer plug and installed a Tekonsha P2 brake controller in the cab. The only other modification on the interior was the installation of a ScanGauge2 Automotive Computer. I really like this tool and I'll go into some depth later on how I use it.
The concept is to have a truck that will function as the owners daily drive or work truck and can be easily set up into an expedition vehicle.
I'll be covering the concept and design in detail in an up coming article. This post is to cover the nuts and bolts behind it, and to share some of the thought behind the design of expedition based vehicles.
I picked the vehicle up last year primarily to tow horse trailers but my intent has always been to make this vehicle multi-purpose.
The F250 came with an older Wildernest Camper Shell on the bed, the tent is on it's last legs so I've been using it primarily as a shell. It sits on stock tires and rims.
Modifications done earlier this year:
One of the first modifications I did was to install a Marine grade shore plug into the front bumper. I then wired the stock block heater to the plug.
I also installed a marine grade battery charger and wired it to the shore plug. In the winter I plug an extension cord with a timer on it from the 110 v in the garage to the vehicle. I give it 1.5 hours of heating and charging time in the morning. The result is warm oil and coolant as well as a fully charged battery when I start her up in 14˚F / -10˚C weather.
While I was installing the battery charger I put a Battery Bug Smart Battery Sensor on one of the batteries to monitor it.
I used the Ford factory kit for installing a 7 Pin RV trailer plug and installed a Tekonsha P2 brake controller in the cab. The only other modification on the interior was the installation of a ScanGauge2 Automotive Computer. I really like this tool and I'll go into some depth later on how I use it.
Last edited: