Trefotymag
New member


The material used for the popup portion (I've been calling it "the skirt") is 18oz vinyl coated fabric from Big Duck Canvas and 20 gauge double polished clear vinyl for the windows. Nothing is sewn. All seams are glued with Vinyl cement. I've repaired tears in large vinyl tarps for concrete work with this cement and it holds up great for years. It even works under water for repairing pool liners.


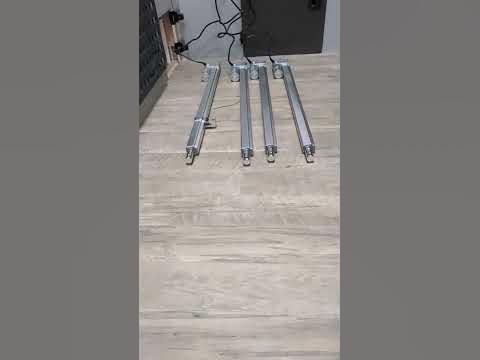
I did most of the work on the kitchen table.