How would you outfit this custom LJ?

jscherb

Expedition Leader
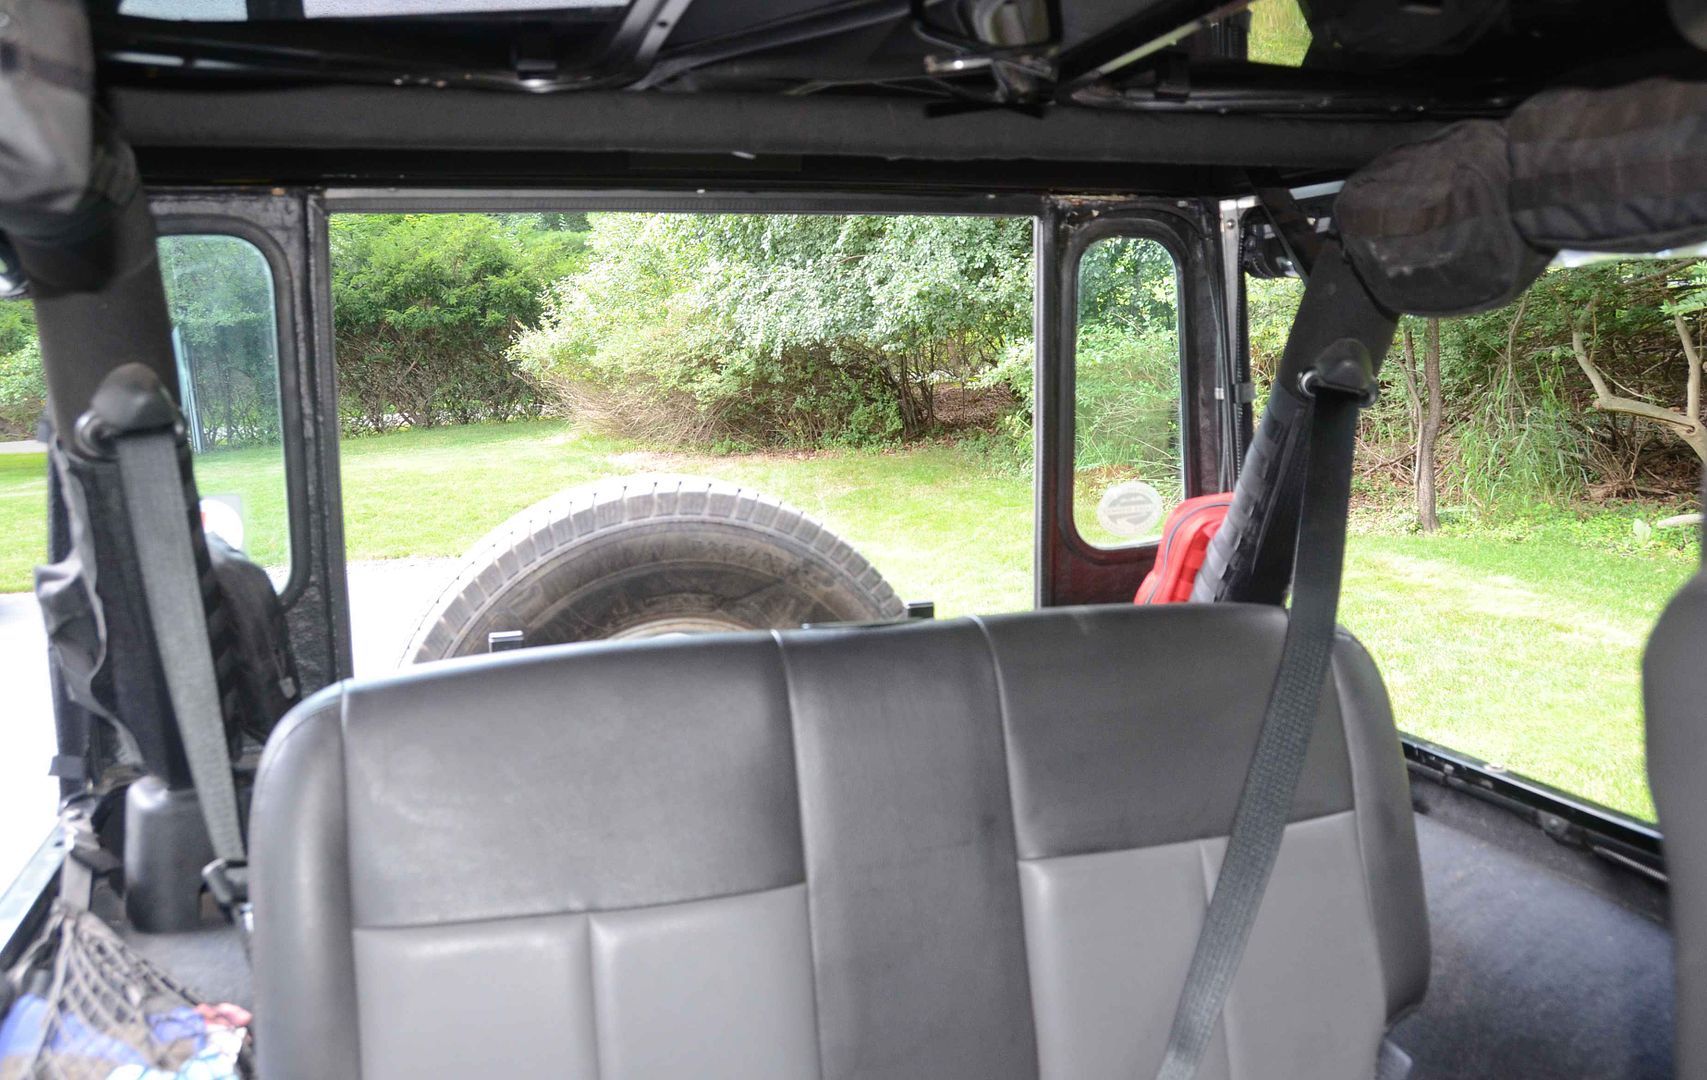
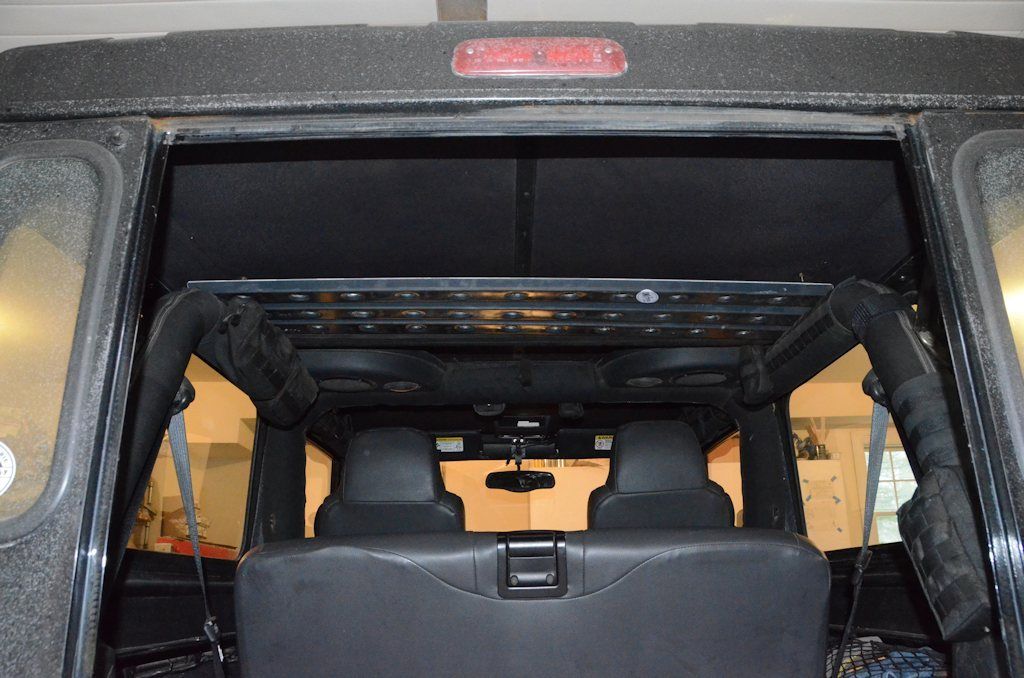
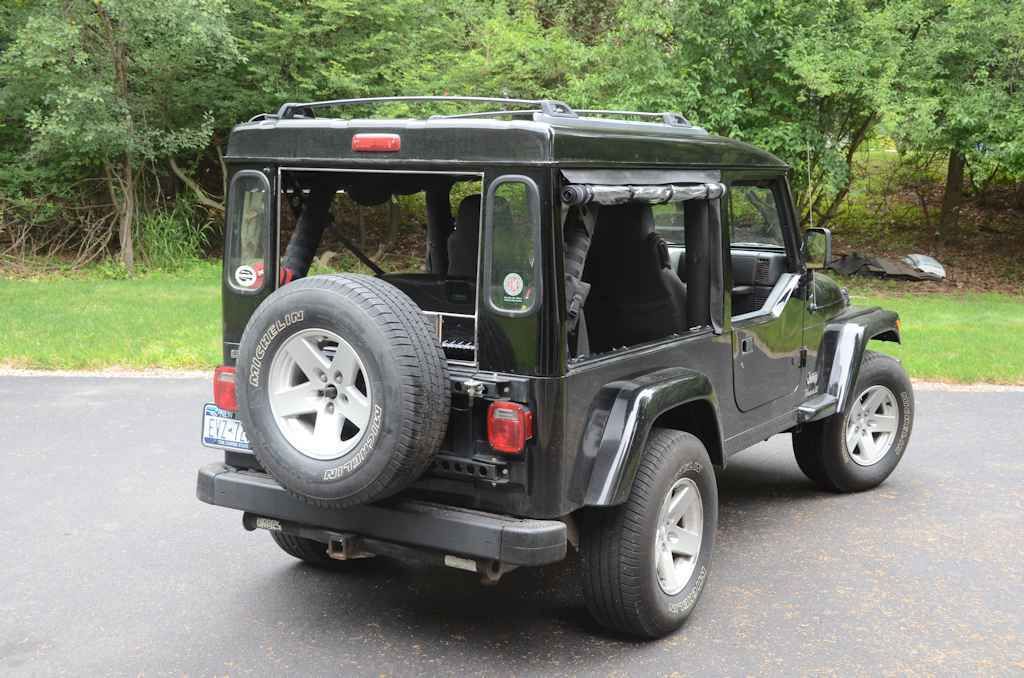
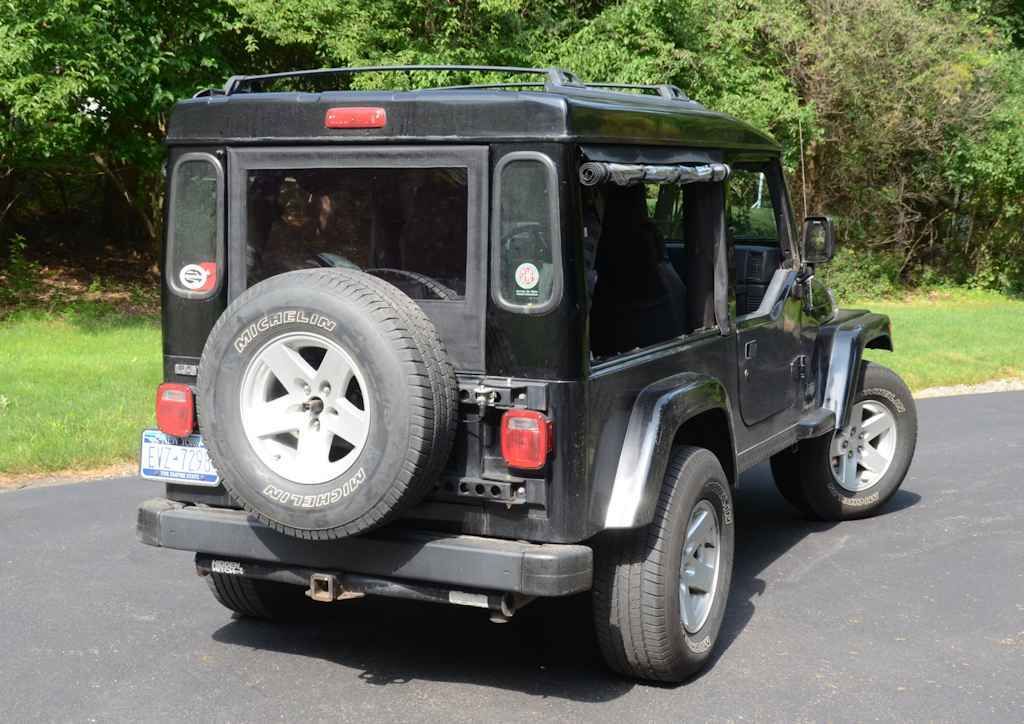
Now that I've got the Steel Horse upper doors in shape, I've decided that since they're heavier than the soft window uppers they need a little more support when they're stored "in the attic" inside the Safari Cab. I've added a bar across the top of the roll bars to support them.

AtticStorage1_zpsnvkylrwz.jpg


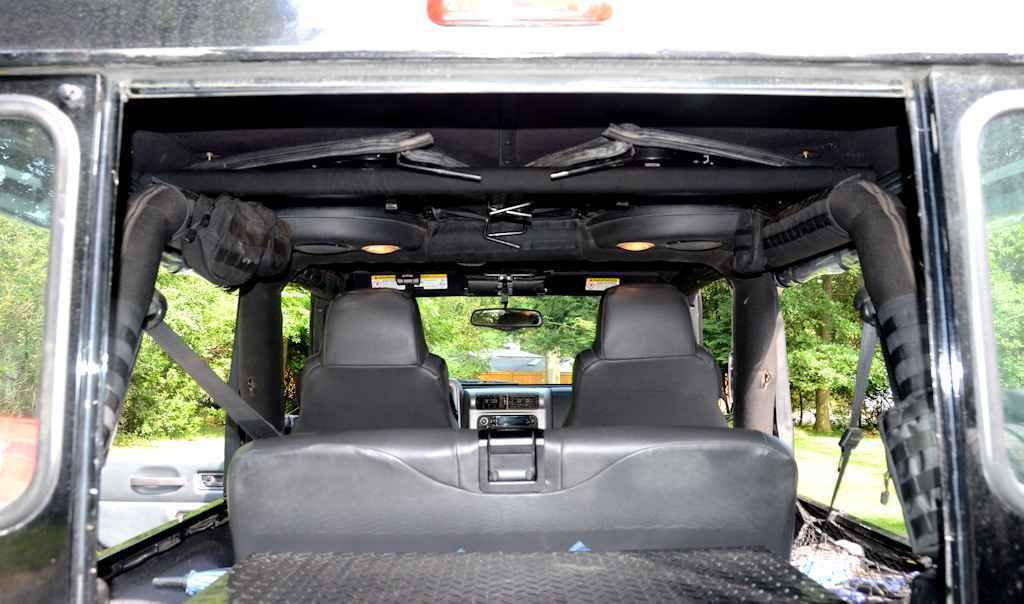
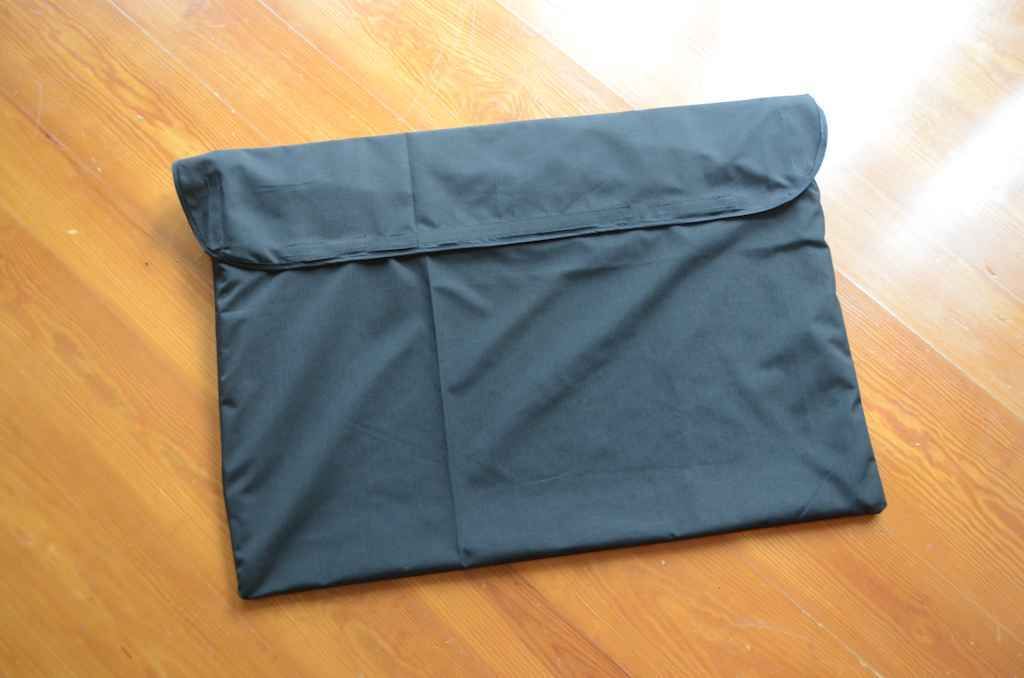
The bar is not fixed in place, it just rests on the roll bars and the upper doors rest on it. It's made from a piece of 3/4" conduit wrapped in a piece of foam pipe insulation. To make it match the roll bars, there's a black canvas cover that zips over it which is made from fabric I had left over from the Molle Bar project plus a long zipper I rescued from the JK soft top I cut up to make the soft sides. And speaking of Molle Bars, I didn't have to remove the Molle Bars and pouches I have along the rear roll bar extensions, they still fit fine even with the uppers on top.

AtticStorage3_zpsxybimo2x.jpg


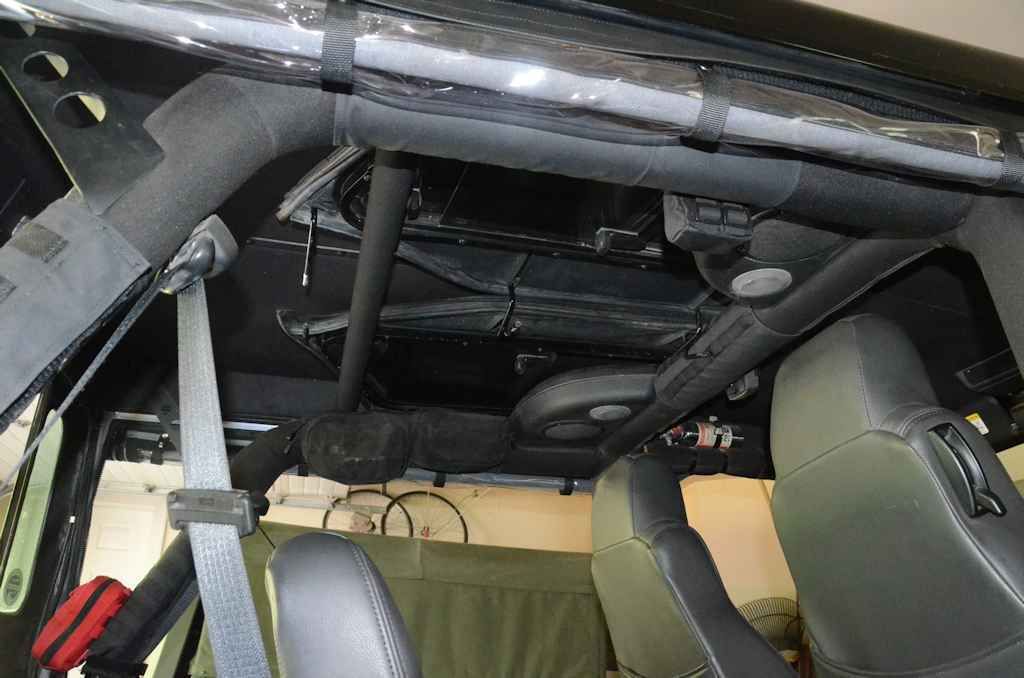
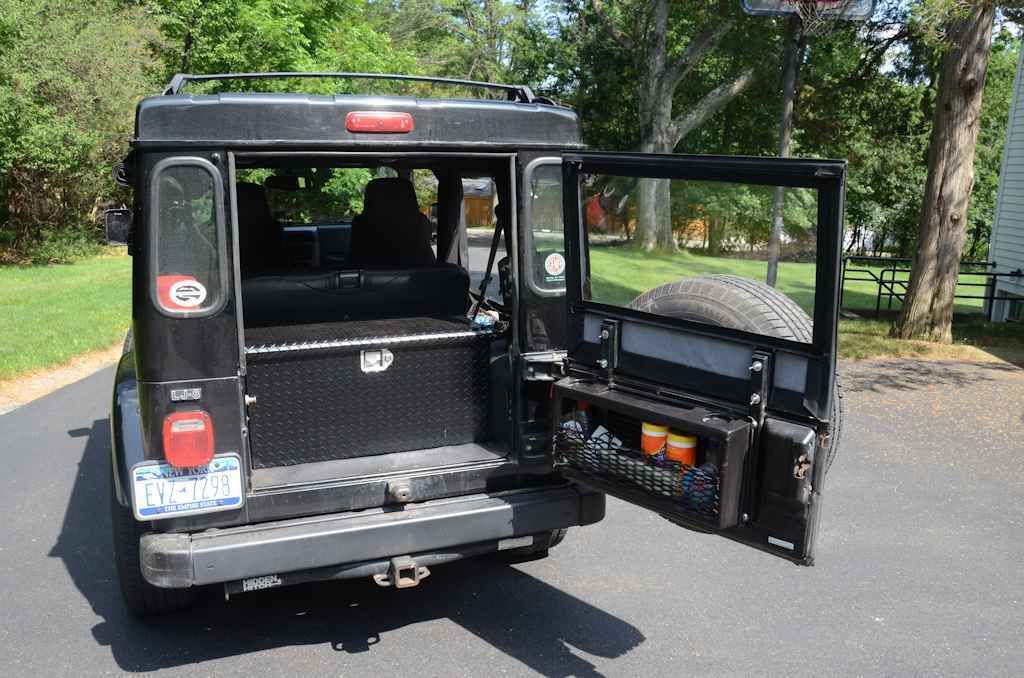
The soft barn door upper is also going to fit up there.
 

jscherb

Expedition Leader
This morning I made up the frame for the soft barn door. It's 3/8" steel rod, same as the factory half door uppers. This photo shows it next to the hard barn door upper. Both mount to the tailgate in the same way.

SoftBarnDoorFrame2_zpshrbibvqg.jpg


Here it is installed, you can see the bare steel frame around the rear door opening.

SoftBarnDoorFrame1_zpszw5hretd.jpg


Next I'll paint the frame black and then I'll sew the skin for it.
 

jscherb

Expedition Leader
Today I sewed the skin for the soft barn door. It more-or-less follows factory soft upper design, except that I used zippers to secure the skin around the top and sides where the factory-style uppers use velcro. The zippers provide for a much tighter fit and more positive engagement than velcro does. The upper is held on with 4 wing nuts, and it uses the same mounting stakes as the hard barn door upper.

SoftBarnDoor1_zpsgtiio8ud.jpg


SoftBarnDoor2_zpsiwxbl1tg.jpg


SoftBarnDoor3_zpslrgvdsvg.jpg


It'll fit "up in the attic" along with the two front door uppers, but before I put it up there I think I'll sew a storage bag for it so the window doesn't get scratched.

I'm planning a trip to Colorado in September to do some trail time, and this is the configuration I'll run. The Jeep can be enclosed for the interstate run, and each day I'll roll up the sides and store all three uppers above the roll bars for an open air trail experience.
 

squint

Adventurer
Jeff, I absolutely love the look of the soft sides. Nice work! I have thought about making my own soft uppers for both the sides and back but that will have to wait. Out of curiosity, what type of "glass" did you use?
 

squint

Adventurer
That looks like rolled glass as opposed to pressed glass since it is sold by the foot, rather than by the sheet. I have been experimenting with both for a while now and have used 30 and 40 gauge but I have never tried the 20 as you used. I would imagine it makes it very easy to roll up. My wife's TJ has a less expensive 30 guage, clear, rolled glass and my LJ has the 40 gauge pressed, light smoke and I can see a big difference. How do you like it? It's hard to tell from the pics, but it looks like it is very clear. I wonder how the 20 gauge would stack up against the 40 in the wind? I also love the Safari emblem on the side- good call on that. That really makes it look professional.
 

jscherb

Expedition Leader
That looks like rolled glass as opposed to pressed glass since it is sold by the foot, rather than by the sheet. I have been experimenting with both for a while now and have used 30 and 40 gauge but I have never tried the 20 as you used. I would imagine it makes it very easy to roll up. My wife's TJ has a less expensive 30 guage, clear, rolled glass and my LJ has the 40 gauge pressed, light smoke and I can see a big difference. How do you like it? It's hard to tell from the pics, but it looks like it is very clear. I wonder how the 20 gauge would stack up against the 40 in the wind? I also love the Safari emblem on the side- good call on that. That really makes it look professional.

Yes, it's very clear, but that's not why I picked it - the reason I picked it is because it rolls up so easily, I wanted to be able to roll up the sides into small, tight rolls that wouldn't hang down too far. You can tell it's rolled due to the slight distortion when looking through it but it's fine. No problem at speed on the highway, if that's what you mean by wind.

I like to give my projects finishing touches that a commercial product might have, so it had to have embroidered Safari logos. BTW they match the Safari decals that the hard sides have, I had them embroidered from the same PDF I used to have the decals made some years ago :).
 

jscherb

Expedition Leader
Today's project: sewing a bag for the soft barn door to prevent the window from getting scratched when it's stored above the roll bars. I made it out of a fairly thin fabric so when the barn door is in use the bag can be crumpled up and won't take a lot of room to store. It's basically like an envelope, with velcro closures.

BarnDoorBag_zpspdekoqif.jpg


The soft barn door fits above the two half door uppers with sliders that are stored above the roll bars, so adding this to the collection of stuff "in the attic" doesn't take any more room than just the two uppers. Here's a view from inside, there's really no loss of headroom in the back seat (it's rare for anyone to sit back there anyway), and the view out the back and sides is pretty good - only the rear corner panels of the Safari Cab are in place, and they're mostly window anyway.

SoftSidesV2Inside_zpswdvtpj5x.jpg


Unless I get caught in unexpected rain, all three of the uppers will probably stay up there until Labor Day - if I know it's going to rain that day I'll just drive the other Jeep :).

On Labor Day they'll all come down and get installed for the drive from upstate NY to Colorado, where they'll come off every day for the trails and go back on again at night.

When I get back from Colorado in late September it'll be time for the hard sides to go back on.
 

jscherb

Expedition Leader
It's always fun to be surprised by a photo of your Jeep in JP Magazine... this is in the January 2016 issue; the photo was taken this year at Easter Jeep Safari, I was testing the subject rack.

JP201601p92_zpsltt6v3c0.jpg


For the record: I am not an employee of the company mentioned.
 

jscherb

Expedition Leader
I've been experimenting with a rack that mounts over the spare tire and holds two ammo cans; it's also got a mounting grid on the back for whatever I decide to mount to it, in this case the jack. Since I never carry the jack except on off-road trips this rack is designed to be put on for the trip and removed after so it straps to the spare with ratchet straps. The ammo cans can carry recovery gear or other trail supplies that I also wouldn't carry on a daily basis.

SaddleRackDone4_zpsvuuqiynl.jpg


SaddleHiLiftAndShovel2_zpsd0wh7wpd.jpg


The weight of the jack might be a lot for a stock tailgate/spare carrier - I've got an Exogate reinforcing my tailgate/holding my spare carrier and I regularly carry weight back there like a full jerry can so the weight of the jack isn't a problem.
 

jscherb

Expedition Leader
In both the Retro Wrangler pickup and the LJ I have Airlift 1000 air bag helper springs. They really help with the load carrying ability of the pickup, and also with the LJ on the occasions with I have large loads on board - like an extra spare in the roof rack plus full jerry cans and all the luggage and gear necessary for a long expedition. Here's an under-construction view of the pickup frame taken about 7 years ago, you can see the air bags:

RetroFrame1_zpstmhuv2no.jpg


The system in the pickup has been flawless, it's been installed since I built the truck and I've never had a problem with it. On the LJ the system sometimes leaks down during off-road action, and once it's out of air the bags move in the springs and twist up the air supply line. A few weeks ago I redid the supply lines, and it's been holding air just fine, but I decided it might be a good idea to be able to monitor the pressure more easily than by sticking a tire gauge on the Schrader fill valve, so I picked up a military surplus air gauge. I plan to plumb it into the air supply lines and mount the gauge somewhere in the cockpit. Unfortunately the gauge says "Tire Pressure", but the pressure range is perfect for the air bags. I had trouble finding a gauge with an appropriate range so I picked this one. Haven't decided exactly where to mount it yet. Here's a photo of the gauge and a few places I could mount it...

GuageAndLocations_zpsrwuhvml0.jpg


I may just mount it temporarily for a while to see how valuable it is and then later do a permanent mount for it.
 

jscherb

Expedition Leader
Behind the shifter looks ideal. No need to jeapordize your passengers shins :)

That's where I'm leaning towards right now.

The gauge is military surplus, so I thought it would look good to make it more military looking... so I made an airplane cockpit style bezel for the gauge. It's not painted yet, still have to do a little final shaping and sanding.

GaugeBezel_zpsl91qdpgh.jpg


I'll probably paint the new bezel and the rim of the gauge black.
 

jscherb

Expedition Leader
The gauge I've been working with is pretty big in the back, in fact too large to fit in the console just ahead of the emergency brake where I was thinking of mounting it. It could mount there, but I'd probably have to clearance the floor just behind the hole for the shifter, and while that's completely hidden from view by the console, I'd still rather not do that. So I ordered a couple of other gauges to try.

On the left is my original gauge with the bezel I made. The gauge in the center is a Stewart-Warner, it's a lot smaller in the back than the original gauge so it will fit fine in the console in front of the emergency brake, and all it says is "PRESSURE", which is better than the original gauge. I'd have to make up a similar bezel for it because it's slightly smaller than the original gauge, but that's quick and easy to do.

The gauge at right isn't an automotive gauge, so it's got no provision for mounting, but the ranges on it are perfect for the air springs. Normally I run them at 10-20 lbs, which is the green region. The air springs are rated for 35 lbs., which is just at the top of the yellow region.

3Gauges_zps1fq8qizj.jpg


Being so small, the last gauge could mount places the other couldn't, so I made up a quick mount for it to test it under the dash:

SmallGaugeTest_zpskeymzidm.jpg


Haven't decided yet, but I may use the small gauge mounted under the dash for now - no holes to drill, so I can test it and later if I decide to use the other gauge and mount it in the console I can do that.
 
Last edited:

jscherb

Expedition Leader
I'm planning some desert exploration this spring so with the possibility of getting bogged down in soft sand I decided to add some aluminum sand ladders to my recovery kit. They arrived yesterday.

SandLadders1_zpsvd1xgxms.jpg


Next I'll work out a way to mount them; since I'll be carrying the roof rack with an extra spare on the upcoming desert trip, I might mount them up there.

But I did a quick test and they do fit above the roll bars, utilizing the extra height of the Safari Cab. In this quick test, only one is up there, but all 4 will fit because they stack nicely. A couple of ratchet straps should hold them in place very nicely. The only negative to carrying them up there is that if I use them to recover in mud, I wouldn't want to put them back inside until they're washed off, so in that case I'd use the same ratchet straps to secure them on the roof rack until I got back to civilization and could wash them.

SandLadderStored_zpsxlejbqvg.jpg


I was also considering MaxTrax and Treds, but one thing that tipped the scale towards the aluminum ladders is that they can also be used as bridging ladders with a slight mod - I like mowerman's idea for upgrading sand ladders to serve as bridging ladders: http://www.expeditionportal.com/forum/threads/106547-bridging-bars-with-PAPs

It turns out that my local Lowes has the necessary Superstrut material in 10' lengths for about $20, so I should be able to modify a pair of the ladders to be bridging ladders for $40: http://www.lowes.com/pd_43878-53911-ZA1200HS+10___?productId=3128751&pl=1&Ntt=channel

I've got an idea to alter the mod slightly so they could be used as either sand ladders or bridging ladders and only take a minute to swap between the two options, stay tuned, I'll do a writeup when I modify them.

I don't anticipate the need for bridging on my upcoming trip, but I also don't anticipate too much future driving in loose sand, so having these serve a bridging purpose after my need for them in sand is over makes them a better investment.
 

Forum statistics

Threads
186,339
Messages
2,884,657
Members
226,200
Latest member
eclipse179
Top