Jeepster Commando Build - A Different Sort of Jeep Thing - Stoffregen Motorsports

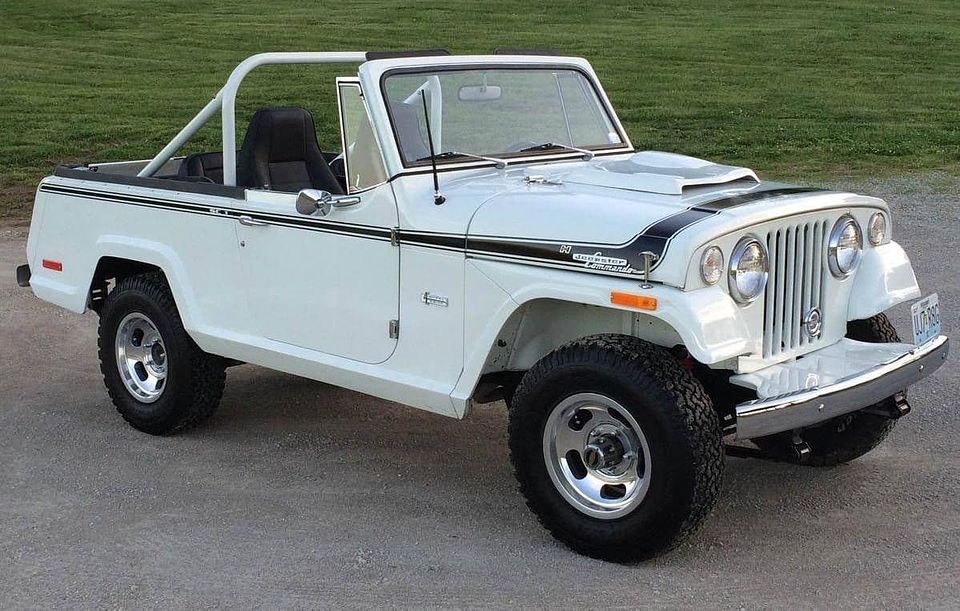
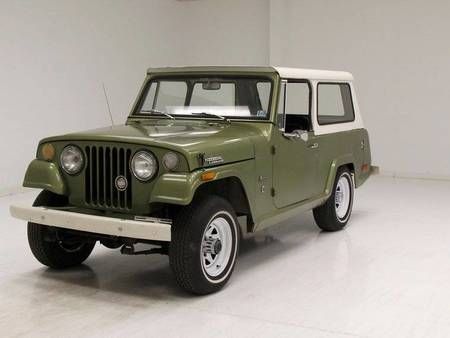
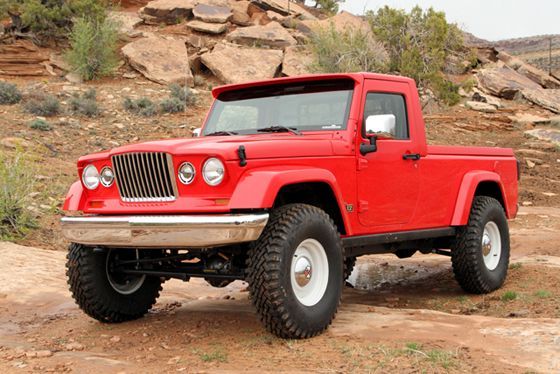
I've been building this Jeepster for a while now, but decided it was time to share it with y'all.

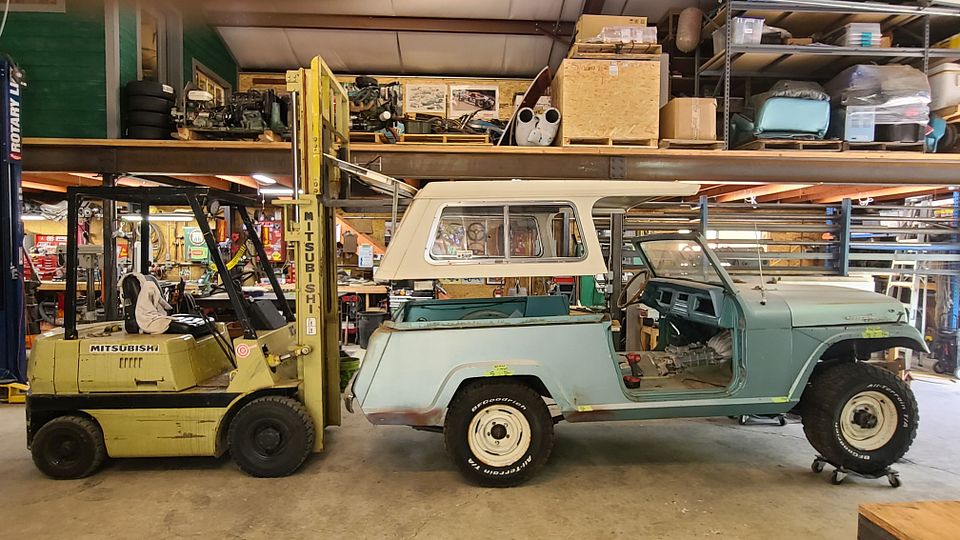
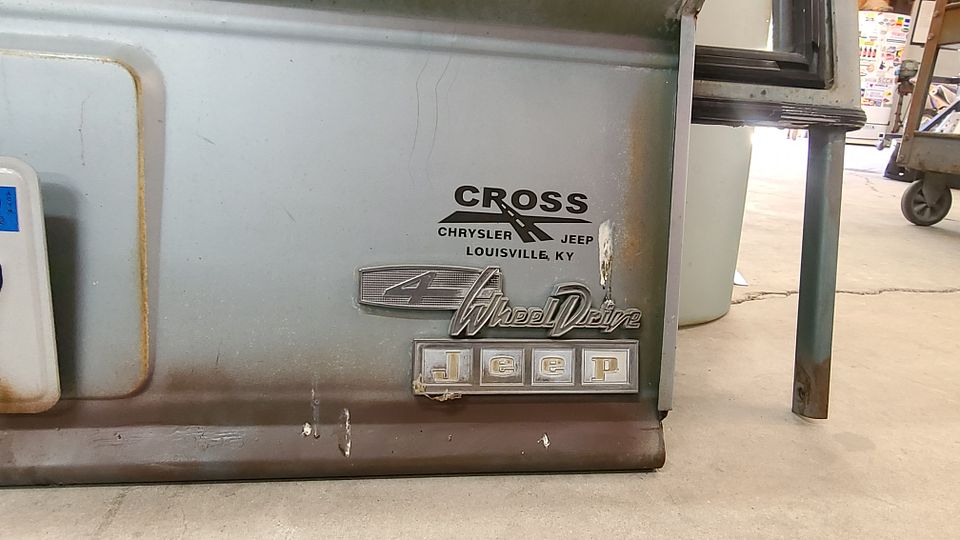
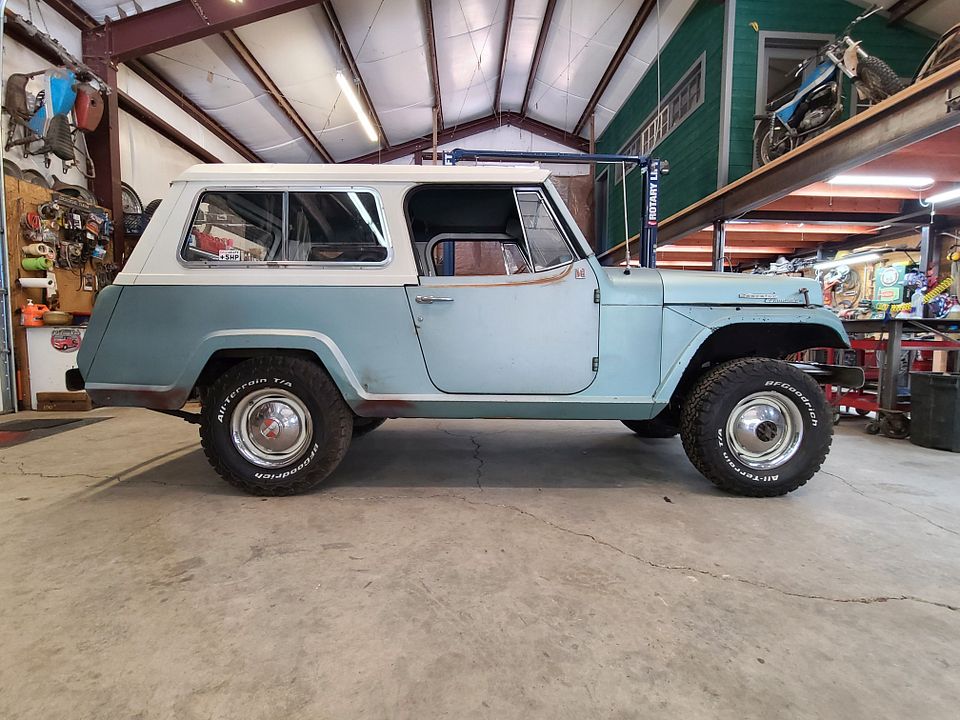
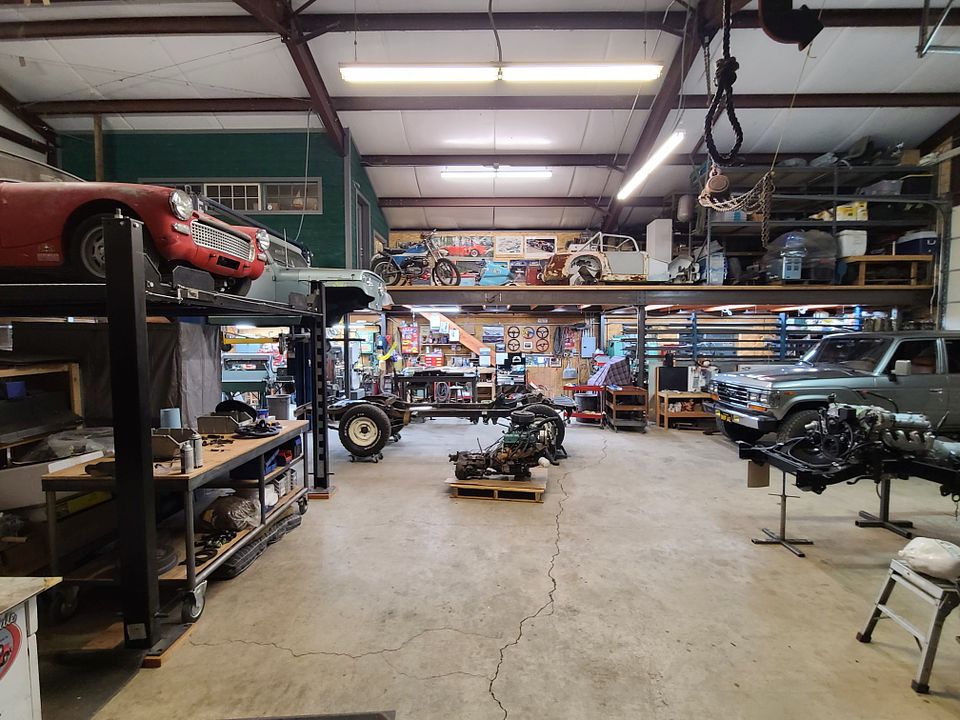
This Jeepster began life with a Jeep family. The original owner had a Jeep dealership in Kentucky, but had this Jeep at his second home in the Colorado Rockies. I picked it up from a collector in Sacramento who had about one hundred cars and trucks in his eclectic collection. There were so many cars that caught my attention, it was hard to focus on the Jeep. The shining star of his collection was a very early Austin Healey 100/4 Le Mans spec car that was originally owned and raced by Augie Pabst. There was also a Porsche 944 that he offered to me for $800, but it was so full of rat turds that I almost threw up.

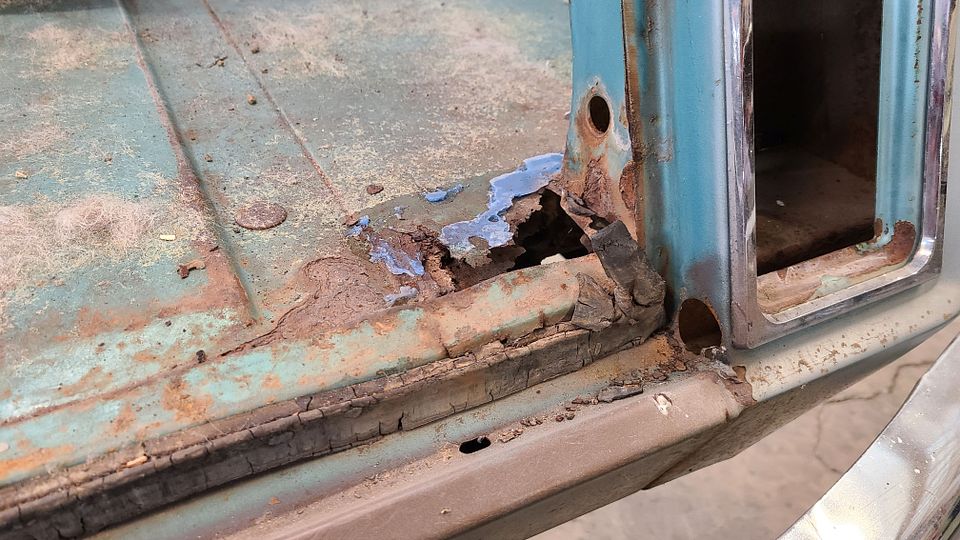
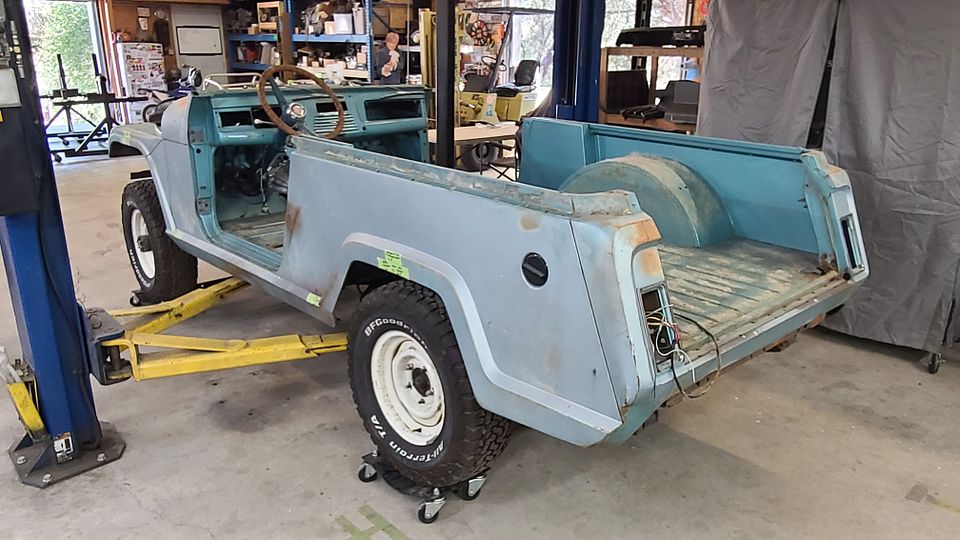
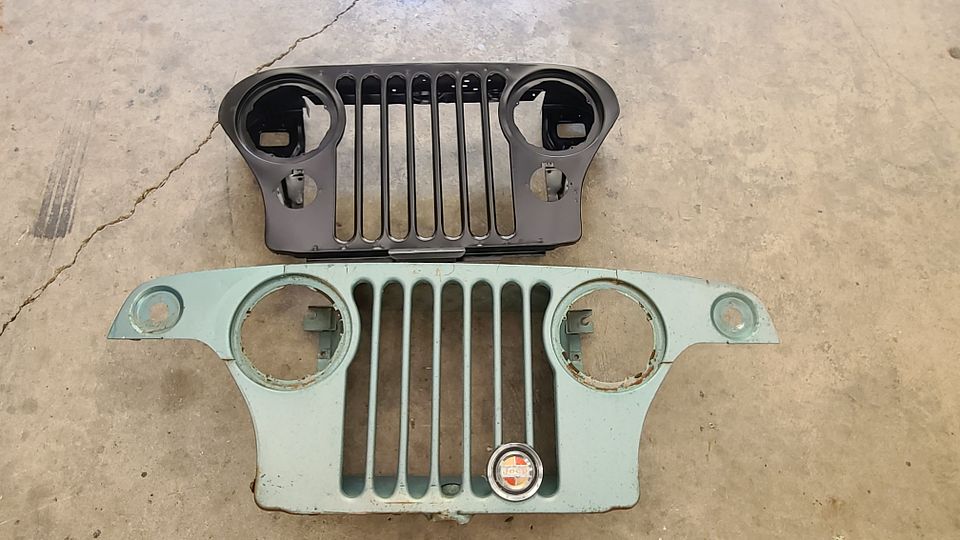
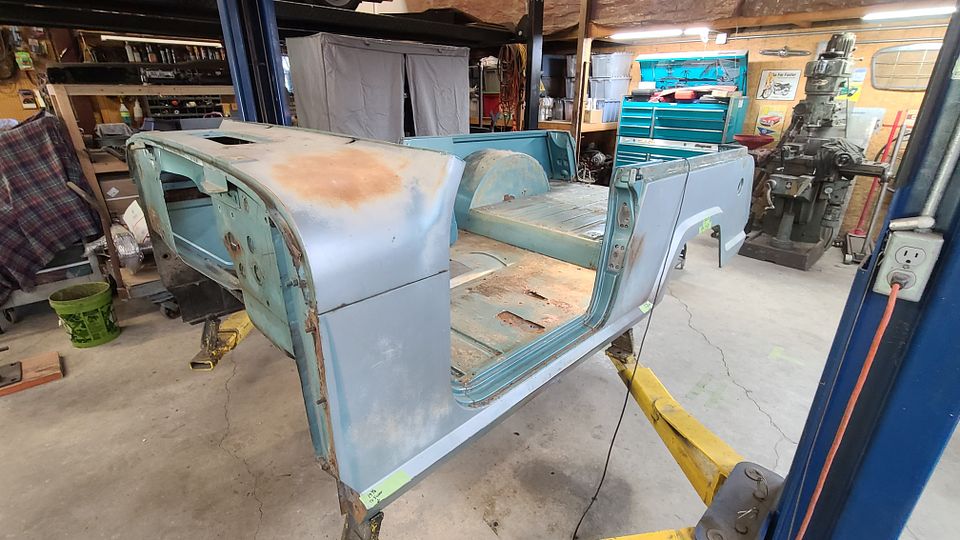
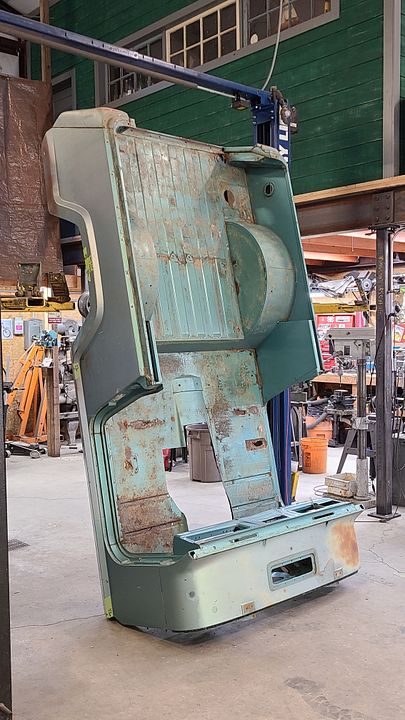
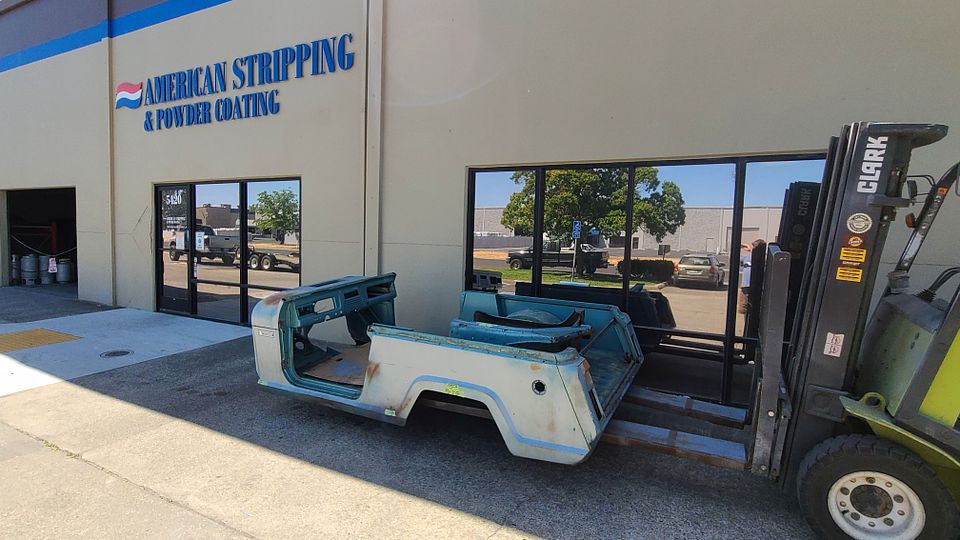
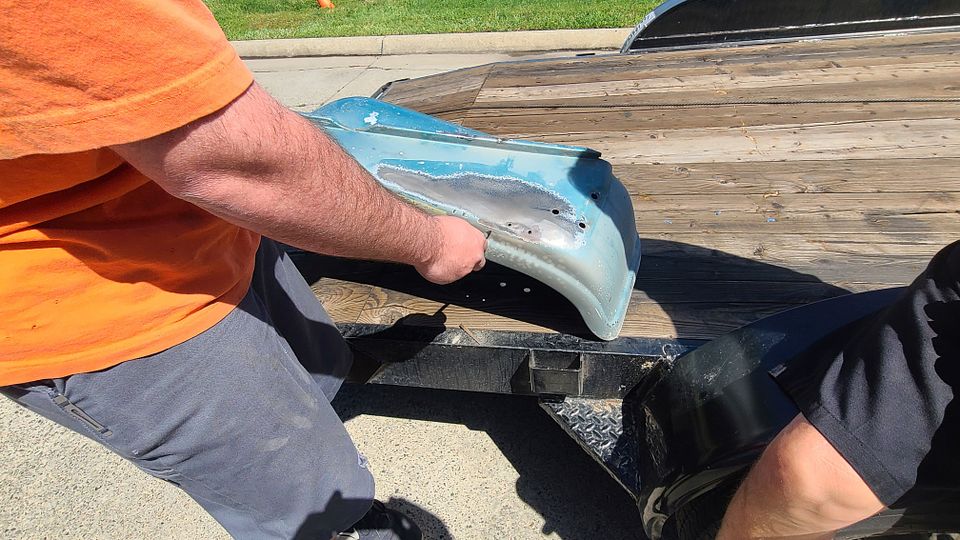
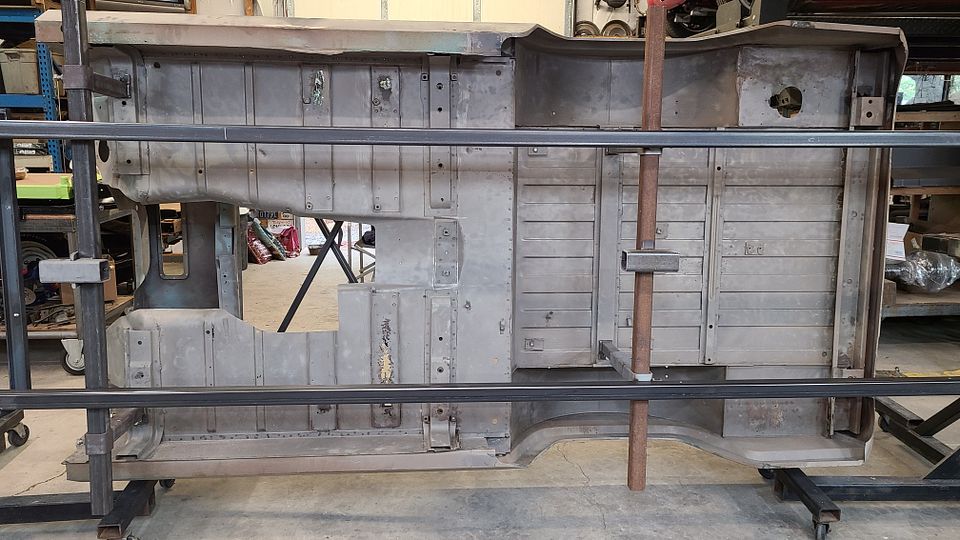
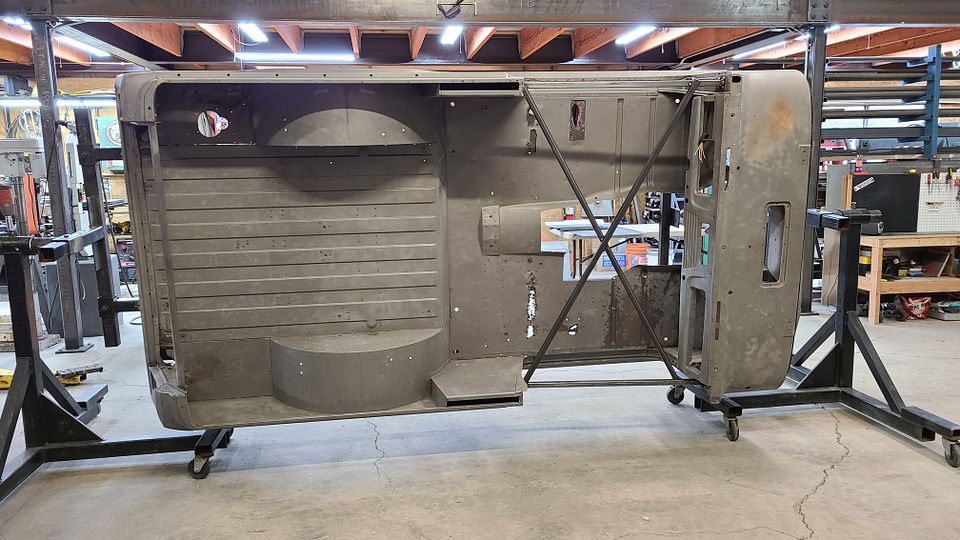
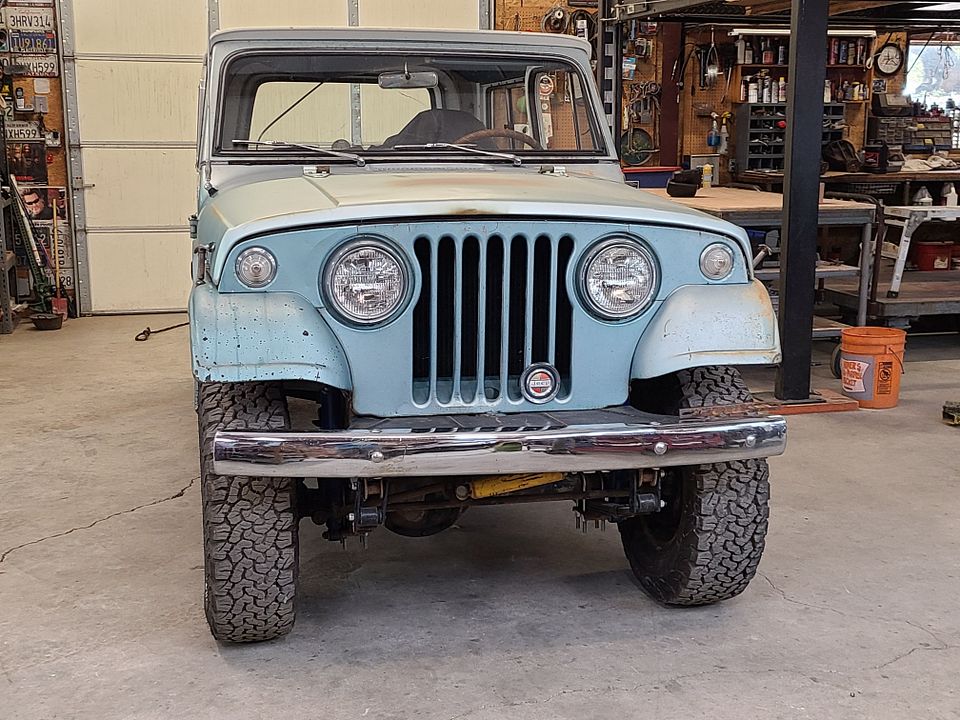
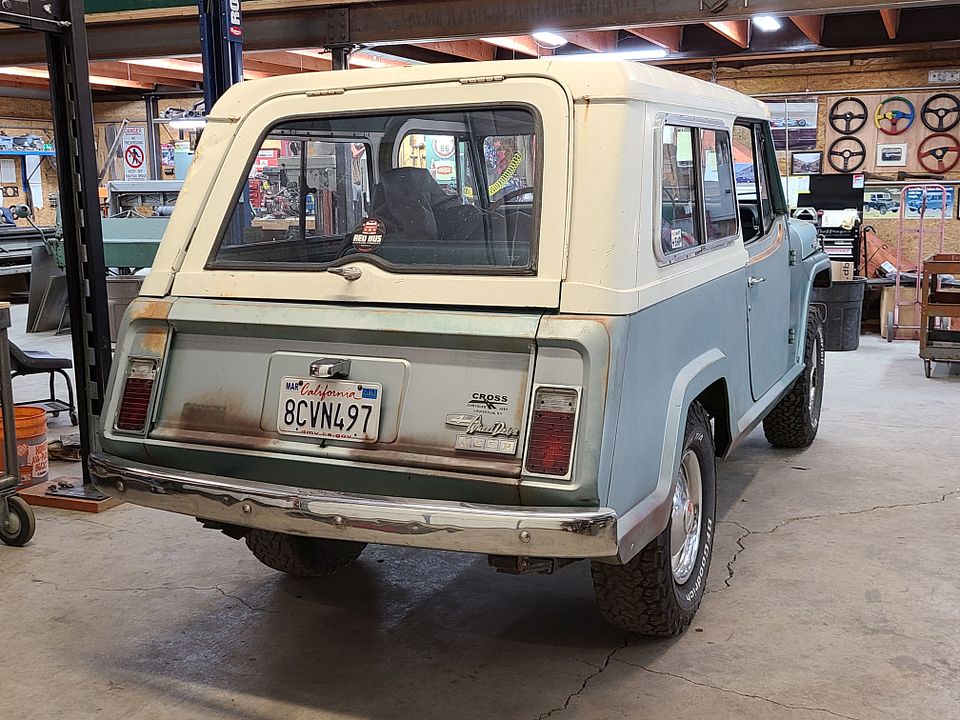
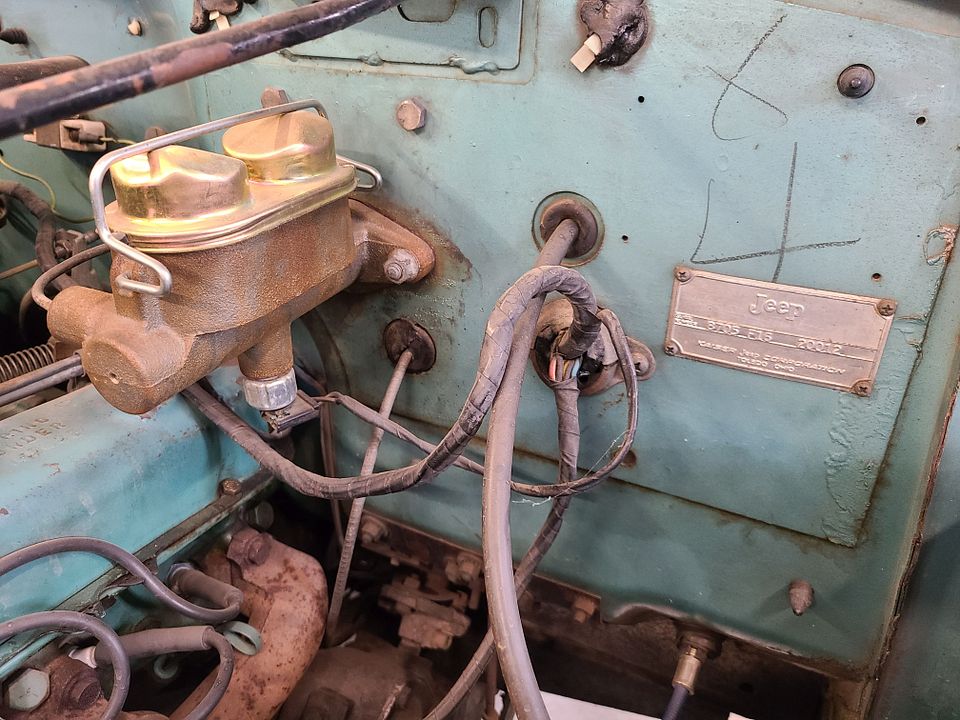
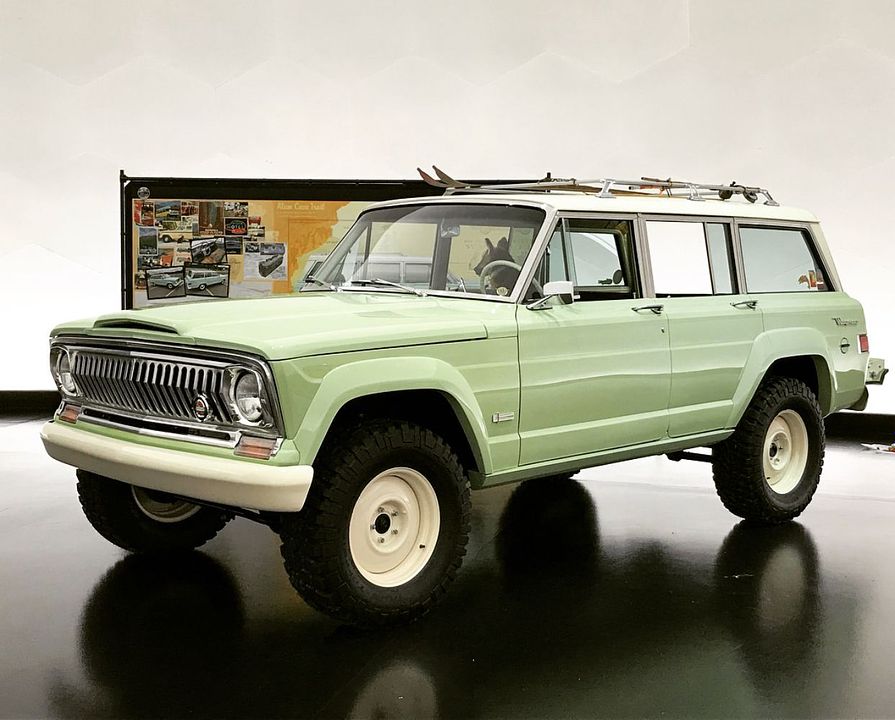
The Jeepster was very clean and original, but had a few rust spots that would need attention. It ran and drove nicely, and was a perfect candidate for a resto-mod build. A price was settled upon and the Jeep was delivered to my shop the next day.

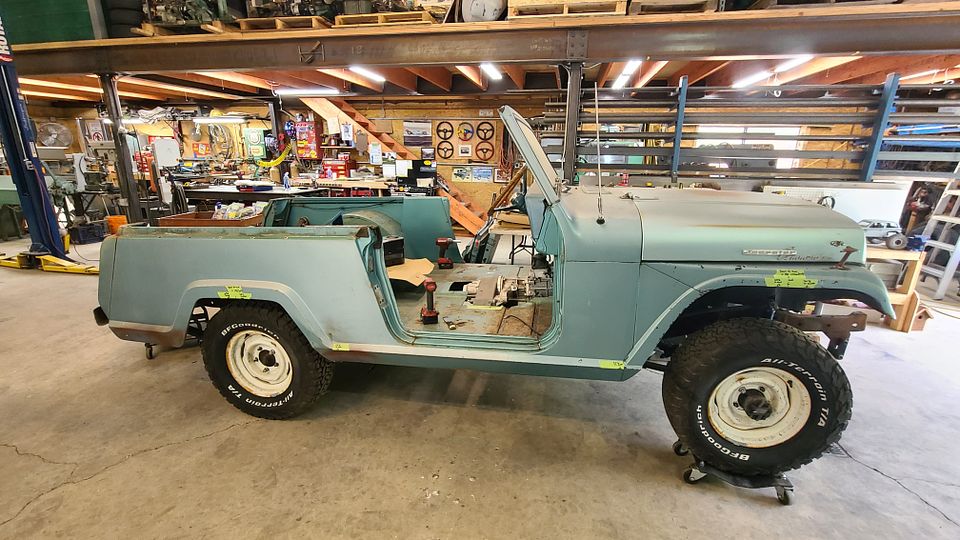
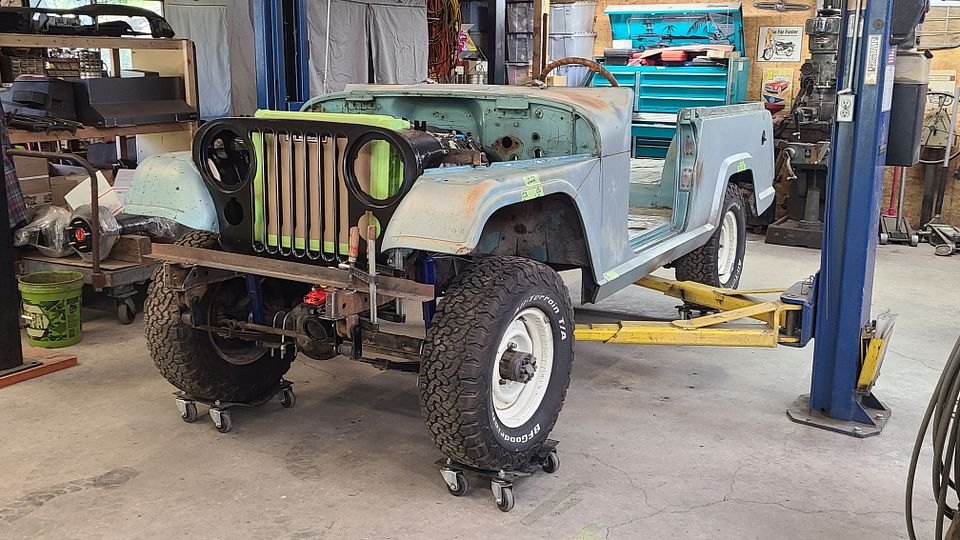
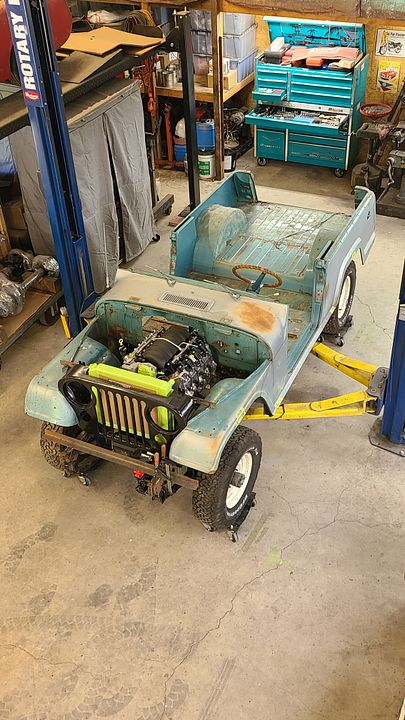
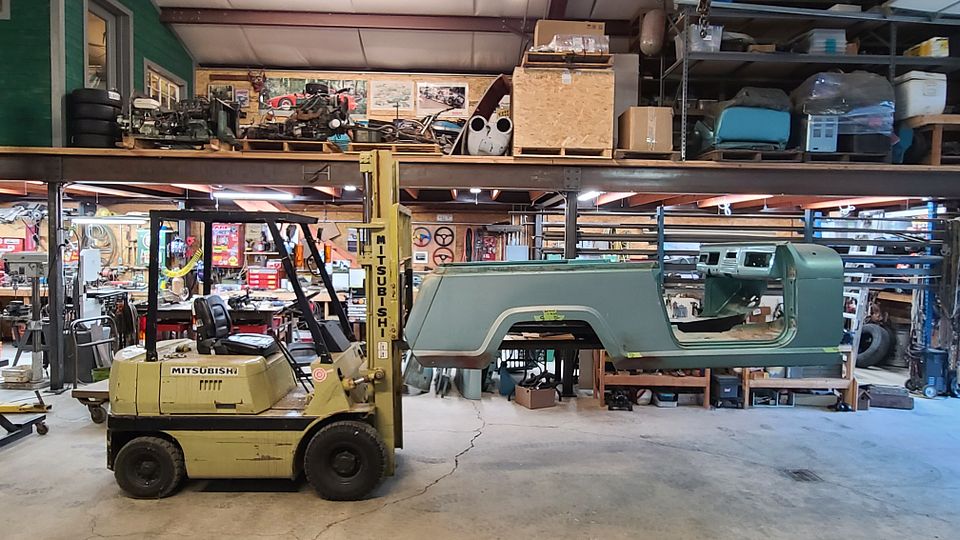
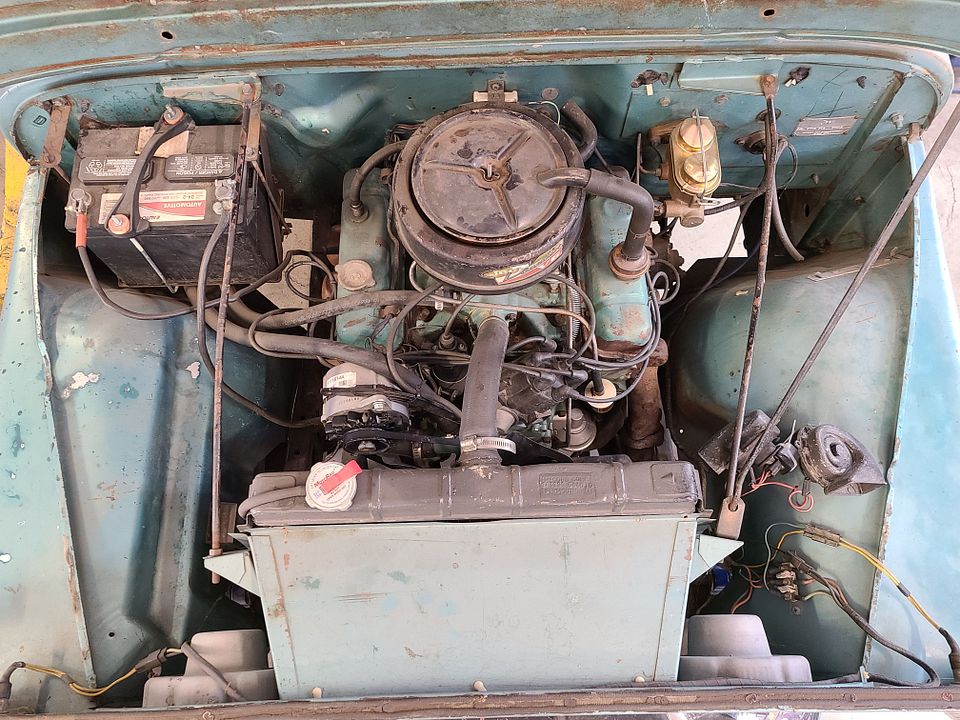
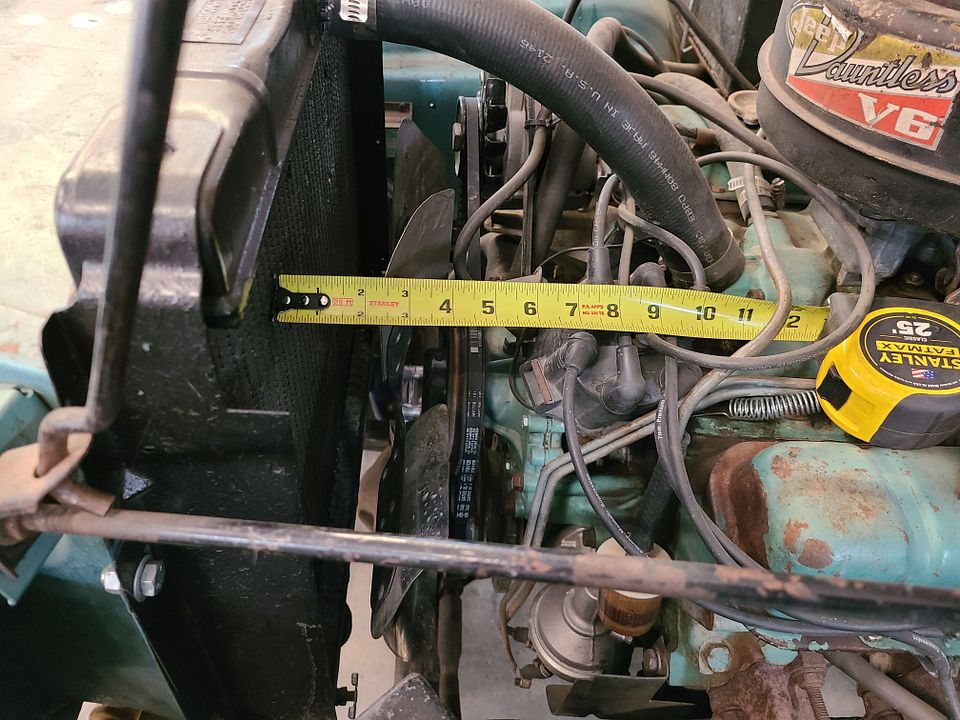
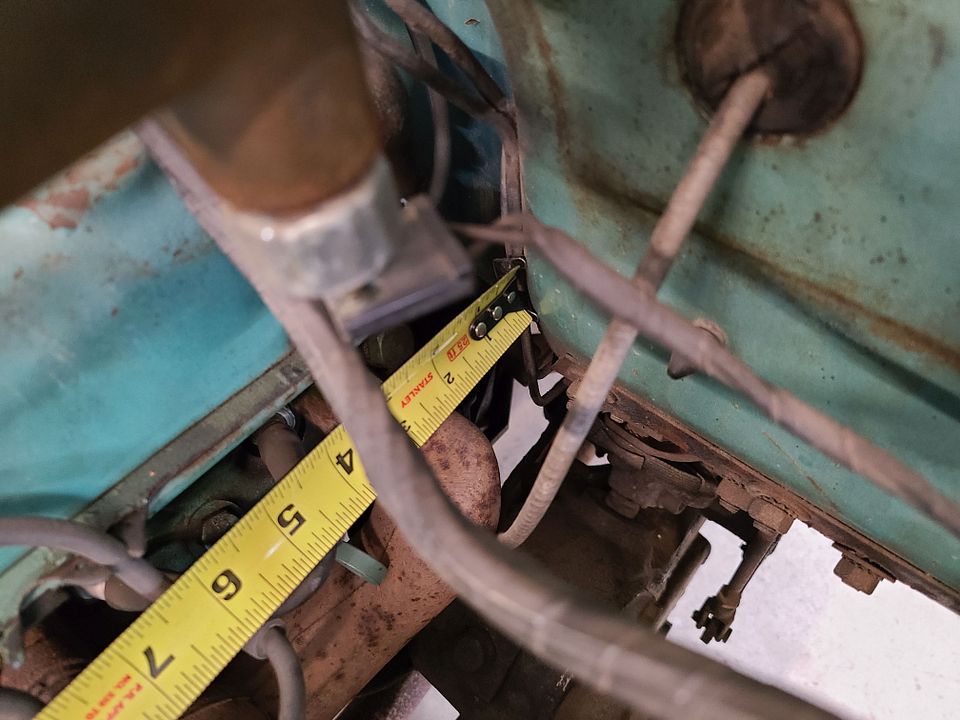
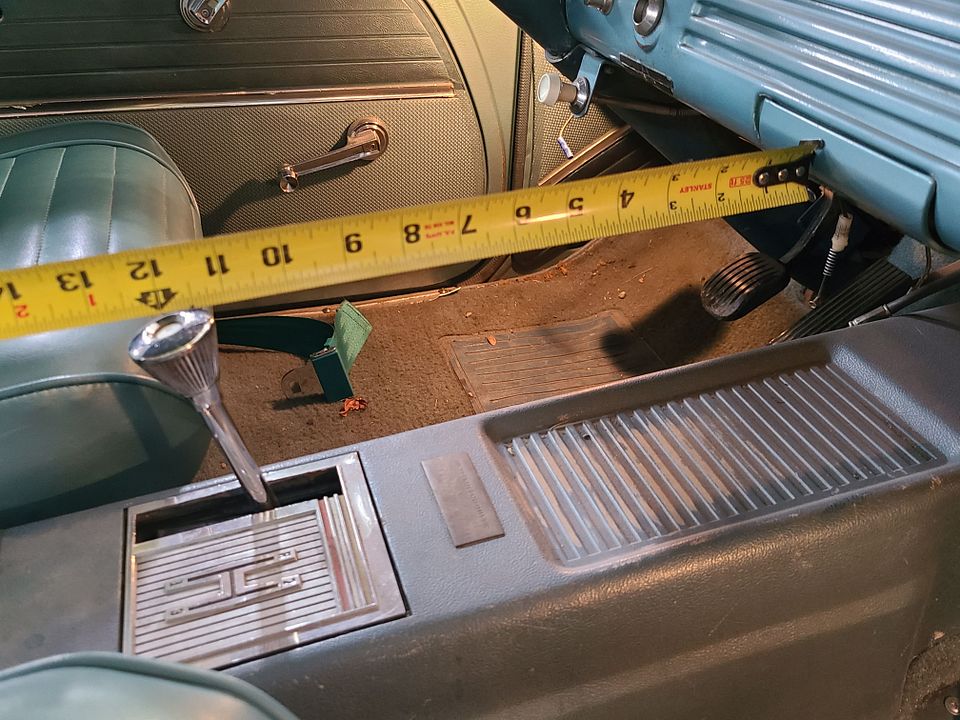
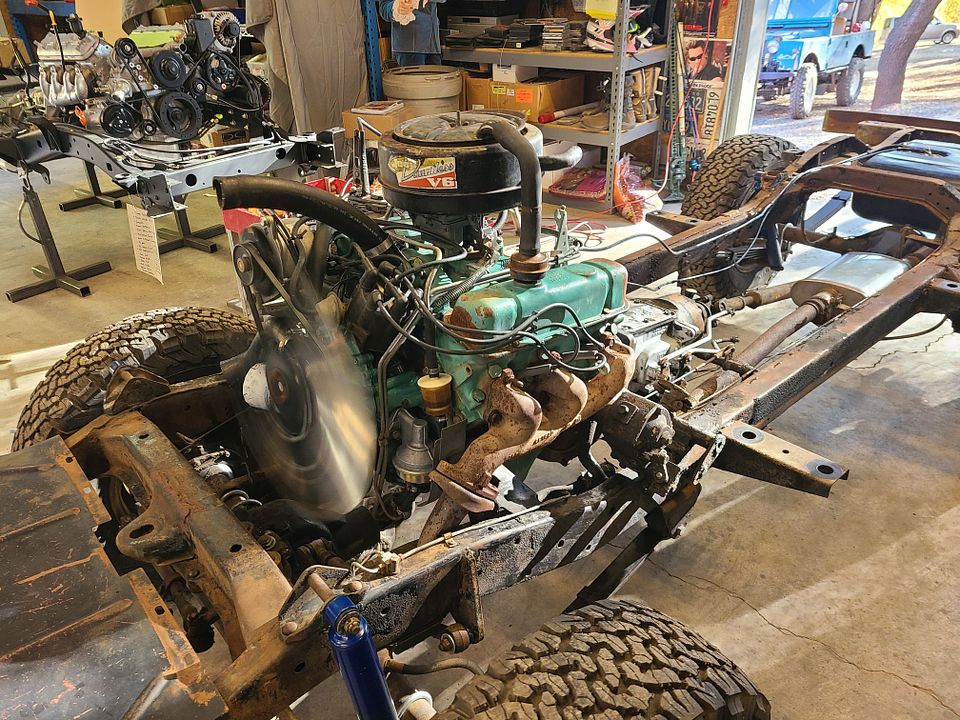
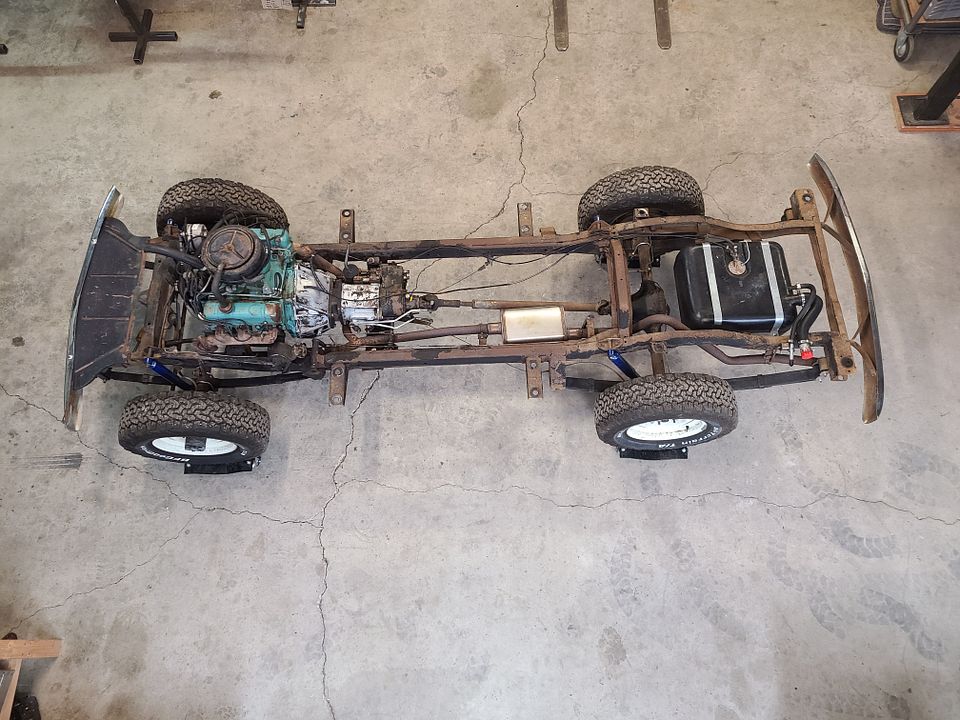
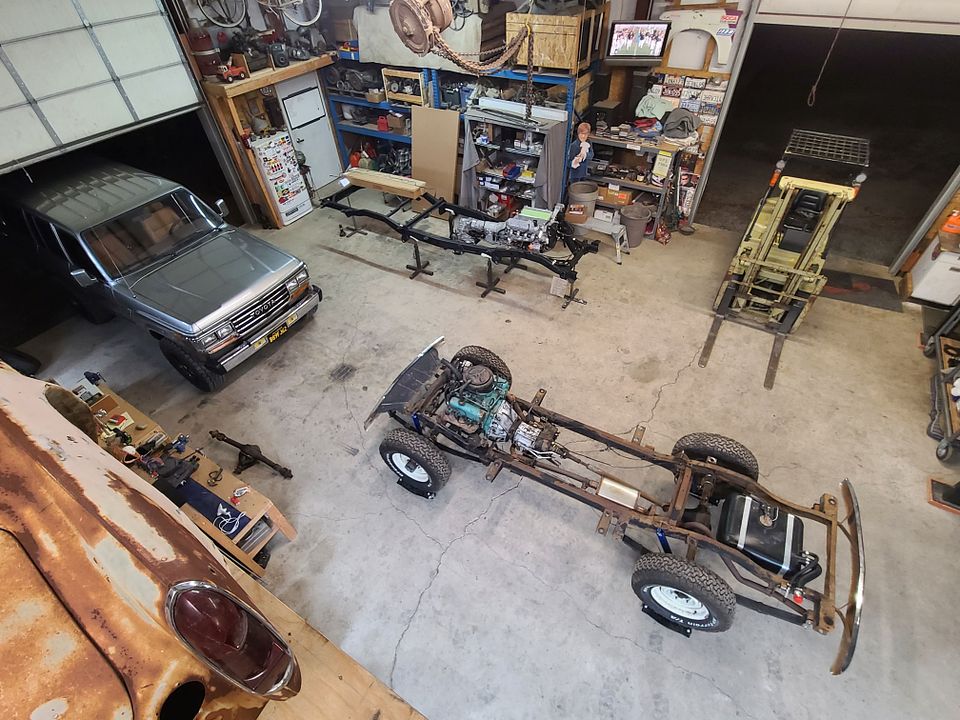
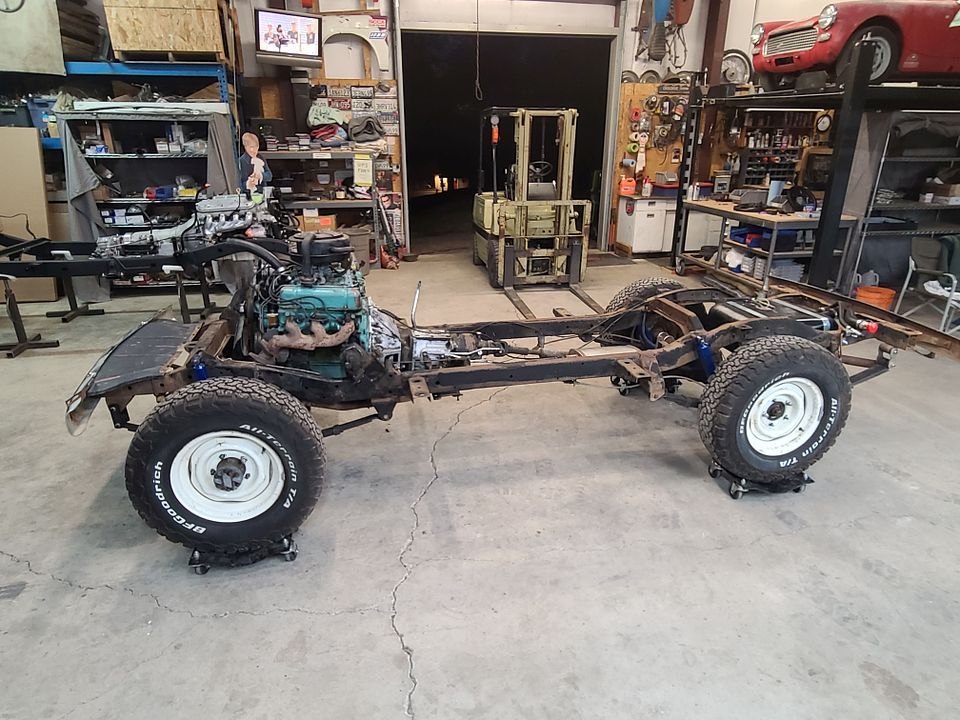
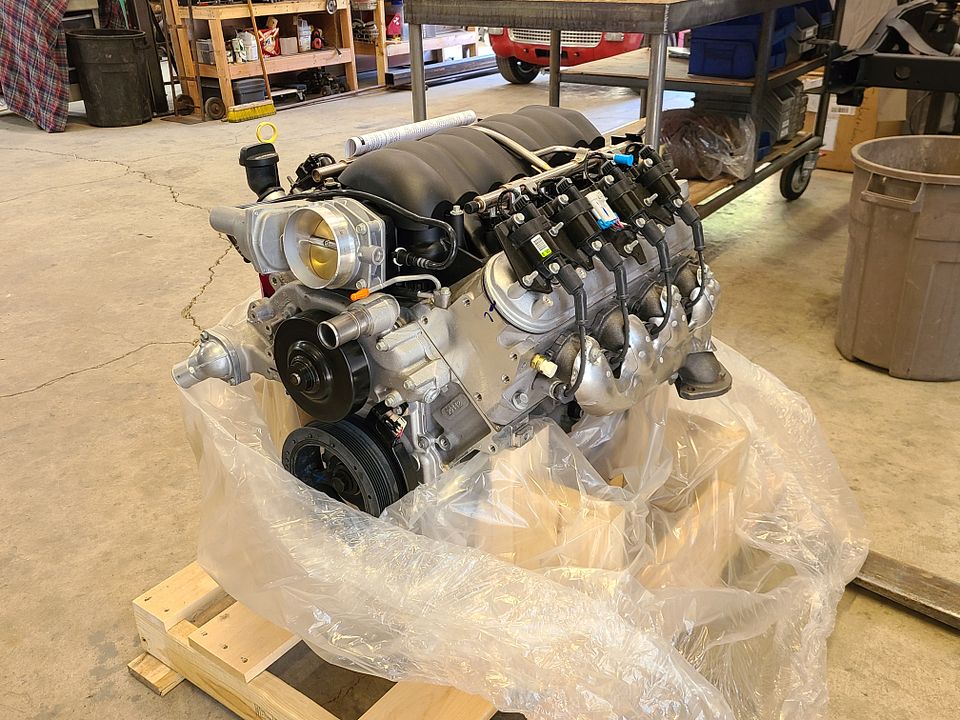
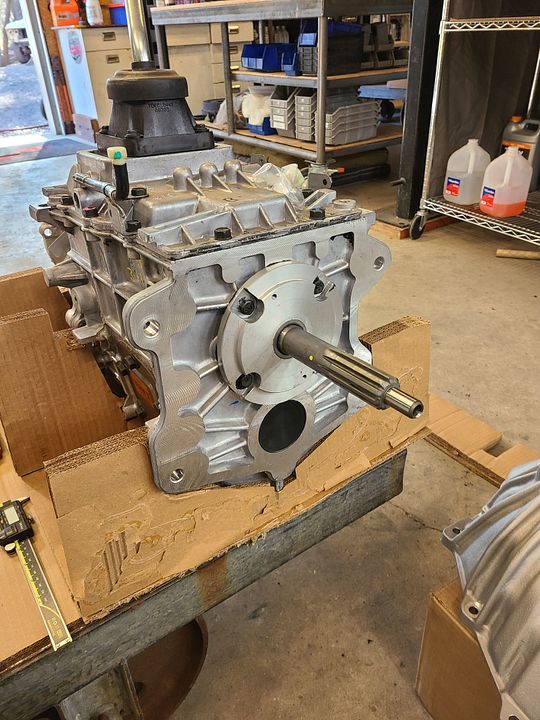
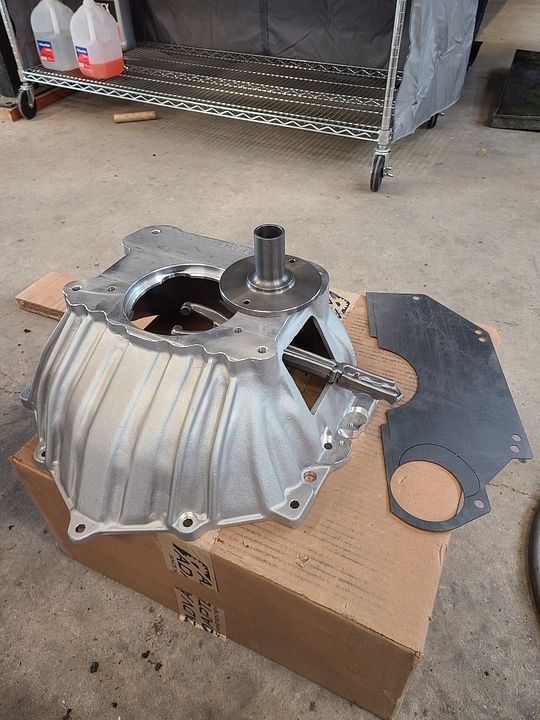
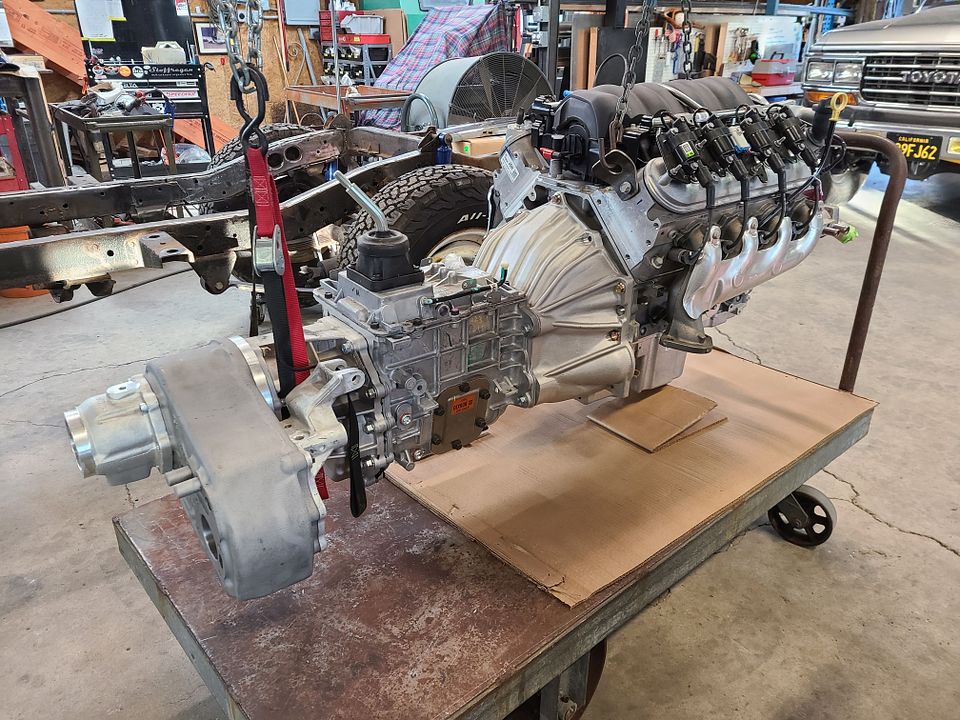
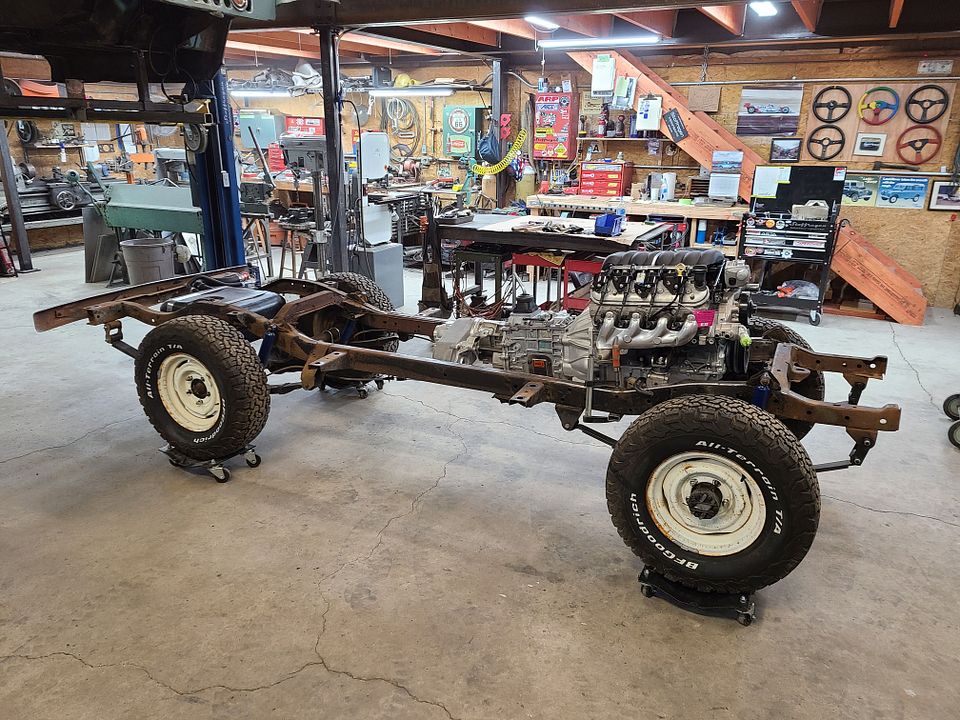
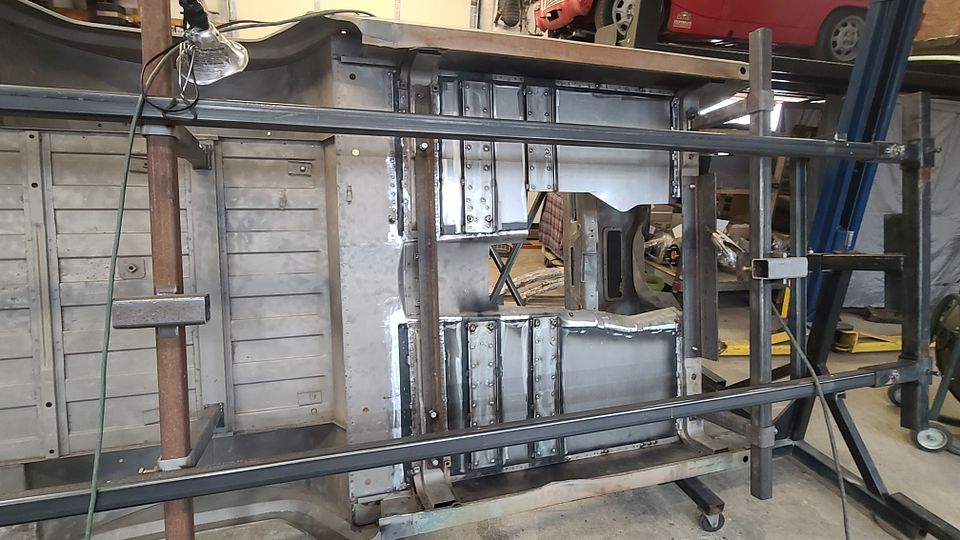
Not really knowing what direction to take the build, we knew that we wanted to keep the basic appearance, but completely restore it and repower it. The original Dauntless V6 was yanked and put on the shelf, and the body was removed for a mock up of the new drivetrain. Ultimately we settled upon a basic LS3 crate motor, which came from Maita Chevrolet in Sac, with the intention of back-dating the look of the engine to the look of a 1960's truck engine, you know, orange, steel valve covers, carburetor intake, etc. For the transmission, it had to have a manual, so a new Tremec TR4050 was ordered from Matthew Jackson at Advance Adapters. After a basic mock up, I knew it was going to be a tight fit.

Let's get started with some pics.


The look of any build is the important, like curb appeal on a house. I have a firm rule that form follows function, but this rule hardly applies to the exterior. Luckily for the Jeep enthusiast, Jeep corporate has built some very nice vehicles which have debuted at the past few Easter Jeep Safari gatherings in Moab. Taking cues from the original Jeepsters and from the reimagined EJS Jeeps, we knew the exterior had to be modern clean, but with a nod to the past.


A pair of custom axles were going to be needed to handle the new horsepower. Sidestep here for a moment - I remember when I was a kid, going to car shows, always checking out how the car/truck was built. Even as a younster, I would notice things like axles, brakes, crappy drivetrain installs, awesome drivetrain installs, exhaust systems, cooling systems, etc. I remember one show, I think it was the original Oakland Roadster show, there was a 50's Ford F series built in a wild style with paint like a low rider, lots of chrome, big motor, and zoomies poking out from under the fenders. I poked my head under to see how they did the exhaust, and there were three pipes on each side that weren't hooked up to anything. Just one of them was connected to the engine. Lame...

Guys back then would build trucks with huge motors and blowers and notrous, but then there would be these dinky little axles underneath. Tiny little chromed u-joints just waiting to get shot out from under the truck.

So back to the present, sure, we could have used the stock axles. Lots of guys would have, but not anyone who visits this forum. We know better.

The stock axles were measured for width and spring centers and diff offsets. Then working with Alan Jaime at WFO, we decided to build a pair of axles that were narrow enough to retain the look we were after, but strong enough to handle the horsepower of an LS3. A Wagoneer D44 front axle was narrowed to 54 inches, and a Chevy truck D60 rear was narrowed to 52 inches. Seems skinny, I know, but with the right wheel and tire package, it will look great when done. The new axles included Wilwood disc brakes all around with parkign brake, a Tru-Trac limited slip in the rear and a 5x5.5 bolt pattern. WFO builds some of the nicest Jeeps the world has ever seen and working with them on the axles was a no-brainer.

Here are some pics of the disassembly process. I do like the look of the V6 and the tiny drivetrain.


Before we could begin the rust repair on our body tub, a couple more things needed to be mocked up. The steering box was no where near going to fit without a body lift or some serious massaging of the frame, so the front frame crossmember was cut out in it's entirety and the box was clamped to the frame with a mounting bracket from Parts Mike. Also, since we are not stretching the wheelbase or lifting the truck very much, getting the box far enough forward to clear the tie rod was super important, but it also had to be low enough to clear the new CJ grill shell.

Here are some disassembly pics, which revealed a bit more rot then we had originally seen.


Comparing the new CJ grill to the original Jeepster grill, then mocking it up to see how it fits with the steering box from Red Head Steering Gears.


And finally, the body was loaded up and brought to my buddy Reid at American Stripping in Sac.


The body was blasted and mounted up on our rotisserie to get ready for rust repair. Plenty of measurements were taken before anything was cut. Then, using some repair panels from Jeepster Man, the surgery began. Note that some of the panels were formed here in the shop. I originally felt that the rocker panels weer in good enough shape to be able to patch them, but in the end, I replaced so much of them that I should have just bought new rocker panels. You will also see how the inner rocker panel was modified to be stronger than stock.


Repair of the rear body was a nightmare. If any of you have ever done rust repair, you know it's like peeling the layers of an onion. You can't stop until you get to clean metal.

The rear floor section was replaced with patches which I formed up here, but figuring out how to recreate the floor ridges took some thought. Ultimately I bought some new dies for the Mittler bead roller and modified them in the lath to get the proper shape and depth. New corner sections were formed and welded in place, and then everything was primed before the rear body structure piece was fit and welded in place.


Our vision is very similar to the EJS Jeeps pictured above, so yes, stock looking wheels with hubcaps. I found a guy who can build 17" steel wheels capable of utilizing the stock hubcaps, in any offset we like. We'll revisit that when the time is right, but for now, that's the plan.

Thank you.
 
Last edited:

Antwon412

Active member
This is awesome. My father-in-law has a 69 Jeepster Commando that is soon to be passed down into my hands for my son. It will need some restoration as well, but I will not be anywhere near what you were doing.
 

Zeep

Adventurer
Interesting how the stock V-6 exhaust manifold dumps forward on the drivers side.
Awesome build so far. Keep the photo's coming!
 
This is awesome. My father-in-law has a 69 Jeepster Commando that is soon to be passed down into my hands for my son. It will need some restoration as well, but I will not be anywhere near what you were doing.
Restoration work can be supremely rewarding to do, but the time adds up quick. Thank you.
 

Forum statistics

Threads
185,888
Messages
2,879,479
Members
225,497
Latest member
WonaWarrior
Top