You are using an out of date browser. It may not display this or other websites correctly.
You should upgrade or use an alternative browser.
You should upgrade or use an alternative browser.
LR4 Auxiliary Light Switch Options
- Thread starter parkwilliams
- Start date

I posted this a while ago on one of the LR forums:
Over the weekend I fitted the Factory Lr3 2nd driving light switch to my IPF 960 driving lights. This is the switched used with the factor driving light kit and the good news is that switch and mounting kit available seperately from the $700+ driving light kit. I figured I post a quick How-To since it took me quite a while to figure out the 5 pins coming out for the switch in order to get everything to work (i.e. driving lights on/off, lighting of the switch with dimming, and the orange light illumination when the switch is on) since I wasn't able to find the factory wire diagram for the new switch itself.
Below are the part numbers you need and I purchased mine from parts.com as they are the cheapest place I could find for these factory parts.
VUB502860 - Fitting/Mounting kit for Driving Lght Switch. Includes templates, mount, cover, & instructions to mount the switch
(note: the fittmet instructions can also be found on TOPIX in the "Driving Light Kit" instructions)
XKB500080 - Driving Light Switch
The two parts above should come to just under $50 + shipping and you need both of them.
Below is the wire diagram to make it super simple to wire everything up. (DISCLAIMER: this wire diagram worked on my North American 2008 LR3 HSE, I assume it should work on all LR3s per the Factory wiring diagram I referenced, but you assume all risk if you choose to give it a go):

Pics of the install:


Note: you will need to cut into the dash, just to the left of the Nav screen. Not a big deal to do and the cover that you get with the fitting kit covers the cut to make it pretty as you see in the photos above.
Over the weekend I fitted the Factory Lr3 2nd driving light switch to my IPF 960 driving lights. This is the switched used with the factor driving light kit and the good news is that switch and mounting kit available seperately from the $700+ driving light kit. I figured I post a quick How-To since it took me quite a while to figure out the 5 pins coming out for the switch in order to get everything to work (i.e. driving lights on/off, lighting of the switch with dimming, and the orange light illumination when the switch is on) since I wasn't able to find the factory wire diagram for the new switch itself.
Below are the part numbers you need and I purchased mine from parts.com as they are the cheapest place I could find for these factory parts.
VUB502860 - Fitting/Mounting kit for Driving Lght Switch. Includes templates, mount, cover, & instructions to mount the switch
(note: the fittmet instructions can also be found on TOPIX in the "Driving Light Kit" instructions)
XKB500080 - Driving Light Switch
The two parts above should come to just under $50 + shipping and you need both of them.
Below is the wire diagram to make it super simple to wire everything up. (DISCLAIMER: this wire diagram worked on my North American 2008 LR3 HSE, I assume it should work on all LR3s per the Factory wiring diagram I referenced, but you assume all risk if you choose to give it a go):
Pics of the install:
Note: you will need to cut into the dash, just to the left of the Nav screen. Not a big deal to do and the cover that you get with the fitting kit covers the cut to make it pretty as you see in the photos above.
DiscoDavis
Explorer
I posted this a while ago on one of the LR forums:
Over the weekend I fitted the Factory Lr3 2nd driving light switch to my IPF 960 driving lights. This is the switched used with the factor driving light kit and the good news is that switch and mounting kit available seperately from the $700+ driving light kit. I figured I post a quick How-To since it took me quite a while to figure out the 5 pins coming out for the switch in order to get everything to work (i.e. driving lights on/off, lighting of the switch with dimming, and the orange light illumination when the switch is on) since I wasn't able to find the factory wire diagram for the new switch itself.
Below are the part numbers you need and I purchased mine from parts.com as they are the cheapest place I could find for these factory parts.
VUB502860 - Fitting/Mounting kit for Driving Lght Switch. Includes templates, mount, cover, & instructions to mount the switch
(note: the fittmet instructions can also be found on TOPIX in the "Driving Light Kit" instructions)
XKB500080 - Driving Light Switch
The two parts above should come to just under $50 + shipping and you need both of them.
Below is the wire diagram to make it super simple to wire everything up. (DISCLAIMER: this wire diagram worked on my North American 2008 LR3 HSE, I assume it should work on all LR3s per the Factory wiring diagram I referenced, but you assume all risk if you choose to give it a go):
Pics of the install:
Note: you will need to cut into the dash, just to the left of the Nav screen. Not a big deal to do and the cover that you get with the fitting kit covers the cut to make it pretty as you see in the photos above.
So how much of a PITA is wiring to that switch? Full dash disassembly? I saved your post from the OJ LR4 thread but was wondering about the difficulty of doing this. Love the OEM look.
So how much of a PITA is wiring to that switch? Full dash disassembly? I saved your post from the OJ LR4 thread but was wondering about the difficulty of doing this. Love the OEM look.
Pretty simple. At a high level - Route the wire thru the firewall grommet on the driver side. remove the plastic piece in the driver footwell to gain access to the wire in the car. Route the wires over to the center console. Remove the center console trim (just pull) and route the wire up into the position. Its not a full dash disassembley in any way.
DiscoDavis
Explorer
Pretty simple. At a high level - Route the wire thru the firewall grommet on the driver side. remove the plastic piece in the driver footwell to gain access to the wire in the car. Route the wires over to the center console. Remove the center console trim (just pull) and route the wire up into the position. Its not a full dash disassembley in any way.
Excellent! Is it easy to locate the grommet in the firewall? Is it behind the kick panel or lower, near the wiring and drain tube outlet?
nwoods
Expedition Leader
I always found accessing that spare grommet to be rather difficult. I just went through the generously oversized steering column boot, and resealed the hole with black silicone sealantYou need to locate it just below/behind/right of the brake booster.. You could also do a wireless remote relay and avoid internal wiring completely. Here is the firewall plug and a bunch of other pictures that should help.
Dmarchand
Adventurer
I always found accessing that spare grommet to be rather difficult. I just went through the generously oversized steering column boot, and resealed the hole with black silicone sealant
The funny thing is this is the same location the instructions for the LED daytime light accessories tell you to use.
I always found accessing that spare grommet to be rather difficult. I just went through the generously oversized steering column boot, and resealed the hole with black silicone sealant
I've done exactly the same thing. I just make sure to secure the wiring well away from the steering column and have zero issues, plus it's easy (at least as easy as anything under the dash can be) to get to.
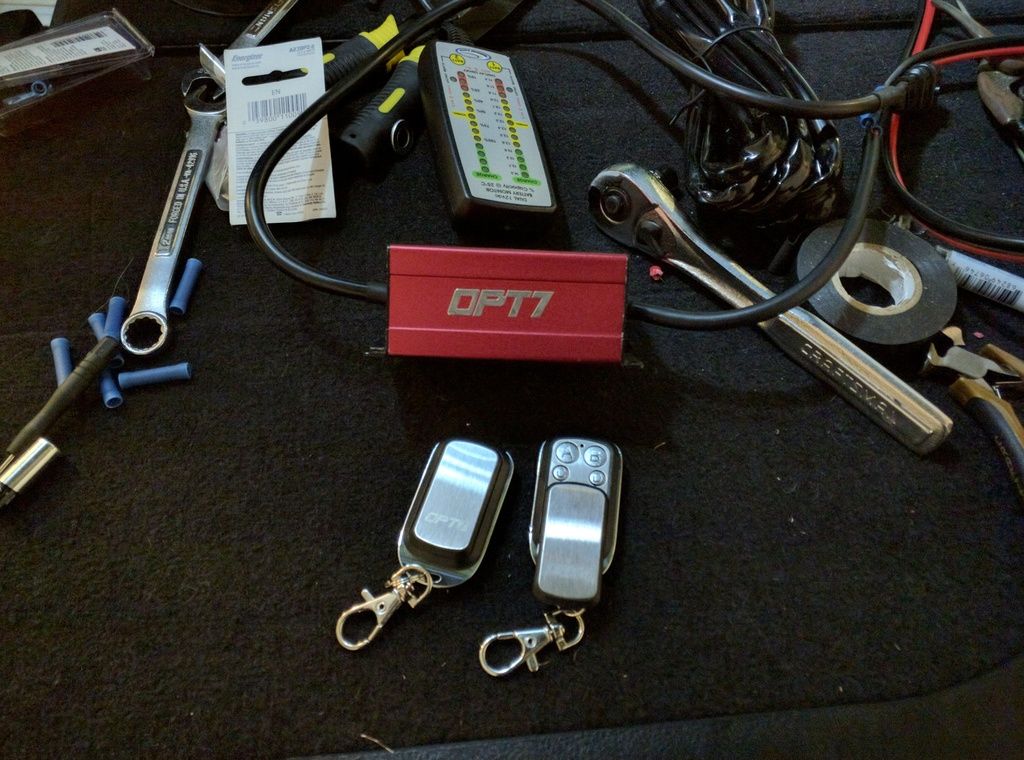
I opted for a 12v relay with remote control keychain, no internal light switches or drilling holes. The biggest benefit is being able to turn on the front and rear rack lights by remote control outside the vehicle. I wired my relay box directly to the battery so the car doesn't have to be running. LINK
iowalr4
Adventurer
I just wired up some rear work lights (OPT7 C2) with an OPT7 wireless remote. It has 4 dimmer modes and strobe also. I bought two, as it turns out the remotes are not unique per set, so I can only use one. Also, it didnt work at all with my 37" light bar. It just turns on and the remote does nothing. (I troubleshooted, ran two in serial.. it just stays on). So, I need another option for my front light bar.
I wanted the rear work lights on remote so I don't have to get in the truck to turn them on. (Working behind it, or in my tent and want to light up camp, etc).
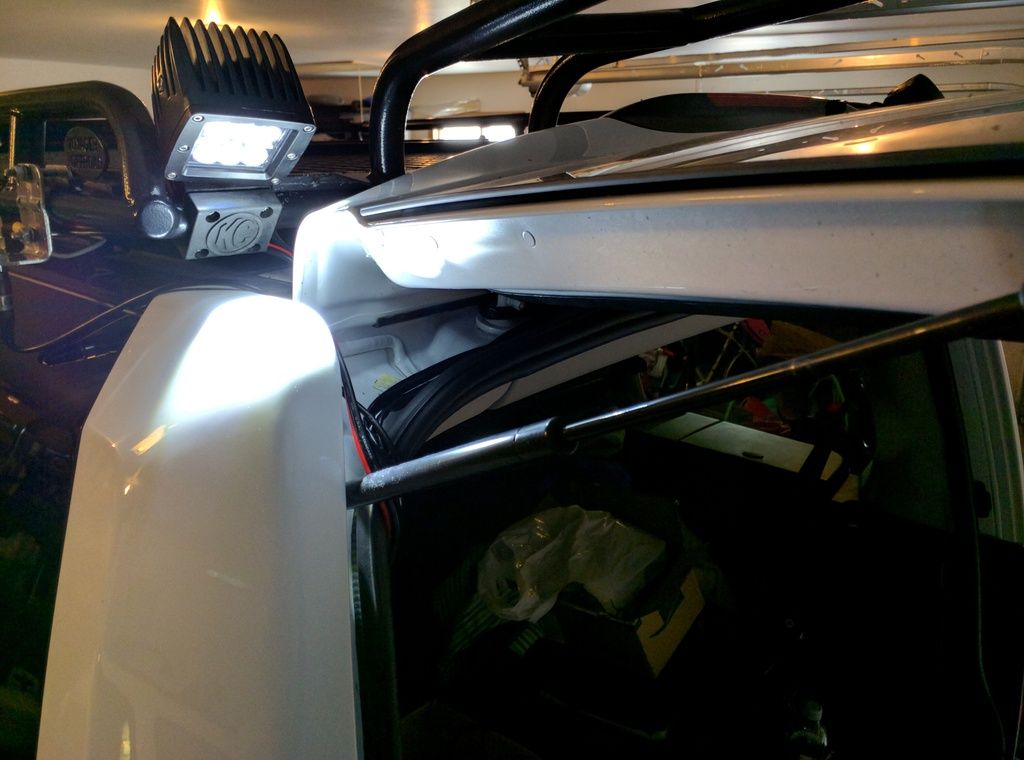
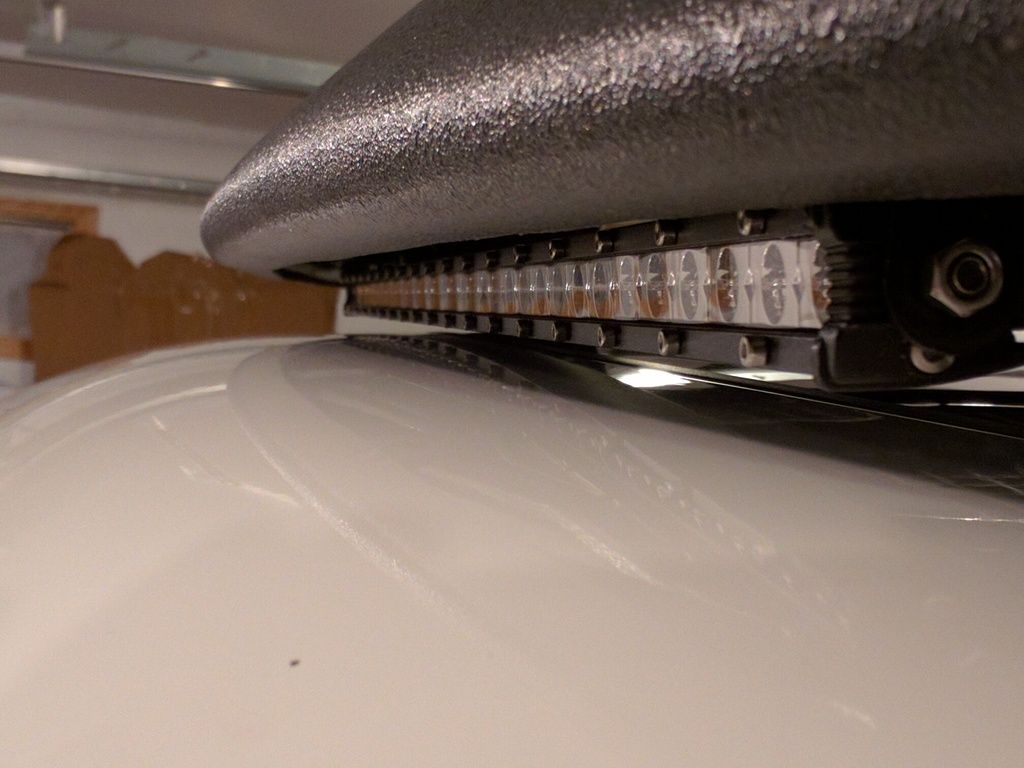
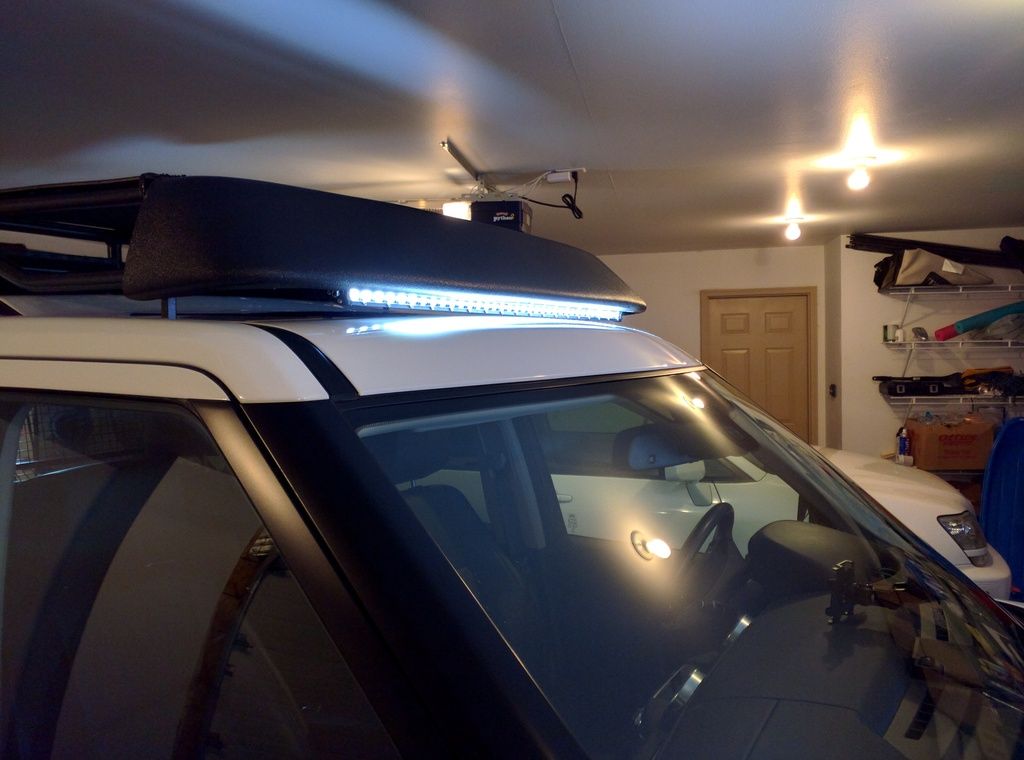
Front bar is new also. 37" single row -just- enough room without touching the roof. Hood is almost completely dark due to the roof blocking the majority of the light. The side floods have a bit of spill onto the hood, but its not the majority of the light.
I wanted the rear work lights on remote so I don't have to get in the truck to turn them on. (Working behind it, or in my tent and want to light up camp, etc).
Front bar is new also. 37" single row -just- enough room without touching the roof. Hood is almost completely dark due to the roof blocking the majority of the light. The side floods have a bit of spill onto the hood, but its not the majority of the light.
It seems like it should be made to work. You might contact the company to see what the options are for channels. If that won't work, the company I used has some decent options. I e-mailed them and they custom configured and programmed a 4 channel system, with 2 10a and 2 30a remote relays, which worked out well. I don't have the strobe options... what would be neat, I'm not sure how that would work.