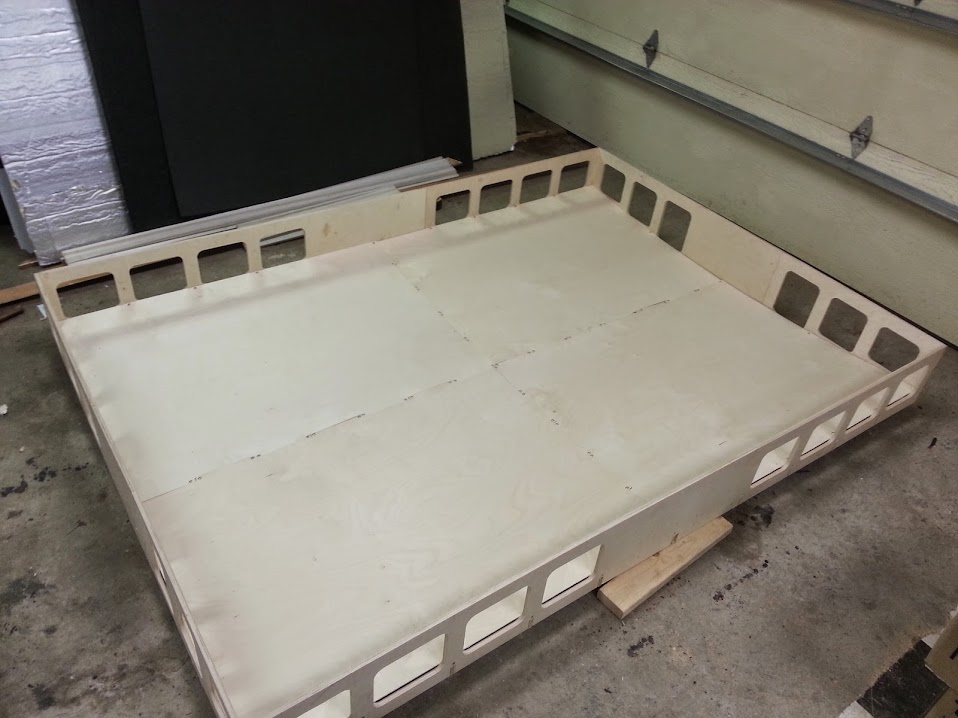
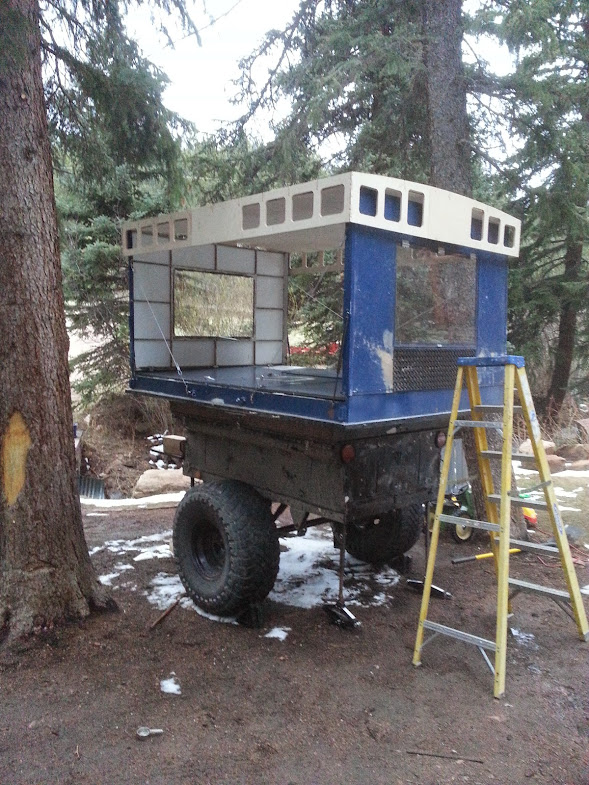
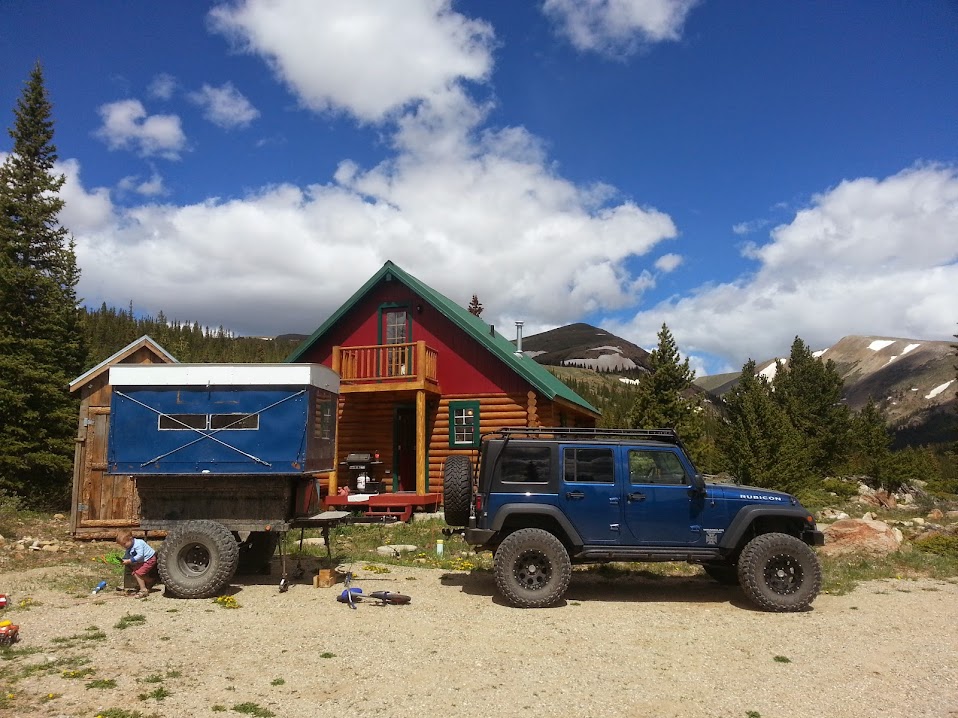
cnc done
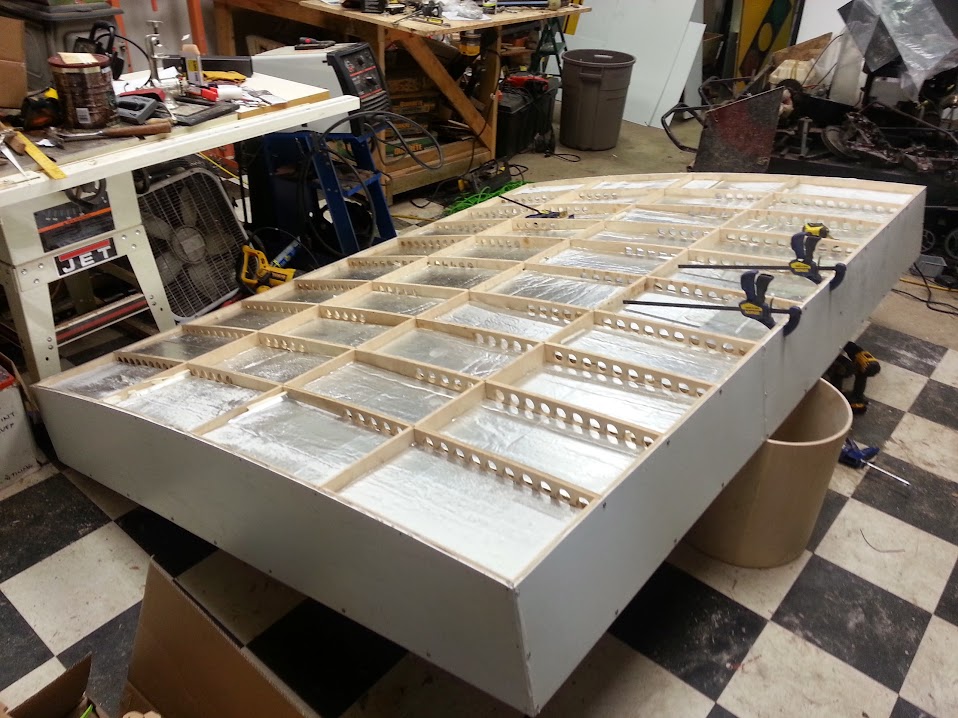
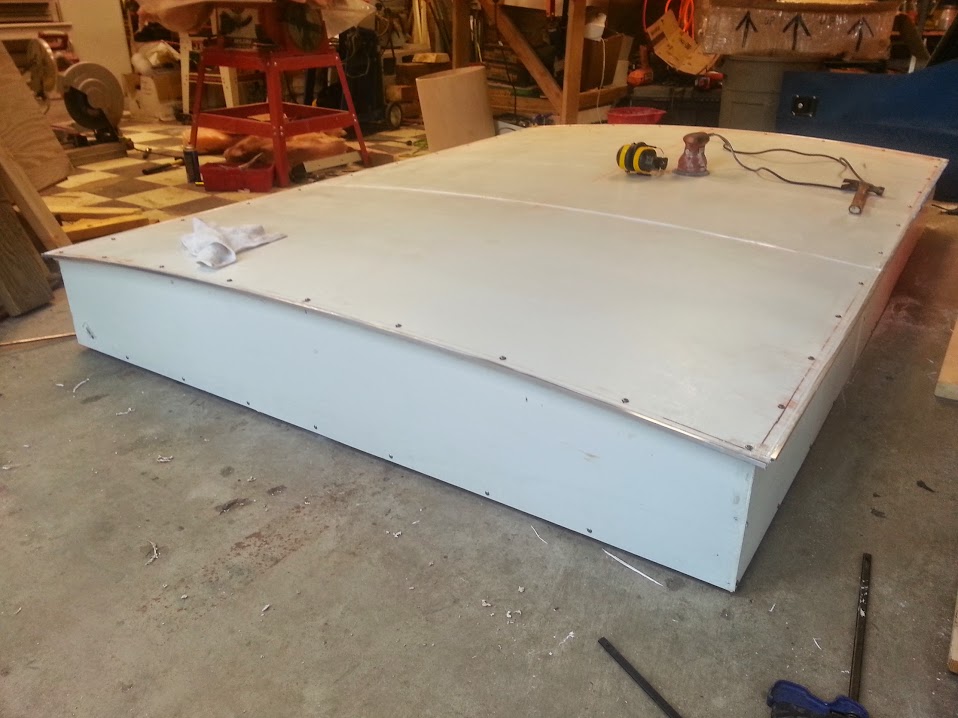
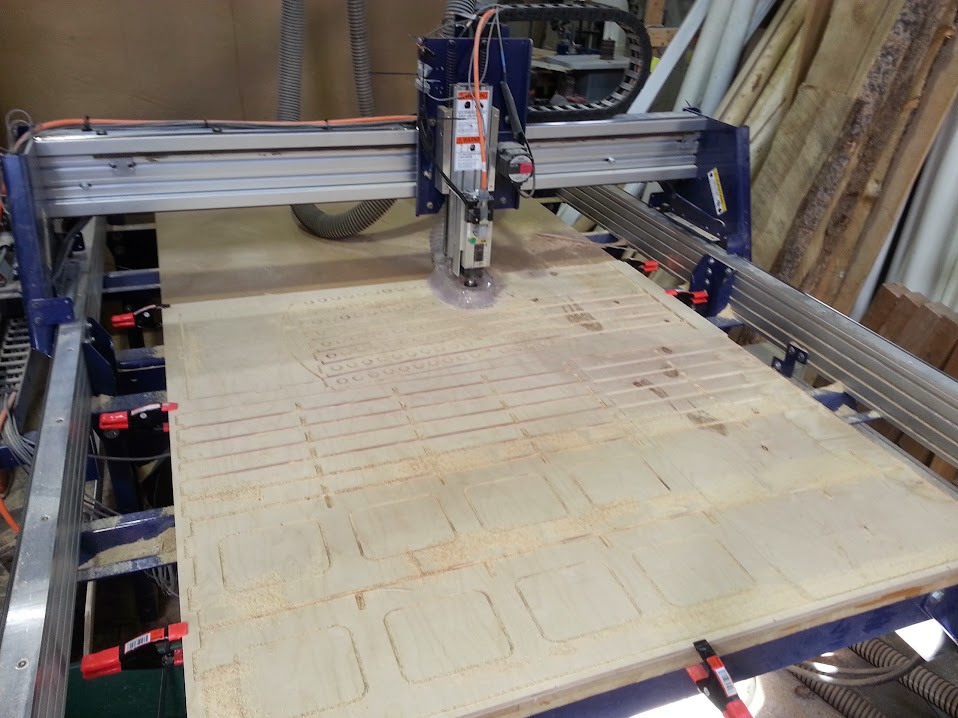
drew up the plans for the wood frame. 12mm baltic birch. strong and light. used our shopbot at work to cut out.
put all the pieces together. brad nailed in place. Now I am putting deck screws in all the joints to make it solid.

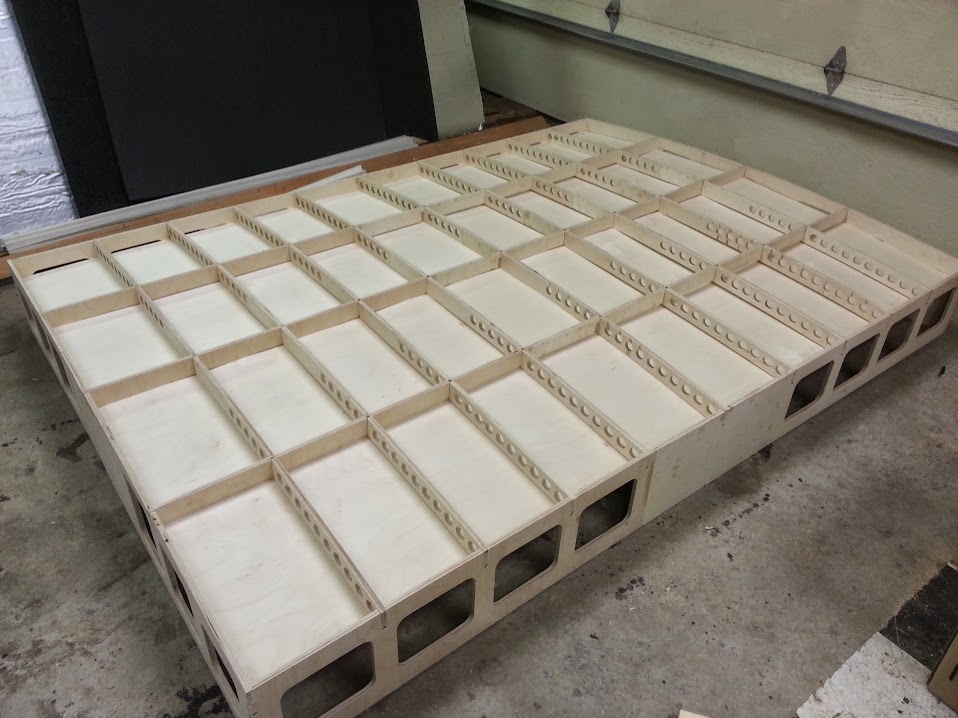
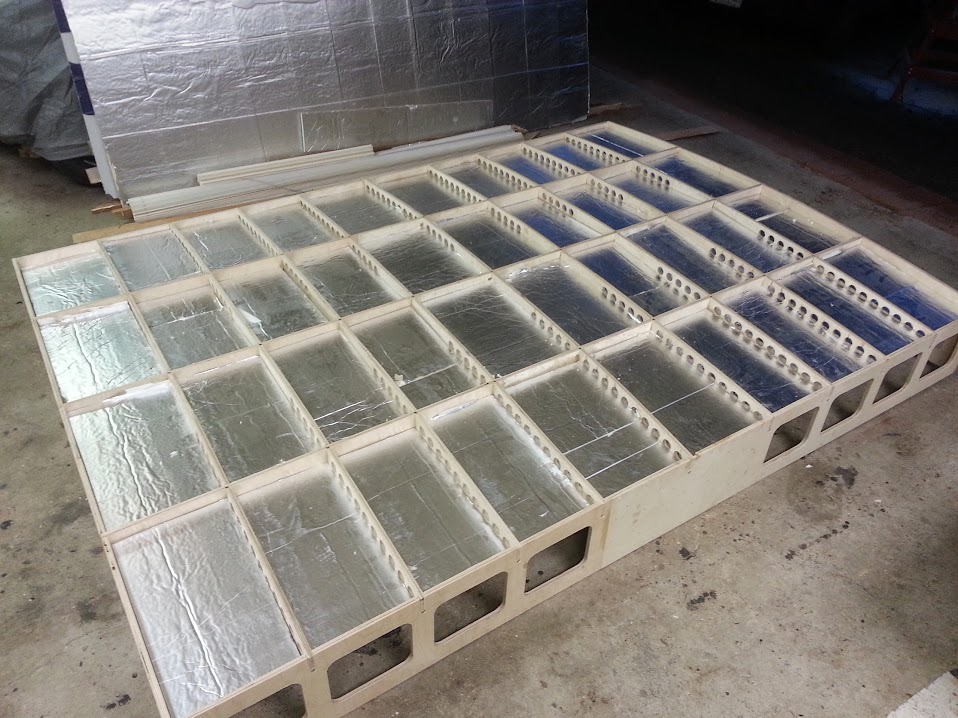
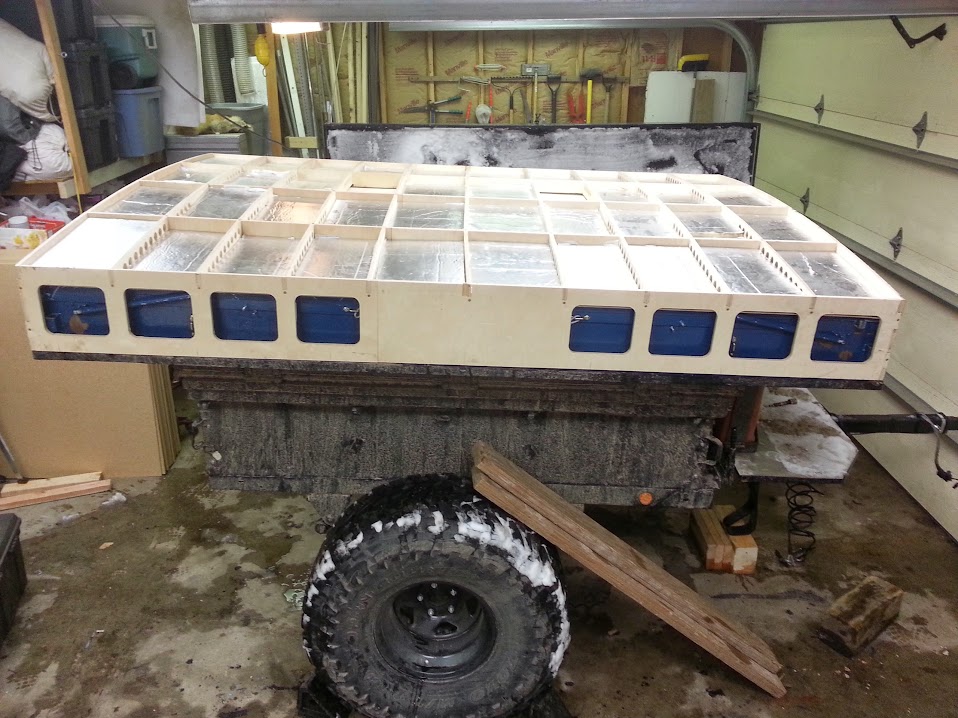
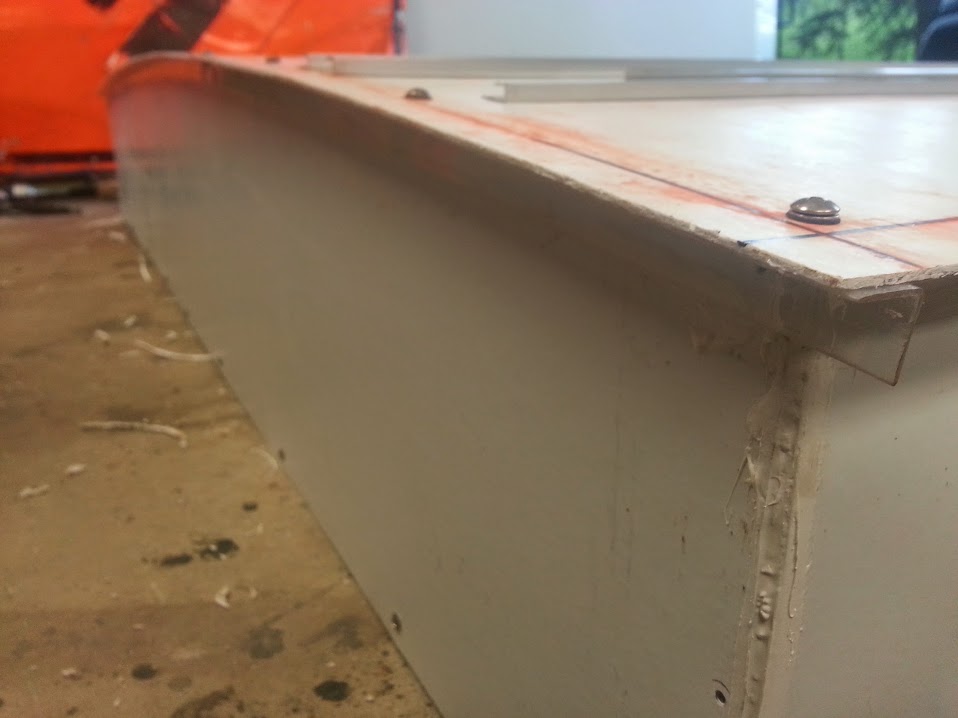
next up. interior ceiling (3mm baltic birch), insulation, and lastly FRP panels on outside. then paint & latches. Pretty light so far. Hope its strong enough.
drew up the plans for the wood frame. 12mm baltic birch. strong and light. used our shopbot at work to cut out.
put all the pieces together. brad nailed in place. Now I am putting deck screws in all the joints to make it solid.
next up. interior ceiling (3mm baltic birch), insulation, and lastly FRP panels on outside. then paint & latches. Pretty light so far. Hope its strong enough.