A Quick Solution to a potentially long term problem.
I spent the afternoon on Monday refurbing the rear Kaymar Bumper. My truck was used (prior to my owning it) by a fly fishing expedition group and saw lots of hard Colorado trail use.
There was so much red silt in every nook and crevice of the rear of the truck, inside the rear turn signals, all of which had to be cleaned out.
Maintaining your gear can be crucial to the life expectancy of individual parts or the entire truck. If you have priced a Kaymar, you know they are not inexpensive, but the rear protection they provide is unbelievable (as well it solves the spare tire issue). That said, because they are not galvanized before they are powder coated, if you chip or scratch the powder coating, they start to rust almost instantly. So, occasionally refurbishment is often the best way to bring the gear back to life and extend its life. It also helps you stay on top of knowing the small things that may need attention on your truck, that might otherwise get overlooked if you weren't paying attention to the details.
My rear Kaymar had become somewhat neglected, and I could tell if I didn't get on it, it was going to start to deteriorate (from a finish stand point).
I contacted the folks at Outback Proven (www.outbackproven.com) and ordered what amounted to a re-furb kit. Included rear LED replacement lights (going to let the dealer replace these), new end caps where needed, rear swing arm pins, and some new decals.
Here is what came:

Here is the tired bumper:

You can see how mangled the rear swing arm pins were:

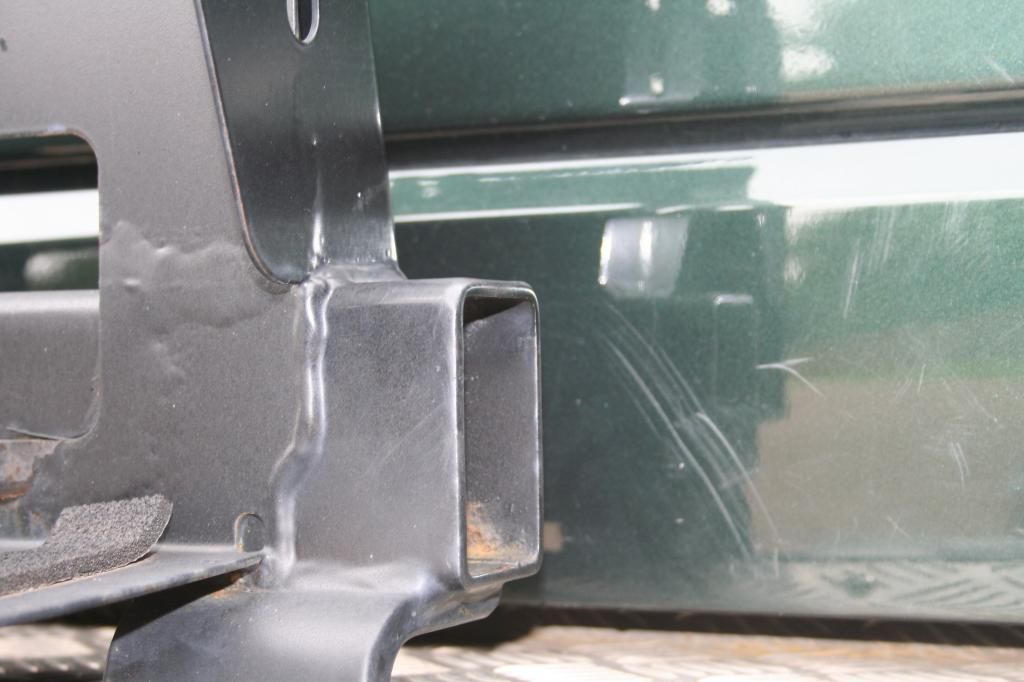
You can see here where one of the end caps was completely missing, and I can report that on the other side, the cap had become warped from a previous attempt to remove and reinstall, and water had gotten into the bar stock, and was rusting on the inside.
Shown here ... you can see that the old indicators have faded from either too much sun or cause of the Colorado silt.
Also, these older ones don't have a place for the rear back up indicators:

These new lights (that I prefer to let the dealer install) will have back up indicators on them:

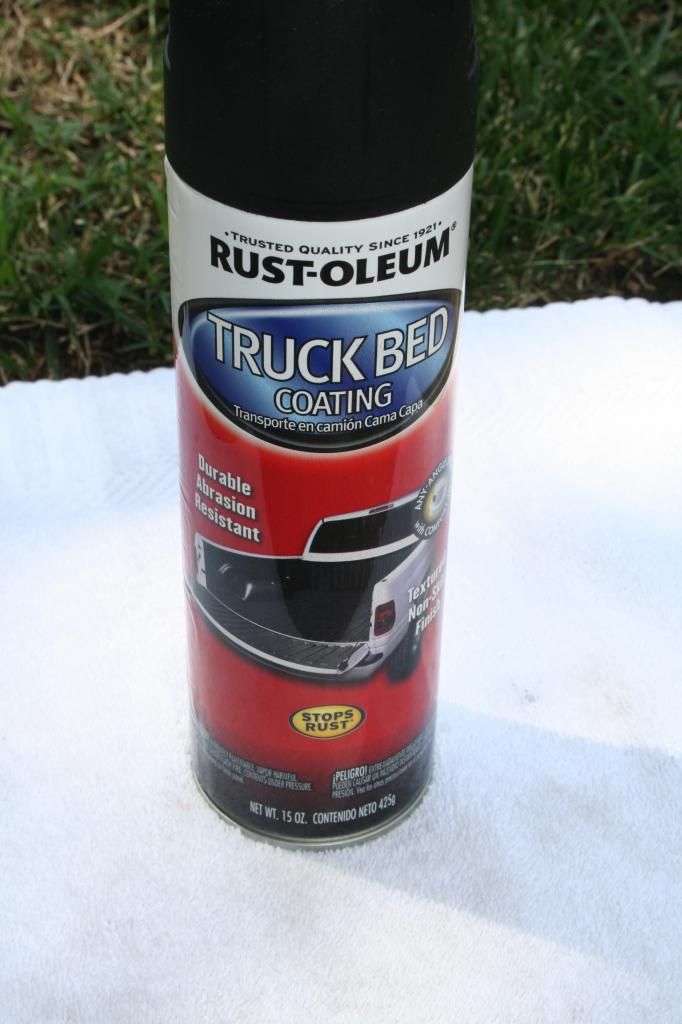
So, to start, I knocked down all the areas of rust and masked off. On the swing arms, I completely coated them with Rustoleum BedCoat product that I have found quite robust and pretty near impervious. I used this to coat my sliders (over the roughed up powder coat). I like it cause it is sturdy, gives some grip, and if it gets damaged or scratched, quick and easy to retouch:
Then I just started removing the swing arm pins.
To give you an idea of just how mangled these were:

Then all the end caps (4 total). They were clearly letting water in. I cleaned the inside of the tube that was rusting and coated it with the BedCoat. Then covered the end cap push ends with silicon gel to prevent more water.
Here is a good idea of how deformed these had become. Something so simply to maintain but often overlooked!


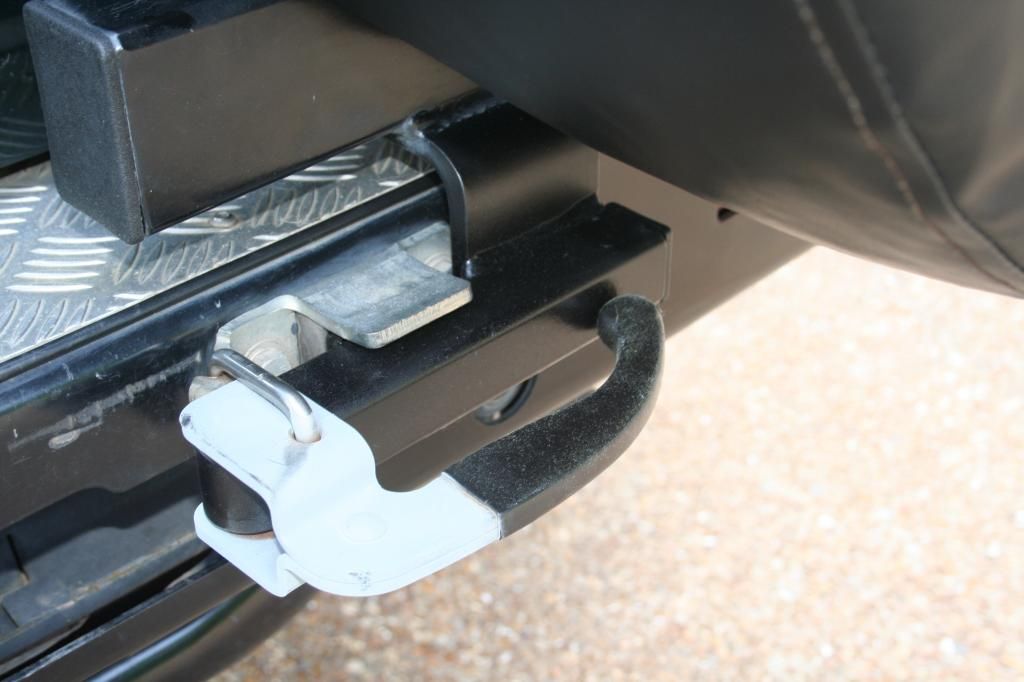
Then I masked and used Galvanize Rustoleum to take care of some decay on the release hinges and then used Plasti-coat to repair the hand grips:
So, I touched up all the areas of concern, lubed the swing arms, replaced the swing arm pins, all four of the end caps, re-decaled, and waxed up the bumper. As mentioned, I'll let the dealer do the rear light install (just due to the wiring to the reverse lamps). All in all, I think it turned out great.


I spent the afternoon on Monday refurbing the rear Kaymar Bumper. My truck was used (prior to my owning it) by a fly fishing expedition group and saw lots of hard Colorado trail use.
There was so much red silt in every nook and crevice of the rear of the truck, inside the rear turn signals, all of which had to be cleaned out.
Maintaining your gear can be crucial to the life expectancy of individual parts or the entire truck. If you have priced a Kaymar, you know they are not inexpensive, but the rear protection they provide is unbelievable (as well it solves the spare tire issue). That said, because they are not galvanized before they are powder coated, if you chip or scratch the powder coating, they start to rust almost instantly. So, occasionally refurbishment is often the best way to bring the gear back to life and extend its life. It also helps you stay on top of knowing the small things that may need attention on your truck, that might otherwise get overlooked if you weren't paying attention to the details.
My rear Kaymar had become somewhat neglected, and I could tell if I didn't get on it, it was going to start to deteriorate (from a finish stand point).
I contacted the folks at Outback Proven (www.outbackproven.com) and ordered what amounted to a re-furb kit. Included rear LED replacement lights (going to let the dealer replace these), new end caps where needed, rear swing arm pins, and some new decals.
Here is what came:

Here is the tired bumper:

You can see how mangled the rear swing arm pins were:

You can see here where one of the end caps was completely missing, and I can report that on the other side, the cap had become warped from a previous attempt to remove and reinstall, and water had gotten into the bar stock, and was rusting on the inside.

Shown here ... you can see that the old indicators have faded from either too much sun or cause of the Colorado silt.
Also, these older ones don't have a place for the rear back up indicators:

These new lights (that I prefer to let the dealer install) will have back up indicators on them:

So, to start, I knocked down all the areas of rust and masked off. On the swing arms, I completely coated them with Rustoleum BedCoat product that I have found quite robust and pretty near impervious. I used this to coat my sliders (over the roughed up powder coat). I like it cause it is sturdy, gives some grip, and if it gets damaged or scratched, quick and easy to retouch:

Then I just started removing the swing arm pins.
To give you an idea of just how mangled these were:

Then all the end caps (4 total). They were clearly letting water in. I cleaned the inside of the tube that was rusting and coated it with the BedCoat. Then covered the end cap push ends with silicon gel to prevent more water.
Here is a good idea of how deformed these had become. Something so simply to maintain but often overlooked!


Then I masked and used Galvanize Rustoleum to take care of some decay on the release hinges and then used Plasti-coat to repair the hand grips:

So, I touched up all the areas of concern, lubed the swing arms, replaced the swing arm pins, all four of the end caps, re-decaled, and waxed up the bumper. As mentioned, I'll let the dealer do the rear light install (just due to the wiring to the reverse lamps). All in all, I think it turned out great.

