MTD
Observer
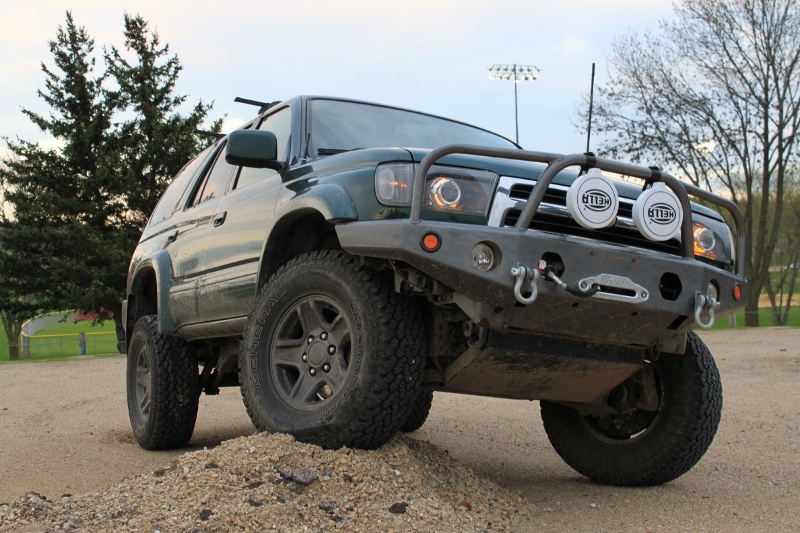
MTD's ForeRunner
1999 Toyota 4Runner
Imperial Jade
1999 Toyota 4Runner
Imperial Jade
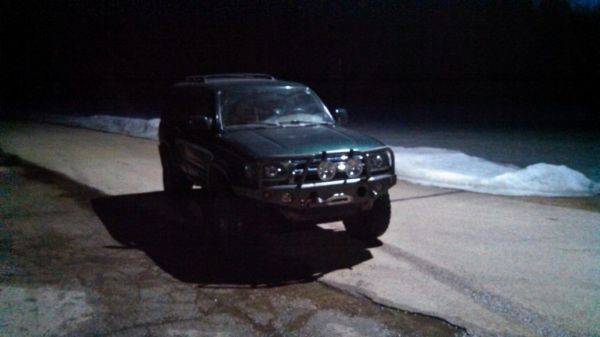
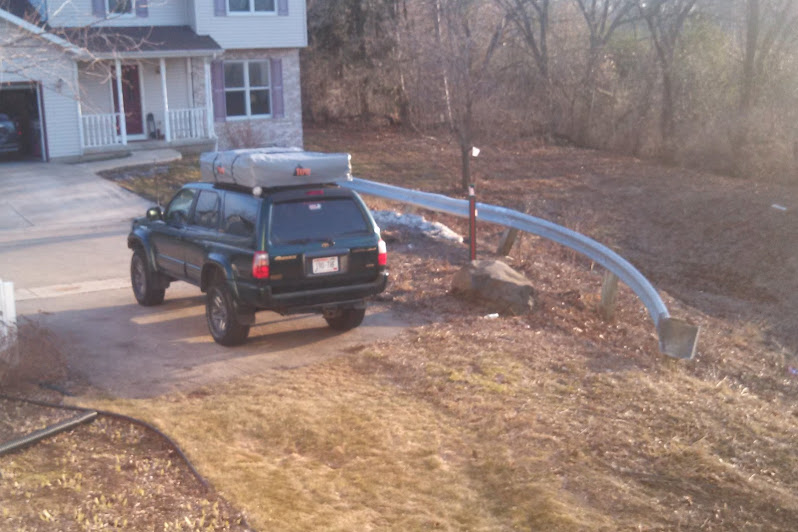
This build stems from the sale of my 05' Tacoma to pay for school among other things. The Runner was at one time my Dad's who picked it up from an older women in Michigan. She kept it very clean. It will never be the same again..... The plan is to build a capable overland vehicle, just enough to get my girlfriend (soon to be fiance) and I to where we want to go. It's going to be a long ride so please enjoy!
Current Photo
Mods List:
Lighting:
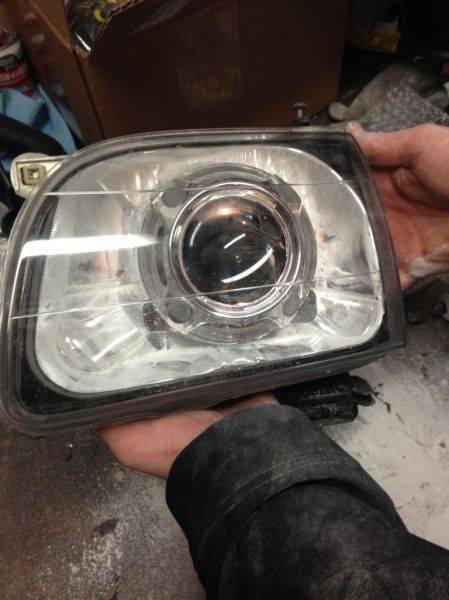
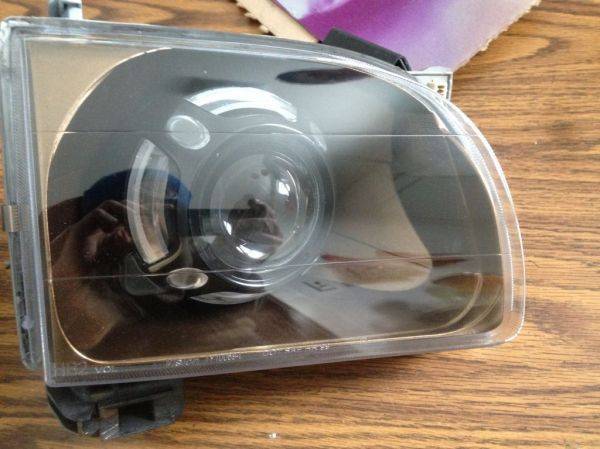
FX-R Retrofit Kit 55W with Apollo Shrouds
4X China 18W LED Lights
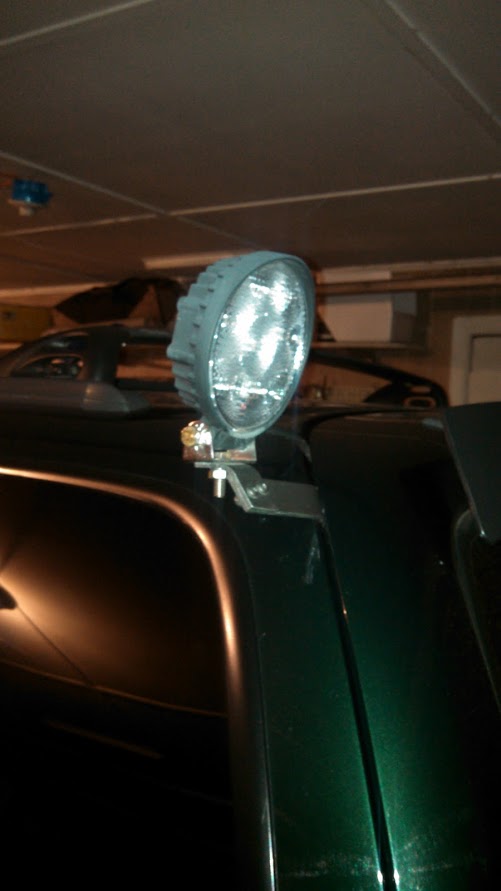
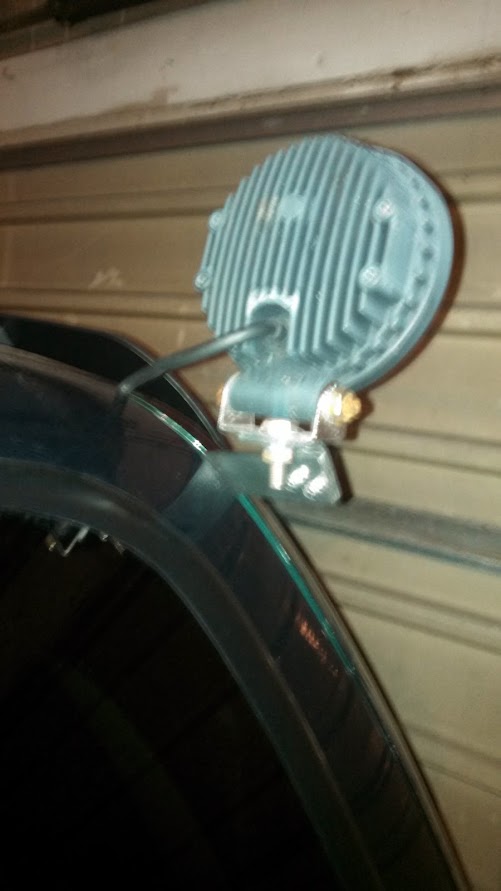
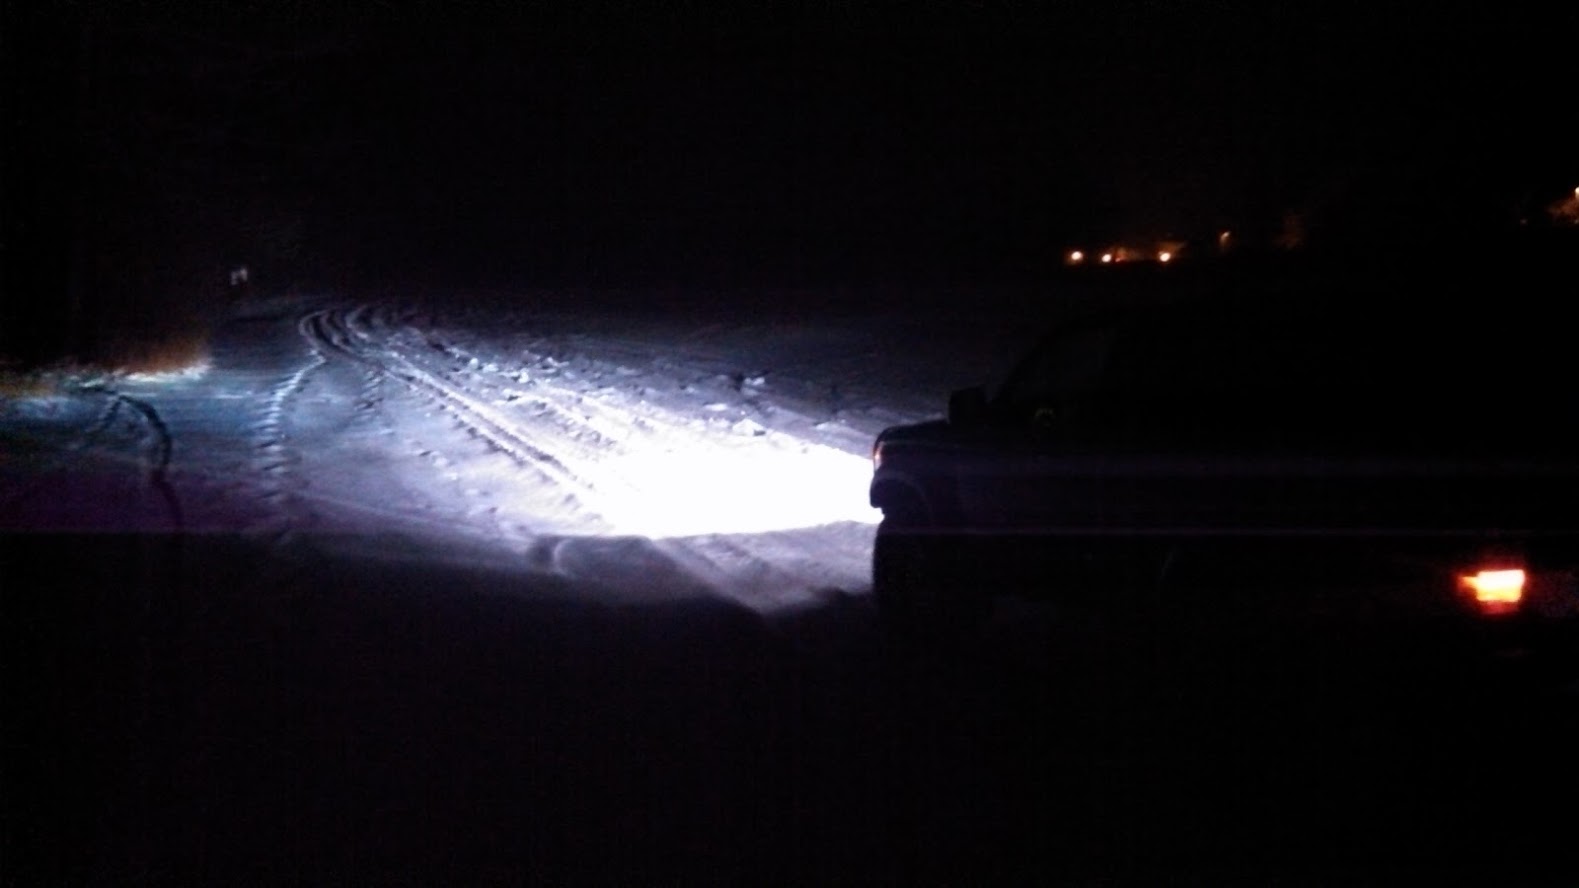
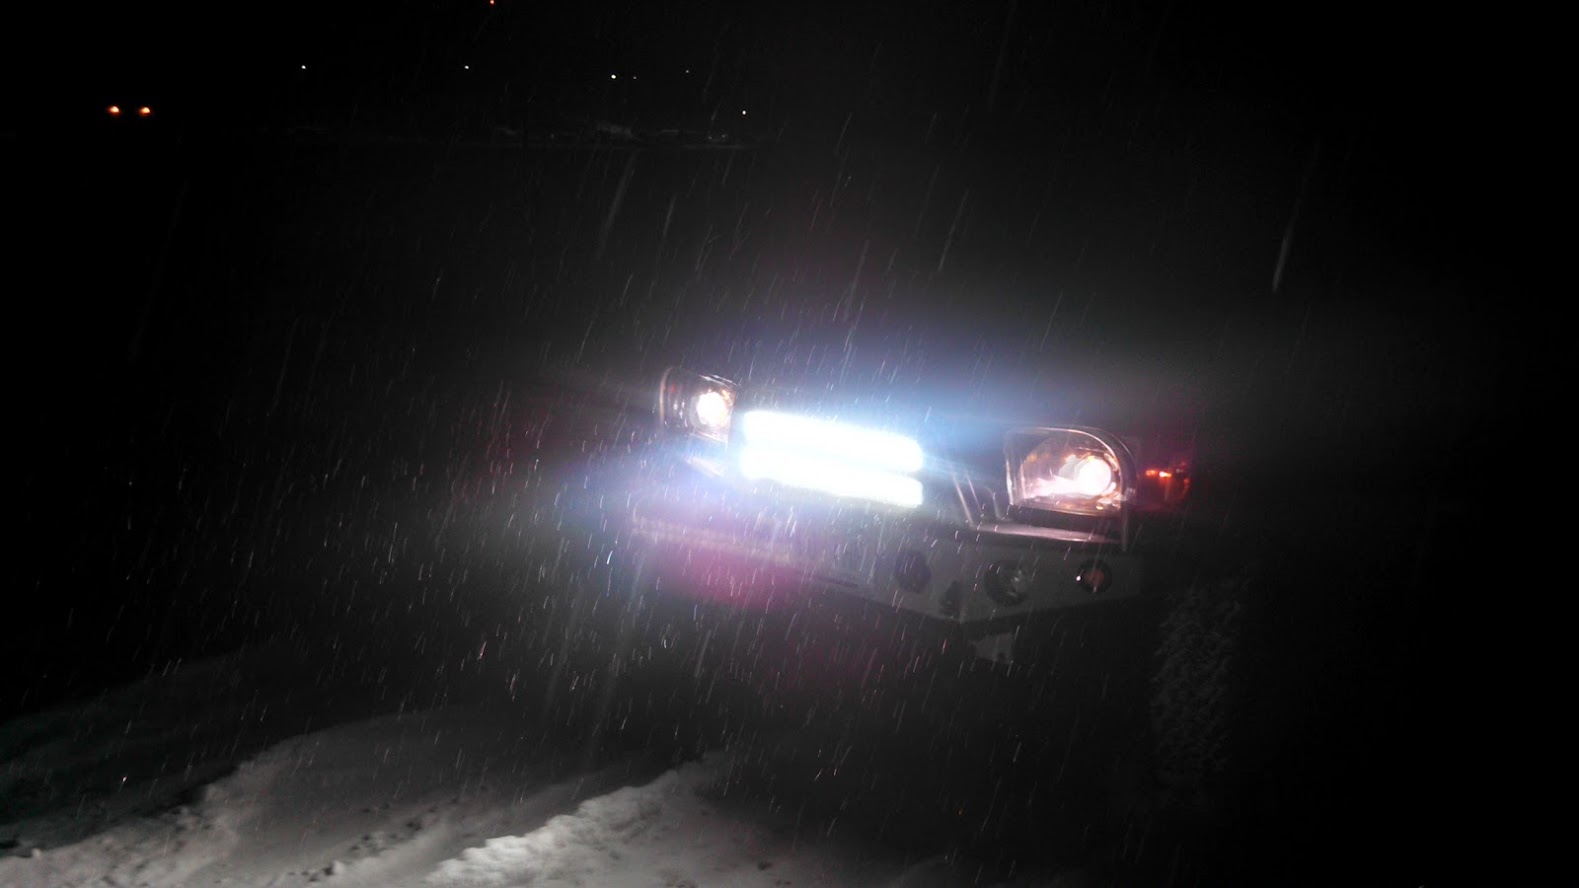
Homebrew Light Bar
Depo Clear Marker Lights
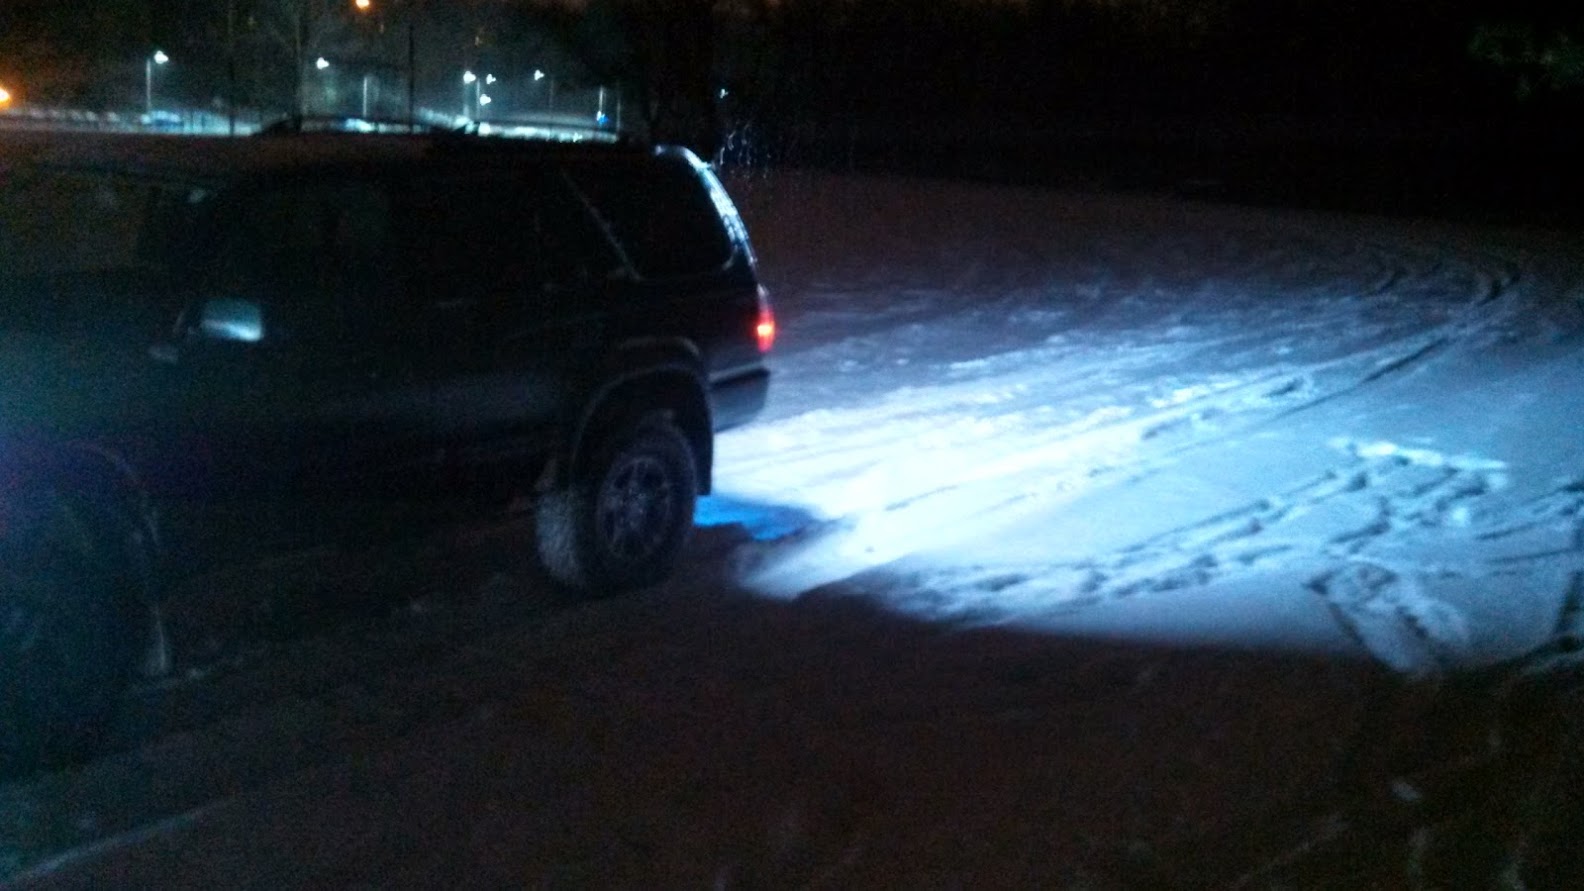
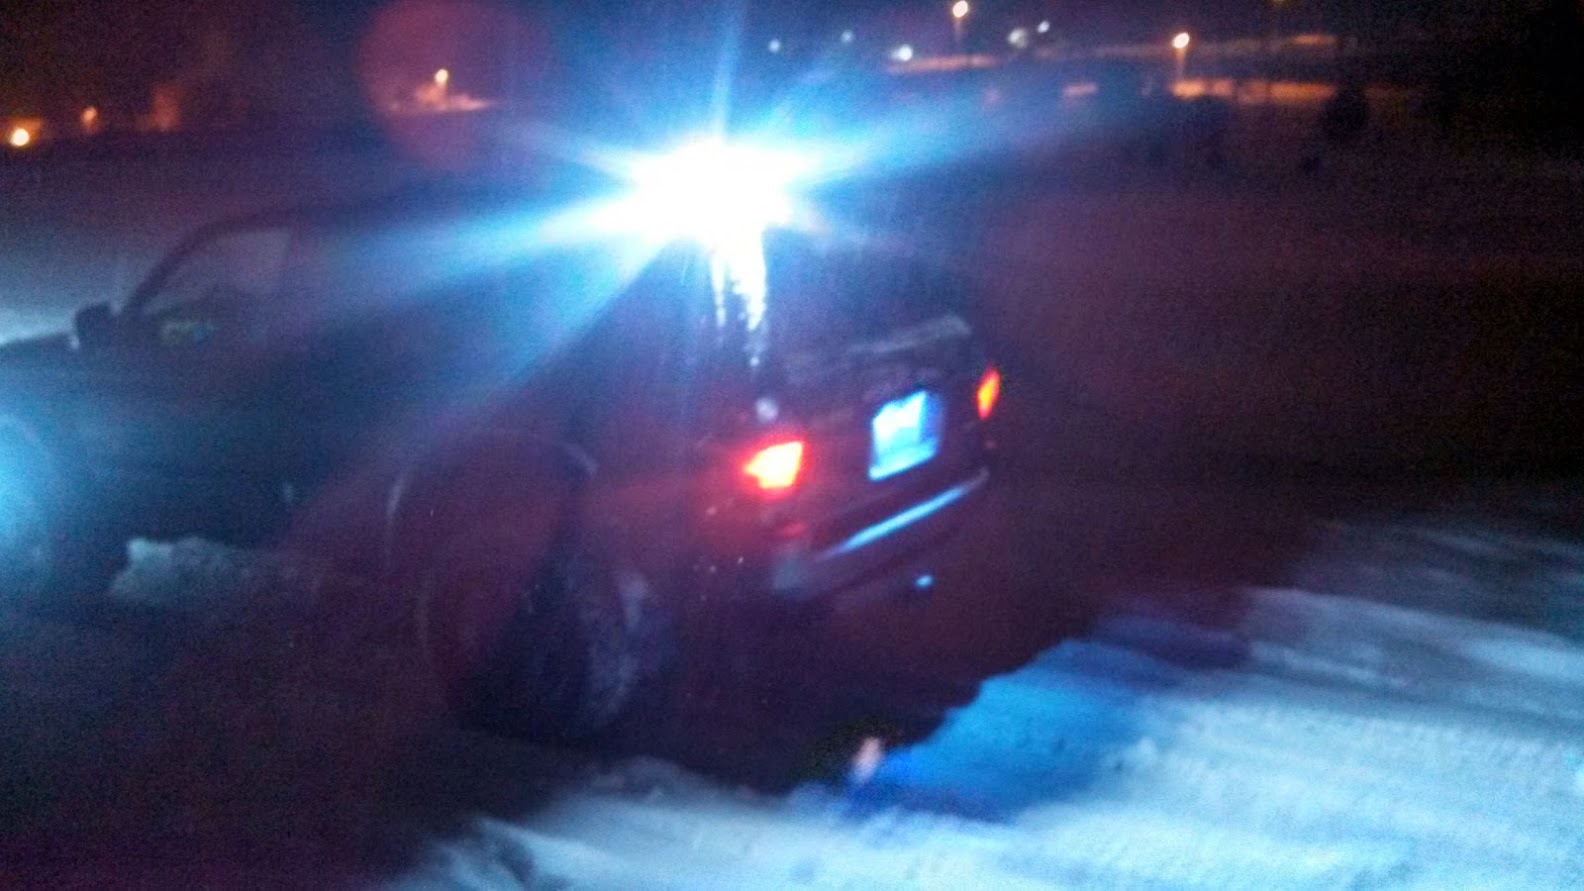
18W China LED Reverse Light
Custom Revers Light Braket (works with hatch open)
LED Dome lights
COB LED Map Lights (Super bright)
35W 3000K HID Blazer Fog Lights
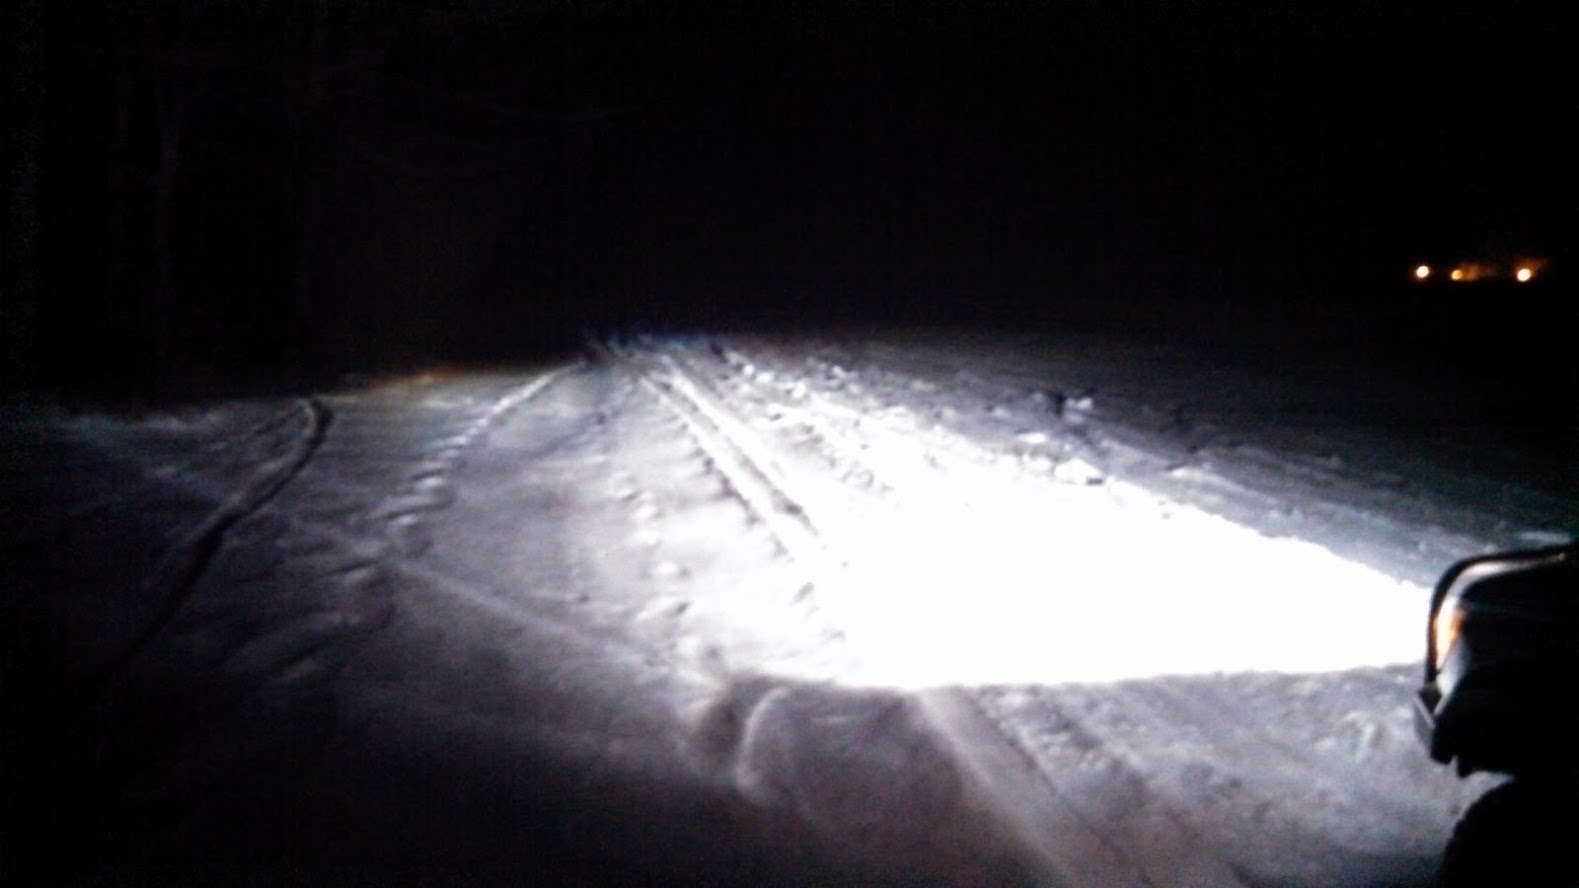
120W 22 in LED Spot Light Bar
120W 22 in LED Flood Light Bar
Rigid Industries LED Lightbar Mounting Brackets
Fog Light Anytime
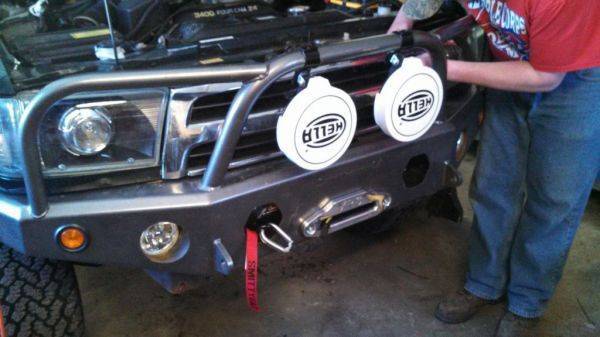
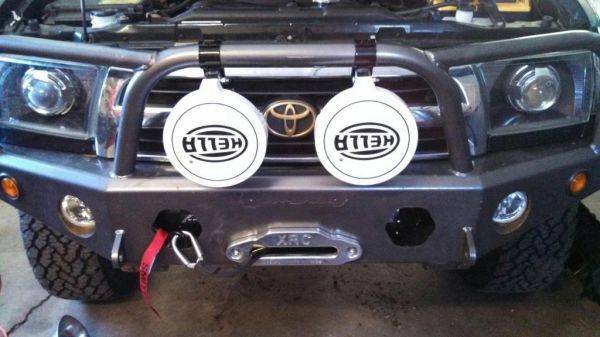
55W Hella 700FF
Suspension:
Rough Country Nitro Rear Shocks
Rough Country Nitro Front Struts
OME 880 Front Springs
OME 906 Rear Springs
OME 881 Front Springs
OME 891 Rear Springs
Icon Coilovers
Electronics:
Sony XAV601BT Headunit
Alpine SWE-12S4 12 Inch Sub
GB SPST Rocker Switches
12V Socket Behind Dash (permanent phone charger)
Zune - Permanent Mount
Ultra Gauge
Midland 13-882B CB (1975)
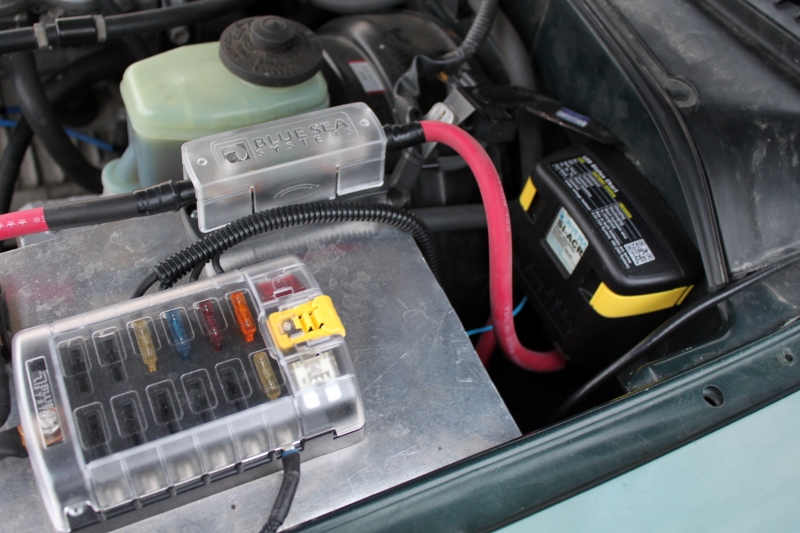
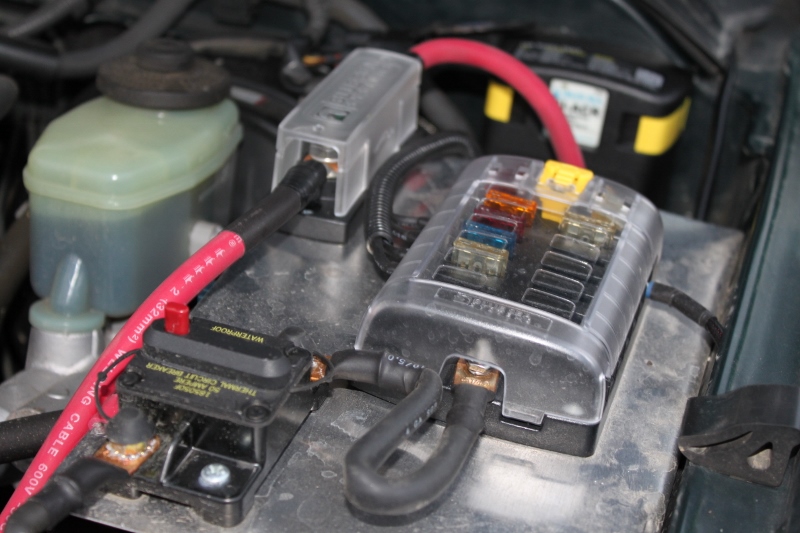
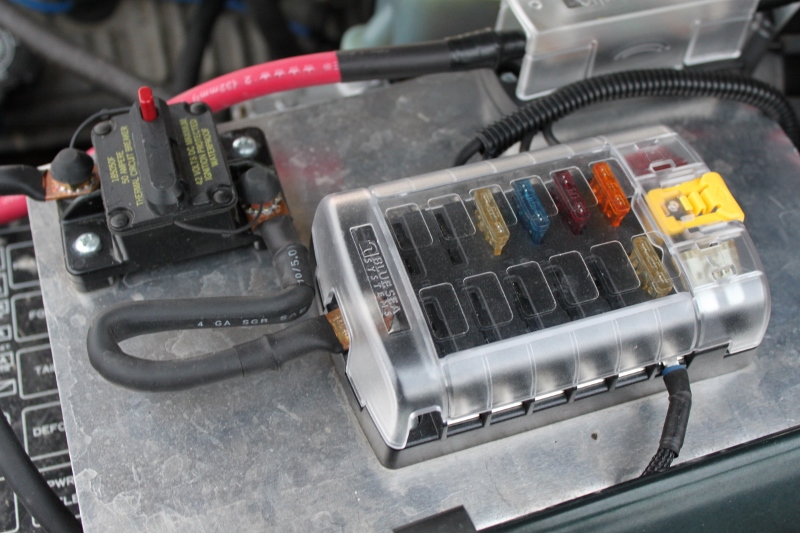
Blue Sea Systems 5029 12 circuit Fuse Block
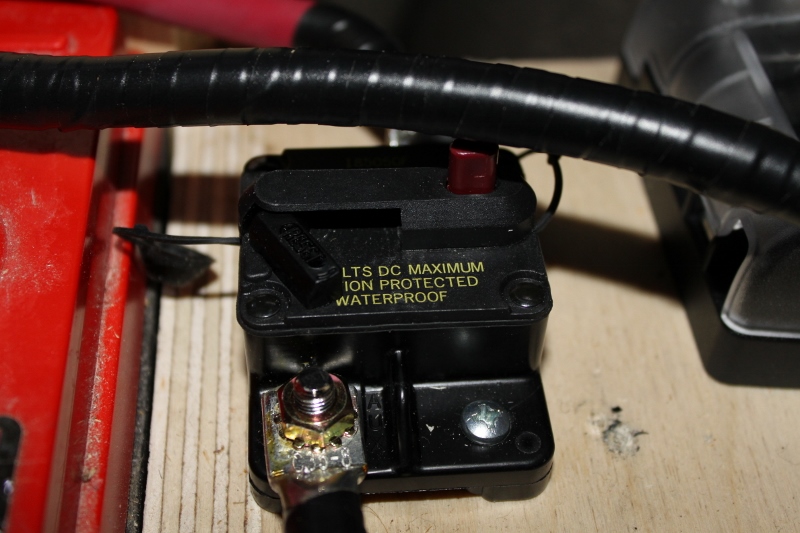
50 Amp Circuit Breaker
Wilson 2 ft. Black Fiberglass Antenna
Blue Sea systems 5028 6 Circuit Fuse Block
50 Amp Circuit Breaker
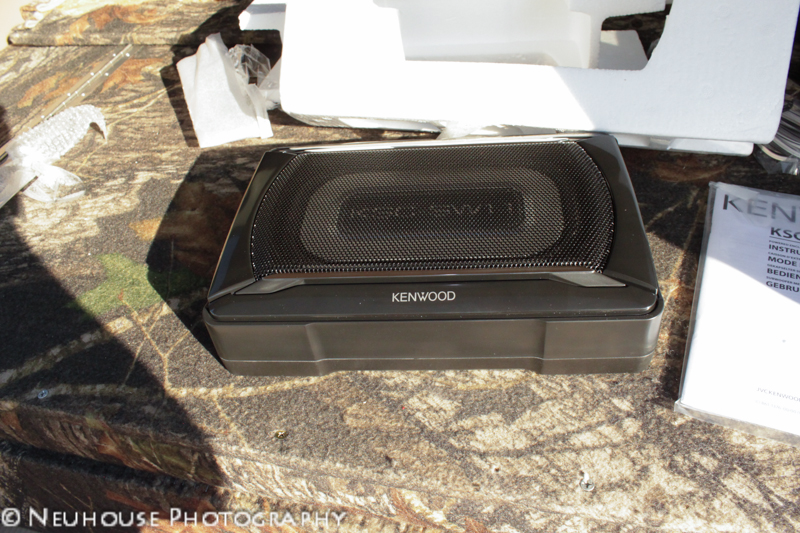
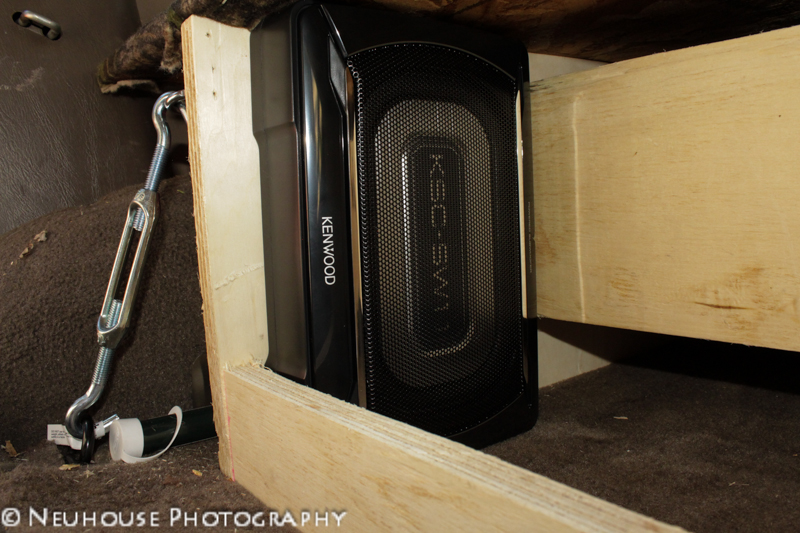
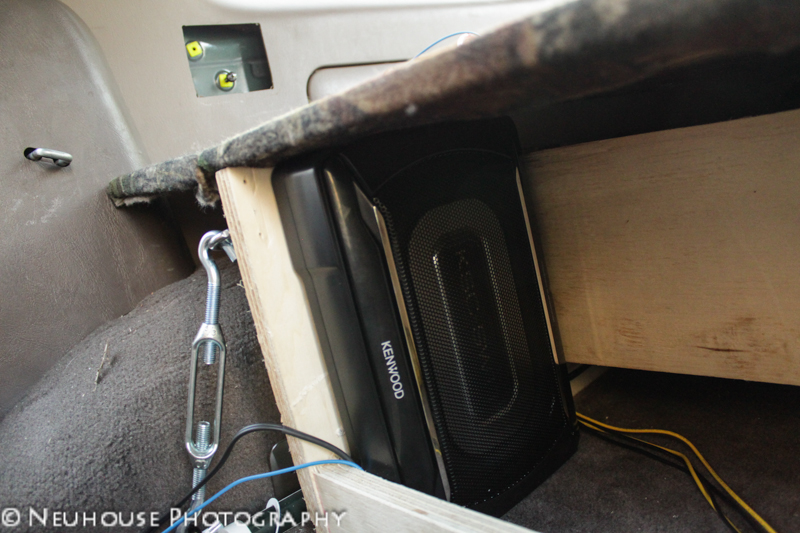
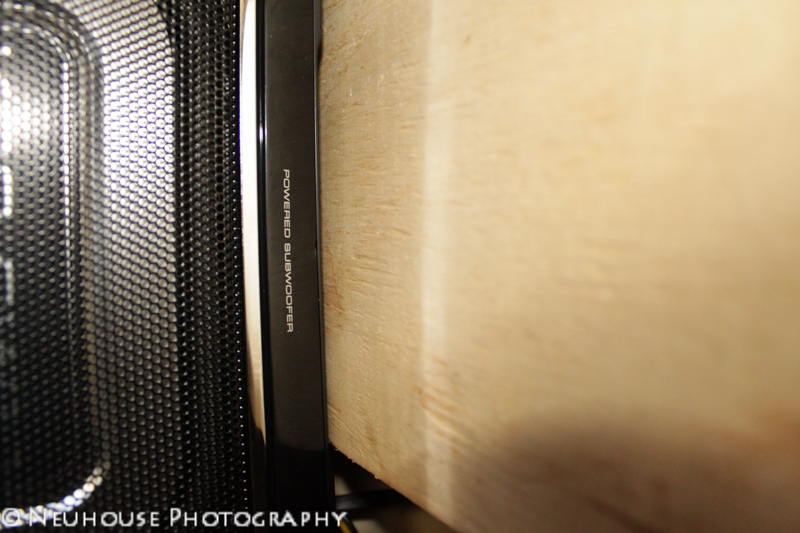
Kenwood KSC-SW11 Compact Subwoofer
Performance:
ISR Mod
Interior:
Weather Tech Digital Fit Floor Mats
Exterior:
Dee Zee Mud Flaps
CBI Antenna Mount
Armor:
4xInnovations Front Bumper
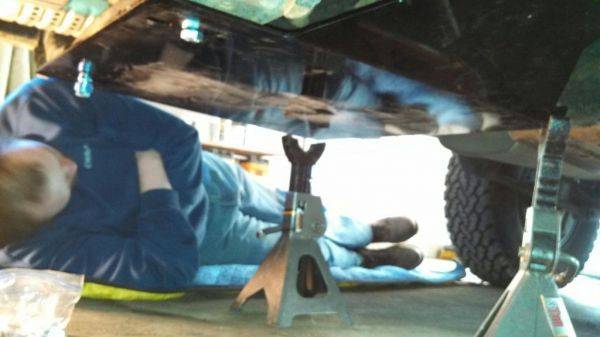
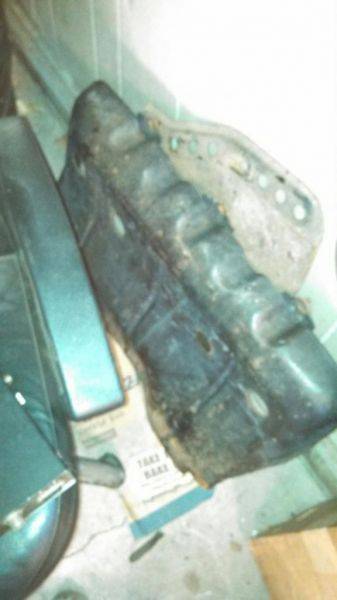
RAT Products Full Coverage Skid Plates
4xInnovations Rear Tire Carrier Bumper
4xInnovations Sliders
Recovery:
XRC8 Comp Winch
20k Snatch Block
20K Tree Saver
Walmart strap
2x 3/4 Shackles
Wheels and Tires:
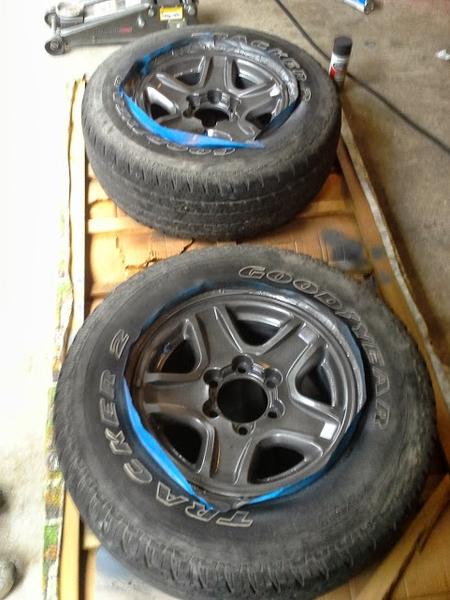
Painted Stock Alloys
General Grabber AT2 LT265/75/R16
Overland Gear:
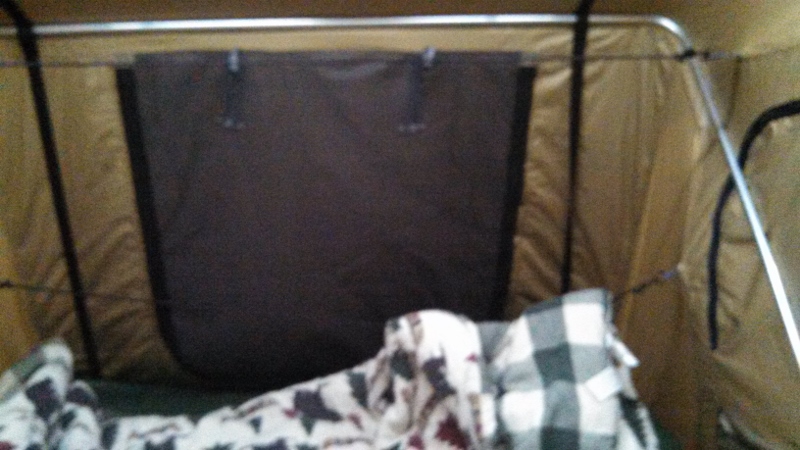
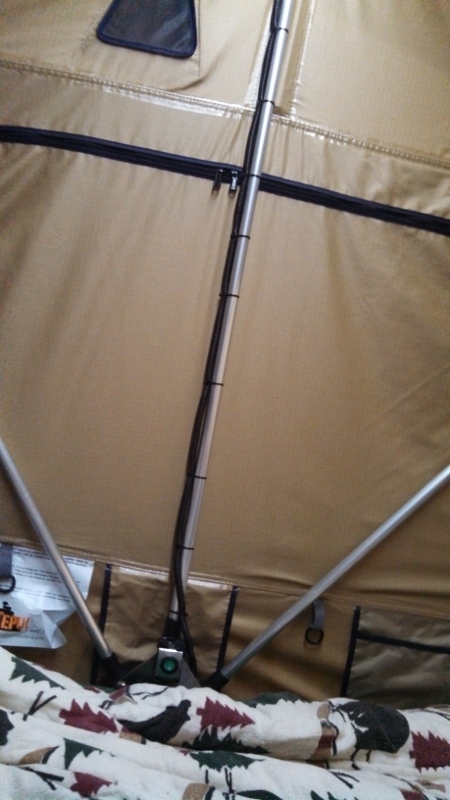
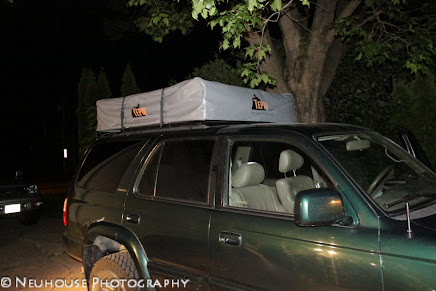
Tepui Autana Roof Top Tent
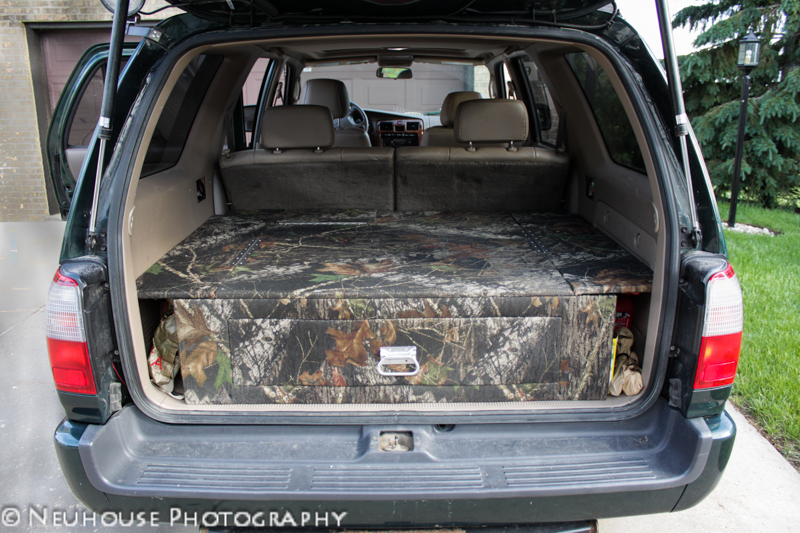
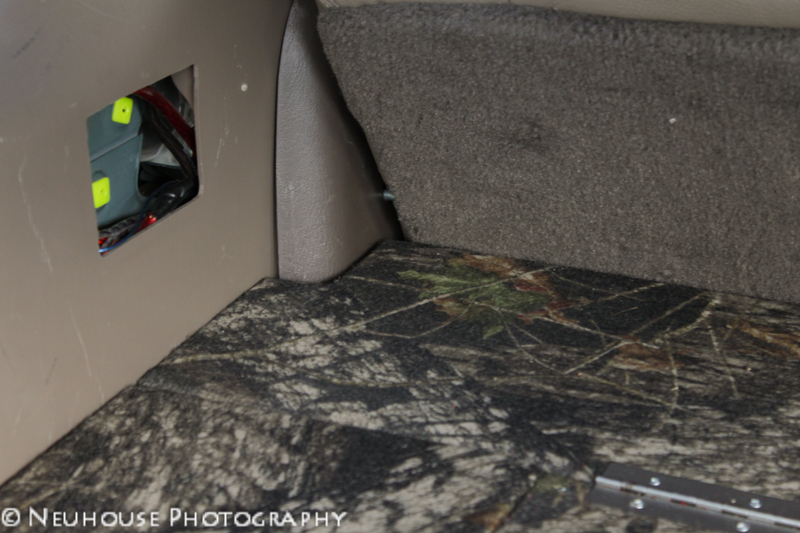
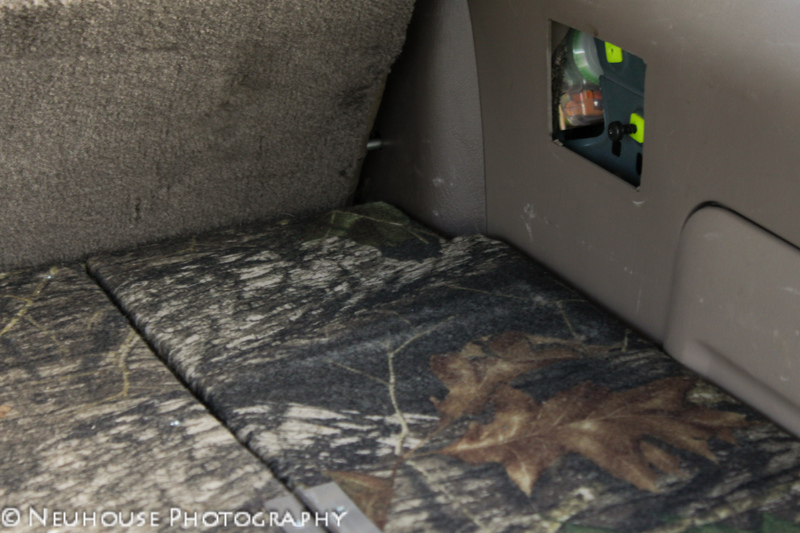
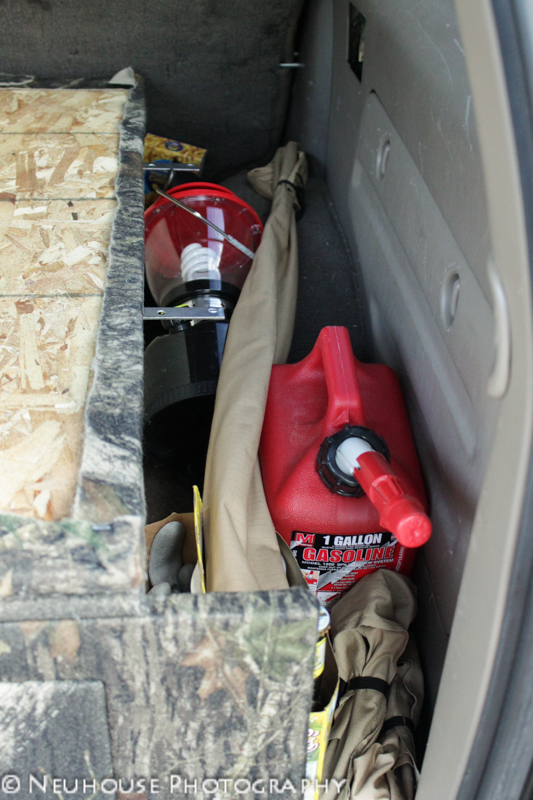
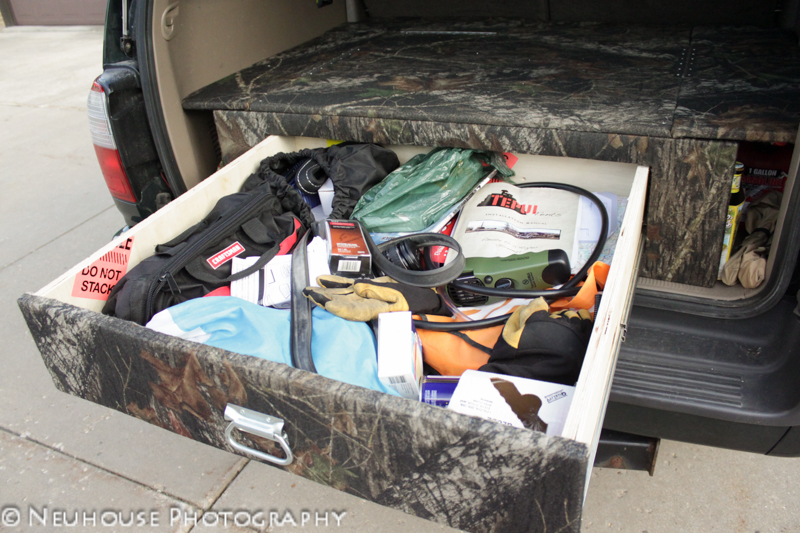
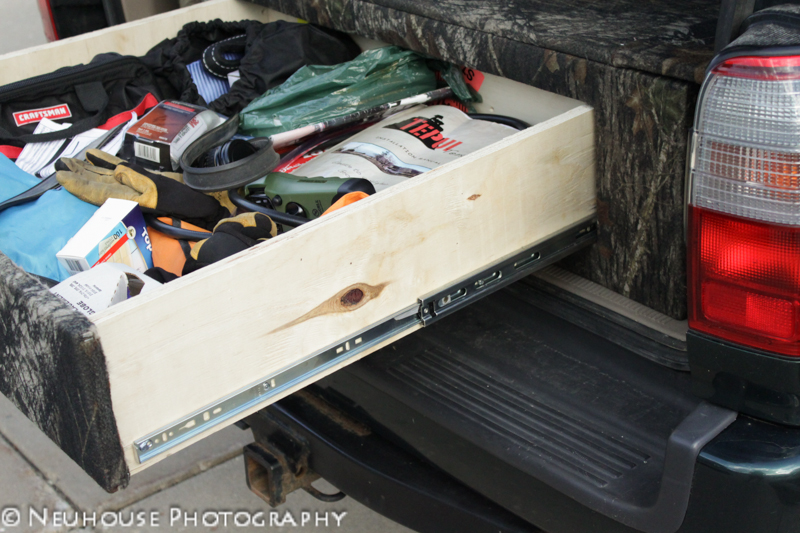
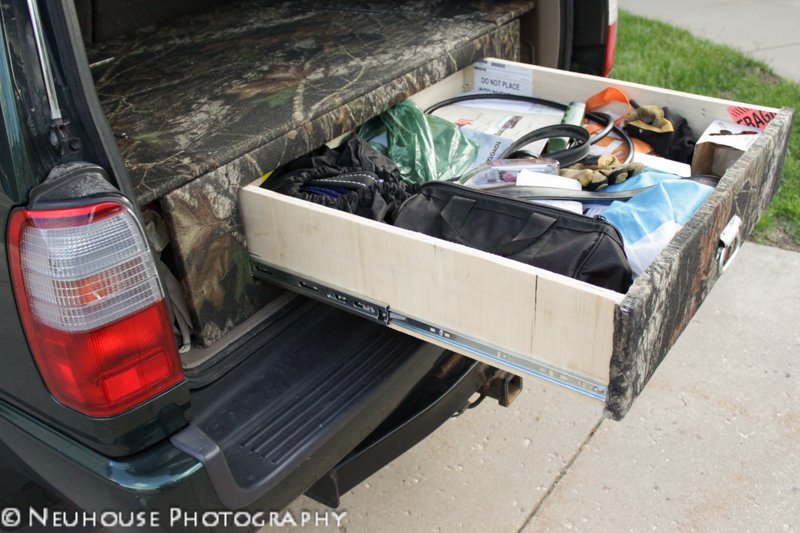
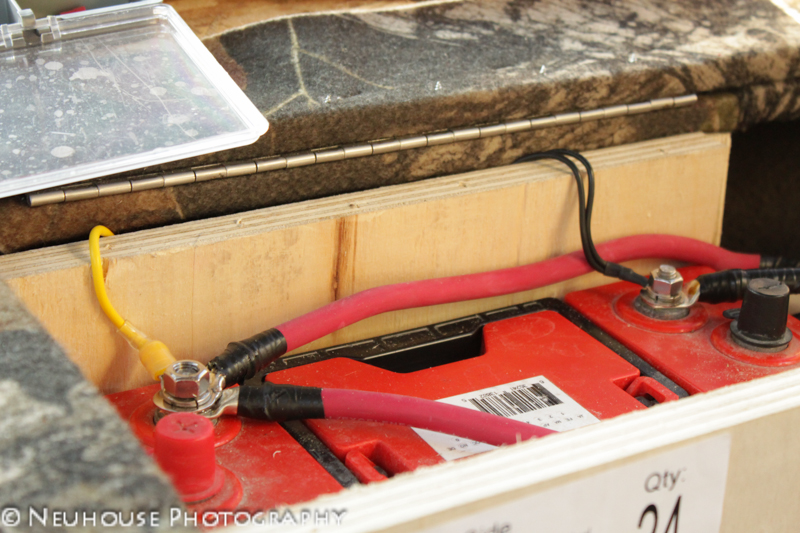
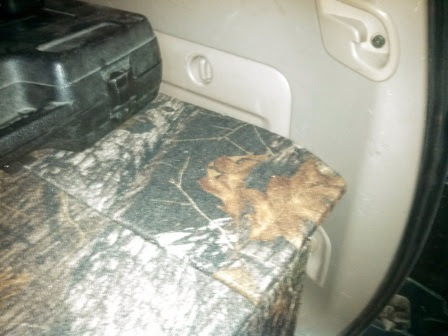
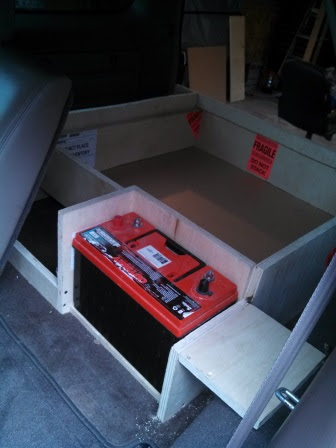
Custom Built Storage/Battery Box
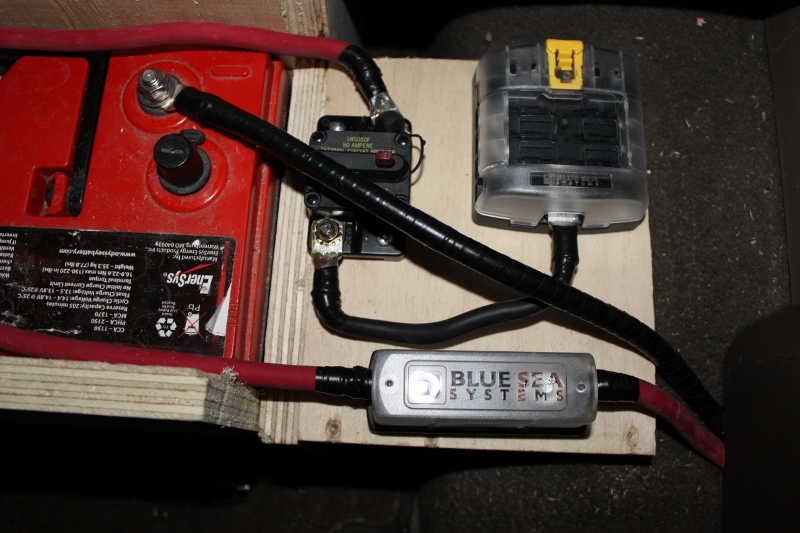
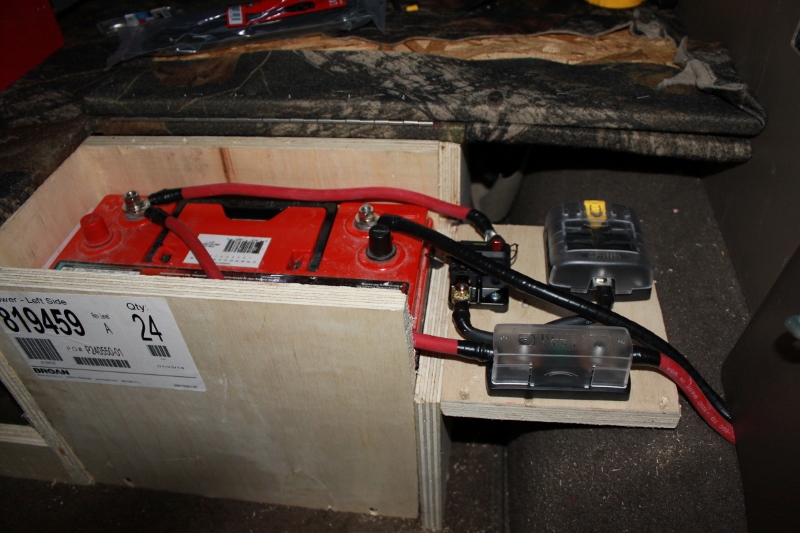
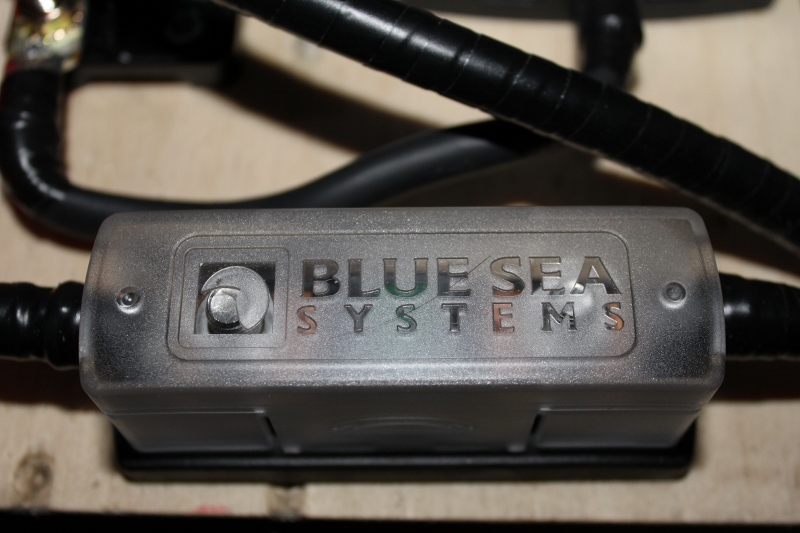
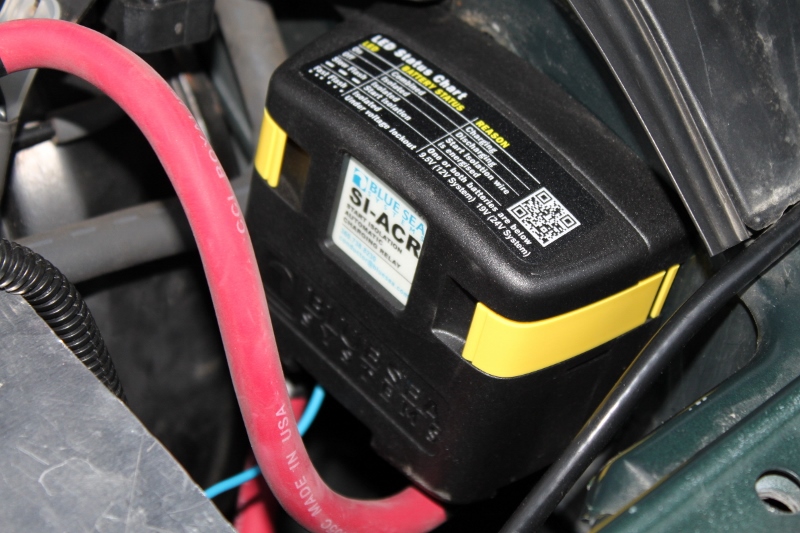
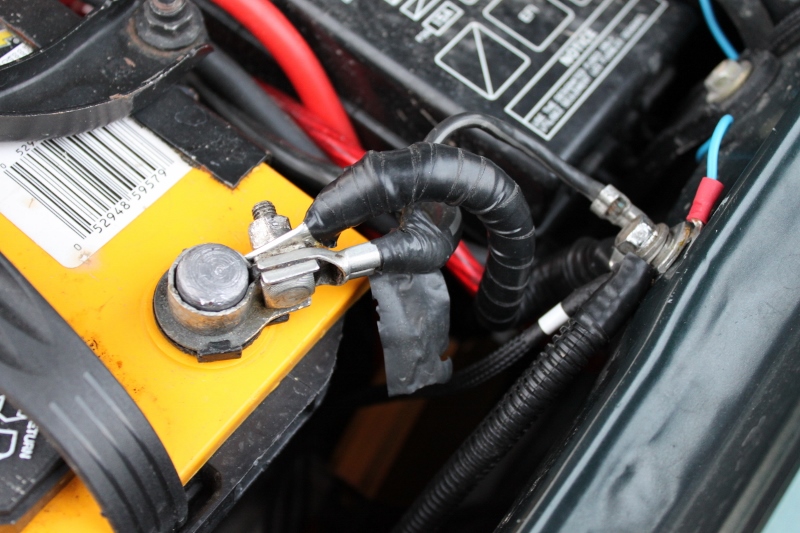
Blue Sea Systems Dual Battery System with Odyssey 31M AGM Battery
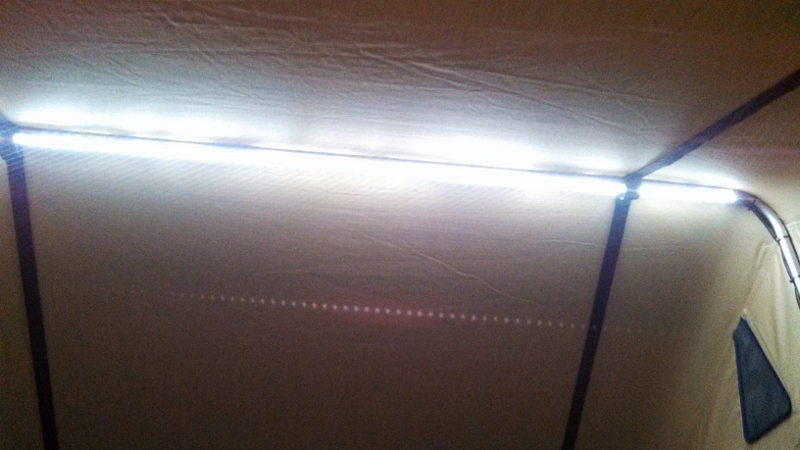
5050 LED RTT Tent Lights
FX-R Retrofit Kit 55W with Apollo Shrouds
Homebrew Light Bar
Depo Clear Marker Lights
18W China LED Reverse Light
Custom Revers Light Braket (works with hatch open)
LED Dome lights
COB LED Map Lights (Super bright)
35W 3000K HID Blazer Fog Lights
Rigid Industries LED Lightbar Mounting Brackets
Fog Light Anytime
55W Hella 700FF
Suspension:
Rough Country Nitro Rear Shocks
OME 891 Rear Springs
Icon Coilovers
Electronics:
Sony XAV601BT Headunit
GB SPST Rocker Switches
12V Socket Behind Dash (permanent phone charger)
Zune - Permanent Mount
Ultra Gauge
Midland 13-882B CB (1975)
Blue Sea Systems 5029 12 circuit Fuse Block
50 Amp Circuit Breaker
Wilson 2 ft. Black Fiberglass Antenna
Blue Sea systems 5028 6 Circuit Fuse Block
50 Amp Circuit Breaker
Kenwood KSC-SW11 Compact Subwoofer
Performance:
ISR Mod
Interior:
Weather Tech Digital Fit Floor Mats
Exterior:
Dee Zee Mud Flaps
CBI Antenna Mount
Armor:
4xInnovations Front Bumper
RAT Products Full Coverage Skid Plates
4xInnovations Rear Tire Carrier Bumper
4xInnovations Sliders
Recovery:
XRC8 Comp Winch
20k Snatch Block
20K Tree Saver
Walmart strap
2x 3/4 Shackles
Wheels and Tires:
Painted Stock Alloys
General Grabber AT2 LT265/75/R16
Overland Gear:
Tepui Autana Roof Top Tent
Custom Built Storage/Battery Box
Blue Sea Systems Dual Battery System with Odyssey 31M AGM Battery
5050 LED RTT Tent Lights
Last edited: