My ZJ Overland from France/Belgium

This is coming together fantastic!

Yes I can't wait to finish the details... ?

A mistake on my part on the jerry can holder which is a little bit small in width to hold two steel jerry cans :cry:... I'll have to find jerry cans a little bit less wide... I'll see about plastic models if I ever gain a little bit in terms of width... ;)
 

AggieOE

Trying to escape the city
Looks good! I like that the rear bumper doesn't look too "loud". More of a subtle build.
 
Looks good! I like that the rear bumper doesn't look too "loud". More of a subtle build.

Yes, I don't like too massive elements that weigh down the line of the vehicle...

20082022-MG-7785.jpg


20082022-MG-7794.jpg


20082022-MG-7794.jpg
 
Well, some modifications in machining and on the plates of the wheel holders and jerry cans will have to be done,

I'll modify the angle of the spare wheel... I don't think I'll be able to create a bigger jerry can holder... Either I'll bump into the tailgate, or into the wheel holder tube, and I don't want to modify the anchorages of the fixing brackets...

So I'll see, either to create a tank with a pump, or to find an extra 10L jerry can...

I will take the opportunity to make machined soles for the air coils in my rear springs...

08092022-MG-7986.jpg
 
Some news after my return, I didn't have the time to write my article on my website, change of house, change of workshop, fractures of the hand... In short, it's been quite a change ?

Well now I'm working on a custom made aluminium box that will fit on the jerrian carrier and that will host a Webasto and a 5.5L tank to heat my roof tent, and the inside of the Jeep for the two little wolves :)...

Capture d’écran 2023-01-18 à 11.03.53.png

In parallel, I'm waiting for the arrival of an Engel MT35 fridge, which will allow me to work on the new project when I'll be back from Denmark around the beginning of March :)
 
Last edited:
Here is some news,

I am waiting for the box for the webasto that a friend of mine folded and assembled :)

In the meantime, I started to work on the fridge slide... And there no choice, I had to train myself to use Fusion360 correctly :)

Well now that the fridge is here, the Vadania ball bearing slides arrived, I could take all my measurements... And here are the results :)

Slider-Frigo-v14.png


I just checked with a bending company to see if it's possible for them to do it... I'm waiting for their return to validate the laser cutting :)
 
Some news about my roof tent heating unit... After receiving it, I completely forgot my folding sense... As a result, I folded it inside out...

To make up for it, I went to the local hardware store and got 2 meters of angle iron to bolt everything together properly...

And here's the result :) The whole thing can be fixed to the jerry can holder ;) or strapped inside :)

I'm going to the Belgian countryside for 5 days to test everything out...

330553763_670596464813000_658841939232630134_n.jpg330990416_726414132216936_4271114579955181218_n.jpg330928284_723806492702397_5351327967568262764_n.jpg
 
Some new things to show you today... :) 
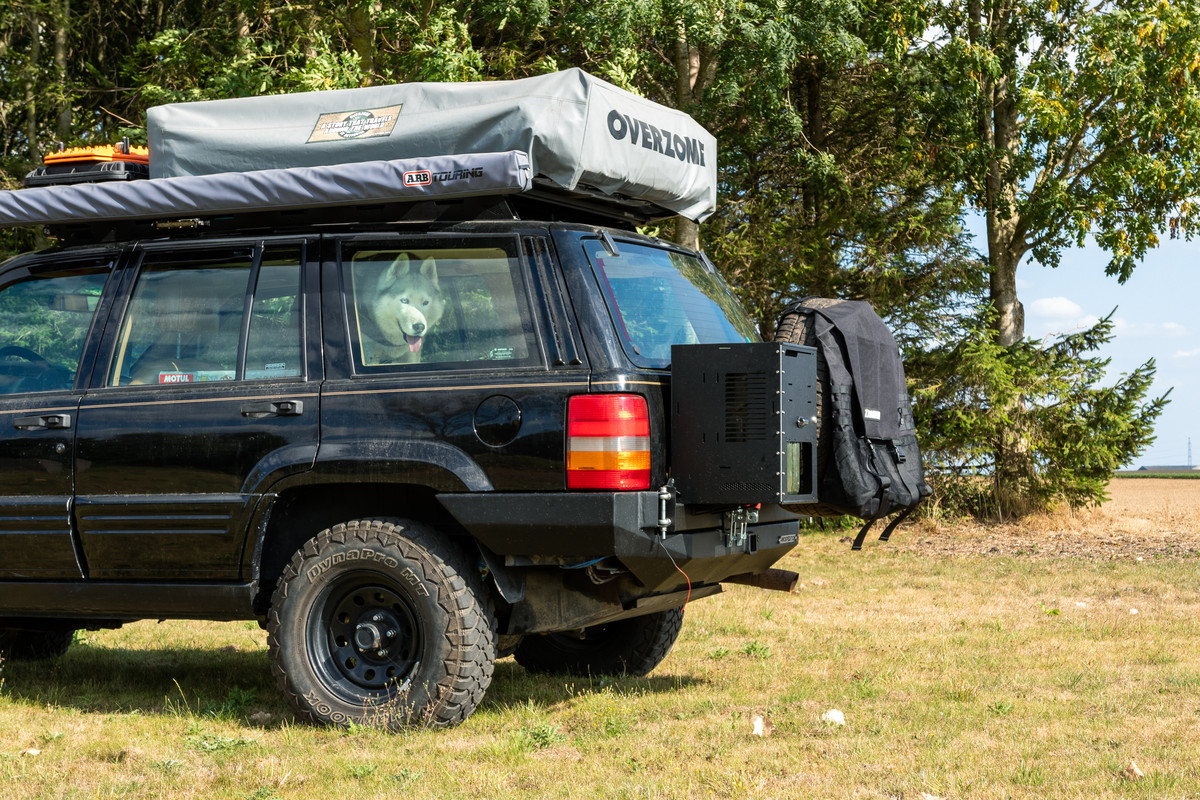
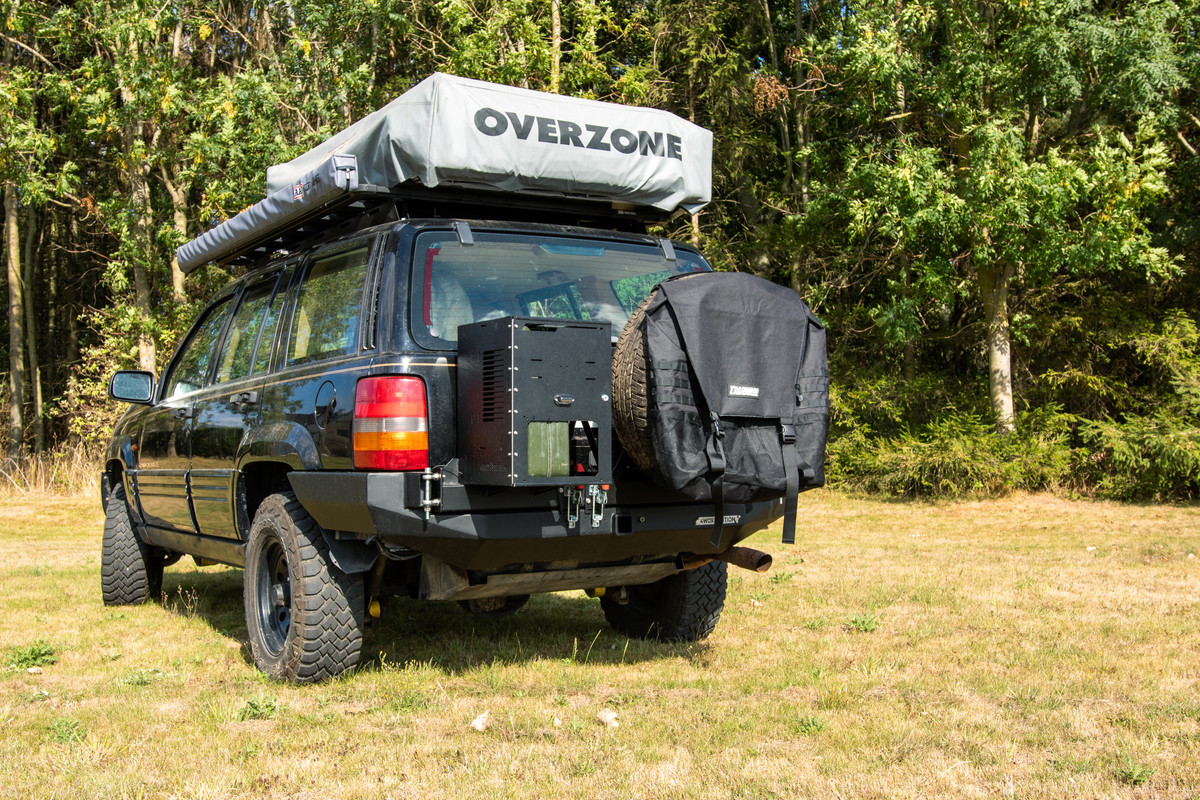
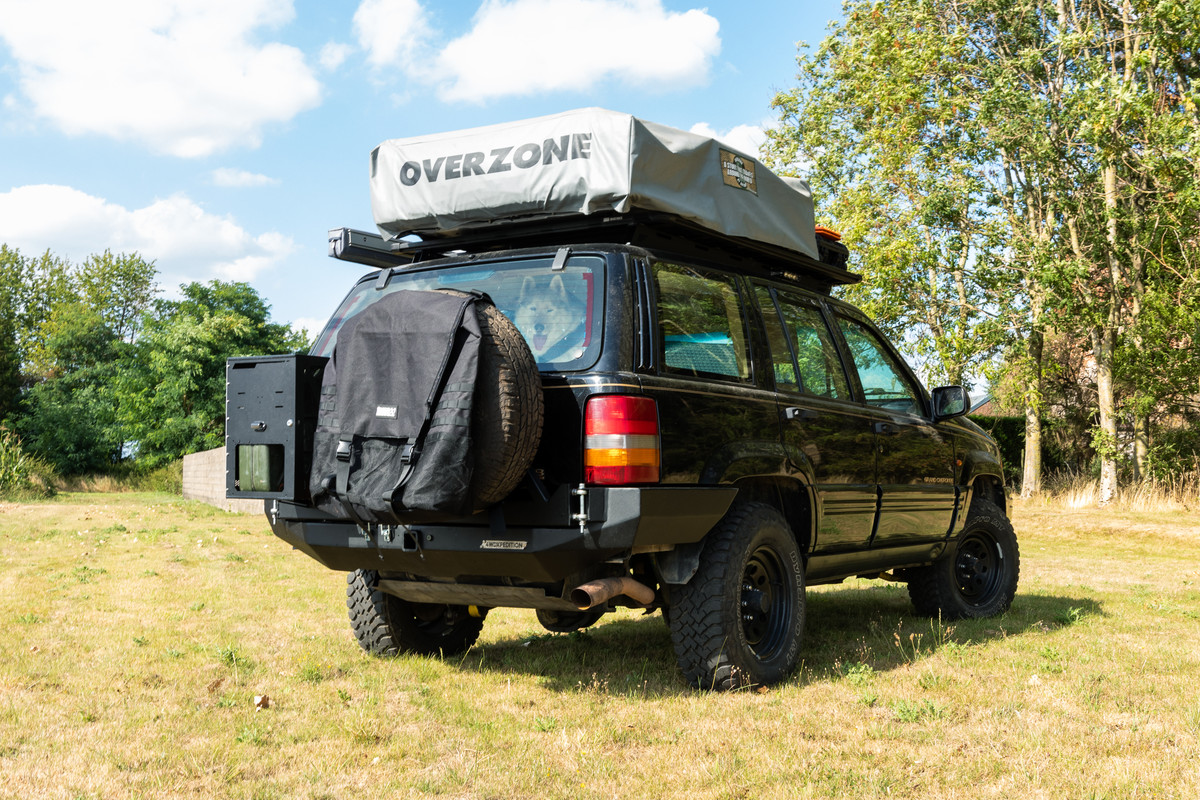
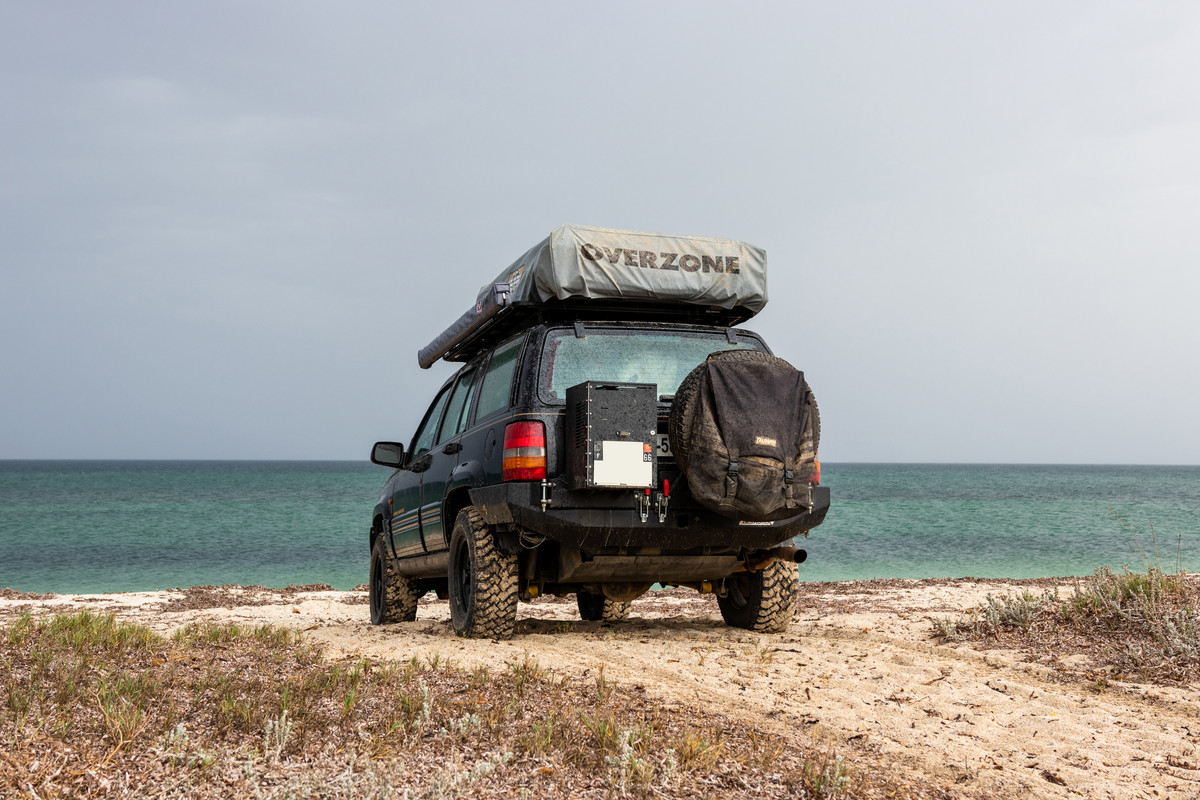
I've been thinking for a while about doing a second setup to fix all the little flaws from the first one... Not to mention the new equipment I bought on the side that couldn't fit into the first setup, I present to you the new version ;)

14092023-376518611_1734900346963173_9008494872341592717_n.jpg

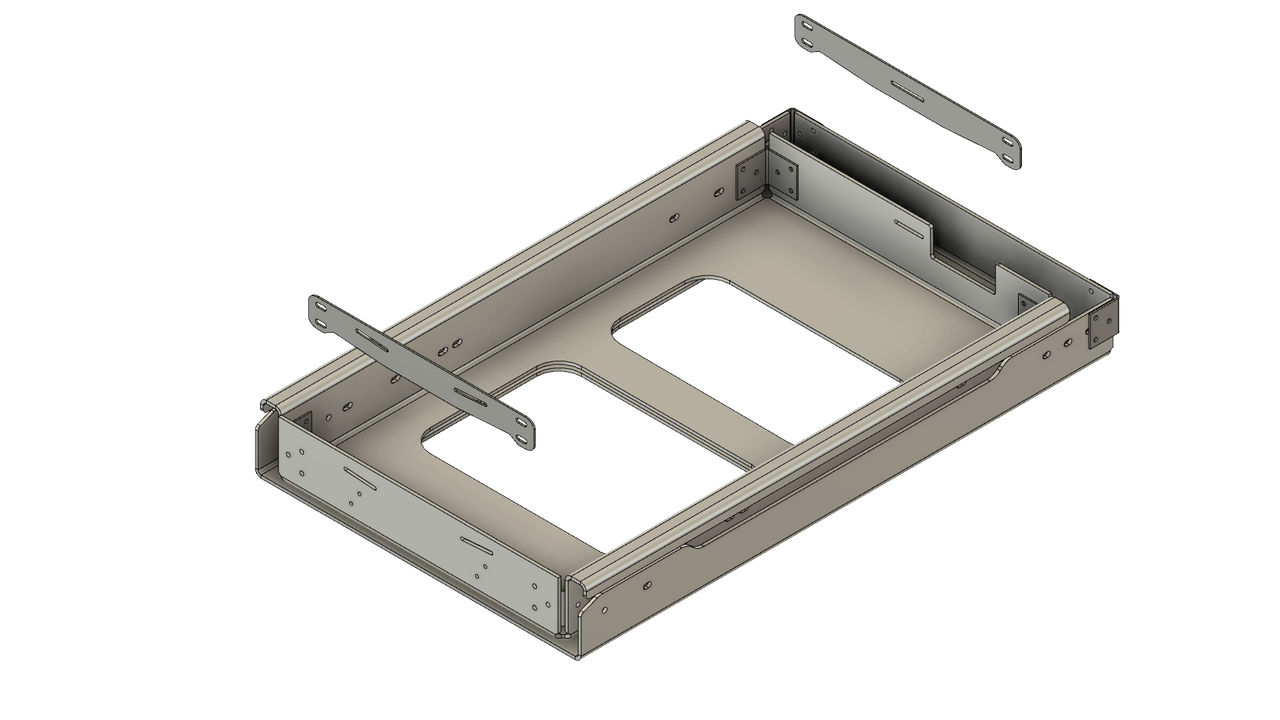
As for the materials, I used 18mm poplar plywood... I initially wanted to use 15mm, but my Clamex P-System assembly machine didn't have the right blade... So, I reconsidered and went with 18mm for the essentials...
As for the cabinet tops and drawer fronts, I used 6mm HPL panels, which provide excellent resistance to abrasion, UV, and water...

Regarding the drawer slides, I switched to heavy-duty 1000mm locking slides with sub-drawers... 450mm under the Coleman 424, and on the passenger side, I have a 1000mm sub-drawer for tools under my camera drawer...

14092023-377109027_3492842560959435_3779017651208976619_n.jpg

On the rear door side, on the driver's side, there's a panel with two air compressor outlets, equipped with an 8-bar cutoff solenoid valve to prevent air compressor overheating, thus eliminating the need for an air reserve... There's also a water level gauge for the 40-liter tank located behind the front seats, complete with the tank's filling and venting ports, and a water filter accessible from below... Additionally, you'll find a Neutrik outlet for the heating, which you can see just above :)
Just below, there's a storage area for the compressor, reserve oils and fluids (10W30, ATF4+, Coolant...), as well as the tire repair kit...

14092023-376487154_2266981586821774_1473169841556962133_n.jpg

On the passenger side, you'll also find a laser-cut plate with a Neutrik outlet, the temperature selection relay for the water tank (which heats up using the old coolant/automatic transmission heat exchanger), allowing me to heat the 40 liters of water without a resistance or other water heater system... Just in front, next to the tank, there's a 3-way valve, an electric water pump, and the shower... Behind this plate, there's a 12V > 220 pure sine wave converter with a power strip at the passenger's feet...

14092023-374975762_271095352430214_114829591684923880_n.jpg

On top of my LPG cylinder (located behind the 40-liter tank in place of the rear seat), there are two hatches providing access to storage compartments for small spare parts.

Now I'm moving on to building a tent above the tailgate so that I can stay dry when the tailgate and drawers are open...

As for the fridge drawer, I'm still waiting for my laser cutter to offer digital folding... So for now, the fridge is placed at the rear of the setup on the passenger side.

14092023-376430216_808842554363868_5097236566742306178_n.jpg
 
Last edited:

Forum statistics

Threads
185,888
Messages
2,879,473
Members
225,497
Latest member
WonaWarrior
Top